This is a walkthrough guide for the Secret of Raven Rock, with hints, tips, and tricks if you get stuck. If you’re looking for hints or something you can’t find in the walkthrough, feel free to ask in the comments section.
Looking for the walkthrough for Chapters 3-4?
Chapter 1: The Arrival
You can watch this video of Chapter 1, or follow the step-by-step walkthrough below it:
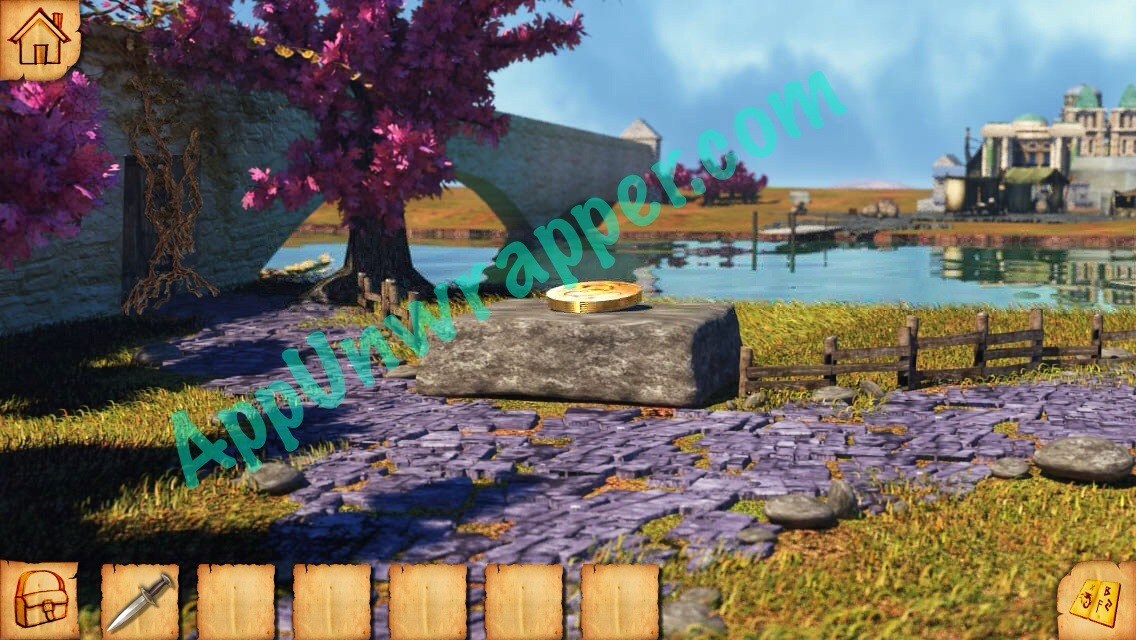
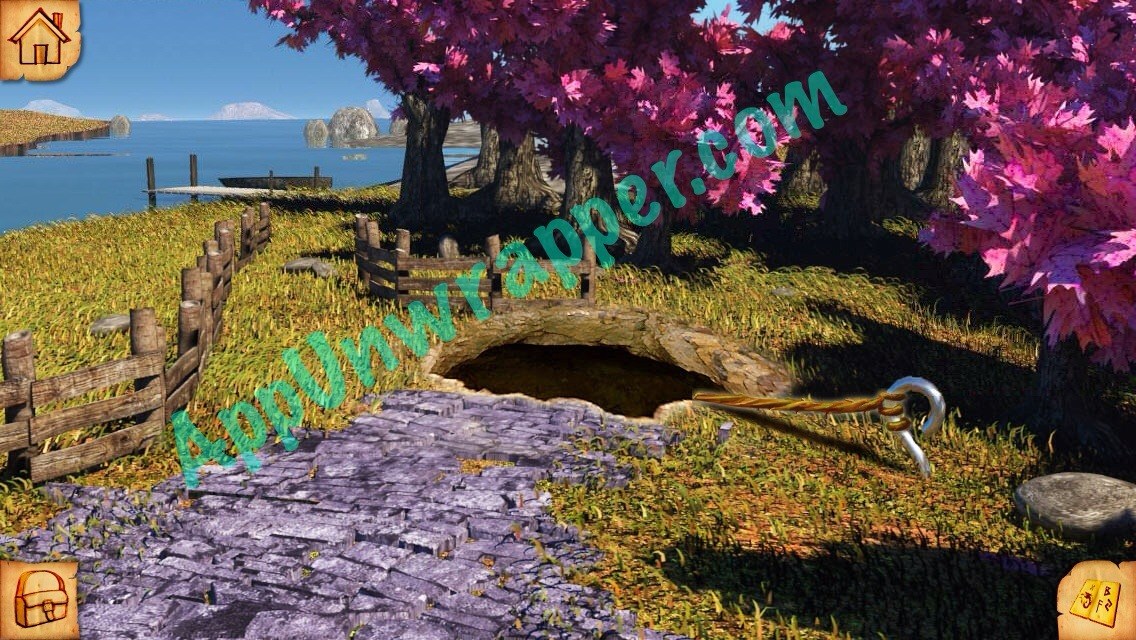
1. Follow the tutorial. Look on the rock for a clue:
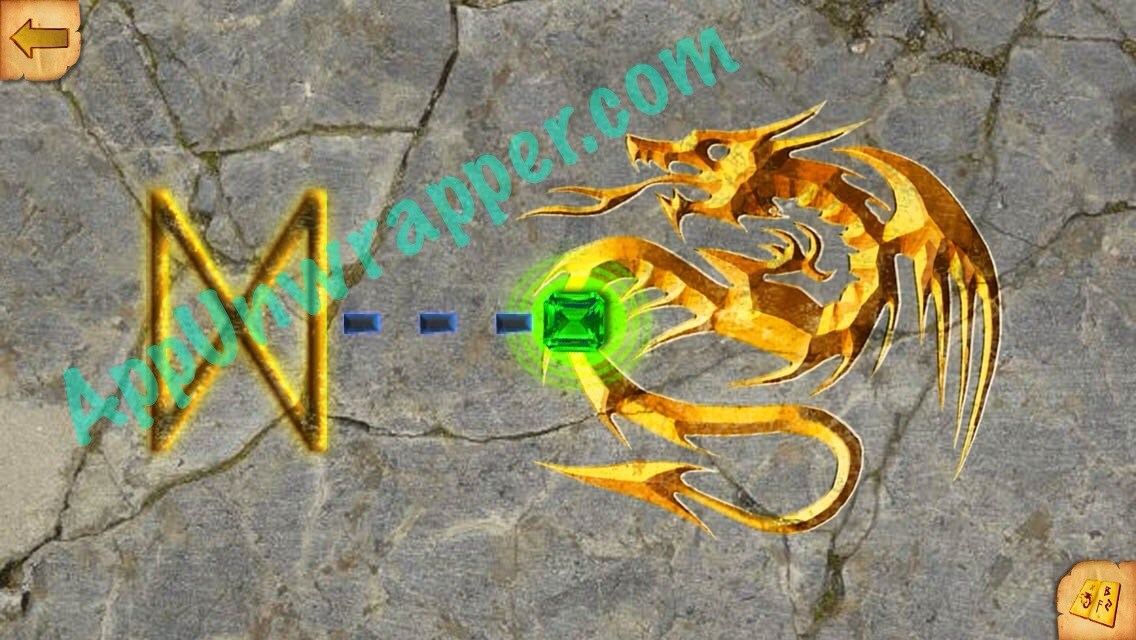
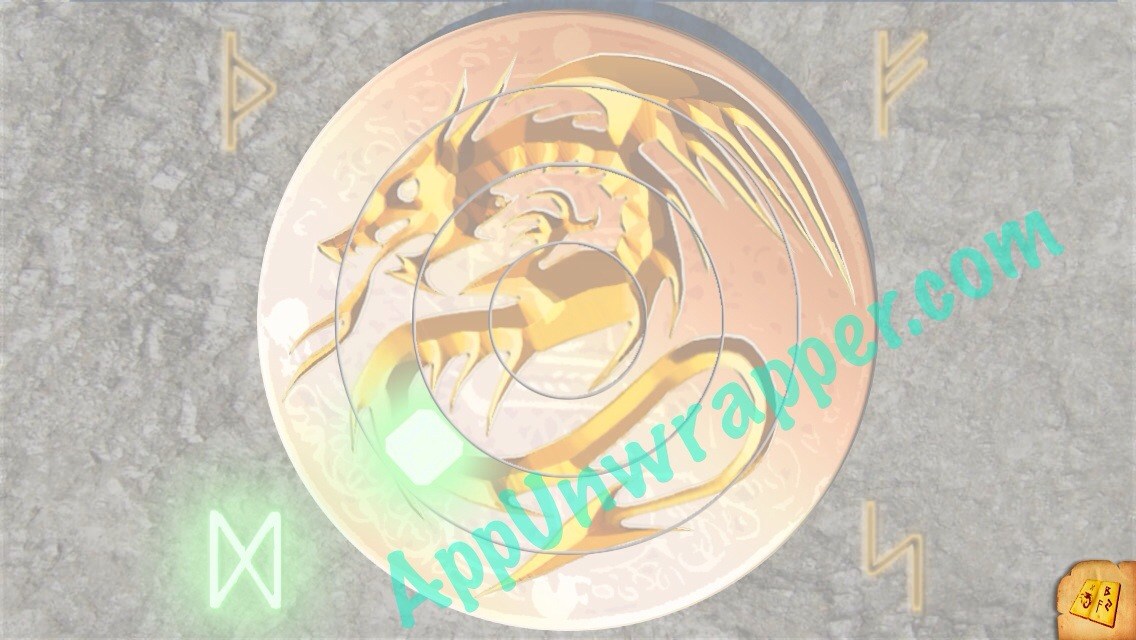
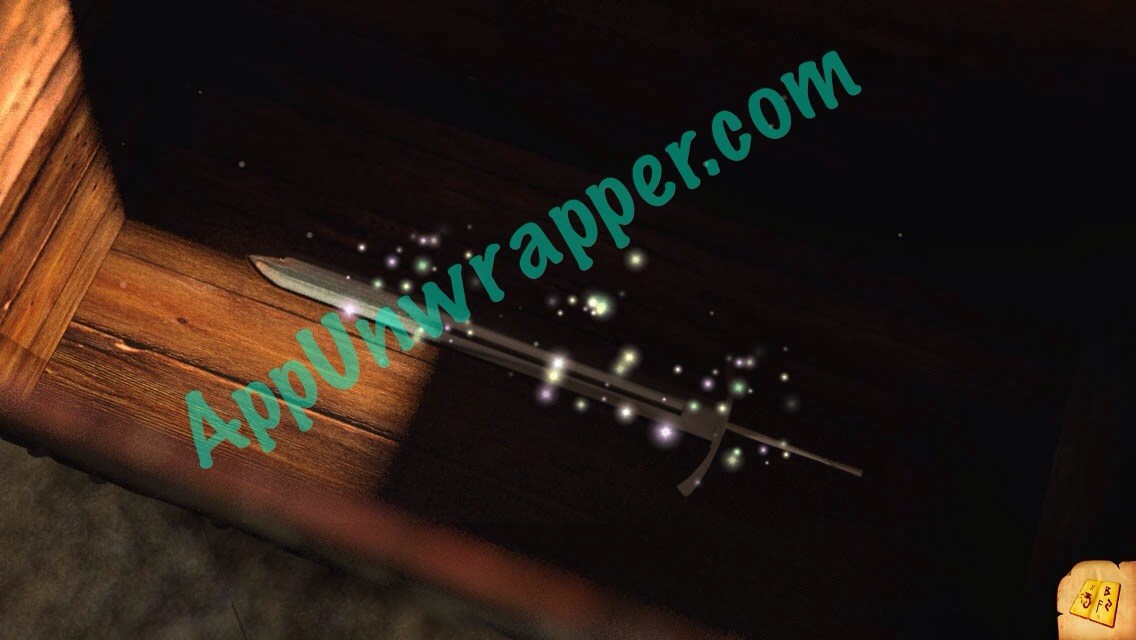
2. Cross the bridge and solve the dragon puzzle. Take the dagger.
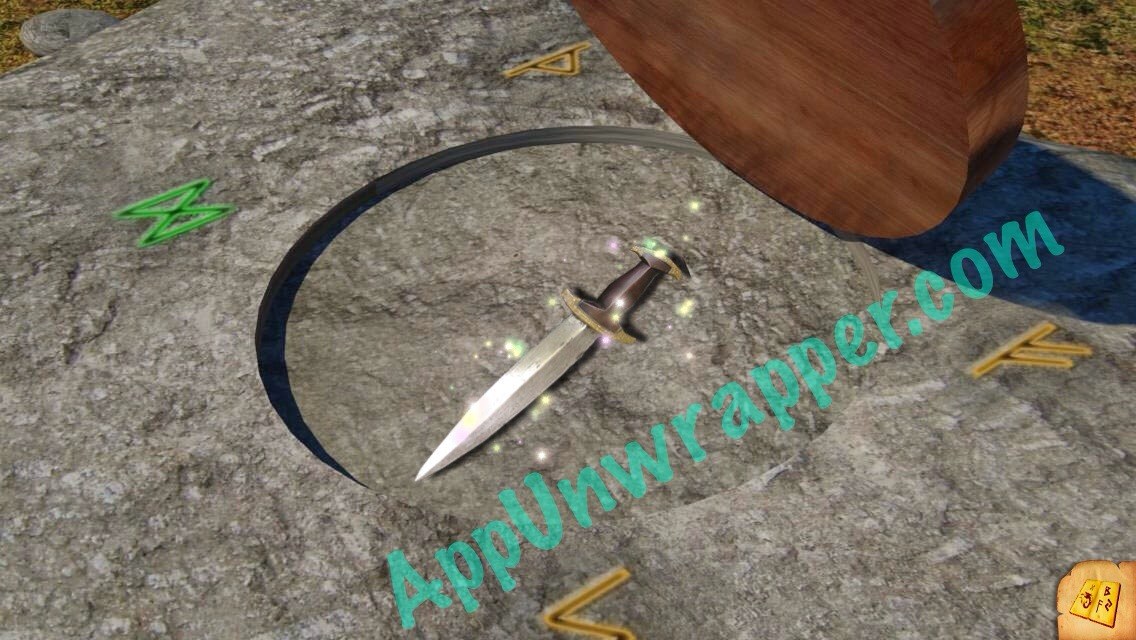
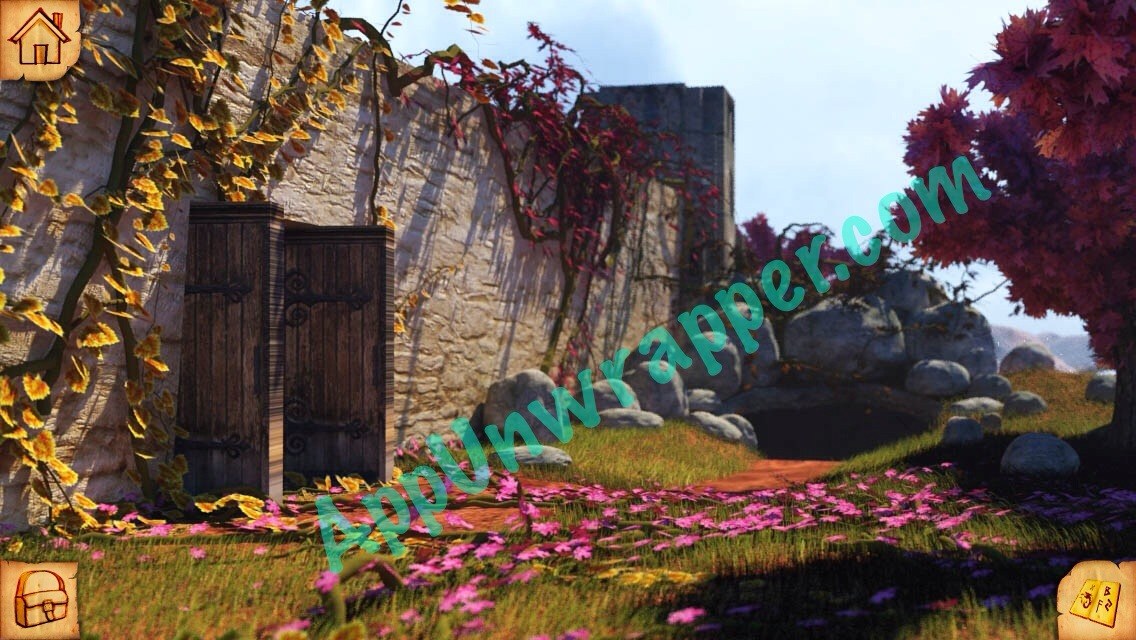
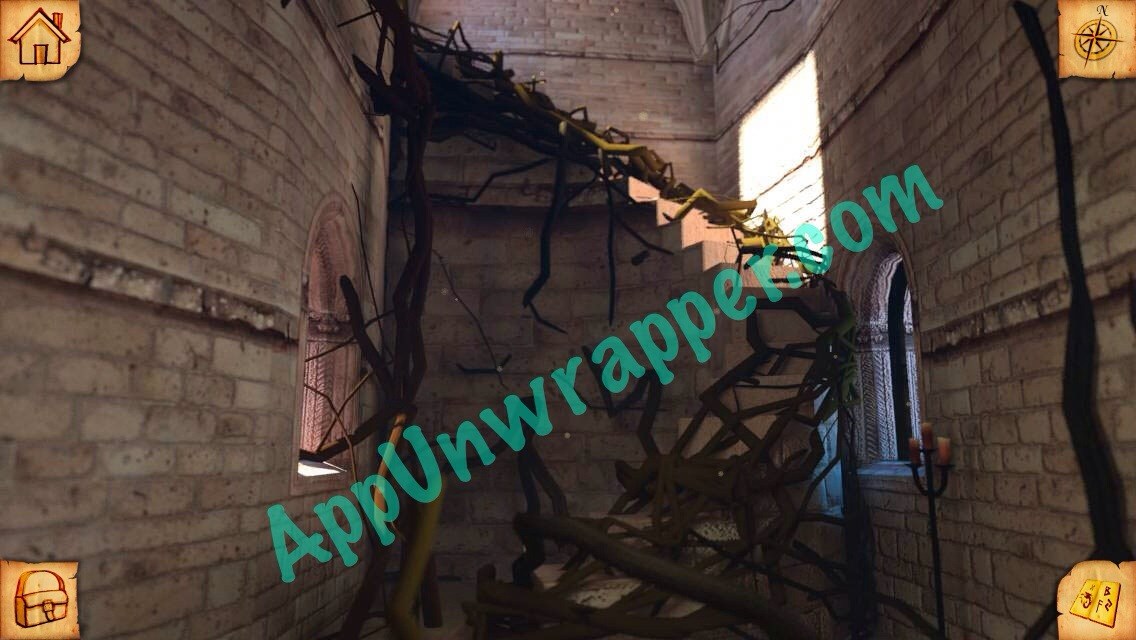
3. Drag the dagger to the vines covering the door to cut them.
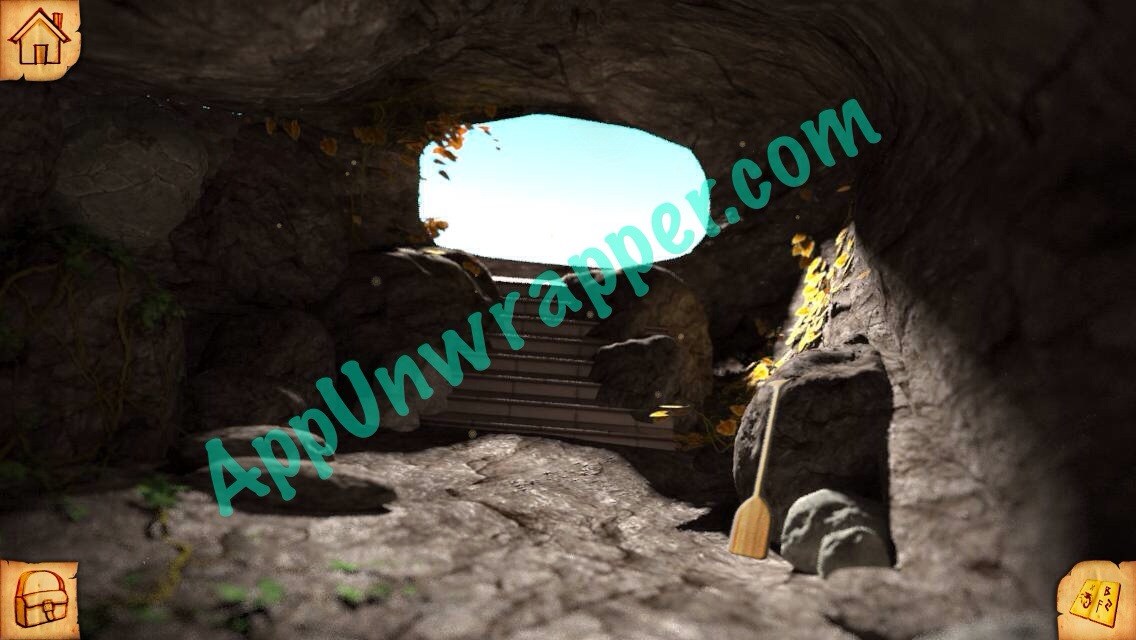
4. The door behind the vines is locked from behind so we can’t get in right now. Tap to the right of the screen instead. Open your inventory and drag the vines to the metal hook. Now you can climb down the rope.
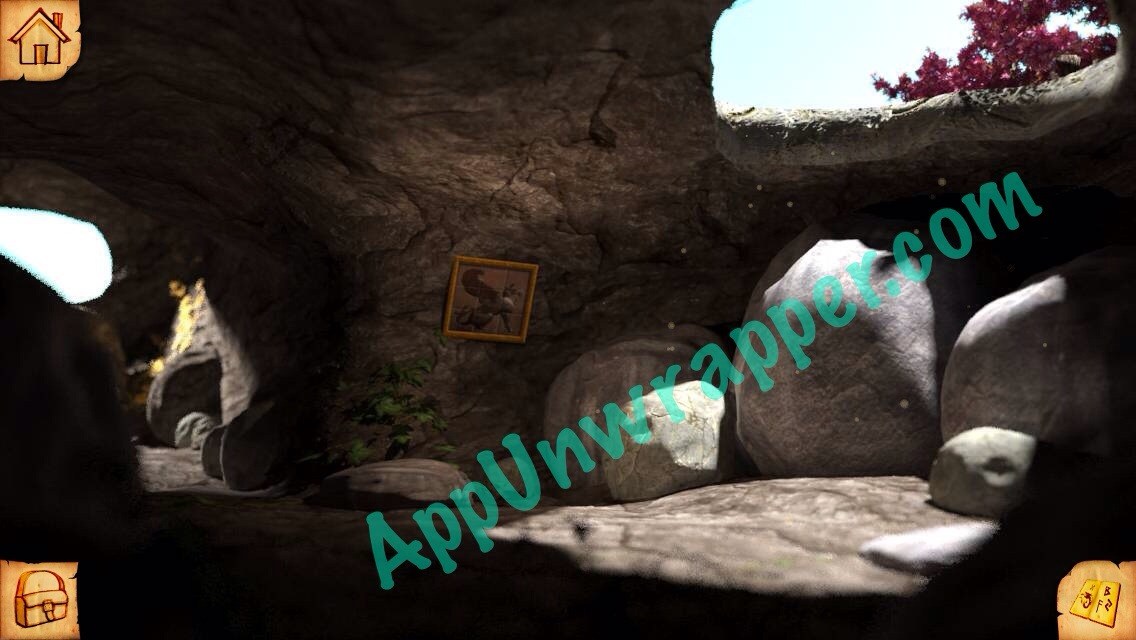
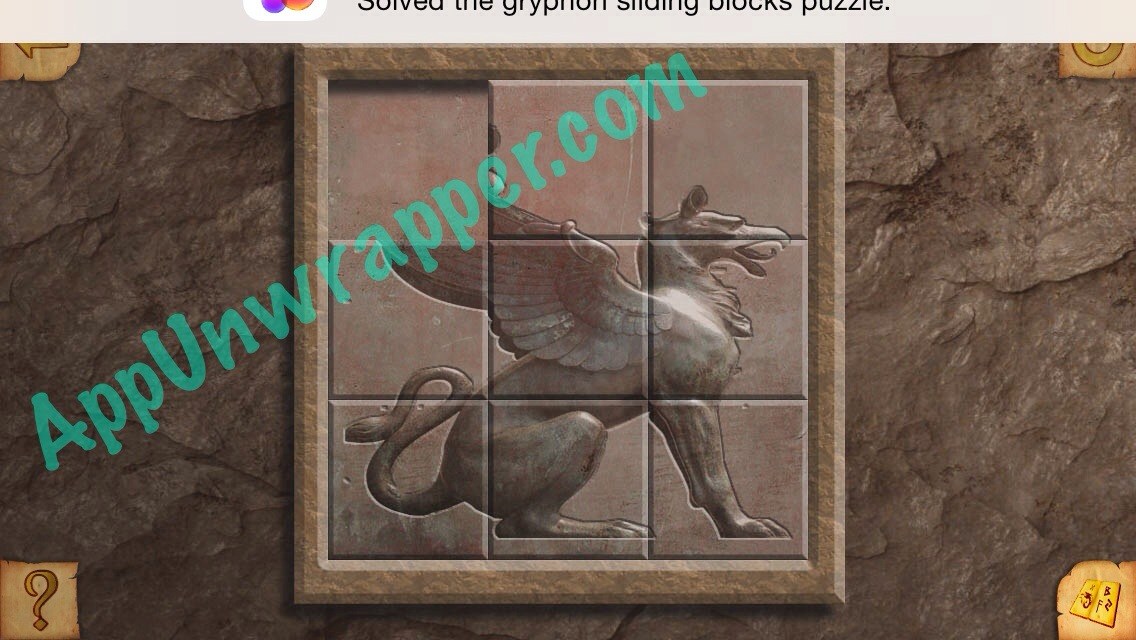
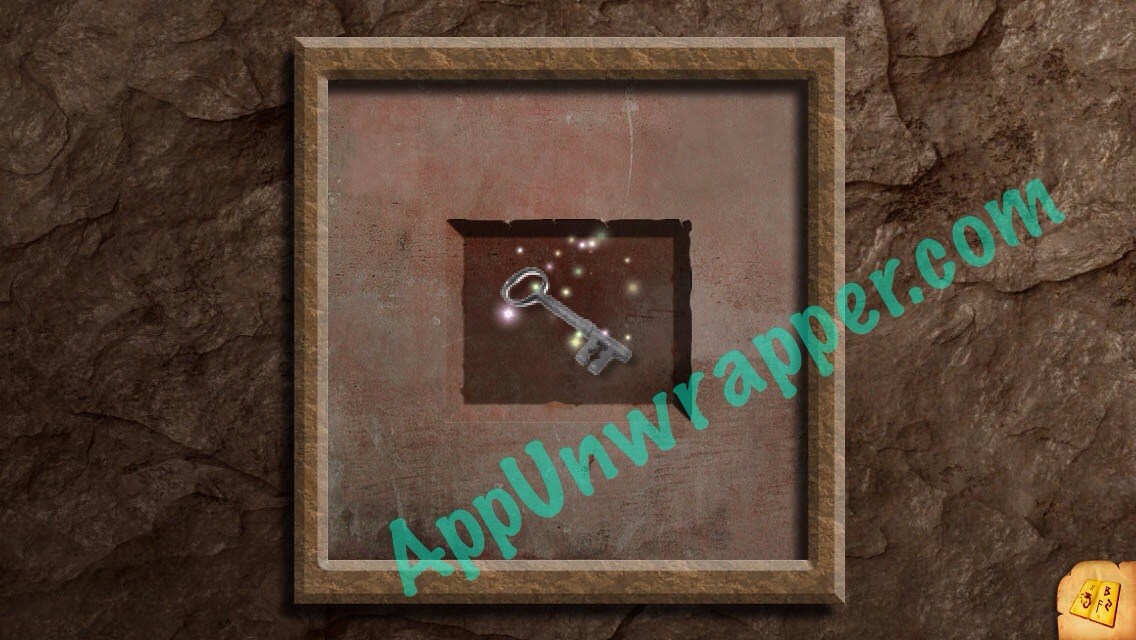
5. Solve the sliding tile puzzle on the wall by making a gryphon, then take the key.
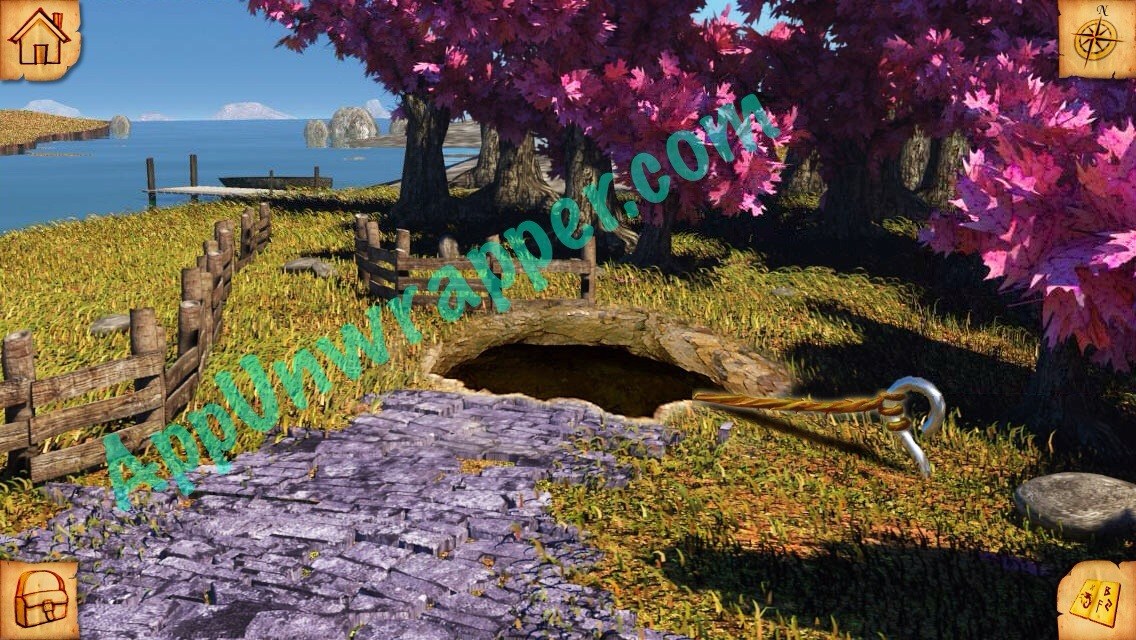
6. Tap to the left of the screen. Pick up the paddle. Then go through the big hole. Now you’re on the other side of that locked door. Use the key to unlock it.
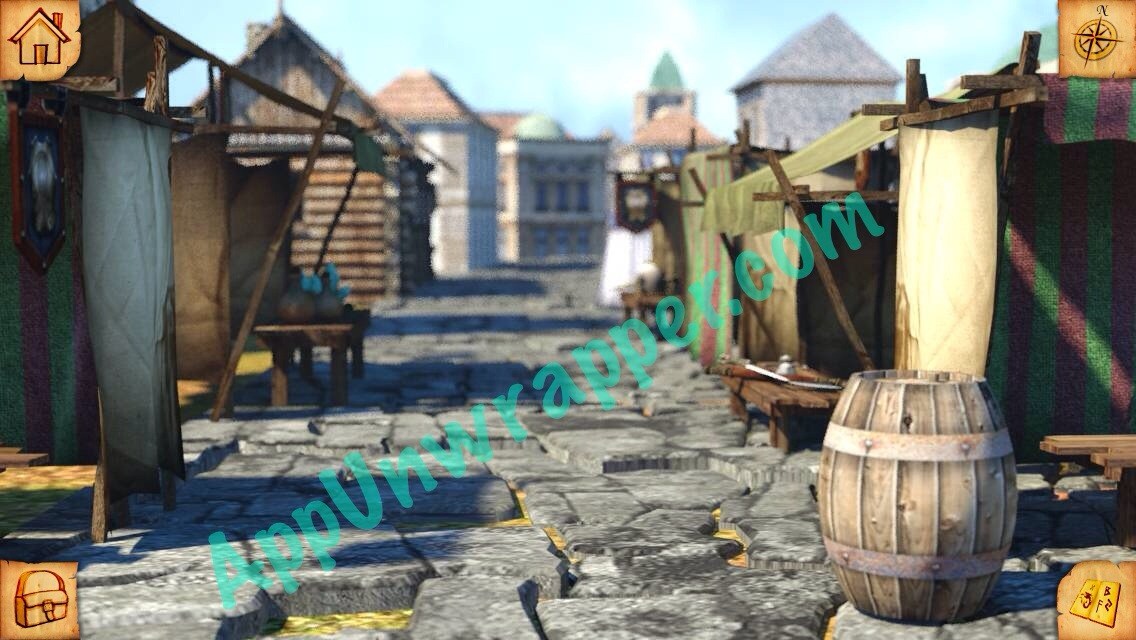
7. Go through the door and tap to the right so you see the big hole in the ground again. There’s a paddle boat in the distance. Drag the paddle to it and you’ll end up in a different location, the market. Pick up the lever.
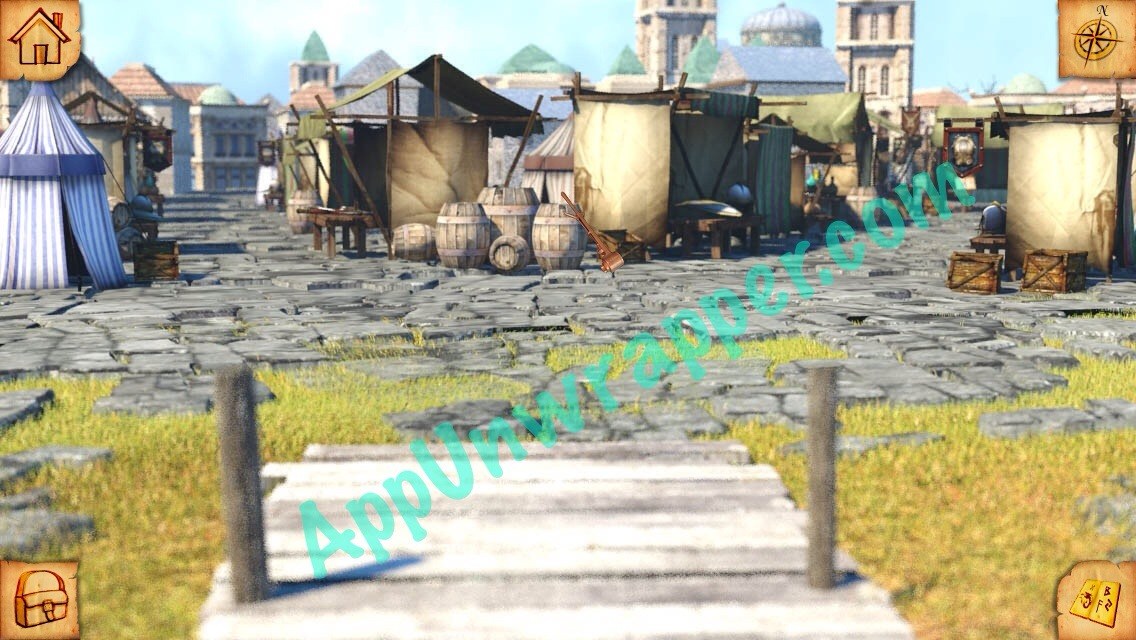
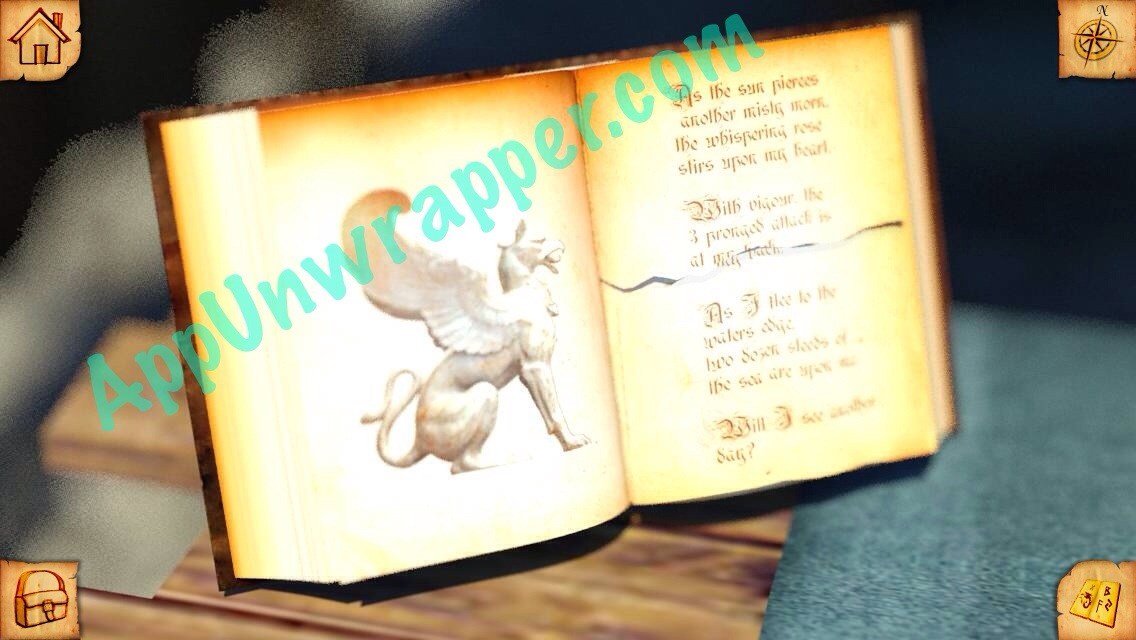
8. Tap to the right and pick up the mask from the table. Also notice the book with half a page missing.
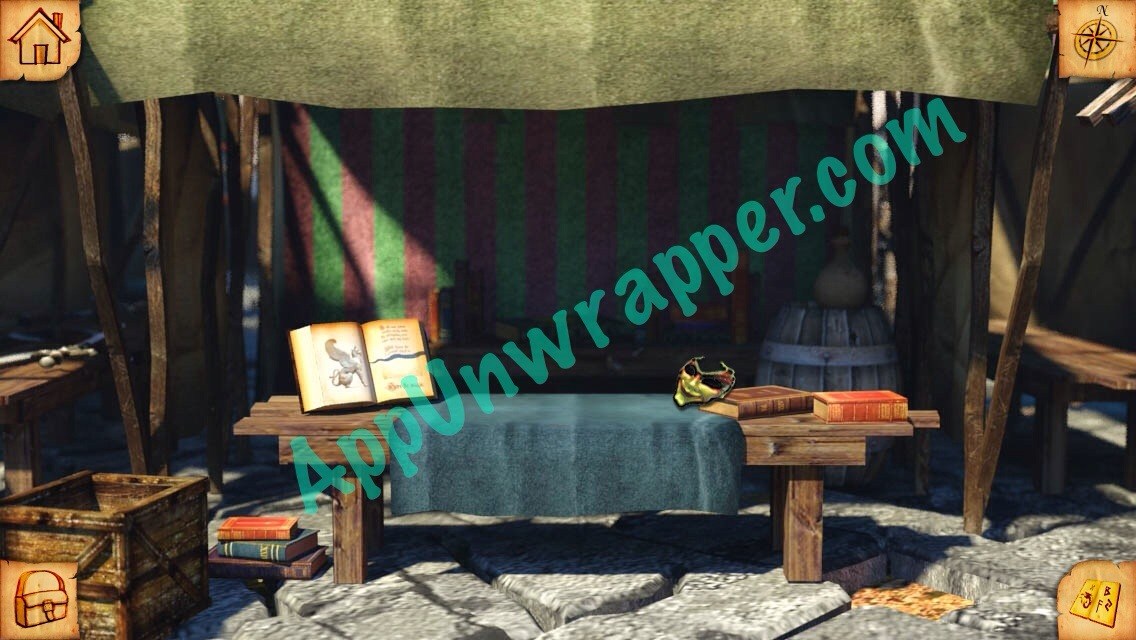

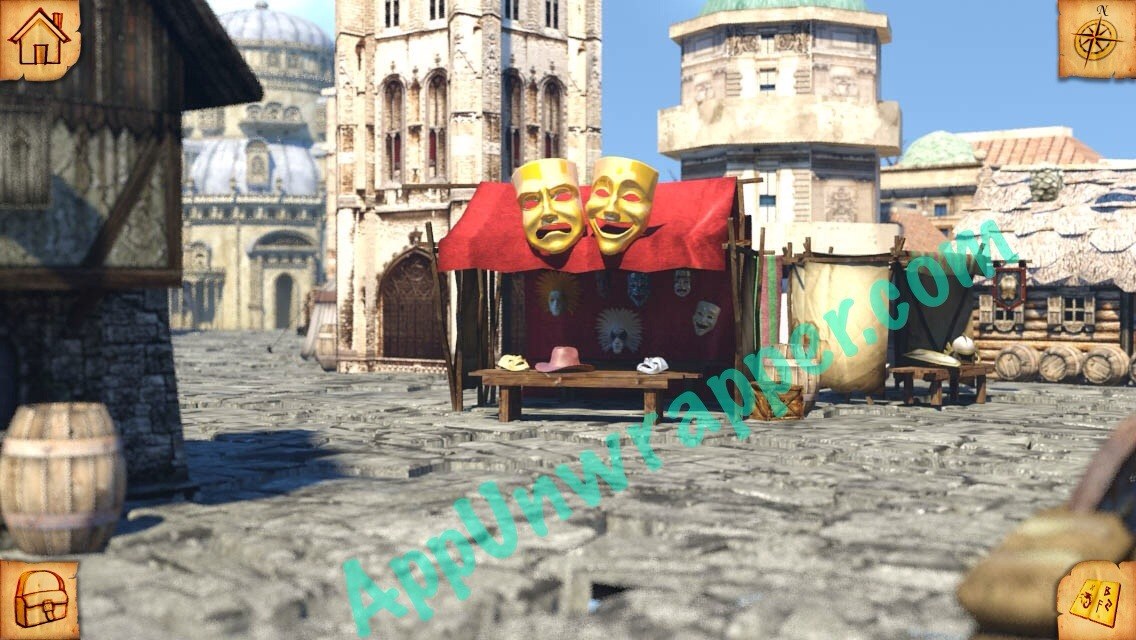
9. Go back and tap to the left, and continue until you come to the stall with two big masks above it. Drag the mask from your inventory to the stall to get robes.
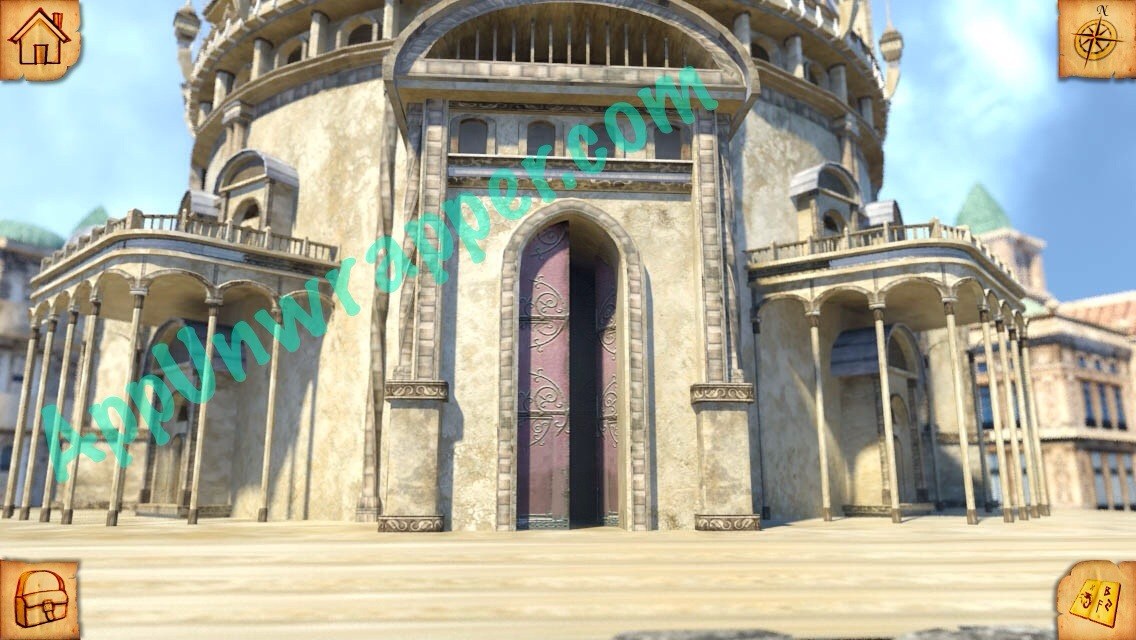
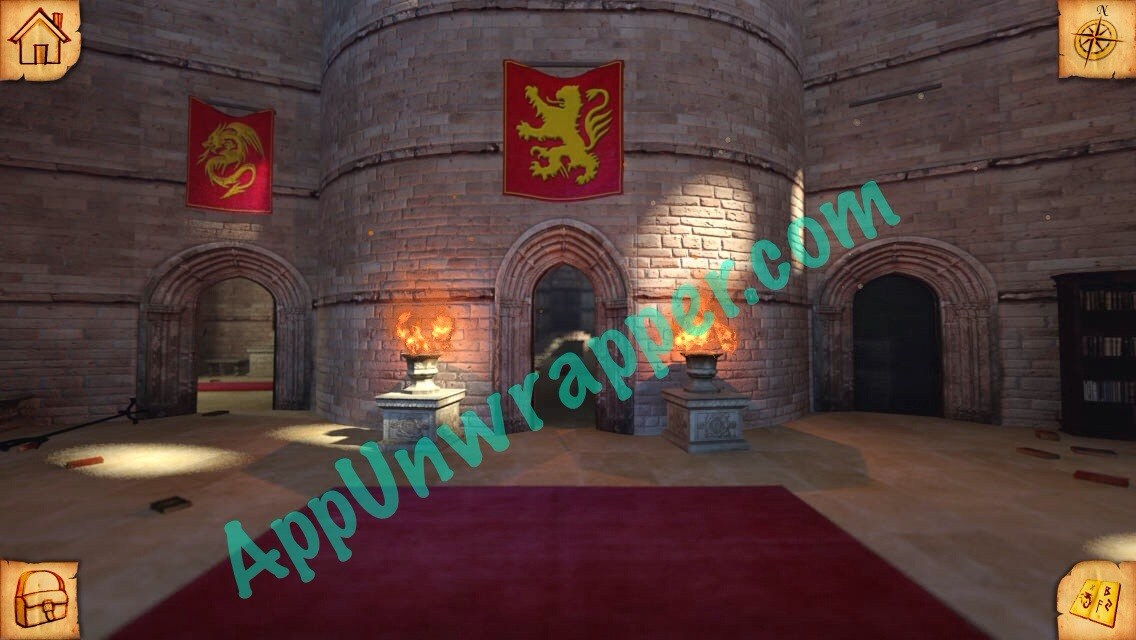
10. Tap to the left of the stall to reach the temple. Drag the robes to the door to enter.
Chapter 2: The Temple:
You can watch the Chapter 2 videos below or follow the text walkthrough below them. Part 1 will take you through the whole chapter except for the piano sliding tile puzzle. Part 2 is just that puzzle:
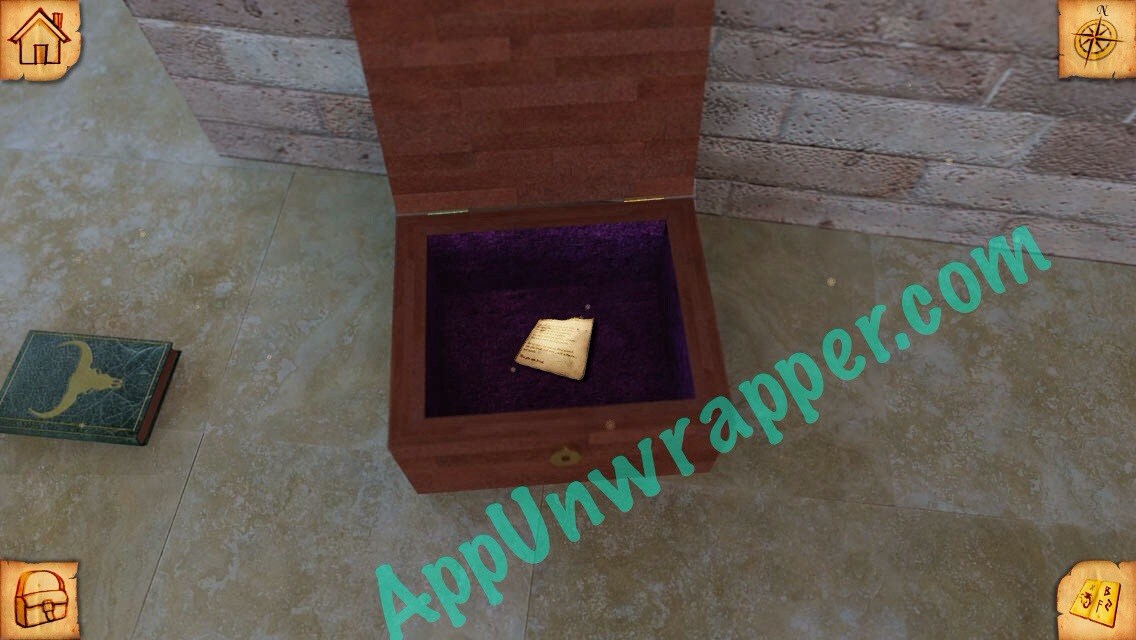
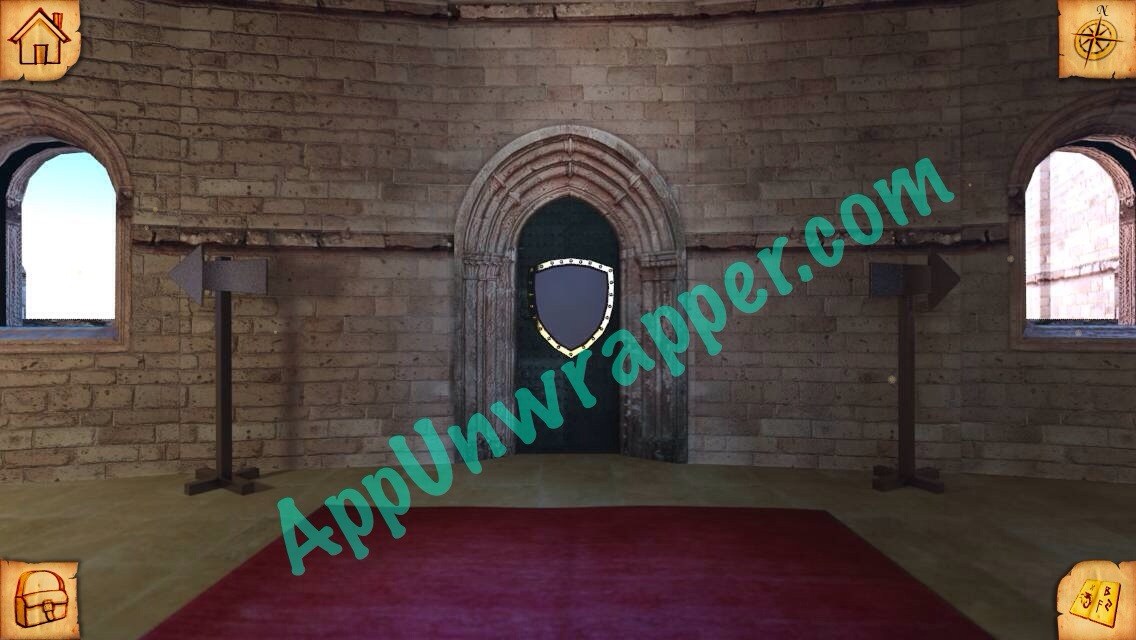
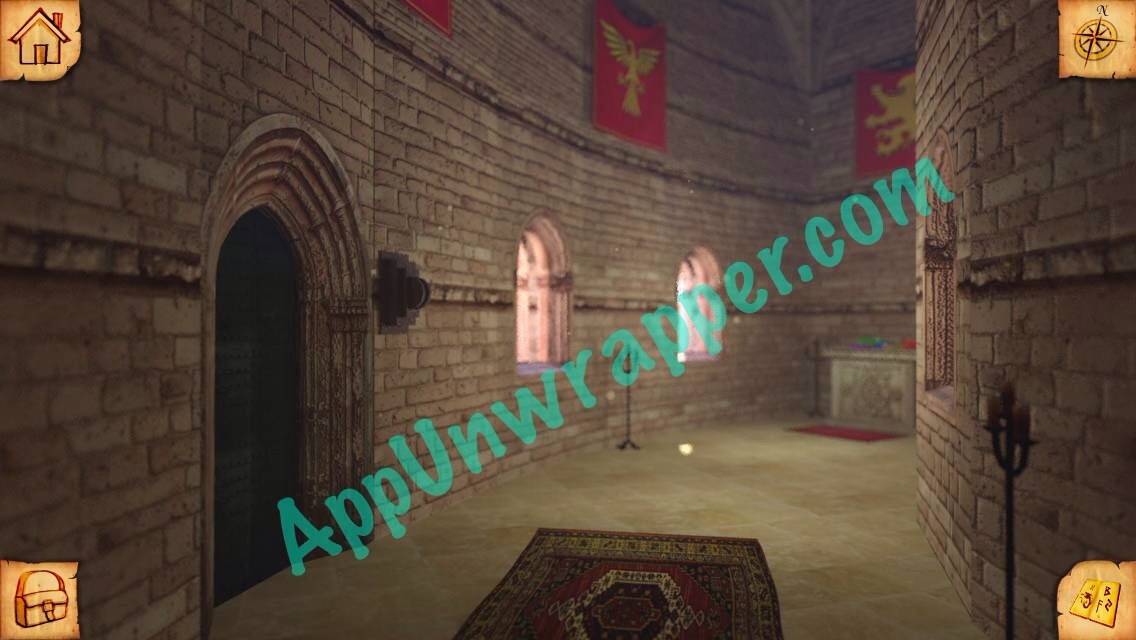
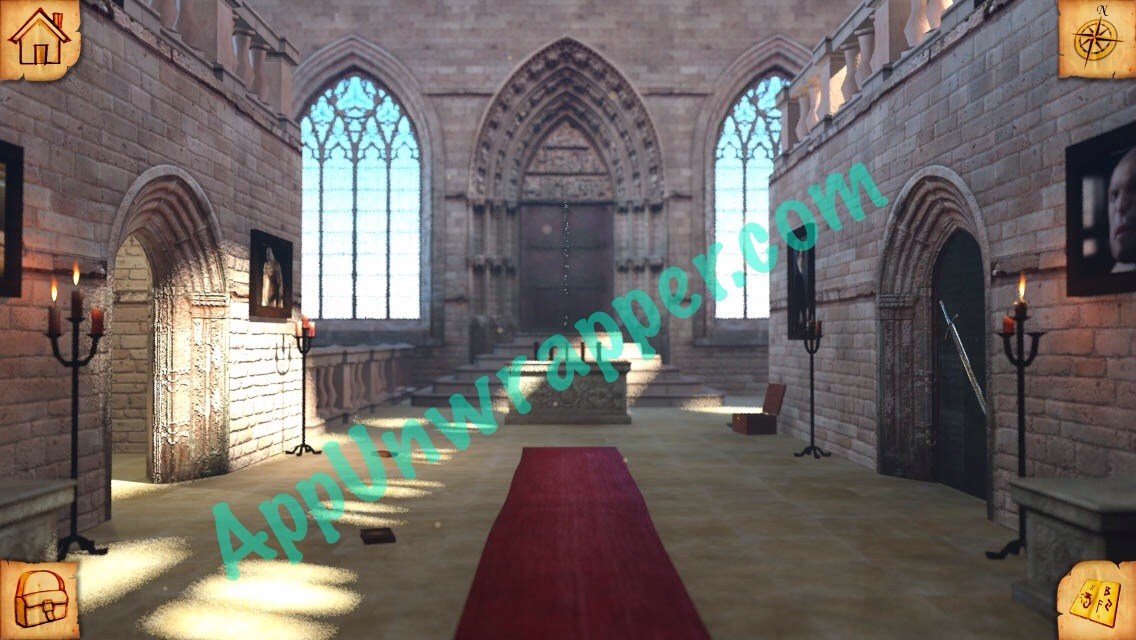
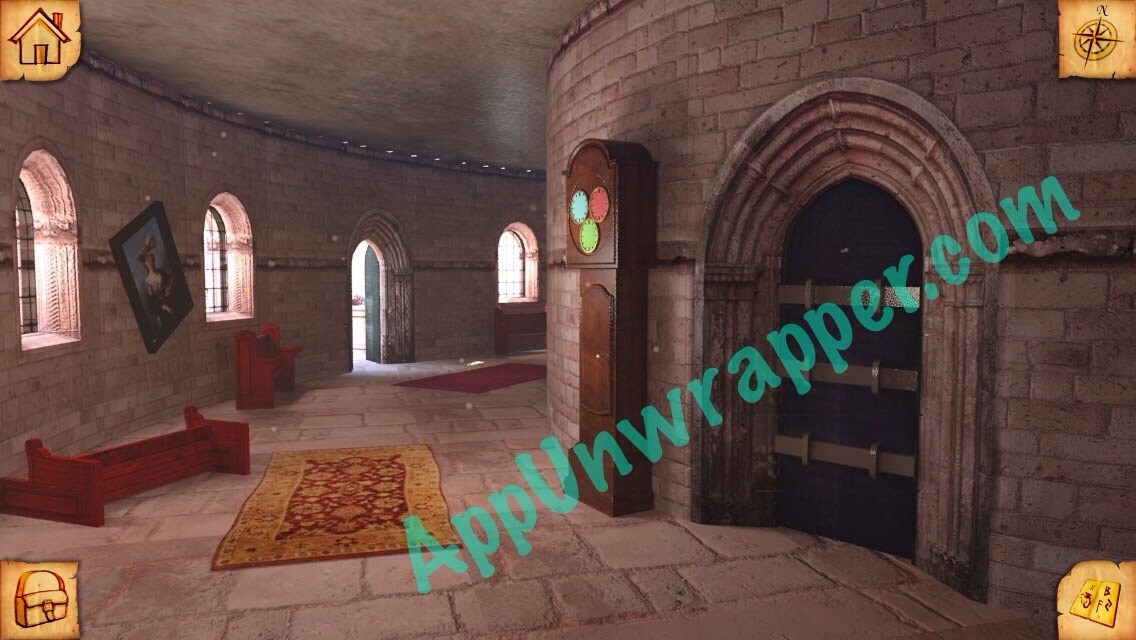
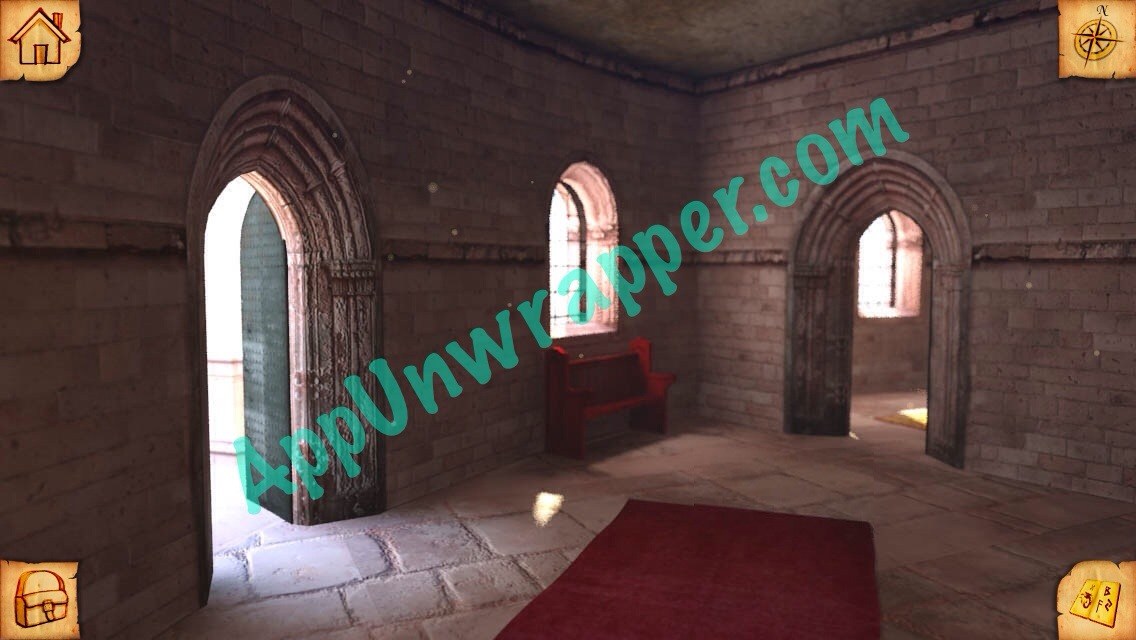
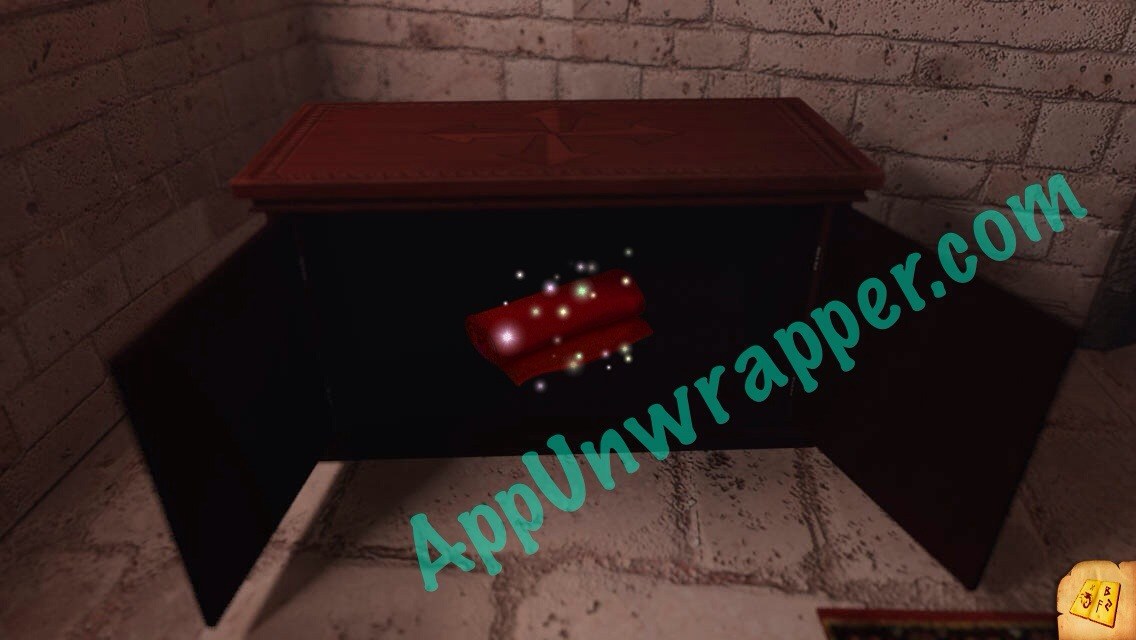
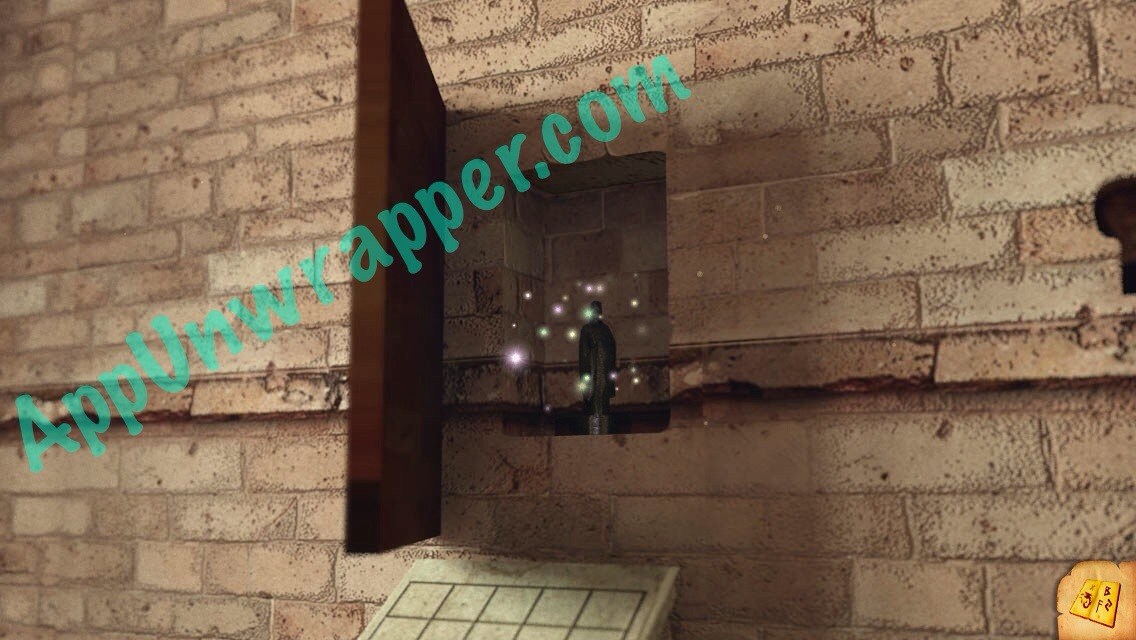
1. You’re now in the temple. Tap on the center room and pick up the torn page from the chest. Take it back to the marketplace and place it in the book to get a clue for your journal.
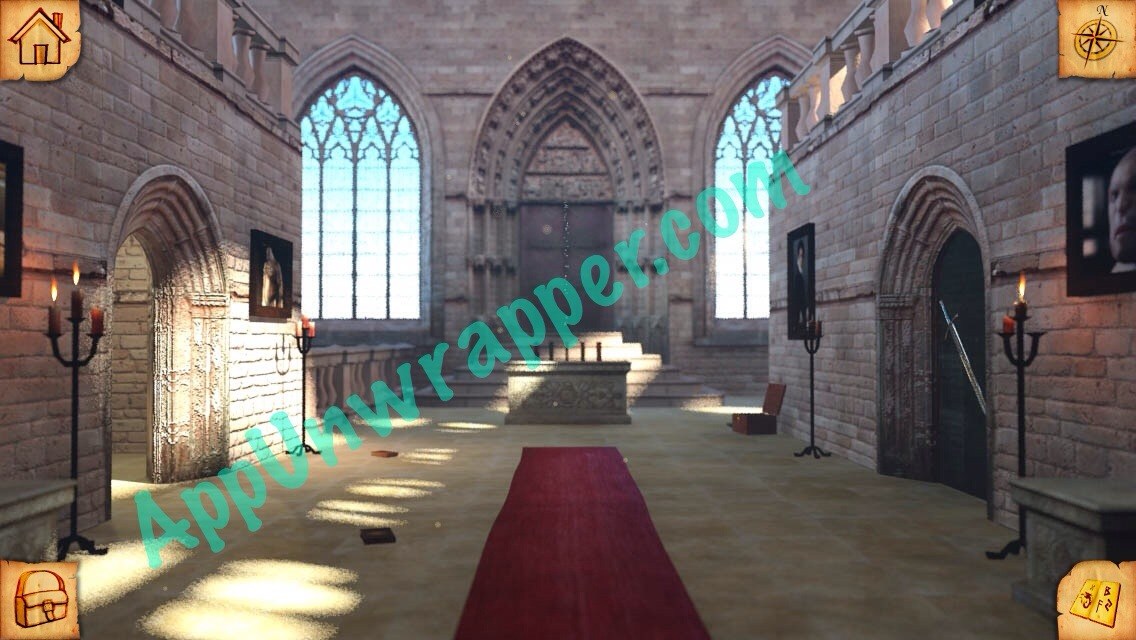
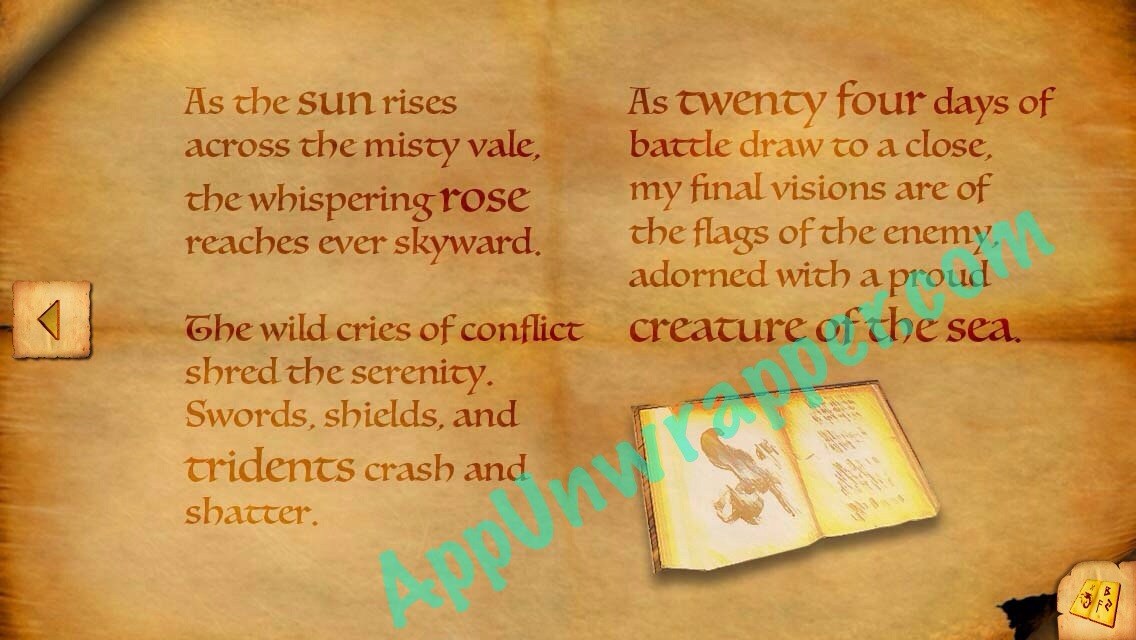
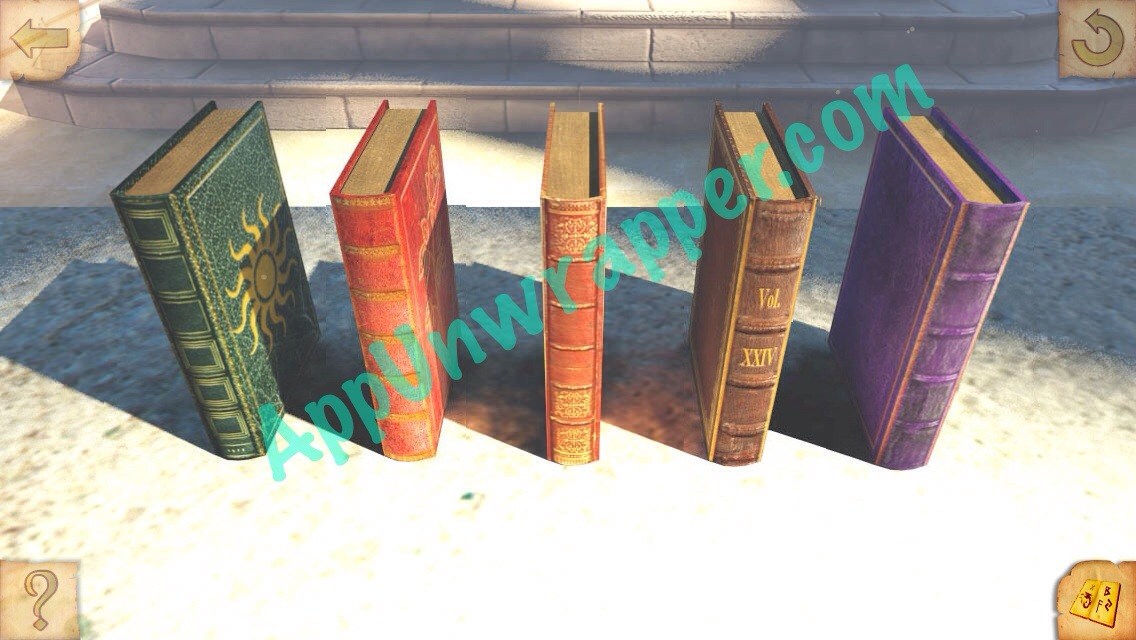
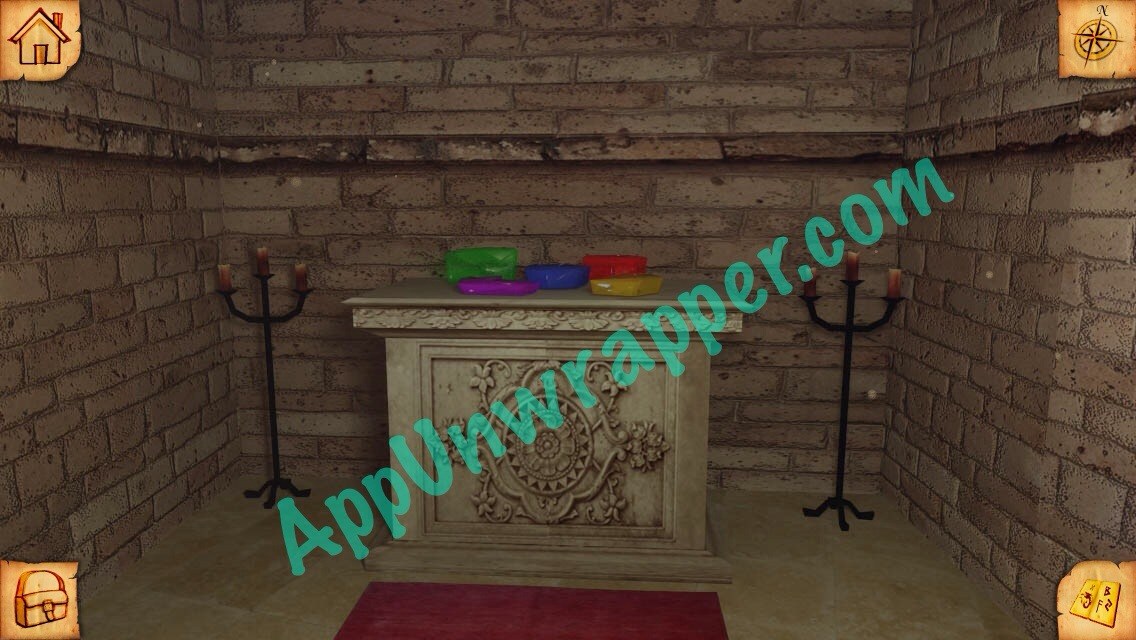
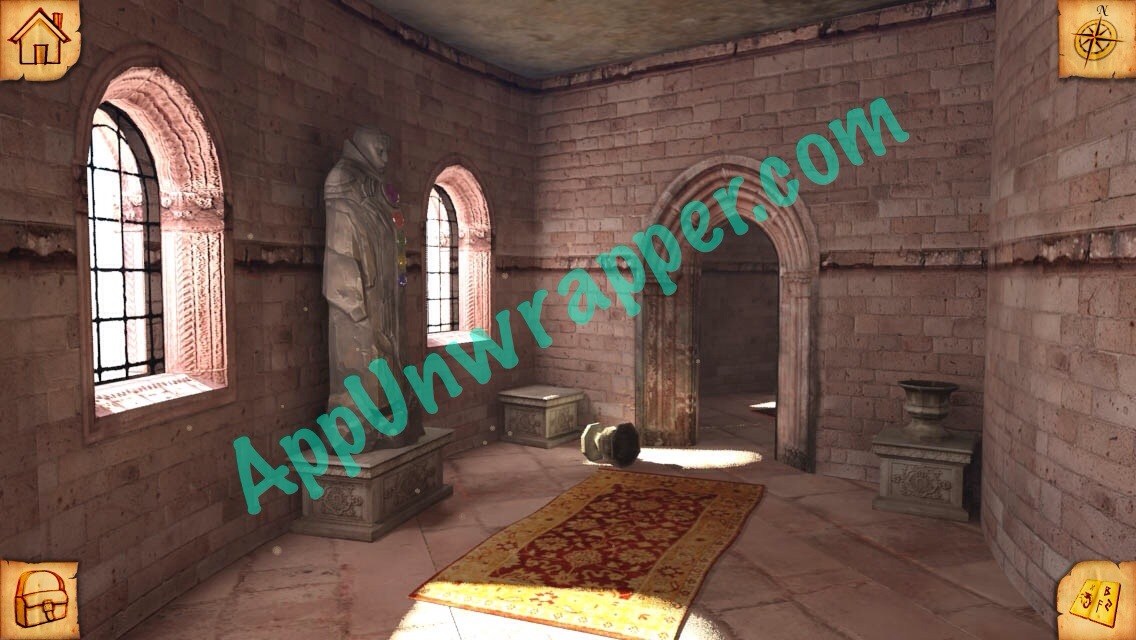
2. Go back to the temple and arrange the books on the altar based on the clue from the book. Then head through the open door.
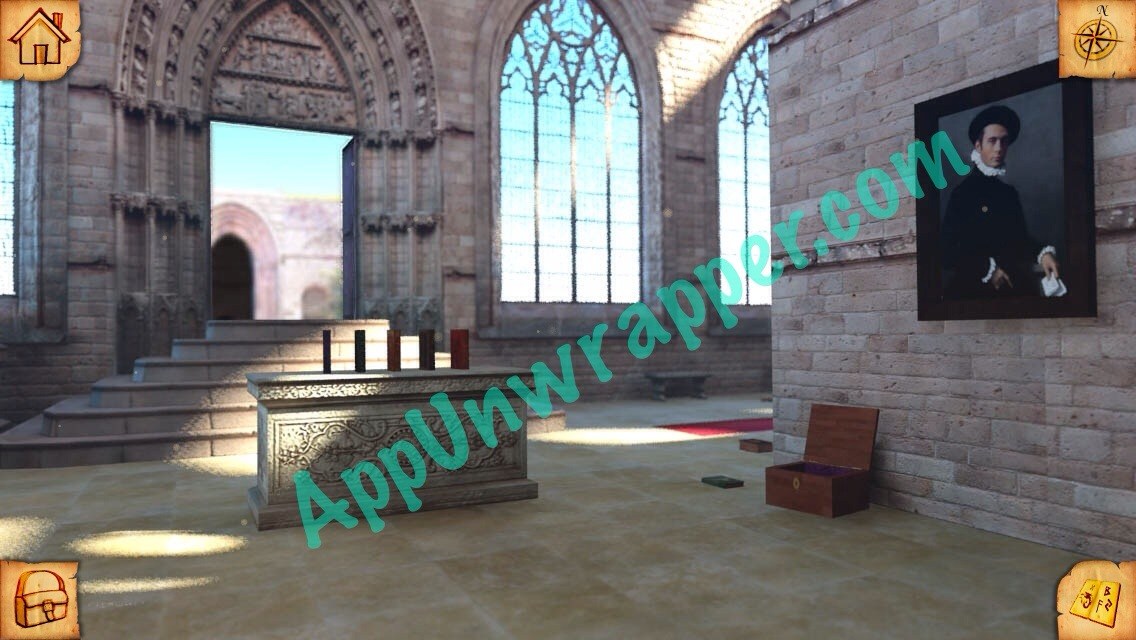
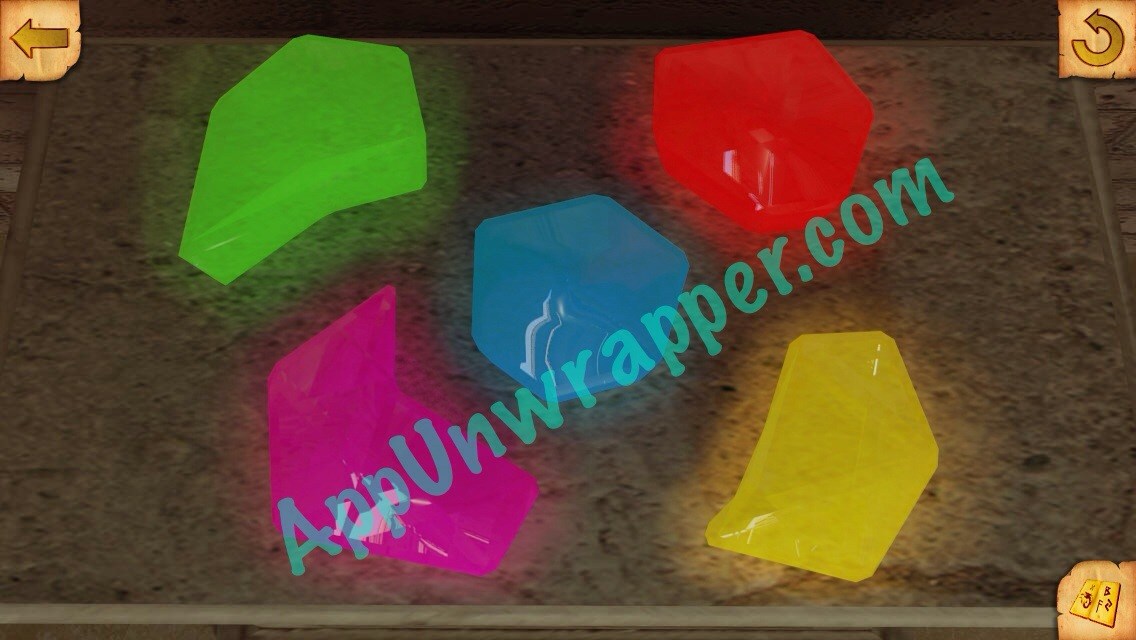
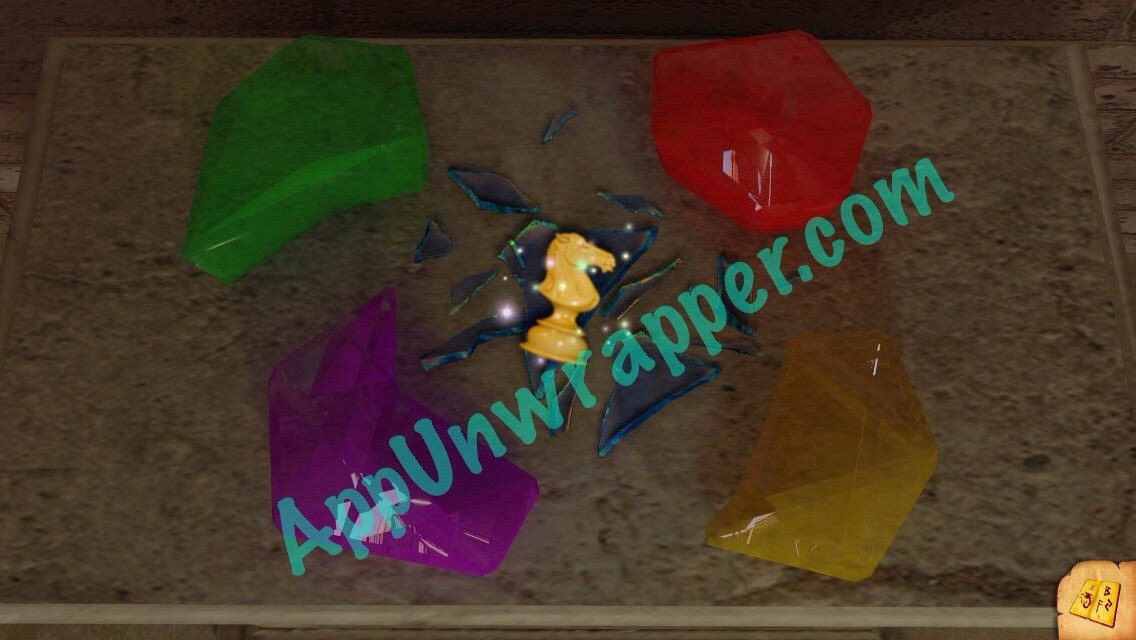
3. Go through the door ahead. Go right and tap on the table. There are five gems here of different colors. They will glow in a sequence, and you have to follow the sequence, like a game of Simon. Each time you get it right, another color will be added to the sequence. I don’t know if each game is the same, but mine went: Green, red, blue, pink, blue, blue, yellow. Take the Knight chess piece when you complete the puzzle.
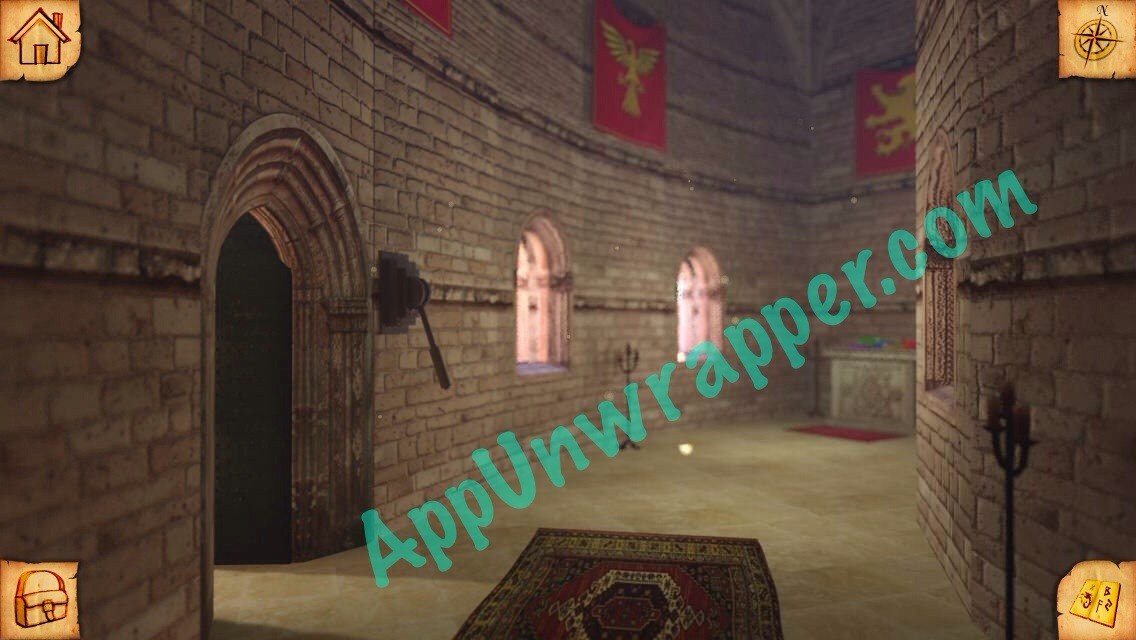
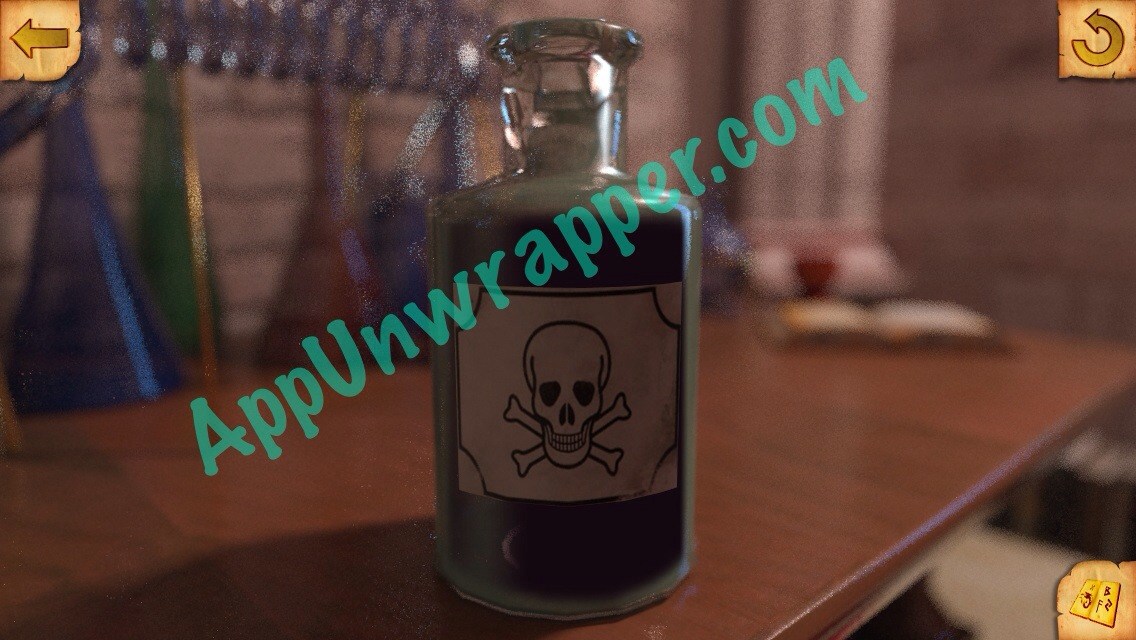
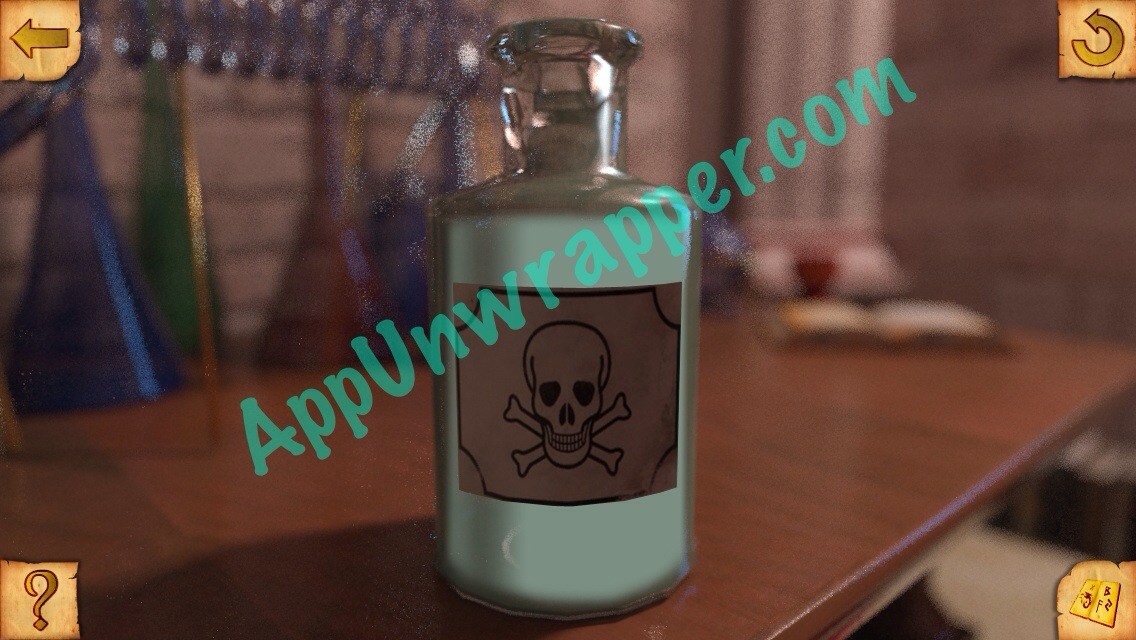
4. Go back a screen and use the lever on the locked door. Then pull it down to open. There’s a bottle in here that you need to use to make poison. We’ll come back to it later.

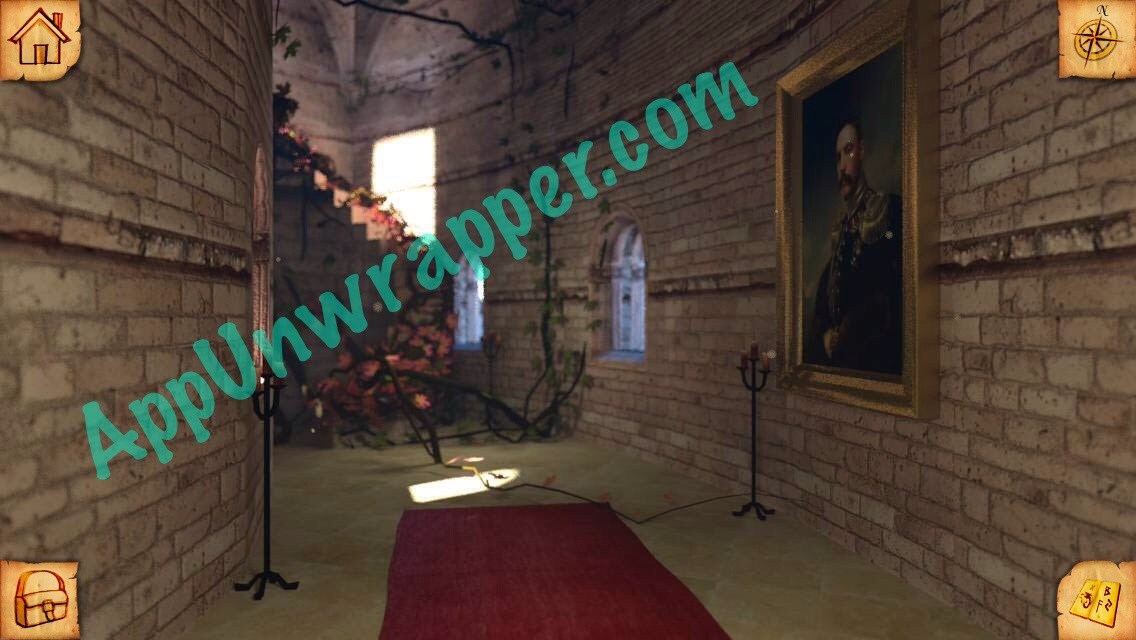
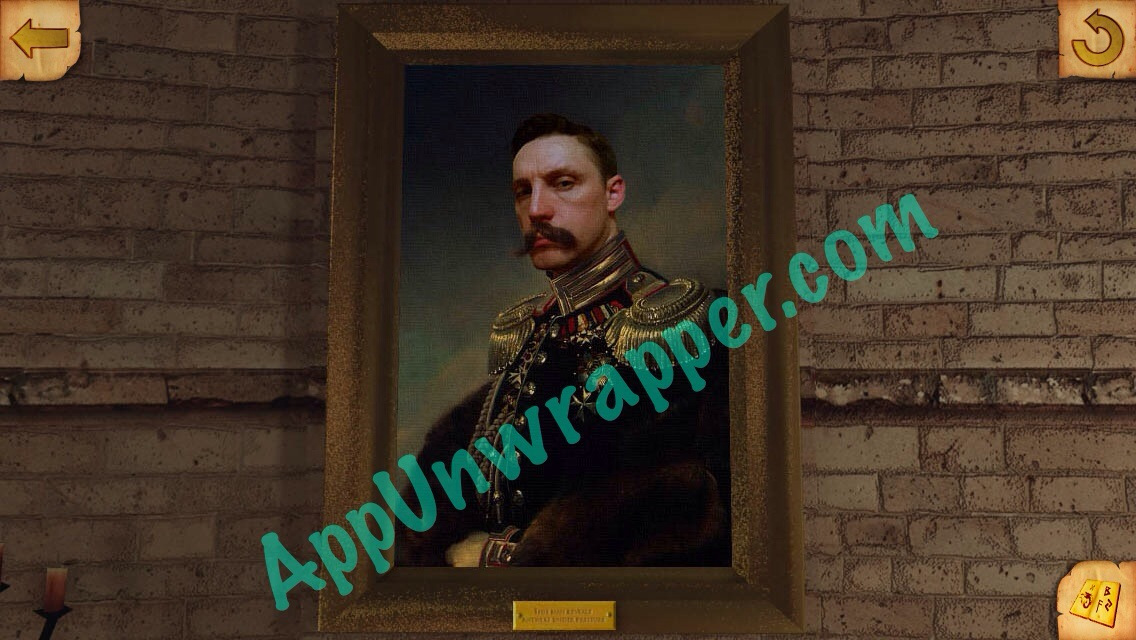
5. Go back a bit more and turn left. Tap in the framed portrait and swipe your finger around it to get a clue for your journal.
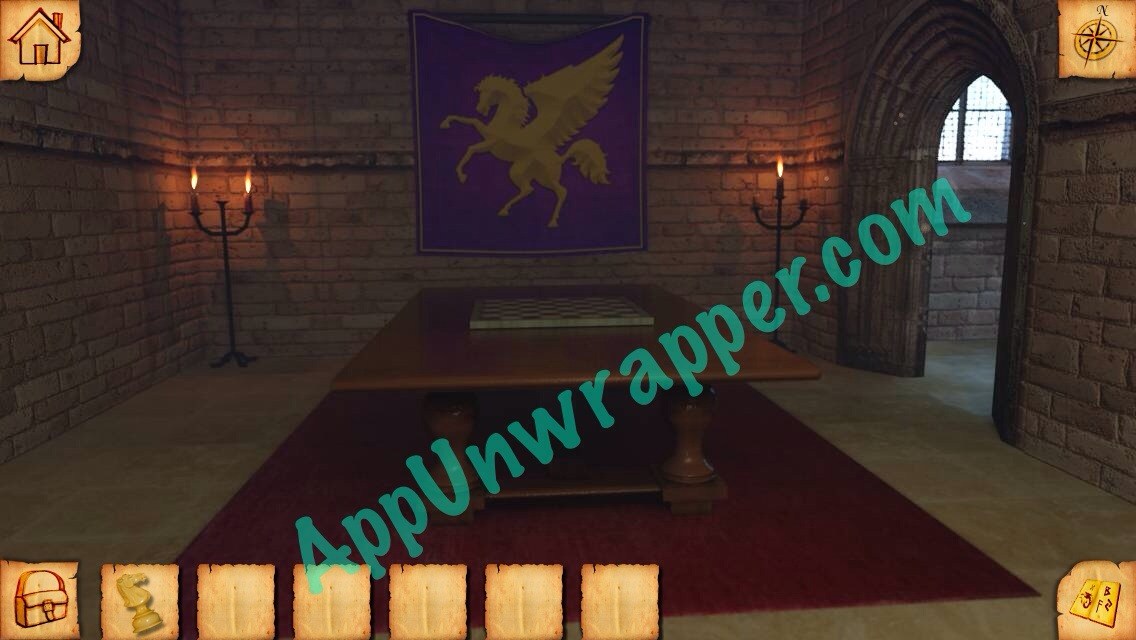
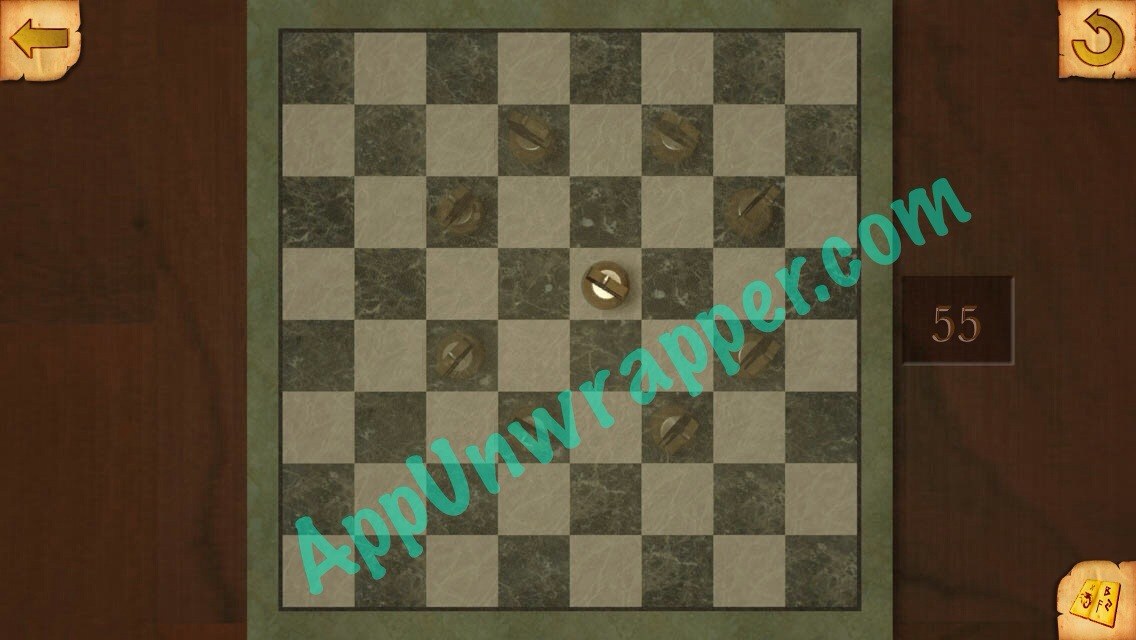
6. Go back to the main room of the temple and enter the chess room. Place the knight on the chess board and solve the puzzle by moving the knight to 55 different squares on the board. Then take the tile.

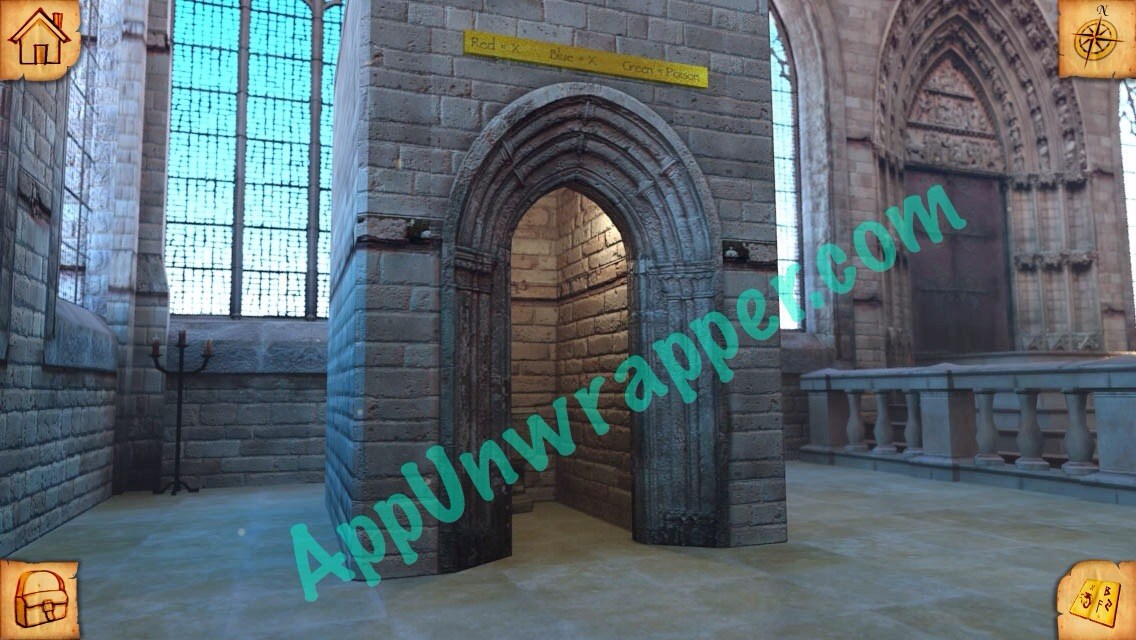
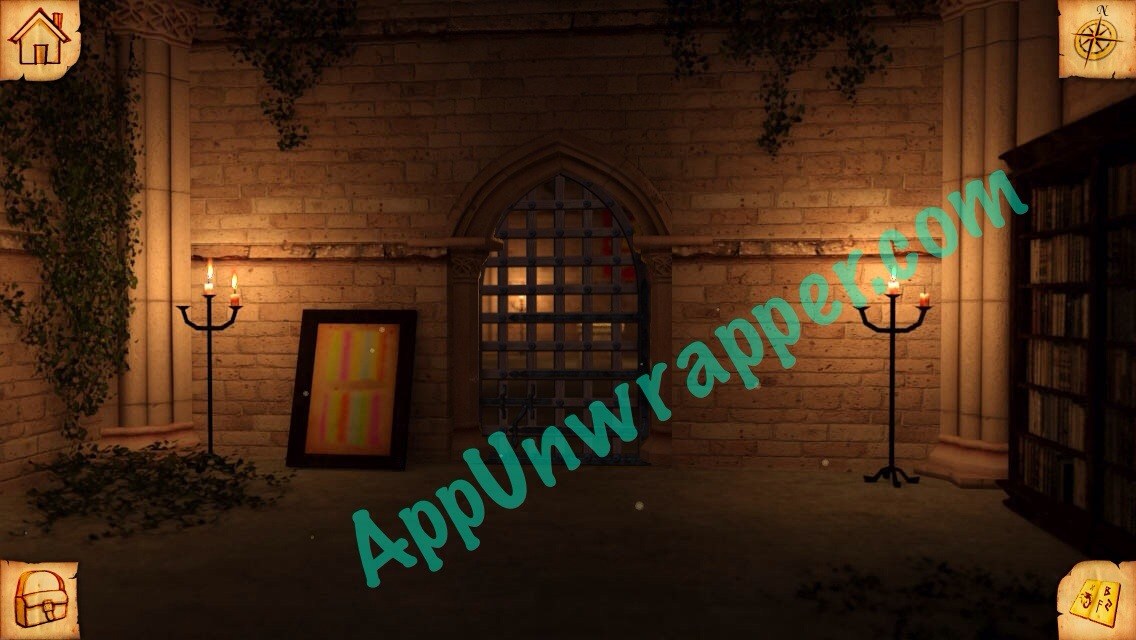
7. Go through the doorway to the right and tap on the yellow strip to get a clue about the poison.
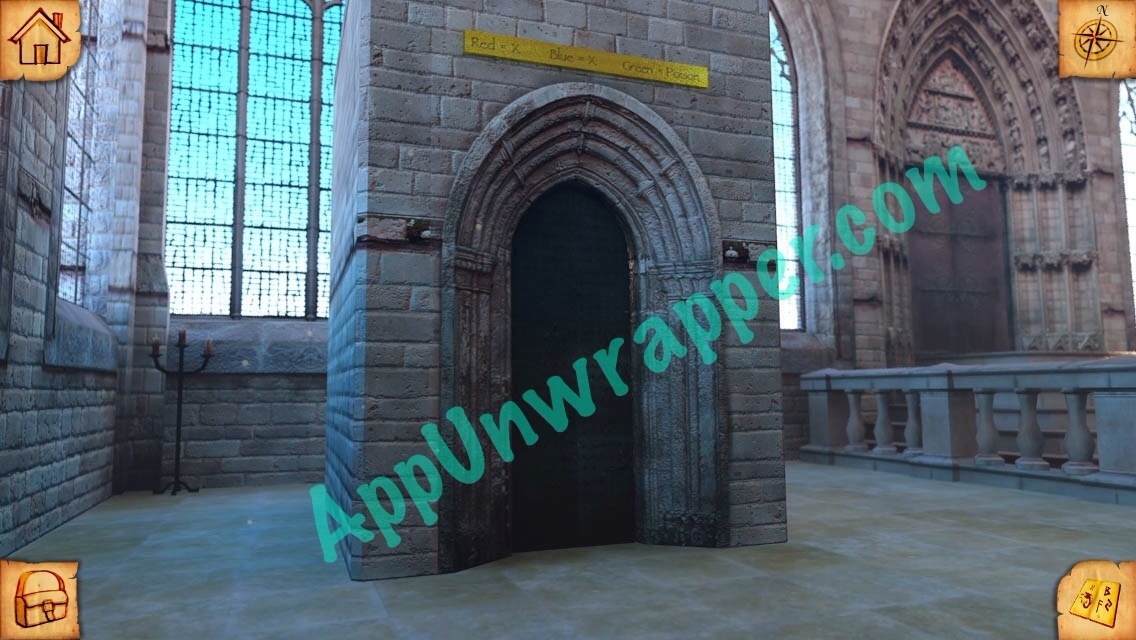
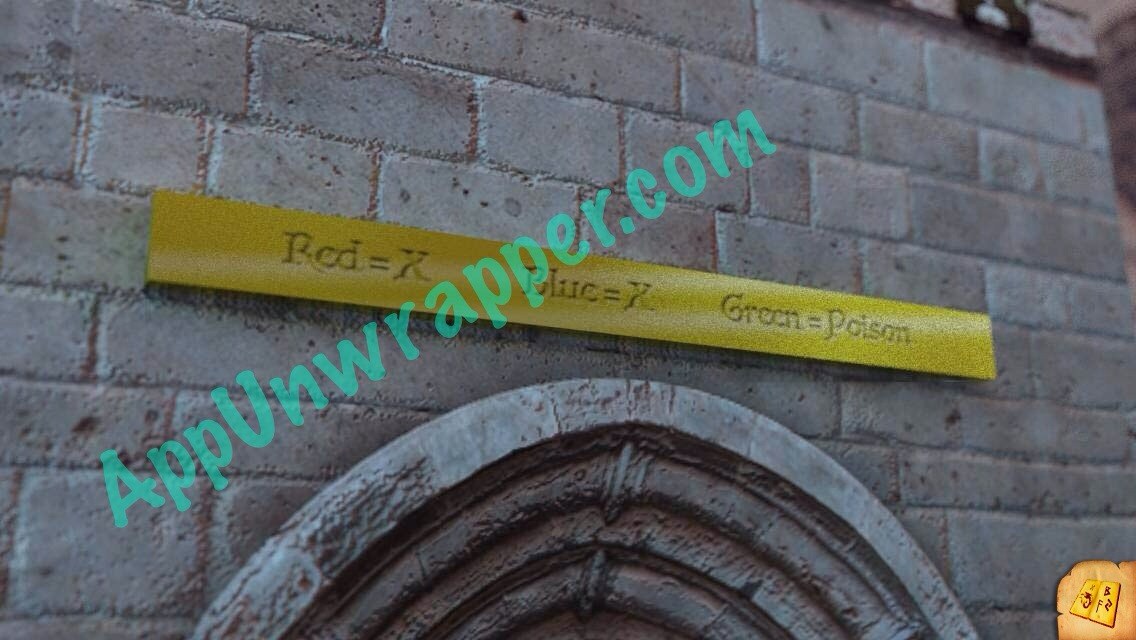
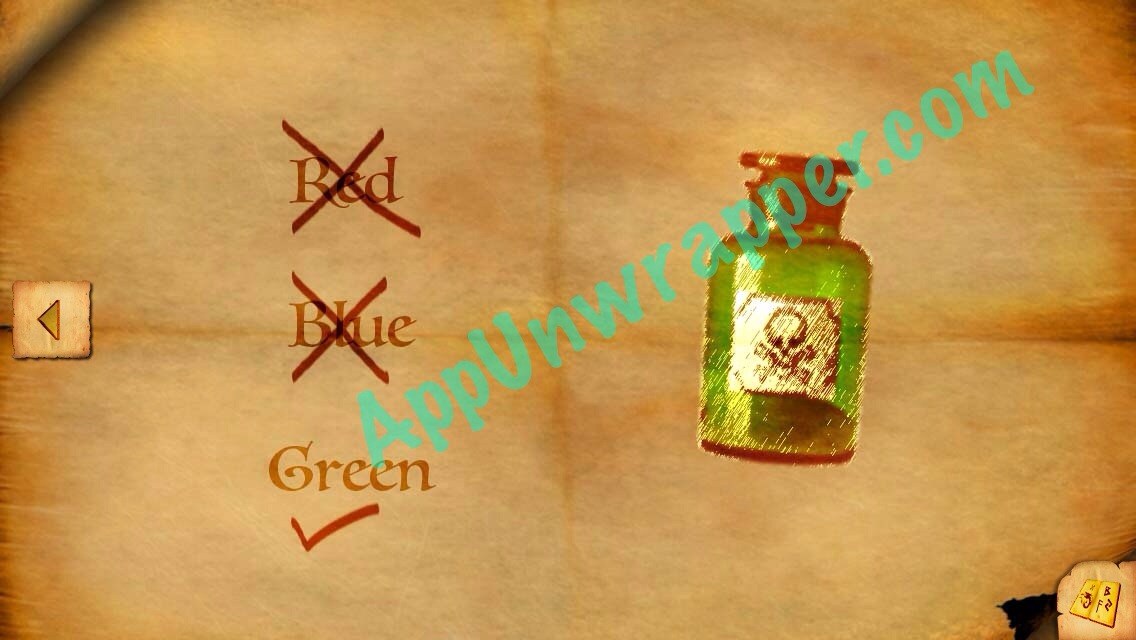
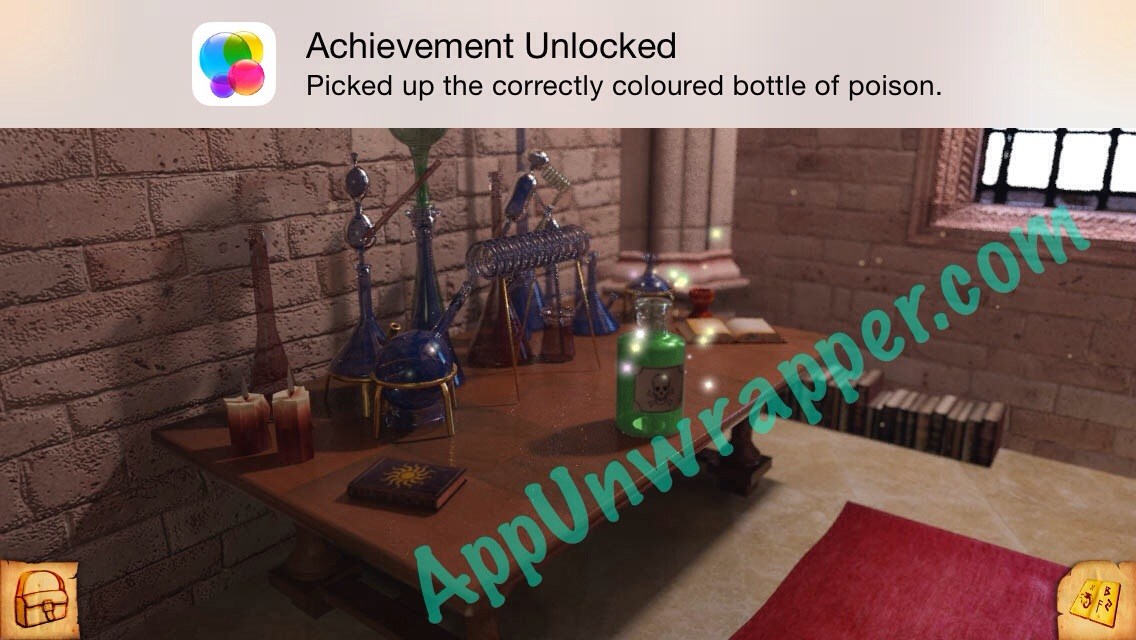
8. Go back to the poison. Now you know that it needs to be green. Find something green in your surroundings and point your iDevice camera at it. Now you can take the bottle of poison.
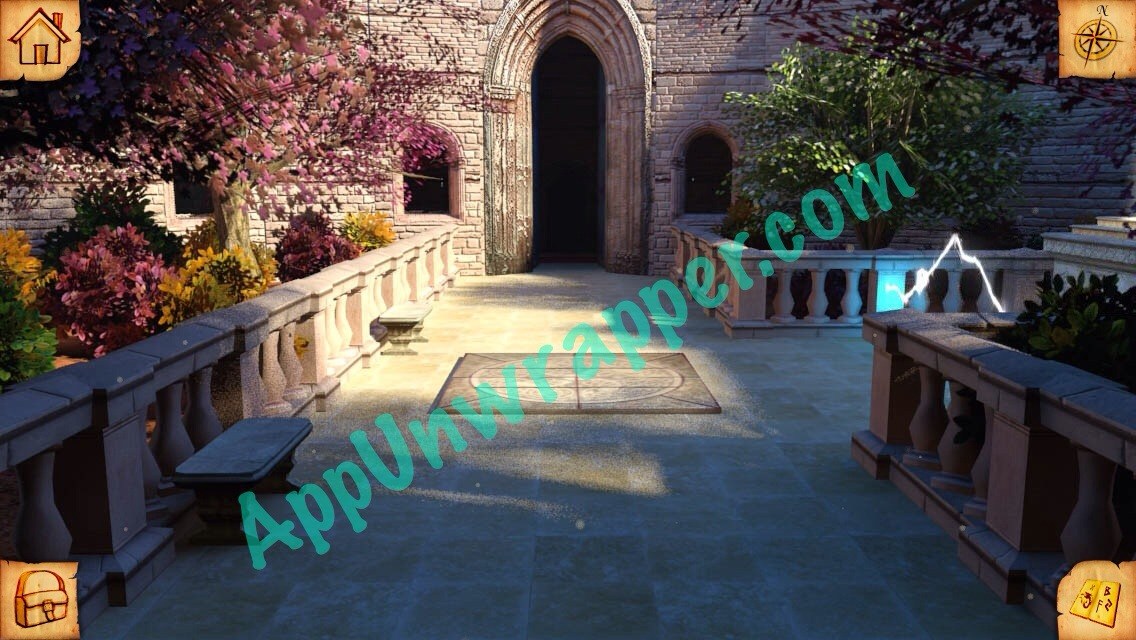
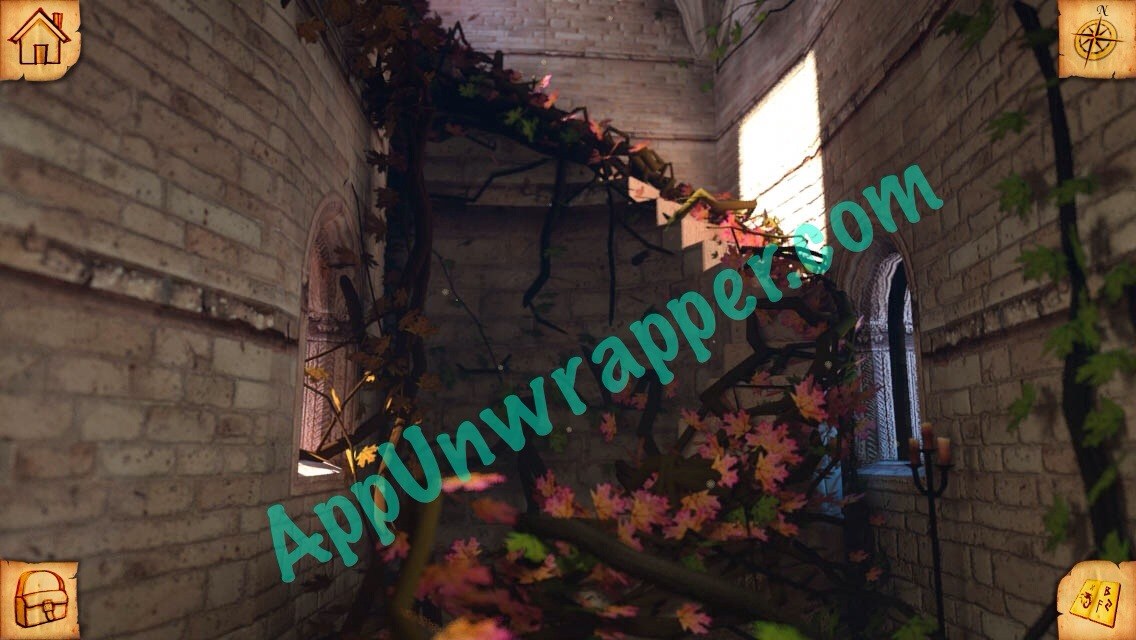
9. Go to the overgrown vines and pour the poison on them. Now you can reach the middle level of the temple.
10. Tap on the drawing on the floor to get a clue for your journal.
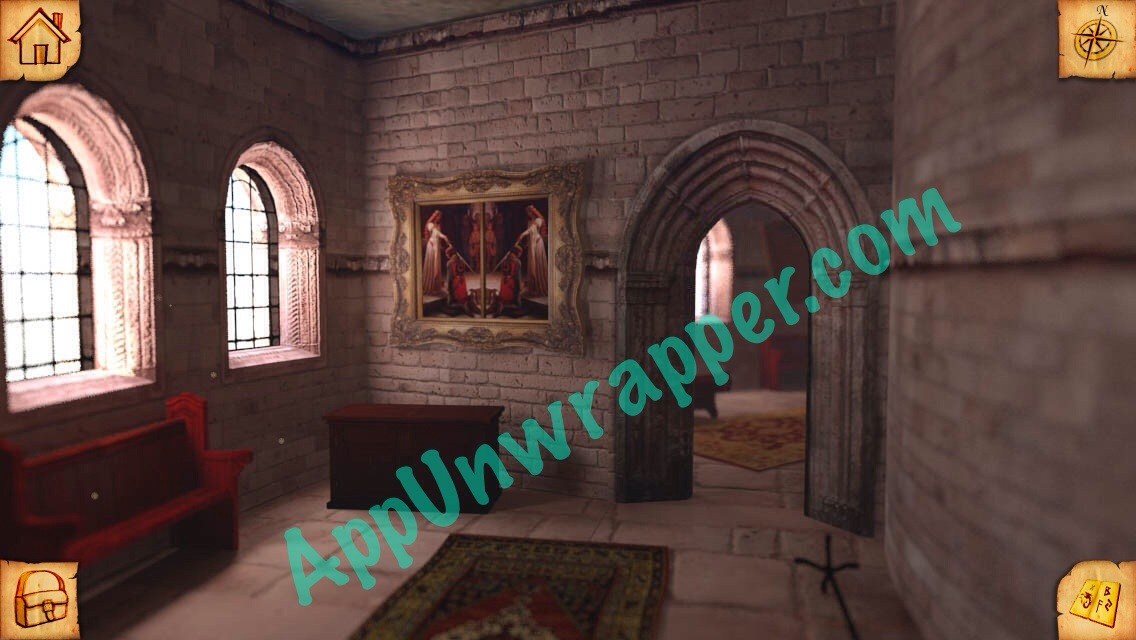
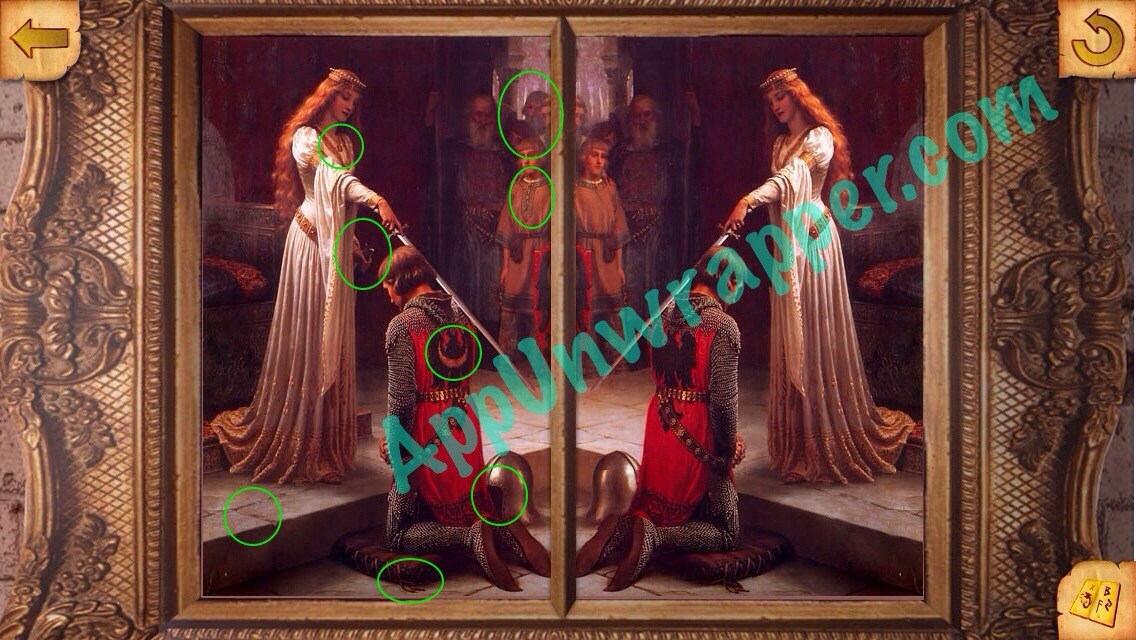
11. Continue ahead until you reach this painting. Spot the differences (shown below) and then take the banner from the cabinet.
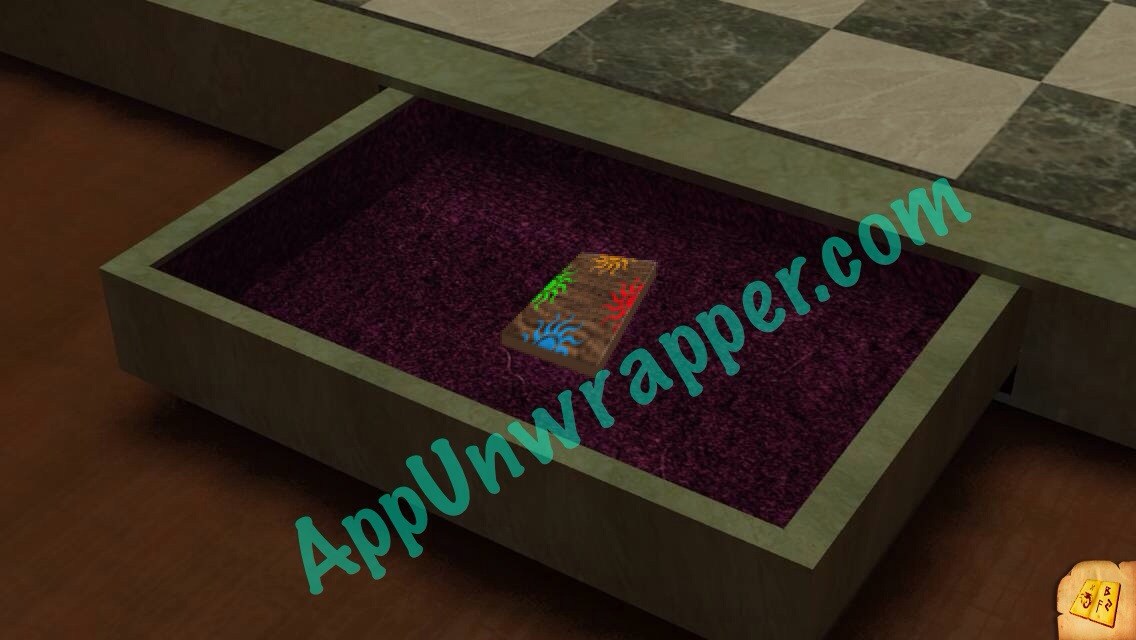
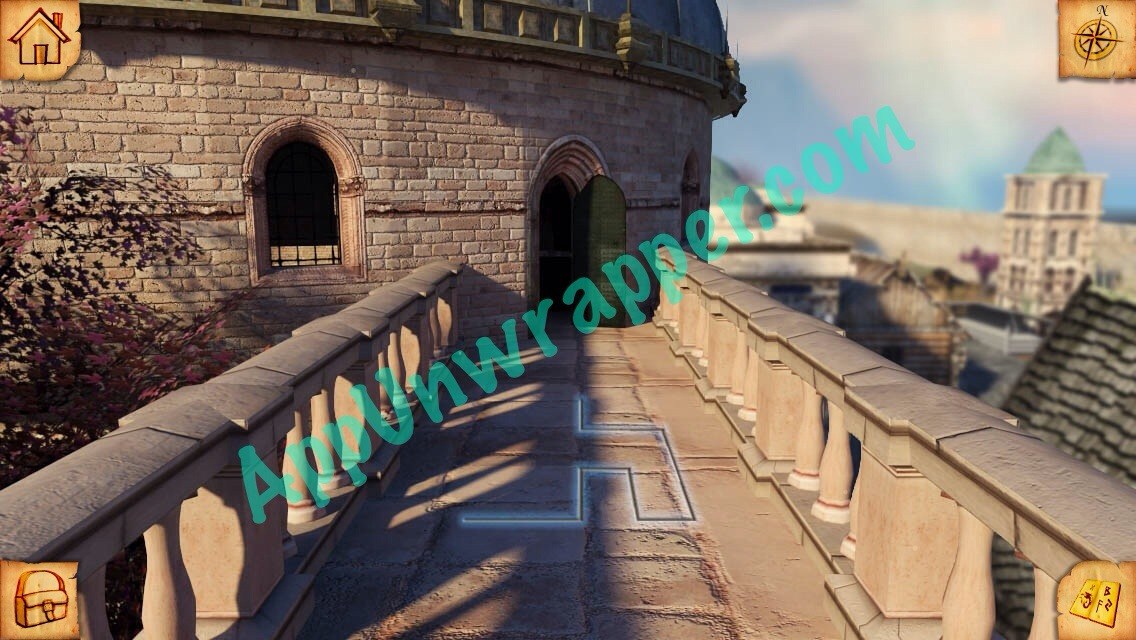
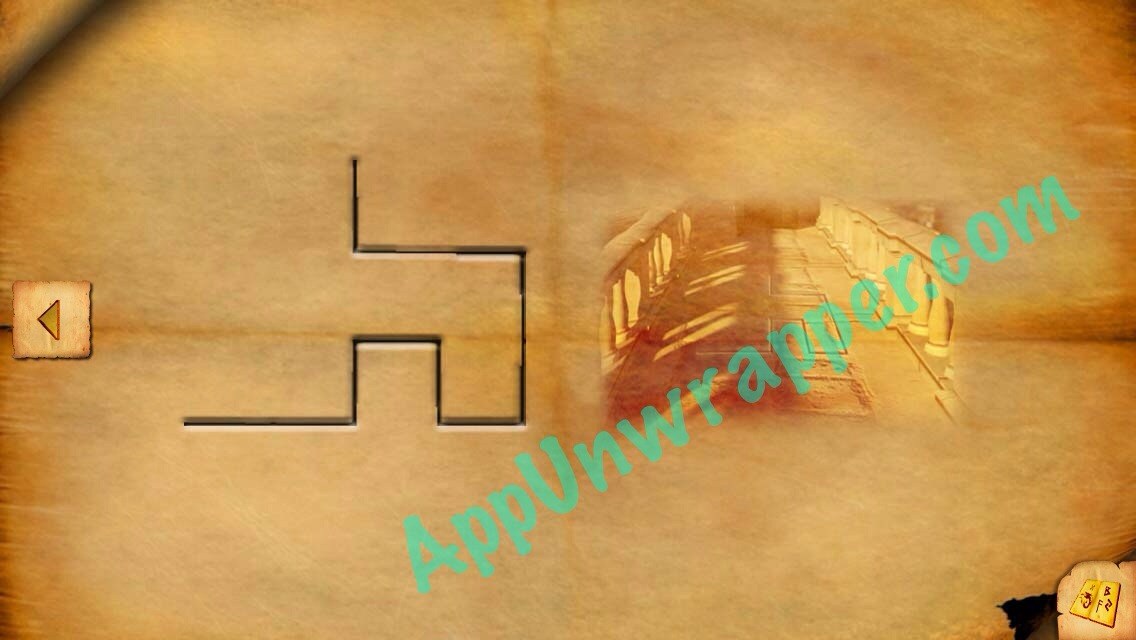
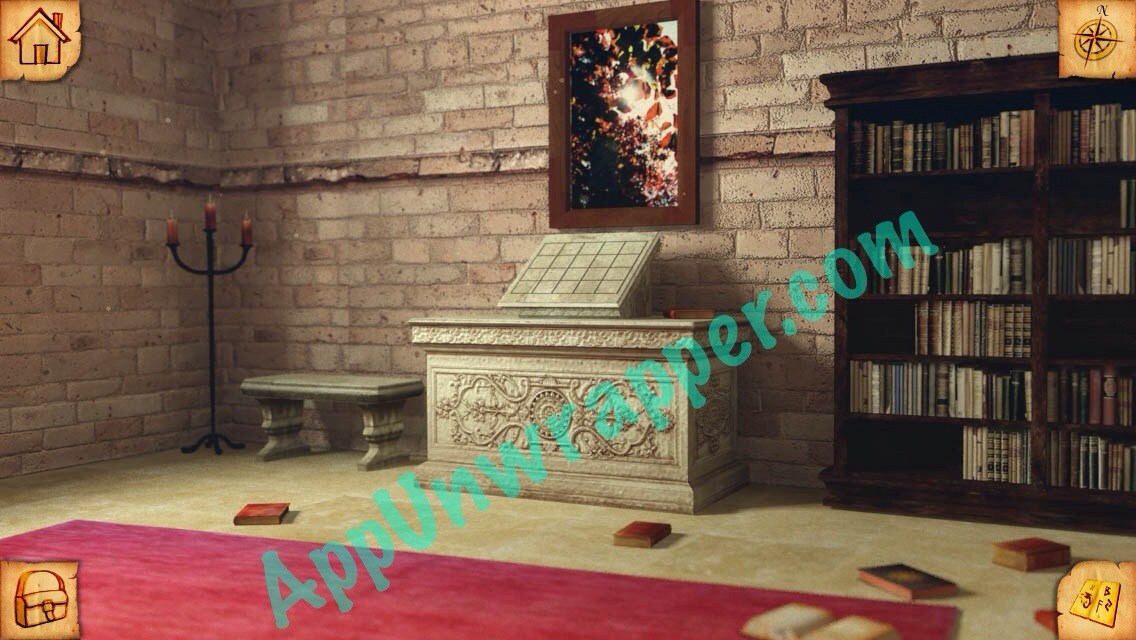
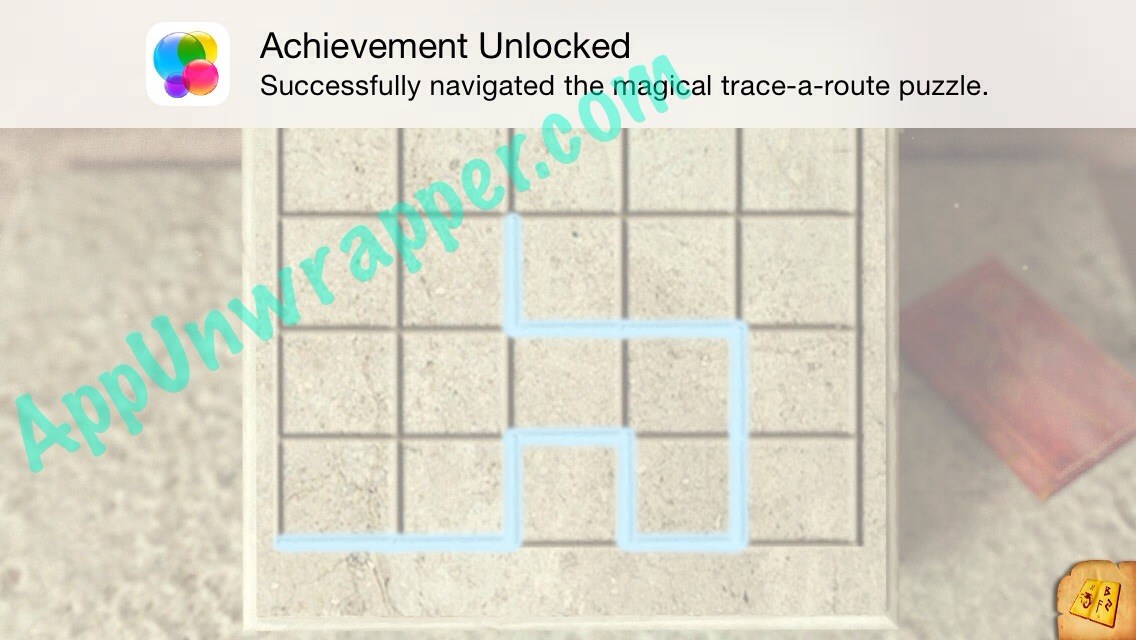
12. Go back to the main room of the temple. Place the banner over the third door to unlock it. Then enter the first door and use the clue from your journal to draw the design on the grid. Take the idol.
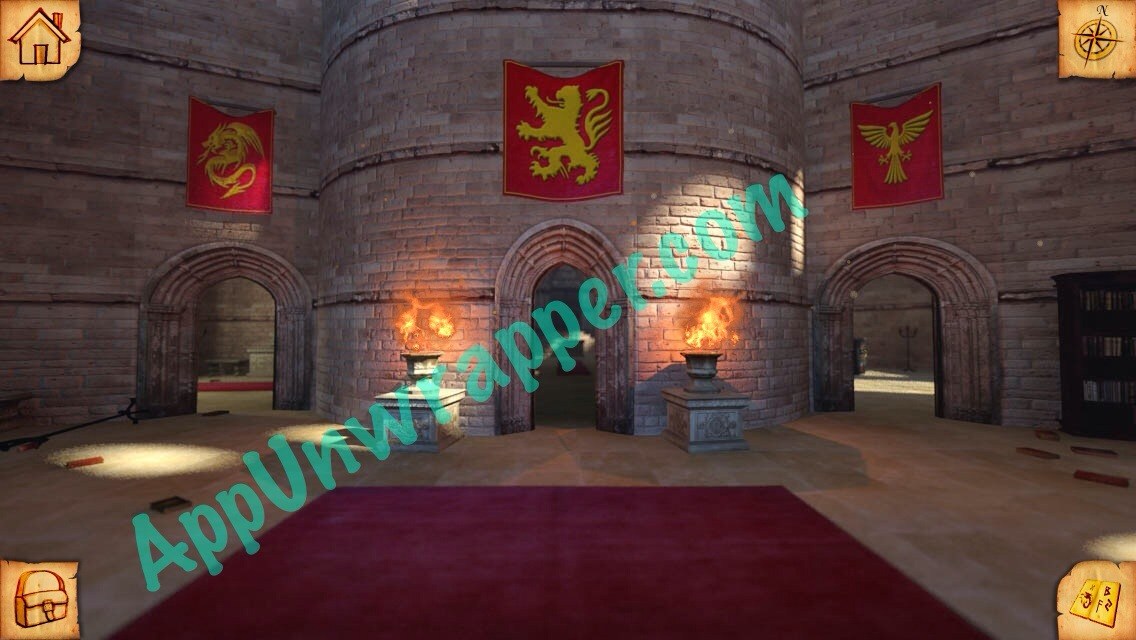
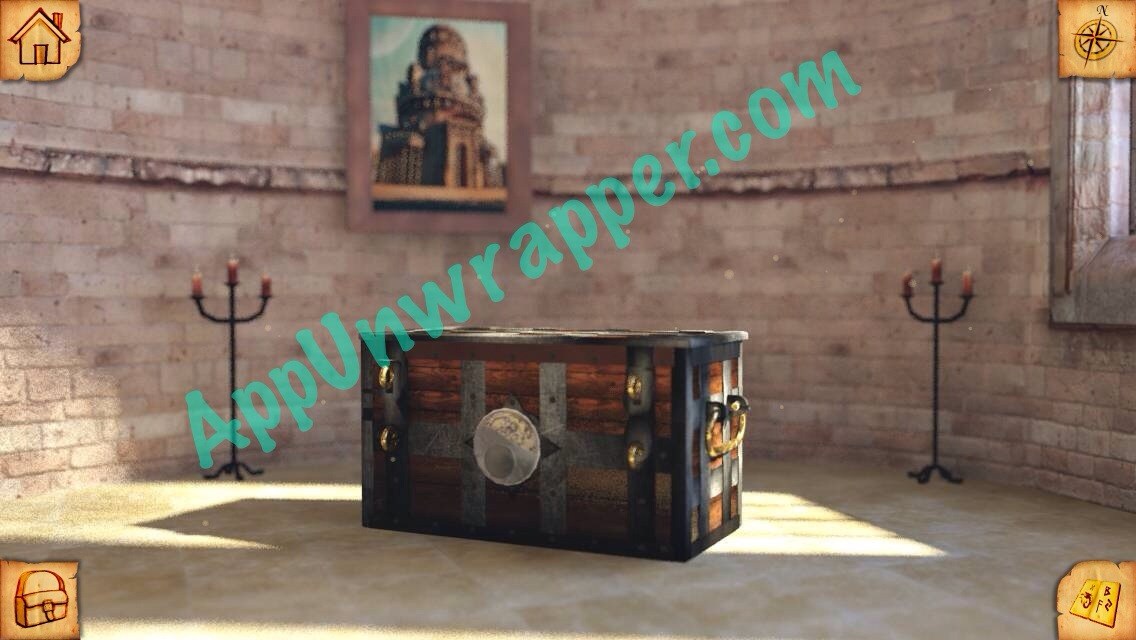
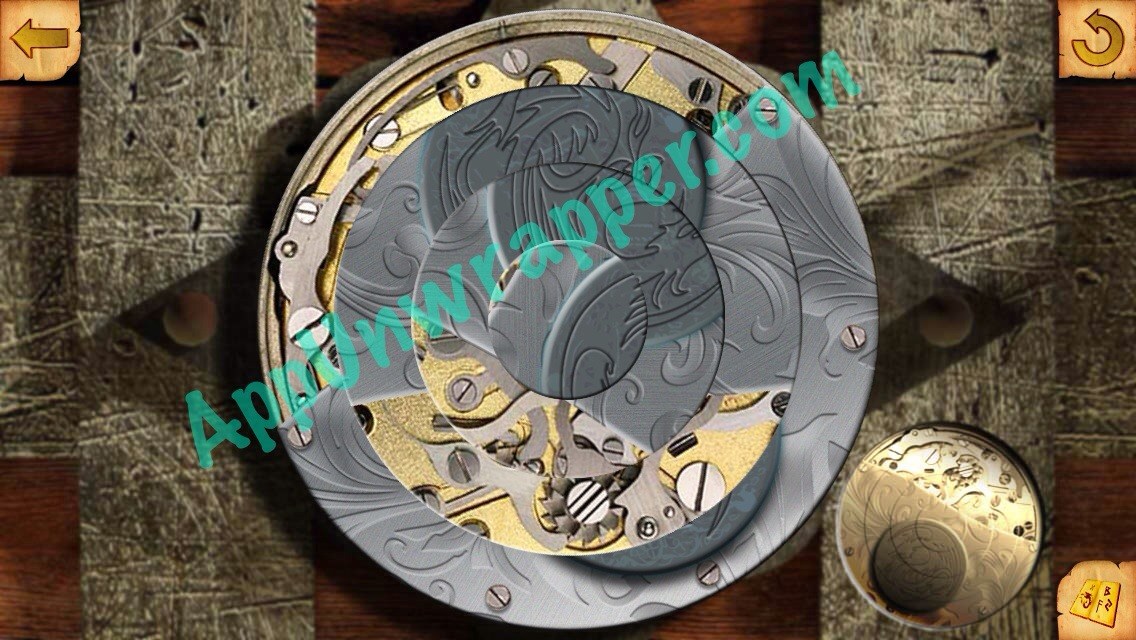
13. Go back and go through the third door. Solve the clockwork rings puzzle on the chest by matching the image to the small image next to it. Then take the sword.
14. Go back and through the middle door. Place the sword on the right door and go through.
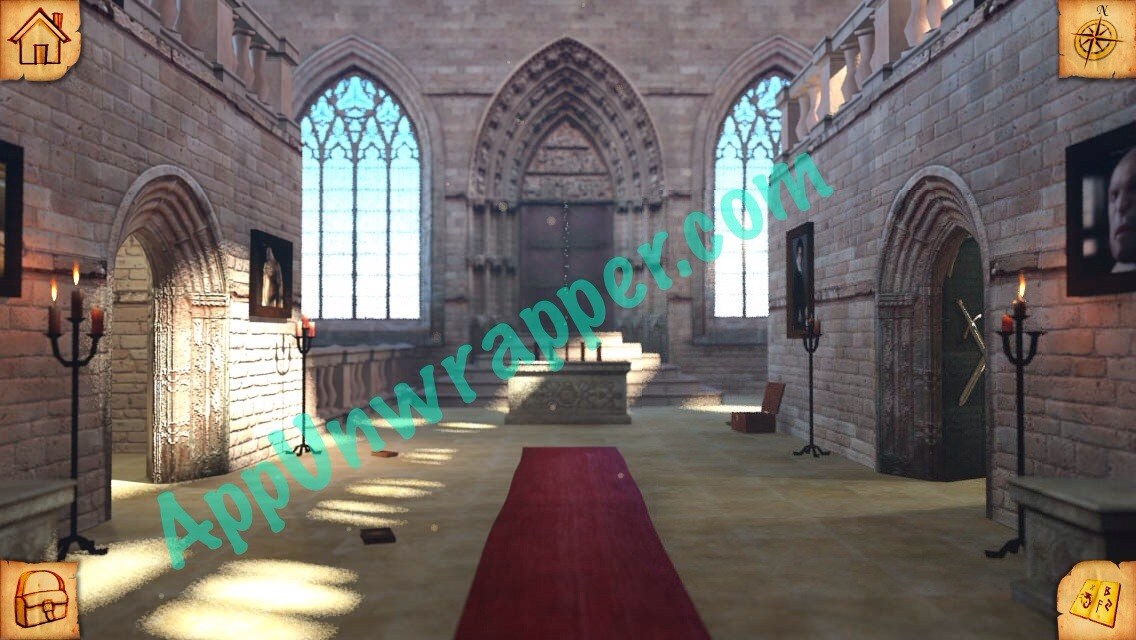
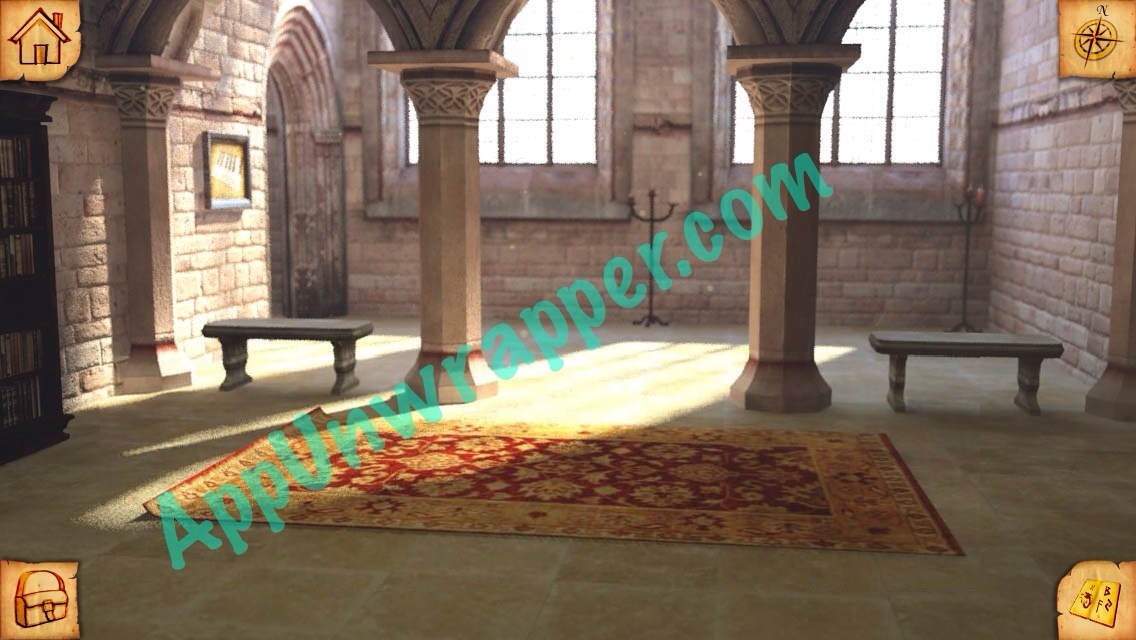
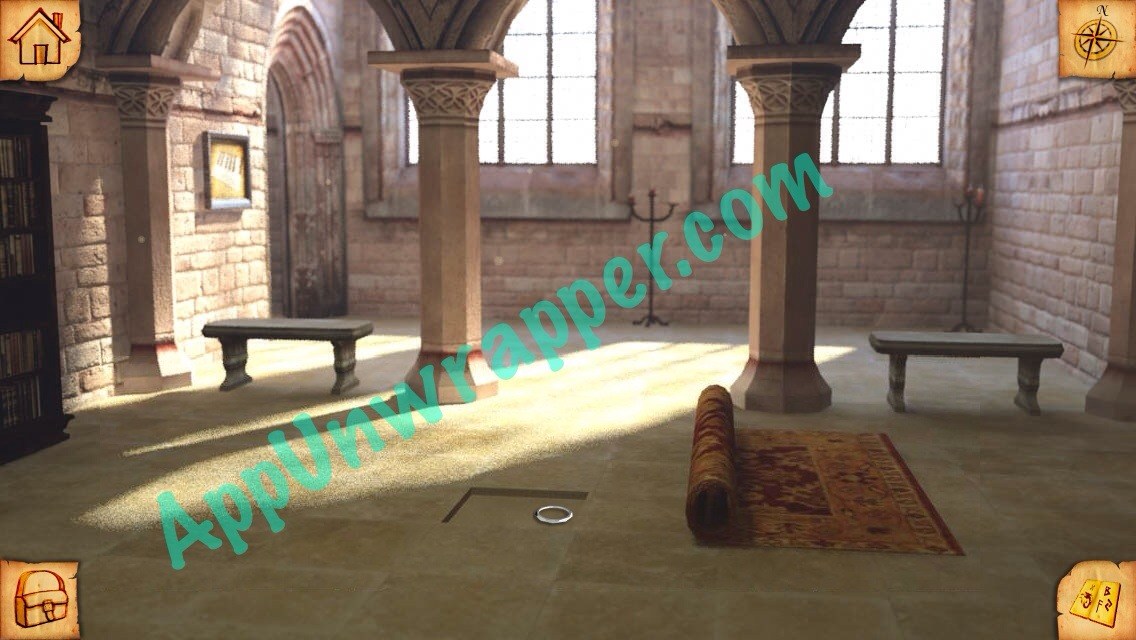
15. Roll up the carpet with one finger and grab the silver ring with another finger.
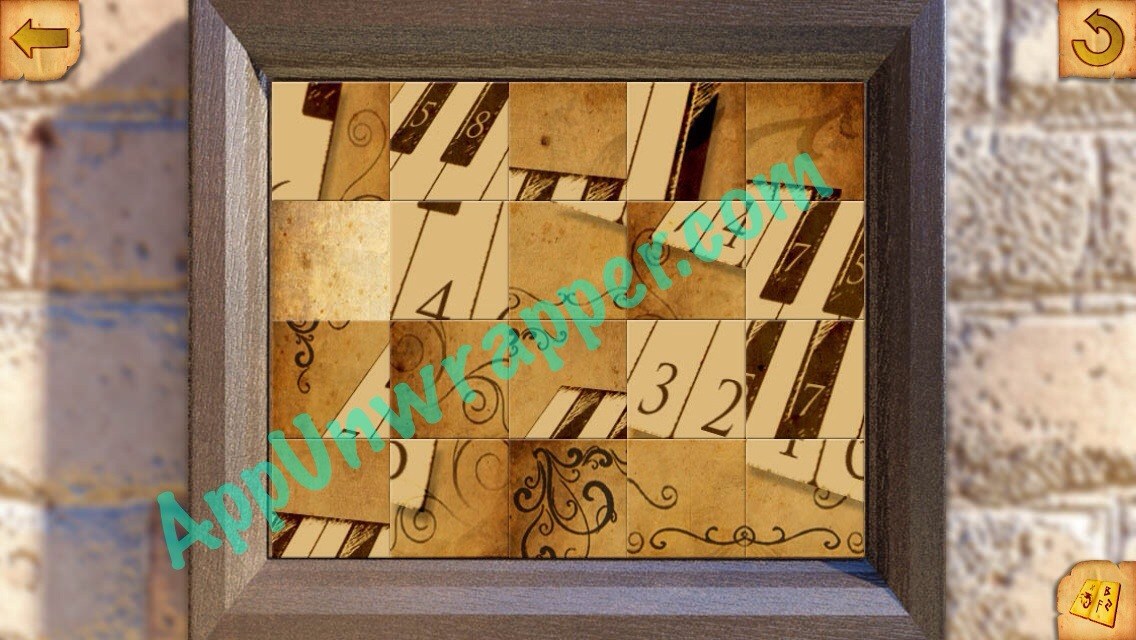
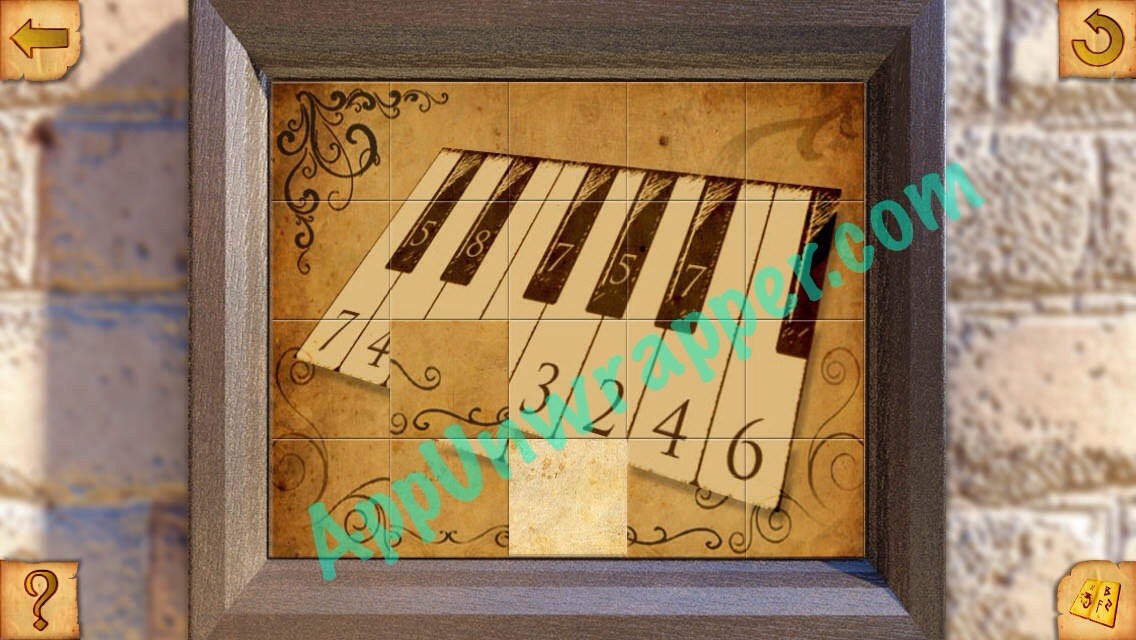
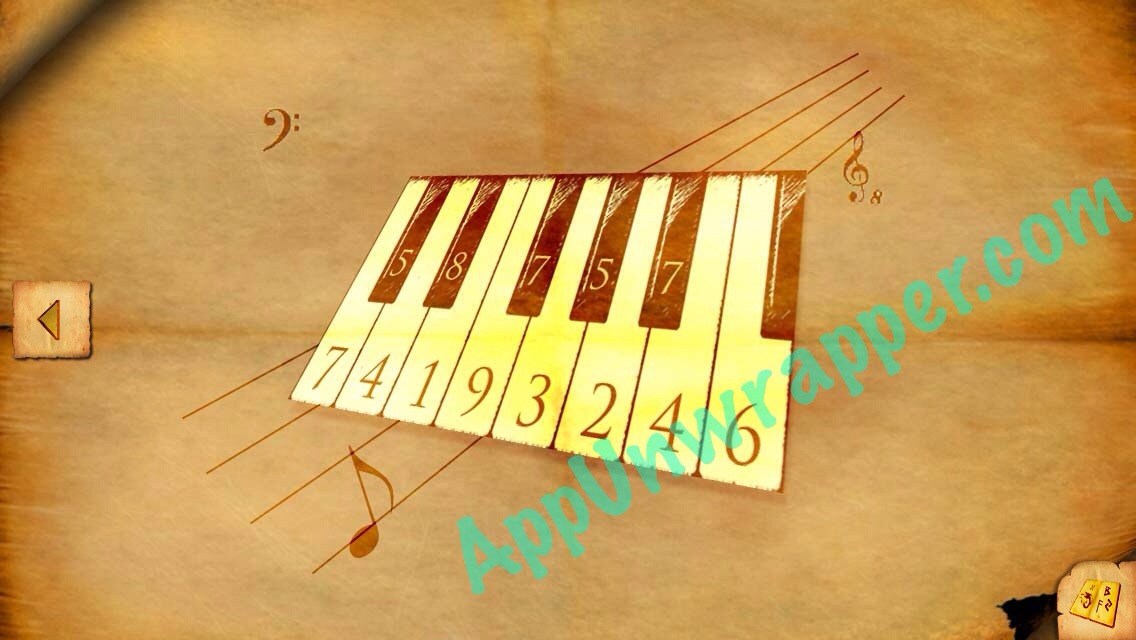
16. Continue ahead and tap on the piano photo. Solve the sliding tile puzzle to get a piano sequence for your journal. The door ahead is locked, so we need to do something else first.
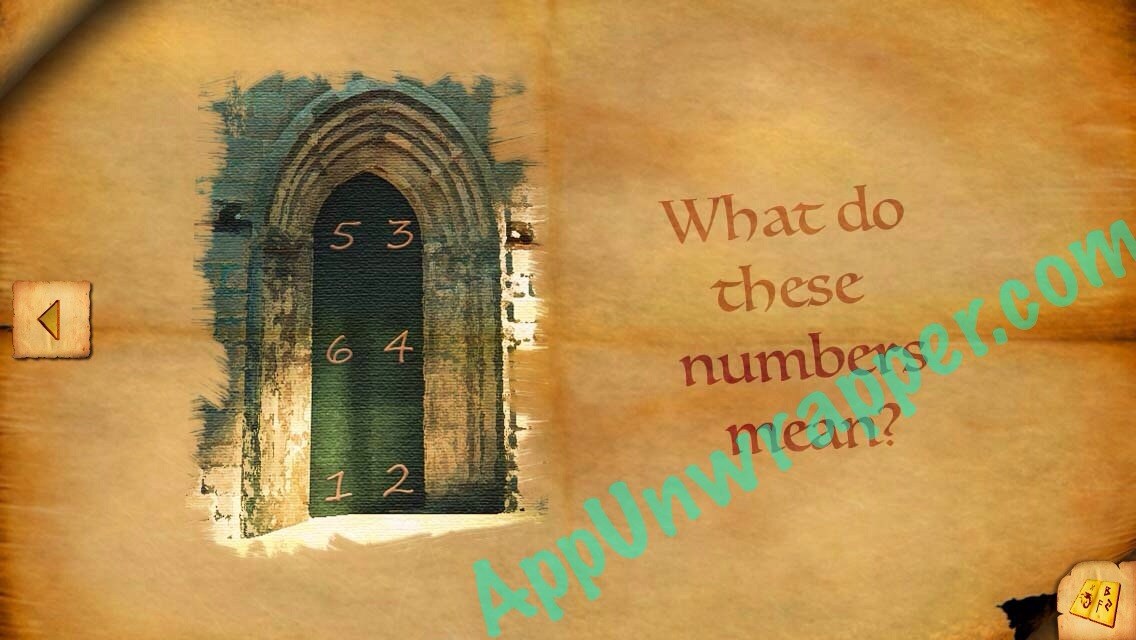
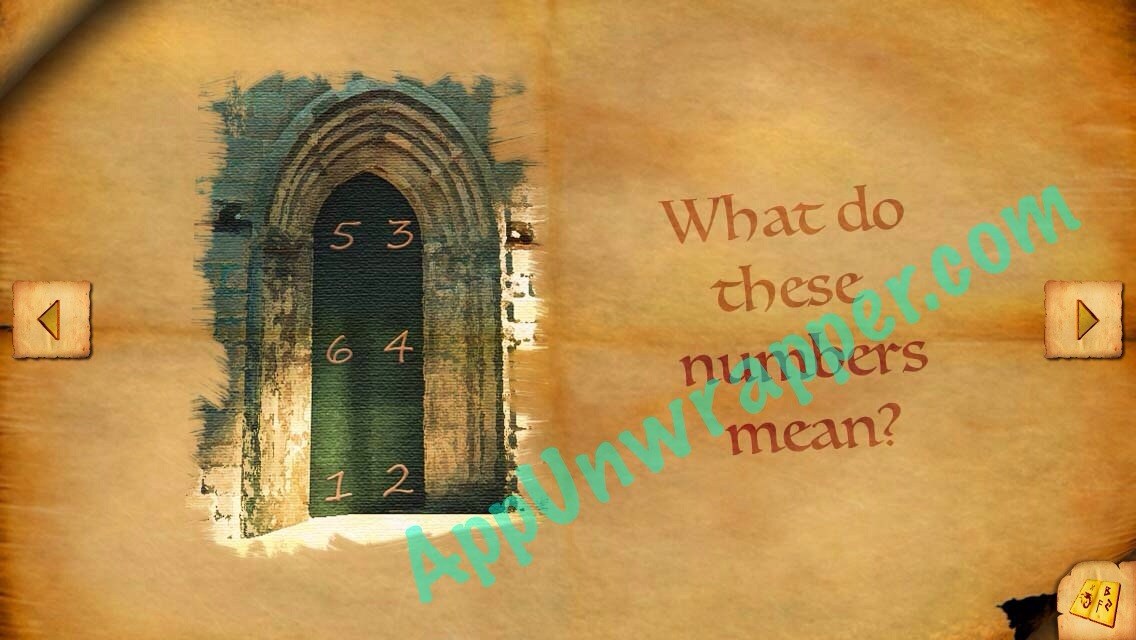
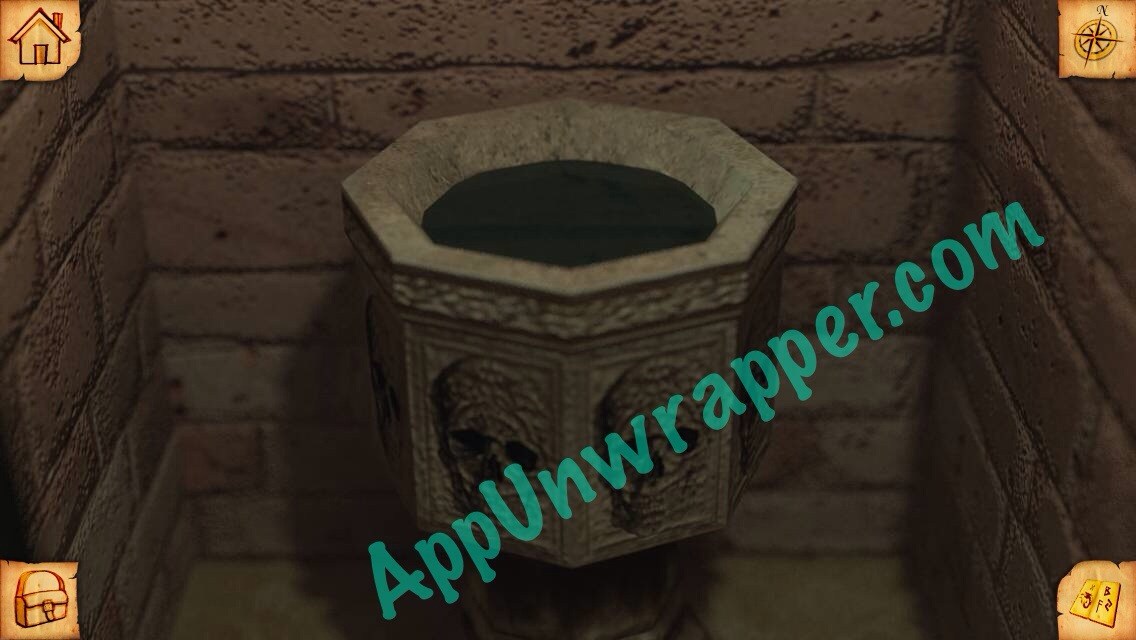
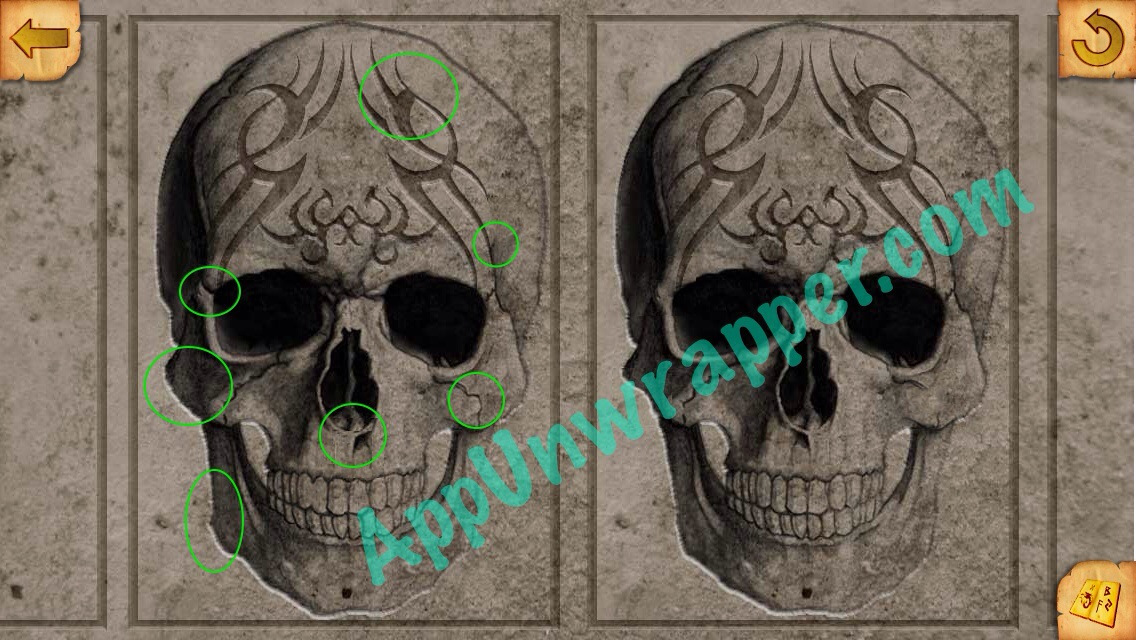
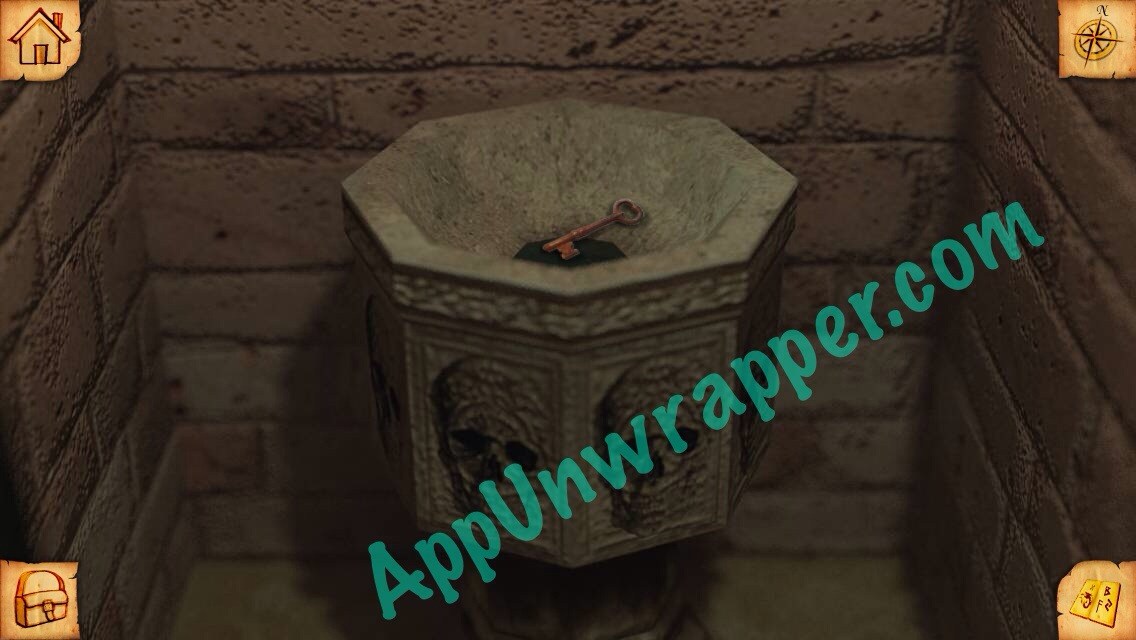
17. Go back to the door with the yellow banner on it. Knock on the door in order of 1-6 as shown on the clue in your journal. Then go inside and spot the differences on the skulls as shown below. Take the rusty key from the fountain.
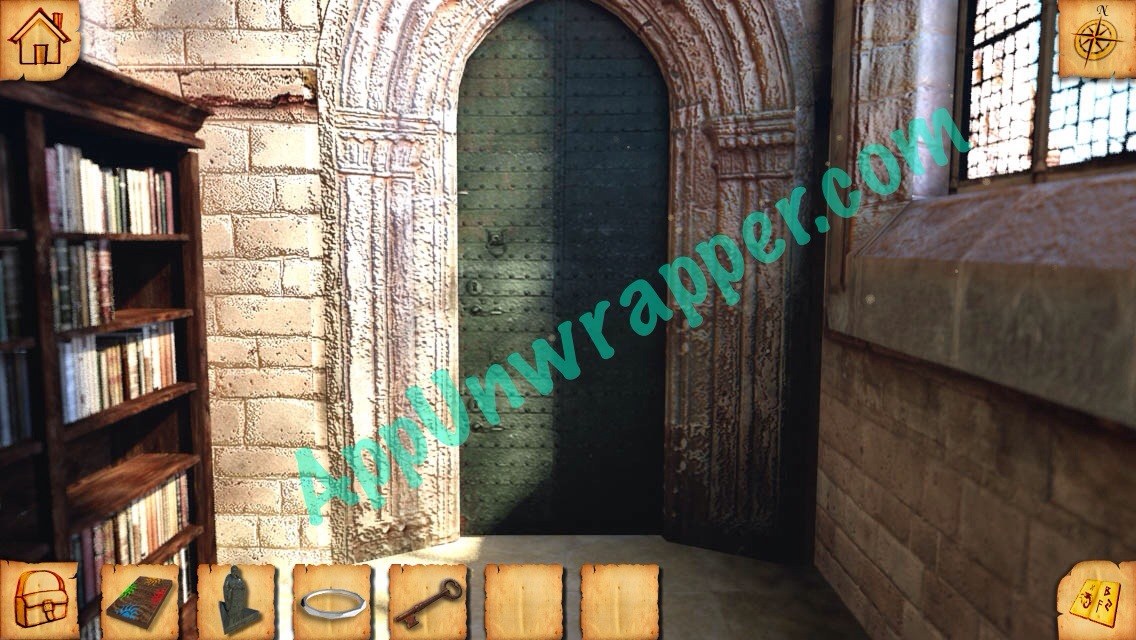
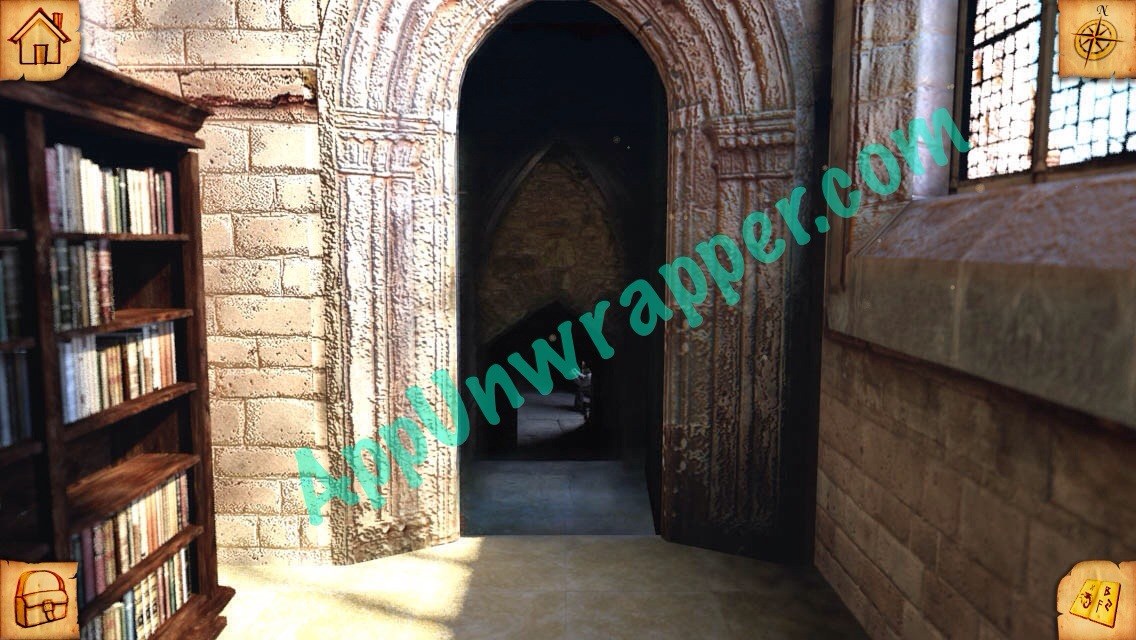
18. Go back to the locked door we couldn’t open before and use the rusty key on it. Go through for chapter 3.
Continue to the Chapter 3 walkthrough.


 Icon Pop Mania Answers Level 4
 Smash Land Cheats, Review & Hack
 Assassin’s Creed: Pirates Cheats & Hack for Wood, Books, Coins & Supplies - AppGameCheats.com
 Guess The 90s Answers Level 51-60
 Clash of Clans Hack 2016 - Cheats for Coins, Gems & Elixir