
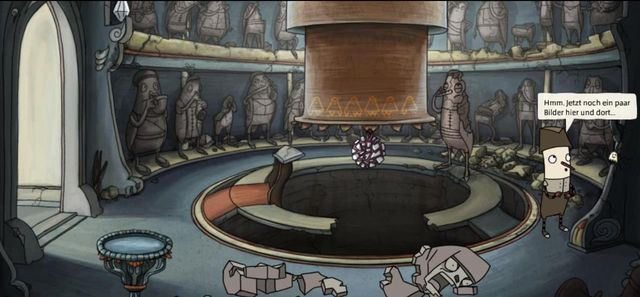
This is a guide for a unique adventure game The Inner World. You will be given the opportunity to guide Robert (and also Laura, later on) through unique underground lands. There are no logic minigames throughout the game, and the gameplay is mainly based on using and combining item. Also dialogues are an important matter here, as well as the right choice of subjects of discussion. After you enter each location, you should first have a good look at all the items and characters around and, only then, try using them. Robert's observations may provide many valuable hints.
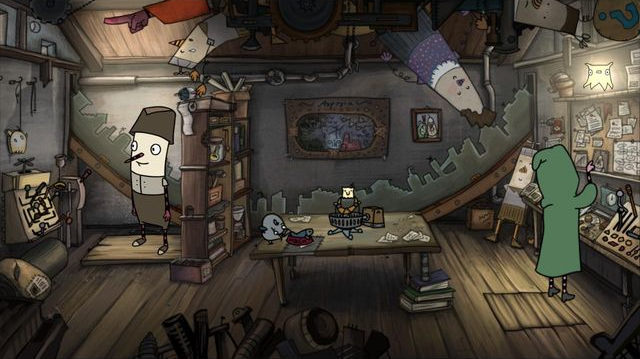
 Throughout your adventure, you will meet many weird characters.
General tips:
- bring up all of the available subjects during dialogues. Some dialogue options need to be repeated two or three times before you learn everything there is to learn about a given matter. If a subject is exhausted, its icon blanks out.
- to use an inventory item on an element of the surrounding, you need to drag it from the inventory onto that element
- to combine items in your inventory, you need drop one of them onto the other one; cone can be combined and dismantled several times
Antoni "HAT" Jozefowicz
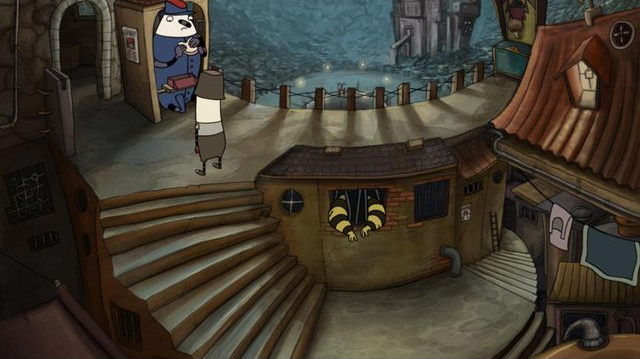
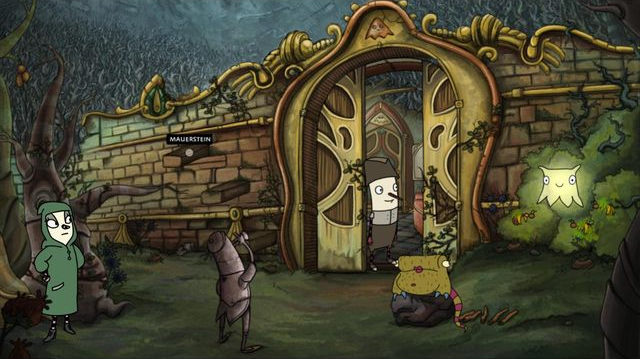
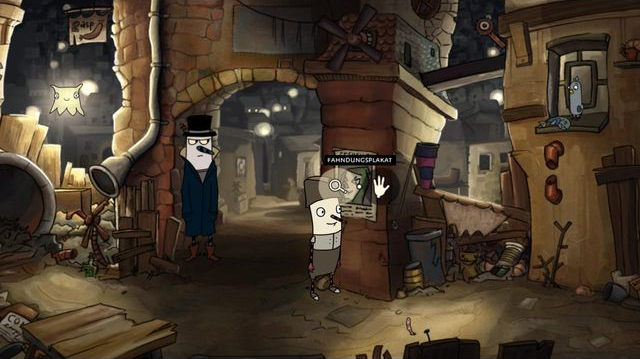 The first playable location
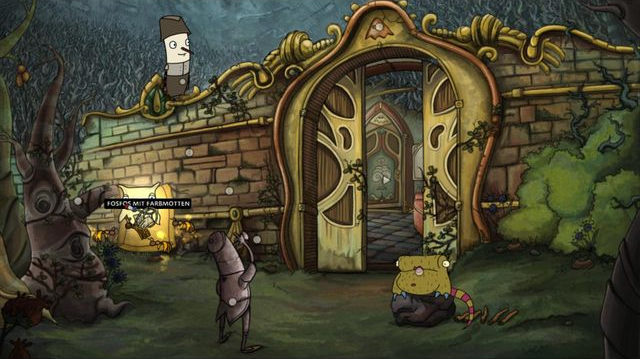
After you have seen all of the cutscenes and got into the streets, take a look at the poster, and then turn your attention to Fosfos floating to the left. Collect the bottle standing under the drain pipe and return to the poster to collect the wind cone to its right. Also, try and catch the worm that is sticking up above the ground,
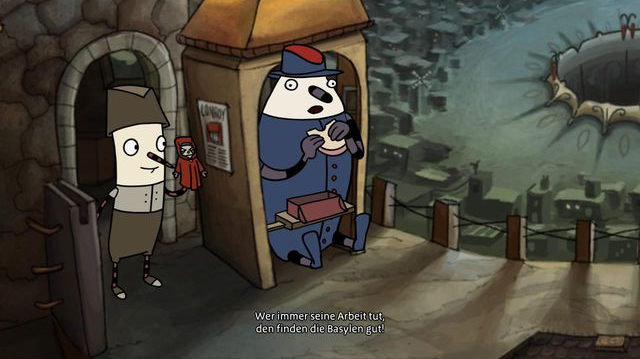
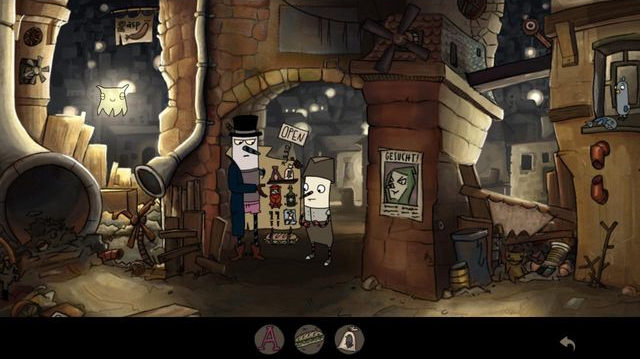 Illicit trade
Collect the crook leaning against the wall of the building to the right, and talk to the guy standing in the entrance. First, ask him about what he has in stock. Here, select number three twice and you will learn what Asporora is. Ask again about it and you will receive a hand puppet and a sack. Use the latter in your inventory and you will receive a thread. Combine it with the wind cone, and you will receive a grabber. Use the bottle on the worm and, when it gets drunk, collect it. You will have the cork left after you use the bottle. Combine the worm with the crook and add the cork to the combination - a slingshot. Use the slingshot on the fish that the pigeon is eating. When the bird comes chasing after the fish, use the grabber to catch it. After the cutscene, collect the grabber and take the passage to reach the city.
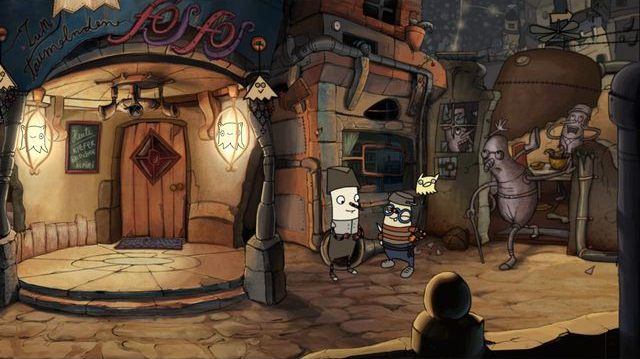 Young and gifted
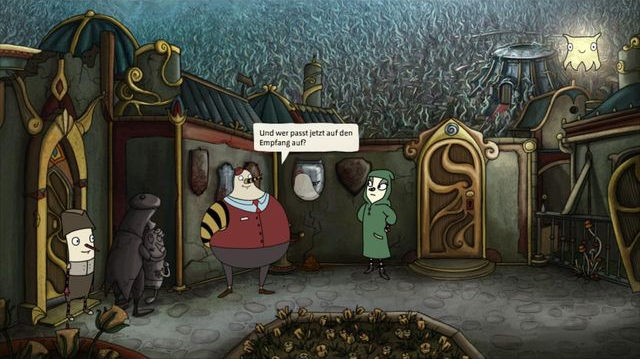
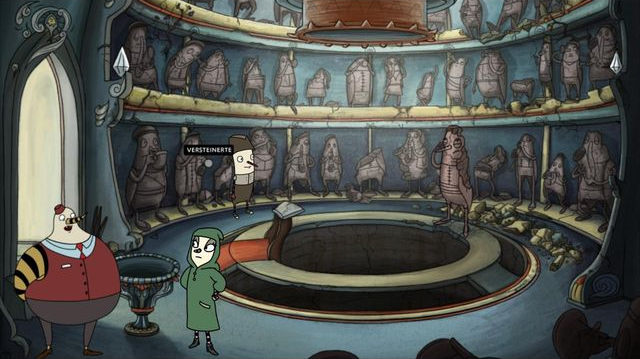
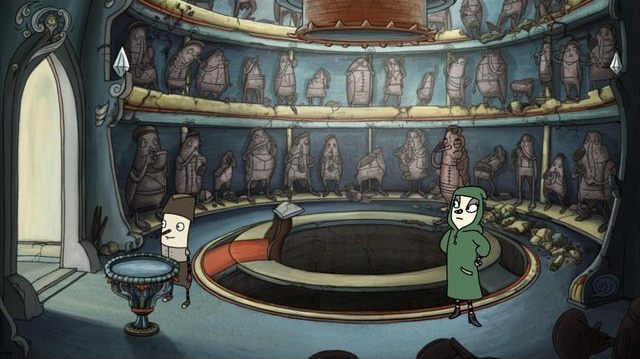
Go left and talk to the woman that has been caretaking after the baby. Then, talk to the young lad that is holding a fosfos. The youngster's name is Detze. After you have exhausted all of the dialogue options, talk to him again and focus on the conversation about the glowing creature. Then examine the statues behind him and enter the building.
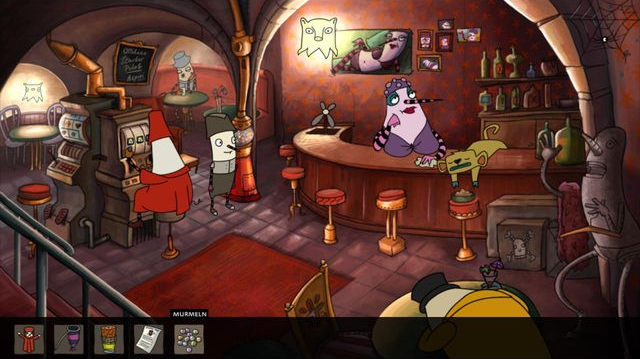
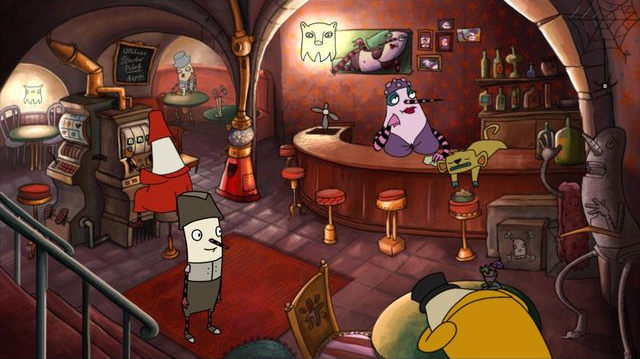 The bar and the proprietress
Talk to the barmaid - you will get a drink from her, to make a good start. Use the cork on it. Then exhaust all of the dialogue options talking to the man playing the one-hand bandit. Take a close look at the box and try to have a conversation with the sleeping drunkard. Then, leave.
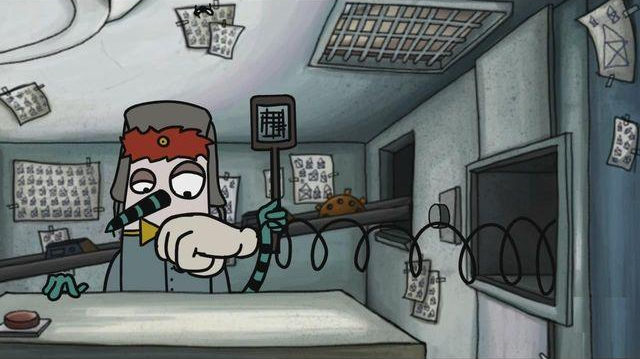
 The Cell
Examine the door to the left and then, the fan in the cellar window. Then, walk through the passage next to the mother with the baby. Talk to the prisoner whose hands you can see through the bars. You definitely need to bring up the subjects of clothes, wire and yarn. Then, return upstairs and take a look at the poster hanging on the guardian's booth. Then, talk to the guard himself. After the conversation, try to collect the lunchbox from his lap. Eventually, go right and talk to the machine. During the conversation, wit for a bottom drawer to open. Then, finish the dialogue and collect the pill from the drawer. Leave this area through the exit to the left.
 The second visit to the bar
Take a look at the Fosfos and collect the leaflet. Return to the bar and use the pill on the marble machine. You will get a handful of these in exchange. Return to the guard and watch the cutscene. Return to the young boy to the right in front of the bar and try giving him the marbles. Then, talk to him again, and bring up the subjects 3 and 4. Then, collect the cane from the sculpture behind Detz and give it to the prisoner.
 The machine
Return to the bar and talk to the man playing the one-hand bandit. Bring up the new subjects. Then, talk in a similar way to the barmaid. Go then to the machine again and "talk" to it - a new option appears and that is the one that you should use. After you watch the cutscene, collect the clock hand and take another pill from the drawer. Give the clock hand to the prisoner and talk to the guard about the broken machine.
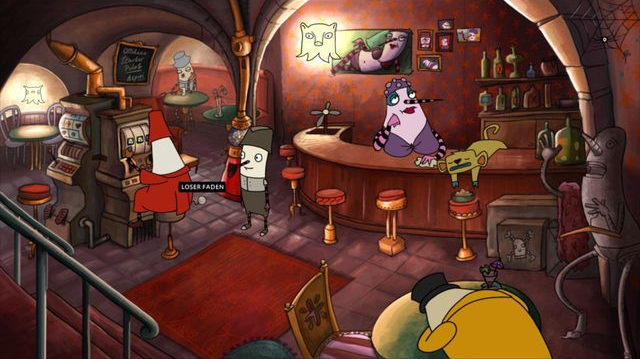 Deceit
Backtrack to the starting location and give the marbles to the illicit dealer. He will not accept them but, he will whisper something important into your ear. Use the leaflet to collect the fish from the ground. Then, use it on the stool that the one-hand bandit payer is sitting on. Note, then, that there is a thread sticking out of his coat (shown in the above screenshot). Use it to see a funny scene.
 Final actions
Give the yarn to the prisoner. Go up, then and use the hand puppet on the guard. After the cutscene, collect the lunchbox. Put your marbles inside the box and hand it to the boy outside of the bar. After the cutscene, collect the slip of paper that fell onto the ground - there is a pattern on it. Because the prisoner will find it useful, take the slip of paper to him. Watch the cutscene and bring the freshly-knit piece of clothes to the toddler's mother.
 Scenario
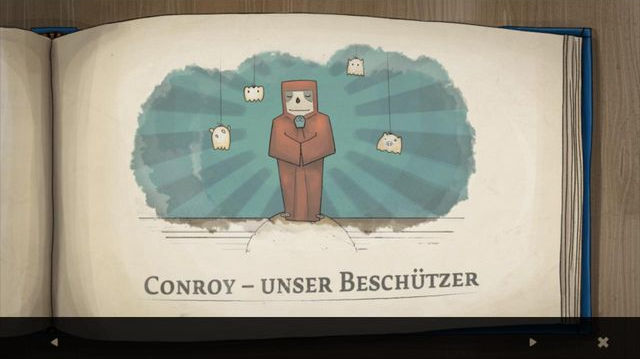
After the cutscenes, you will automatically collect the pigeon feather. Then, try picking up another one. Go and use the trapdoor, then. Go left to return to the first location. In here, take a look at the guy sleeping in the loge. Then, have a look at the scenario on the control panel. Use it and remember the order of the individual scenes. Note that there is a door under the control panel. Open it and peep inside. You will find some hints.
 Scene creation
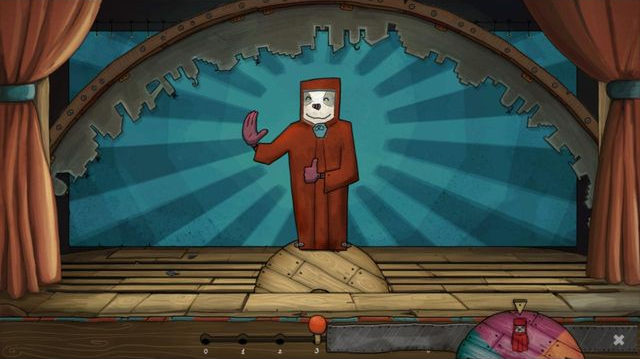
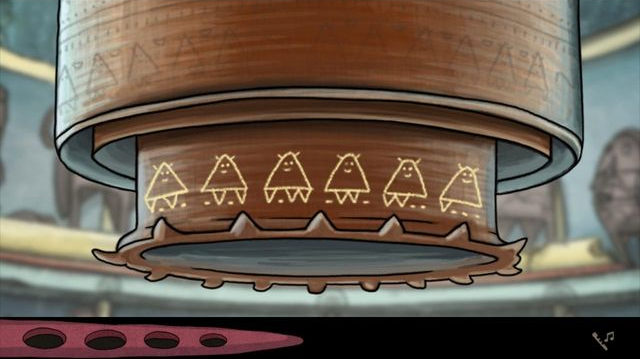
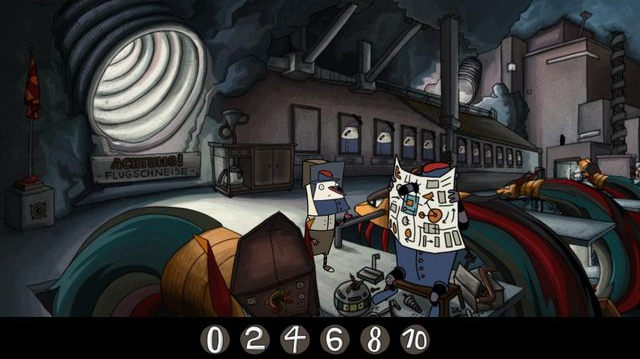
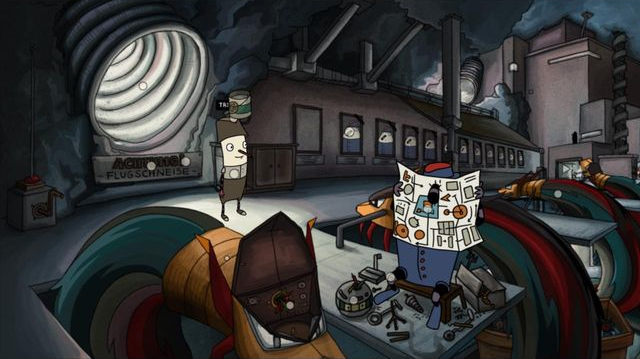
Use the control panel now to re-create scene from page 7. Spin the dial to the right until you see the symbol of the sun waking up with long beams. The knob to the left should move into the position numbered 4. If it does not, do this manually. Then, move the dial to the position with Conroy and move the knob to the 3rd position.
 This is what it should look like
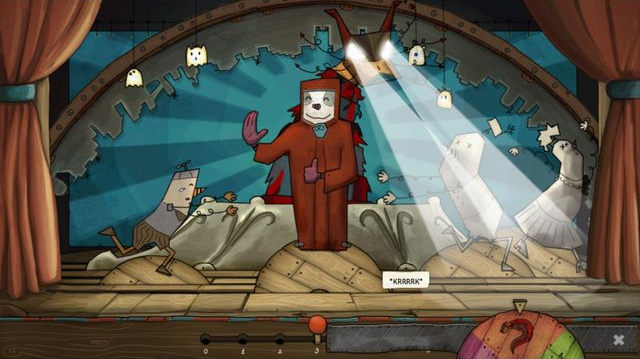
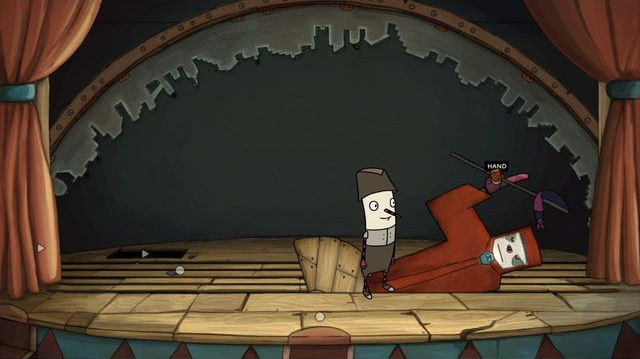
Select the three green figures and select 4 with the knob. Finally, select the monster symbol on the dial, and number 3 with the knob. The entire scene should look like the one presented in the above screenshot. Then, go on the stage and twist Conroy's palm to make it point downwards. Use the opened trapdoor to leave the stage.
 Under the stage
Try and collect the Fosfos. Then, examine the hand above the entrance. Then, the sack and the complicated control panel. Note that you can try using the bookshelf. As you stand behind it, use the hand puppet. Use the control panel and leave.
 Using the effigy
Put the grabber into the effigy's hand. Now, go down and use the control panel. Use it again to make the effigy end up on the stage. Use the drink on the sack. Go upstairs, collect the grabber and, in the inventory, pull the cork out of the drink. Then, use the liquid on the effigy's hand. Go downstairs, use the control panel and get ready for a change in Robert's plans.
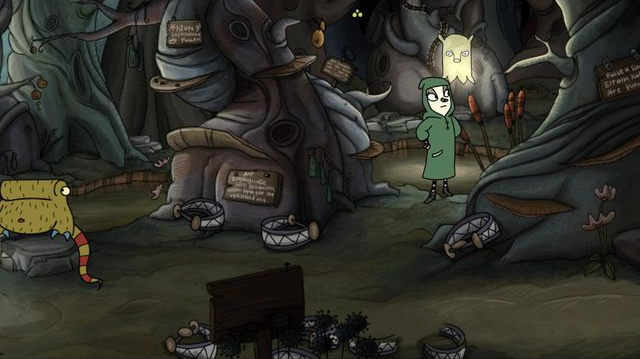
 Out in the wild
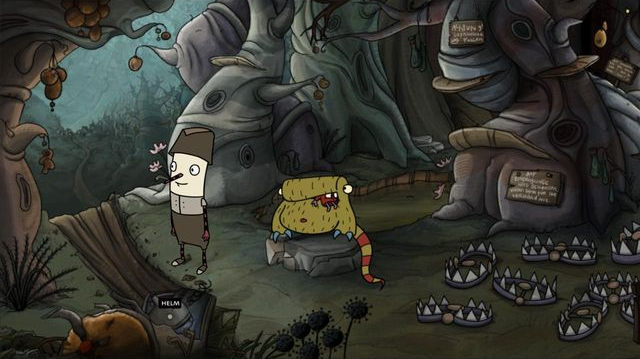
Collect the helmet from the crack. Then, use a feather on the creature sitting on the stone. Once it spits the hand puppet out, pick it up. Now talk to it. After the conversation, use the helmet on the thorn at the foot of the tree to the left, to collect a twig. In the tree to the left, there is a hole, which you should put the twig into. Then, sneak among the traps and collect the wool mouse. Combine it with the helmet in the inventory.
 Disarming of the traps
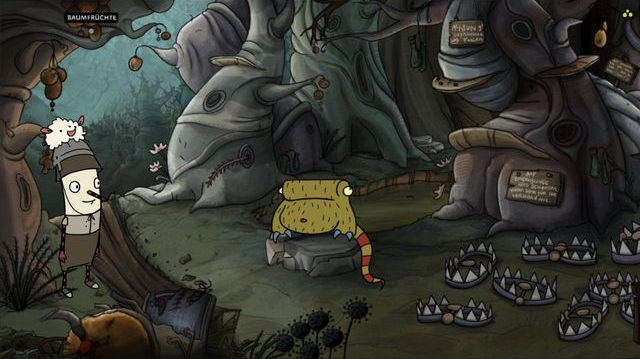
Stand next to the tree to the left and use the item thus created, to make Robert put on the helmet with mouse onto his head. Then, use the tree to obtain a fruit. Use it on the creature's claws. Throw the refined ball at the traps. Then move to the right.
 Laura
LauraDuring the cutscene, you will receive a can of canned food. From now on, you will be controlling Laura. Get back to the forest and talk to the creature on the stone. After the conversation, collect reed that is growing to the right. Return up and talk to the hanging Robert. After the fire, talk to him again. Wait for another burst of fire, go down after it ends and collect the hook. Combine it with reed and use the new item on the swamp, thanks to which you will obtain glasses.
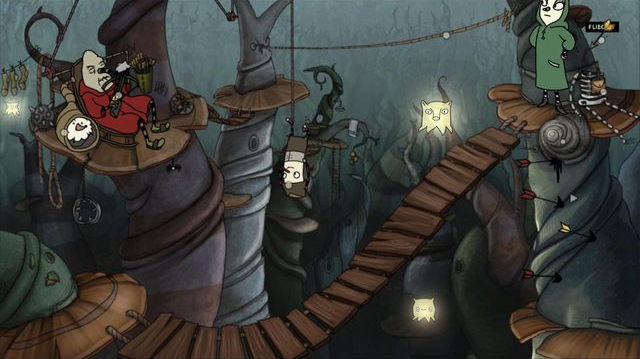
 Aerologists' camp
Go right but, do not go up. Take the passage to the forest instead. Talk to the guy sitting at the table. Put down the glasses on the stone to the left (next to the sitting man) and use the tin can on the glasses. Now, return to the tree house and use the can there, on the nest under the sitting skeleton - Pandur will shoot a bit higher and you will be able to use the arrows as steps to get higher.
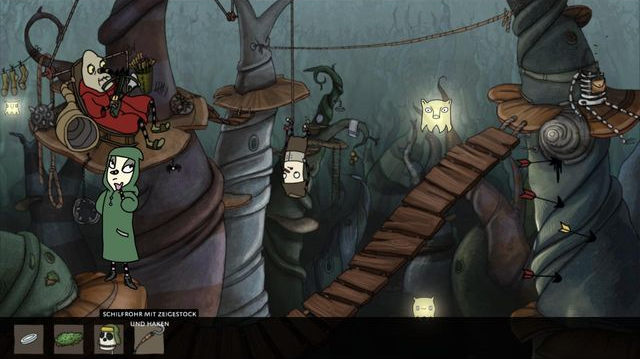 The tree house
Search through the skeleton's bag and you will find an indicator there. Also, collect the skull in the cap. Walk over the bridge to the other side and harvest moss. Combine the pointer with the reed with hook, thanks to which you will construct a grabbing device.
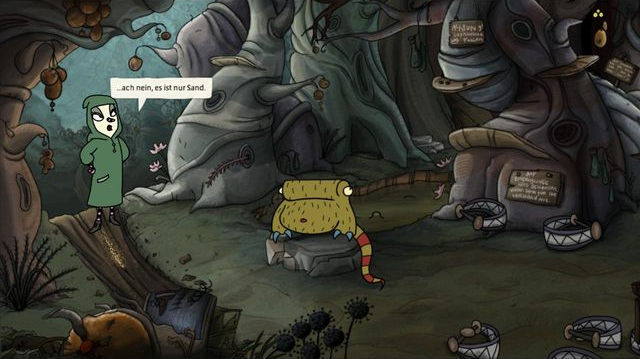
Slime creation
Return to the forest and give the skull to the archeologist. In return, you will receive a globe. Use it in the inventory to open it, and put moss inside. Then, immerse the globe in the swamp.. Then, use the grabbing device on the crack to the left. When golden sand appears, use on it the half of the globe that is filled with smaller amount of the moss. This way, you will obtain sand. Join two halves together to obtain slime.
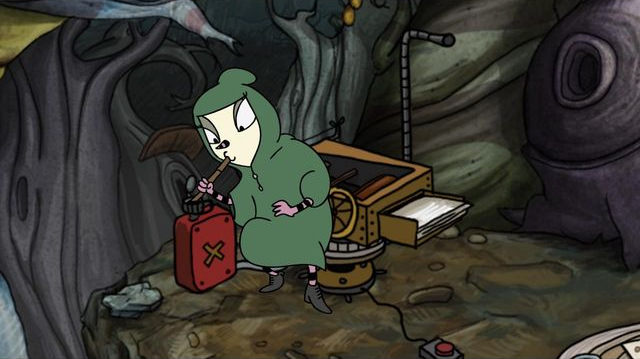 Starting the machine
Dismantle the grabbing device and use reed on the fuel can. You can find it with the archeologists. Then, throw the slime inside and use the machine by pressing the button. Watch the cutscene. Then, put the grabbing device back together to collect the wool mouse. Return to the tree house (collect the arrow, stuck in the tree that you used as a staircase, on your way there) and use it on the tube that Pandur is listening to.
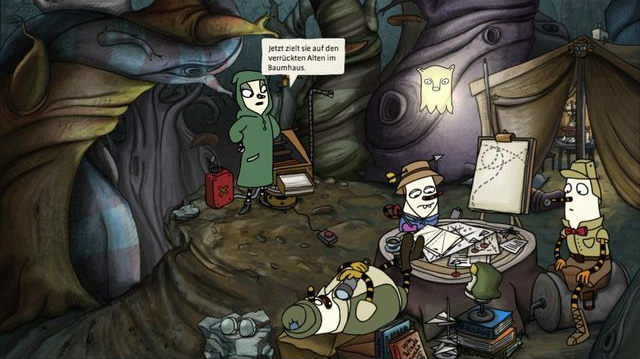 The machine has been aimed
Get downstairs and talk to the creature on the stone, and then with the archeologist. In both cases, bring up the new discussion subjects. Move the machine so that its output is aimed at the archeologists (just like in the above screenshot) and use it. Then, stick the arrow into the pipe projecting from the machine. This way, you will obtain and arrow with honey.
 The flies
Use the arrow on the creature's head. Talk to it and return upstairs. There are flies hovering around the skeleton - use the arrow on them, so they stick to it. Return downstairs and use the arrow on the creature's head again. Return to the scientists, turn the machine to the right and start it. After the cutscene you will receive the wind map. Collect the saddle lying on the right. Go to the tree house and put the saddle on the rope spread between two trees.
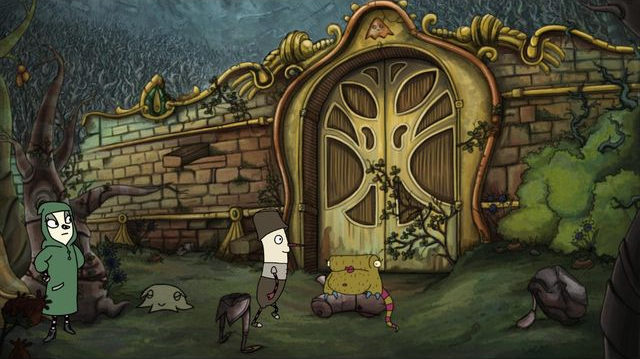
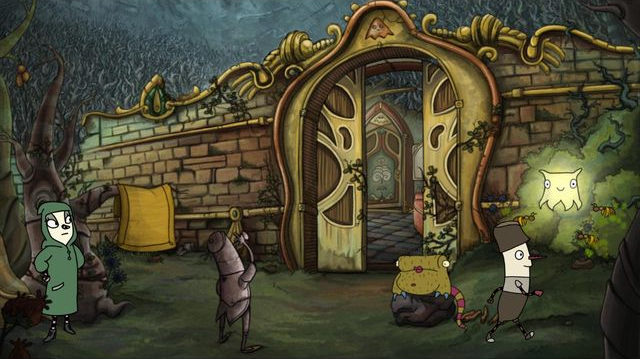
 The entrance to...?
Pick up the arm from the ground. Try attaching it to the corpse that the female version of the creature from the previous chapter is sitting on. Then, talk to the creature. After the conversation ends, collect the rope ladder that is hanging to the left, and you will obtain rungs. Take a look at the Fosfos on the ground and then, at the Fosfos symbol on the gate. Then, talk about it all to Laura.
 Conversation with the creature
Using the arm, try to lever the stone to the right. Robert is too weal so, ask Laura to help you. Once you are done, put the rungs under the stone. Use the stone and you will regain the arm. Use the stone again and you will watch a cutscene. Now, you talk to the creature about the possibility of relocating onto the stone. Use the flirt option. Lift the corpse in the inventory and mount it onto the nearby legs. Also, attach the arm.
 That's how you thumb your nose
Examine the statue and note where it is keeping its fingers. Once you are done examining it, return to the main area. Enter your inventory and you will notice a flute symbol. Use it and, when the flute appears, press 1 and 4 simultaneously. There is nothing left to do but enter.
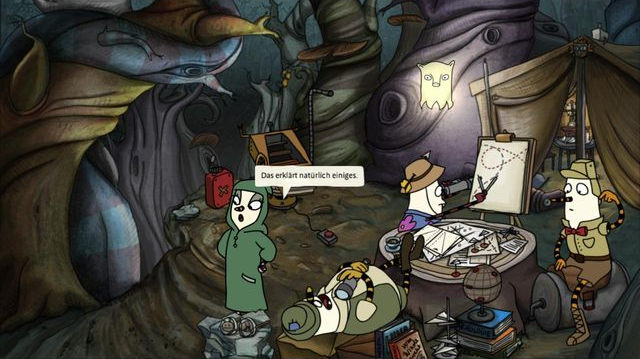
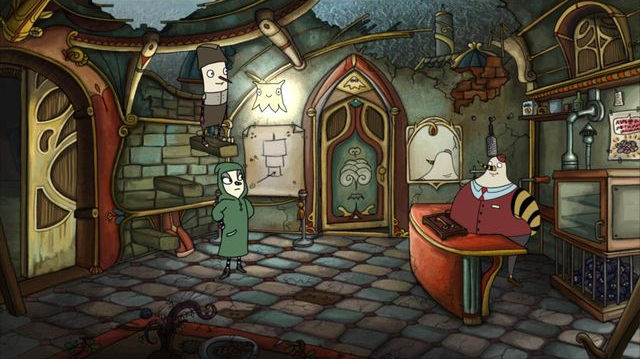
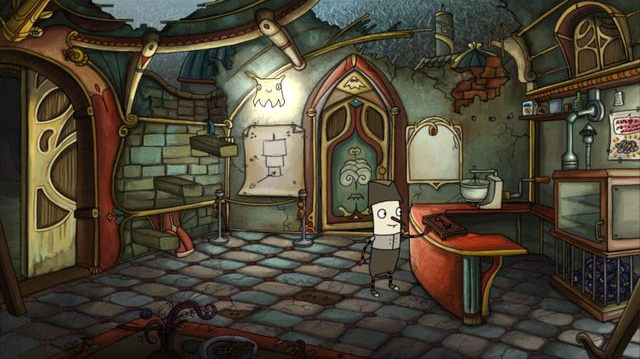
 A man with split personality
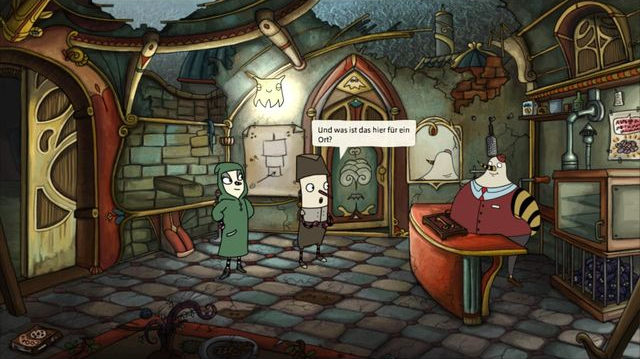
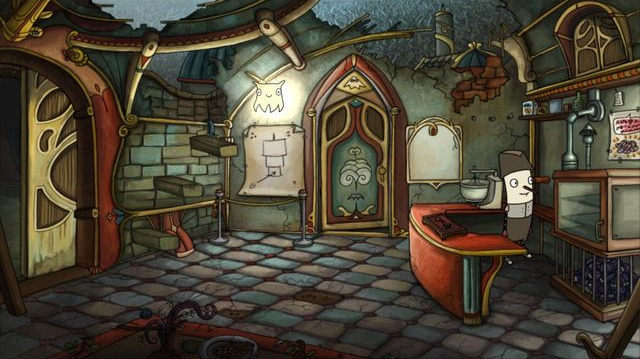
Start by looking through the schemata to the left. Then, approach the desk and a nice man will appear. He will hand you two invitations. Collect the recipe book from the bottom-left corner of the room and leave to the yard through the door in the middle.
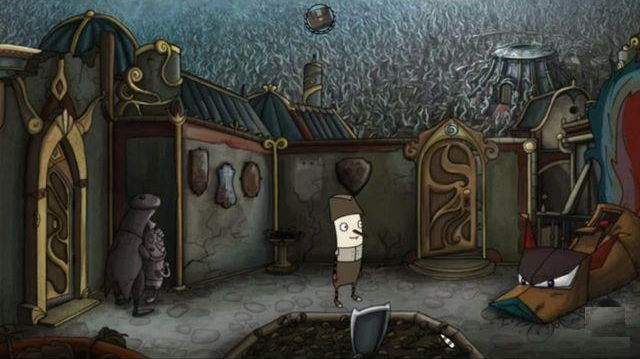
 The yard
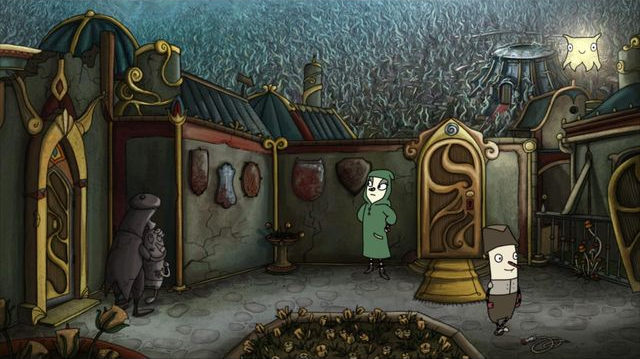
Collect flowers from the flowerbed here, the jumping rope and the mushrooms that are next to the fence to the right. Try opening the door and talk to Laura. Return to the vestibule.
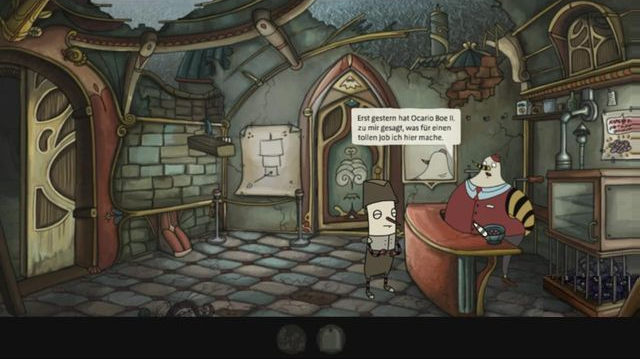
 Steve in the yard
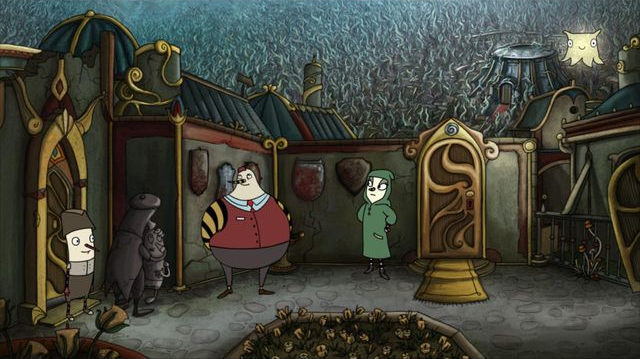
Talk to Steve. Bring up the subject of Steve/Pete and he will drop a rolling pin. Collect it and talk to him again. First of all, about the fruit cake and then about winds. When the subject of the yard appears, use it and you will be transported to the yard with the man. Talk to him and bring up each issue twice. After all of the dialogue options are exhausted, return to the vestibule and leave.
 Steps in the wall
Try collecting the Fosfos. First talk to the female creature. Use the rolling pin on the bottom beam that is projecting from the wall to the left. Return to the vestibule and use he pin on both beams - start with the top one. Once you are outside, you will notice that you have created steps to the top of the wall for yourself. Use it. Unfortunately, on top, there is an obstacle which cannot be crossed.
 Steve on his post
Get down and, when you are on the middle step, use the rolling pin on the top one. After you get to the bottom one, use it on the middle step. When you are on the ground, hit the bottom step. Enter the vestibule and use the steps to get to the top. There, click on the top of the wall. Take a look around and walk down to the ground. Leave through the gate and try catching the Fosfos once again. It will change locations. Return to the vestibule and invite Steve outside.
 Ransacking the vestibule
In here, talk to Laura about the possibility of diverting the receptionist's attention. Change the subject to the fruit cake. When Steve joins the conversation, this will mean that you succeeded. You still need to give Laura the mushrooms that you found here. Return to the vestibule and, since you are alone here, collect the grater hanging behind the counter and the jewel case from the desk. Then, talk to the... coal in the cage. Then, return to the yard and talk to Laura. Return to the vestibule, with Steven. Now you can leave to the yard where you can collect the golden carpet.
 Setting up a trap for the Fosfos
Leave now and hang the carpet on the branch next to the place where the Fosfos is stopping. Then, try catching it. Enter the vestibule and examine the scheme again - note that you can now collect the pins jabbed into it. Also, collect the pompom that is hanging down from the barrier under the scheme. Combine it with the pins and then, with the jumping rope.
 Robert atop the wall
Leave now and use the grate on the female creature. Now, climb the wall from the side of the vestibule. To the toy that you have just created, add the invitations and use it on the Fosfos - if it is not under the tree now - you need to get down and get it under the tree.
 Steve is admiring Pete in the shield
Take the toy apart - you will be left with two golden invitations. Go to the yard and use the grater on the shield there. Then, collect the crumbs that have dropped under it. Invite Steve to the yard to see Pete in the polished shield. Then, return to the vestibule and ask him about the "gale band".
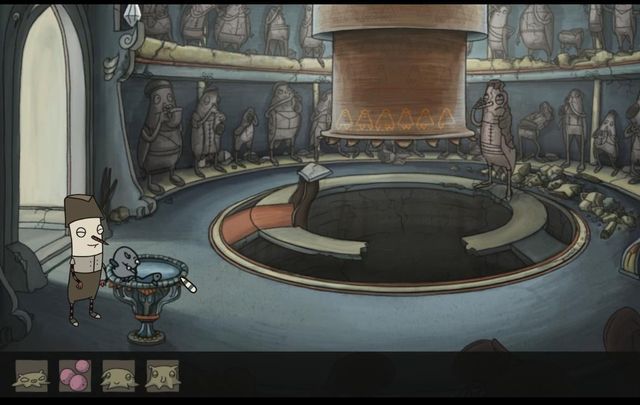
 The Hall of Winds
While talking to the receptionist, bring up all of the available subjects. Examine all the items in this area that are worth examining. Return to the vestibule then, where you need to take Steve from, using the method already known to you. Bring up the subject of the song and, after a while, debris will fall down from the roof. Collect it. Return to the chamber with the well of winds. Ask Laura to divert Steve's attention. Examine the large ring behind the well - you will notice that you can fit six Fosfoses in there.
 The making of the cake
Return to the vestibule alone. Put the debris, crumbs, flowers into the blender and use the crank to the side of the device. Take the mixture in the bowl. Then, collect the jewel box from the desk and combine it with the concoction. Once ready, put it into the glazed stove. Examine the poster behind it and talk to the coal by using the new dialogue option.
 Filling the bowl
Use the hand puppet to open the stove and take the mould out. You will get a baked key. Return to the Hall of Winds and release Laura from diverting Steve's attention. Return to the vestibule together. But, leave to the yard alone with Laura. In here, use the baked key on the door to the hall. Inside, put flowers into the bowl that is standing here. It will fill with water then. Return for Steve and come here with him again.
 Fosfoses on the ring
Talk to Steve and raise all the subjects - this time you will be answered by Pete. After the first question about the melody, the crystal to the right will crack. Collect what is left of it. Ask Steve again and he will hum the melody that activates the Fosfoses on the ring. After the dialogue and the show end, take a look at the ring - you will see the holes that you need to press on the flute to activate the next ones. Unfortunately, at the first attempt, it will turn out that you need to escort Steve back to the vestibule and return here alone. After you return, use the ring and have the flute ready. Press the following keys:
1 and 3, 2 and 4, 1 and 3 and 4, 2 and 3, 1 and 2, 1.
 The Basilisk Hall
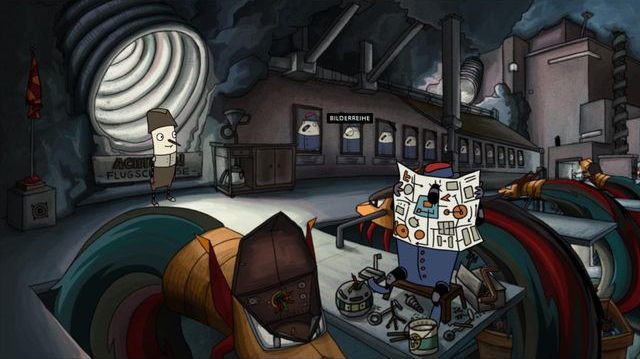
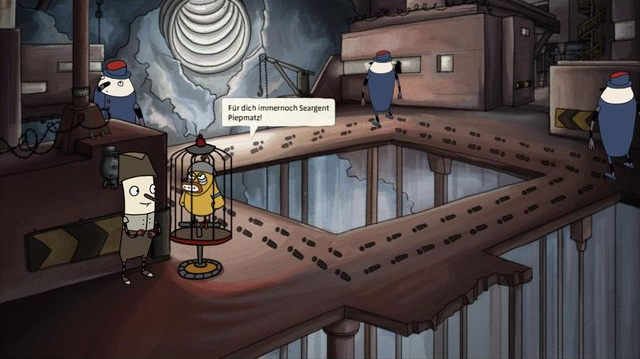
After you uncover the terrible secret, you will receive Laura's Notes. Take a look at the flag to the left and then, at the monster's opened head. Next to the reading mechanic, there is a lever - try to collect it. Then, the rest of the stuff that are lying next to him. Finally, look at the guy's knee.
 Three posters
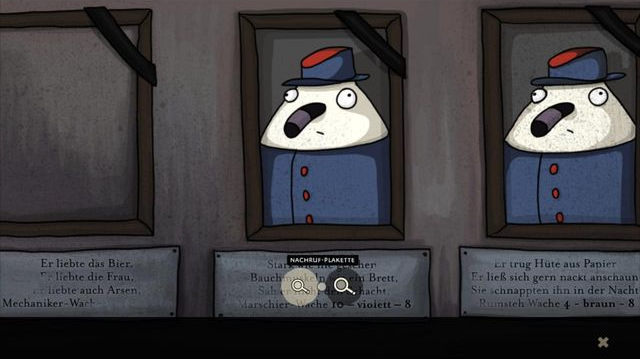
Take a look at the posters on the walls. Click on the third one to the left and you will collect it. Read the rhymes under the middle one, and the one to the right. Then, read the inscription under to the left. Return to the main screen.
 False identity
Approach the mechanic and use the poster on him - if Robert denies the action, it will mean that you have not examined all of the items next to the mechanic. Successful operation results in a funny hoax. Still, you need to prove your false identity. First of all, pick 4 and then, blue. Finally, select 10. Then, you can easily collect the lever. Also, collect the can of paint.
 The false coffee is ready
Stick the crank under the flag, crank it and collect the flag. Then, pour the paint into the funnel over the pot, where there usually is coffee. Collect the pot and offer coffee to the mechanic. Then, make your way to the passage to the right.
 The canary on his post
Talk to the canary in the cage. Use all dialogue options. After the conversation ends, use the alarm bell to the left. You will collect the mallet. Return to the mechanic and use it on the man's knee. Ouch! Collect the exclamation mark that fell out of the kicked element.
 The canary disabled, the trap is set
Return to the canary and use the exclamation mark on it. And then, the flag. After the conversation, use the flag and the cage's base. Another action is to combine, in the inventory, the coffee with the exclamation mark. This will create a black exclamation mark. Place it on the projecting fragment of the route to the right. Now, produce the flute and play by pressing the first hole. Watch the cutscene.
 Diverting the guard's attention
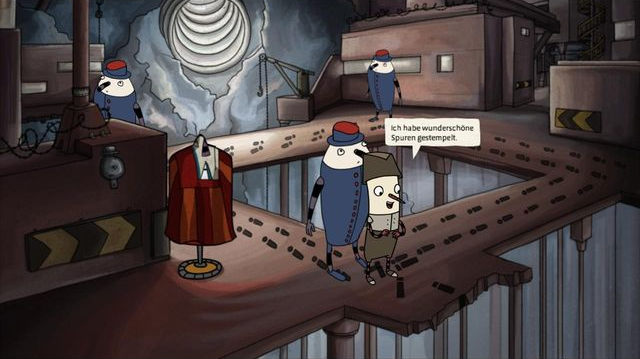
Go to the next passage. After the conversation with the guard, try to collect the poster. Give him Laura's note. After the cutscene, seize the opportunity and put the poster on the arrest warrant. When he walks away, use the stairs to the right.
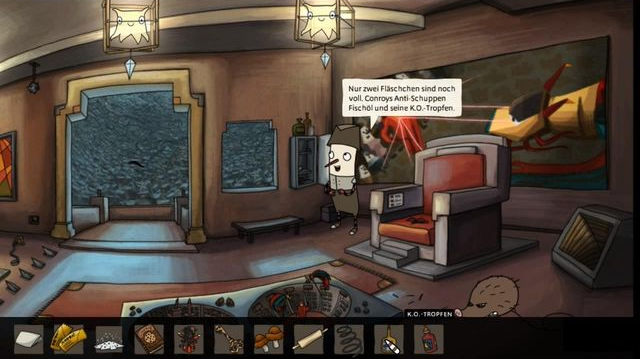 The throne room.
Examine the painting on the wall behind the throne and then, use the throne itself. After the cutscene, you can collect the spring. The next move is to open the first-aid kit to the left - take two bottles from it. One of them with anti-dandruff liquid and the other one with sleeping pills. Collect the spike lying next to the hedgehog and go right. Remove the lid of the container and use the hand puppet on the powder inside. Then, use it on the hedgehog.
 Cleaning of the painting
Collect the diamond from the smashed lamp. Approach the table with the model on it and collect the figurine from the scene to the right. Use it on the powder. The figurine "enriched" in this way should be used on the painting behind Conrove's throne. This will reveal an alcove. You can use the spike to open and close the passage hidden in the throne. Open it and leave.
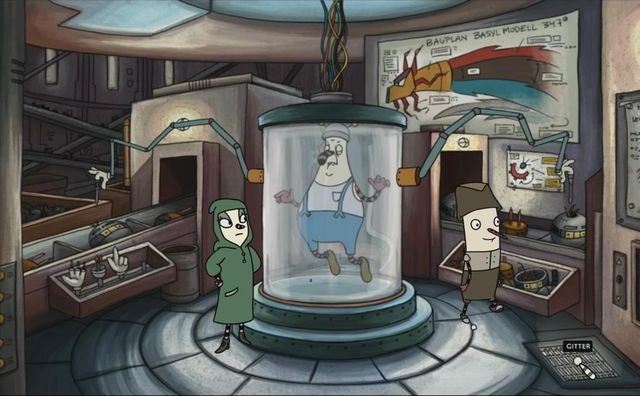 The captive scientist
From the corridor, go to the laboratory door. After the cutscenes, collect the false fist standing to the left. To the right, there is a trapdoor in the ground, thanks to which you can take a look into the room below. Take a peek and try talking to the worker sitting there and combine, in the inventory, the spring with the false fist. Return upstairs and stick the spring-fist into the elevator.
 The room downstairs
Now, look down again - use the anti-dandruff liquid on the elevator-button below. Watch the cutscene. Return upstairs - the fist will automatically appear in the inventory. Combine it with the sleeping pills and put it in the elevator again. Then, look down again and repeat the action with the liquid on the elevator button. After the cutscene, use the diamond on the pod with the doctor inside. Sit back and watch the long story.
 Another visit to the Hall of Winds
Collect the shield, and the inactive Fosfos from the vestibule. Approach the desk and chewing gums. Walk outside and collect another inactive Fosfos. There is another one in the Hall of Winds, where you are going to meet your pigeon- friend. Collect it - the fish will also make it into your inventory. Return to the yard and approach the destroyed basilisk )the upper-right corner)Use one of the Fosfos on it . When it turns out that it fits in there, use another two.
 The last conversation with Steve
Use the flute and choose the first hole (the biggest one). Collect the eyes from the wreck. Go to the vestibule and talk to Steve. After the conversation ends in a rather dramatic way, return outside and talk to the female creature. Go to the yard and return the eyes to the monster. Then, open the lid on the basilisk's neck and press the button under it.
 Firing the basilisk
Put the shield on the flower bed and press the button again. If the first shot destroys the wall, use the shield so that it is directed front to the city. Then, fire again, while turning it as much to the right as possible. Remove the brain from the monster's head.
 Covering the brain
Walk outside and offer the chewing guns to the monster. When it makes a bubble, use the brain on it. The brain covered in bubble gum needs to be used on the desk in the reception hall, to collect shards of glass. Next, put the brain at the nozzle of the ring in the Hall of Winds.
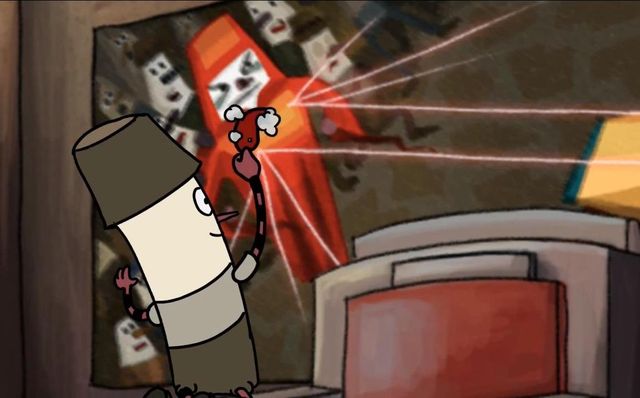
Switching the eyesAfter the cutscene, walk outside into the yard and collect the eyes of the Conrov's basilisk and replace your owns with them. Use the fish on the machine's button. Enter the room. When the enemy targets you, use the pigeon in your inventory.
The final locationPick up the necklace with Fosfos and hang it on the handle next to you, to the right. Replace your basilisk's eyes, remove the pigeon from its neck, collect the fish and fire. Now, watch the end to this adventure.


 The Matrix: Path of Neo Game Guide & WalkthroughThe Inner World Game Guide & Walkthrough
 The Godfather II Game Guide & WalkthroughThe Chronicles of Riddick: Assault on Dark Athena Game Guide & Walkthrough
 The Elder Scrolls V: Skyrim Game Guide & Walkthrough