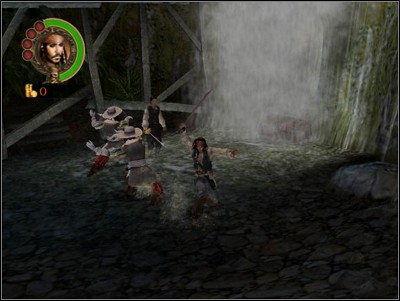
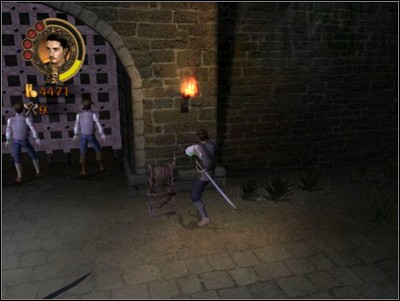
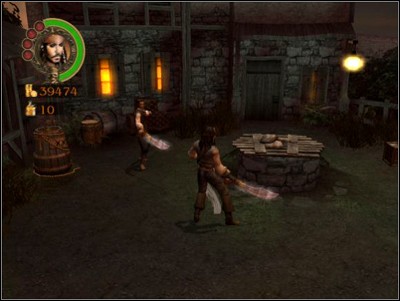
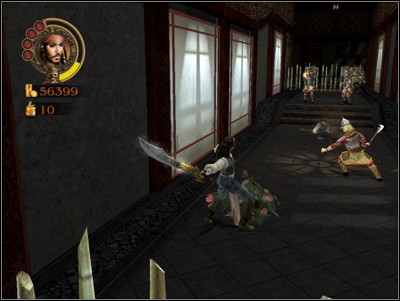
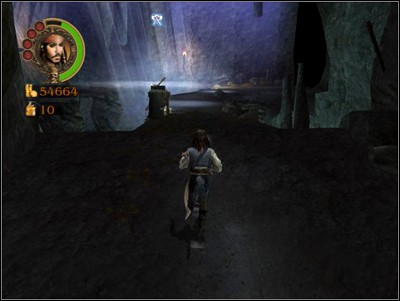
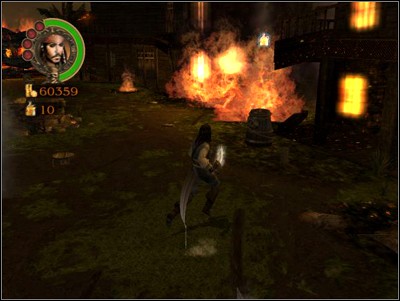
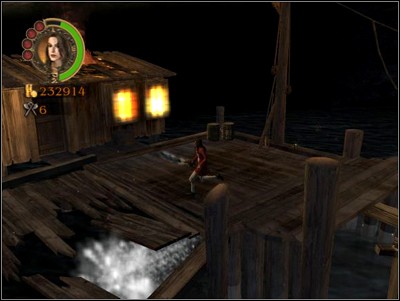
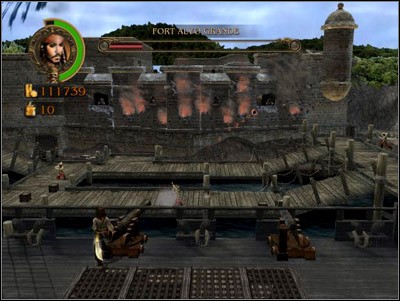
To start off, loot the chest just to the right of your starting point. Next, cross the bridge and defeat the three soldiers guarding the entrance to the fort.
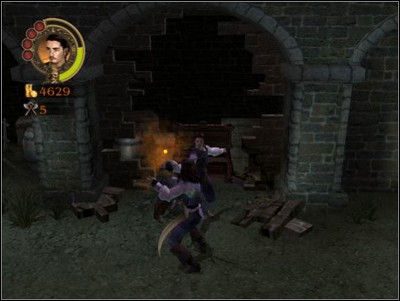
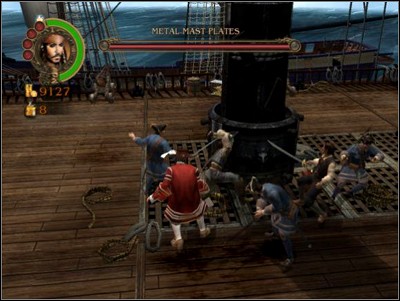
Before you open the gate, however, turn left and head towards the waterfall - another chest is hidden there. Return to the gate and open it with the highlighted crank. After defeating another group of soldiers, cut up the shrub to your right - there's another group of soldiers guarding a chest - within is a Map Piece. There's also a crank lying somewhere in the grass there - it'll come in handy later. Behind another door lies the interior of the fort and another group of soldiers. Killing off the musketeers first is useful, as their fire may impede your progress with the rest of your opponents. After the battle, Will and Jack will get on the ramparts where another battle with sword-and-musket wielding opponents awaits you. Having cleared this area, destroy the tower doors - you'll find treasure chests inside.
After you fill your pockets with gold, slide down the rope into the courtyard where another skirmish awaits. After you take care of them, hoist the Jolly Roger on the mast, giving the other pirates the signal to move in. You'll fight another skirmish, but this time your pirate buddies will join the fray. After that, you'll have to force the gate open (button minigame)
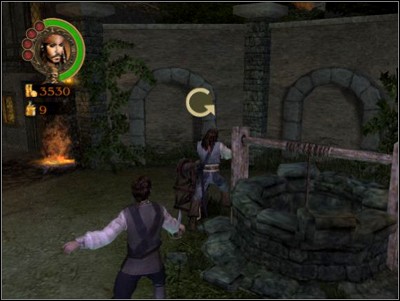
After defeating the first group of foes, head onward, up to the barrier which will explode a while later, clearing the path ahead. Just after you pass the obstacle there's a square to the right, with a well in the middle. After you take care of all foes in the area, come up to the well and pull a soldier out - he'll hand you a Map Piece.
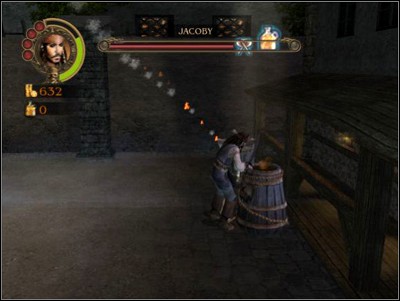
After that, take the left path, where apart from enemy soldiers you'll find a treasure chest. Continue down the path, up to a square where several enemy musketeers are entrenched. After the skirmish, use a powder keg on the wooden wall, opening the way to Jacoby, the first boss.
Don't worry about conserving ammunition as he is completely impossible to reach in melee. Will's throwing axes are much better than Jack's bombs on account of their longer range. Try to ignore the attacking infantrymen, take care of them only when they start impeding you in killing the boss. There's ammo in the barrels to the left if you need to reload.
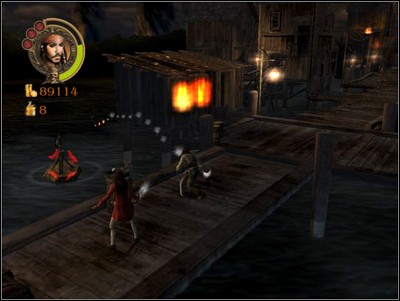
Start by switching to Will, who'll eliminate the pirates on the roof. After the fight, destroy the barricade with a powder keg. Then head through the city up to the fort.
Again, throwing axes will come in handy here - the ropes of the drawbridge can be cut with them. Inside the fort there's a large number of pirates so it is best to thin their ranks with Jack's grog bombs. After the battle, turn the crank to free the denizens of Fort Charles and go up to the upper part of the fort using the lift.
Before you kill all foes within, find the bit of damaged wall to the left and blow it up with a powder keg to find another Map Piece.
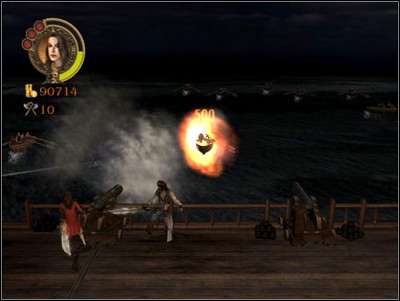
Immediately after defeating the enemy on land, several boats with reinforcements from the nearby ship will come. Sink as many boats as possible with the cannons - each is worth a whopping 500 gold pieces.
After repelling the first waves of attackers cross the newly created crack in the wall to take on some more pirates. The fight will go on until you get rid of all four ladders up which new foes are coming.
After another wall explodes, run to the right, to the bookcase behind which is another Map Piece.

Next go down the stairs where you'll find Pintel, the second boss. Elizabeth's axes are the best measure here. After you reduce him to 50% health he'll flee and you'll have a minute or so to get out of the house, killing pirates on the way out and passing another minigame by pressing the correct sequence of buttons.
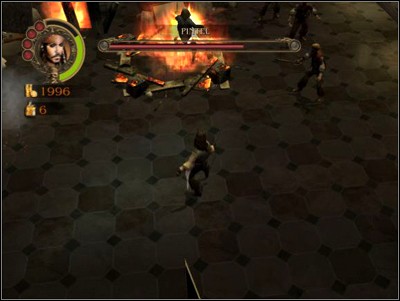
Despite the looks of it, you have quite a bit of time for this.
This is the first mission in which you can use the Super Heavy Attack, although it's pointless to use ammo for it, especially in Will's case.
After defeating the first group of pirates, run to the left side of the ship where apart from mooring lines to cut you'll find a treasure chest. After you open up the way to the bow take a powder keg and return to the stairs on the left. Blow up the stack of crates lying nearer to the camera and you'll find a Map Piece.
Next return to the bow, cut off the boats and after a short animation start burning the masts. After the foremast and mizzenmast are aflame another problem will come up... along with Don Carrera, who is also the solution to it. His Thousand Strike Spin will tear the mainmast up easily, on the condition you make him use it. This can be accomplished by hitting him 3 times in a row.
The fight with Don Carrera is one of the most tedious ones in the game, although the result is very rewarding - the Spanish ship will go up in smoke like a bit of tinder.
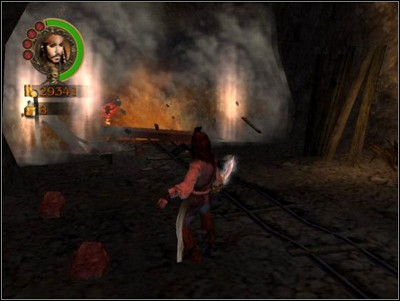
The first treasure chest is right next to the starting point. Moving on, kick the cart, and when it stops at the junction, change the direction of it and kick the cart again. When it stops in front of the wall, set it on fire, and free the pirate working here. Next, go back to the junction and go right - behind the wooden wall there's a health chest. Going down this path you'll meet another pirate who'll run off to switch on the lift after being freed.
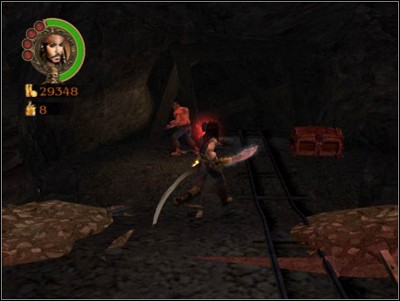
After you enter the lift you'll end up on the second level, full of musketeers rather reluctant to let anybody out. After eliminating all foes destroy all wooden walls in the area - several treasure chests will become available. Next, return to the lift and start pushing around another powder-filled cart. By sending it left, right and left again you'll reach a place where another Map Piece is hidden. Sending the wagon into the passage to the right you'll open the way out.
When all enemies in the area are defeated, start chasing the pig - it'll lead you to the center of town where you'll find the executioner and his buddies. The gates will open afterwards. Turn left from the path behind them and take a powder keg along. You'll need it to crack the well cover. Inside is another Map Piece.
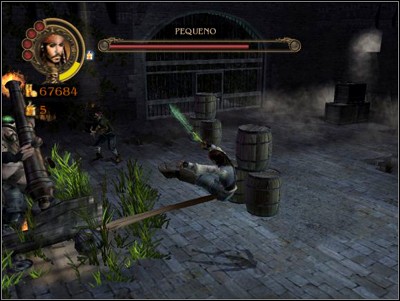
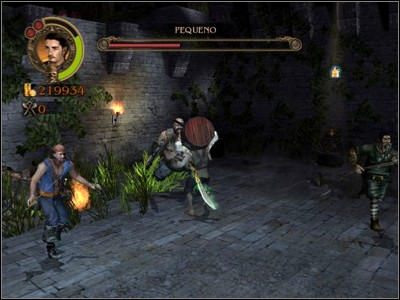
Return from whence you came and turn right this time, only to stand face to face with Pequeno. Although you're supposed to fight hand-to-hand with him, it's better to toss bombs and hatchets at him first - they'll wear his health down faster.
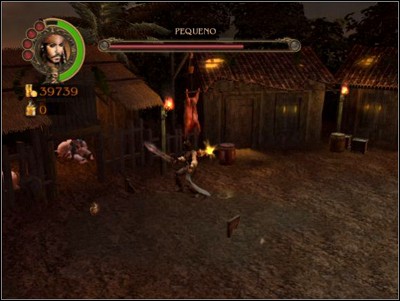
When you're out of ammo, a few Heavy Attacks will be sufficient to finish him off. The only moment when Pequeno is a threat is when he jumps onto the roof and starts tossing bombs. However, he doesn't do this often to make too much damage.

It's high time to get the crew together, the basis of which is Mr Gibbs. Protect him from enemy attacks, lighting candles on each table while doing so to find another Map Piece. After the battle, Gibbs'll tell you where to find Cotton and Marty Dwarf. Cotton's behind the door, getting strangled by a pirate for an inappropriate remark by his parrot. After defeating the pirate, take the key and exit the room through the second door.
You'll end up in another room, where apart from a group of pirates is Marty the Dwarf, hanging from the ceiling like a growth-impaired pinata. Cut up a beam to make a catwalk by which you'll reach the rope keeping the wee man aloft. Now you need to return while El Grande keeps screwing with you.
He isn't much of a challenge, though, because it's sufficient to knock over the barrels next to him, burying him in a heap of woodchips. Return to the room where you began and defeat the last group of pirates, thus ending the mission.

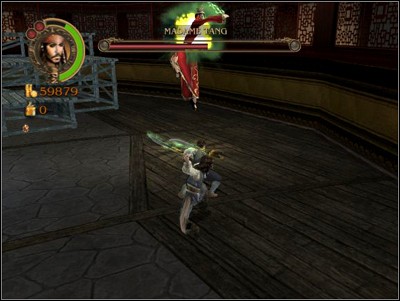
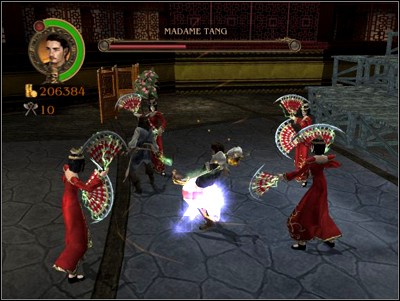
Madame Tang will run, leaving you in the company of armed Chinese warriors. Defeat them, then use the dragon statue to open the way onward. Negotiate the next obstacles in this way until you reach a square where Madame Tang awaits. NOT killing her is impossible.
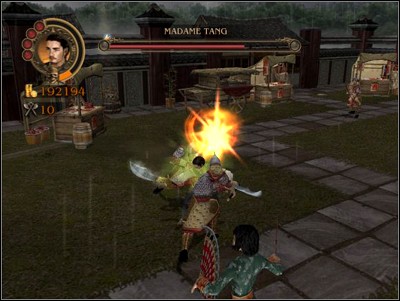
If you skewer her with hatchets, she shouldn't take more than a minute to defeat. Bust up the shopkeepers' stands to obtain another Map piece. Next, use the blinking skull icon to summon more warriors to kill. Bust the gate open with a powder keg, next return to where you began and take another keg, then blow up the second gate.
Come up to the fireworks cart to reach another area. Here you'll have to pass another series of traps, at the end of which is Madame Tang, this time running away like a good little wench.
Follow her to finish the mission, but first loot the crates on both your sides.
The new foe - clay statues - is a bit more hard to manage, being indestructible. Instead, they should be pushed into the nearby body of water. After you get rid of them, take care of the chest in the water.
Use the dragon statue to open the way onward. Pay attention to the niches on the right - the first Sword Upgrade is in one of them. In the room at the end of the corridor you'll encounter more clay warriors. After defeating them, destroy all kitchenware on the walls to obtain a Map Piece.
Next, head to the room where Madame Tang is conducting her ritual. Interrupt it by disabling the power-generating columns and the witch will stand and fight. This time she's more of a challenge as she replicates herself with magic.
Only one of the three apparitions is subject to damage and this is the one you should locate first, ignoring the rest if it is possible. After defeating her, an escape from an animated dragon statue awaits. On the way watch out for boxes and cut ropes to slow the beast's advance.
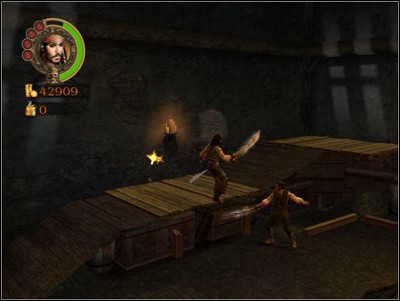
To start with, take care of the pirates and Pequeno's lackey on the platform - he has the key to unlock the way onward. After crossing the large doors run, destroying barricades on the way to the ropes keeping the ramp aloft.
Cut them and get out through the window to do so. On the right there's a treasure chest and a powder keg, but leave those for after you clear the area of pirates. The barrel will come in handy to bust up the stack of crates on your way when you go left. A Map Piece is inside one of them.
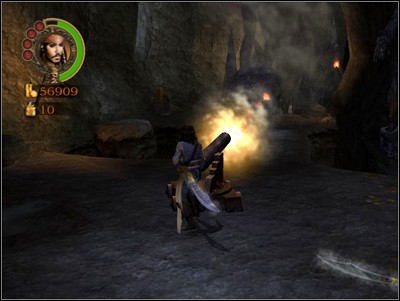
Barrels falling from the stairs will slow progress here, but disregard them and run up - time is important here as the Interceptor is under fire. After you get onboard, kill the gun crews and blow them up with powder kegs - two kegs for each cannon.
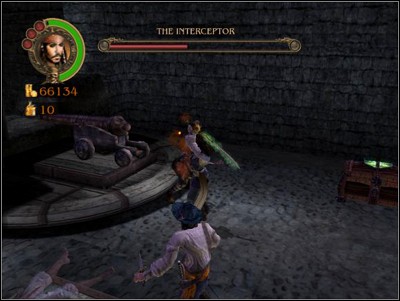
After the artillery is torn to shreds, kill all the remaining pirates to end the mission.
The entirety of this mission is the fight with Pequeno. Throw everything you have at him while dodging cannon fire. After he starts climbing the walls, quickly grab the powder kegs and try to knock him off. Each hit deals him serious damage, three are required to gain another Map Piece.
If you don't manage to knock Pequeno off in time, brace for the impact wave caused by his fall.

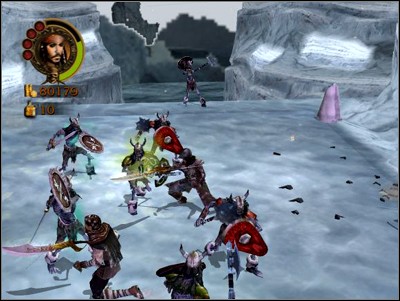
The Viking Warriors' Welcome Commitee is trying to turn your ship to firewood, so pull the powder away from the Interceptor - two explosions are enough to sink her. After this is dealt with and the warriors are toast, empty the chest, then circle the ship and push the snowball to open the way onward.
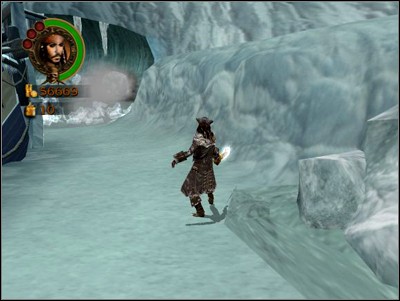
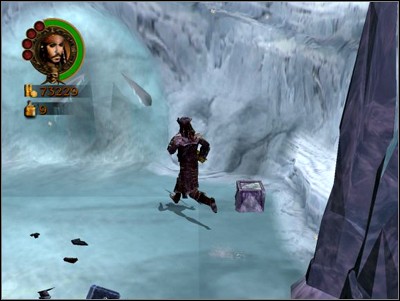
Before entering the cave, loot the treasure chest near the entrance. Ice Vikings will ambush you, during which you'll notice another treasure chest. Now there are two ways available - to the left is another ball to push through and a health chest.
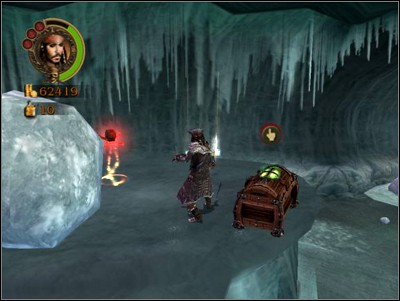
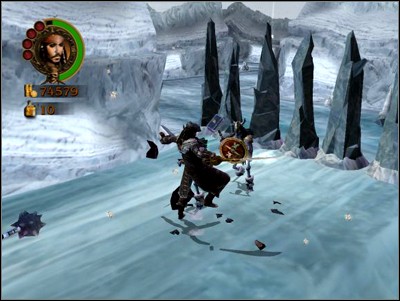
Next, go down the newly opened passage to the right, cutting down vikings as you go, until you reach a whale trapped under the ice. After watching the animation run towards the Ice Viking King's throne. Here, your goal is to destroy his throne (with Jack's Super Heavy Attack).
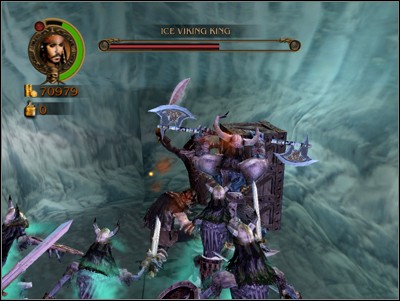
Fighting the King himself isn't much of a problem, but before he dies train him onto the stack of crates to the right - the King's attack should break it apart, unveiling a Map Piece. After the chieftain flees, return to the place you found the whale to end the mission.
This mission is a series of ambushes as the vikings try to stop the heroes from reaching the ship. At the first blockade toss a grog bomb at the frozen mammoth to unveil a Map Piece. bomby Jacka.
The next obstacle is the bridge although it makes our battle with the enemies easier - try to shove them off the bridge. Round the corner you'll find a chest, further down another.
After you reach the cliff, foes'll start coming in from everywhere. Defeat them and walk up to the edge to finish the mission.
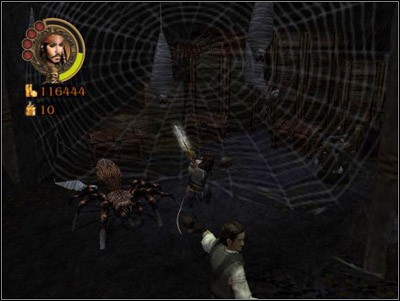
Break through the ranks of pirates until you reach the cannon - you'll need to blow up a way in the opposite wall with it. Spiderwebs will come in between you and an army of pirates, of which most can be eliminated by undermining the constructions on which they stand.
Don't try to force the cannon blockade, instead run to it's right side. Kill the spider's and run up. There's a ball there with which you can easily take out the entrenched pirates.
Having passed the blockade you'll notice a niche on the left, where apart from a health kit is a Map Piece - to get it, blow up the stack of crates.
After several melee's you'll reach another cannon, only this time the wall to blow up is blocked by a rock - move it to the side before you fire.
The way to the end of this mission is blocked by minor barricades, from behind which pirates shoot at you - this fragment is best done running, eliminating the cannon crews as you go.
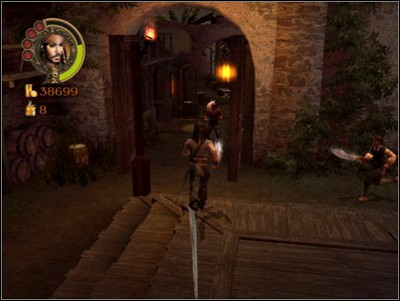
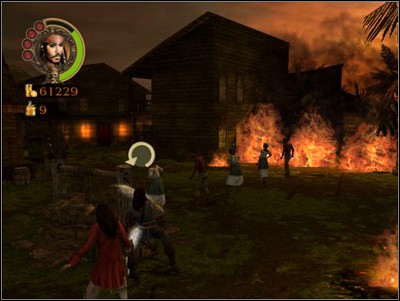
Empty the chest just next to the start point and run over to help the pinned-down peasant, who'll rush to the queue at the well. To open the way onward you need another person - a woman in the alley to the left whom you must first free from the pirates. When the girl joins the queue, come up to the well and play the minigame to extinguish the blaze.

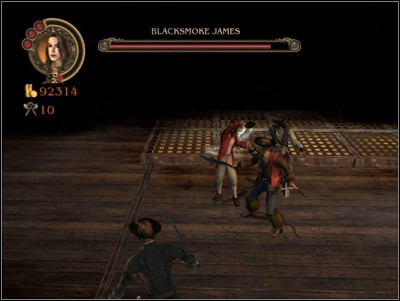
Go onward, only to stand face to face with Blacksmoke James, who apart from destroying a bit of the coast will unveil a Map Piece. Run from the coast to the path on the right until you reach the square. Help the hanging woman by running a wagon underneath her, then take out the pirates. On your way, blow up the wooden wall on your right and run through the courtyard until you reach the map piece.
After you get back to the well you'll take part in another minigame of extinguishing the fire.
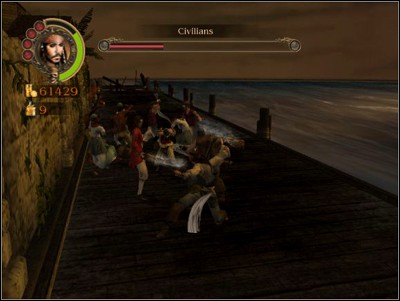
The way will open and the peasants' life will appear on the screen - it shouldn't be a problem until you reach the jetty - try to kill as many pirates before they run up, afterwards break their groups up with Heavy Attacks so they don't kill the peasants.
Immediately after the animation ends, run along the coast. After a brief fight with the pirates the dock will blow up and you'll need Elizabeth's axes to knock down the planks to clear your way. . Before you run onward, set the buoy closer to the camera on fire - a similar procedure will be required on the other four to obtain a Map Piece.
While running on the other side watch out for holes in the jetty and pirate marksmen shooting from afar, until you reach the estuary with the barrel of grog. On either side of it is a buoy. The fourth is in another estuary and the last one is at the end of the main dock on the right side.
After you set it aflame, knock over another set of planks with Elizabeth's help and run down the newly-formed path until you reach a Map Piece and a ship. After playing another minigame with the cannons you'll stand face to face with Cap'n Blacksmoke.
Fighting him is relatively easy until he uses his smoke screen - then you'll have to track him based on where he shoots from and smother him with powder kegs, or sneak a few hits in in melee.
After you deal sufficient damage to him, the smokescreen will subside - get as much damage as you can before the smokescreen is deployed again. Near the end of combat, Blacksmoke will cease fire, content with tossing bombs around - easy to dodge, but they hurt. Really bad.
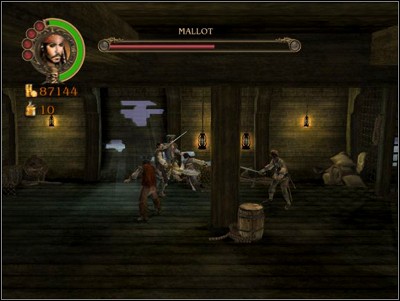
After getting out of the cell kill all the pirates and Mallot will come. It's easy to interrupt his attacks, so the fight with him isn't of the tedious sort. After he's in the cell, run up the stairs he came from. Upstairs you must stop the bombardment of the Interceptor - which is not an easy task, considering you must kill the two pirates guarding the powder room keys and destroy all cannons before the ship's health drops to zero. The kicker is the fact that if you toss a powder keg at a cannon still crewed, the keg will turn in midair and hit a crewman.

After you're done with this, go onward to Koehler - another boss, not very challenging. After the fight go down and release Mallot. This time killing him won't be hard - grog bombs and axes should be your main weapon here. Don't forget to check the cell for a Map Piece.
The beginning is easy, provided you keep moving, making sure no crewmember gets pinned by the pirates. After you get on the Pearl hit the switch on the right to lower the powder kegs.
Take one and run up, where you'll find a stack of crates with a Map Piece hidden inside. After all pirates are defeated, the Bo'sun will walk onboard. His whip deals heavy damage, so try to attack from afar until the damage you deal is enough to stun him.
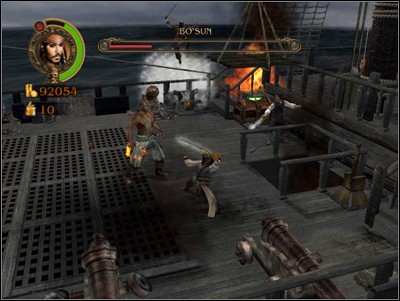
After he stops run to the side of the ship closer to the camera, and the Interceptor will give Bo'sun a cannonball in the face. Repeat this until the Bo'sun lands overboard.

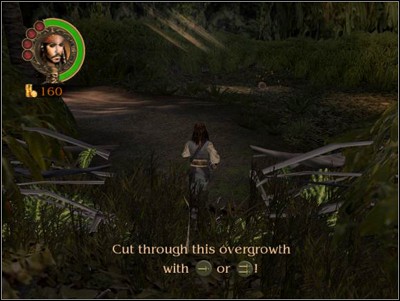
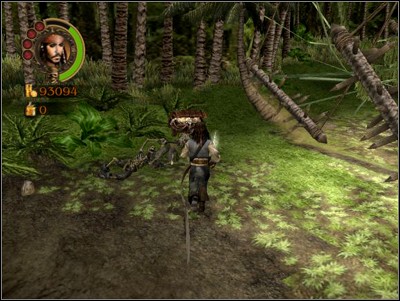
Take care of the spider, next cut the vines blocking the way into the jungle. The first enemies are the large spiders on the bridge - takes several blows to kill one.
Next, there are log traps behind which, shrouded by vines, is a chest with a map piece. Farther along the way is a wall of carnivorous plants, and next to them a hidden alcove with a barrel of grog and a Sword Upgrade.
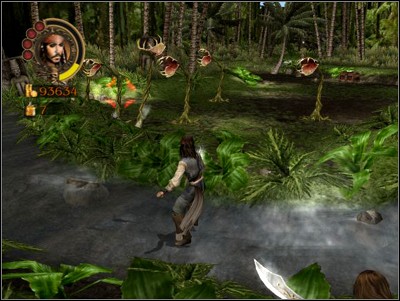
Burn the plants and go onward, loot the treasure chest and use the altar to trigger a cutscene. Earth Elementals are identical from Ice Elementals except Jack's flaming sword isn't as effective. After you take care of the monsters go back where you came from, cutting down enemies as you go.
After you defeat the Elementals on the beach, the mission ends.
First you'll have to find the two halves of the bell, rescuing a soldier hanging from the side on the way (he'll hand you a map piece).
After you find both halves, a fight with Pintel and Ragetti awaits you - Ragetti will lose an eye in the melee which you can then use as the bell clapper.
When you warn the soldiers of the attack, you'll have to hold the line until they come back, then pull up three boats.

With reinforcements like this, defeating the pirates is only a matter of time.
First empty the chest to the left, next run down the path until you reach the cannon. The wall to it's left will fall apart after throwing a powder keg at it, unveiling a chest with a Map Piece.
Next use the cannon and your prowess to clear a path to the caves. Here you can fight the pirates or just run by, opening doors on the end of each bridge.
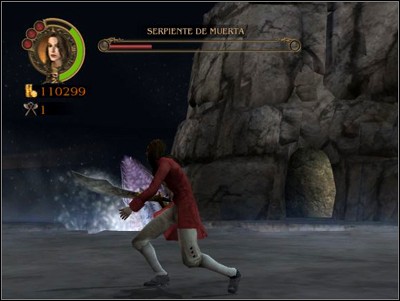
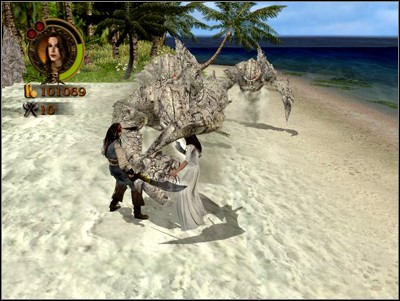
After you get outside, a fight with the Serpent de Muerte awaits, which in practice boils down to throwing axes at the beast, easily replenished in the barrel to the right. After defeating it run over it's body to start the next mission.
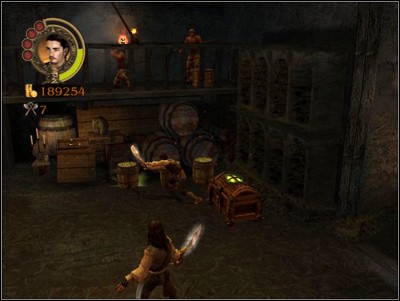
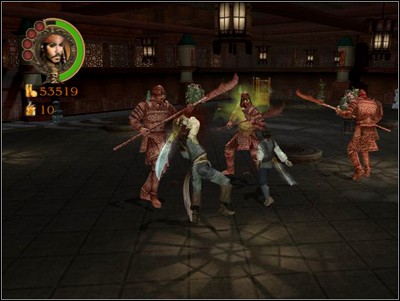
After you defeat all the pirates go up to the treasure-bearing sarcophagus - Jack and Will will be cursed, which means they take only half the damage dealt. Follow Barbossa's tracks, looting treasure chests on the way, until you reach a room full of spiders.
After you finish off the beasts, cut up the webs, loot the chests and go to the right side of the room, where you must cut the base of the platform with an axe. After you get to the top, push the stone and check the chest on the left of the fire - a map piece is inside. Walk into the secret passage opened by Barbossa and you'll find yourself in another treasury. Here you'll fight first his henchmen, then Barbossa himself.
The fight with him is the longest - his knockback attack, the fact he picks up the shield every so often as well as the musketeers capable of interrupting our attacks make it very difficult. After you empty both your heroes' ammo, use Heavy attacks to pummel Barbossa. The captain's defeat will finish Jack's colorful history.
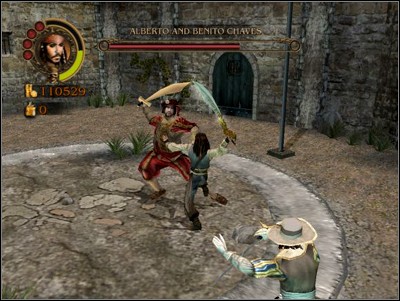
You'll start off by fighting Alberto Chaves, whose health will quickly deplete under your blows. After a quarter of his health bar is gone, Benito will join in, and after reducing their health by 3/4's Celio will join in as well.
The best way to kill the three is to toss bombs and hatchets at them - the former deal a lot of damage.
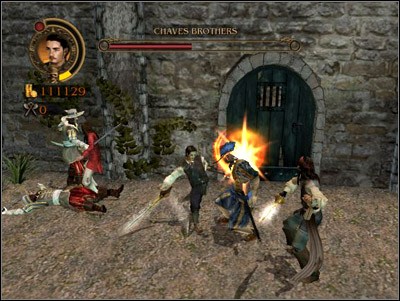
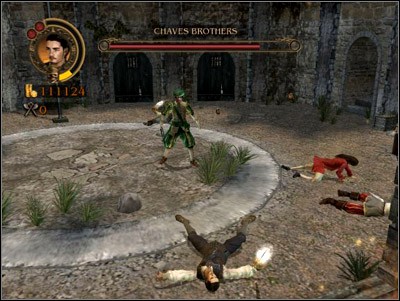
After they fall, take the keys and move through the gate - Spanish musketeers wait there, eager to end your life.
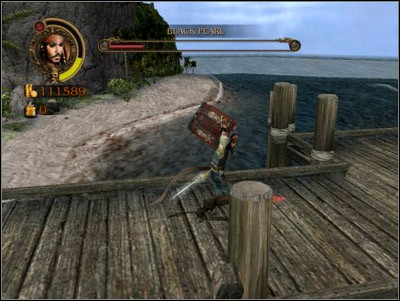
Before you get onboard the Pearl take the barrel near the entrance and blow up the stack of crates on the other side of the fotrt, revealing the last Map Piece.
From the deck of the Pearl you'll have to shell the whole fort - the game will end after not a shred of it's walls remains.


 Prison Break: The Conspiracy Game Guide & Walkthrough
 Pillars of Eternity Game Guide & Walkthrough
 Prototype Game Guide & Walkthrough
 Path of Exile Game Guide & Walkthrough
 Peter Jacksons King Kong Game Guide & Walkthrough