Broken Age (Act1) Walkthrough Sugar Bunting and the Maiden's Feast
We'll begin with Vella as I like how the story unfolds from that route.
If you're following along with this walkthrough go ahead and click on Vella to begin.

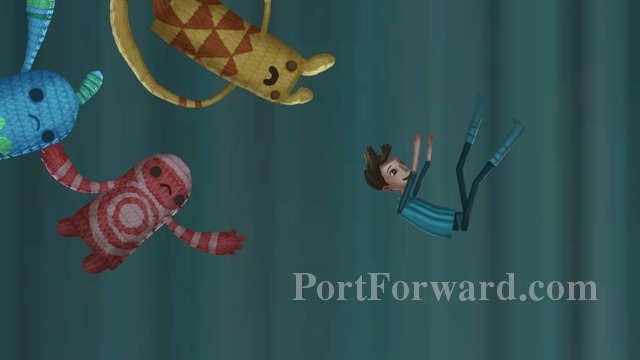
Take a moment to enjoy the beautiful art this game has. I also really enjoyed the sound here- it has a very cinematic quality to. Especially when you have surround sound.
When you're ready to proceed click the screen (anywhere is fine) to wake Vella up.
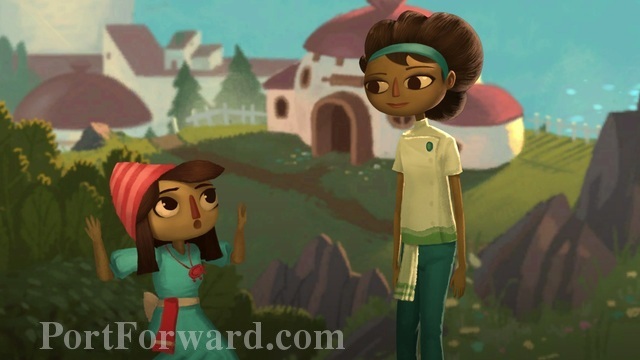
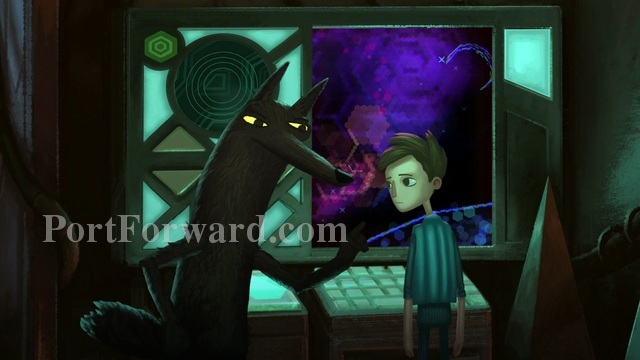
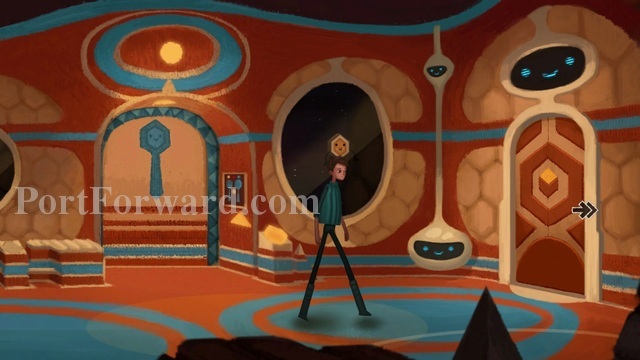
The first thing you'll want to do is walk to the left and talk to Vella's little sister.
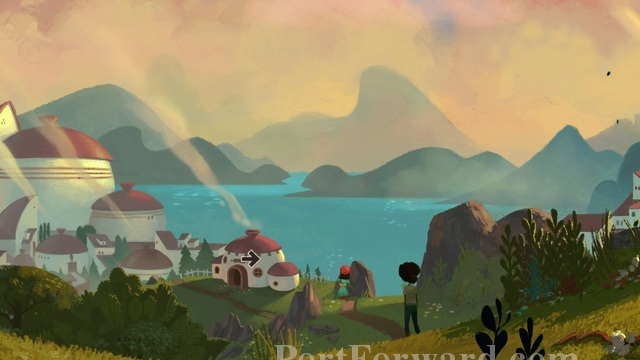
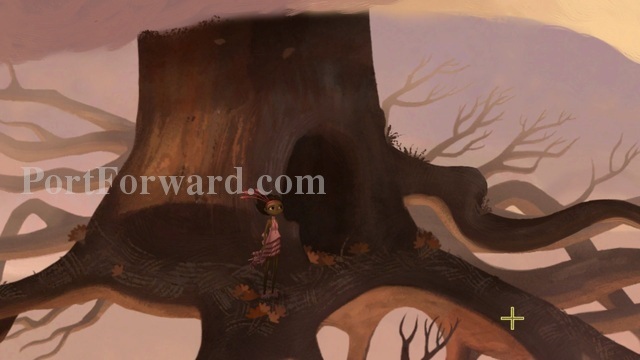
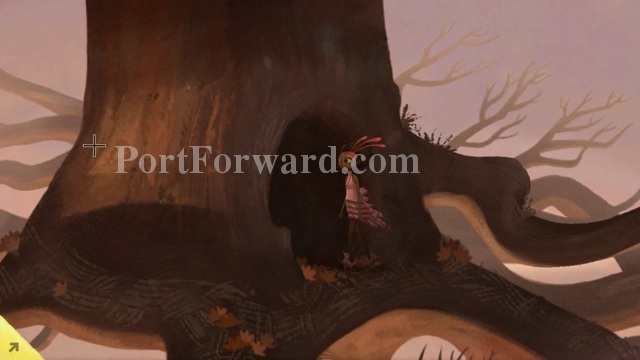
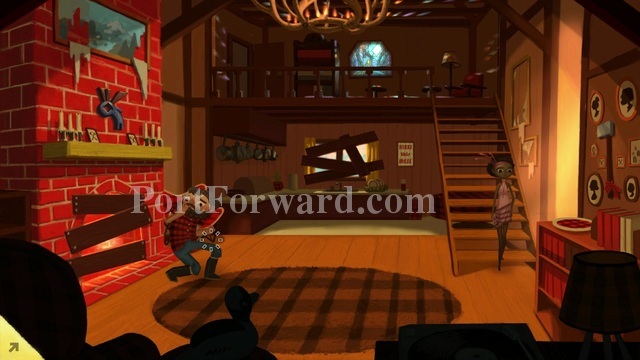
After their conversation follow Vella's sister towards the first house in the background. Click on the doorway to enter the house.
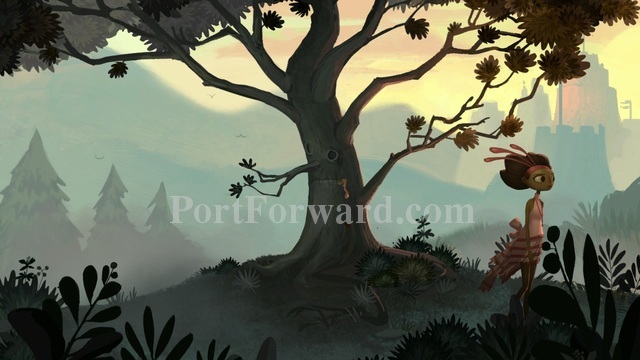
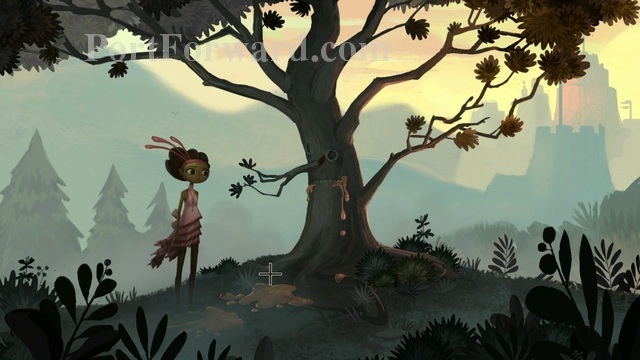
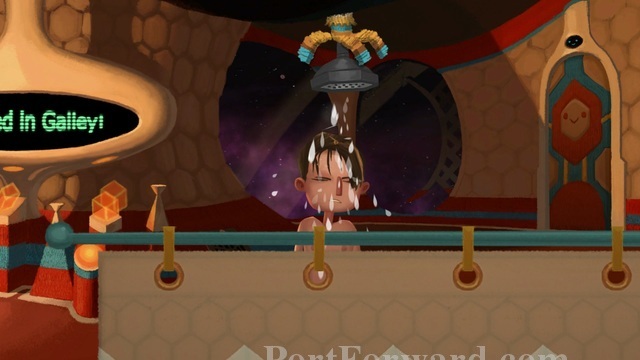
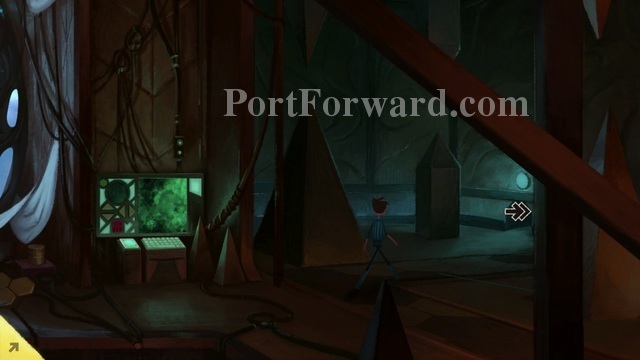
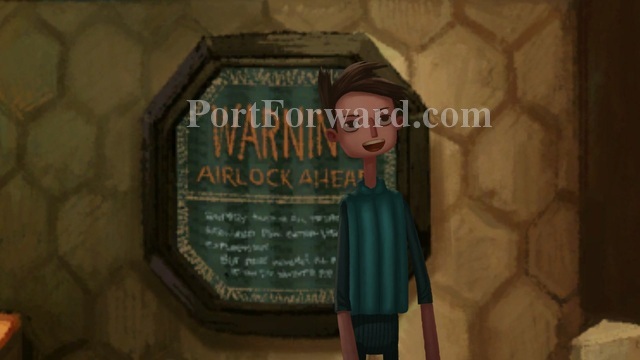
Wo. It's dark, and there are strange sounds coming from here.
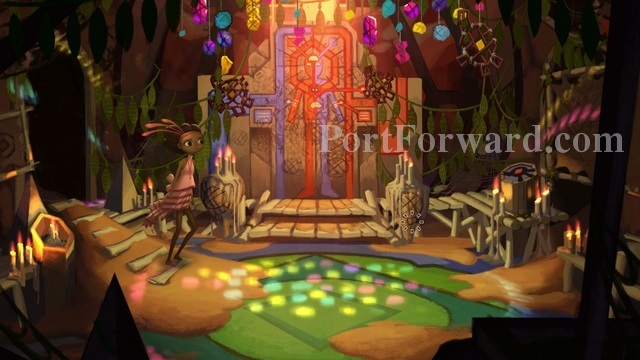
When you've gathered your wits click ahead of Vella to move forward into the room.
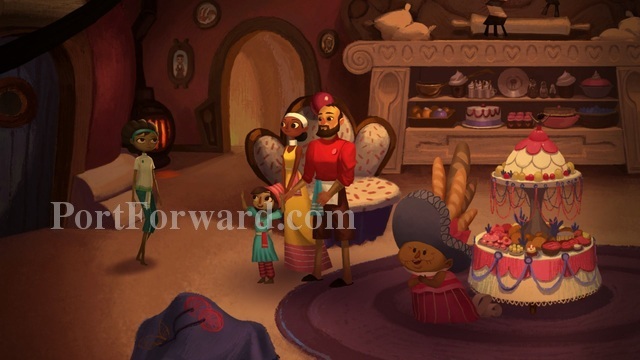
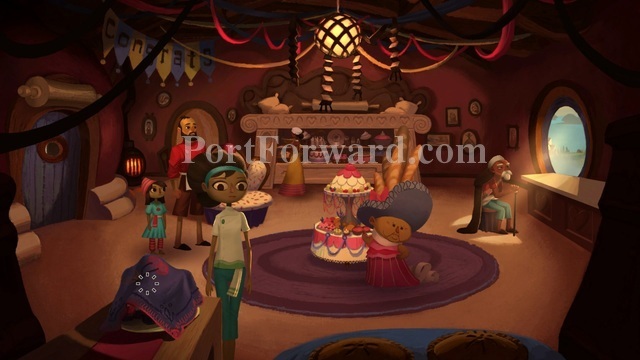
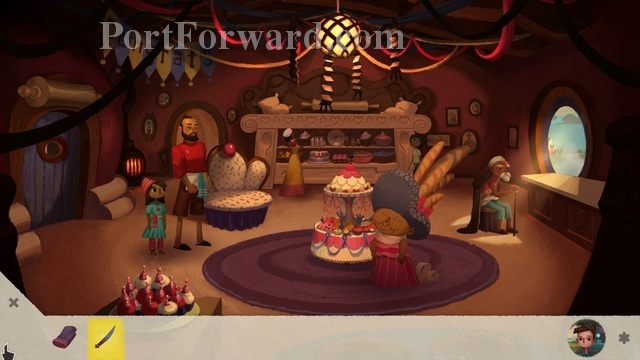
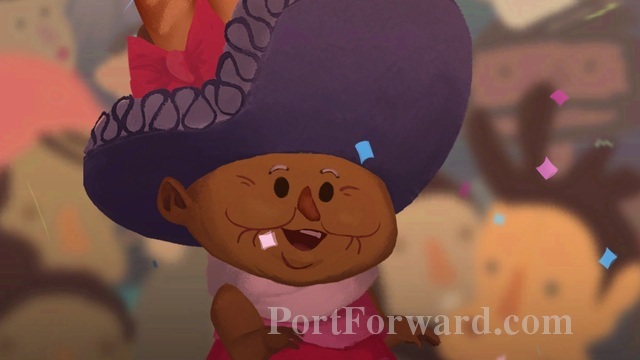
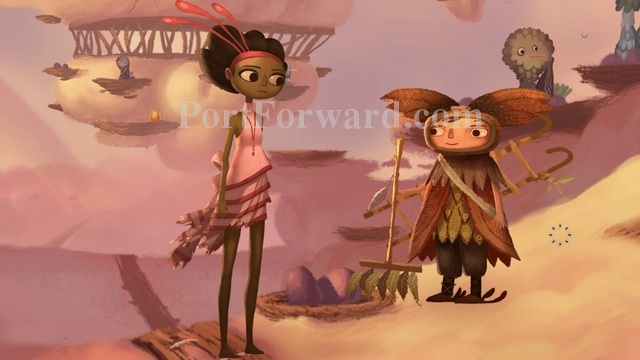
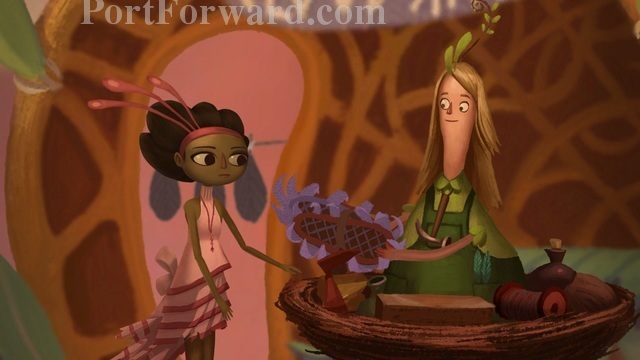
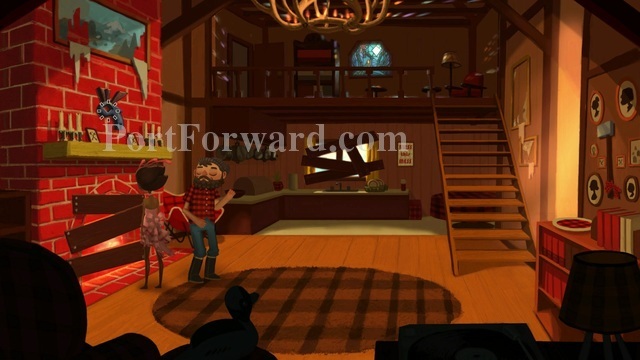
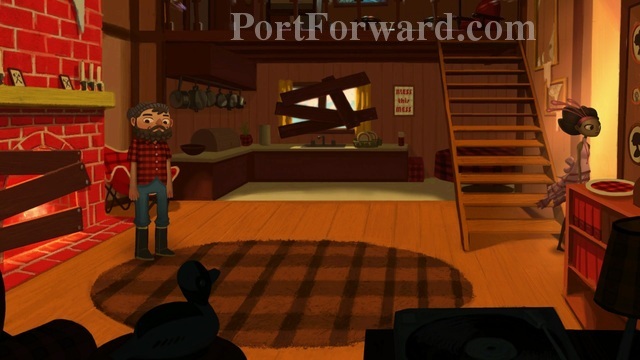
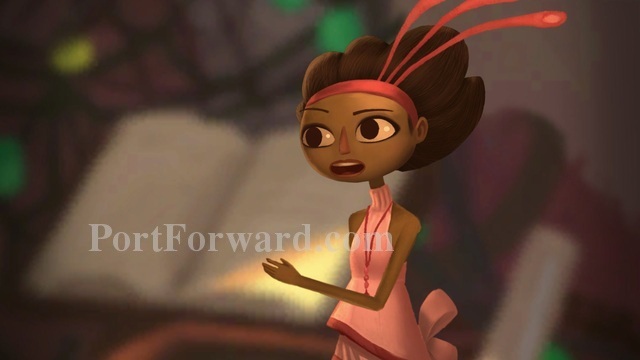
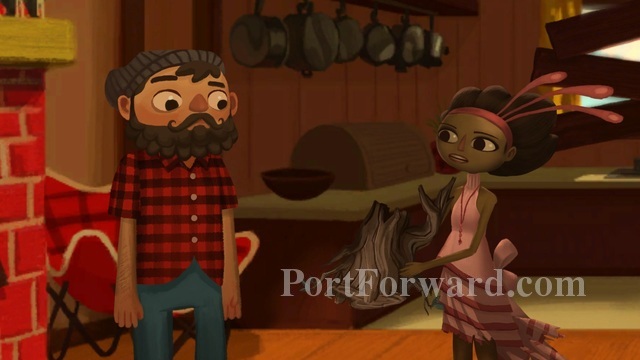
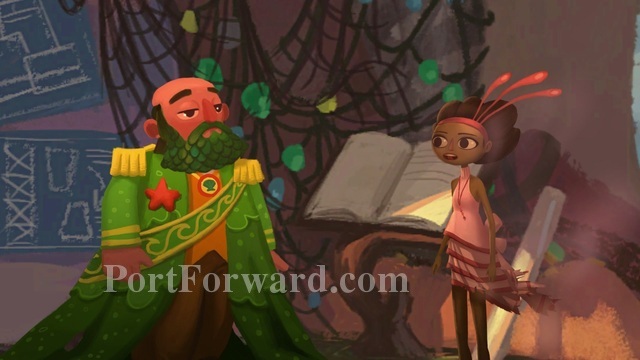
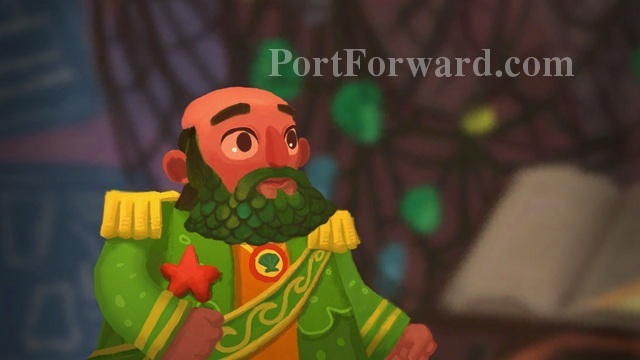
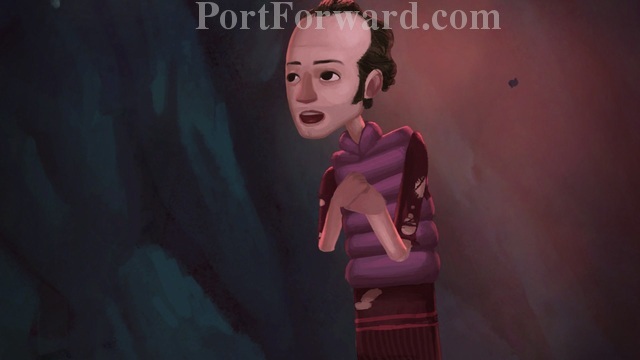
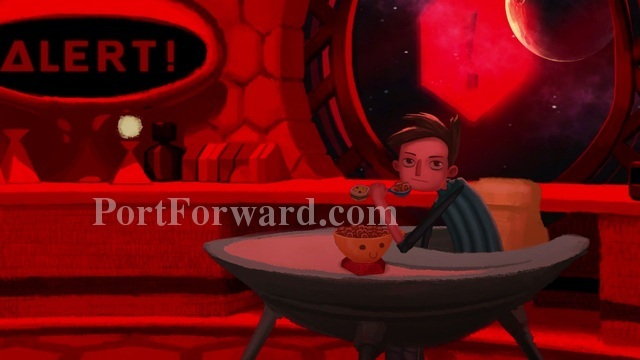
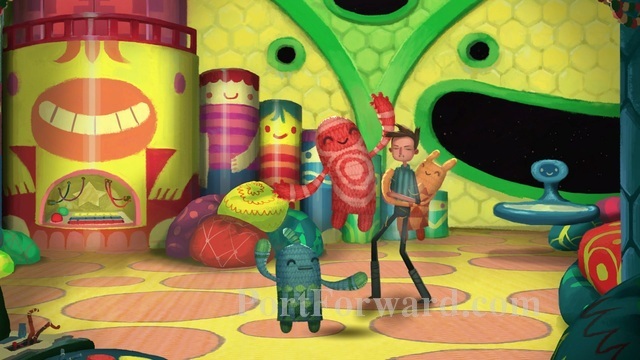
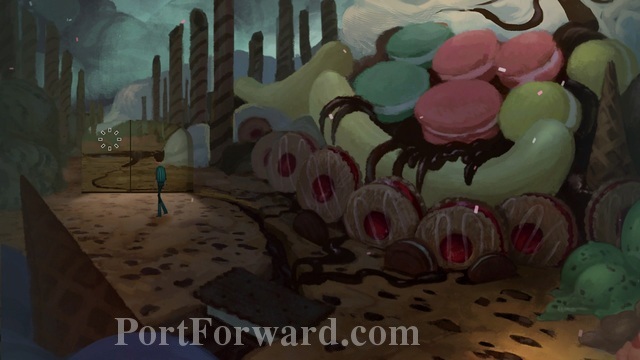
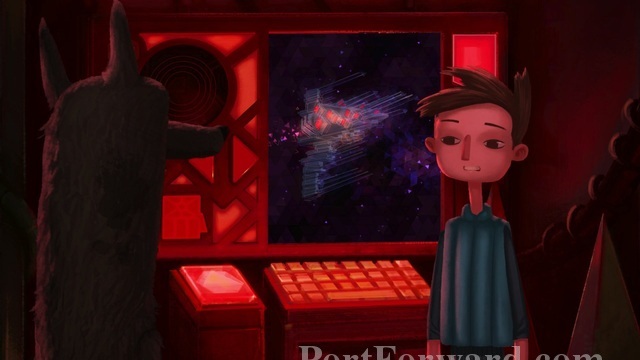
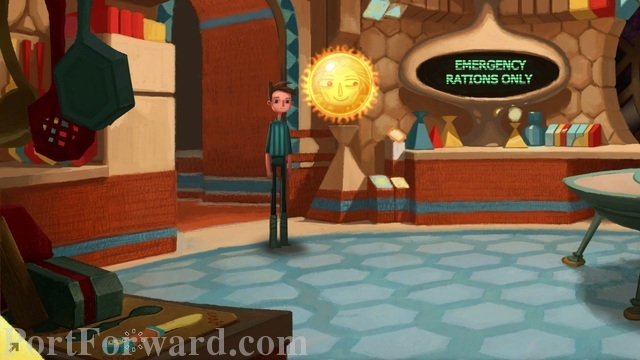
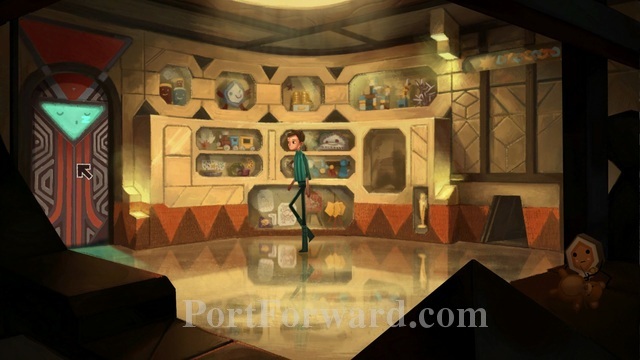
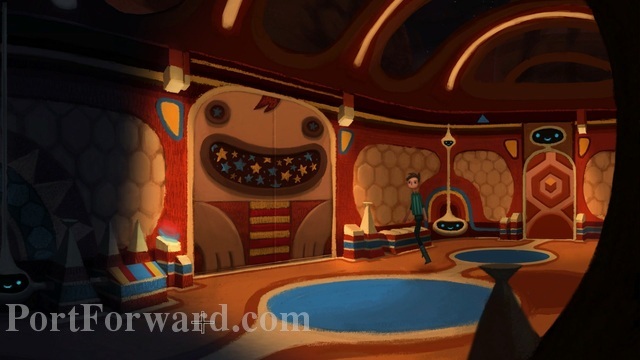
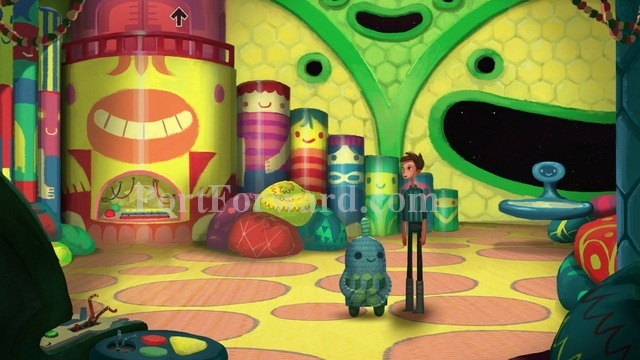
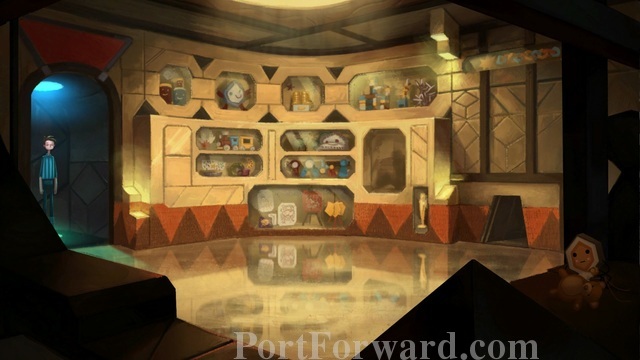
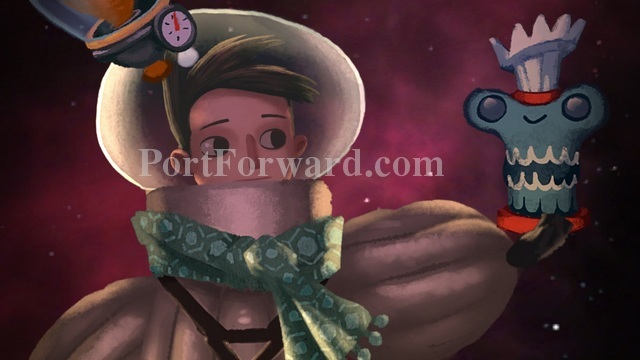
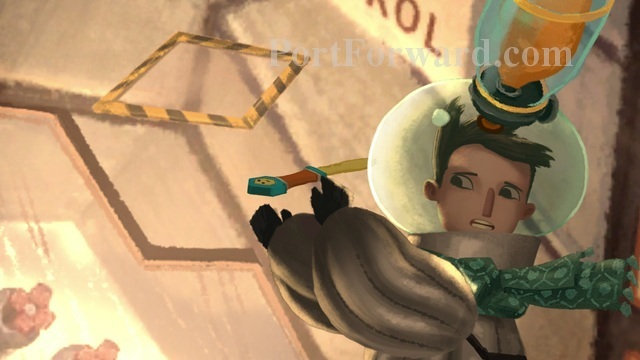
SURPRISE! It's a party for Vella's special day. The whole family is here.
After the discussion ends we know two things: The "ceremonial knife" is missing, and Grandpa wants to eat cake. "BAH!"
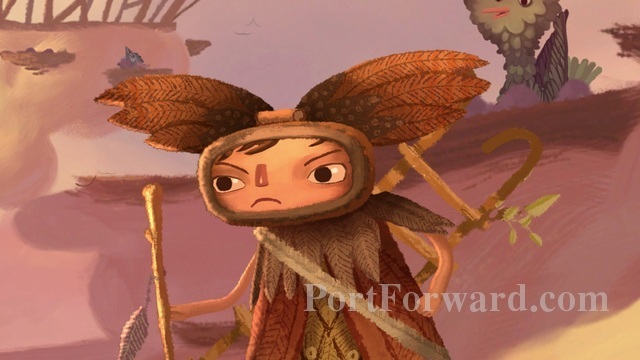
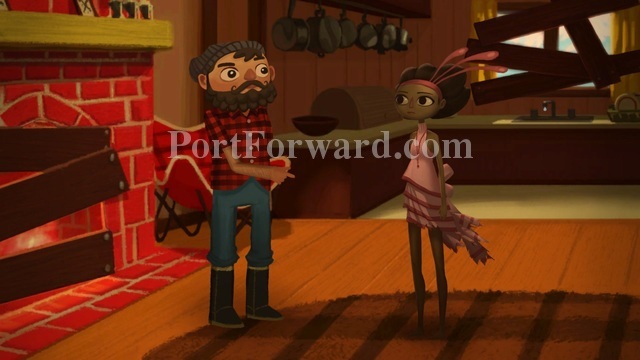
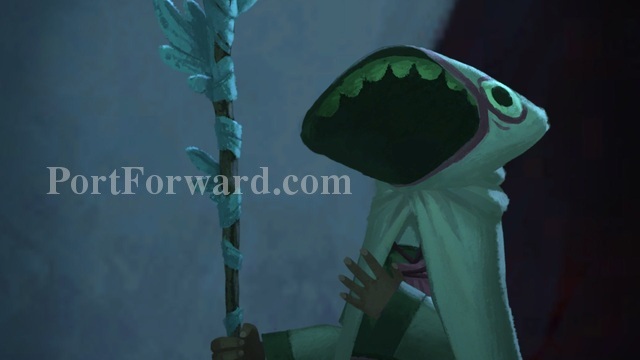
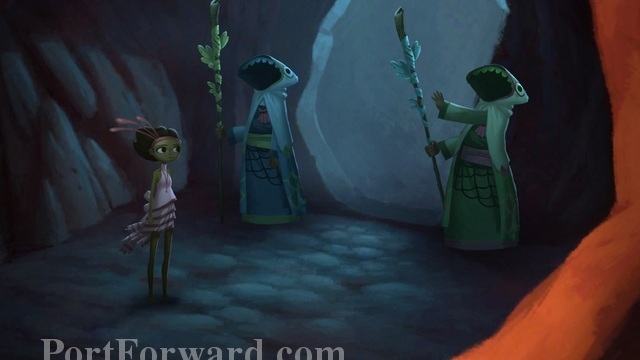
Go ahead and talk to everybody. I recommend starting from the left as the most conversation is from Lavina and Grandpa. Nobody else has much to say.
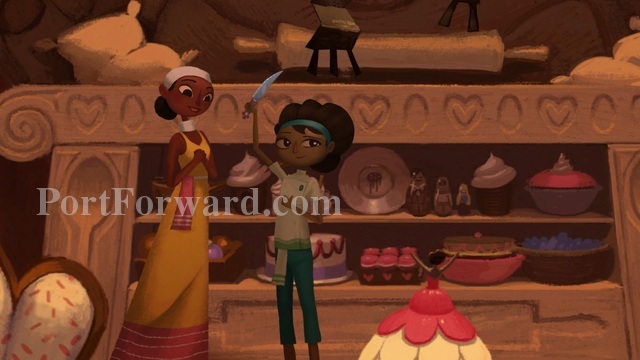
When you talk to Lavina she will give you some decent exposition about what all the hub-bub is about. I also recommend discussing the back story for Mog Chothra. Other than that Lavina tells us she doesn't know where the knife is and she wouldn't hide it because the maiden's feast is a big deal to her and you're already late to get there.
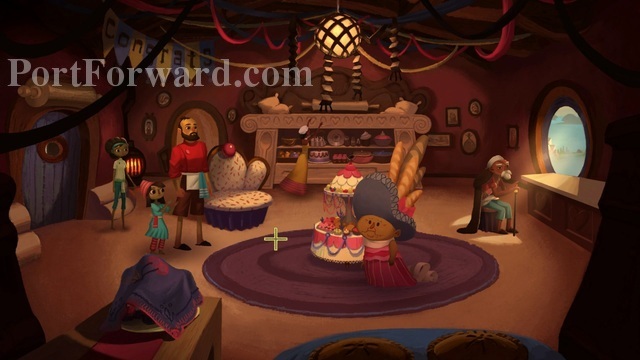
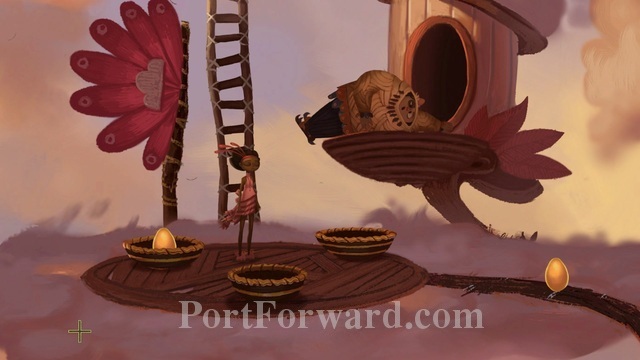
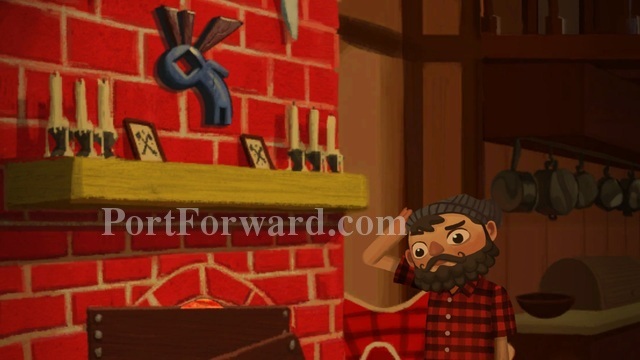
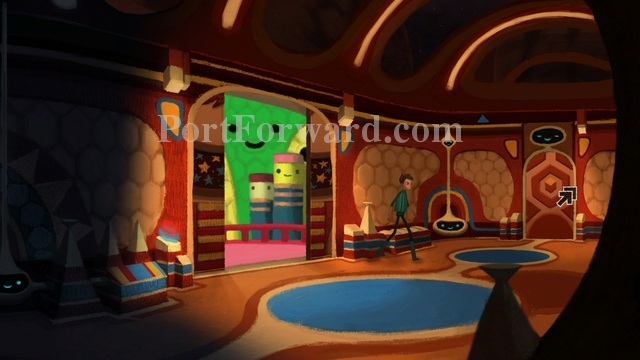
After talking to Lavina, notice in the bottom left of the screen. There's a towel there. Go ahead and click on that to pick it up.
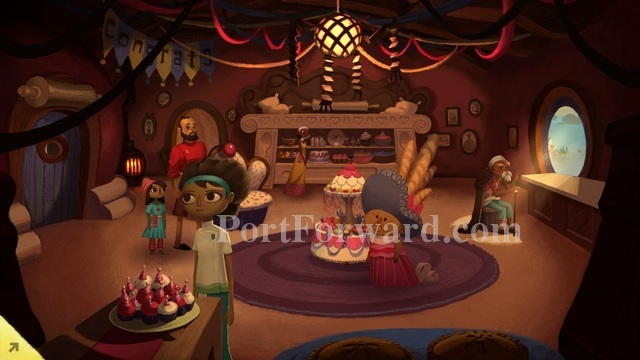
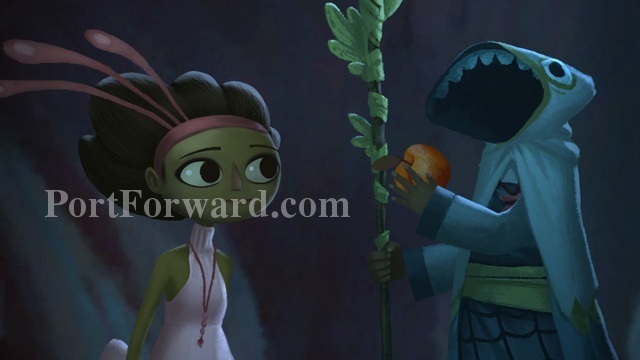
Yay! Cupcakes!
Click on them to take one. Vella's Sister will tell you not to take a red one, but don't worry about that (you can't affect which one you take).
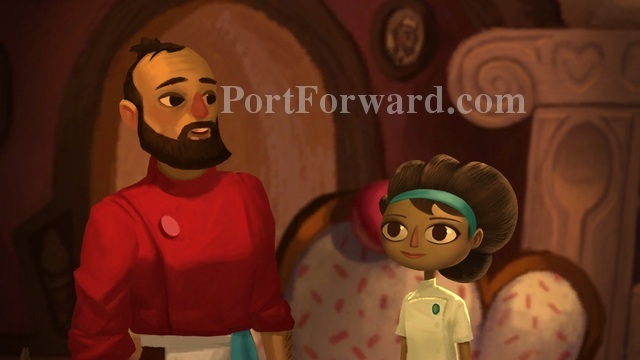
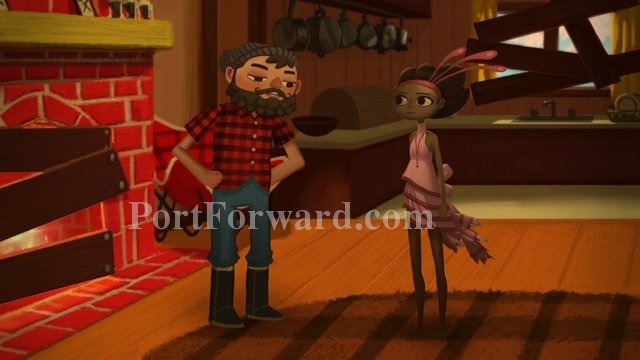
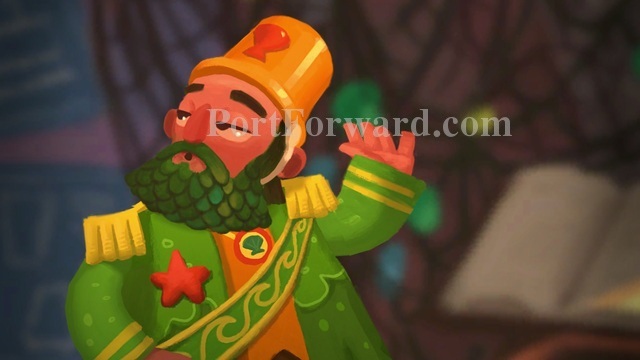
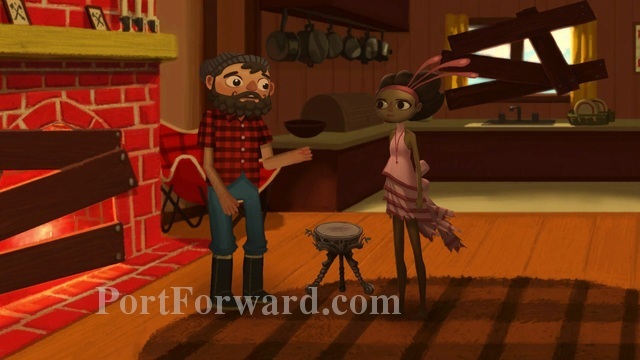
When you're done enjoying the cupcakes go ahead and talk to Grandpa.
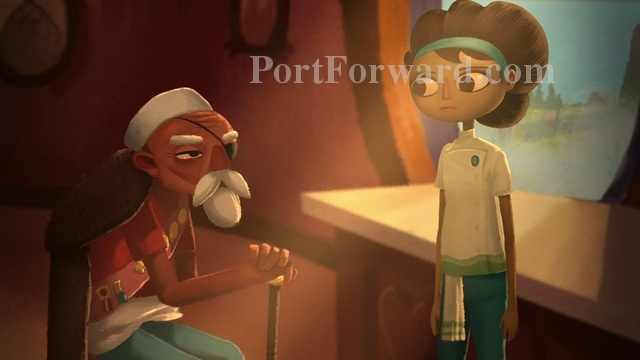
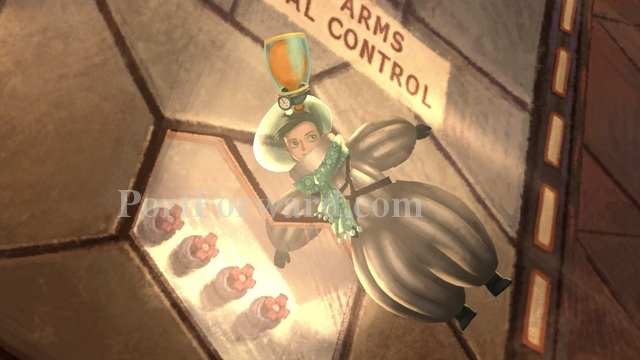
You'll find fairly quickly (even before now really) that Grandpa isn't cool with the whole "sacrificing young girls to Mog Chothra" thing. He gives some good history on why things are this way now. He also tells you he wants a cupcake.
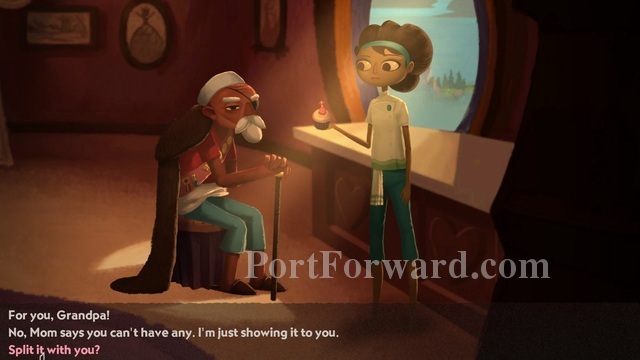
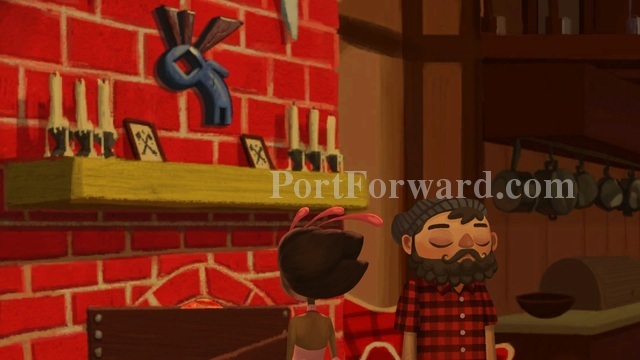
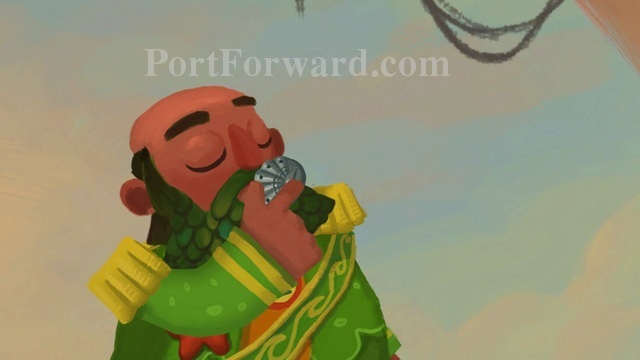
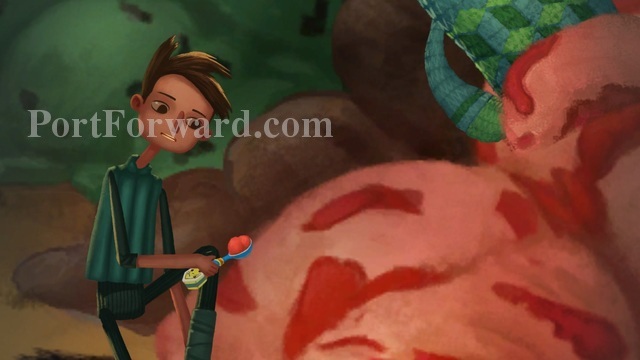
Go to your inventory and click and drag the cupcake over Grandpa. This opens up some dialogue options. The others are funny but also red herrings. What you want to do is select to split it with Grandpa.
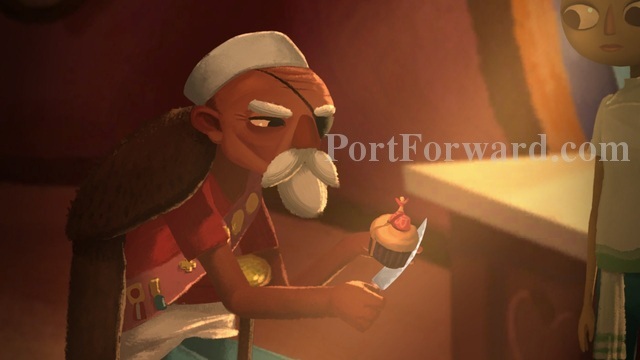
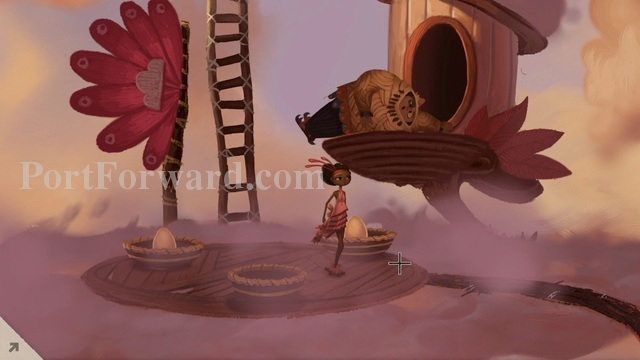
Doing so forces Grandpa to take out the knife and unwittingly cut the cupcake with it to split with you. He will then absentmindedly throws it on the window sill next to you.
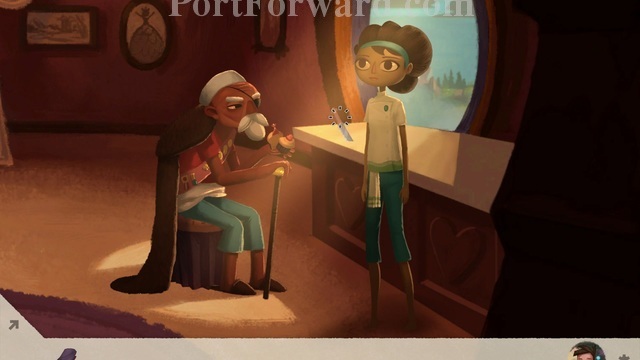
When the scene is done. Go ahead and click on the knife to pick it up.
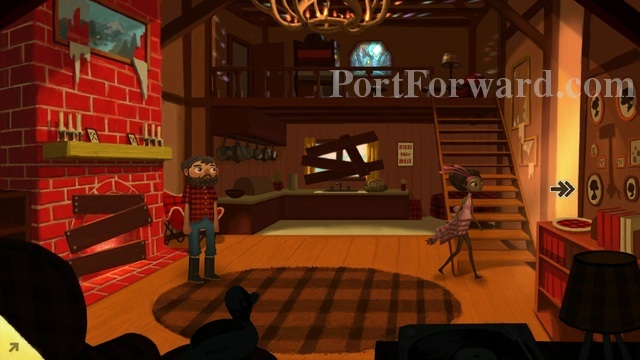
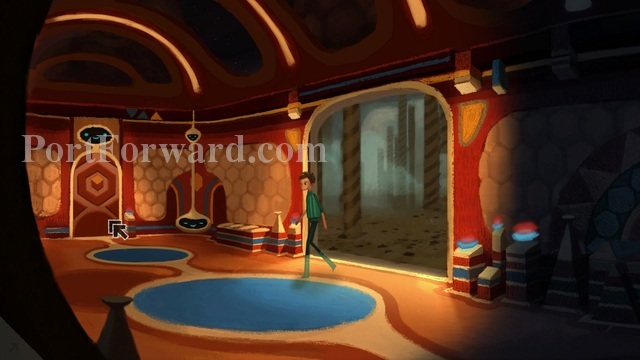
Head a little to the left (to expand the view back to the whole room) and then go to your inventory. Click and drag the knife over Mom to give it to her.
Vella gives her mom the knife, but asks again why they don't just fight back. This is again met with dismissive answers.
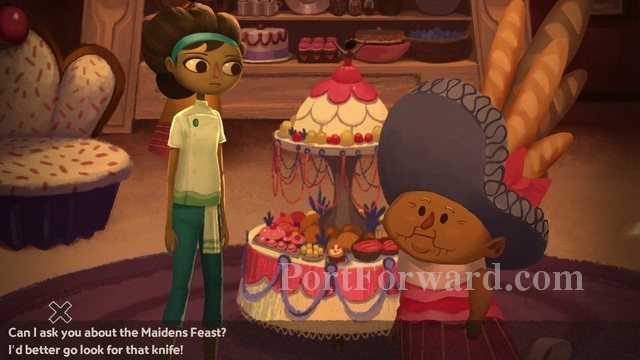
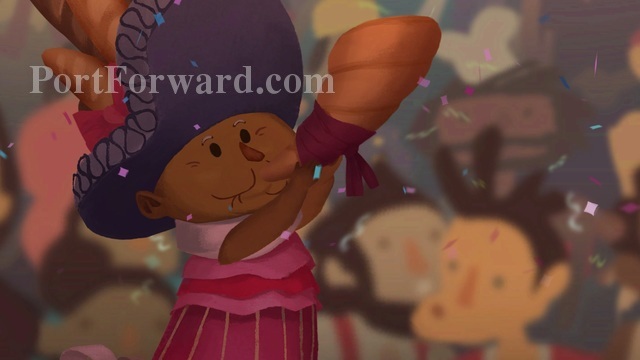
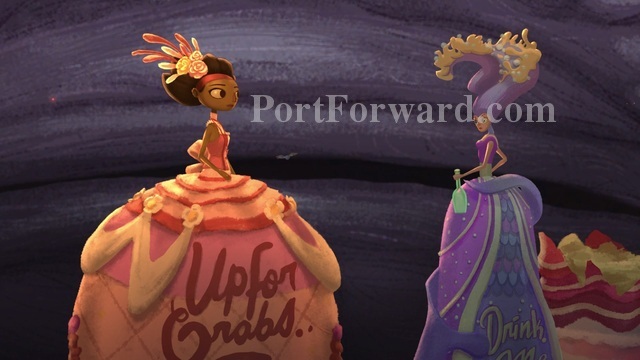
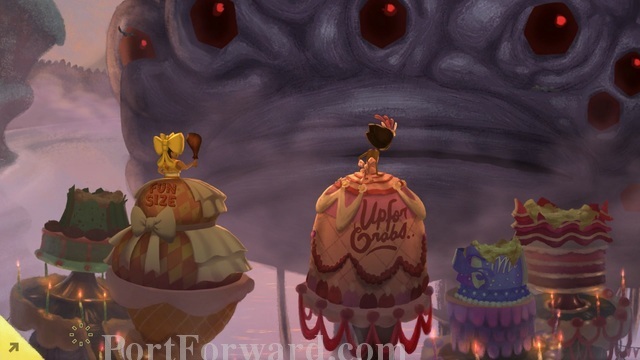
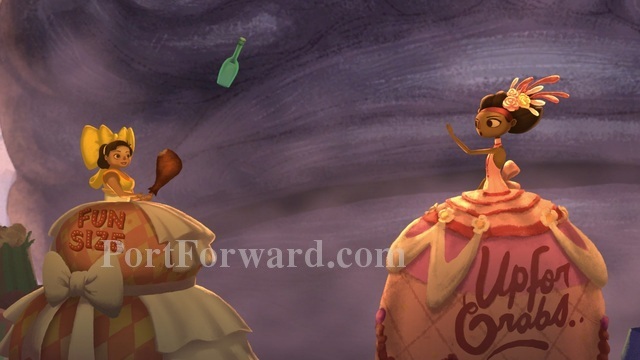
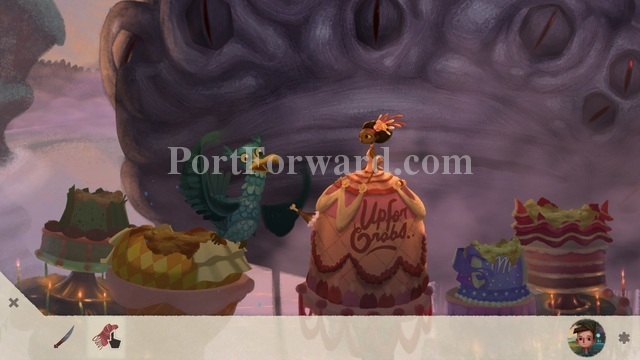
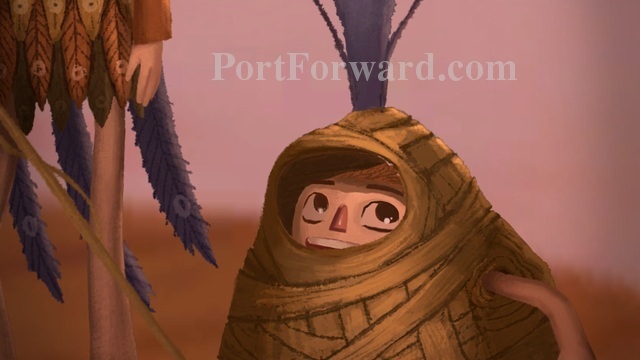
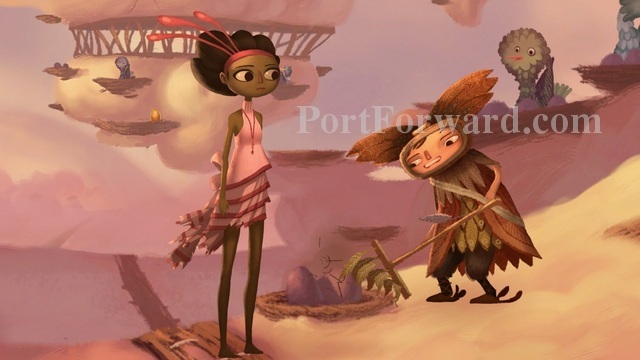
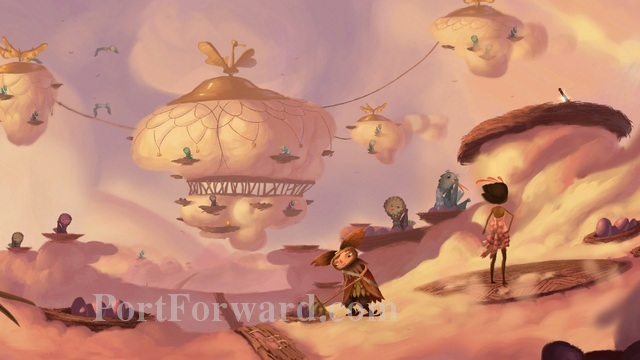
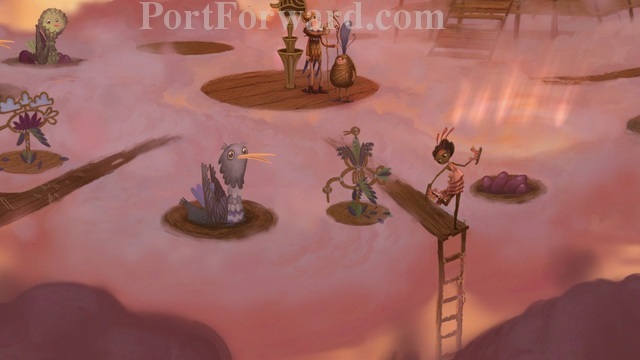
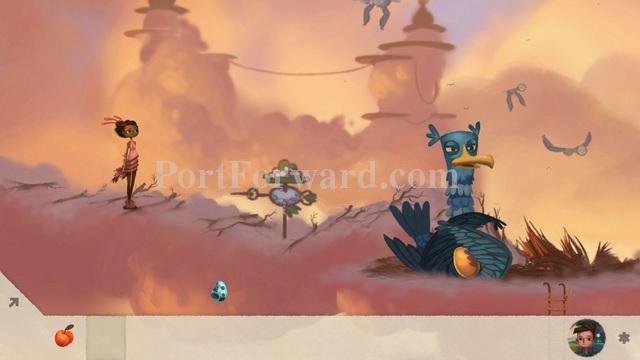
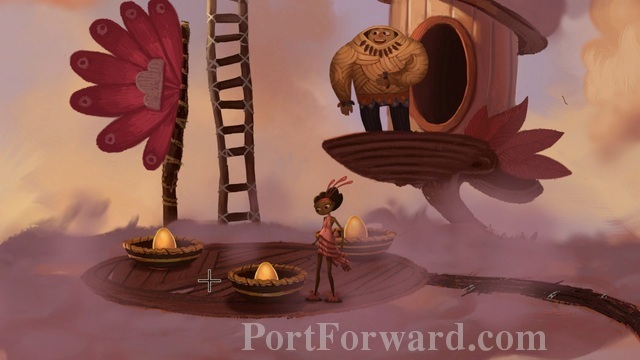
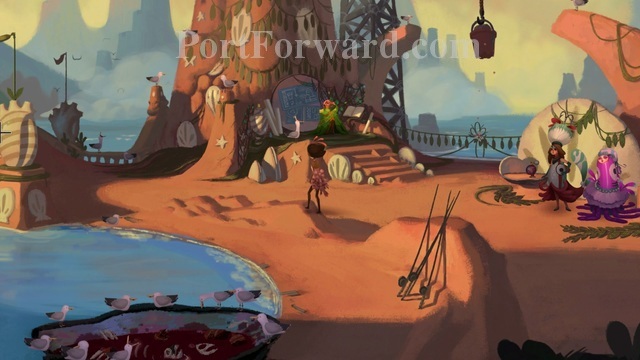
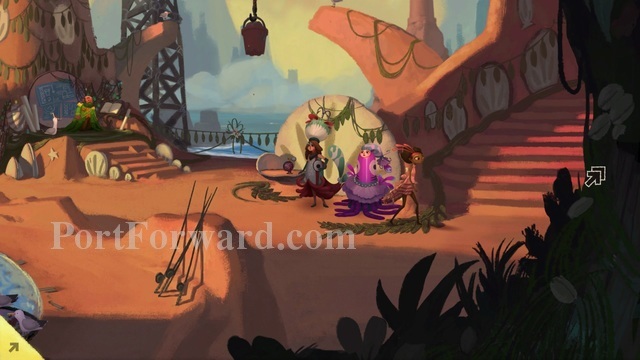
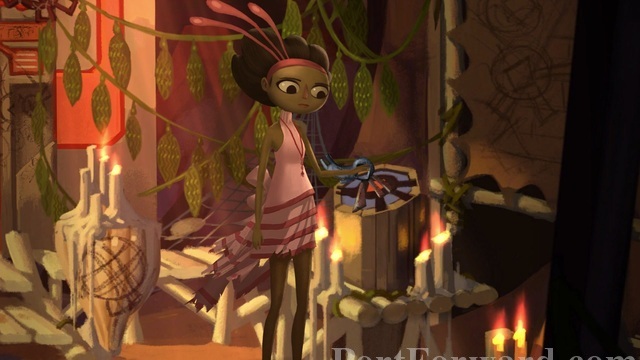
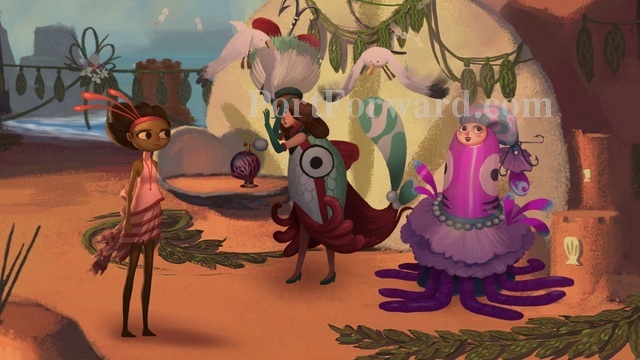
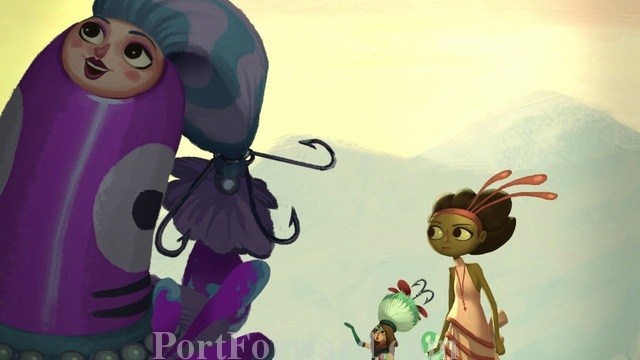
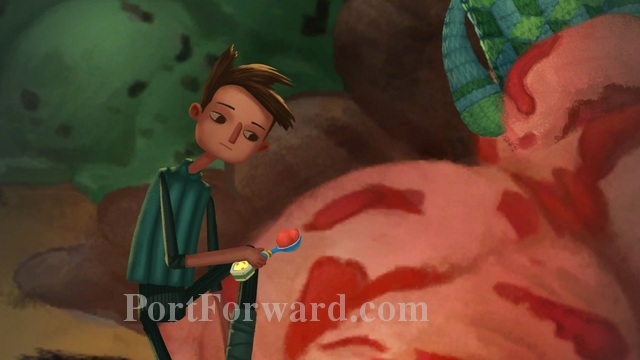
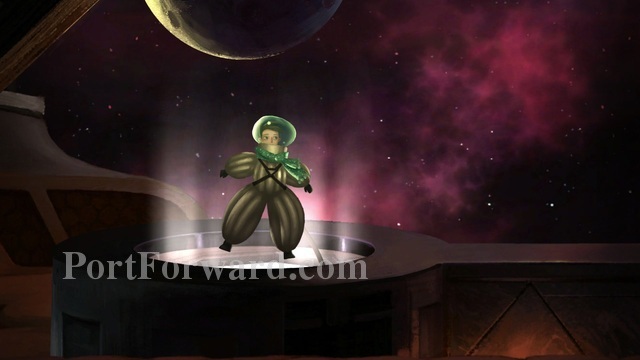
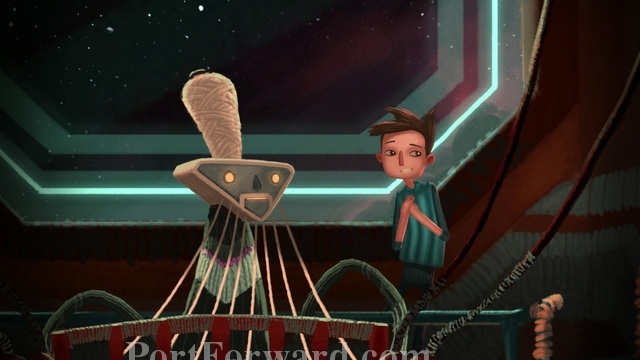
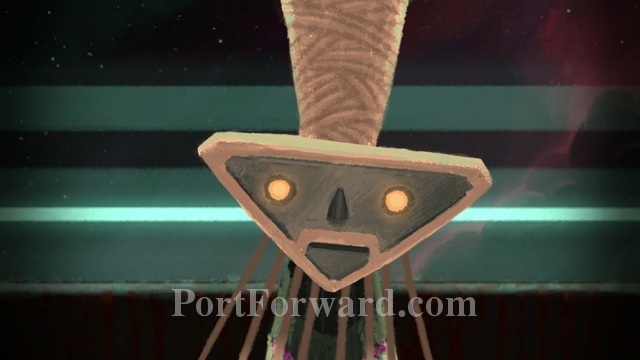
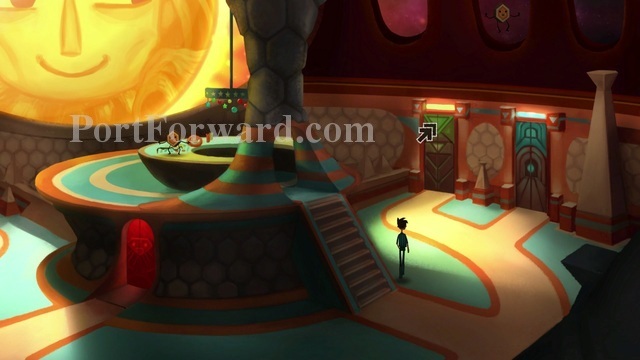
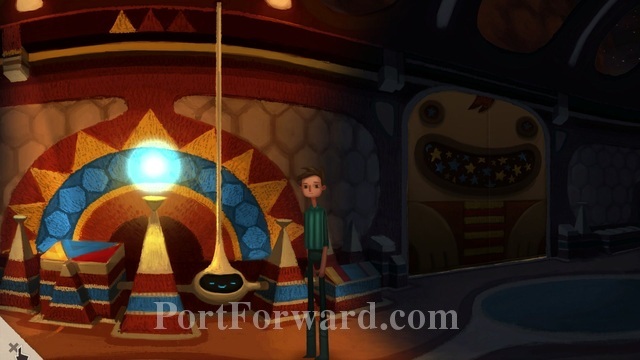
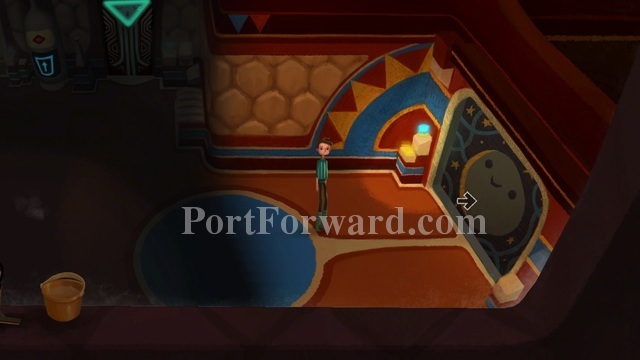
Welcome to the Maiden's feast. Everyone here is extraordinarily excited for this gruesome event. Well, almost everybody.
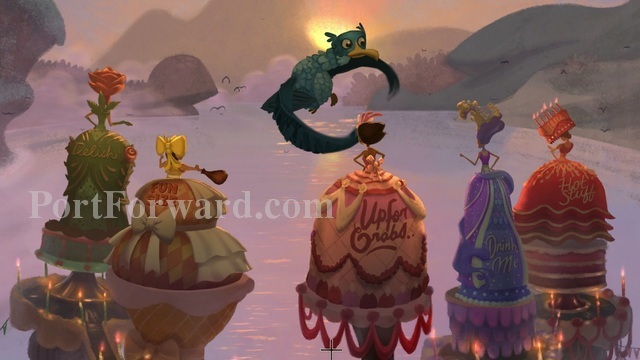
When the scene is done you'll notice 4 other maidens around, and also a big blue bird that keeps swooping down trying to get a drumstick the yellow maiden is swinging around.
You'll need to talk to each of the maidens, and you'll notice that they are all very much into the idea of getting eaten by Mog Chothra. They aren't especially interested in helping you escape.
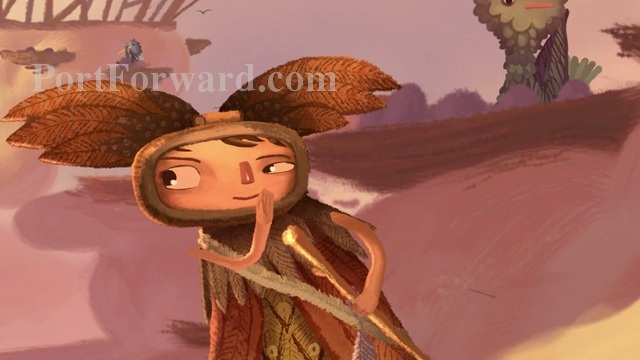
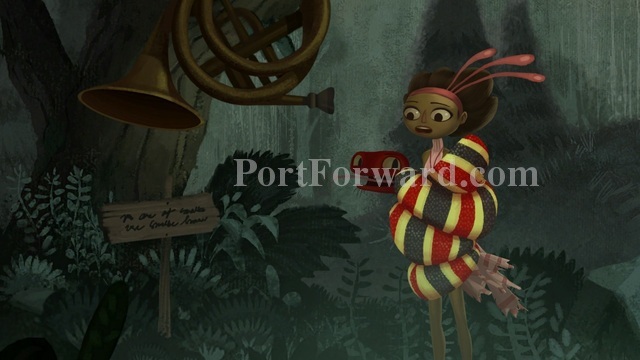
When you try to talk to the purple maiden and the yellow maiden you get dialogue options. Right now just speak to them about everything you can to understand what all your options are right now.
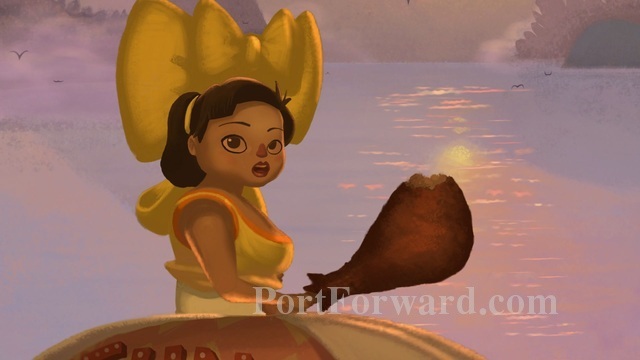
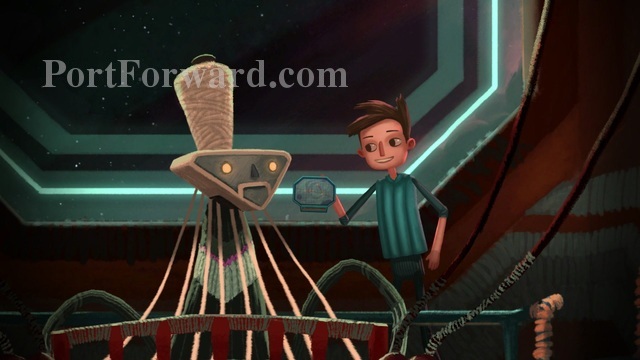
The most important conversation point comes from the yellow maiden. When Vella tells her she is "making her hungry" it opens up an option to trade for the drumstick she is eating. You can try trading what you currently have (and the satisfaction of helping out a fellow maiden) but nothing is good enough just yet.
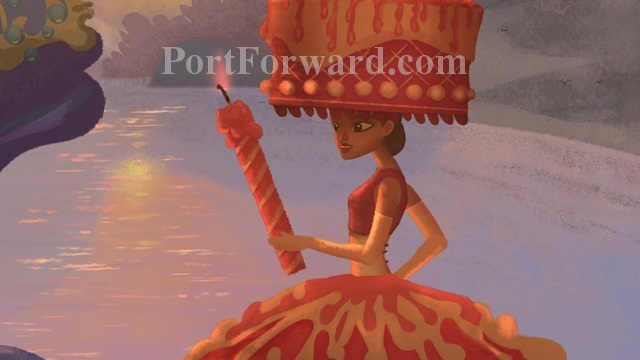
After talking with all four girls Lavina will blow a horn signifying that Mog Chothra is on his way (and that you are moving on to the next phase of this scene). If you're observant you'll also notice the purple maiden now has a drink that she's chugging.
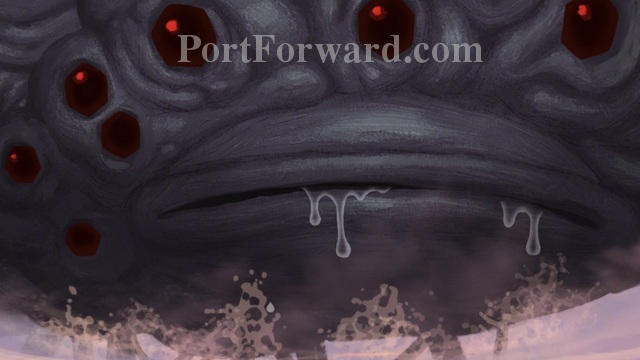
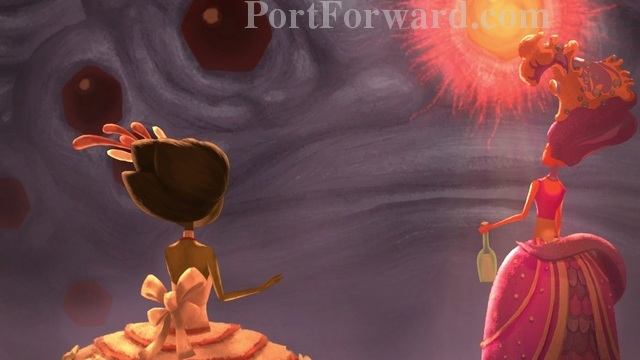
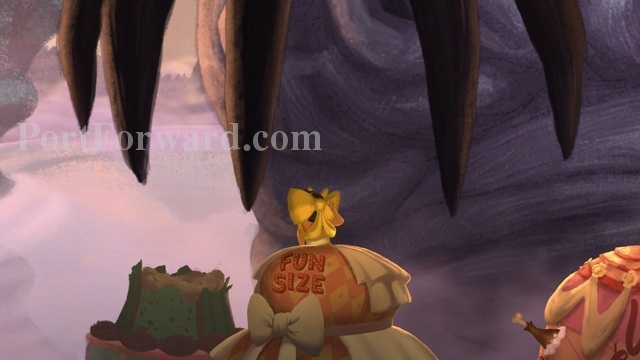
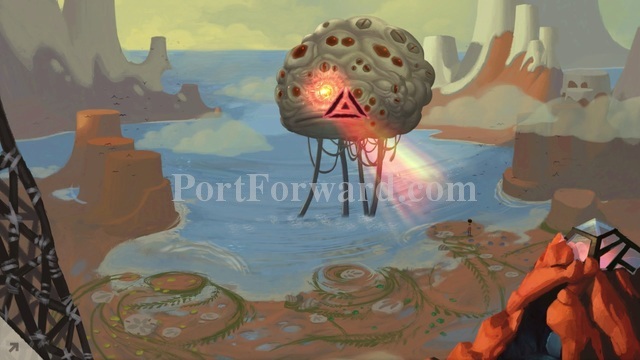
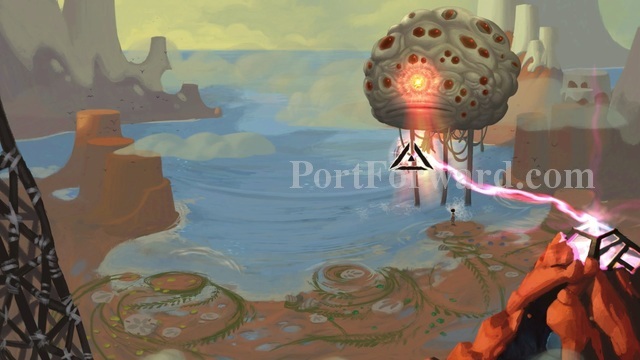
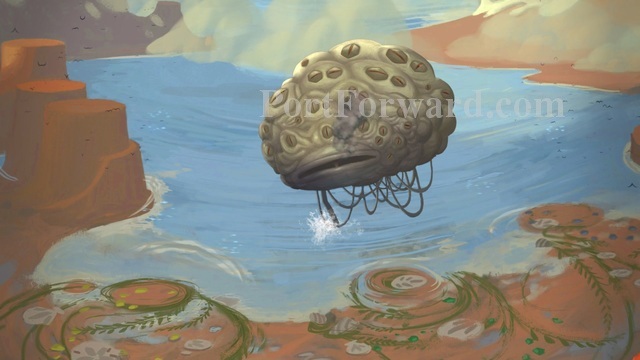
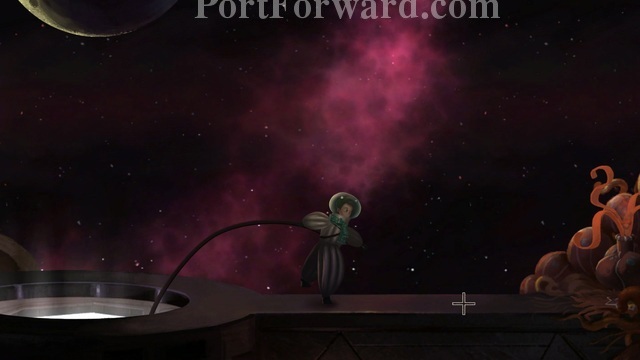
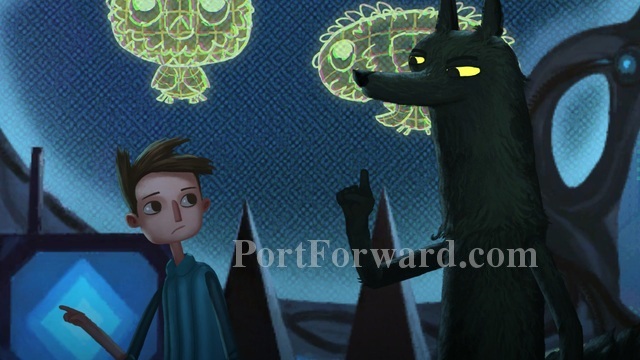
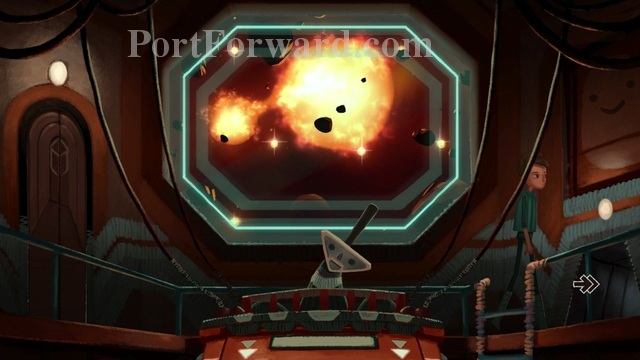
Behold! Mog Chothra! Eater of... Maidens. Destroyer of... towns. I wouldn't really say he's all that magnificent, but to each his own.
When the scene is over you'll notice the blue bird is still swooping after that drumstick the yellow maiden is waving around. You'll also notice the purple maiden has her drink in her hand now.
If you speak with the purple maiden you have the option now to ask for some of her drink. She'll gladly trade Vella for her corsette which Vella is quick to agree with.
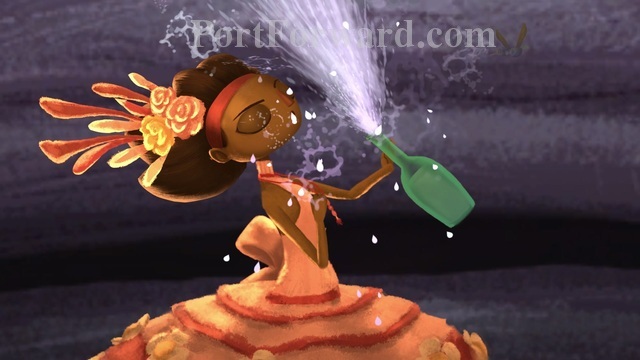
When Vella opens the bottle to take a drink it all goes splashing in her face making a big mess. The purple maiden decides she doesn't want the corsette and trades it back.
If you talk to the purple maiden again and ask to trade for the drink again, this time she just gives it to Vella. She won't be needing it anymore, I guess.
That just leaves you and the yellow maiden. Well, and the bird of course.
Go to your inventory now, and click and drag the drink over the yellow maiden. Vella offers to give the yellow maiden a drink which the yellow maiden accepts.
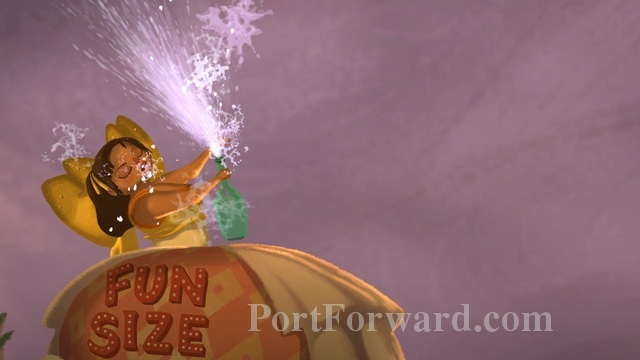
The yellow maiden will take the drink and as you should expect she gets blasted with the liquid making a mess of her outfit and cake... thing.
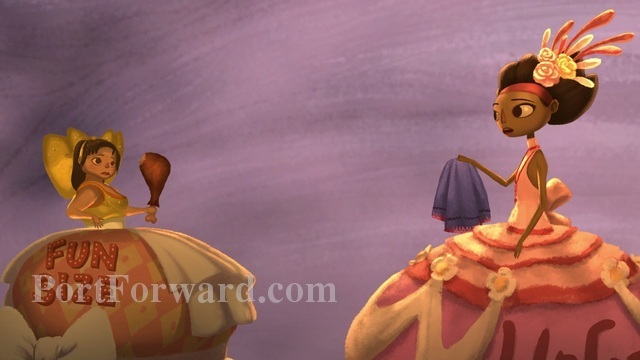
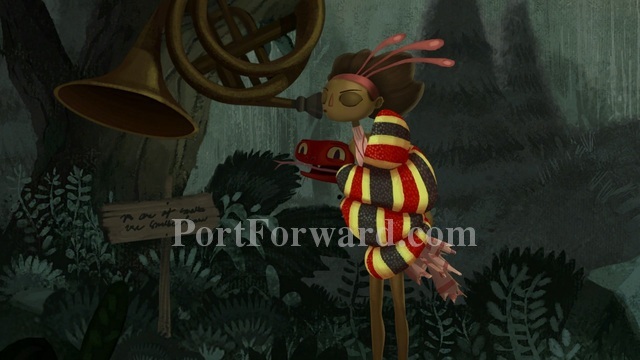
Now you have something the yellow maiden actually wants. Offer to trade her the towel for the drumstick by clicking and dragging the towel to the yellow maiden.
I hope all your dreams come true, yellow maiden, you were my favorite.

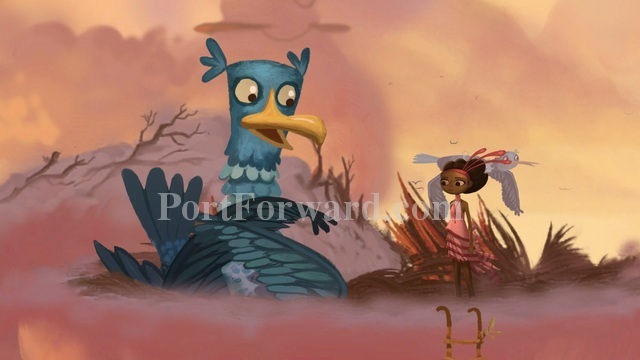
Well, now you're stuck with a drumstick in your cake dress and a blue bird that really wants the drumstick.
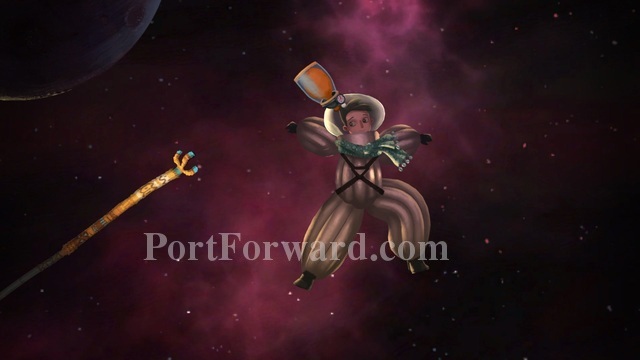
Quickly now, click and drag the corsette from your inventory to the blue bird. This will create a harness in which Vella can hold on to the bird.
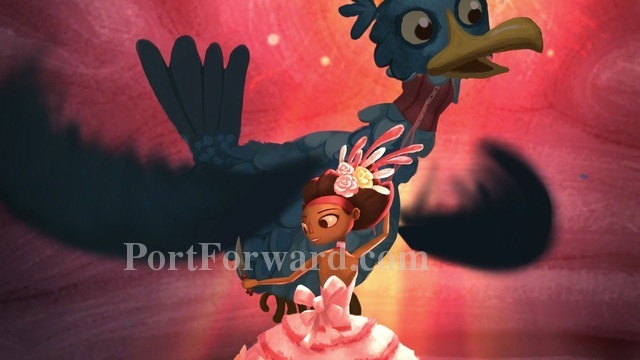
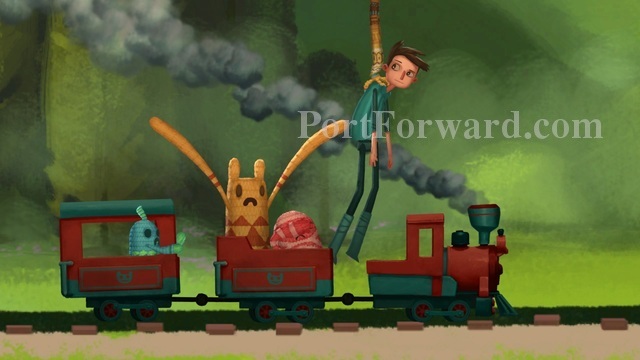
Use the knife on the cake dress and Vella will cut herself free.
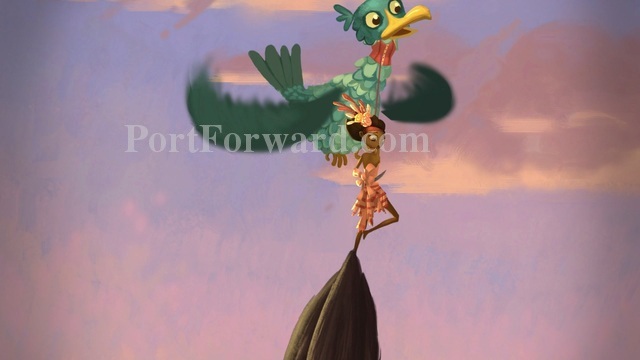
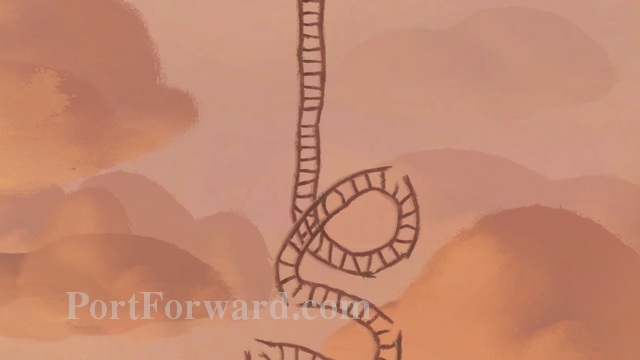
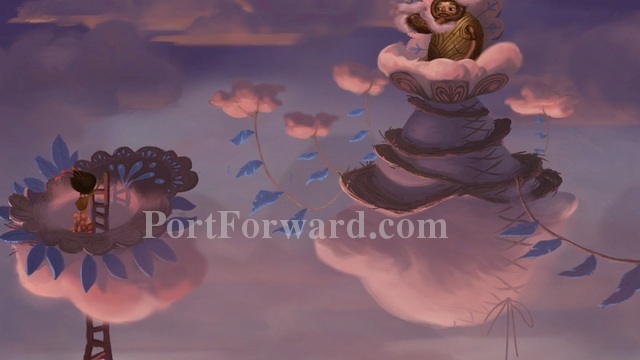
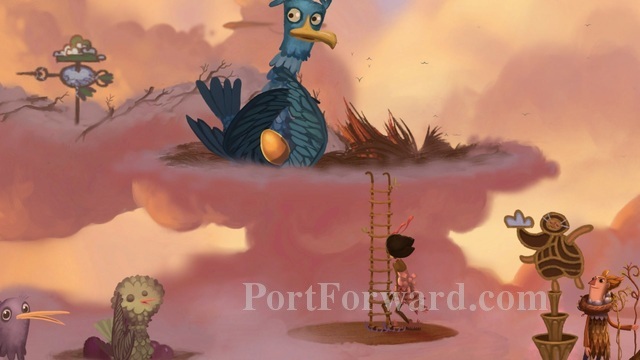
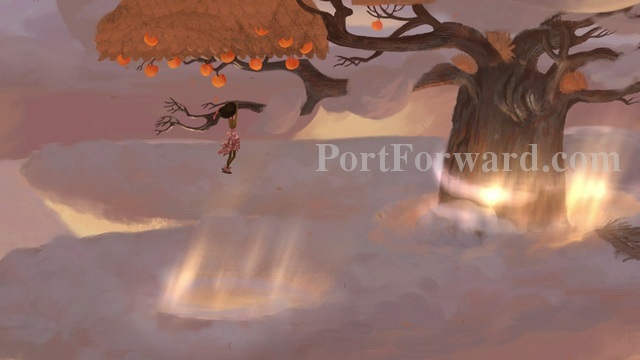
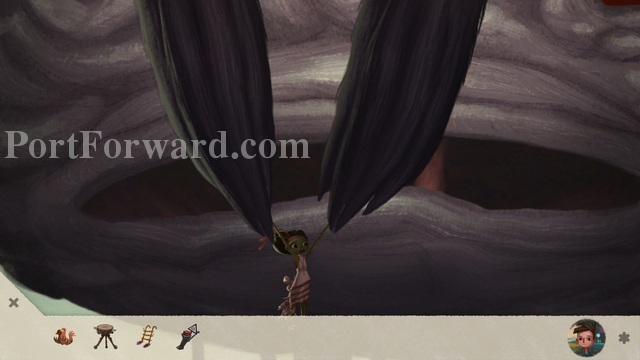
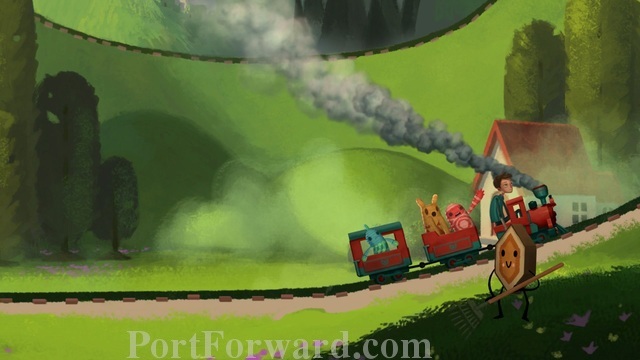
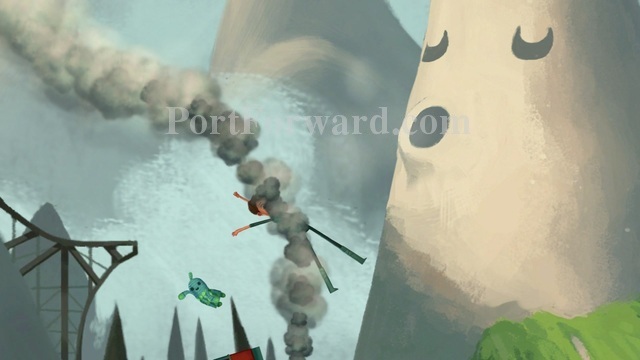
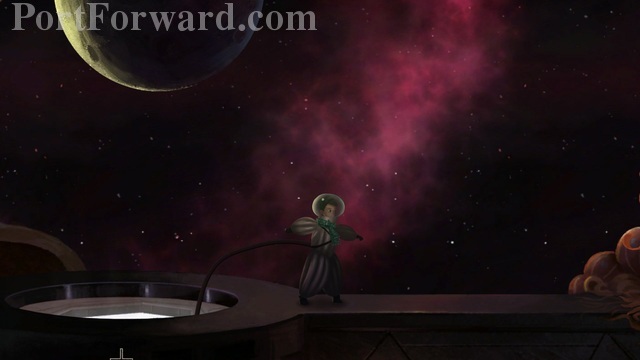
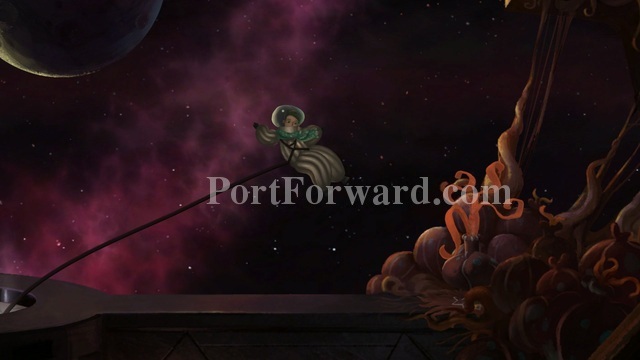
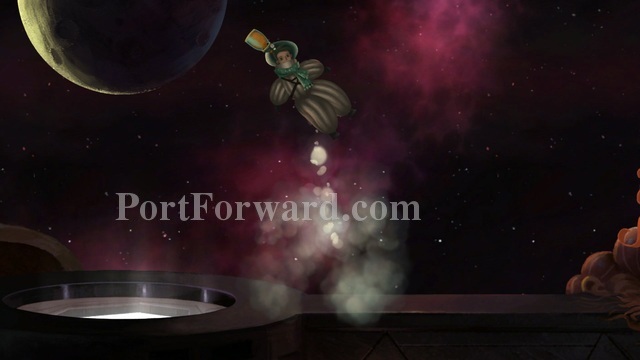
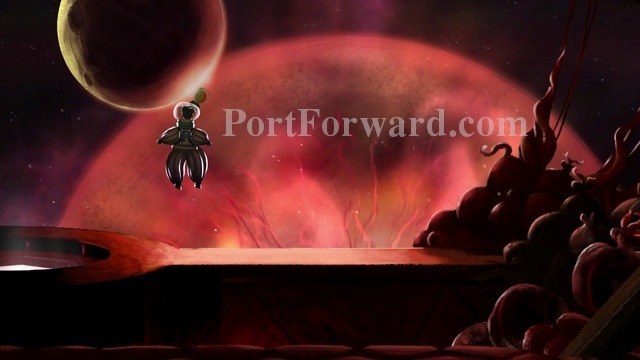
No one is particularly happy about this change in programming. Especially not Mog Chothra who tries to grab Vella back down. Fortunately, Vella aint gonna take no guff from a big ugly monster and kicks the tentacle off of her and rides the big blue bird off into the clouds.
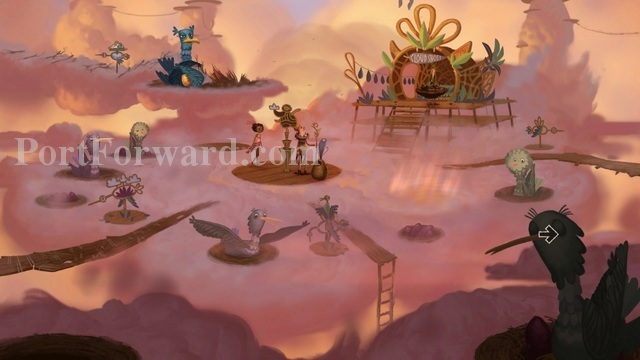
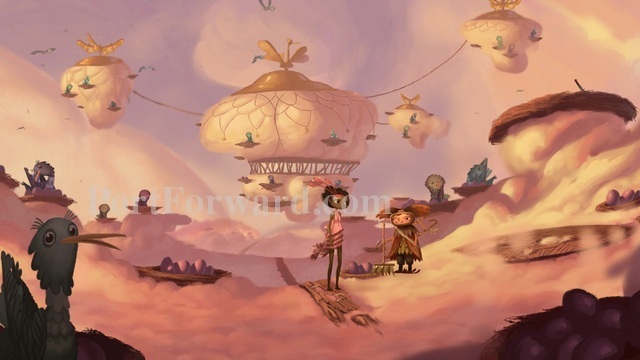
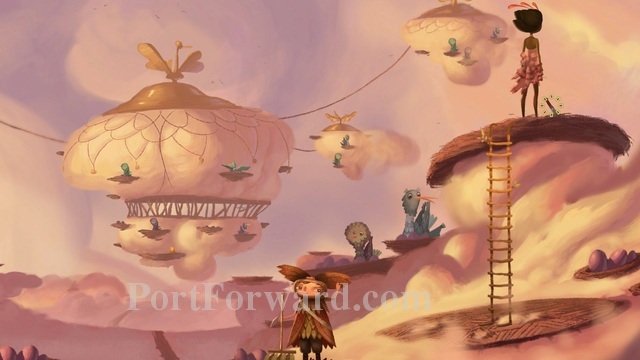
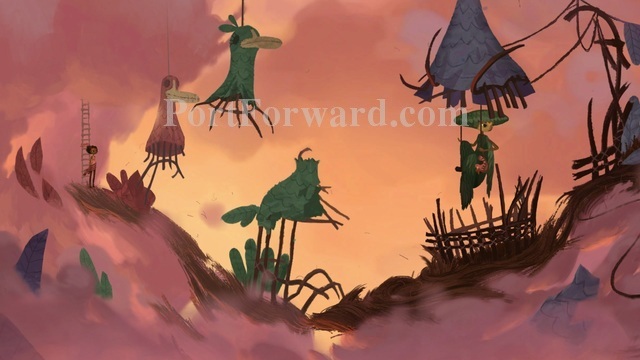
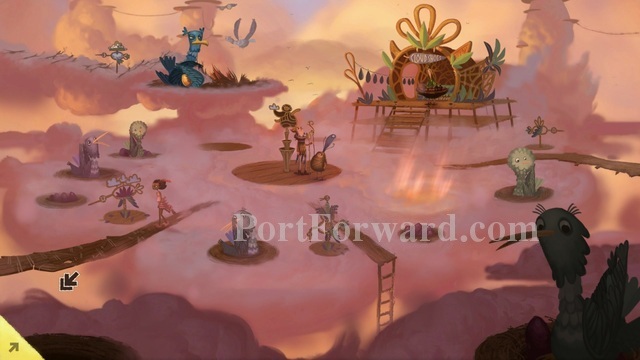
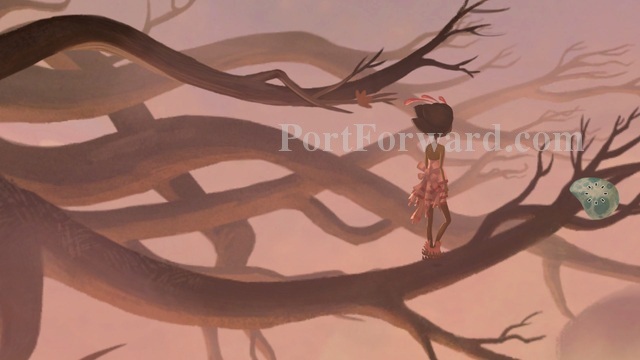
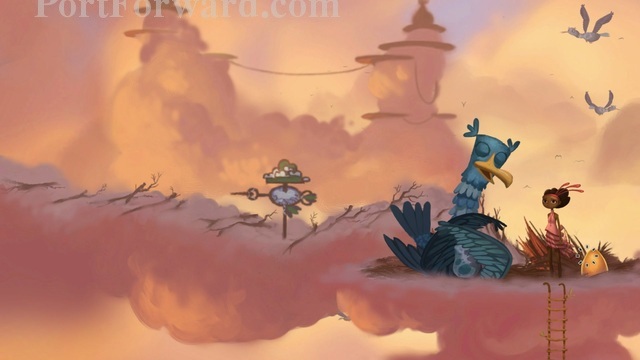
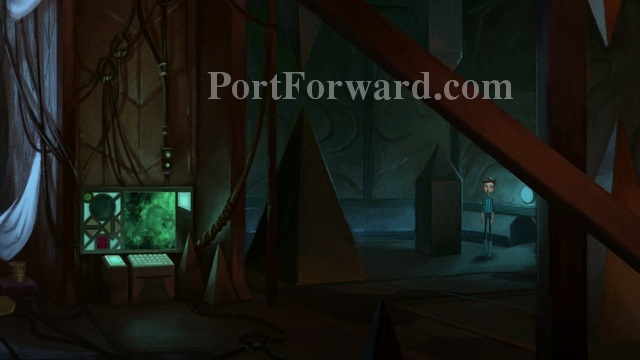
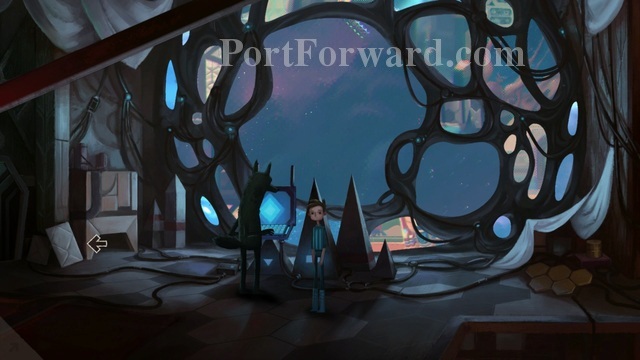
Broken Age (Act1) Walkthrough Finding our lightness in Meriloft
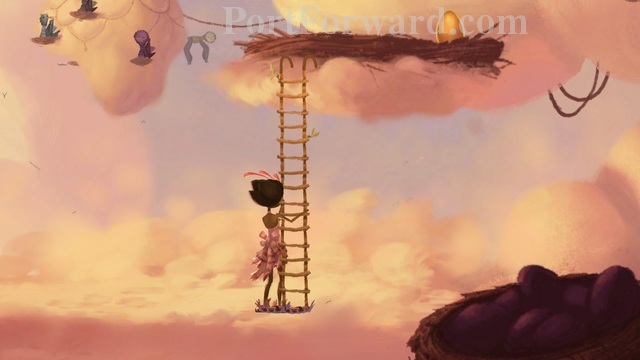
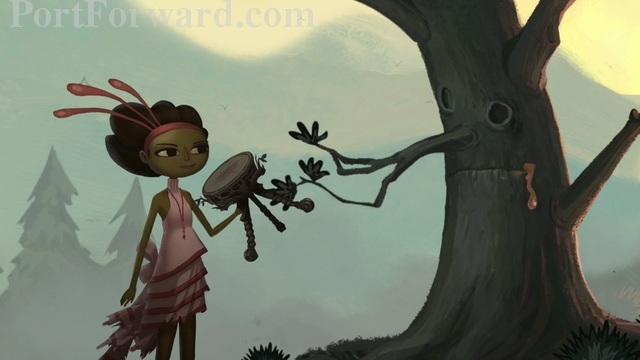
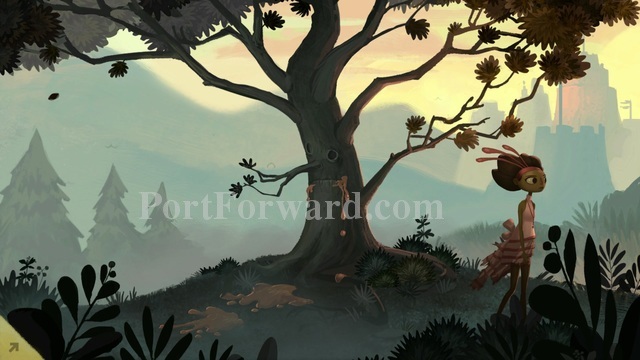
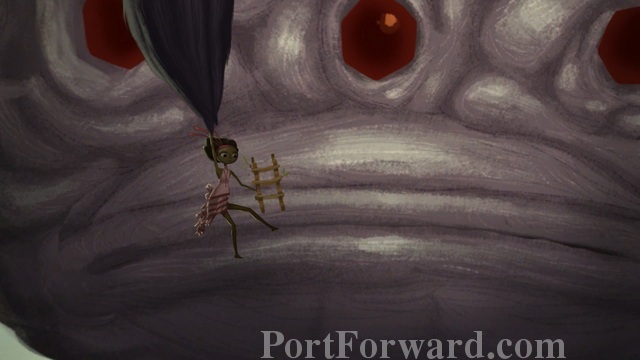
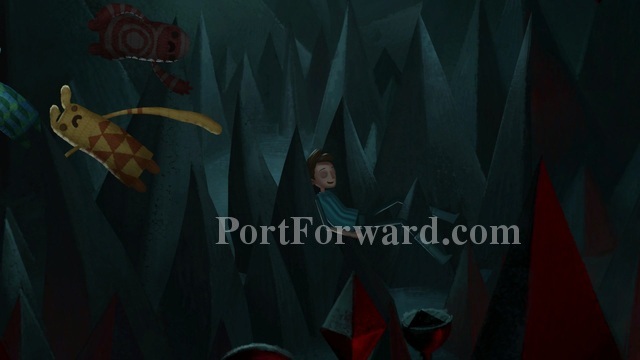
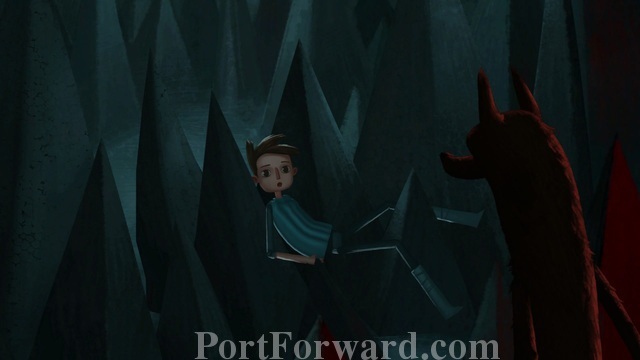
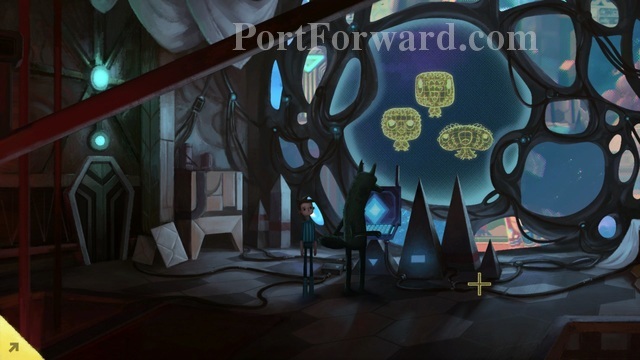
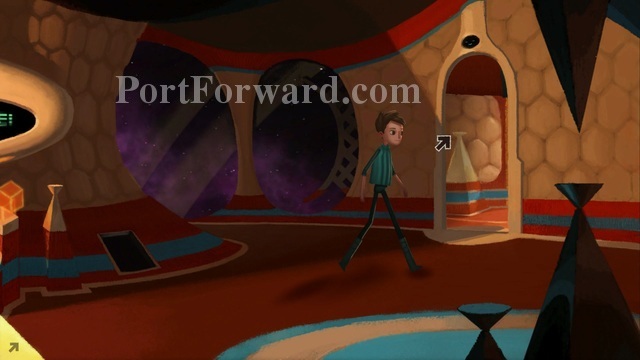
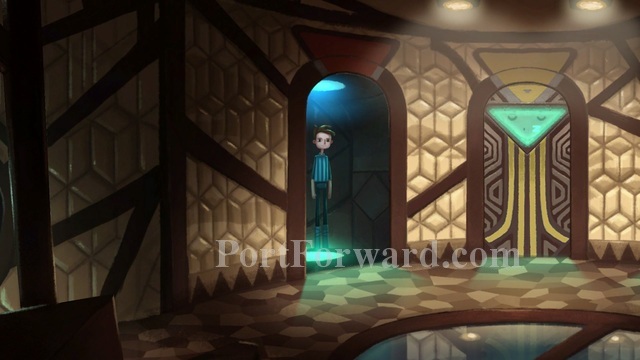
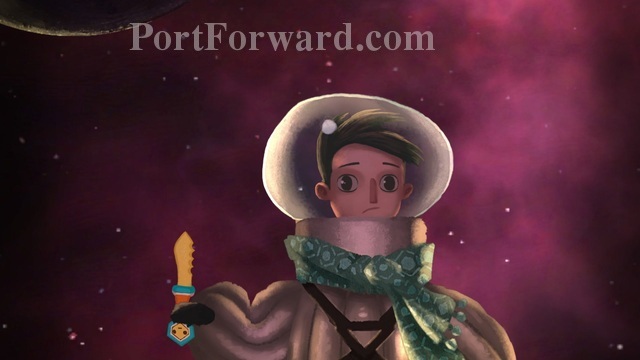
Once Vella is done being awesome, and then not long after being dropped (thusly losing her knife), take a moment to survey your surroundings.
I want to note here that this particular point and click adventure game does not have a "look at" verb in the ordinary sense. You can look at items in your inventory by clicking on it once (instead of clicking and dragging), but there is no way to look at things in the world unless that is their only purpose (for example the meaningless signs around this cloud village). So, when I say to examine something, usually you just click on it in the world.
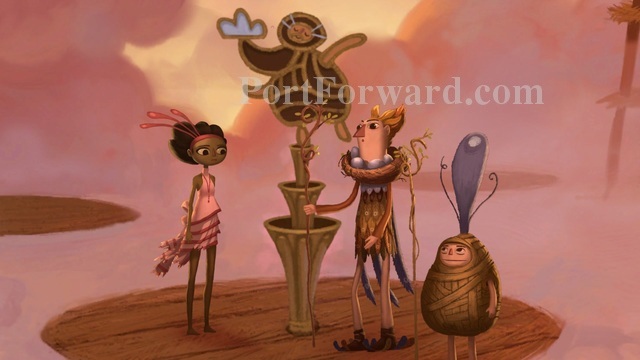
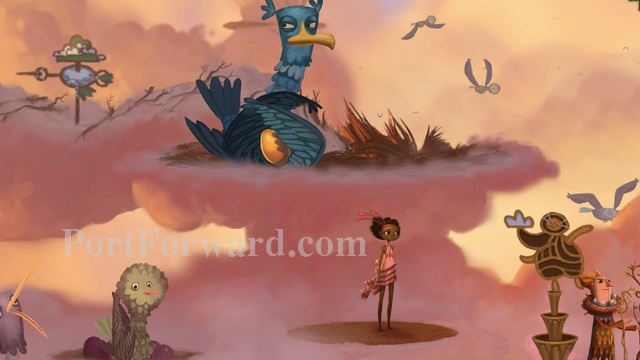
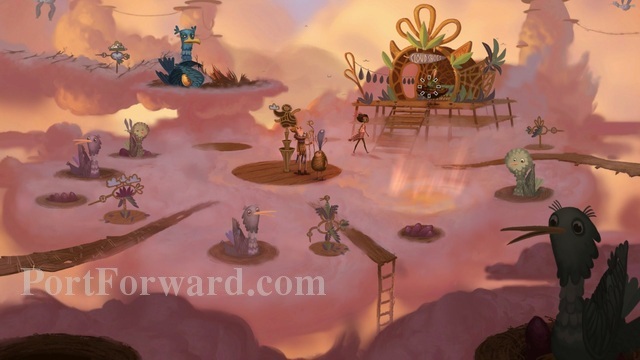
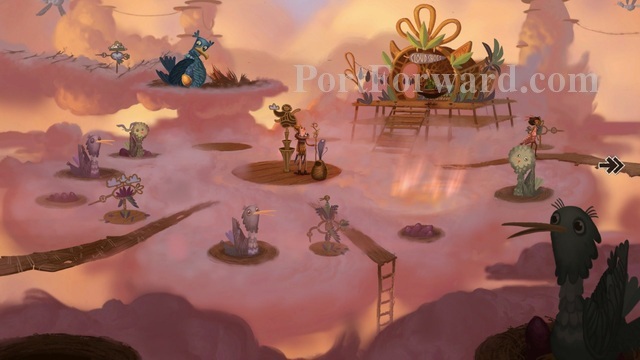
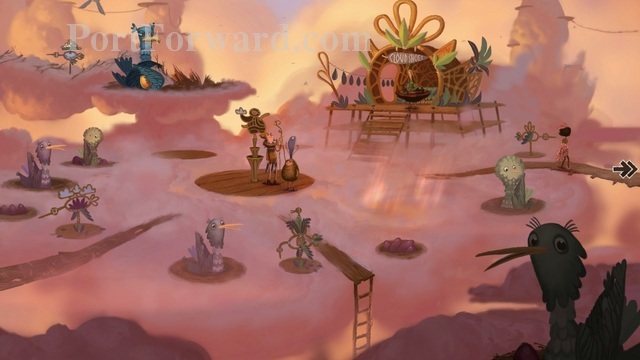
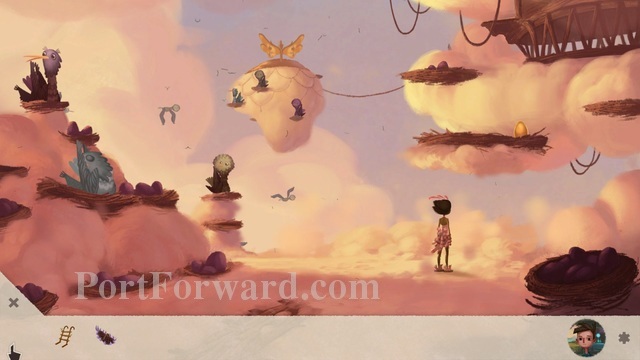
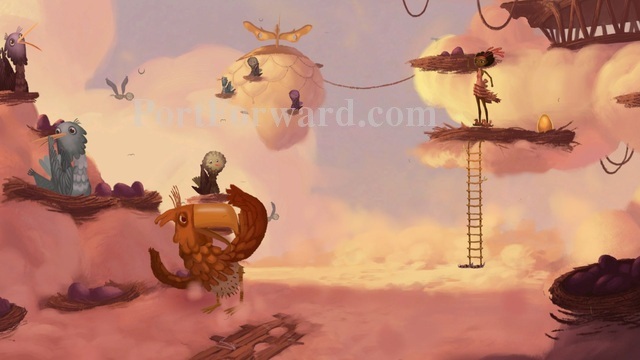
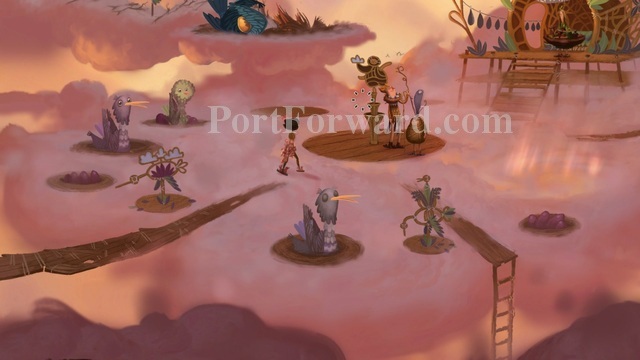
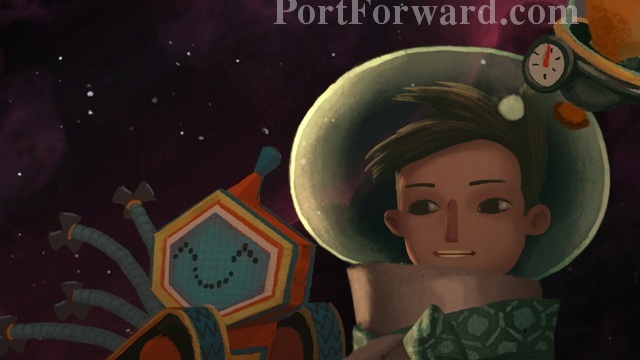
Once you've had your fill of looking at this new place (and you can click on the blue bird, whom we now know is named Jessie, to hear a short comment by Vella) go ahead and talk to the weird guy with the birds nest filled with eggs around his neck and a little boy who appears to be dressed up like a sowing needle and thread (probably a robins nest or something of that sort, but it makes me think of a sowing needle, ok?).

You find these two are named Walt'r and Ch't. They are preeners and take care of the birds nests. Mostly this seem to consist of them standing next to the flat fountain.
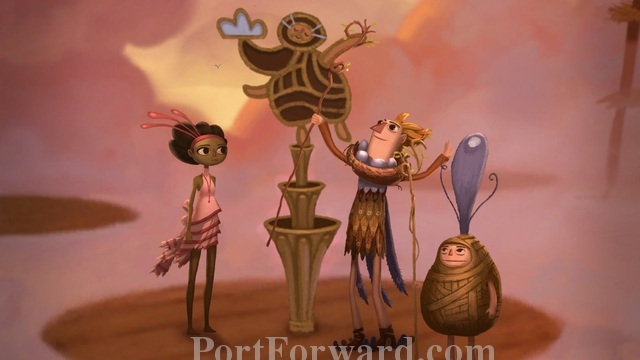
Further conversation reveals that the people here focus on lightness in all things- including their names. This kind of makes some sort of sense if you live on clouds as you need to be able to stay on the cloud. The most important point here, though, is lightness which will be important later.

You will also discover that Shellmound is having their maidens feast next. Meriloft (this cloud village) has already had theirs.
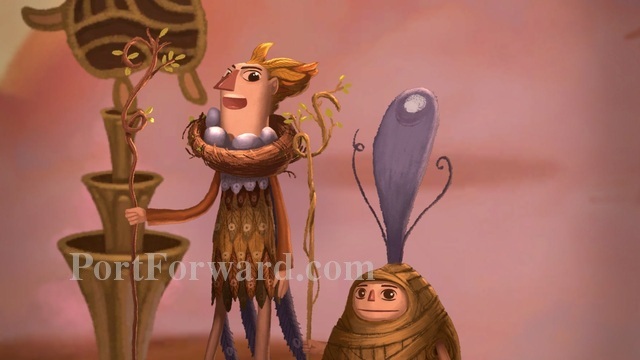
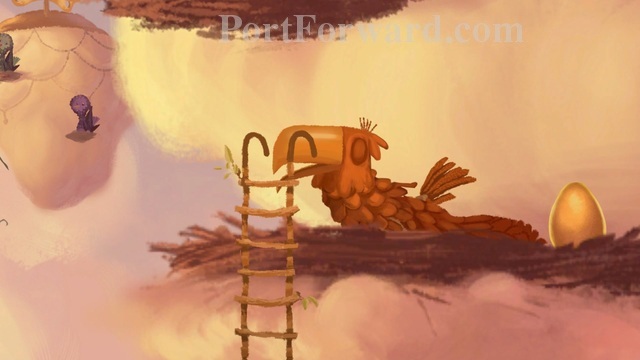
Another important thing to note is that Jessie (the big blue bird you flew in on) lost her real egg which is making her very grumpy. Walt'r and Ch't indicate Gus may be at fault for this, but they wont tell you where he is. They imply he is "dense" and may have fallen through the clouds.
They also give some interesting (if not at all possible) insight on how Meriloft stays afloat. It's all about surface area "pounds per square inch".

Lastly, you discover that this place is run by Harm'ny Lightbeard who Walt'r gave all his money to, but he hasn't mentioned that to his wife. It's entirely possible Harm'ny is ripping people off.
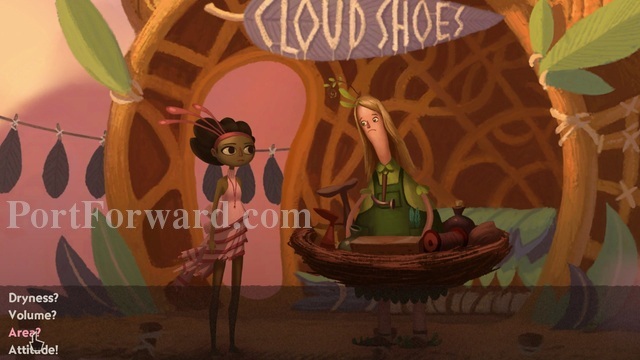
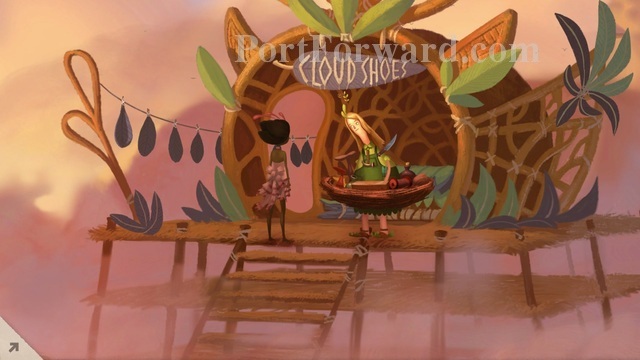
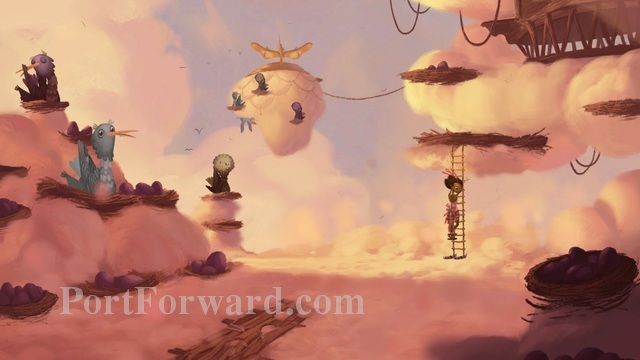
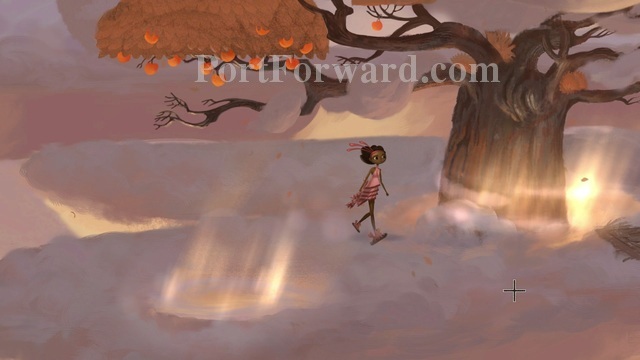
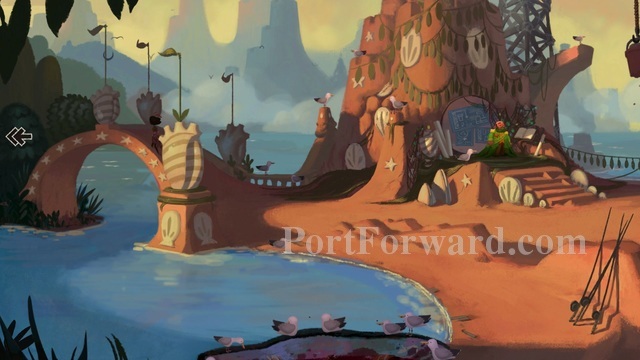
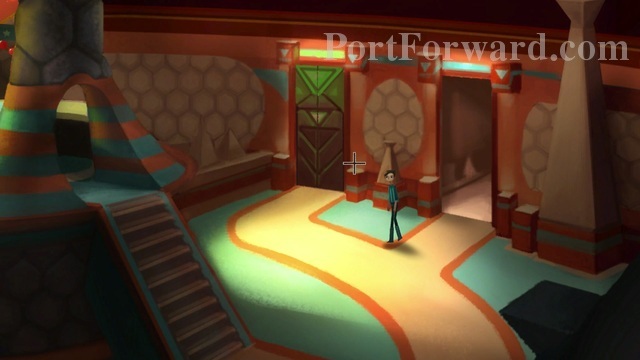
When you're done go ahead and head right to the Cloud Shoes booth.
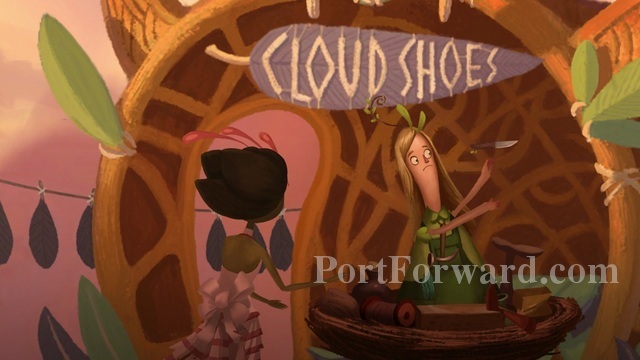
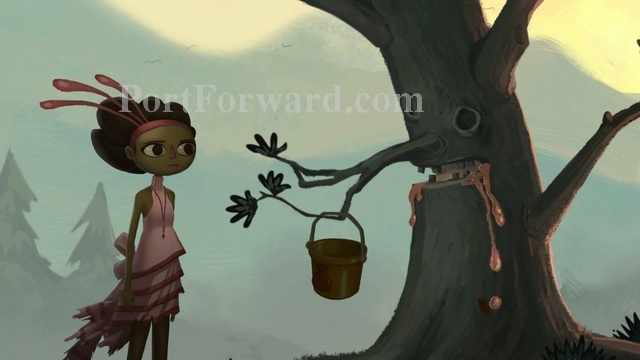
Talk to the woman in the cloud shoes booth. When you speak to her this will spook her and cause her to drop her knife which falls down out of the clouds.
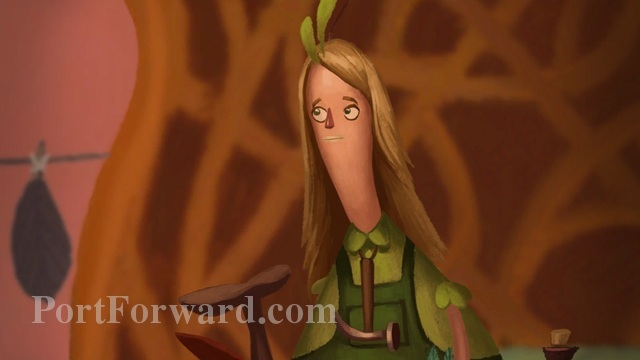
This is Car'l, Walt'r's wife. The most important thing with Car'l is the importance of her knife as she makes cloud shoes which allows the people of Meriloft to walk on the clouds. She can't make you any now that she doesn't have her knife. I do recommend talking to her about everything, though, as she has some of the funniest dialogue choices and responses.
Just so you know; you may have noticed sometimes you have multiple options on how to respond to something. I wouldn't worry about which one you choose, some are goofy and others are straight forward. You won't lose out on anything by which one you choose and they don't seem to be meant for stressing over so just have fun with it. I always picked the most honest answers but you can go loopy with it too. Don't worry about it when you get those. Pick the answer you enjoy most.
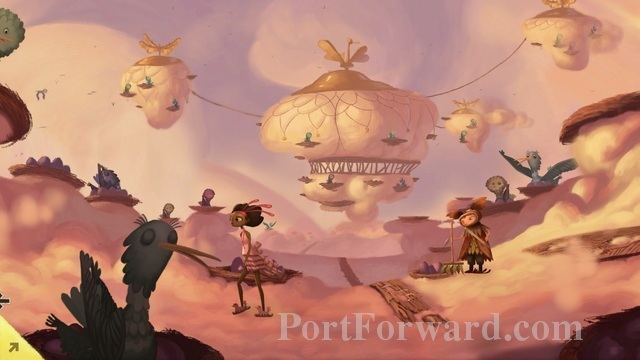
When you're done talking to Car'l go ahead and walk further to the right.
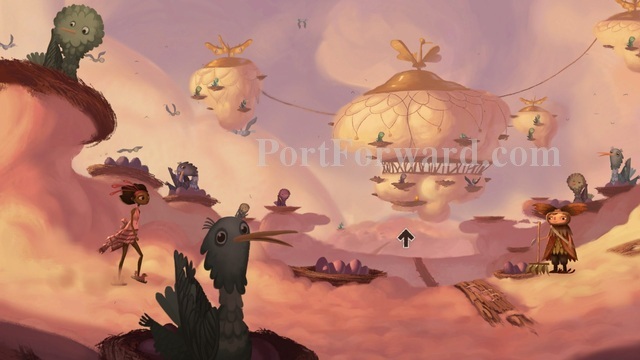
You'll come up on a menagerie with a whole lot more nests. Car'l also mentioned that her daughter, M'ggie, is here. It appears that she is sweeping eggs with a leaf broom.
Remember that you can't stand on the clouds here, so walk all the way to the right until you are standing on the wooden walkway.
While we're here we might as well talk to M'ggie. I recommend speaking about everything.
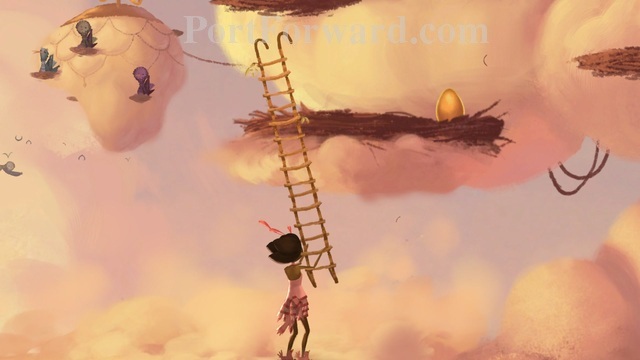
The most important thing to note with M'ggie is her ladder. You ask her how she gets to high nests to start getting to that dialogue option. This will eventually open up the ability to ask her for the ladder, which she is fine giving to you without any hassle.
She also gives some interesting information on how Harm'ny took out the feathervator so no one can leave. She will tell you that if you try to leave by jumping (or falling through the clouds) "whoops-a-biridie" guards will bring you back as well. So, in essence, you need a really long ladder. Much bigger than the one M'ggie gave you.
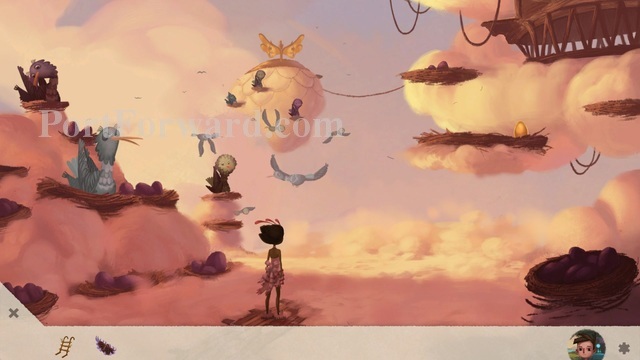
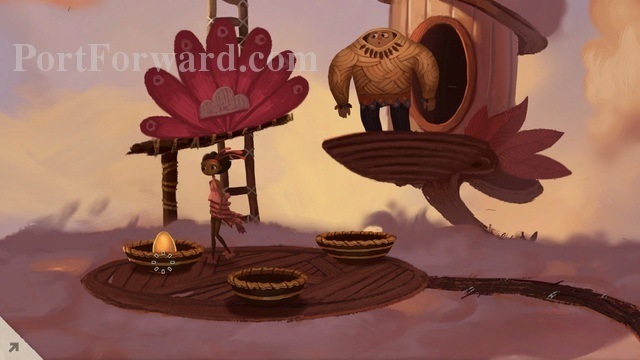
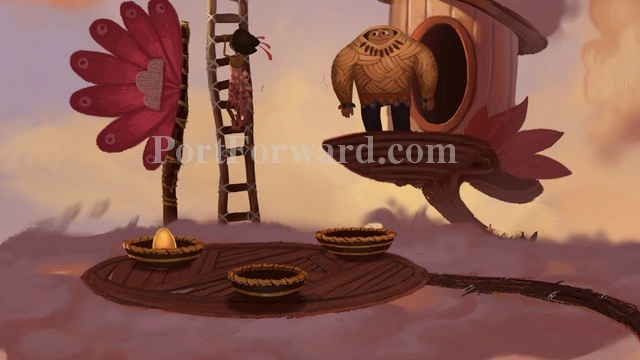
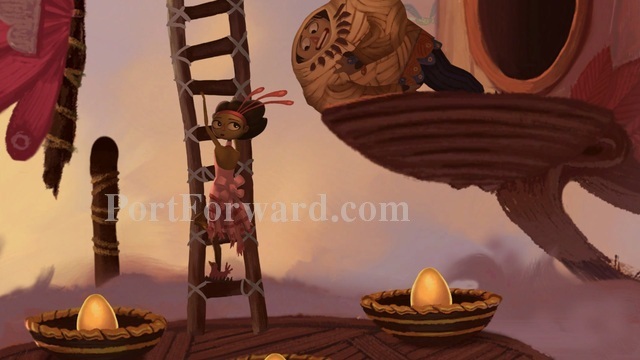
M'ggie also tells you about the golden eggs which you may have noticed laying around. There's even one in the background of this scene.
When you're done talking to M'ggie head to the right, basically right next to where M'ggie is, to check out the nest above and to the right of her. Click and drag your ladder over the nest to go up to it.
Once you are on top of the nest you can click on the knife to pick it up and then click on your ladder to head back down.
Go ahead and head back to the left now.
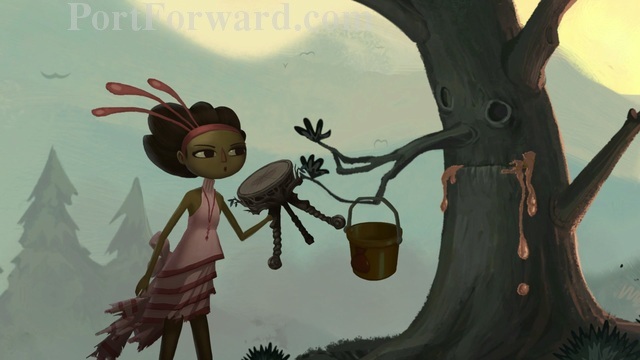
Head back up to the cloud shoes store and give Car'l the knife from your inventory.
Now that she has a knife again she promptly makes Vella some shoes. Of course, being a mom, she thinks more about what Vella will need in 30 years and less about what fits her now. So, you'll find that these shoes are too big.

Oh well. Go ahead and head to the ladder that leads down.
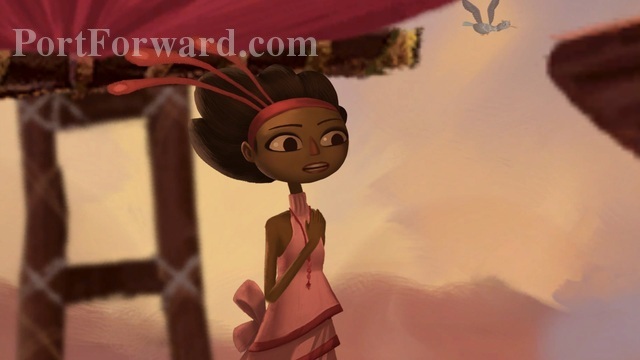
What... is up with this place?
You'll notice a lot of broken bird cages shaped like birds strewn around and a maiden on a perch on the far right.
If you talk to her she mentions her shoes not fitting. If you ask about her shoes she will just give them to you.
When you're done talking to her (there isn't really much more of importance from her) go back left and head back up to the top of the ladder.
Before we move on, you can check out those smaller cloud shoes and you'll find they are a much better fit for Vella so go ahead and put them on. This way Vella can stand anywhere (even on cloudy areas) and not fall through. You do still have to watch out for the vortex holes, as they will always cause you to drop out of the clouds, so be careful where you click.
Now that we have that out of the way go ahead and go to the right again back to where M'ggie is.
From here head up to where the golden egg is.
You'll notice this area has no wooden walkway- other than the entrance- so without the cloud shoes increasing the weight distribution through your feet you wouldnt be able to go here without the shoes. This is why the shoes are so important.
Click and drag your ladder over the nest ahead- where the golden egg is- so Vella can go up there and grab it.
When you do an orange bird will appear and knock the ladder off so it isn't hanging on the nest.
Vella doesn't think it matters, but when she starts to climb up she quickly discovers the ladder sinks through the clouds.
Don't you worry, reader. We got this. In your inventory, combine the ladder with the big shoes by clicking on one and dragging it to the other.
Now, when the orange bird knocks the ladder off the nest, it doesnt matter because it can distribute the weight more evenly on the surface of the clouds allowing Vella to climb up and get the golden egg.
The orange bird is really unhappy with that, but he isn't wearing any pants so alls fair in golden eggs... and... bird pants.
Remember to click on the golden egg to pick it up and then head back down the ladder and down back to where M'ggie is.
We're just passing through. Head back to the left towards the town square.
Keep on trucking- heading to the left. Don't stop for nothin'.

You'll come up on a platform with 3 nests, a guy, and a ladder that goes up.
Talk to the guy to find his name is F'ther. He is guarding the ladder.
The most important thing you'll find in this conversation is that you need to give an offering to climb the ladder, which you may already know by what he says when you walk up. More important than that, though, is that what you offer doesnt matter (its the thought that counts).
After you finish talking to F'ther you can decide what you want to put in the offering bowls. If you've followed this guide all you have is the golden egg and the ladder. I recommend using the golden egg. This will become more clear why later.
After you put it down in the nest, you will now be free to climb up the ladder...
which goes up for a long long ways. Wow, that's a long ladder. Hmm...
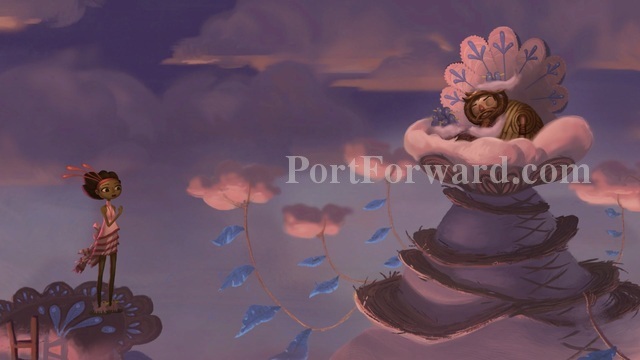
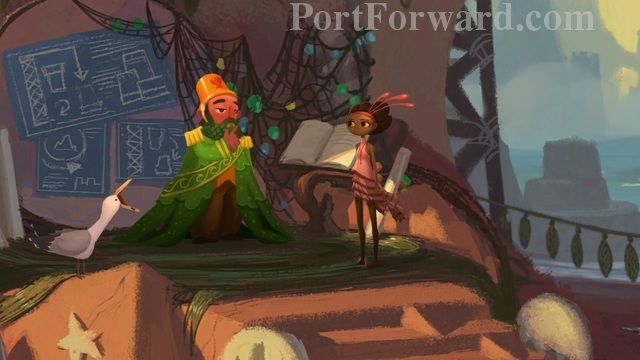
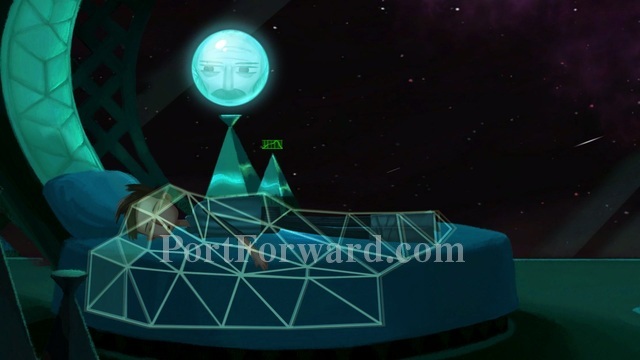
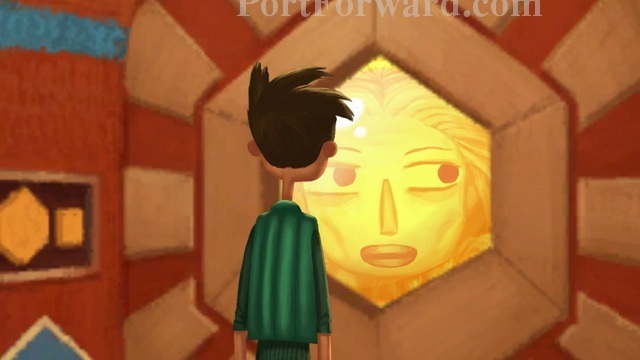
When you reach the top you'll find a weird looking man sitting in a strange cloud nest with clouds all around it tied to ribbons with what look like feathers hanging on them.
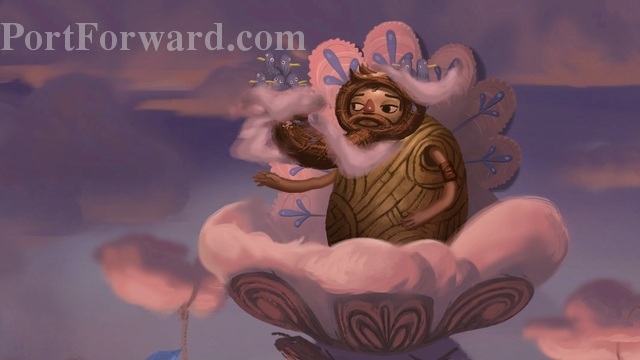
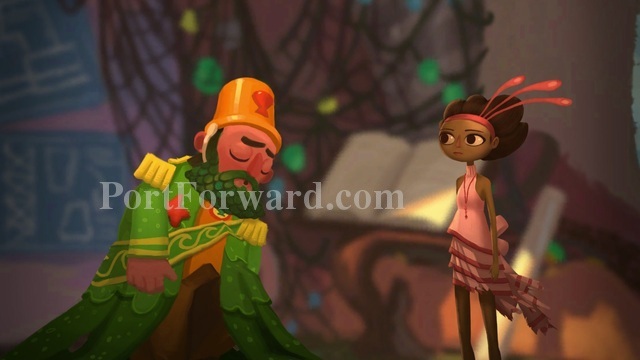
This is Harm'ny; the guy you've heard so much and yet so little about. He is the head of Meriloft, and most importantly he is the one that does not allow others to leave.
The only thing important in this conversation is you need to tell him you want to kill Mog Chothra. This will appear to make him lay a golden egg which he then dismisses. If you ask him if he is done with the egg he drops it to the area below. I do recommend speaking about everything with him, though, as this conversation is one of the funnier ones.
After you're done speaking with Harm'ny head back down to where F'ther is.
You will notice that F'Ther was knocked out by the falling egg and the golden egg is laying on the right side of the screen.
Go ahead and pick up the golden egg and place it on another of the empty nests. When you're done head back to the right again.
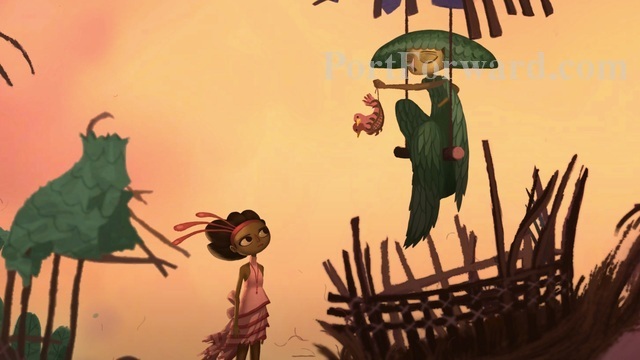
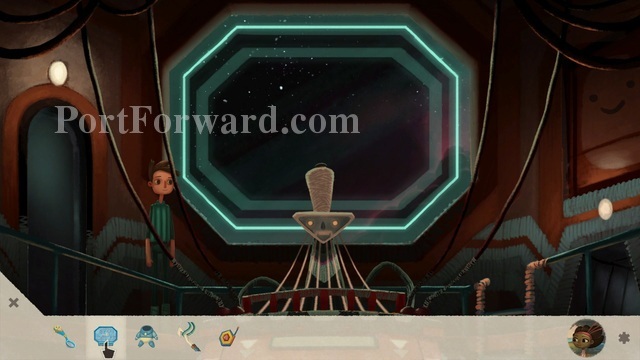
This time we want to head up towards where Jessie the blue bird is nested.
Use the ladder on Jessie's nest to put the ladder down and head up and then walk to the left. Don't worry, Jessie won't get mad at you as long as you leave her alone. Just keep going and don't look back.
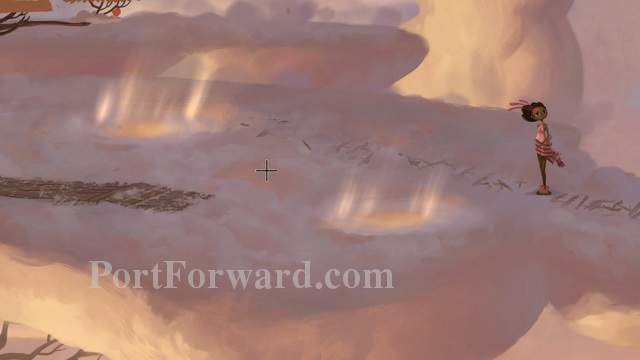
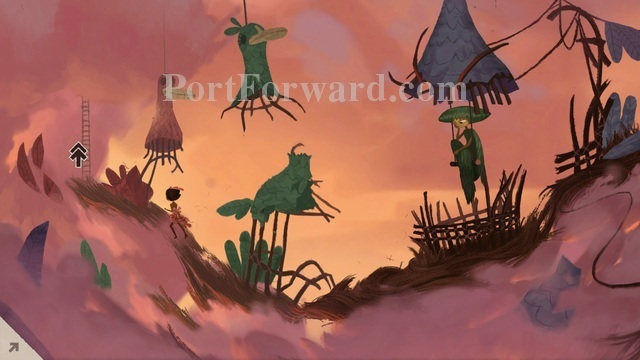
Once here make note that there is a lot of those vortex holes in this area. One wrong step and you'll be riding the "whoops-a-birdie" back to where you started (here, basically).
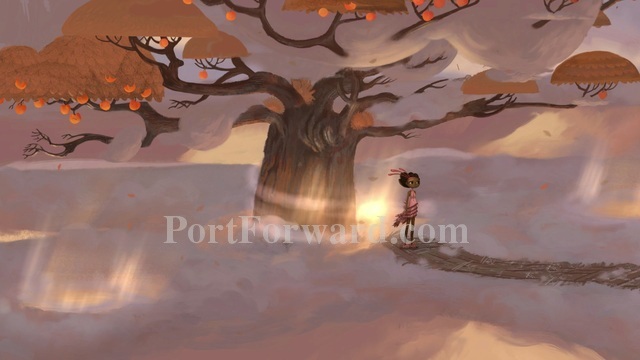
Click on the left side of the screen, making sure Vella doesn't walk into any vortex holes, and stand in front of the tree. If you fall through a vortex you'll start over from the right side of the screen but it doesn't really set you back that much.
Click where she is standing in this picture above to move to the left side of the tree. The reason you should click here first is the game's pathing isn't incredibly sophisticated so if you just click where you're going she will go in a straight line and fall into the hole in front of the tree.
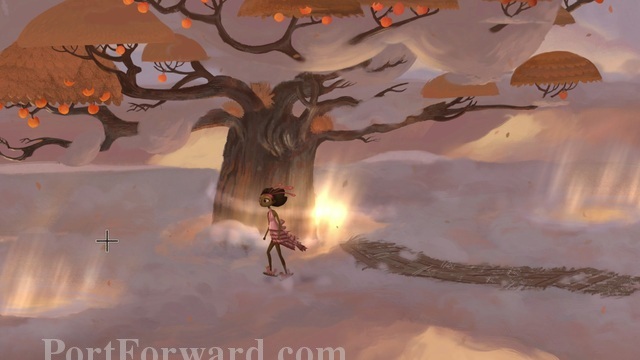
From here click on a fruit on the tree over to the left. Vella will attempt to get a fruit down.
Well, the fruit fell down into the clouds. So, we're going to have to go and get it. We might as well there's also someone yelling for help somewhere around here. Go to the front of the tree and then walk slightly toward the tree. Vella should fall in to the gap between the clouds and the tree.
Vella does her best Tony Hawk impression and will land safely at the bottom where the roots are.
First you should head left and pick up the peach sitting in one of the nests on the roots.
Then head to the right.
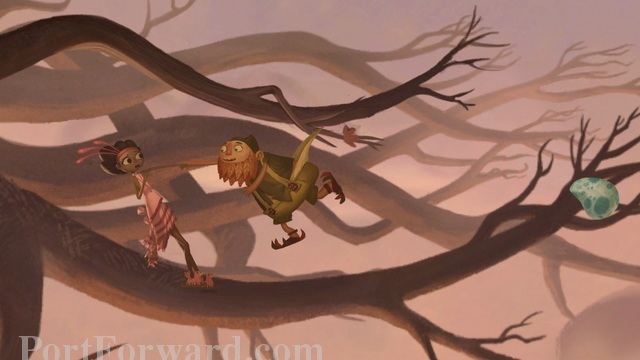
This is Gus and Gus is stuck to the tree branch by his underwear.
Most people would help a guy out but Vella doesnt want nothing to do with the weird man stuck by his underwear in the tree.
If you try to head to the right where the blue egg is Gus will grab Vella and this will make Vella freak out. This, in turn, causes Vella to fall out of the clouds and be safely escorted back to the top by a "whoops-a-birdie". You should do this, though, as it will drop you back off at the top where we want to go.
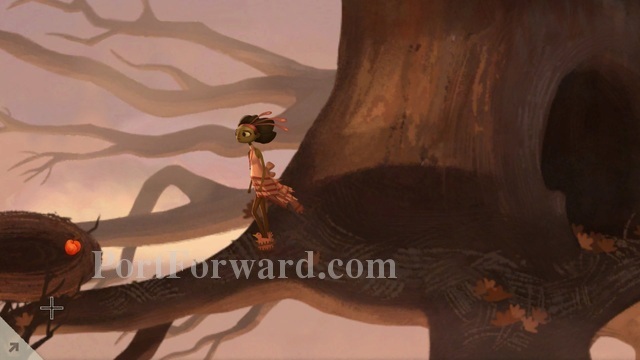
You will land back where the tree is near the top. Head to the right a little bit and you'll see one of the vortex holes in the cloud just a little above where you are standing on the wooden walk way. Click on it to fall through.
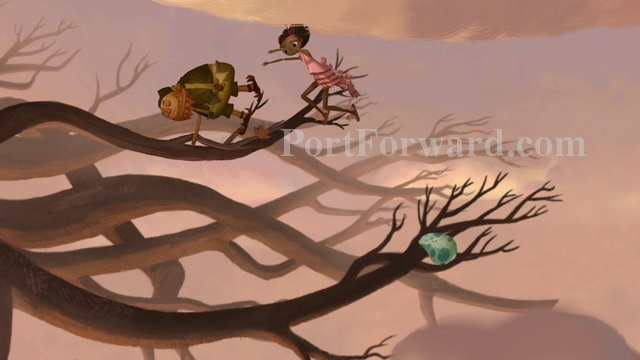
This will cause Vella to fall on Gus knocking him off the branch and both of you land safely in a "whoops-a-birdie".
When you land back at the top next to the tree again, go ahead and go towards the tree to fall back down to the roots area.
Head to the right to pick up the egg. This is the egg that Jessie lost when Gus was trying to clean.
After you've picked up the egg head back to the left and go inside the tree to climb back up to the top.
From here head back to the right.
From your inventory click and drag the egg over to Jessie and Vella will give Jessie her egg back.
Looks like Jessie is happy to have that.
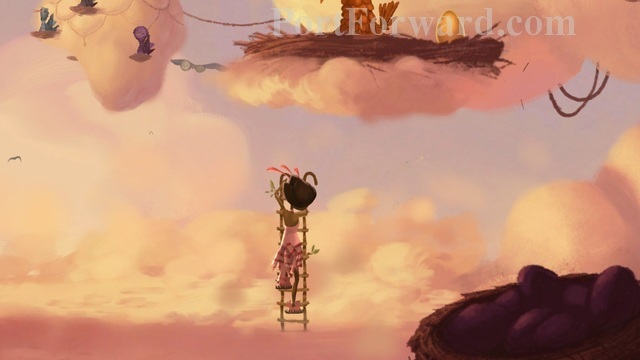
Now that Jessie doesn't have paternal feelings for it go ahead and click on the golden egg to pick it up.
Then click on the ladder to head back down.
Then head to the left again towards F'ther and the offering nests.
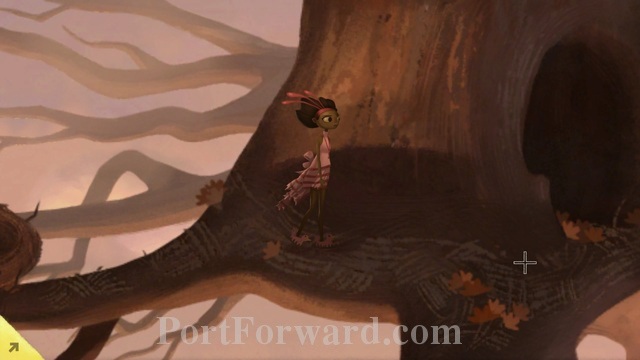
If you recall Meriloft requires lightness in all things. I wonder what would happen if things got to heavy. Try placing the third golden egg into the last empty nest .

Then click on the ladder to start heading up.
When Vella stands on the ladder this mostly adds enough weight to get the platform to begin collapsing under the weight. Vella gives it some encouragement to finish the job.
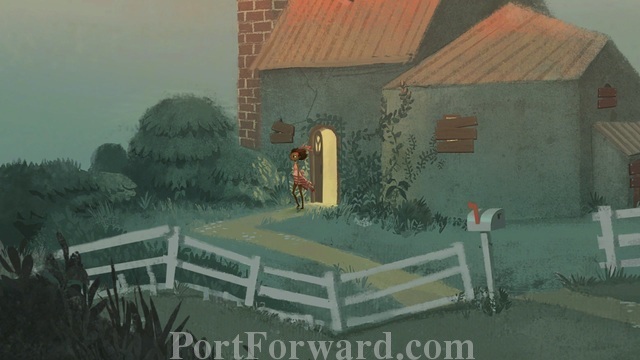
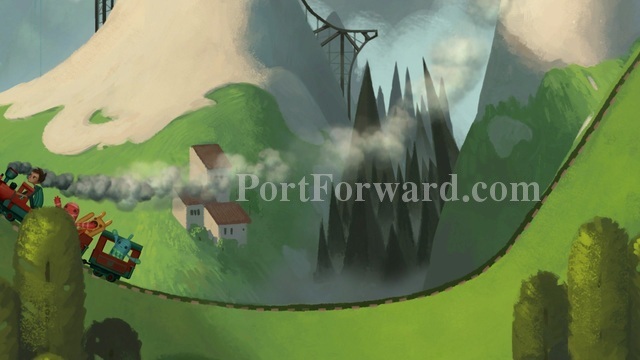
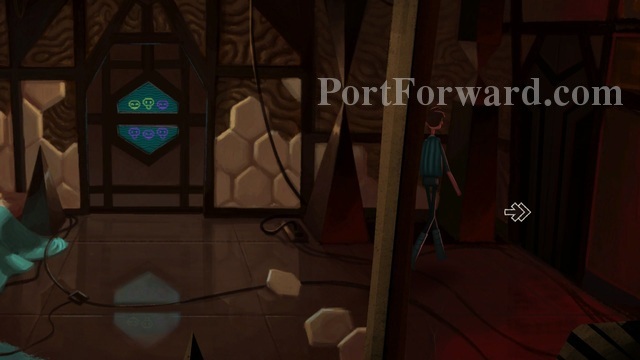
Broken Age (Act1) Walkthrough Curtis and the trees
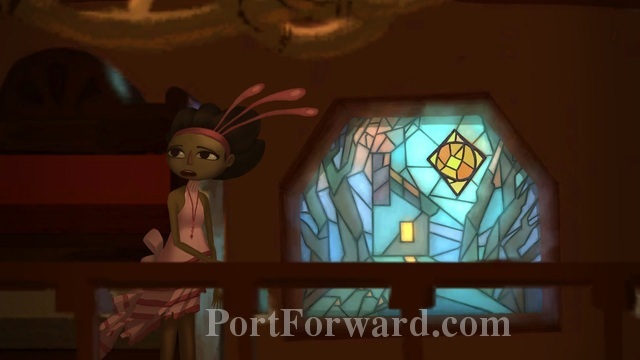
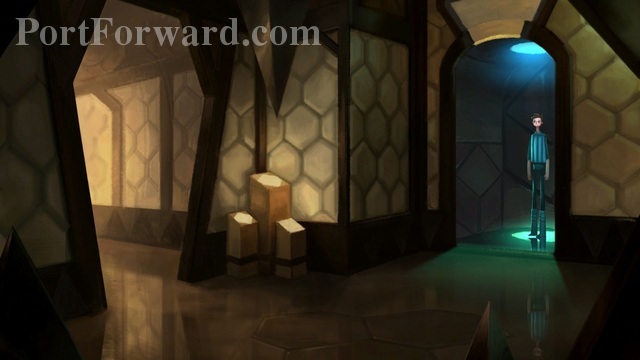
When you're done falling from who knows how high in the sky into this strange lumberjack looking persons roof the first thing we want to do is check out that window.
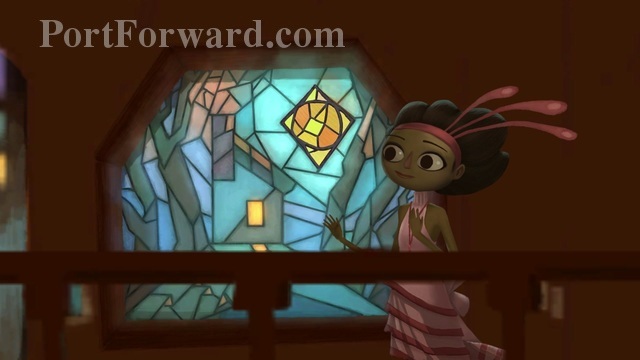
Woo. Isn't it pretty? Click on it and Vella will accidentally knock a piece of the stained glass out.
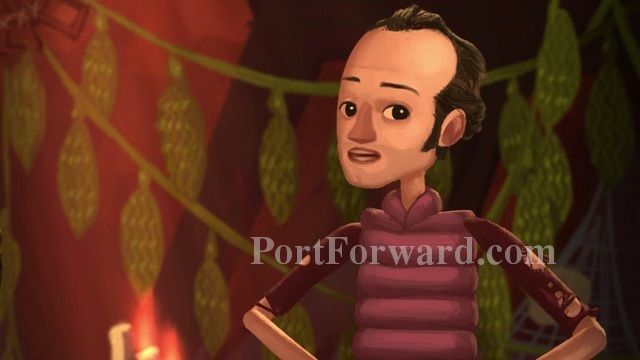
When that's done head down the stairs and talk to Curtis.
The important thing with Curtis is that he hasn't left his house in awhile because the trees have been insulting him.
He can't make a weapon that will kill Mog Chothra but he can work wood into a stool for you. You'll have to find some wood, though.
I recommend talking to curtis about everything. It is not only funny (there's a lot of double entendres in this conversation), but he also says you can take his axe hanging on the wall by the door behind Vella.
When you're done talking to Curtis, notice the weird art he has hanging on the wall in the background over the fireplace (does it remind you of anything? *wink wink*). Vella says she'd rather not steal it so go ahead and talk to Curtis again.
Ask Curtis about his art on the wall and go into a conversation about the art and it's elitist themes. Eventually you'll have an option to say something about how it matches his decor and this will bother Curtis.
Curtis is a hipster lumberjack (if you haven't guessed by now) so the last thing he wants is decor... or labels. He'll end up giving it to you and becoming even more obviously hipster like in the process. When you're done talking about the art you can say goodbye.
Now that you're done talking with Curtis, and he's basically given his hipster blessing to you, you can go ahead and take the strange art off the fireplace.
After that head to the right and grab the axe on the wall- Curtis will again say it's ok if you take it.
Then head out the door on the right. Curtis will give a vague warning about a snake on the trail ahead, but he doesn't seem so sure which way is actually safe to travel.
Once outside head towards the foreground to move up through the screen until you get to the main trail that splits off to the left and to the right.
Once here you can head to the left.
That's weird. There's just a trumpet hanging on a tree and a sign. Click on the sign to try and examine it.
Ok, that was a bad idea. Now the extremely territorial snake has you in a tight hug of death and doesn't want to let go!
If you read the sign, you'll come to find that Curtis left the trumpet here so anyone who stumbles on this place can blow on it which will cause the snake to jump off of you and onto the horn. Blow the horn by clicking on it to get the snake off of Vella. Vella quickly then runs back to the right.

Phew! Now that that's over head all the way to the right.
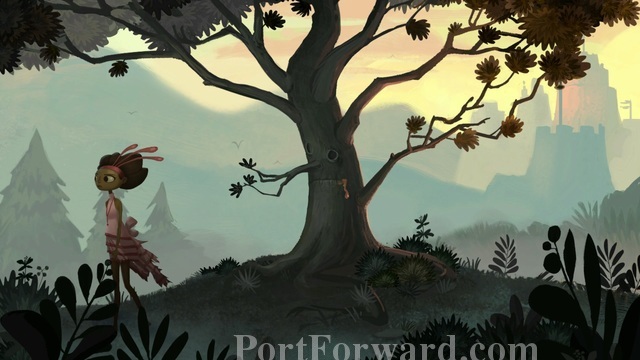
You'll come up on a tree that is moving around a lot like it's has been muffled.

Click and drag the axe over the tree to give it a mouth.
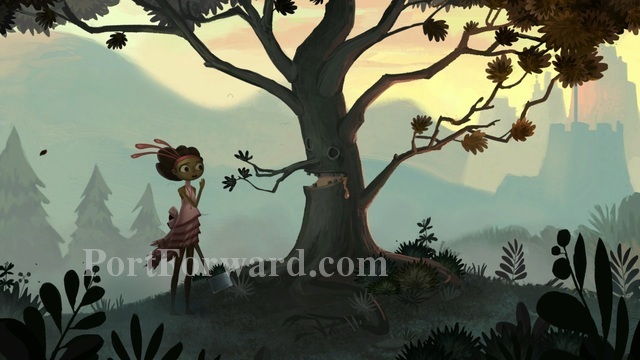
That was probably a bad idea. This tree does not like humans at all and wants the entire forest to know it. He will not stop screaming bloody murder.
The important thing about the conversation with the tree is that he is sickened by what humans do to trees and sees it as maniacal serial slayings. I recommend talking about everything, though, because he's a pretty funny character.
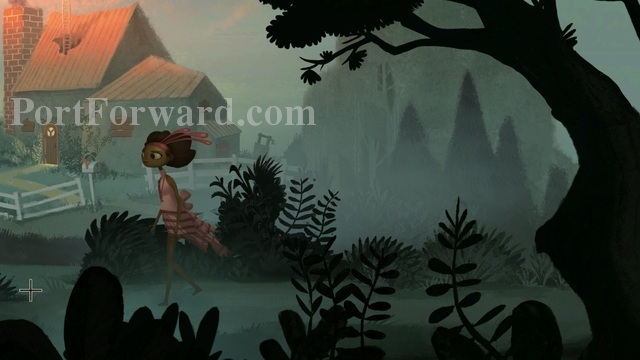
When you're done talking head to the right.
We've made it to Shellmound.
Whew! I didn't know if we'd make it, but we did. There is a lot to do here, but there's a few things left to wrap up with Curtis and the tree before we do.

If you keep heading to the right you'll notice that there is a peice of driftwood on the edge of the water. Click on it to pick it up. You can also examine the seagulls, the weird blood broth the gulls are looming over, and the fishing poles here. When you're done click on the mayor looking gentleman at the top right to talk to him.
You'll find he is not actually the mayor, but is very politically conscious. His name is Marshall Dune. He may be mayor, someday, but for now he's just in charge of the Maiden's Feast. There's several important things to note about this conversation.
For one, when discussing joining the maiden's feast, he will mention that you do not smell right in order to join in.
He also mentions that the maiden's feast hasn't started yet because he is having trouble getting the sandcastles to stay up. Everytime they place them down in the background, where the ribbon is blocking off the waves, the water from the waves causes it to collapse.
Another important thing is discussing his bucket hat. While you do have several options on this one, you want to tell him that his hat looks good on him. He doesn't want to look fancy, as he believes it will negatively affect how people see him, and he gives it to you.
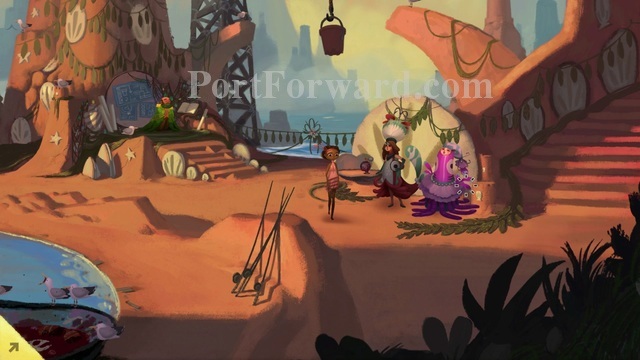
When you're done talking to the Marshall head to the right and talk to the two maidens standing by the stairs.
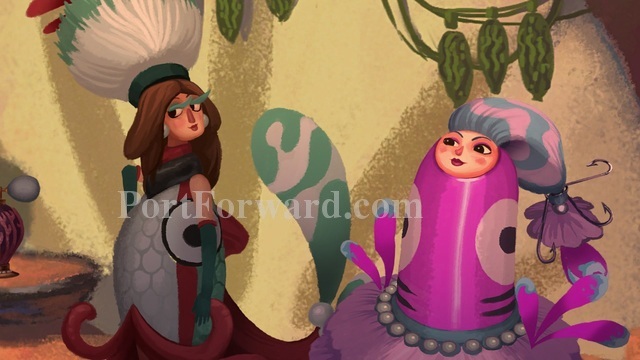
If you mention that you want to join the Maiden's Feast they also tell you that you don't smell right. The important thing with this, though, is they then will reveal that the girl on the left has a secret sauce perfume (called beast hooker), but you can't have any of it.
When you're done talking to the maidens of Shellmound head back to the left.
Cross the bridge to head back into the forest.
Keep walking, past the crazy, nuerotic, tree.
Keep going and head back into Curtis' house.
Give Curtis the drift wood.
This will lead to more fun double entendre dialogue. When he's done he will give you the stool he made from the wood.
Head back outside and across the forest.
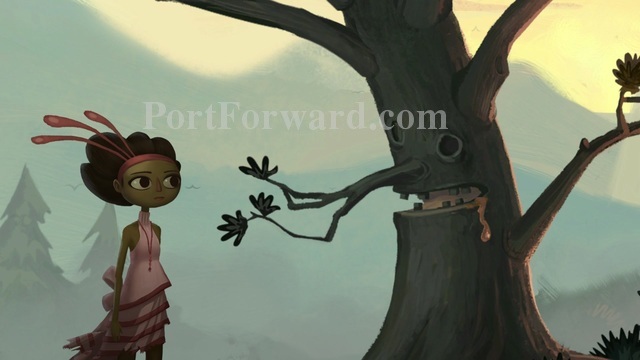
Click and drag the stool over the tree to show it to him. Vella will begin describing what Curtis does to make things out of wood which makes the tree sick. This causes the tree to actually throw up tree sap.
Unfortunately the sap is on the ground so it's useless to you in this state.
Place the bucket you got from Marshall Dune on the tree.
Show the stool to the tree again. This will make him throw up again and the bucket will catch the tree sap.
Now that Vella has the tree sap you can head back to the right. We don't need anything else here.
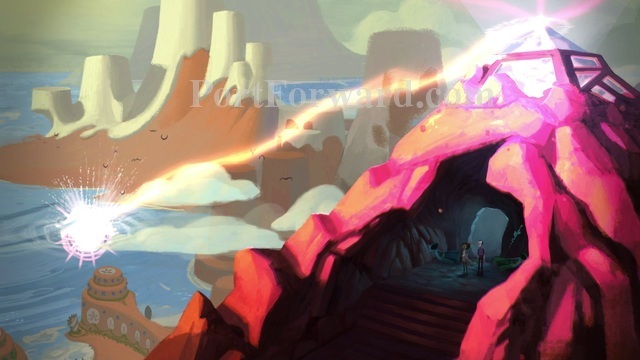
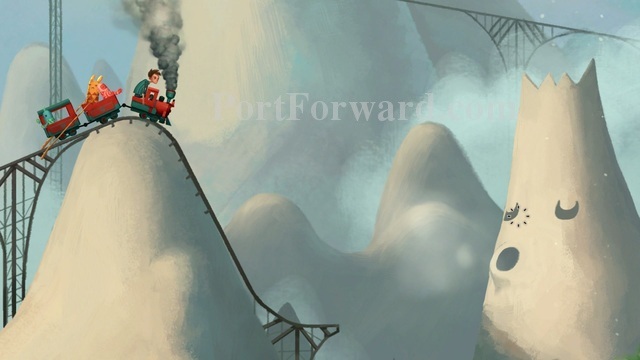
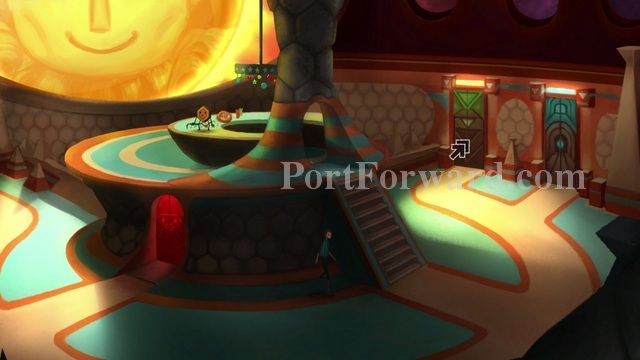
Broken Age (Act1) Walkthrough Off to the Tomb of the Deadeye God
Go past the maidens and head up the stairs on the right.
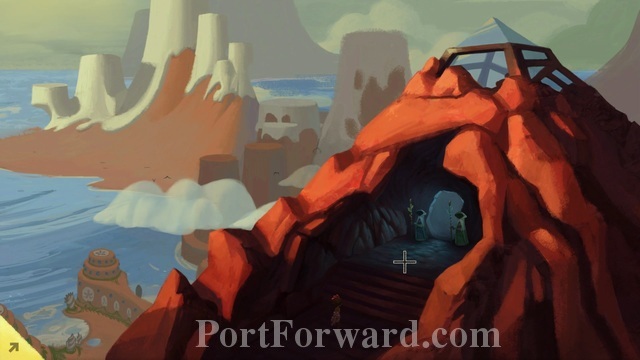
You'll come up on the mountain top here with two guardians in front of an entrance.
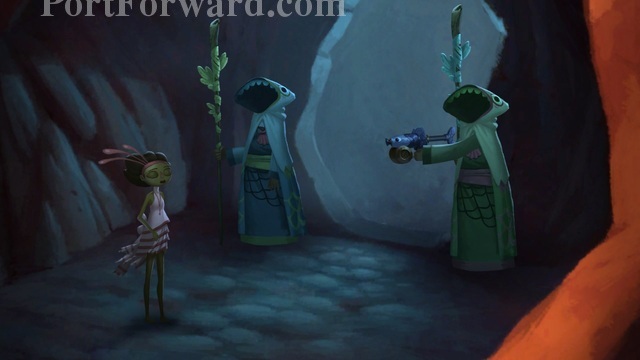
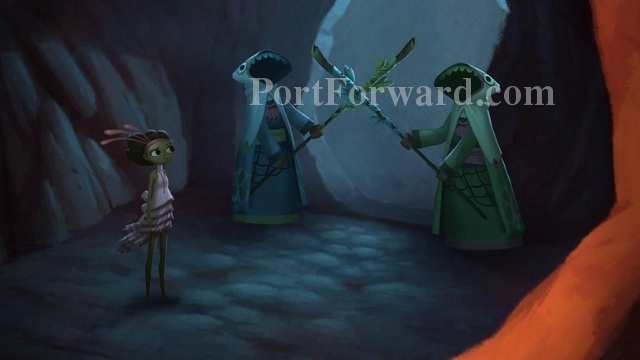
Click to speak with them. They make it clear from the moment you meet that they find this place to be holy in nature and do not want you to enter. One tries to gas you with holy tear gas, but it fails because it is out of juice so they block you with their staves.
They tell you that they are named Deadeye Dawn and Deadeye Courtney. They blinded themselves for their God and now stand guard waiting for his return. They believe he will return their sight and bring about a new age.

There's a few things of note in this conversation. For one, you cannot enter the tomb of the deadeye God unless you answer their riddle.
"You always take us down
When we are in our prime
Devour your sweet rewards
Yet I'll return in time
A child of mine will rise
Out of his rotten bed
Up from a hidden pit
Long after I am dead."
They also inform you of the battle of Volgentoll- which is said to be a great battle between human and Mogs.
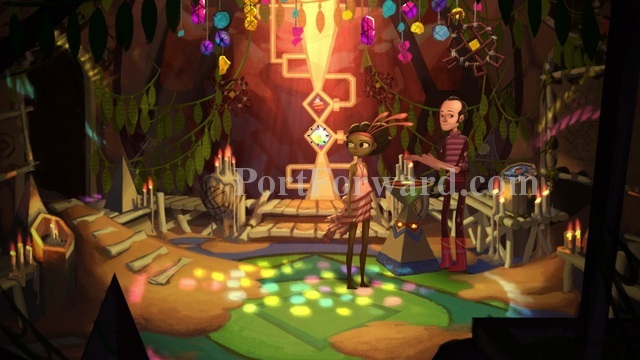
Offer to get them something and then offer to refill the holy tear gas and Deadeye Dawn will throw you the holy tear gas gun.
After that conversation is over click and drag the peach to them and Vella will tell them that it is the answer to the riddle. It doesn't actually have anything to do with the pyramid, but now that you've blown their minds you can freely enter the tomb.
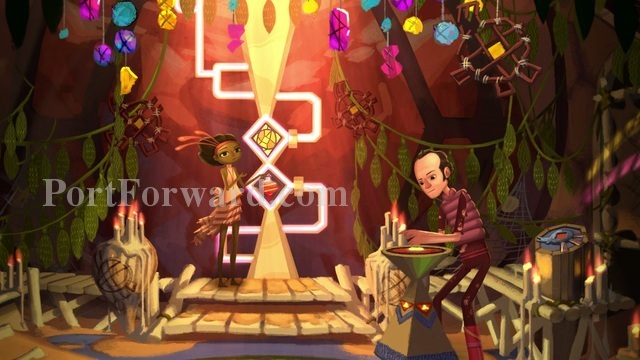
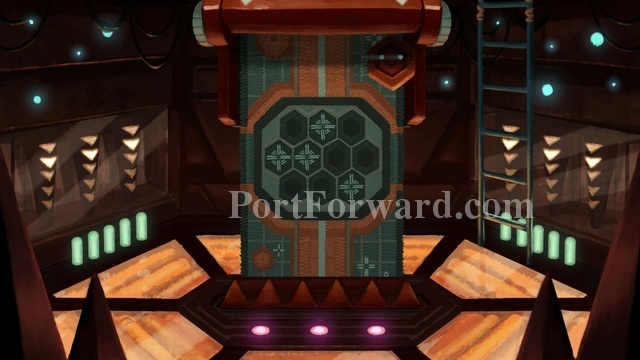
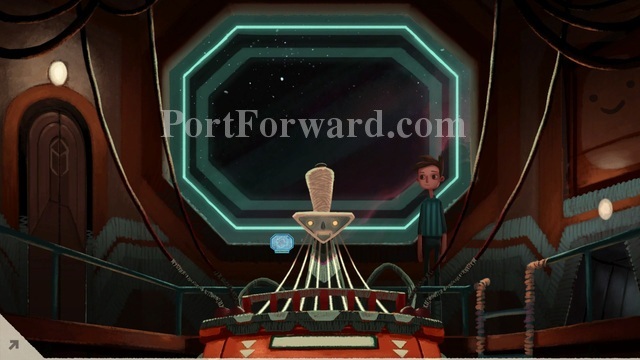
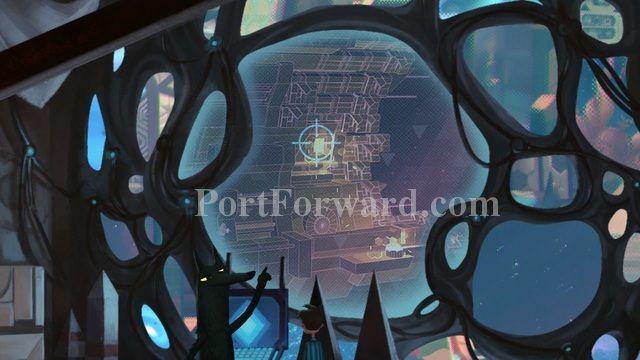
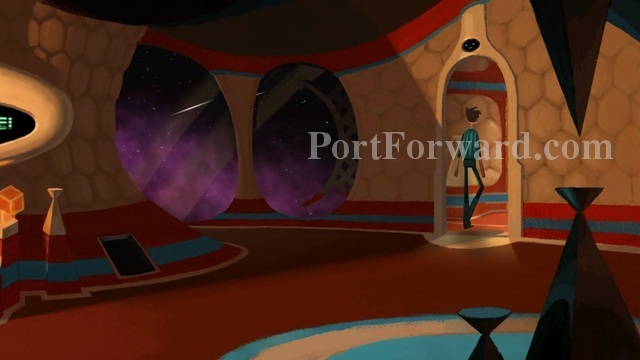
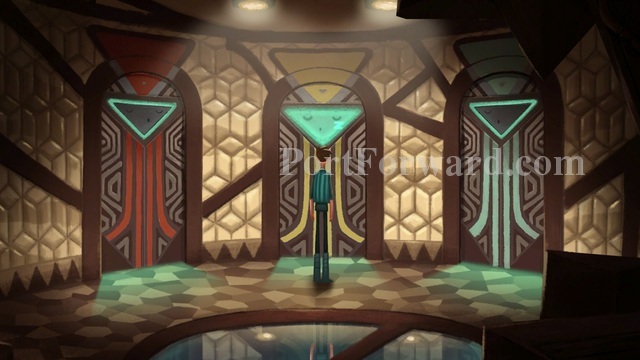
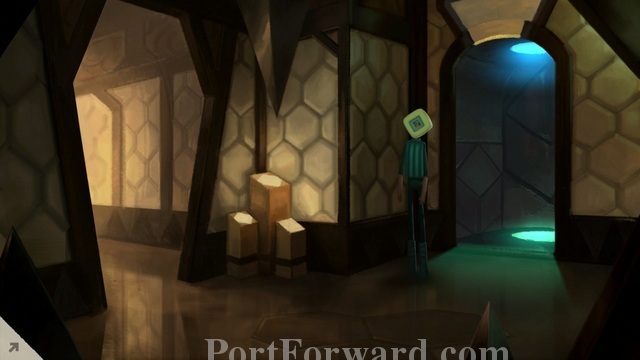
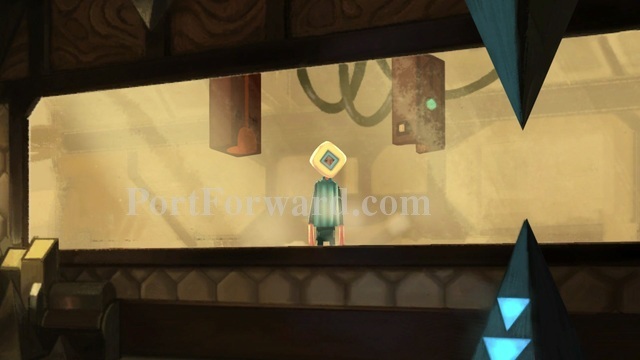
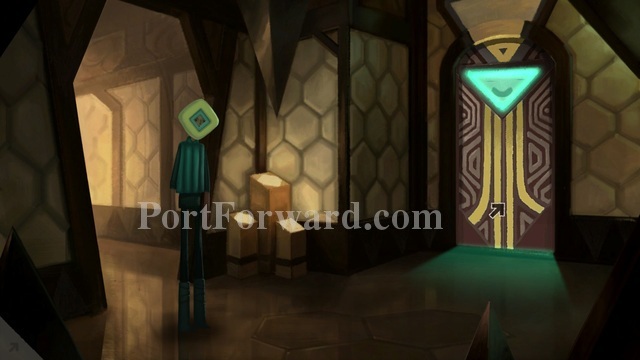
This place is exceptionally colorful. There's a lot to see in here, but first thing you should notice is that pedastal on the right side of the room. The shape should look familiar to you.
Drag the strange art over the pedastal and Vella will place it on the pedastal. This will cause something to turn on.
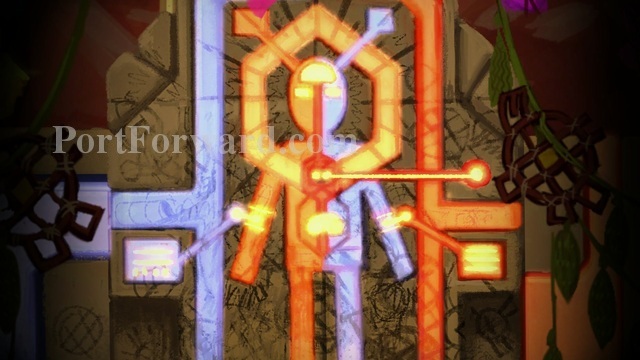
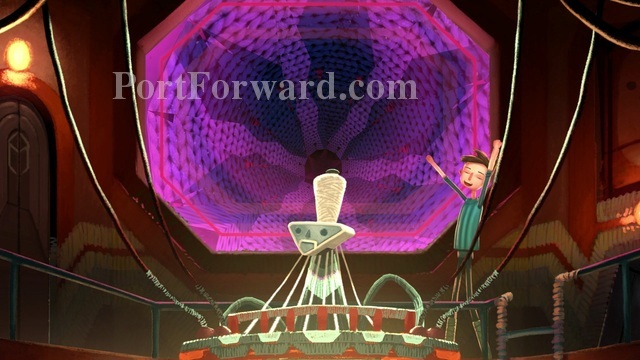
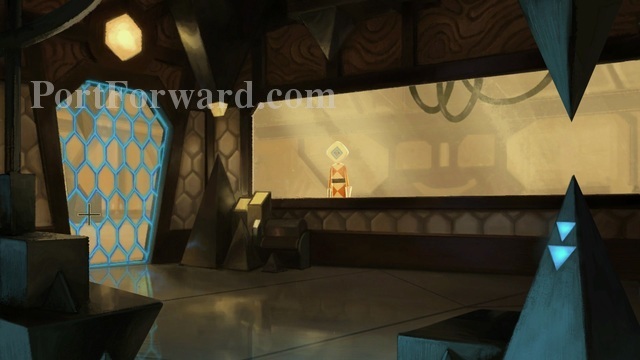
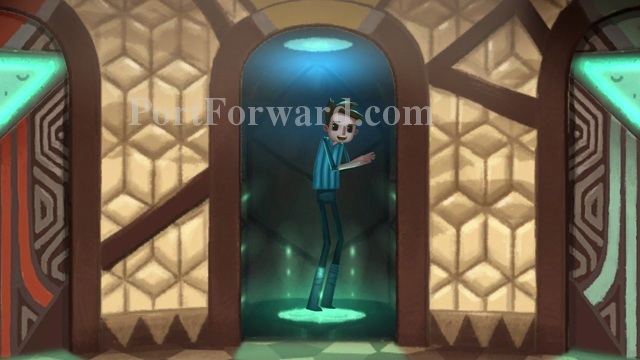
The pictogram of what appears to be a person will light up and a man named Alex will walk out of it.
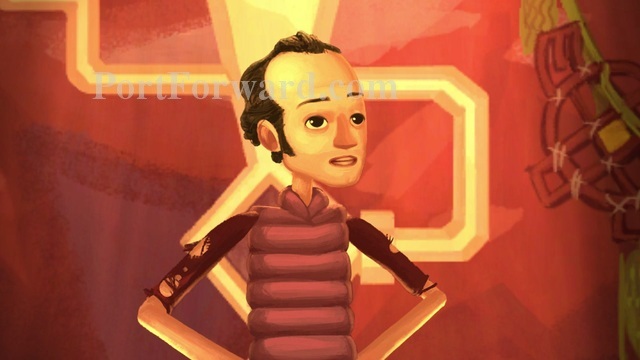
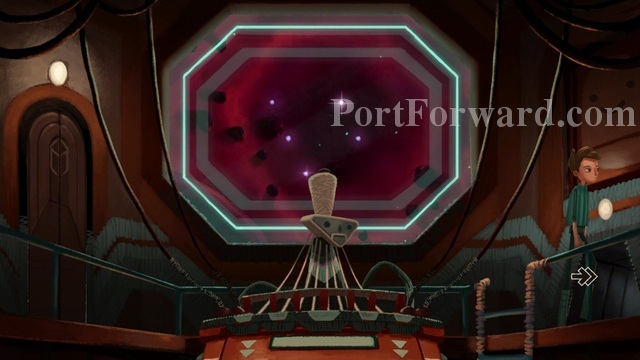
Alex is from the planet Laruna and has been in cryogenic sleep for several hundred years waiting for someone to get the strange art thing back to him. He needed it to plot a course back to his home planet, but he lost it a long time ago.
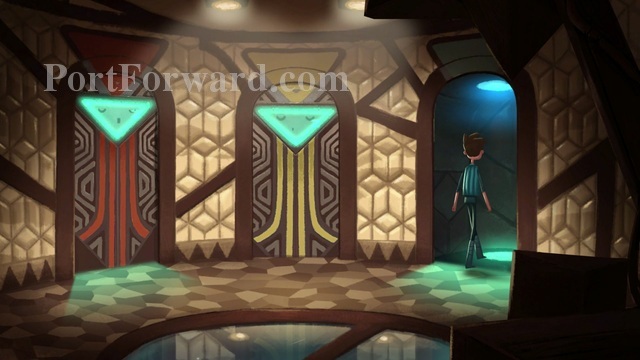
Another important thing here is that the tomb of the deadeye God is actually Alex's spaceship. He now wants to power it up and fly off back to Laruna.
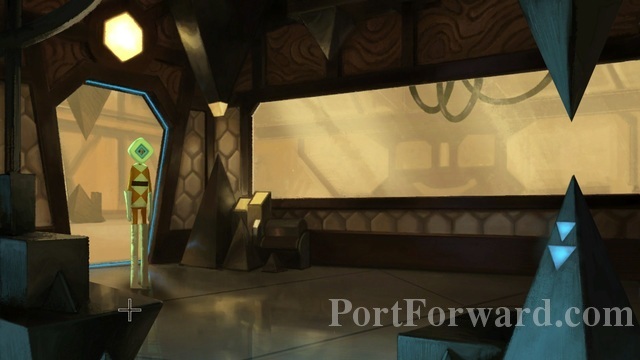
If you ask if the ship has weapons Alex lets Vella know that it does not. He also gives some interesting insight into what Sugar Bunting used to be.
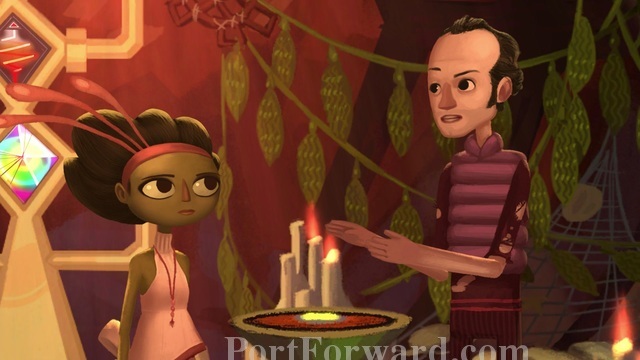
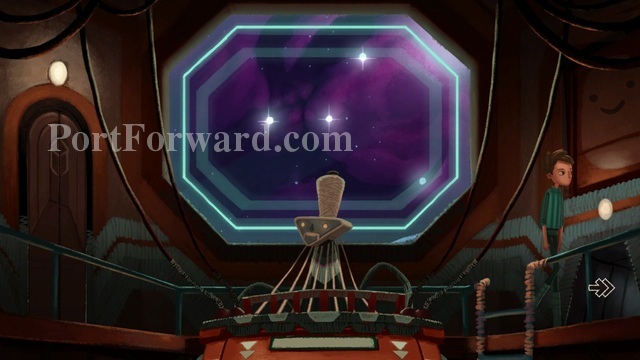
After speaking to Alex click on the colorful glass right behind Vella. She touches it and it falls off and breaks.
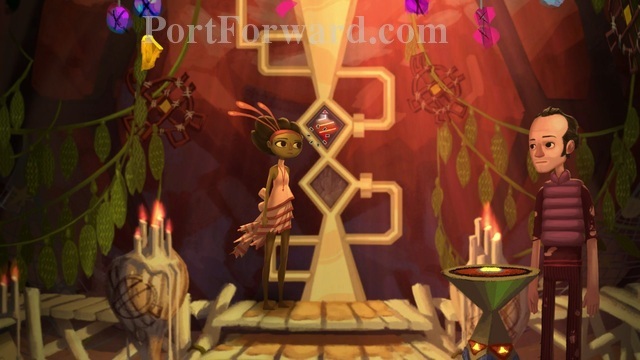
Next take the laser coil (the red piece of glass in the top diamond). Alex isn't particularly happy Vella is messing with his ship.
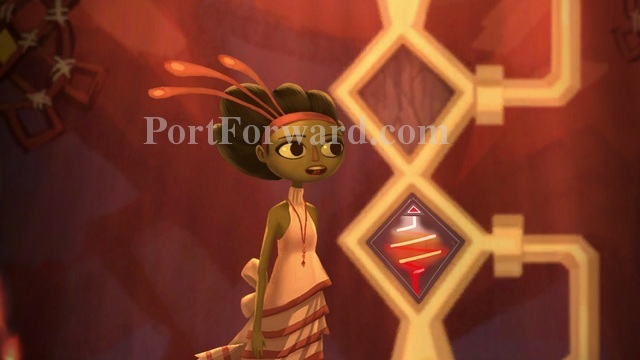
We should put the laser coil back but I think it will look better in the bottom diamond instead so put it there.
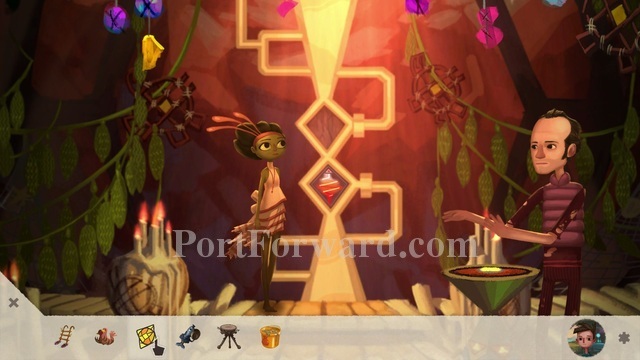
Next click and drag the piece of stained glass window you got from Curtis' house earlier onto the top diamond.
Alex spits out techno babble and basically says at this point you've created a deathray somehow.
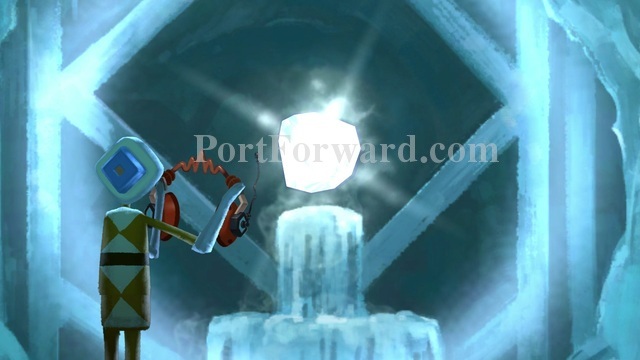
Yay! He can help you kill Mog Chothra now.
Alex walks with Vella outside and gives her a trigger to set off the death ray.
Broken Age (Act1) Walkthrough Back to Shellmound
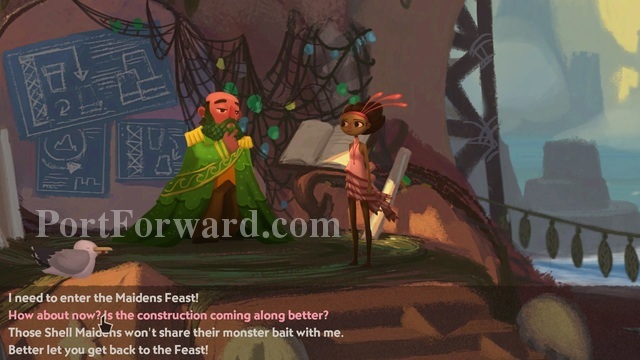
After walking back down the mountain head over to the left and speak with Marshall Dune again to ask how the construction is coming along. Apparently it's not going any better.
Say goodbye and then click and drag the bucket of sap to give it to him. Vella lets him know this will help the sand stay firm in the waves so they don't keep knocking down the sand castles.
Marshall Dune is willing to try anything at this point so he calls down the workers to try using the sap on their sand mixture.

Yay! The sap worked. Now the Shellmound Maiden's feast can commence! Before that, though, we'll need to fix Vella's smell.
Use the holy tear gas canister on the bloody fish soup trough at the bottom left by the water.
Head back towards the maidens and use the holy tear gas canister on them to spray them with the sludge making them reek of rotten, dead, fish.
It also attracts seagulls which makes the maidens freak out.
While they're being attacked grab the "beast hooker" perfume on the table next to them on the left. Vella convinces them the sea gulls are attracted by the perfume and they ask Vella to get rid of it.
Use the "beast hooker" perfume on Vella. If this isn't the perfect smell for the Maiden's Feast of Shellmound then nothing is.
Now that you're good and stinky speak with Marshall Dune again. Tell him that you need to enter the Maiden's Feast.
Since you helped him finish the construction of the sand castle, and you smell perfect for Mog Chothra, he is more than happy to let you enter now.
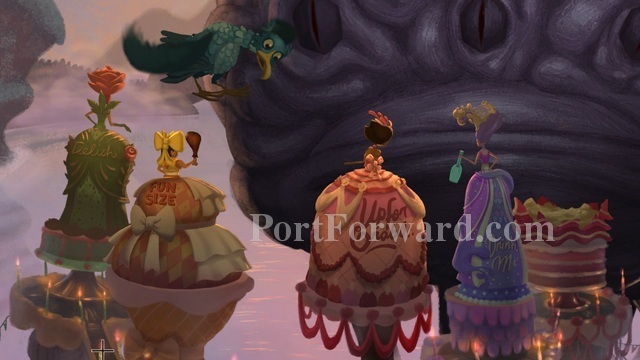
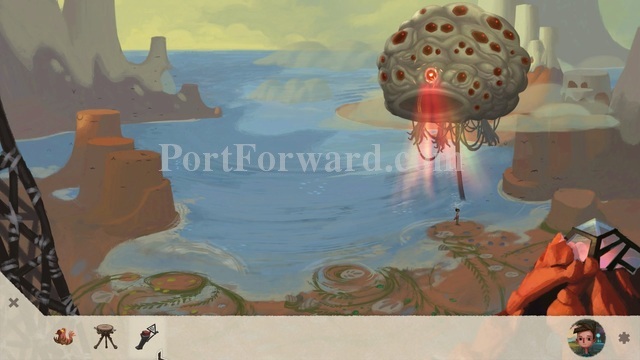
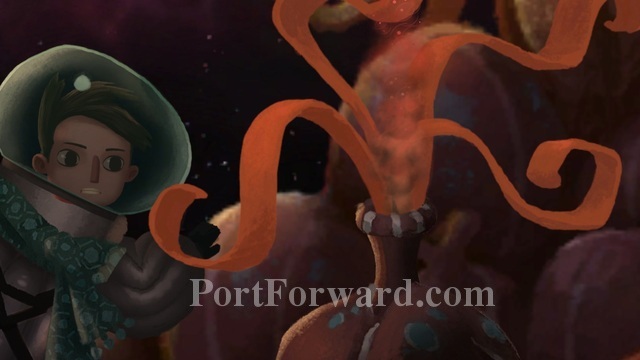
It's time for another encounter with Mog Chtothra. The two other maidens beside Vella begin singing, like they have been taught, in order to attract Mog Chothra to them.
He is more than happy to oblige and takes both the other two maidens in one fell swoop. Vella is ready for him now and gets out of the way just in time.
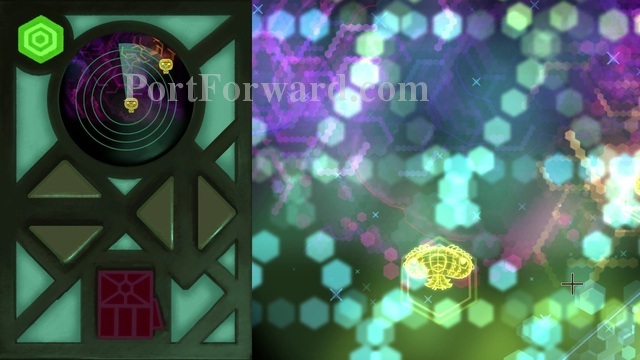
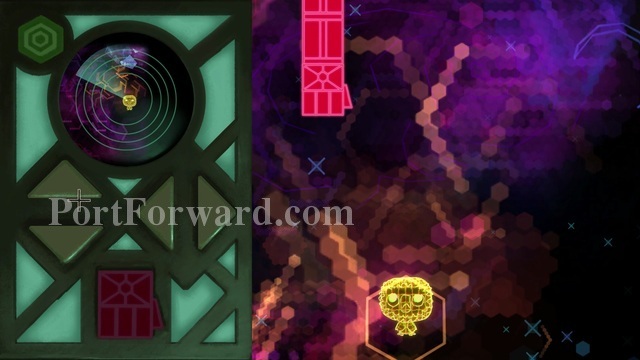
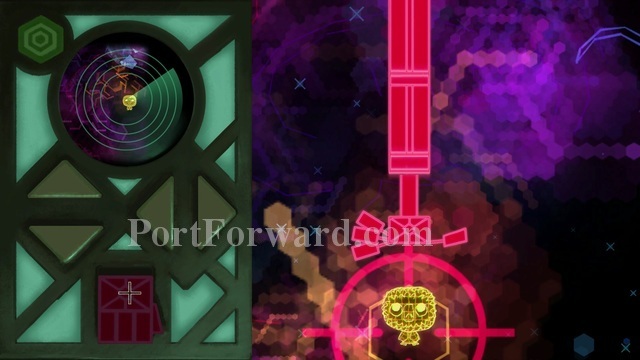
Click and drag the trigger to Mog Chothra and you will get a targetting reticule. You can zap him in the eye, but this isn't doing anything. The monster's hide is too thick.
If you take too long figuring it out every once in a while Mog Chothra will pick up Vella. This isn't a big deal though because Vella deftly kicks herself free.
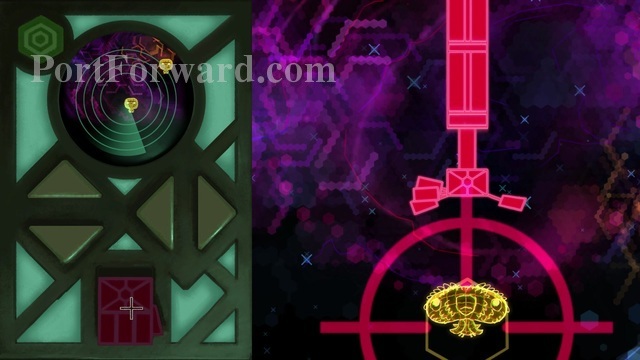
Target the tentacles with the triggering device to rip them off. This way Mog Chothra can only pick up Vella by one arm so the other is still free.
When there is only one tentacle left, let Mog Chothra pick Vella up again raising her up to his mouth. Then break out the trusty old ladder from M'ggie in Meriloft and shove it in Mog Cothra's face.
Short things can surprise you indeed.
Now that Mog Chothra's mouth is forced open there is a weakness in his armor. Go ahead and have Alex fire the death ray into his mouth.
Just in time, too, as it's causing Alex's ship to over heat and go critical.
BOOM! One ugly Mog Chothra down for the count!
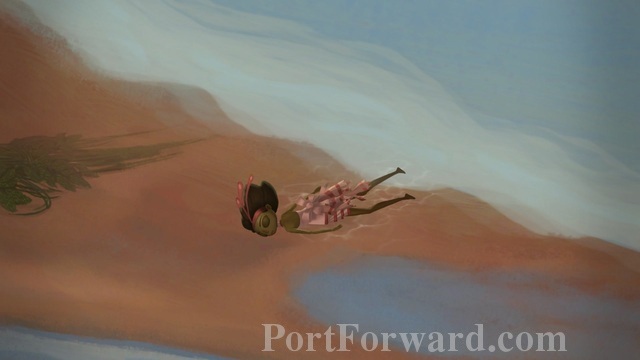
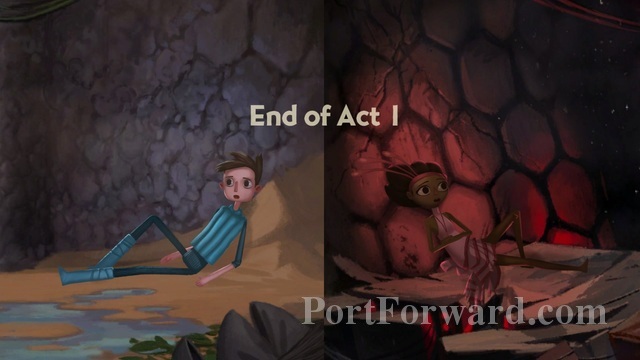
The ensuing crash of Mog Chothra sends up a large wave which knocks Vella out.
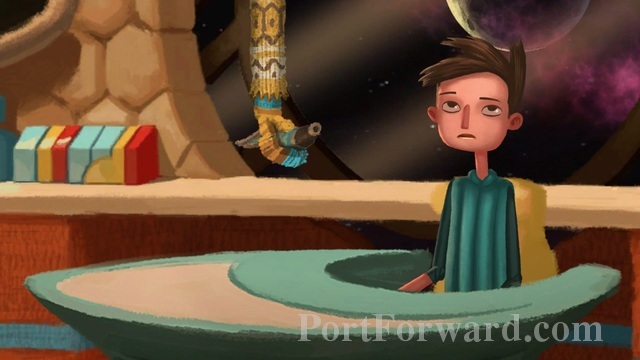
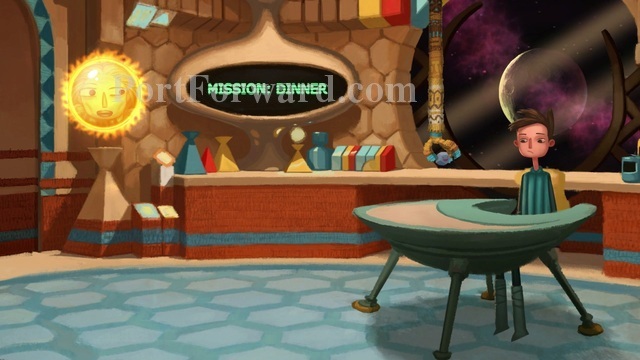
Broken Age (Act1) Walkthrough Onboard the incubator vessel Bassa Nostra
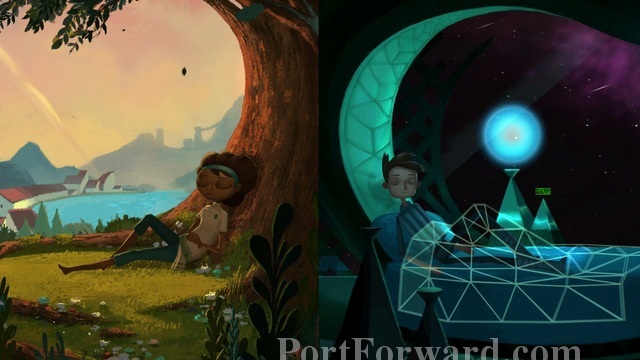
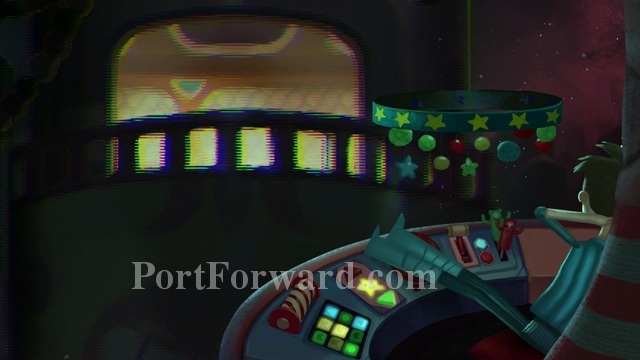
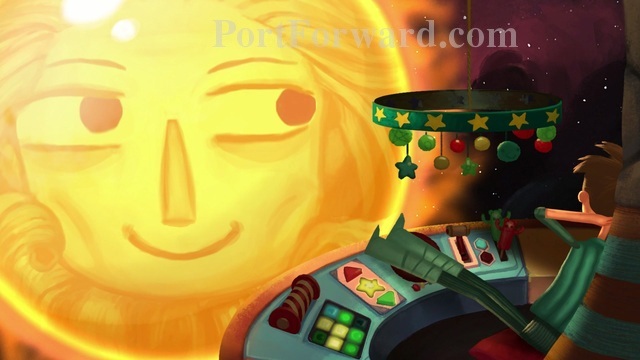
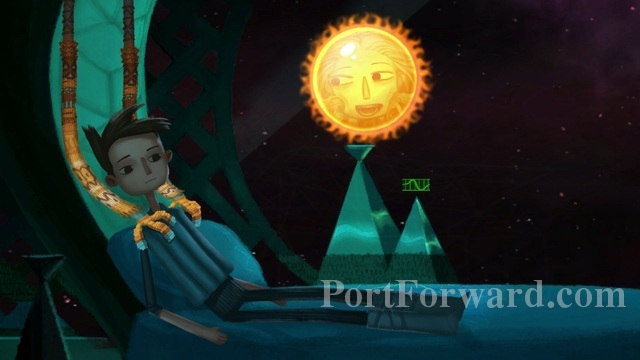
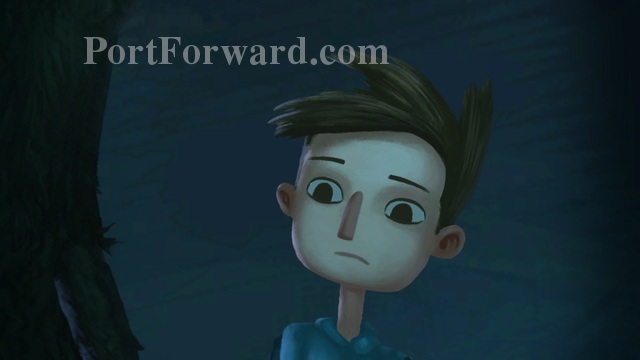
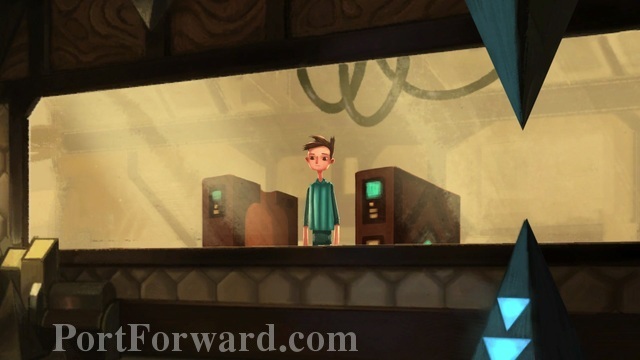
The opening for Shay starts automatically once you've completed Vella's Act 1 quest. This one doesn't have the same ambience as Vella so when you're done enjoying the art go ahead and click to wake Shay up (like Vella, anywhere is fine).
The onboard computer has lots of plans for Shay. There's an odd amount of motherly audacity to the computer who seems to do everything for Shay.
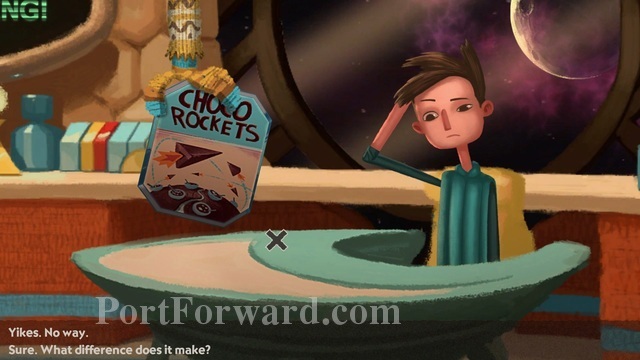
Once you're in the kitchen it gives you the option to choose what cereal Shay should eat. To be honest, other than dialogue, what you pick doesn't really matter. To start let's just say "Sure" to Choco Rockets.
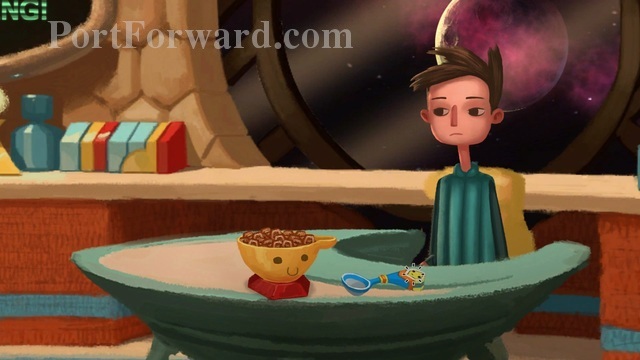
You also get Shay's first inventory item here. Pick up the spoon.
Use the spoon on the cereal so Shay can eat some breakfast. The spoon enjoys being useful a little too much.
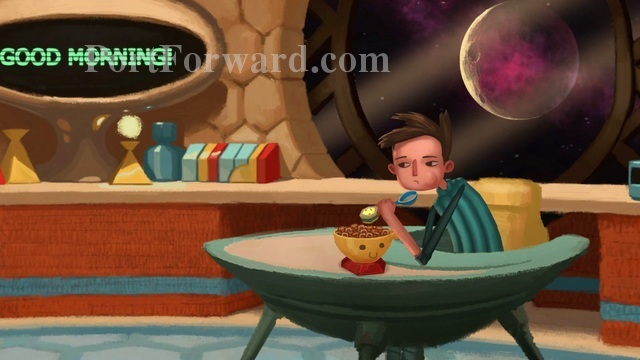
While Shay is eating breakfast an Alert will sound. It's time to spring into action and see what the problem is!
Shay is pretty noncomittal about all this. He doesn't react with much interest to most things that are going on right now.
We'll just start from the top and go down all the missions here. I recommend first choosing the avalanche on Galartica.
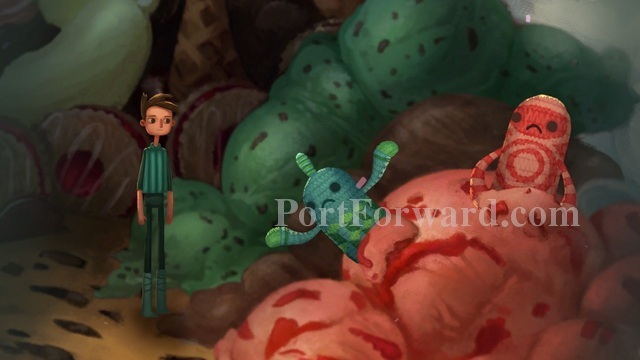
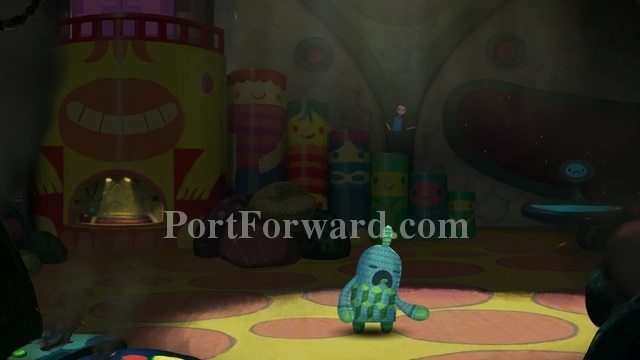
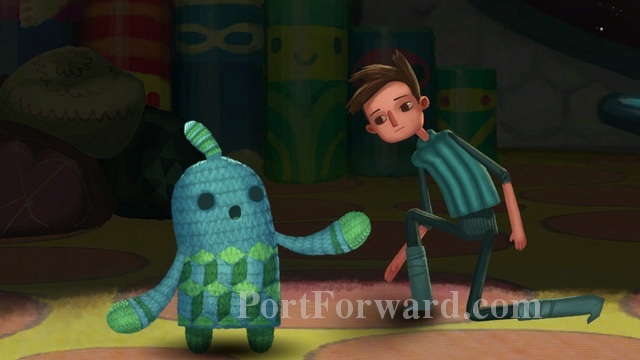
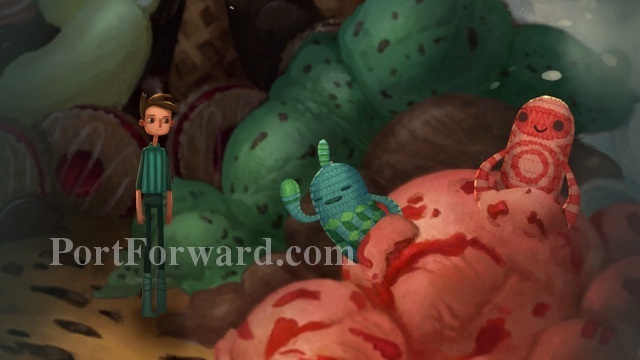
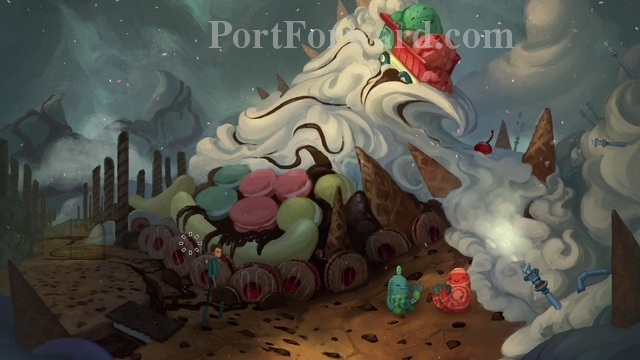
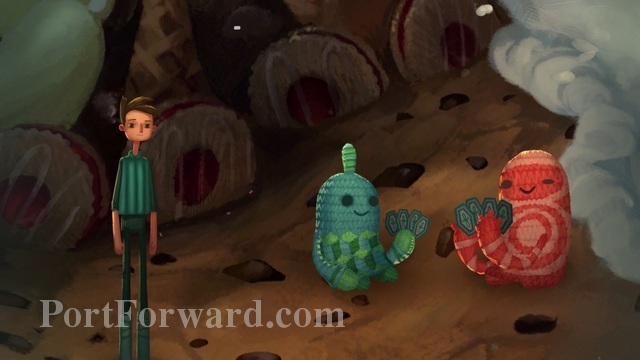
Upon arrival Shay finds two knit looking creatures stuck in an avalanche of ice cream. They're surprisingly stoked about this turn of events even though they are requesting that Shay save them.
Use the spoon on the ice cream avalance and Shay will eat the ice cream and save the creatures.
After that Shay will have lunch. I'm not sure he really needs to eat after eating creatures out of an ice cream avalanche but whatever the computer says goes.
When lunch is over Shay is tasked with choosing another mission. Let's keep going down the line. Next choose the run away train. Shay is a little bit more excited about this one, but not much.
Shay is dropped off on System 7 to help some more knit creatures this time on a run away train.
Strangely this run away train moves very slowly and the only danger is the mountain man (named "the bridge man") who usually completes the track but is now sleeping.
At about this point you will also notice that the screaming knit creature is yelling things. Most importantly she is telling you to wake up "the bridge man".
Upon reaching the final hill the screaming knit creature will hold the train in place waiting for Shay to save the train. The computer will again reitterate that you should wake up "the bridge man." Really, all you have to do is click on the mountain to wake it up.

When the train ride is over the conductor will thank you for staying safe. I mention this because it will be important later.
After saving the train it's time for dinner. Let's just hope it's spaghetti. Shay seems more bored with his life than ever, giving a depressed sigh.
Next choose to go on the mission to inspect the distress beacon coming from Friendship Circle.
It's eerie and dark in here. There are also components around that appear to be broken.
There seems to be a crew member in distress as well. Is it possible we've finally stumbled on a real problem? Click on the knit creature to speak with it.
What troubles you strange knit creature? Aliens? Another vessel on a rampage? SPACE MADNESS?!?
Nope. Just another non issue. These problems are starting to seem suspiciously safe.
After the hug attack Shay will resign to his quarters to rest for the... evening.
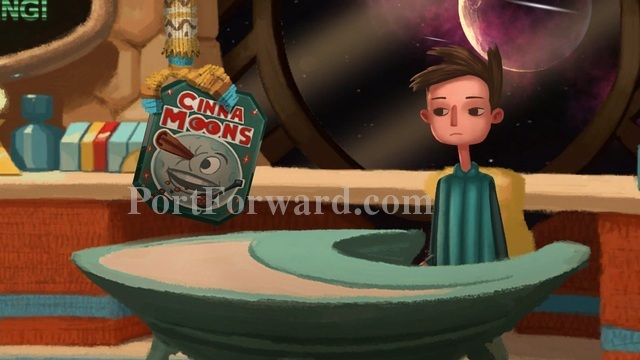
The next day, for breakfast, you can say no to the Choco Rockets and say yes to Cinna Moons just to mix things up. Or don't. It doesnt actually matter.
For the next mission, choose to inspect the hull of the ship where an alien life form has attached itself to your vessel.
As usual, the ships computer is way to safety conscious, but at least Shay gets to go outside into space so it's not all bad.
After surveying your surroundings head to the life form that's attached to the ship on the right.
Click on it and Shay will be so attracted to it he sticks his face in it like any smart Commander would do.
Oh, it's just a present. Oh well. I guess the ship's hull is safe, too.
Broken Age (Act1) Walkthrough Breaking the routine
After eating lunch Shay now remarks how he needs to break out of the routine. All you can do is the same safe missions over and over. How can we stop this safety madness!?!
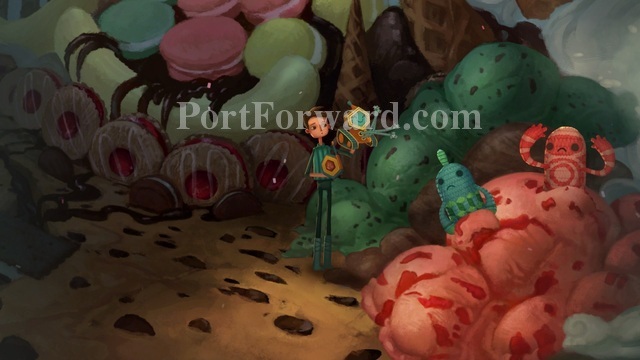
For now go back to Galartica and see the knit creatures are once again trapped in ice cream. The same old story. They like ice cream but not this flavor.
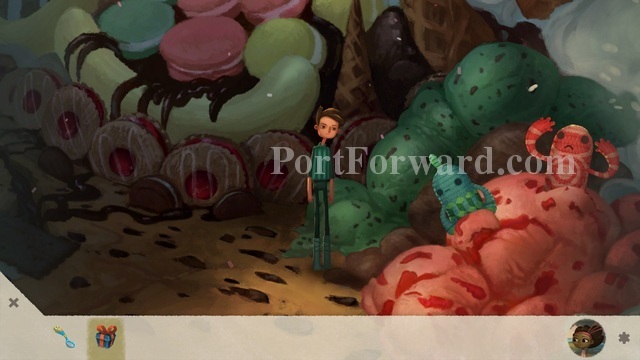
You'll notice now in your inventory you have a present. You can click on it to open it.
It's not a puppy, but it is a Grabbin' Gary. He could be useful later but right now he's not.
If you head to the left you'll notice the backdrop has a strange door. It's starting to feel a little bit like the "Truman Show" in here.
Oh well. There's nothing left to do except eat them knit creatures out of that mound of ice cream.
After dinner you might as well choo choo choose the train next.

This time you start near the top. You can click on "the bridge man" to wake him up, but before you do I've got an idea and you need to be ready for it.

Click on "the bridge man" to wake him up. Then immediately click on him again and Shay will tell him to go back to sleep.
This will cause "the bridge man" to retract his tongue while the train is riding over it which in turn causes science to take over and the train plummets.
The knit creatures aren't particularly happy that Shay did this, but Shay is actually having fun for once.
Shay will land on the spikes at the bottom. Like anything else around here they're perfectly safe. Shay is grateful for having something different, and potentially dangerous, happen to him for once.
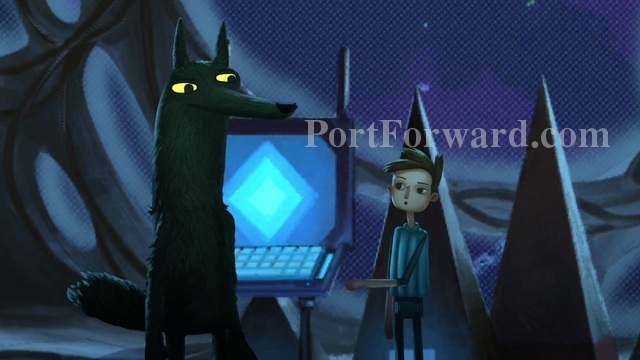
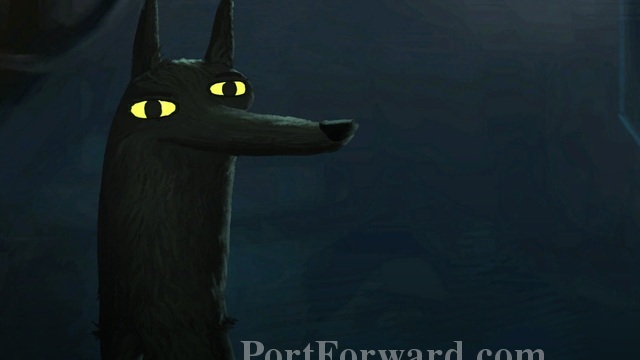
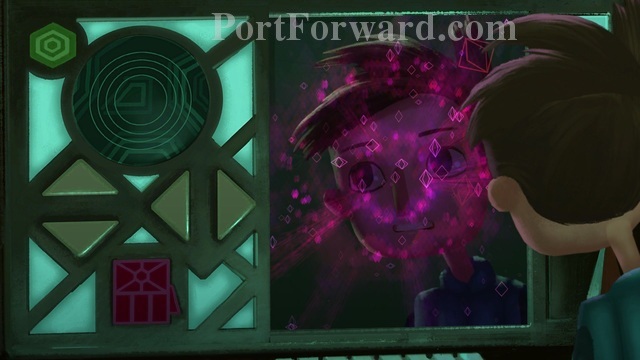
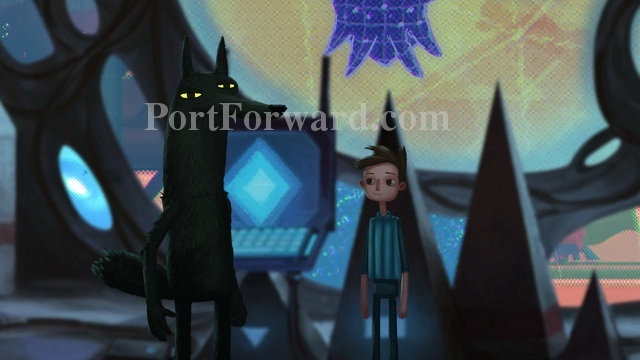
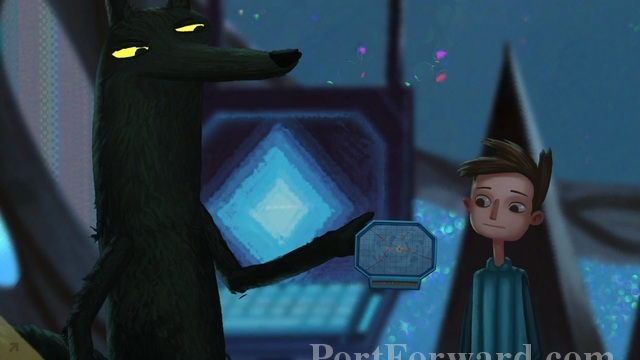
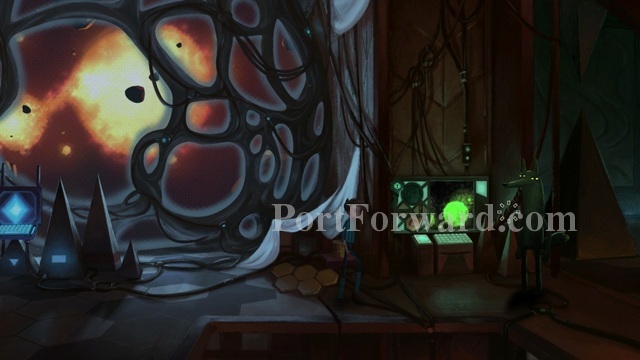
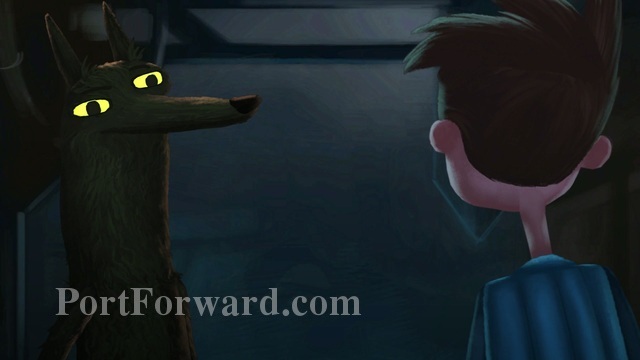
When the knit creatures are gone a shady wolf figure appears from the foreground.
The shady wolf tells Shay to come find him when he's done playing kids games and gives Shay a socket wrench of some sort. Before disappearing back into the shadows he tells Shay to not let anyone know about this.
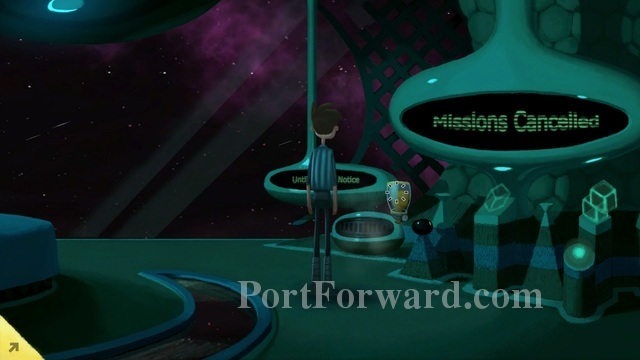
After the wolf is gone the computer picks Shay up and takes him back to his room to "heal up in bed until further notice". She says Shay may have a delayed fracture. I think I had one of those in college.
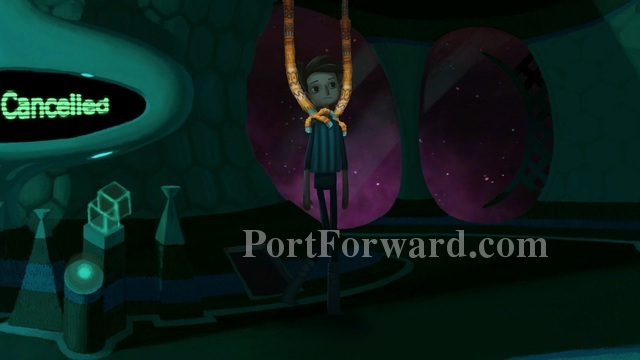
In the middle of what we will assume is space night, Shay awakens when you click anywhere on the screen.
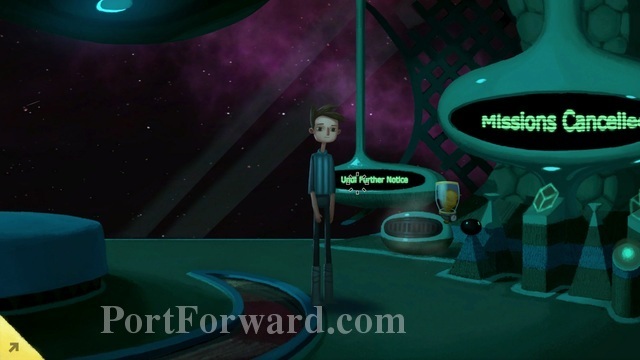
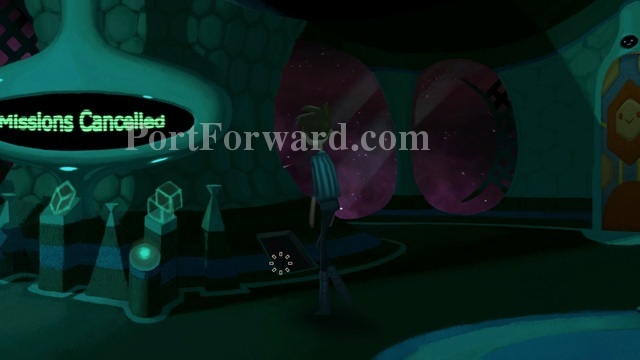
Shay comes to find that, for once, all his missions are cancelled which means he is free to mostly do whatever. Heads up, though, Shay is still confined to his room and the computer is still making sure he doesn't leave.
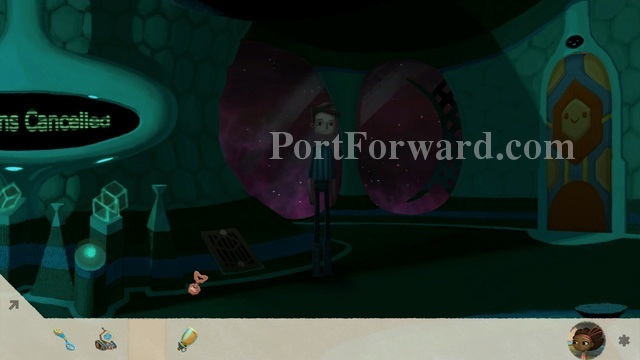
You can look around the room for now, though. You'll see a humidifier (it doesnt really do anything) and attached to it is some sort of air pump. You can click on the air pump to pick it up.
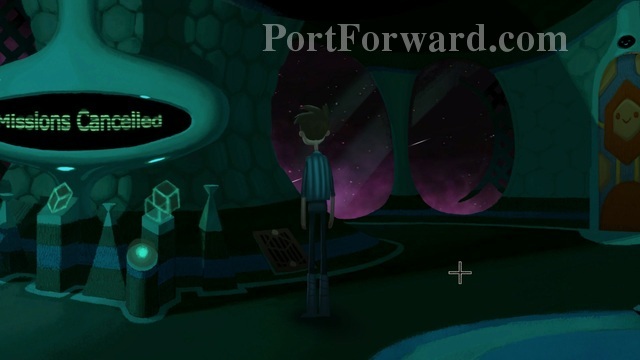
Then head to the right and you'll notice an air vent near the floor. If you click on it (you should) Shay will say it has weird little screws.
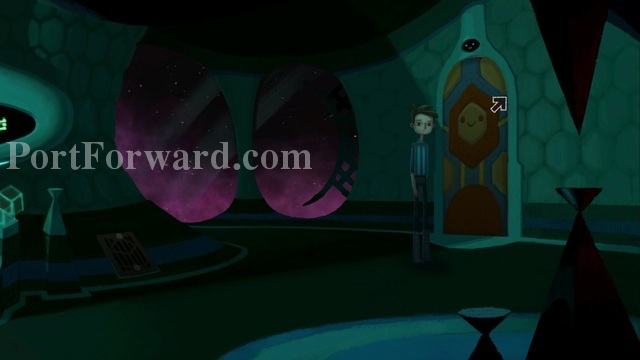
Just so you know, if you try to leave through the door on the right, Shay finds it's still locked and the computer puts him back into bed. This starts the sequence over (you will not lose your inventory, though, so you retain what you've already picked up).
Anyway, once Shay wakes up again head to the right, again, and use the socket wrench on the vent to open it.
Click on the vent to take what's inside. If you examine it Shay says it looks like an inflatable raft.
You can try to enter the vent now, but the computer will notice and put Shay back in bed- every time. We need to find a way to distract the computer so it thinks Shay is still in bed.

Once you wake Shay up again, combine the "raft" with the air tank to fill it up with air.
Oh my. That is not a raft. It's a blow up doll of Shay; If he gained 100 pounds and curled his hair. Creepy!
To distract the computer you need to place the creepy blow up doll in Shay's bed.

Once that's done head back to the right and climb in the vent again.
Luckily the computer is kind of stupid and can't tell that's not Shay in the bed so he can continue down the vent and move on now.
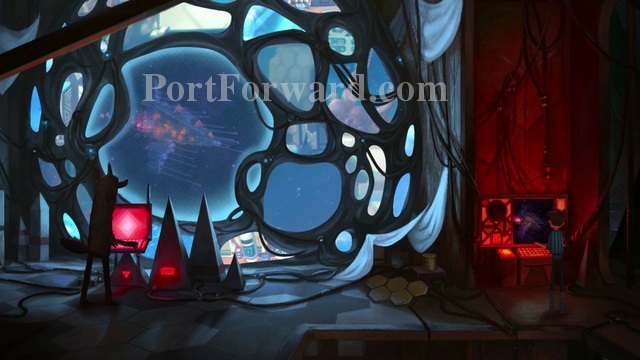
You arrive in some secret part of the ship. Shay remarks on how he's never seen this part of the ship, but I get the feeling he hasn't really seen much of the ship in general.
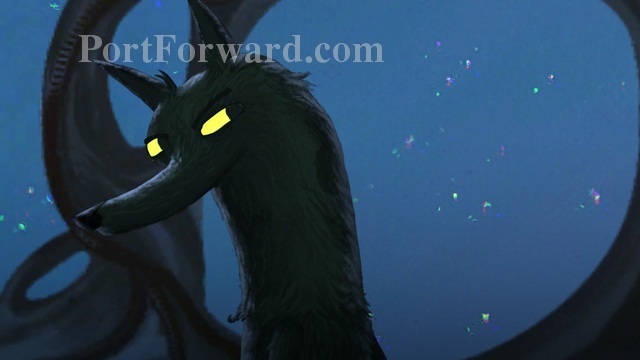
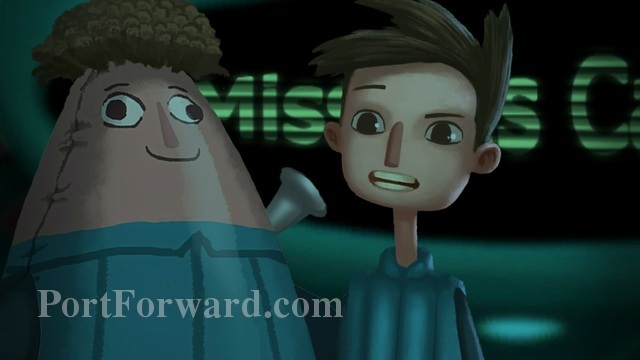
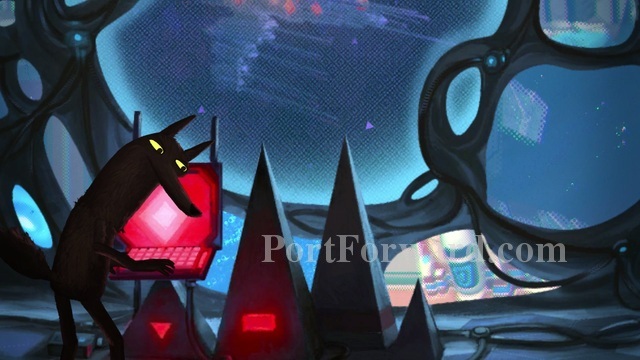
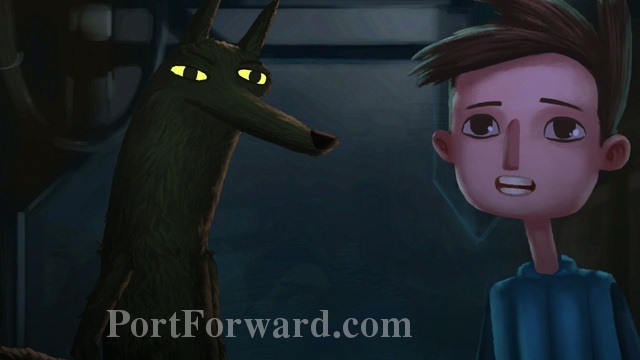
The wolf immediately greets Shay with more introspection on being done with children's games. We come to find this is Merrick and he is going to show Shay real problems that need solutions.
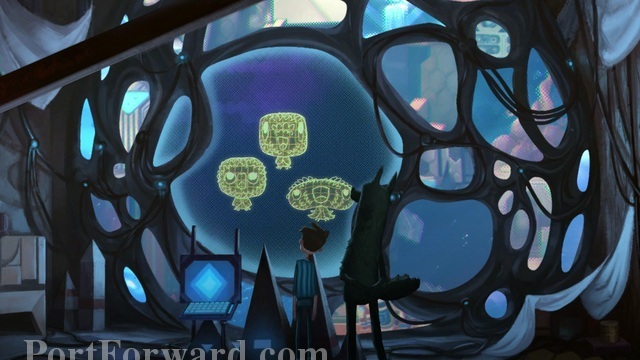
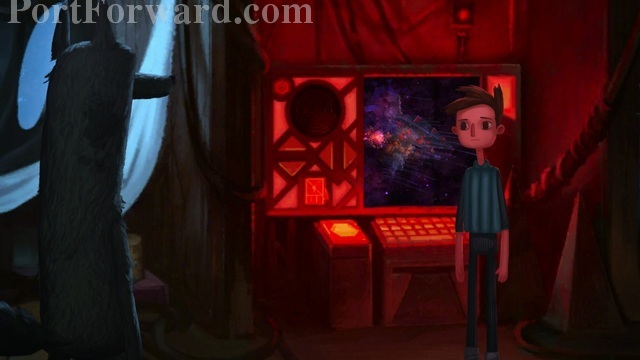
Merrick recieves a distress signal and goes on to show Shay some creatures that are being held captive in the Talon Nebula. He says if they are not saved then they will be executed.
Shay is ready to save the creatures without much more information or thought. He wants to tell the computer, but Merrick begs him not to as he doesn't believe the computer would understand- being that it is overly protective of Shay.
Merrick gives Shay a star chart so he can rechart a course and head to the right location in space to save the creatures.
He advises Shay to take the vent on the floor to the left and to hurry.
You can look around the room a little bit if you wish. One interesting thing is how Merrick says that the amount of cameras being used are for Shay's protection. He also requests you not touch the control computer on the right, yet. You also cannot go through any of the doors.
Welp, time to head into the vent on the floor on the left side of the room.
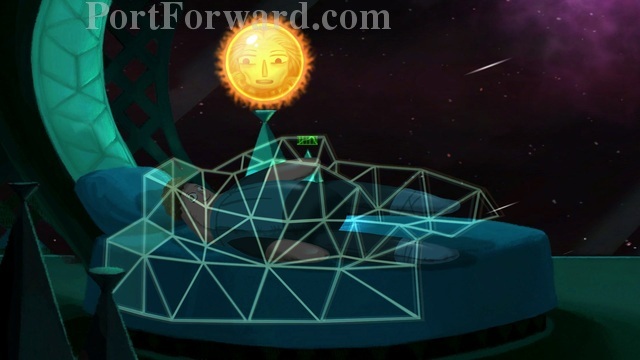
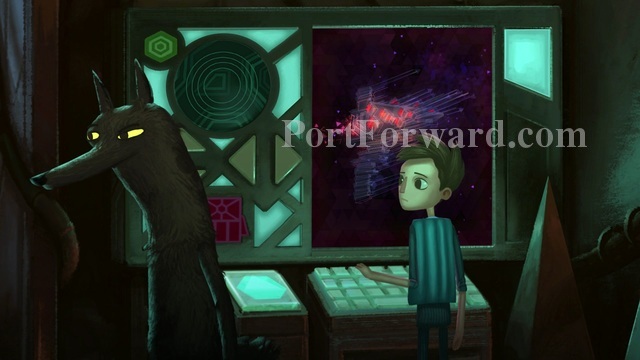
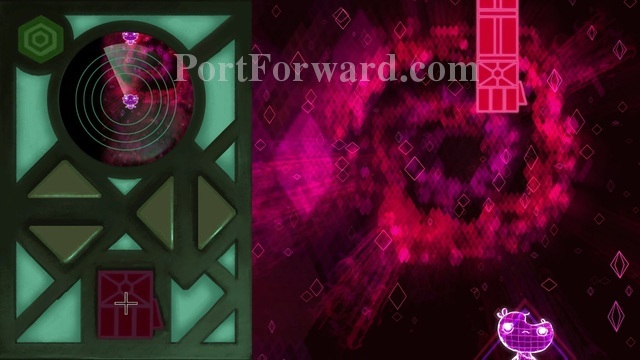
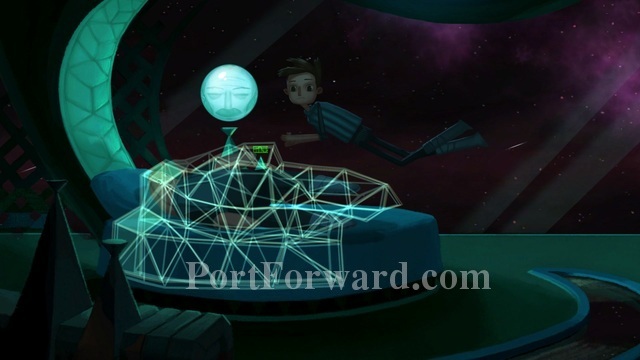
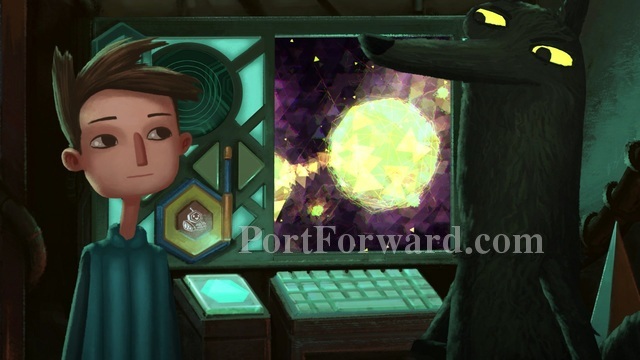
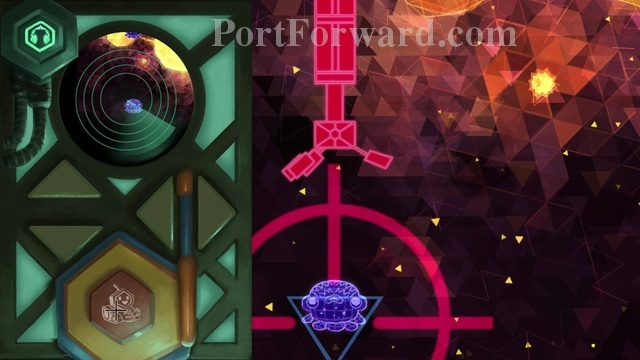
Shay is super stoked to be on a real mission for once. When you arrive here you'll meet the Space Weaver which is basically the ships navigation system. The really neat thing about this character/technology is that it weaves star patterns into the ships navigation system which then plots a course for places you want to take the ship.
Click on the Space Weaver to talk with him. The important thing to note is the Space Weaver won't take Shay somewhere dangerous. He also just requires you bring him a star chart and he will weave the star signs into his "NavScarf" to plot a course.
You can walk down to the "NavScarf" if you want but Shay just reitterates what the Space Weaver already said.
When you're ready give the star chart Merrick gave you to the Space Weaver.
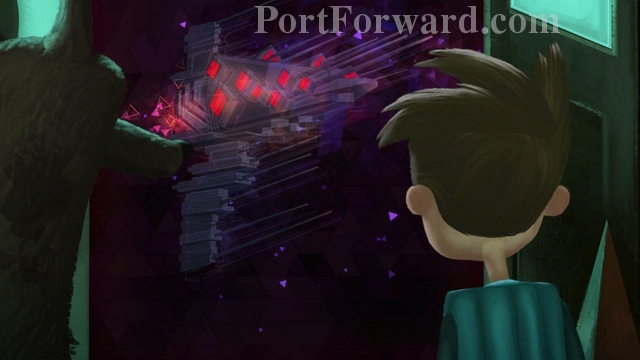
When you do the Space Weaver will do his thing weaving the pattern into the "NavScarf" which it will show you (this is important to remember later).
After the count down the ship will go through a knit pattern like form of hyper speed and then arrive in the Talon Nebula.
When that's done head back through the vent on the right to go back to the secret room where Merrick is.
Head to the right and click on Merrick to talk with him.

Merrick tells Shay that the creatures aren't being guarded. He then walks Shay over to the computer he wasn't allowed to touch earlier.
Merrick is then very insistent you lower the ship's shields to begin extraction. In order to do this click the big green light on the top left.
Once that is done a big red boom arm will swing left and right on the screen over a yellow creature at the bottom.
Basically this is just a simplified toy grabbing machine. Once the automated boom arm is in position over the creature click the big red button on the bottom left to have the boom arm move down and grab the creature.
Merrick will tell Shay that the boom arm will automatically put the creature in the auxillary cargo hold after you catch it. When Shay says he wants to go check on it, Merrick convinces him not to as they need to be left in protective quarantine so they don't get any foreign bacteria that could kill them.
Once that conversation is done Shay will return to the boom arm controls. You will notice now that there are yellow arrows flashing on the left. Click on the RIGHT facing arrow then when its done moving click the UP facing arrow to get in position for the next creature.
Like before when the boom arm is directly over head of the creature hit the big red button to grab it and put it safely in the auxillary cargo hold.
After saving the second creature Merrick will spot a dangerous ship threatening to attack. He wants to retreat immediately.
Shay doesn't want to leave the last creature without saving it and can't stand that he had to choose who lives and who dies.
In a moment of realistic responsible adult thinking, Merrick warns that in life we have to make tough decisions when we grow up and you have to get used to it.
Theres no time for that, though, as another distress signal goes off from Danger System 5.
Merrick gets Shay to take control of his feelings for now and gives him another star chart.
From here head back to the left and go through the vent on the floor again.
Give the next star chart to the Space Weaver.

While the Space Weaver is techno babbling you will notice you have control of Shay. You can head down to the "NavScarf" and examine it for Shay to comment on it. This will be important later.
Head back to the right into the vent. Shay will inform Merrick that you have reached your destination and Merrick will head Shay back to the boom arm controls.
Remember to bring down the shields with the green button on the top left. Then when the boom arm is over the creature click the red button to collect it.
When that's done click the yellow arrow that is facing UP and then click the arrow that is facing LEFT to be in position for the next creature.
Same as before: line it up and click the red button to pick it up and put it where it goes.
Click the UP arrow twice to get in position for the next creature and do your stuff to save it.
Now go UP and RIGHT to get in position for another creature. You'll notice this creature is moving back and forth as well as the boom arm. When you are lined up pick it up and put it in it's safety box.
Merrick wants Shay to stop now but Shay refuses believing he can save the last creature before the ship is attacked.
Click DOWN and then DOWN again to be in position for the last creature. Then when the boom arm and the creature are lined up hit the red button.
Shay notices something strange about the last creature but before he can finish saving it another ship approaches endangering the mission.
Merrick has lost control of the ship now and needs a way to hack into the boom arm again.
Merrick says you also need a way to bring the shields down again at the right time.
Lastly you need to navigate to the next distress beacon.
Merrick realizes, however, that the ship must be freaking out now and is going to check on Shay- who should be in bed right now!
Shay bolts to his room removing the creepy blow up doll and getting into the bed just in time.
Phew that was close. The computer didn't catch Shay out of bed and is going to handle the ship having been under attack. Although, I'm not really sure how but that's for her to deal with.
Broken Age (Act1) Walkthrough A new - day
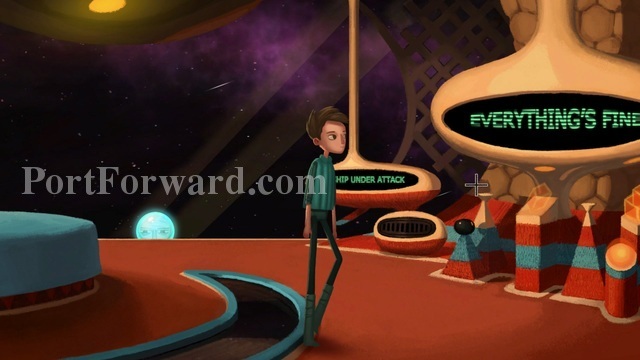
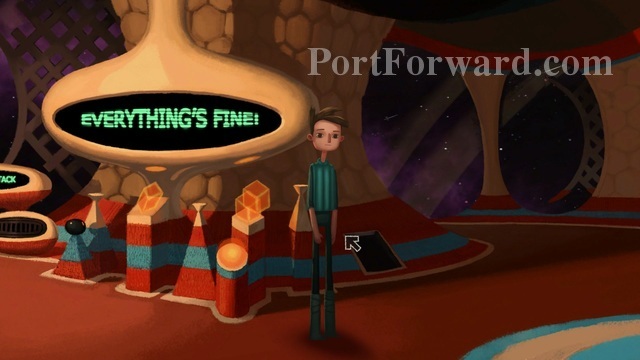
After Shay gets out of bed head to the right. You'll notice the signs saying that the ship is under attack, but EVERYTHING'S FINE!
After examining that head back down the vent on the right to go talk to Merrick.
When you arrive in the secret room again head to the left where Merrick is standing by his computer, and click on him to talk.
He tells you that he's intercepted another distress beacon from Prima Doom.
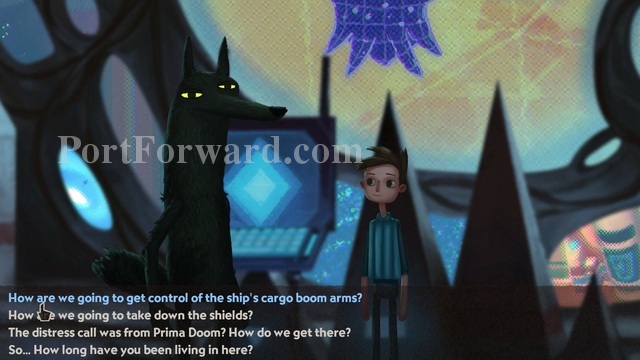
You can discuss all the things you need to do with him to get more of an appraisal of the situation.
You need to get to the manual control override in order to get control of the boom arm. Merrick advises he hacked it so you can go through the airlock door and you won't alert the computer now.
To take down the shields you need to get to the fusion orb and use the omnicron inhibitor (he hands you what looks like head phones). When needed you will turn it on, which should disrupt the fusion orb thereby turning it off, and in turn take down the shields.
Ask how to plot a course for Prima Doom and he will hand Shay another star chart. He says all you have to do is take it to the Space Weaver like before.
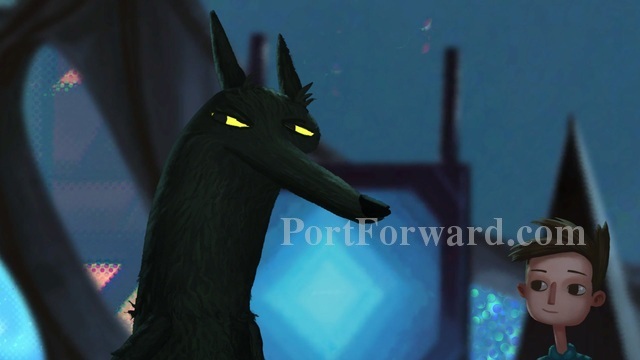
You can take the time, now, to learn a little bit about Merrick. Shay finds he's a recent stow away who sensed "you are ready", he's not really a wolf, and he rescues creatures in need.
When the conversation is over, head to the right and go back through the vent to get back to Shay's room.
Then go through the door on the right.
For the first time, probably ever, Shay gets to explore the ship. In this hallway there are two doors. The first door on the right you cannot enter. The computer says she is working on a surprise.
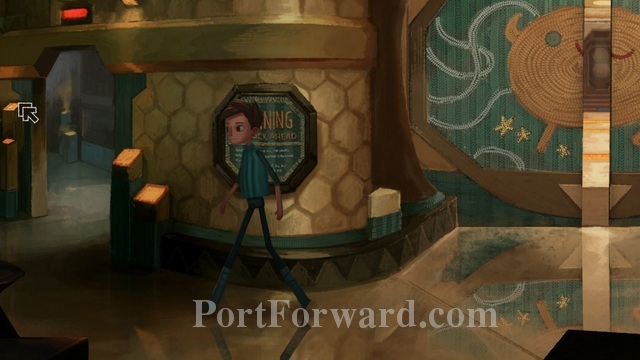
The second door on the right heads to the kitchen. Go in there now.
From here, the first thing you may notice is the knife in the foreground. Click on it to pick it up. That will be useful, and it'd also a little surprising considering the computers views on safety.
The knife is all you need in the kitchen. When you're done in there head back out of the kitchen and through the door on the right side of the hallway.
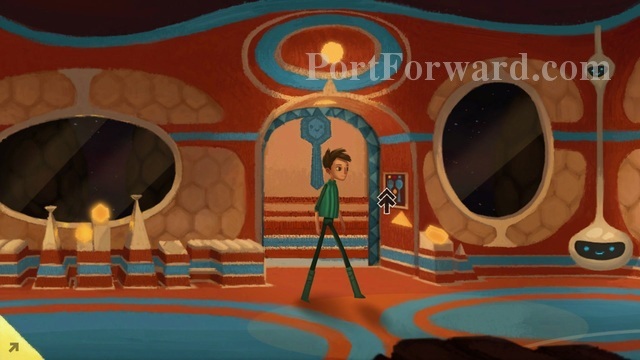
You'll arrive in what appears to be the central area of the ship that leads to more rooms on the right, a red door and the ships controls in the center, and the door you came from on the left.
As soon as you enter the computer goes on a spiel about duty and self sacrifice. While sounding strangely like Mass Effect (hee hee) it also seems like it could allude to someone else in this game. Shay has no interest in the computers fake memories, though, and is pretty tired of her overbearing nature.
The red door in the center leads to the Space Weaver, but we don't want to go there yet, so first head all the way to the right and go through the green door.

From here take the red door on the left side to the hall of heroes ("the junk room").

Upon arrival Shay will remark that his head has shrunk. The teleporter AI sarcastically implies its normal (Quantum Physics, DUH!) and it will go back to normal if you go through the same teleporter again to go back where you came from.
There are a lot of things you can examine in here (and if you enjoy the dialogue go ahead and do so, it's funny) but the only thing you need from here is the baby hazard suit.
You can head through the vent on the right when you're done.
This will just take you to Merrick's room. Interestingly, it's right next to the auxillary cargo hold where you placed the creatures you saved into quarantine.
There's nothing to do there right now so head back to the left and go back through the teleporter.
This will bring you back to the main teleporter room. Shay will remark that his head is back to normal now. This is because you came back the way you're supposed to.
Next, head through the yellow teleporter in the center of the room.
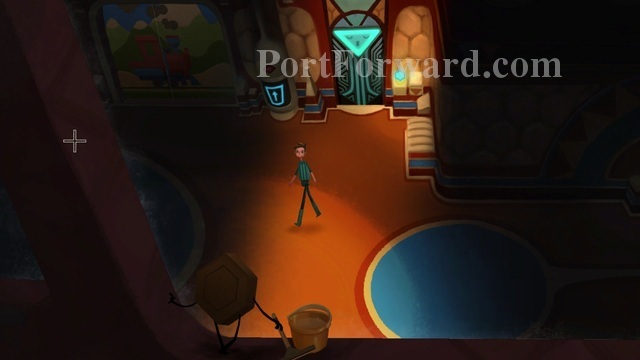
This takes you to the fusion orb containment facility. Head to the left.
When Shay goes in here a machine will pop up and attempt to put on a safety suit to protect him from the omnicron particles.
The head peice will malfunction, though, which will make it so you cannot go through the doorway on the left. Instead, head back to the right (I just brought you here so you can familiarize yourself with where things are on the ship).
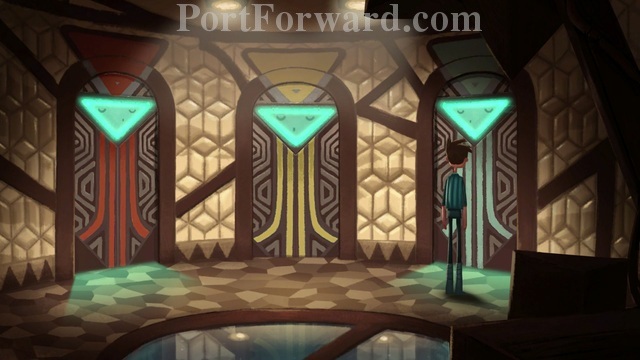
After arriving back in the teleporter room go to the green door on the right and take that teleporter.
This one takes you to the starboard hallway. You'll probably start to notice something fishy but head to the left.
Keep heading left down this hallway and go into the last door on the left.
I only mention this so you can see that you are now back where we started in the central hub area that basically leads everywhere. Go back to the right and head in the first door on the right (now your left) with a suspiciously familiar picture on the door.
You'll step inside to the ice cream avalanche mission. Only something is different. There's no avalanche and it appears the knit creatures are on break.
If you talk to them they ask you if you wanted to run the mission, but you don't have to (it's not necessary to progress) so say no and let them continue their break.
The important thing to note here is the whipped cream. If you look on the right wall you'll see little spouts that shoot whipped cream (like snow) out of them.

Head to the right and click on the closest whipped cream canister to pick it up. Then head back to the door on the left to leave.

From the hallway head to the right and go through the door with the smiley face.
If you didn't last time you were here you can click on the stuff in this room to see that all the controls in the room are fake. When you're done examining things click on the knit creature who appears to be in pain.
Shay tells it to quit pretending since there's no reason to act in peril now that missions are cancelled, but the creature tells Shay it legitimately has a pain in it's back after the last hug attack.
Tell the creature that you can fix it's back and Shay will pull a knitting needle from it's back. If you examine it there's a funny exchange with Merrick about how it's a crochet hook and why he would know that.
When you're done here head back up to the door and out into the hallway.
From the hallway head to the right back to starboard.
You can head to the train mission if you want but because you were naughty last time all you get is the conductor who won't let you ride the train again.
You can go there if you wish, but when you're done head to the door on the far right.
This leads to the airlock corridor. If you want to, read the sign, and then head all the way to the right to go out on the ship's hull.
It's been awhile since we've been in space. You can check out the alien life form on the right, but it doesn't do anything now.
You can cut the air hose with your knife. The problem is if you do you run out of air and the computer brings you back inside.

For now head back to the left.
Keep going left to the hallway.
All the way down the hallway to the left.
Go through the door on the left at the end of the hallway.
We're heading back to the main teleporter room.
If you recall we already went through the green teleporter on the right last time (and havent come back through it correctly) so now go through the red teleporter on the left.
Shay will remark that his head is even smaller now. Head through the vent on the right into Merrick's room.
Go out of Merrick's room to the secret room where Merrick does his work on the right.
Keep going right and head back to your room through the vent.
Head to the hallway on the right.
Go all the way right through the last door at the end of the hallway.
If you haven't guessed by now, we're trying to get back to the main teleporter room. Go through the green door on the right side of the central hub room.
Now take the center yellow teleporter to the fusion orb.
Shay will remark that his head is as small as it can take- the teleporter indicates it's very important he returns back through it.
Before you do, though, put the babies helmet on and then head to the left.
The room puts on shay's protective clothing, and still cant get the helmet right but now that you have the babies helmet you can walk through the door on the left.
Once inside head all the way to the bottom right.
Click and drag the inhibitor over the fusion orb. Merrick will remind Shay you need to get control of the boom arm and give the new coordinates to the Space Weaver and then we'll be ready.
Go down to go back out and head out the door on the left and then right. The machine still has trouble with the helmet, but don't worry about that right now.
Head back through the teleporter.
Once here Shay's head will return to normal size and pop the babies helmet off. OUCH!
Head through the green teleporter on the far right to go back to starboard.
Then go out the door on the right towards the airlock.
Keep going all the way right and outside the airlock again.
Now that we're outside we'll have to think of a way to keep Shay from passing out from decompression and also a way to get away from the computers snatchy grab hands.
You can head over to the strange plant on the ship but it still doesn't do anything.
You can also try jumping, but you're tethered to the ship so that's also not helpful.
What you need to do first is attach the air pump to Shay's helmet. This will allow Shay to keep breathing.
After using the air pump on Shay you can then cut the air hose with the knife.
The problem now is when Shay tries to jump away from the ship the computers grabby hands catch him before he can get far enough away from the ship. He will mention, though, that he needs some kind of propulsion in order to get away faster.
Head back outside the airlock. The air hose will no longer be a problem so don't worry about that now. Click and drag the whipped cream canister over Shay and he will attach it to his space suit.
Then go ahead and head up. The whip cream canister allows Shay to get away from the grabby hands faster so he is now free to move around the outside hull to get to the manual override.
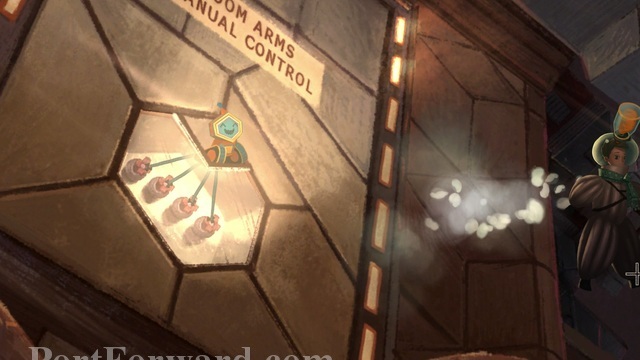
What you need to do from here is head up over the antenna looking thing and head left to the small port hole that has a sign indicating it's for the manual override for the boom arms.
Next you need to click on the diamond shaped part of the porthole and Shay will try to take it off with his hands. It doesn't work though.
Use the knife on the porthole thing and the hatch will fly open causing Shay to lose his knife.
So... now the knife is gone. He will probably turn out to be the big bad when this is all said and done, right? HA! I kidd. Anyway, Shay isn't able to reach through the hole. Even if he could he wouldn't be able to control the boom arm from here and run the computer this way.
Use Grabbin' Gary on the hole.
Gary will latch on to all the controls and Shay has a remote he can control him with from a distance. So, that settles the boom arms.
Time to say goodbye to Gary. Leave back to the right and down towards the ship again and go back inside.
We're going all the way to the left.
Back where the central hub is. With the giant computers face and the red door.
You want to take Shay through the red door now as we need to speak with the Space Weaver again.
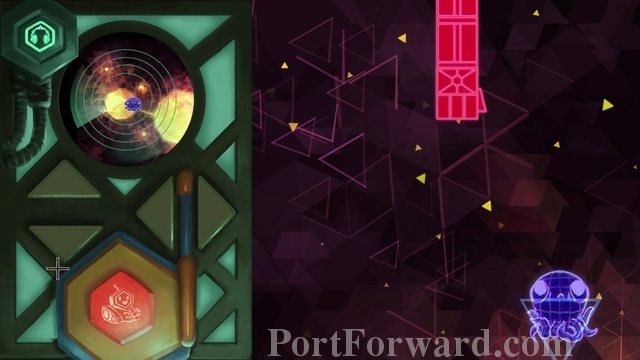
If you try to give the Space Weaver your star chart the Space Weaver refuses. The area the star chart leads to is too dangerous.
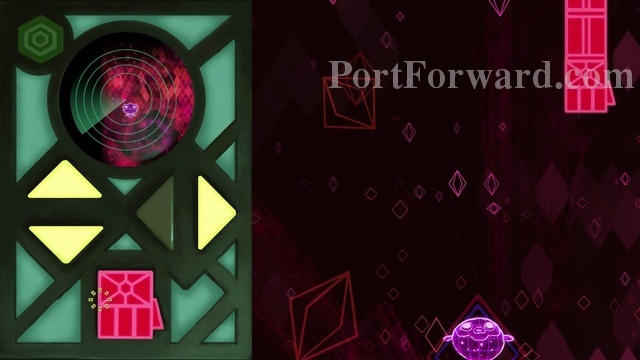
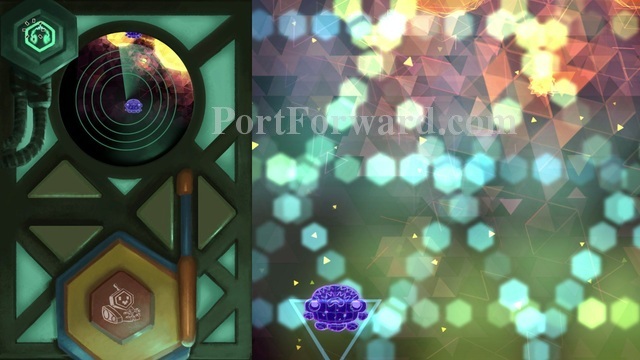
You should go through each system the Space Weaver will take you to because you will see the patterns they leave on the "NavScarf."
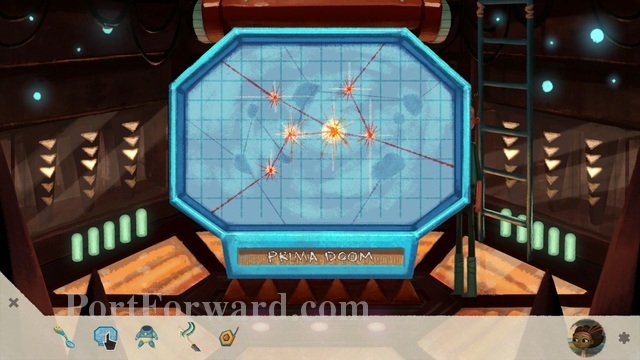
Make sure you click on the starchart in your inventory to look at it also as it will reveal the pattern you need in order to get to the right system.
The objective is to get the Space Weaver to weave a chart that has places missing on the "NavScarf" in which you can add to it using the crochet hook so it leads to Prima Doom instead.
If you mess up the star chart, or pick the wrong place and dont want to wait as long, you can fill in all the spot so it fails to warp.

I am only stalling in case you want to figure this out on your own as it is the most complicated puzzle in all of Act 1.
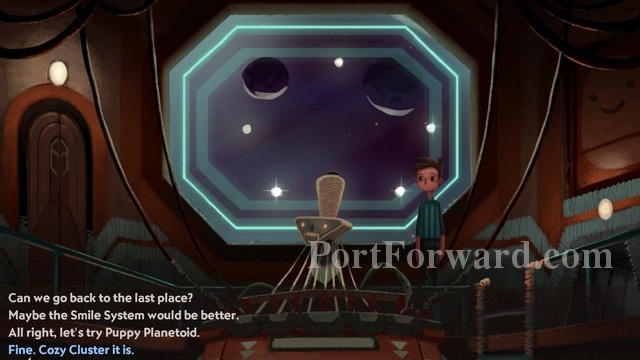
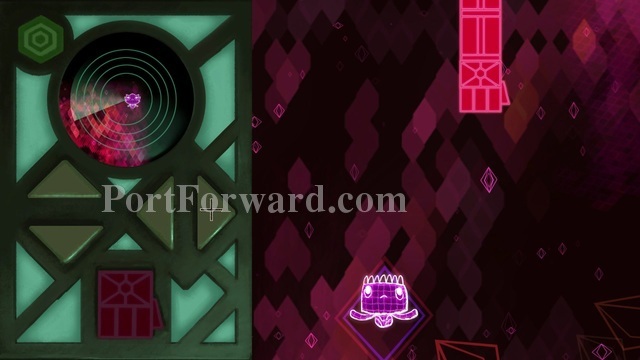
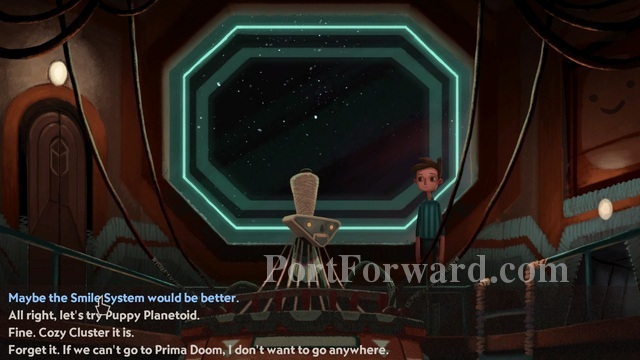
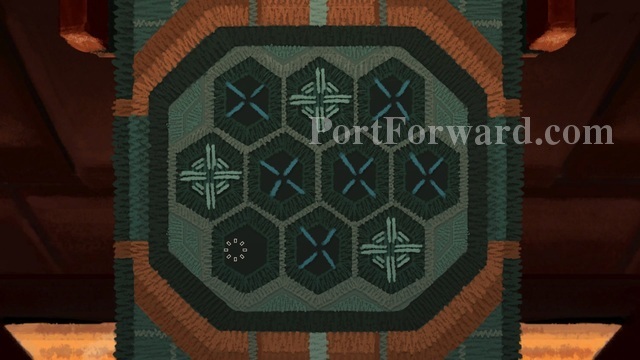
We want to ask the Space Weaver to go to Cozy Cluster. Then quickly head down the ladder.
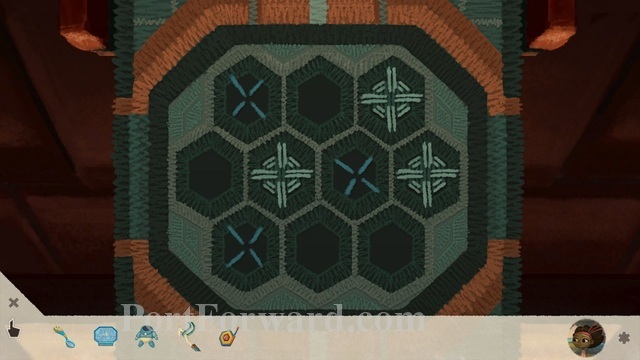
Use the crochet hook on the "NavScarf" to make the pattern shown above.
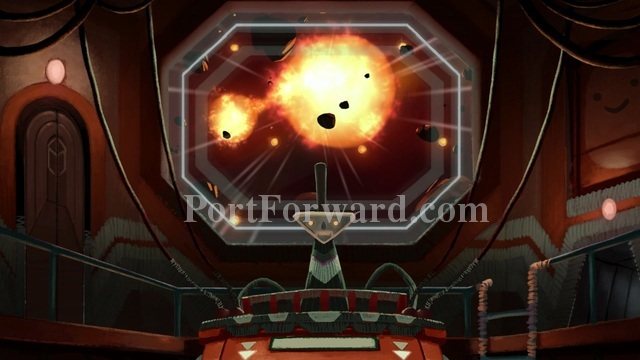
This will lead straight to Prima Doom. This seriously bothers the Space Weaver who has a total meltdown.
Head to the right and through the vent to go back to Merrick.
Merrick is over on the right by the boom arm computer already. Speak with him.
Merrick will tell Shay that there isn't much time as they are already in danger so Shay must act quick.
You'll notice the panel looks a little different now, but not entirely. Once again click the green button on the top left to bring down the shields.
The boom arm moves way faster now and so do the creatures at the bottom. As usual, though, when it's lined up hit the red button on the bottom left to pick up the creature and put it into quarantine.
To get to the next one hit the UP arrow twice.
After saving the second creature Merrick again says Shay doesn't have time to save all of the creatures and advises Shay stop while he's ahead as they are in imminent danger.
Shay decides to press on.
To get to the final creature go to the RIGHT twice. This one moves the fastest but you should get it after a few tries.
That's really all there is for gameplay in Act 1. I won't spoil the ending movie. It's a great one.
See ya in Act 2!

 Battlefield: Bad Company 2 Walkthrough Prologue - Operation Aurora
 Borderlands 2 Headhunter DLC 5: Son Of Crawmerax Walkthrough Fun,Sun and Guns
 Blade Kitten Walkthrough War On Terra
 Bioshock 2 Walkthrough Intro