Braid Walkthrough Introduction

Welcome to our Braid Walkthrough.
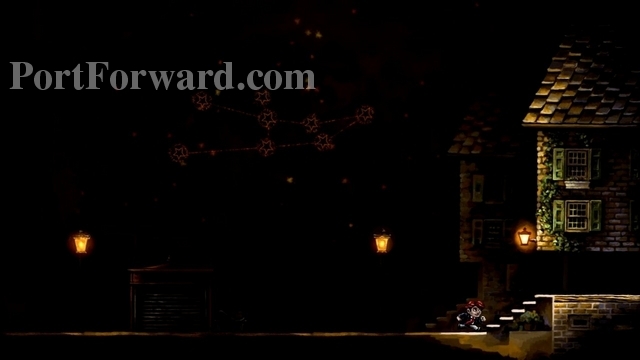
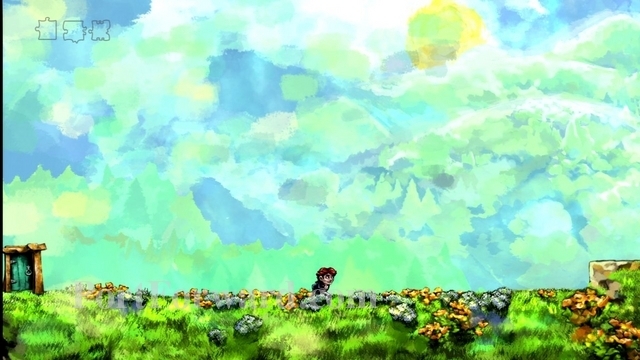
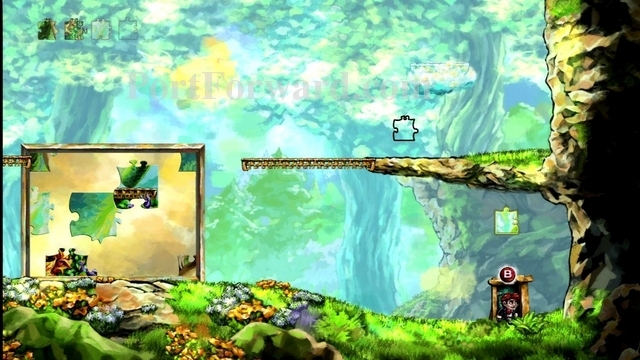
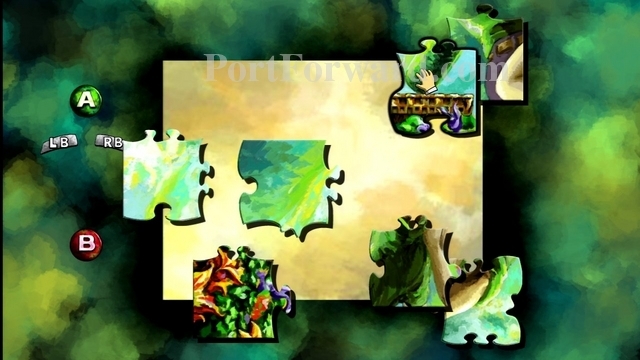
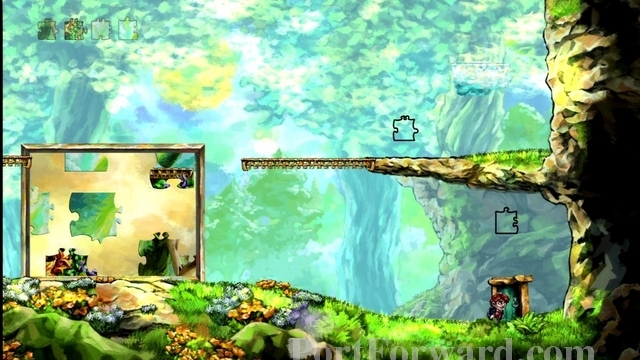
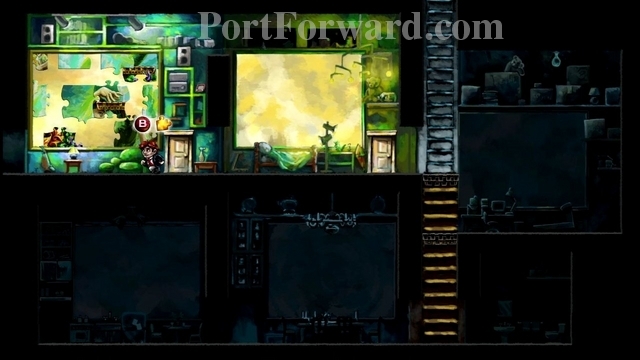
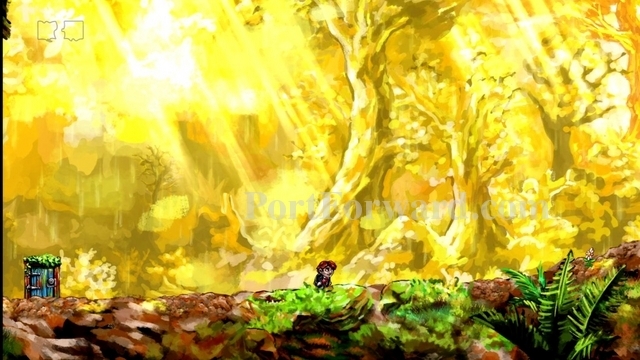
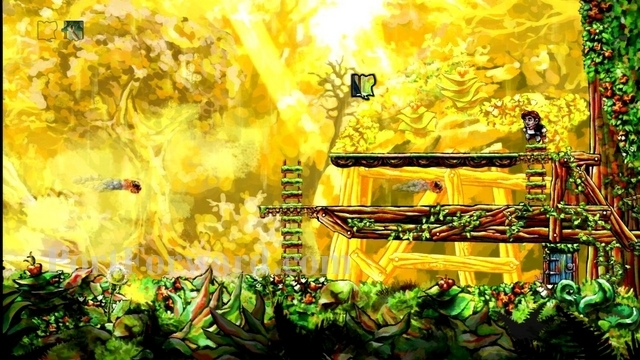
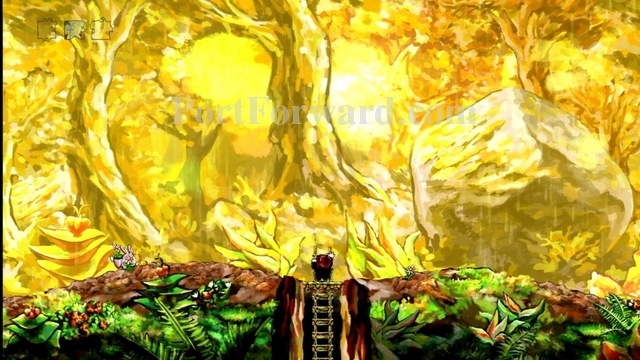
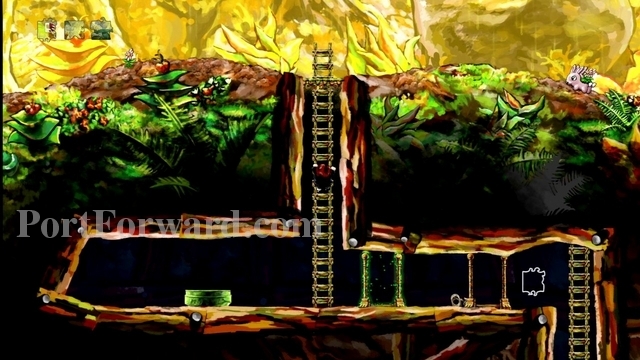
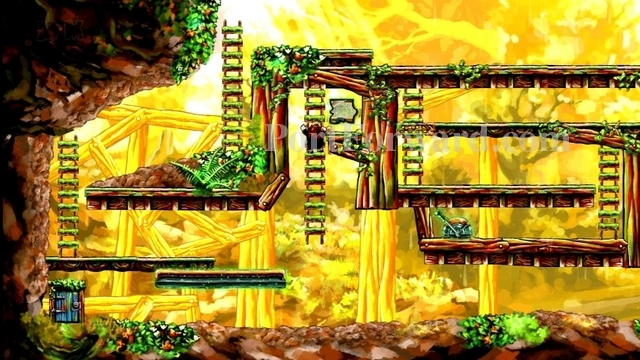
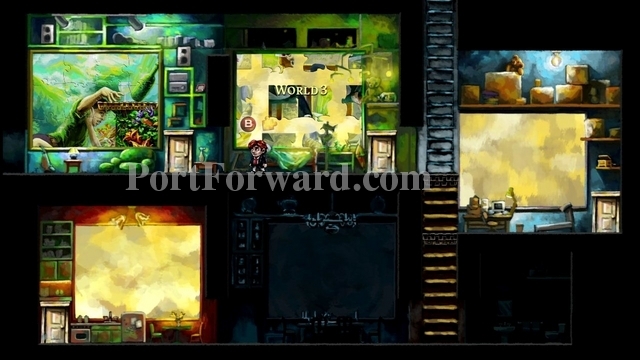
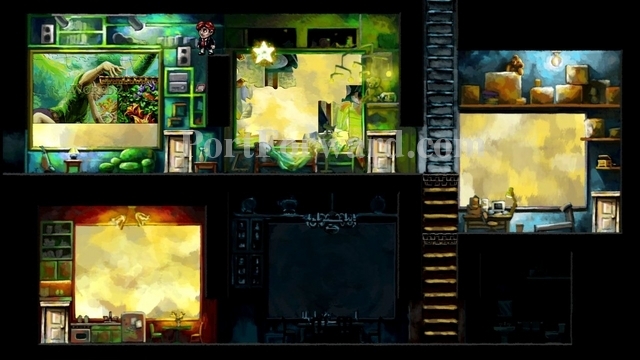
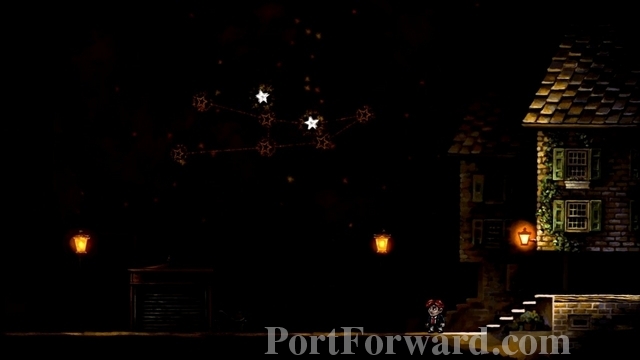
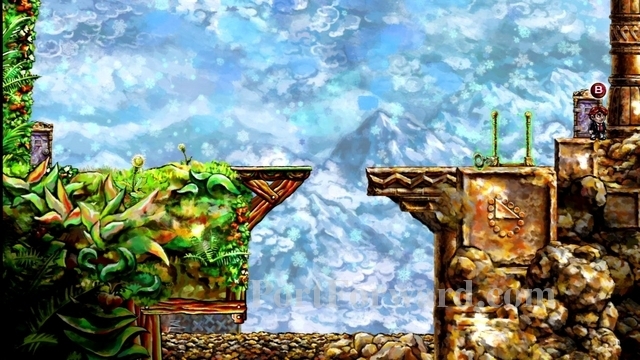
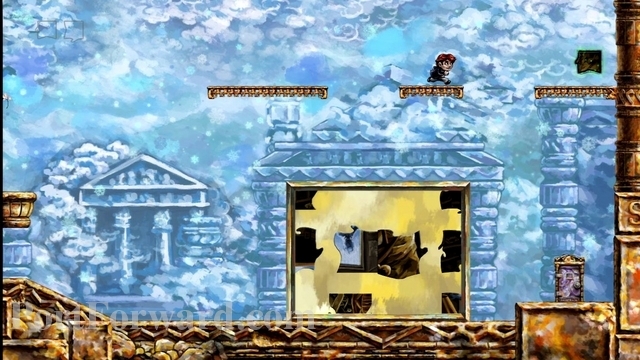
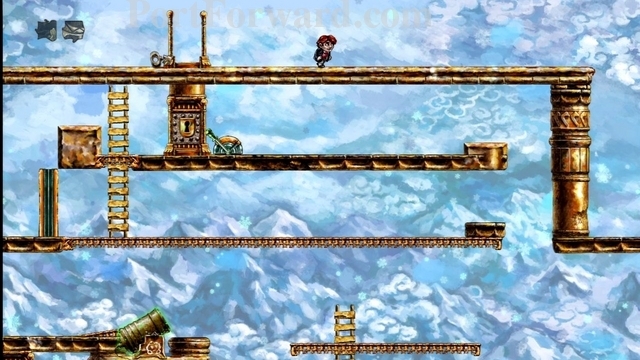
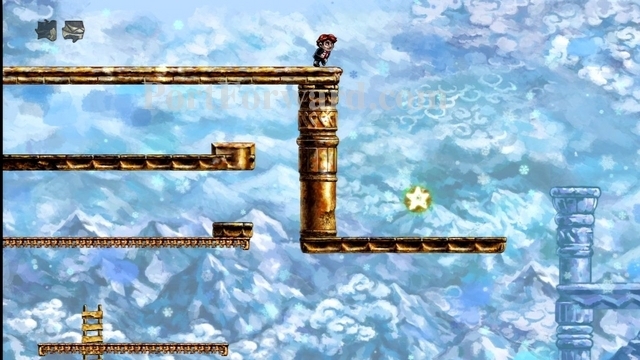
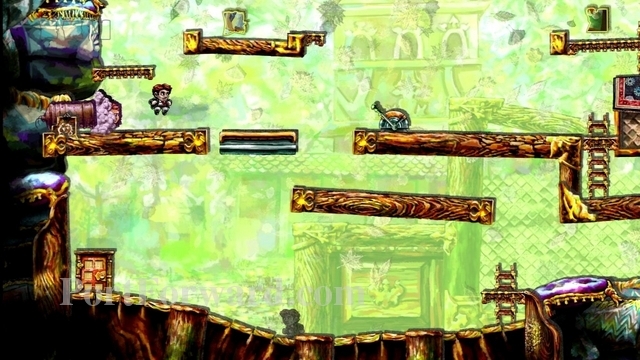
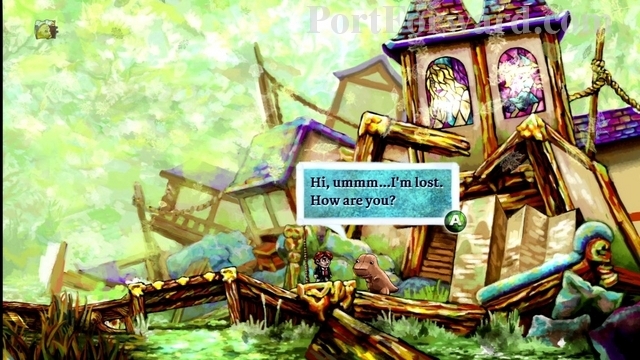
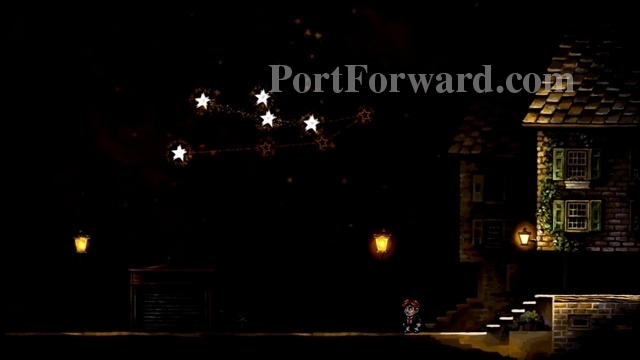
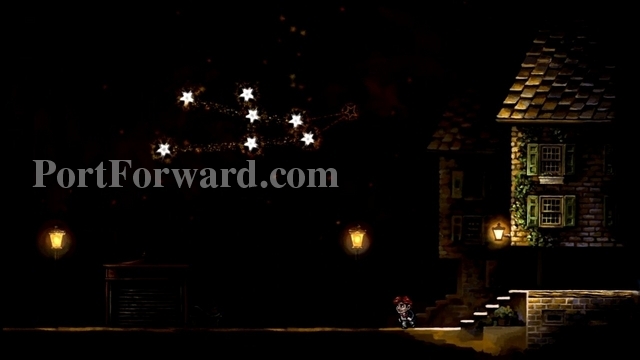
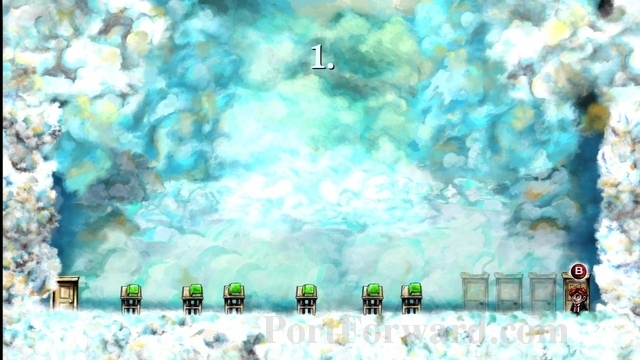
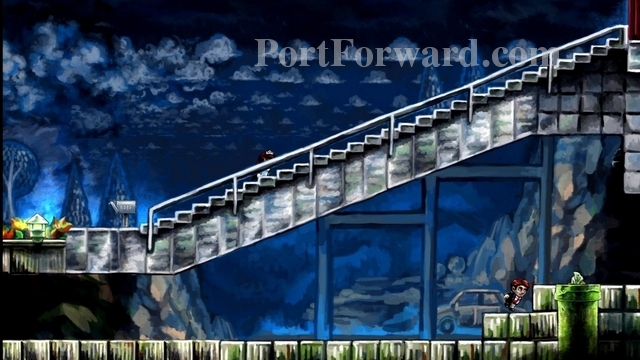
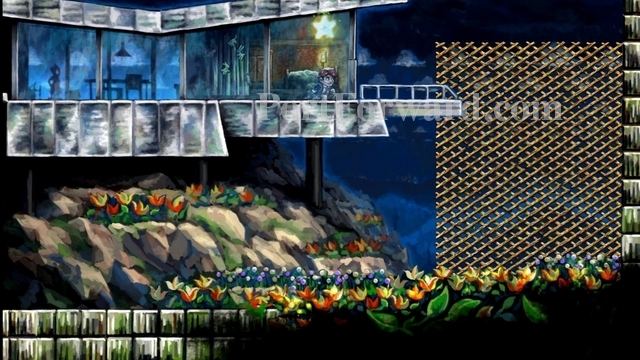
Just walk to your right to get to your house. Along the way, you'll see some large stars in the sky. You can light these up as you find hidden stars within the game.
Braid Walkthrough World 2
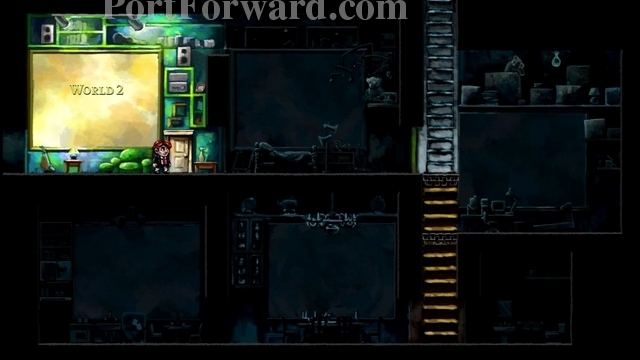
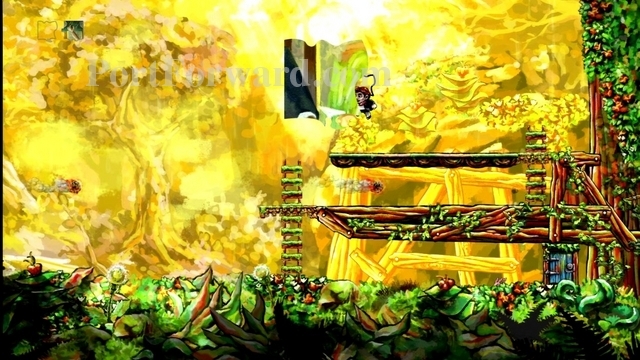
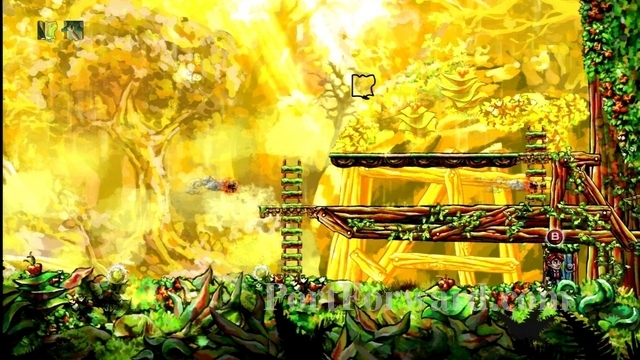
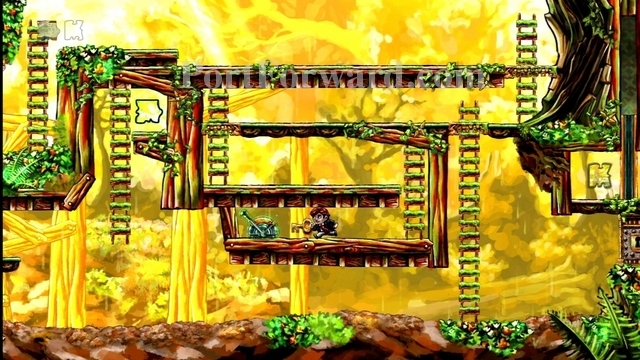
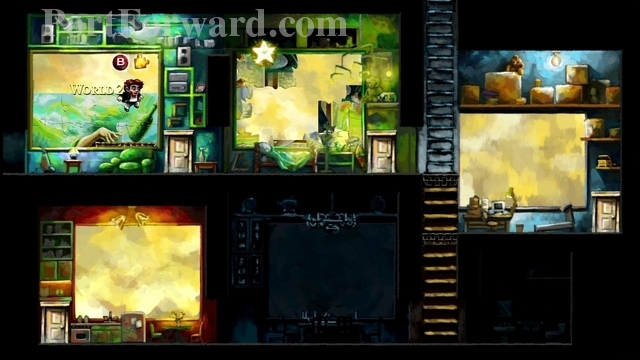
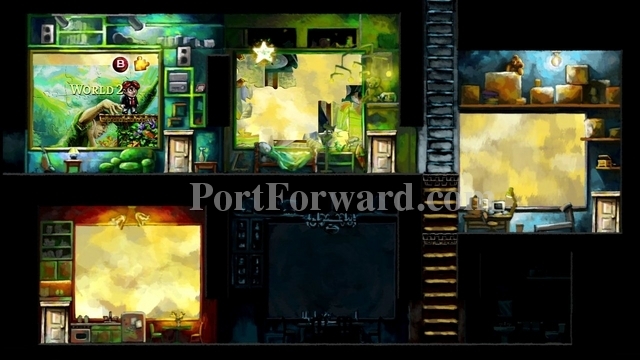
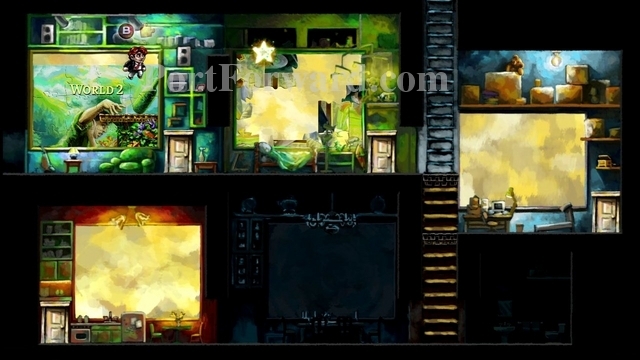
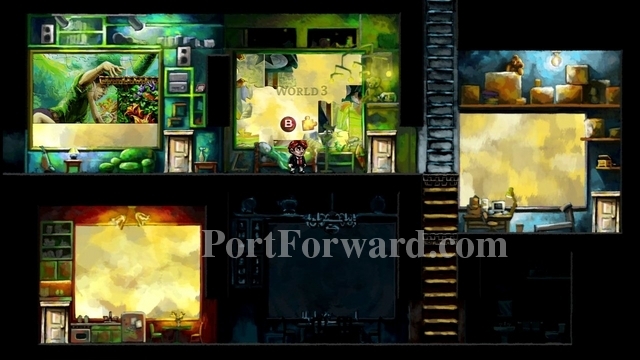
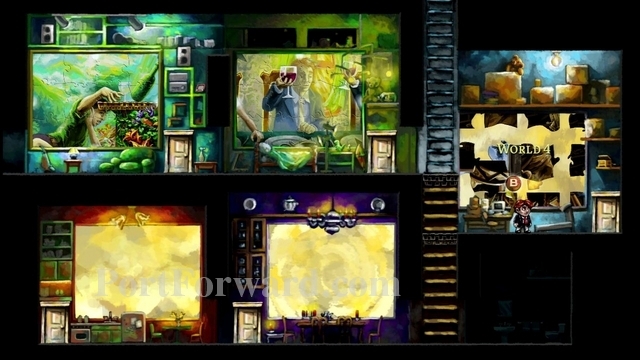
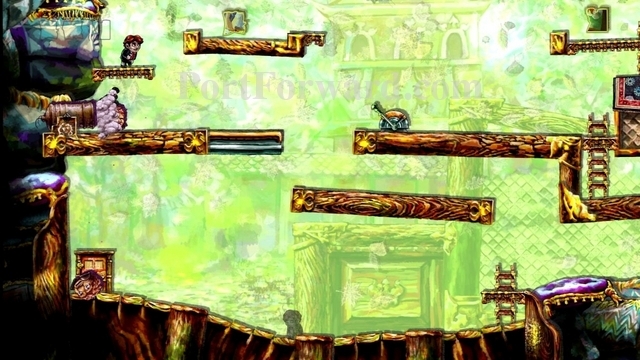
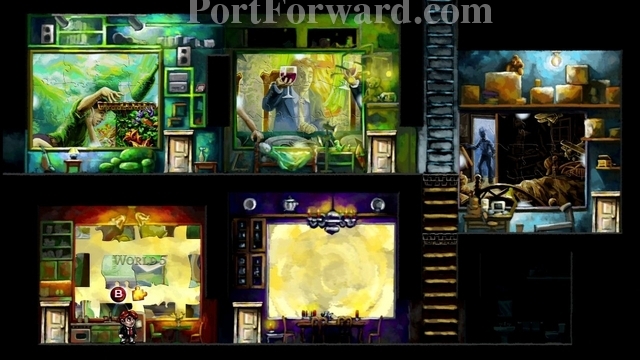
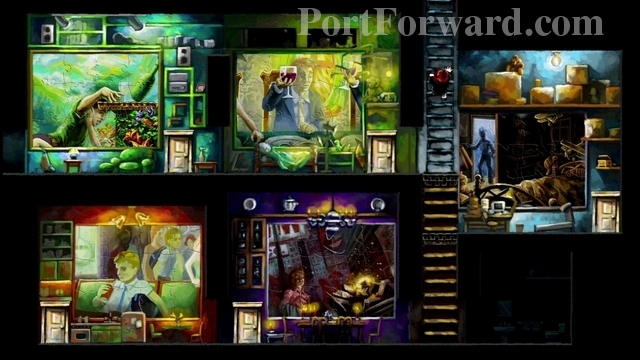
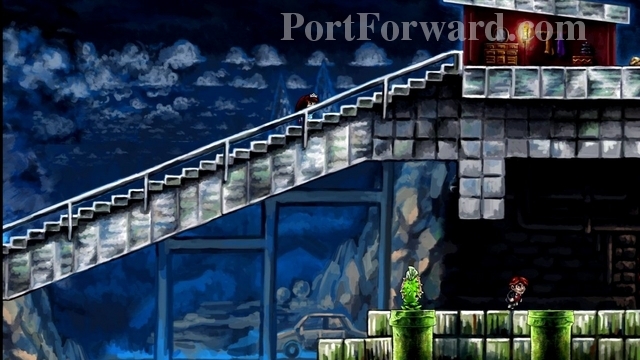
The rooms of your house light up as you can access them. Enter the door in the upper-left of your house, leading to "World 2".
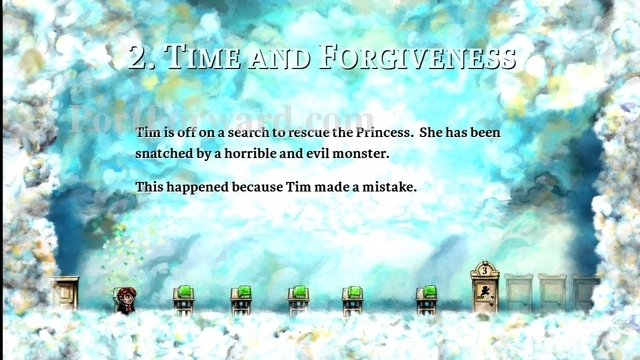
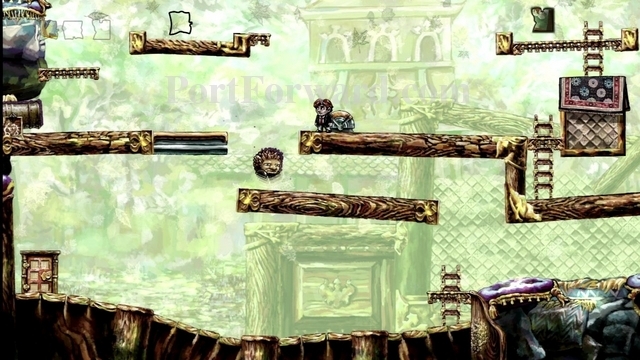
Walk rightward, through the books. Stop and read them to get some back story.
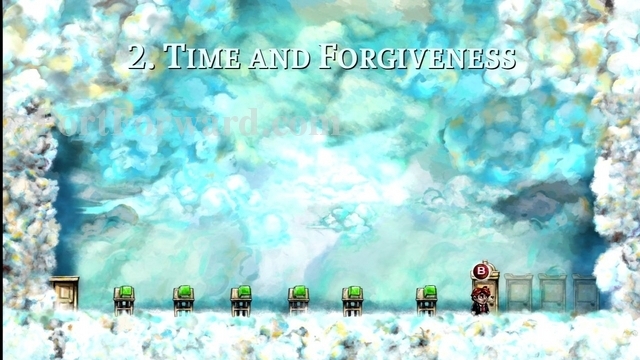
When you are ready, enter the first door on the right.

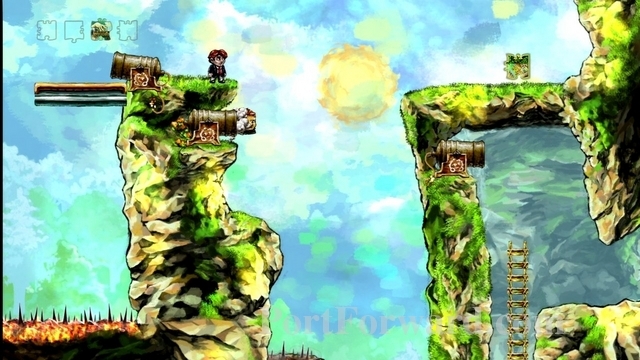
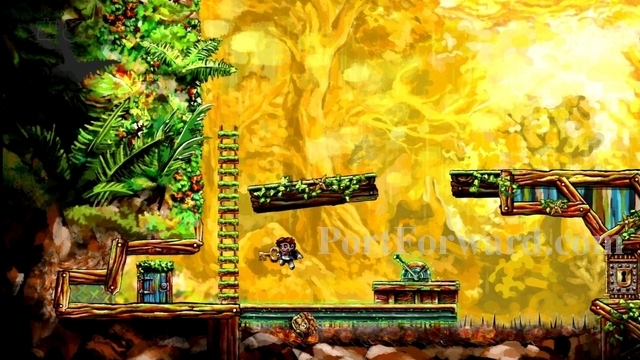
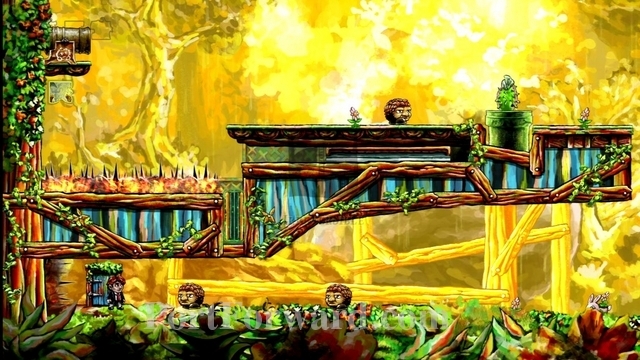
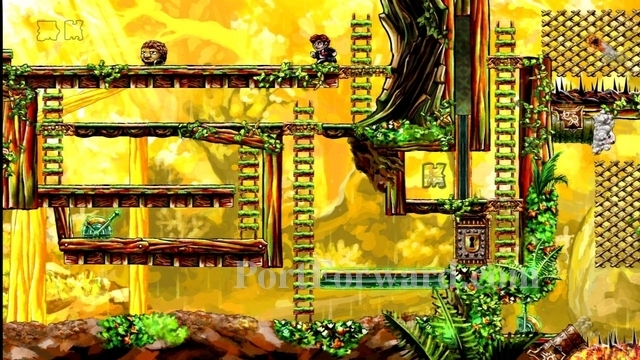
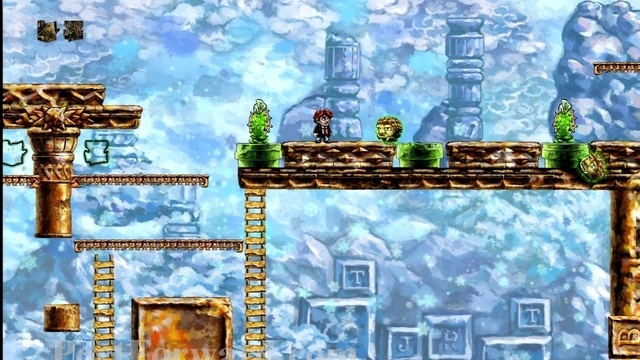
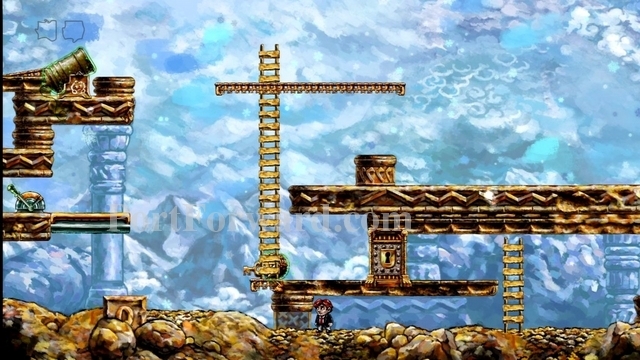
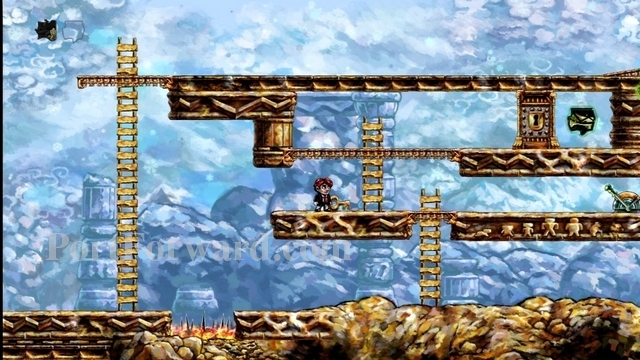
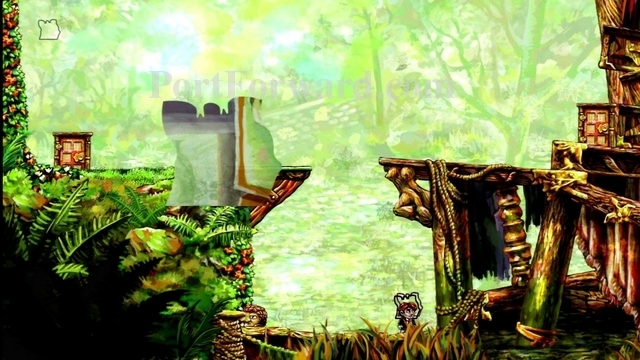
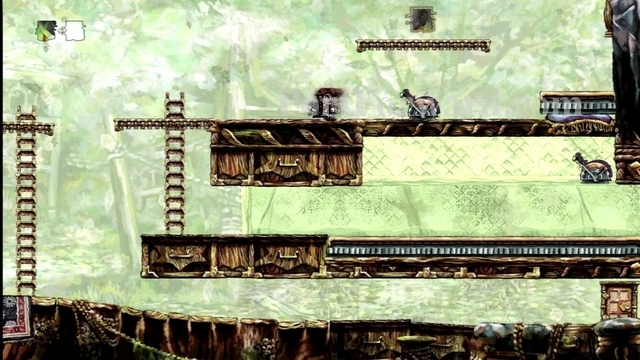
This will begin level 1-1, "Three Easy Pieces".
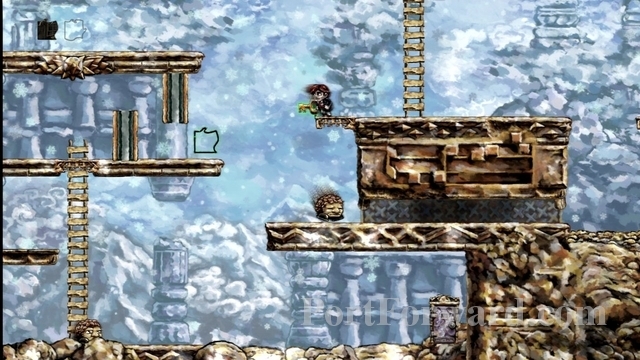
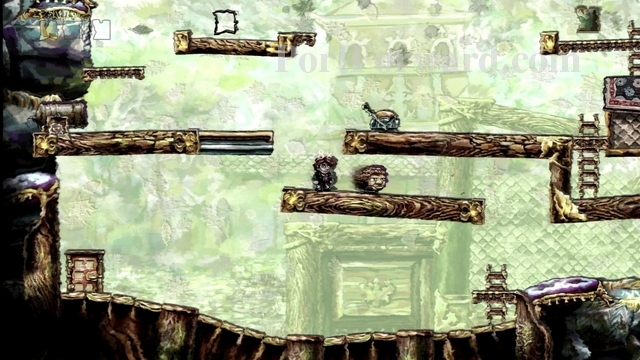
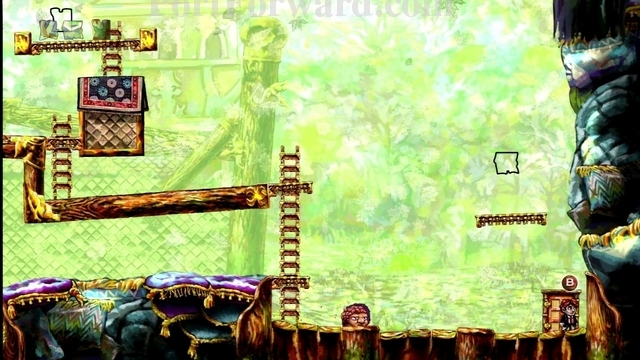
Walk rightward.
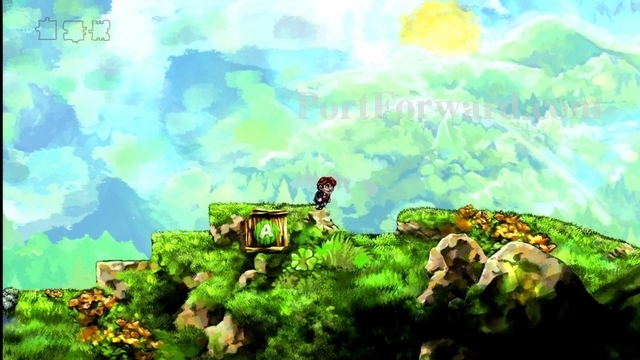
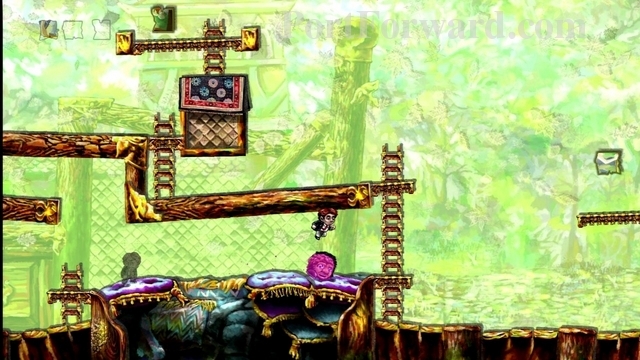
You'll come to some steps, just press the jump button to get past them.
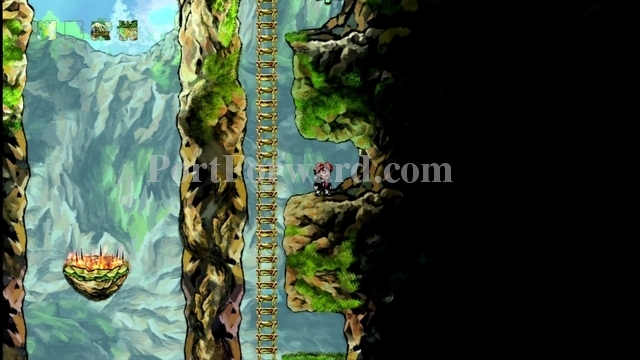
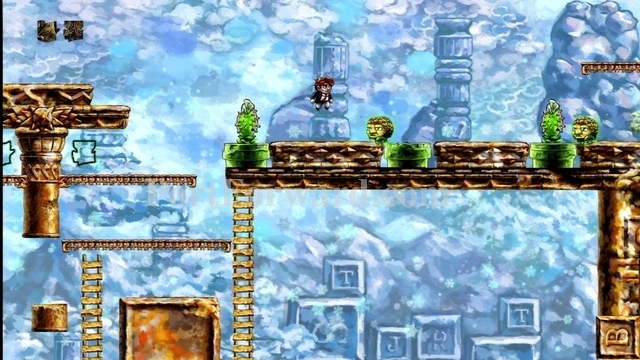
Climb up the lattice that you come to, then continue right.
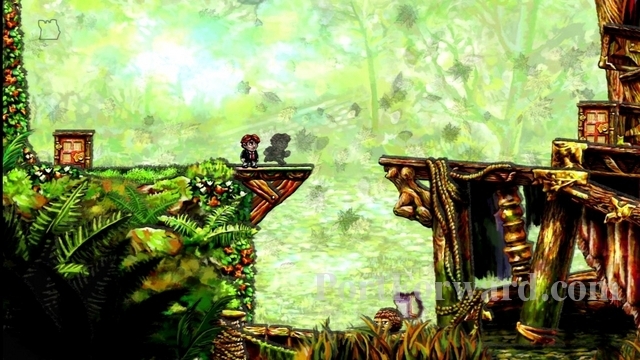
You'll come to some more lattice. Climb up to the top of it, then just walk off the right side of it. You should land on the top of the rock to your right.
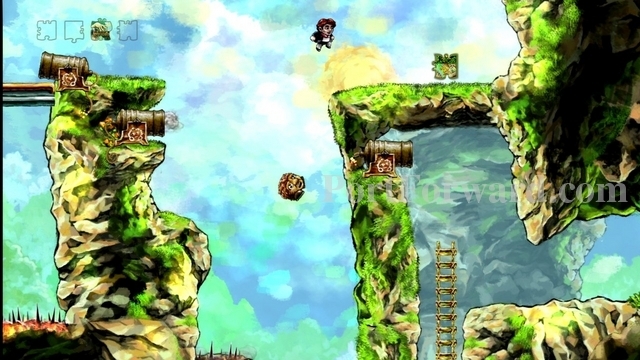
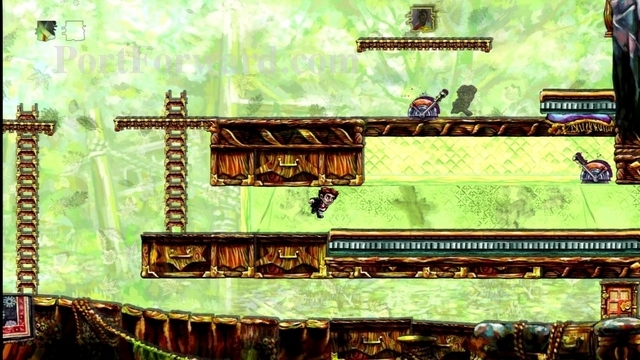
Climb up the ladder you come to.
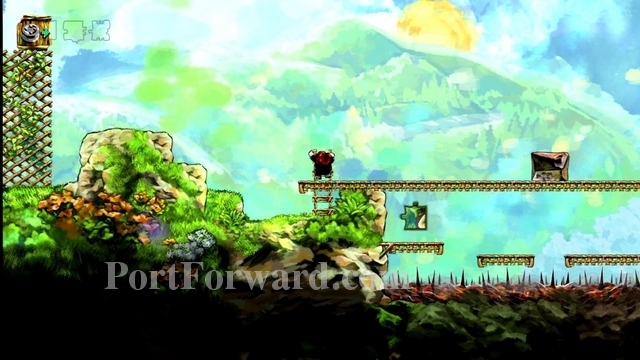
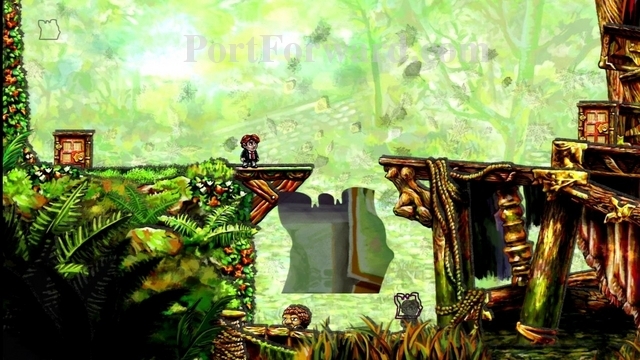
Then jump over the rock to your right.
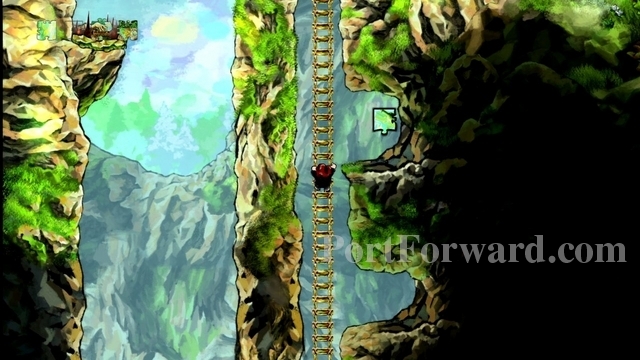
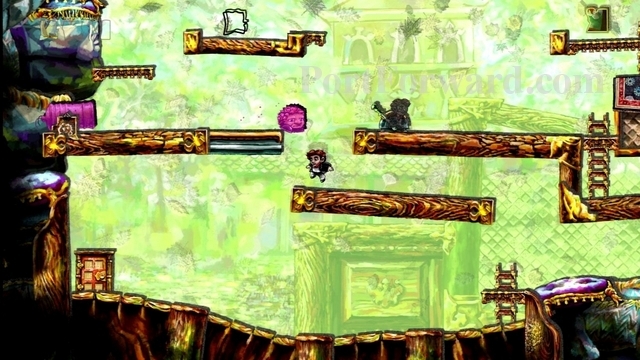
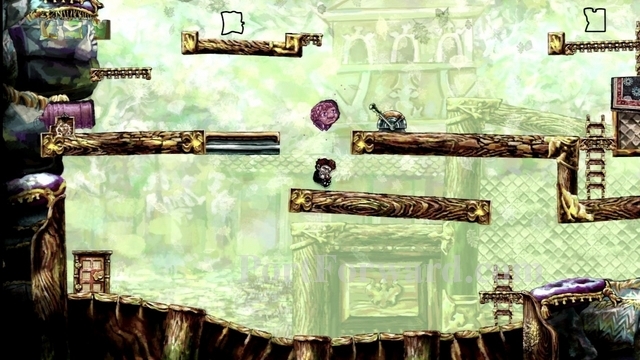
Fall down the gap in the platform.
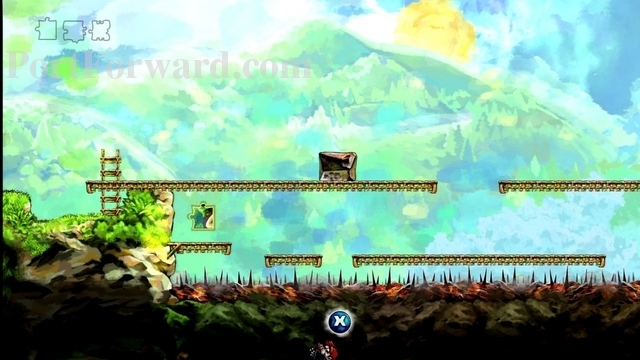
You want to make your way leftward, to the puzzle piece. If you die trying, don't worry, just press X to rewind yourself back onto the platform.
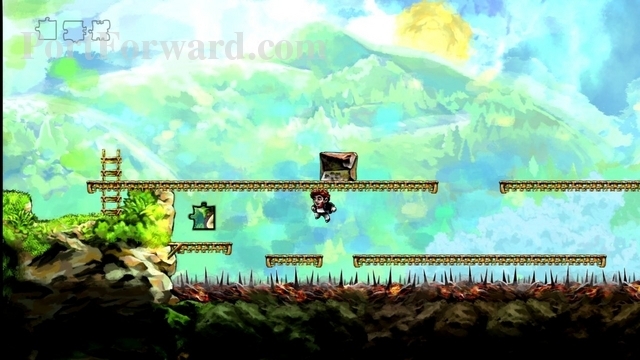
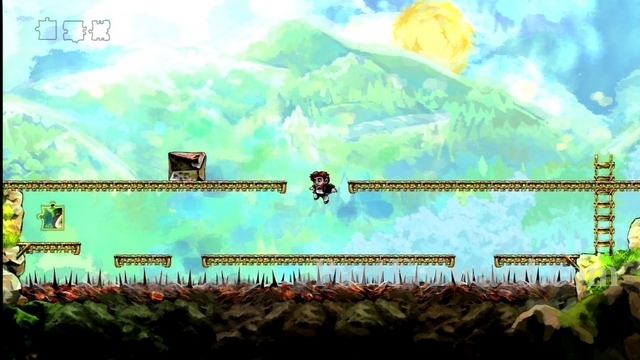
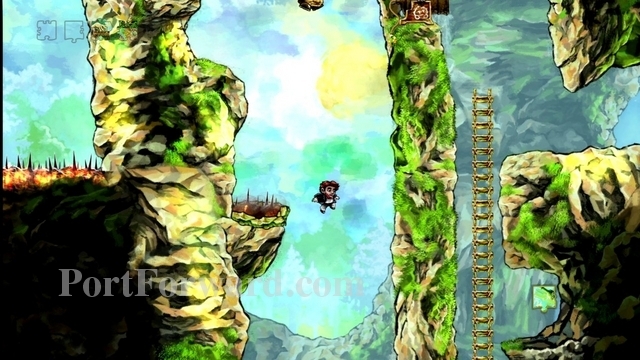
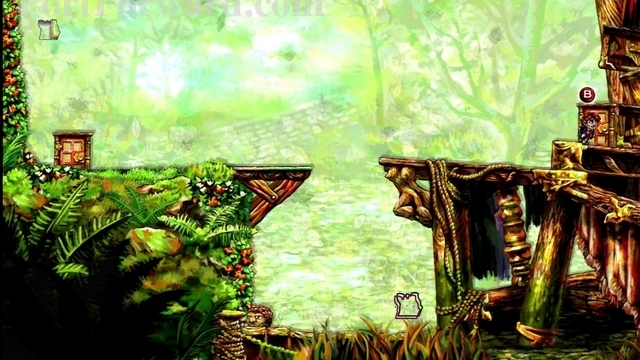
Now you can try to jump the gap again.

Collect your first puzzle piece.
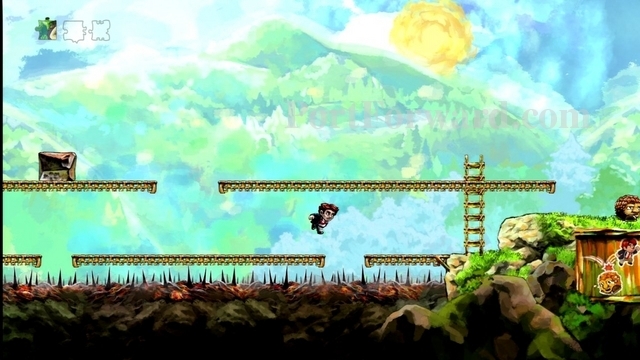
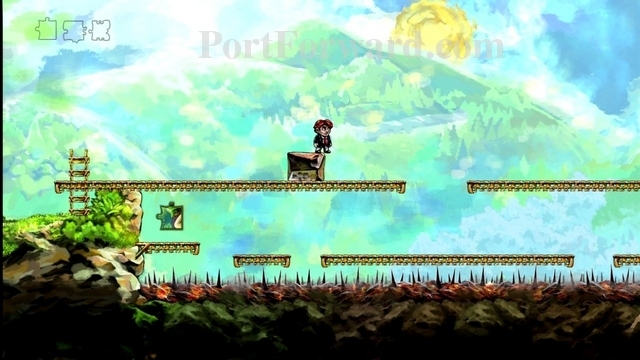
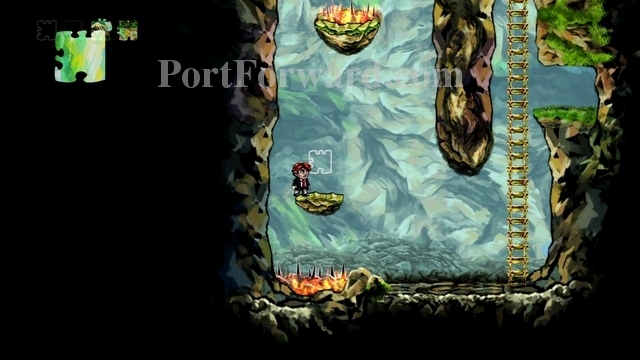
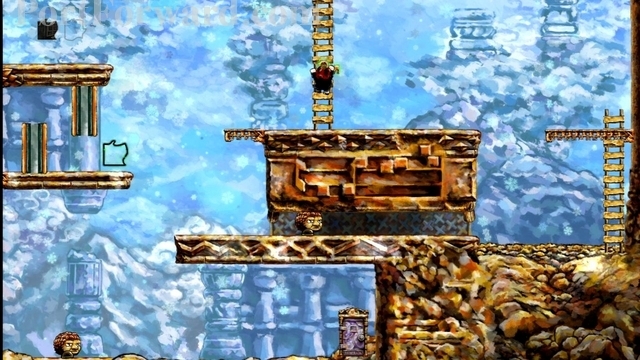
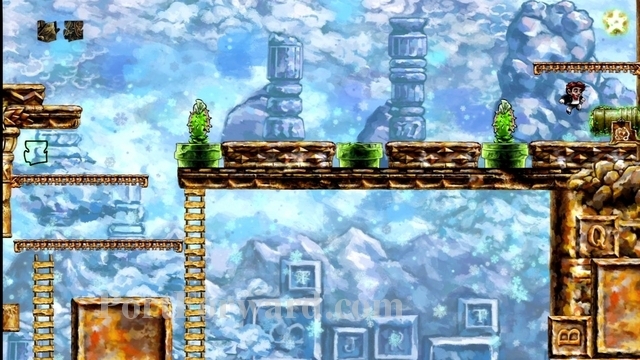
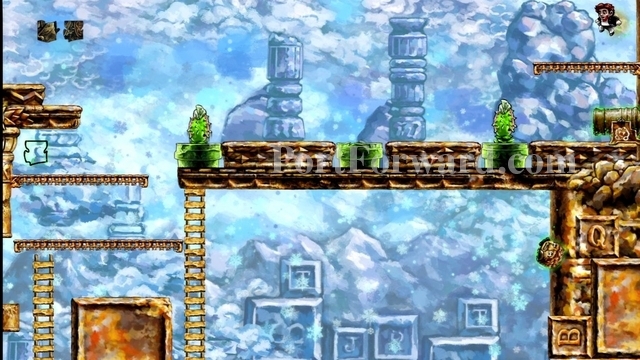
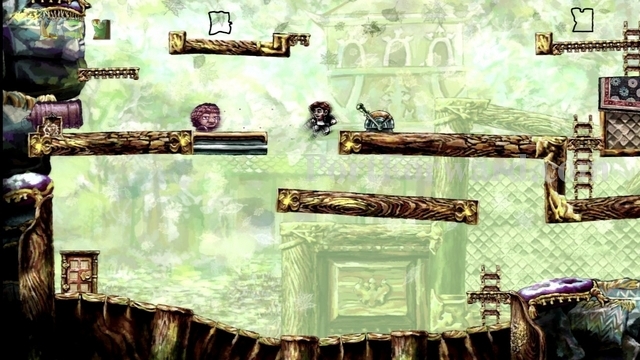
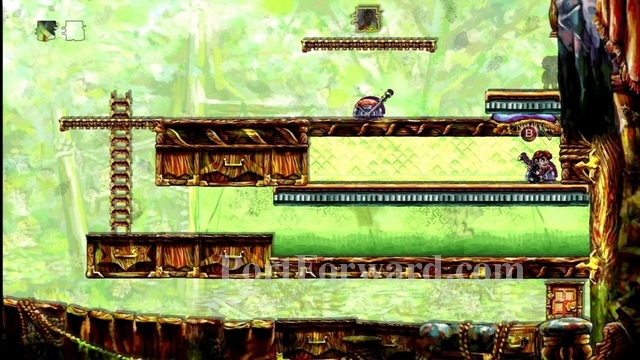
Now continue rightward, jumping over the pits, then climb the ladder.
Your first enemy! This isn't mandatory, but you may want to try jumping on his head to kill him. Continue rightward after you are done.
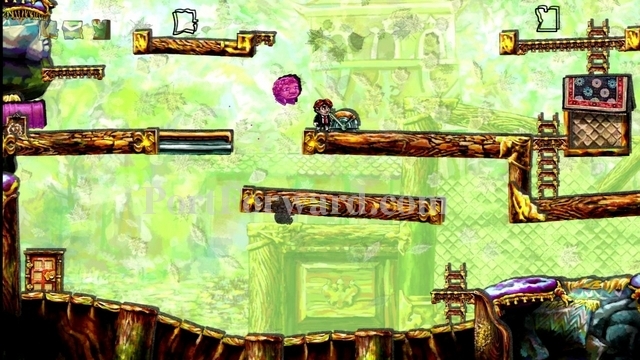
Climb up the ladder you come to. You'll run into another enemy. Jump on his head.

This will bounce you high enough to collect the puzzle piece. If you fail to collect the puzzle piece, just rewind and try again.
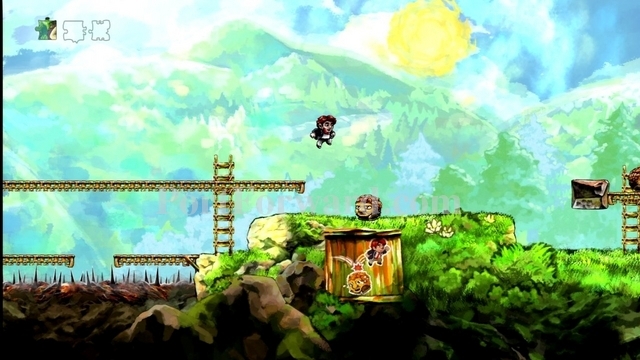
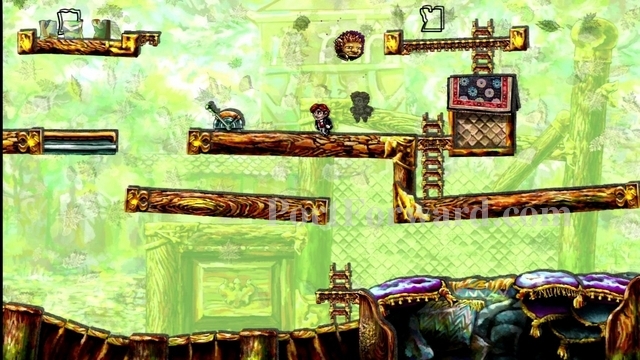
Now head a bit further to the right. You'll find another ladder to climb. There are two enemies here. Jump on the first one. This will bounce you up, but not high enough to reach the puzzle piece.
After bouncing off one enemy, you'll need to bounce off the second enemy (before hitting the ground.) This second bounce will send you a fair amount higher, enough to reach the puzzle piece!
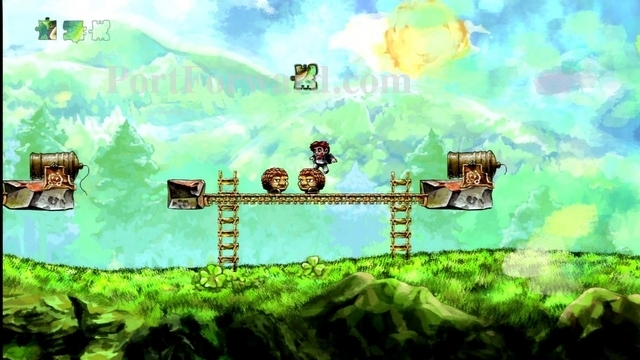
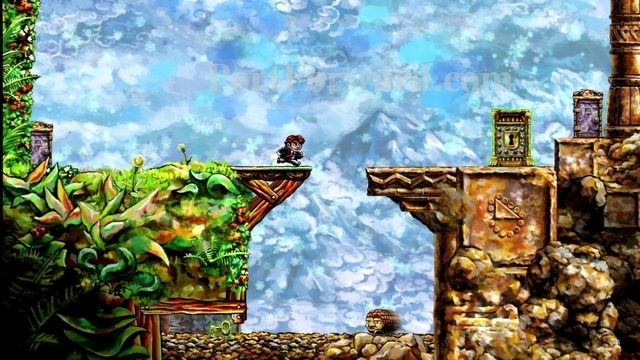
We've collected all three pieces in this area. Head right and jump up to the door found here. This will exit you to the next area.

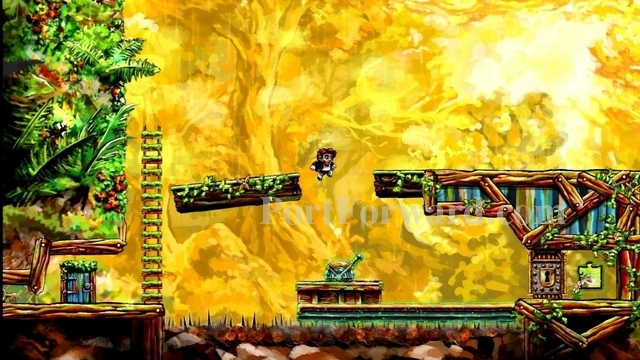
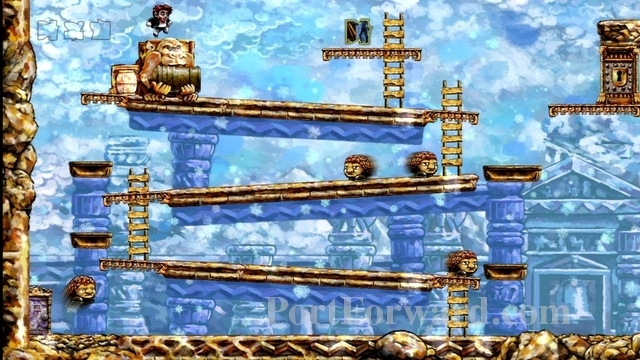
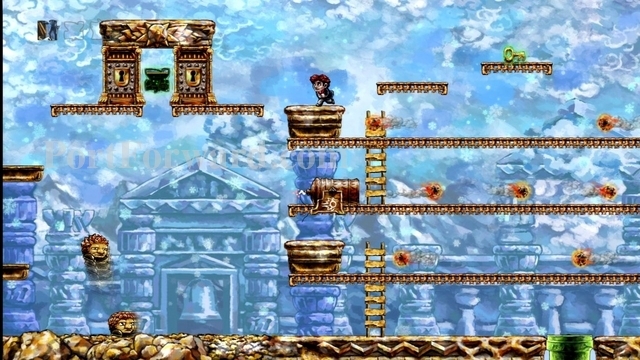
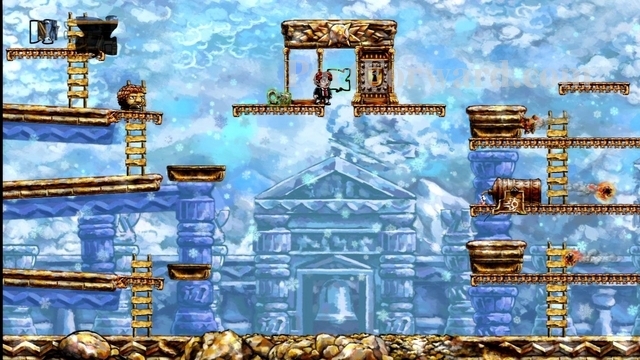
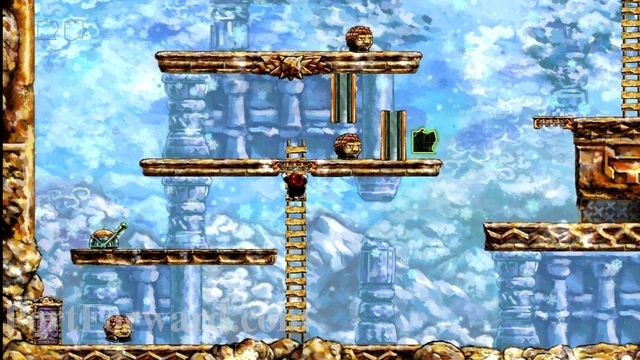
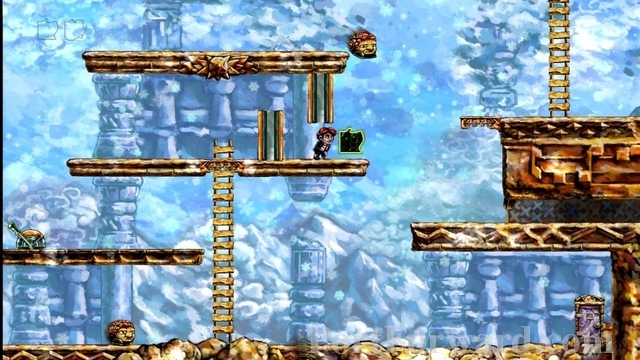
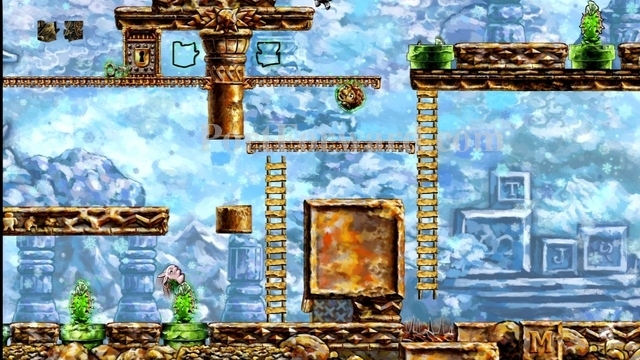
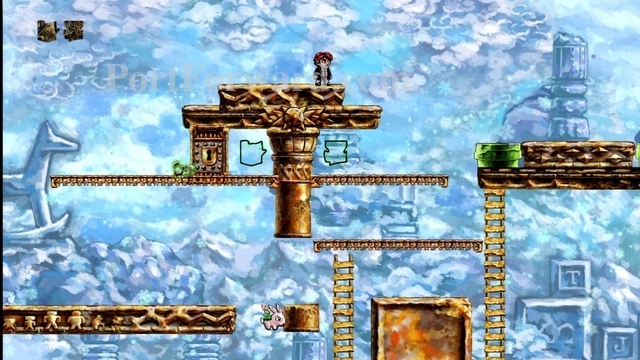
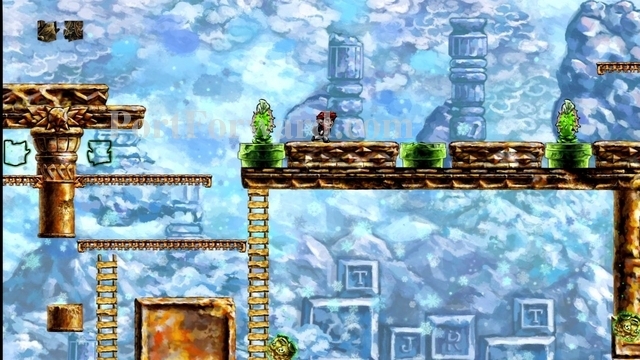
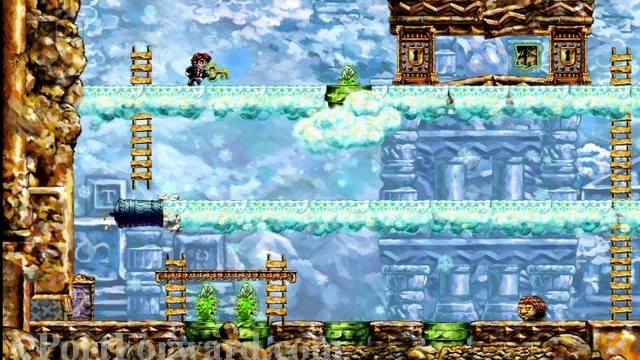
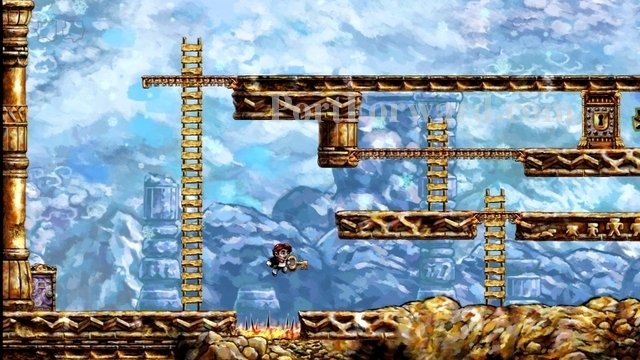
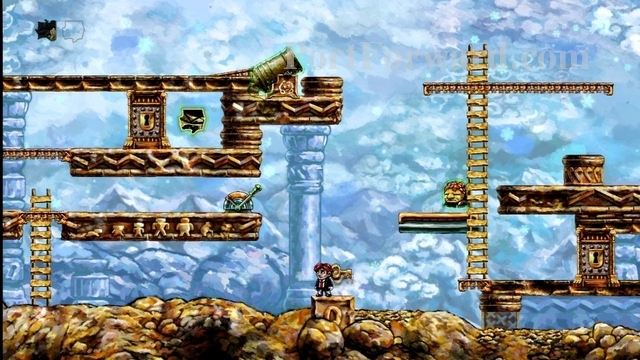
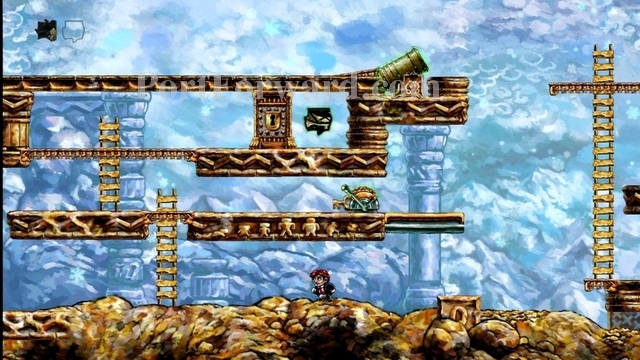
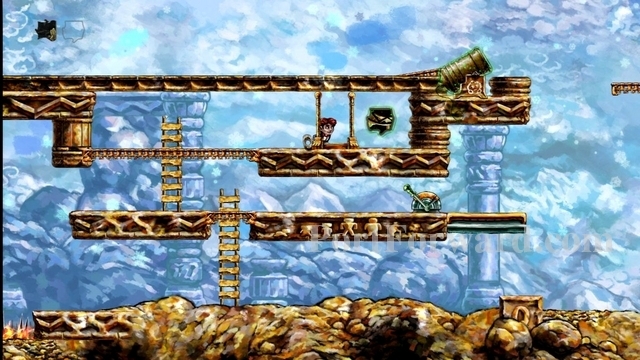
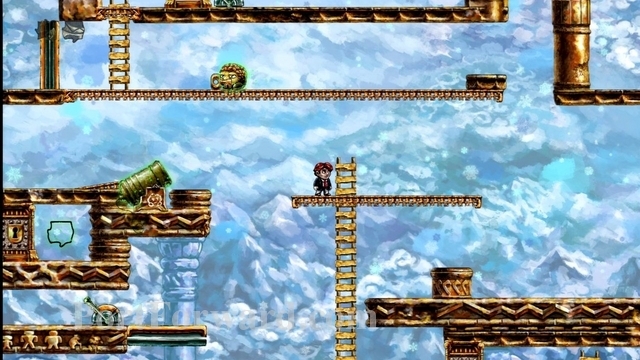
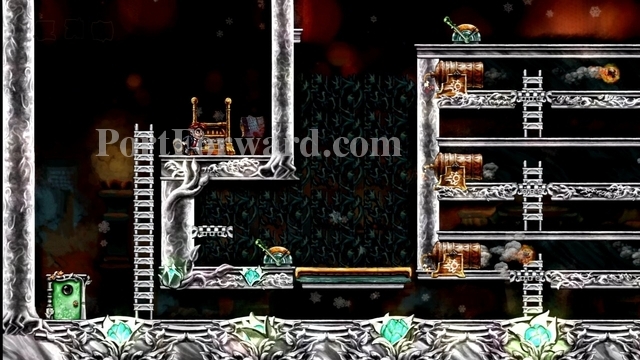
Now we'll be on level 1-2, "The Cloud Bridge".
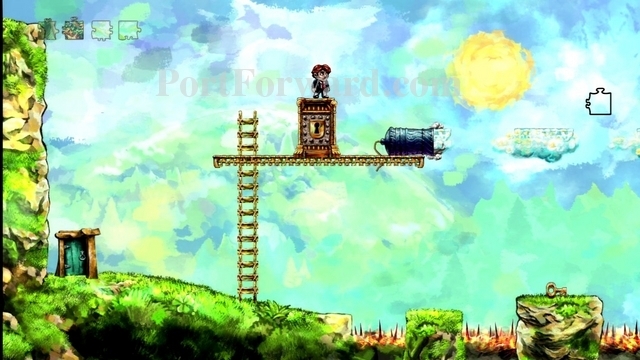
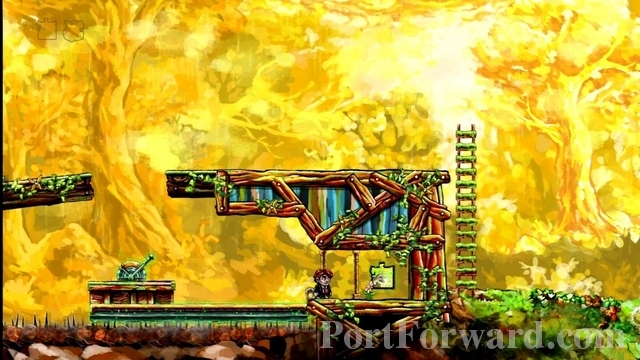
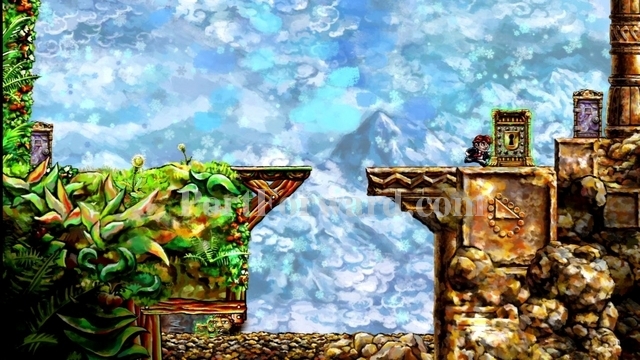
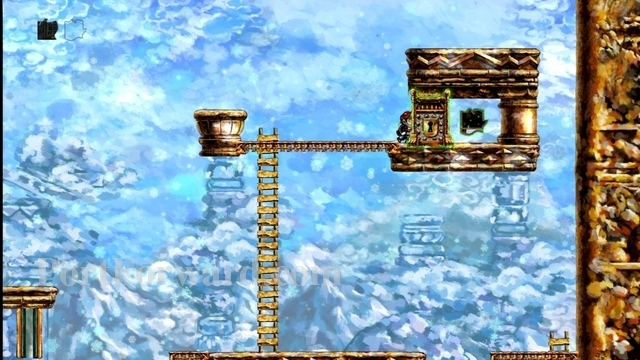
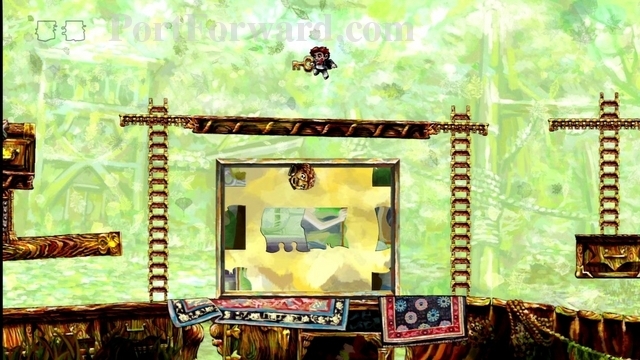
Jump over the fiery spike pits and grab the key.
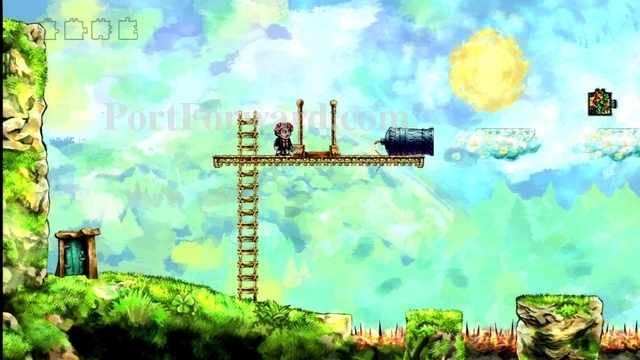
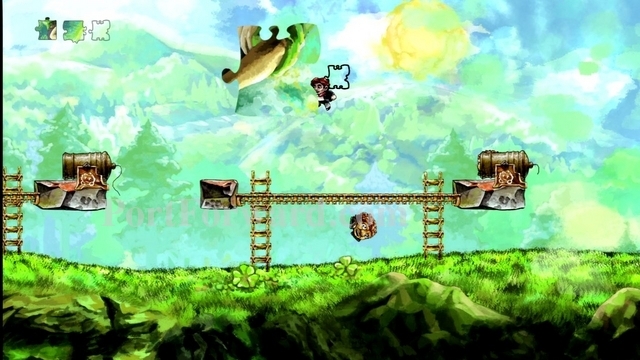
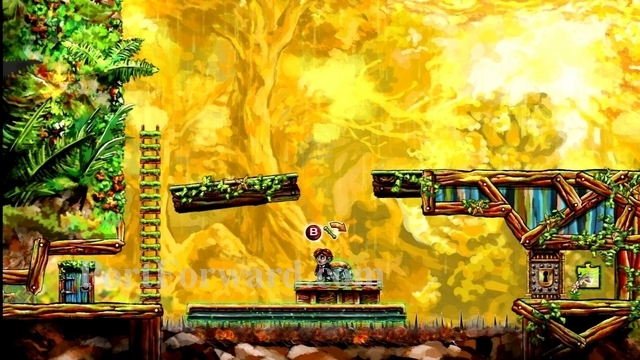
Now jump back over to the left and climb the ladder. Walk into the locked door to open it.
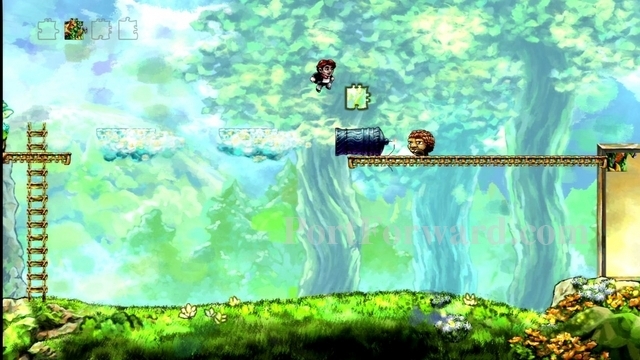
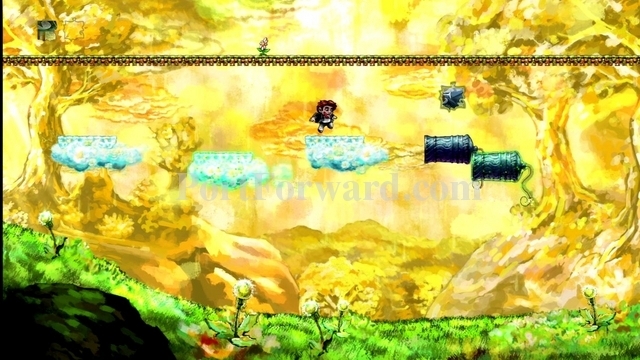
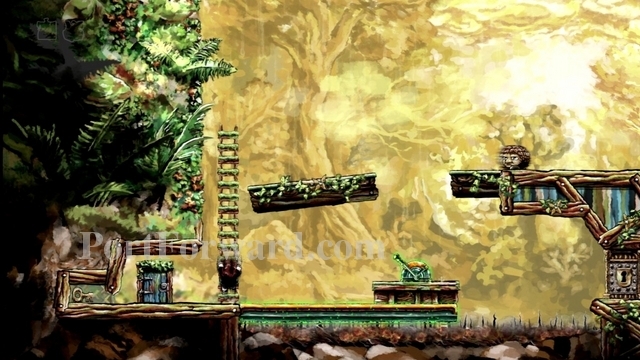
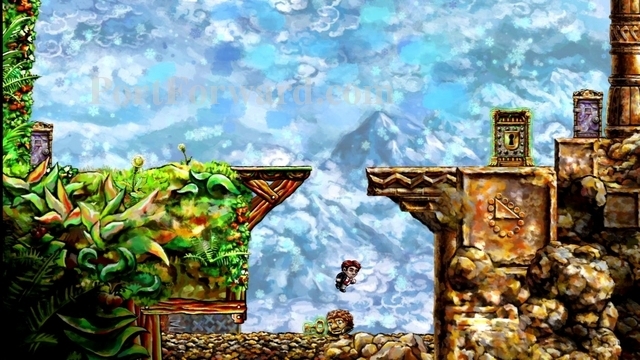
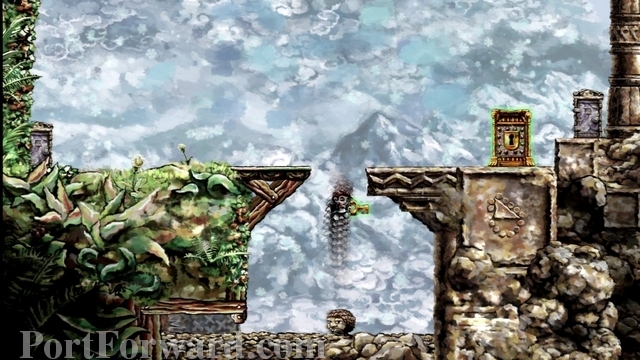
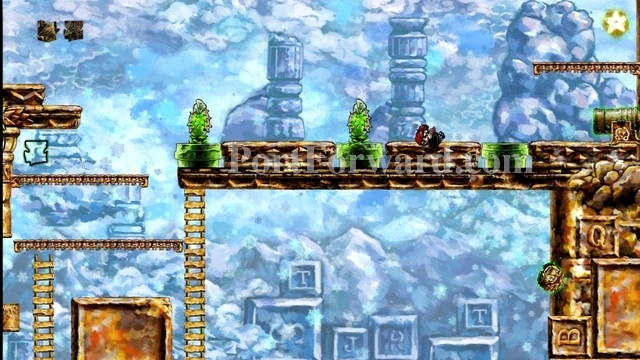
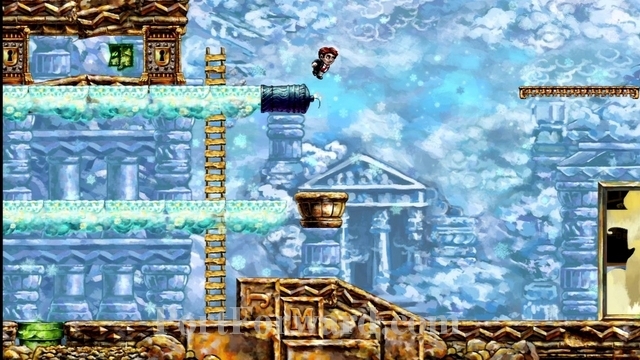
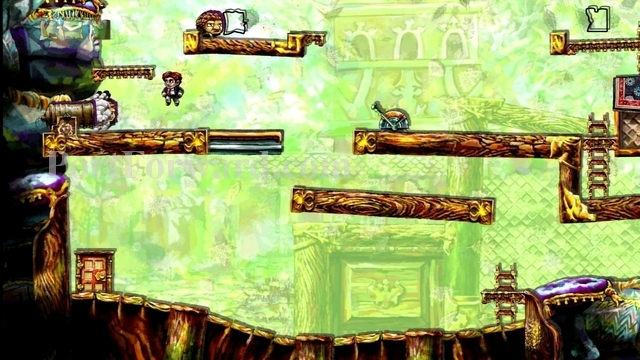
Jump on the cannon, then get on a cloud it shoots out.
The cloud will carry you directly to a puzzle piece.

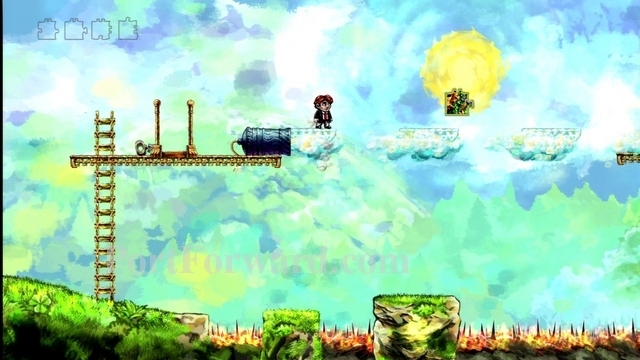
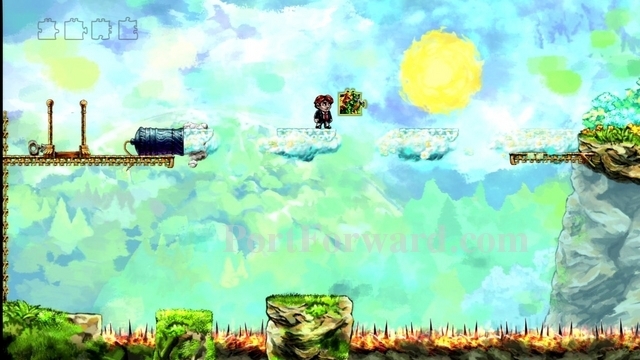
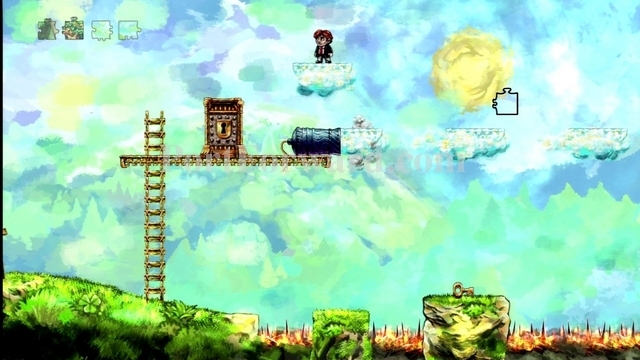
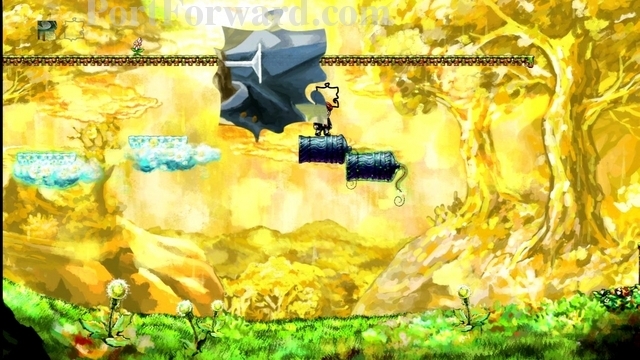
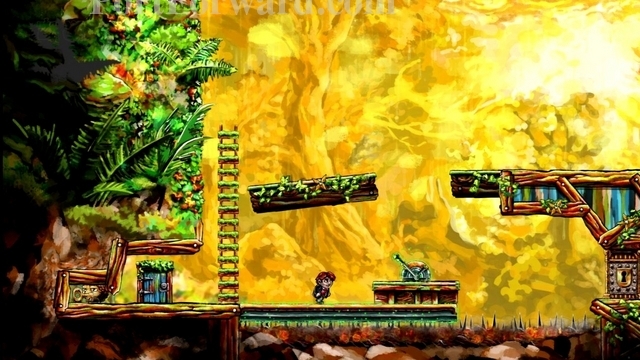
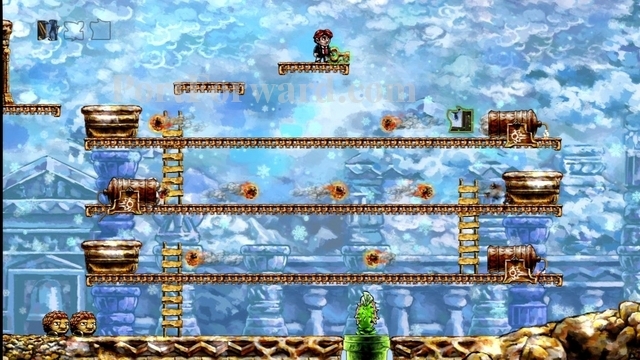
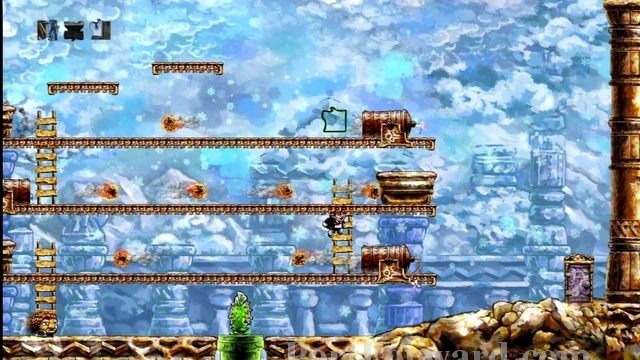
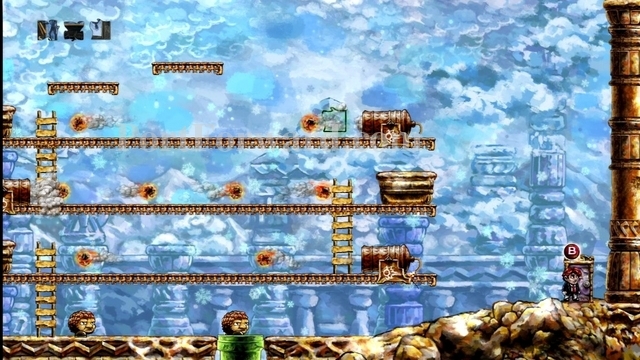
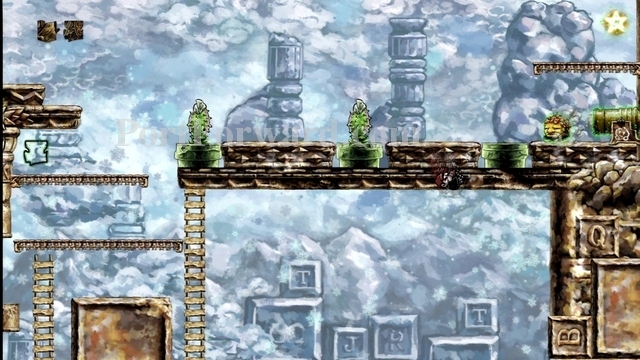
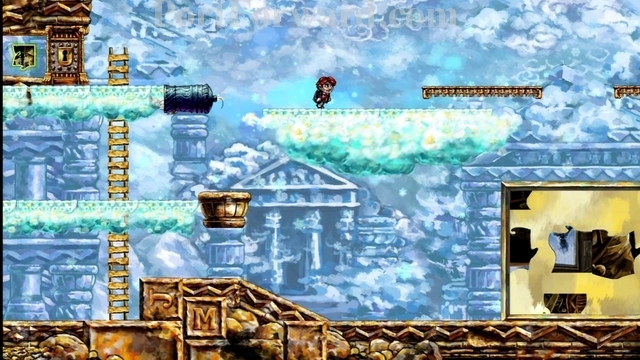
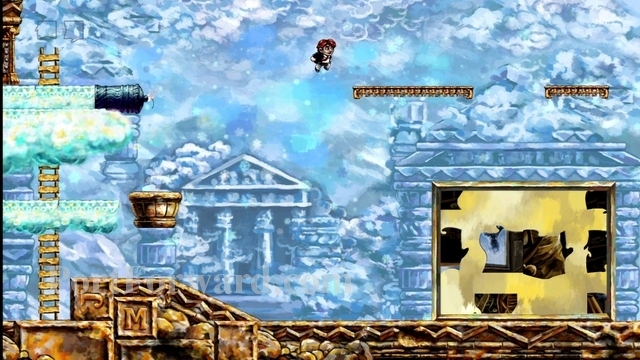
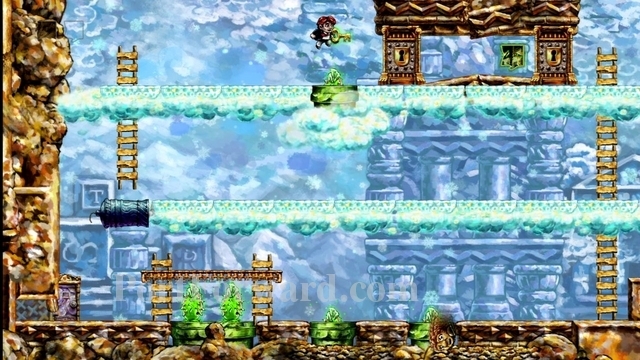
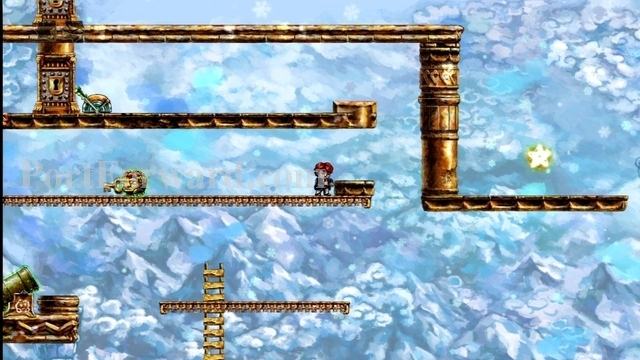
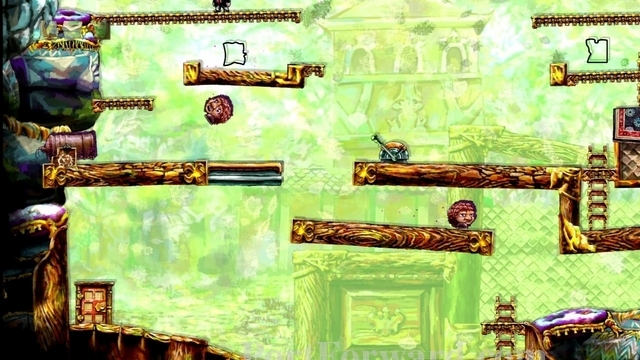
Next you'll come to more sets of clouds, this time moving toward you.
Just run right and jump to each cloud, then jump onto the cannon.
You'll collect a puzzle piece here. If you fall, just climb up the ladder and try again.
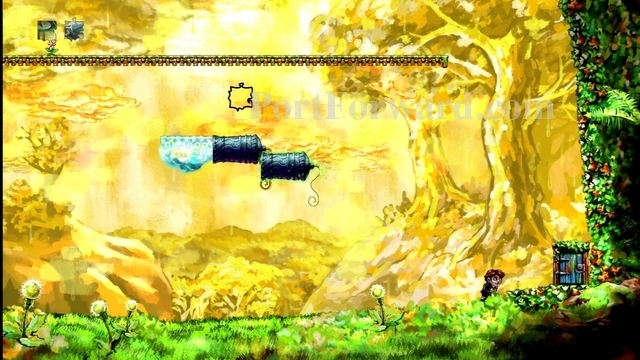
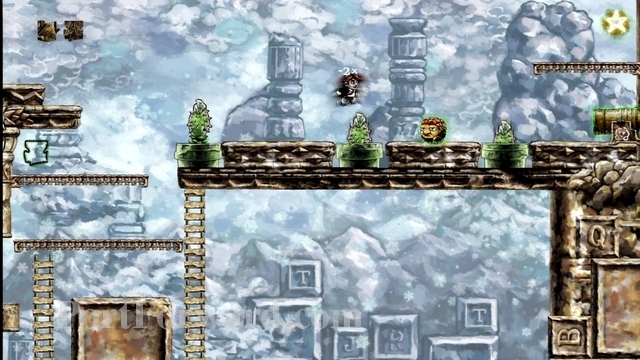
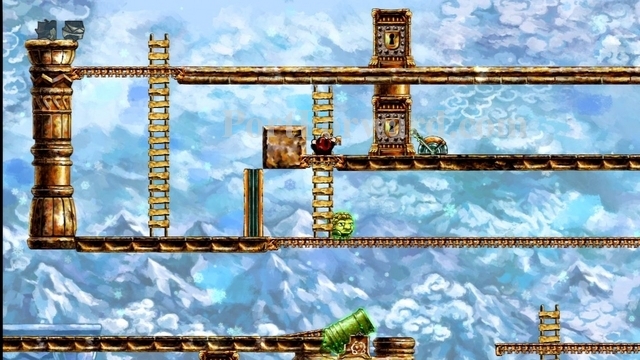
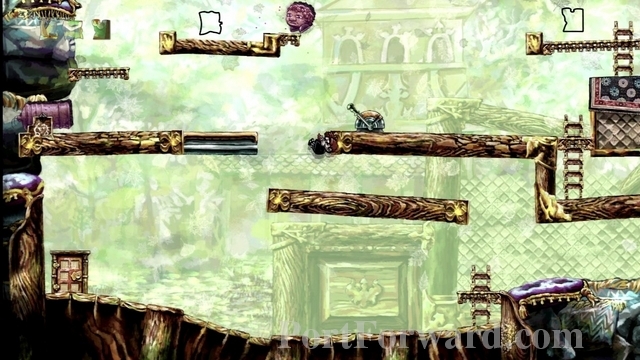
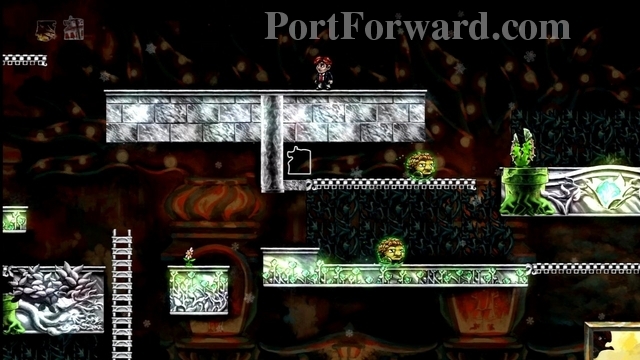
You'll see two more puzzle pieces, but they are out of reach for the moment. You need the puzzle piece from the next level to get to them. Go through the exit door on the lower-right.
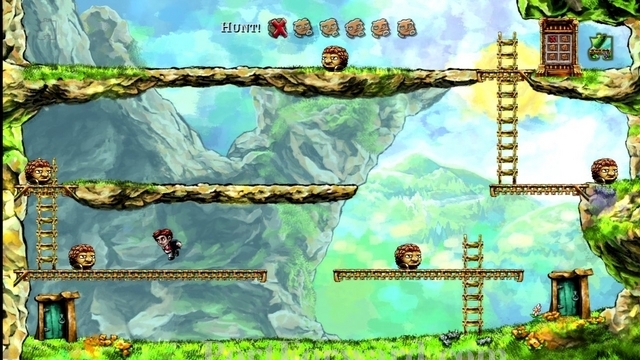
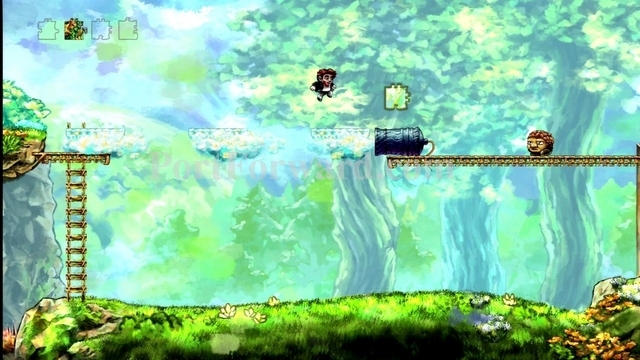
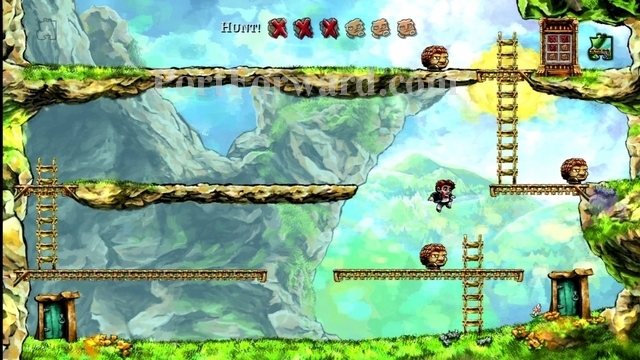
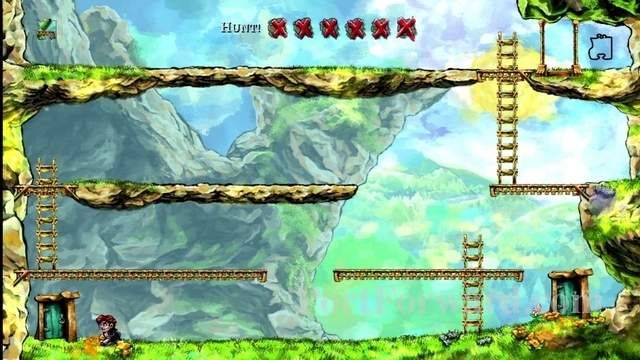
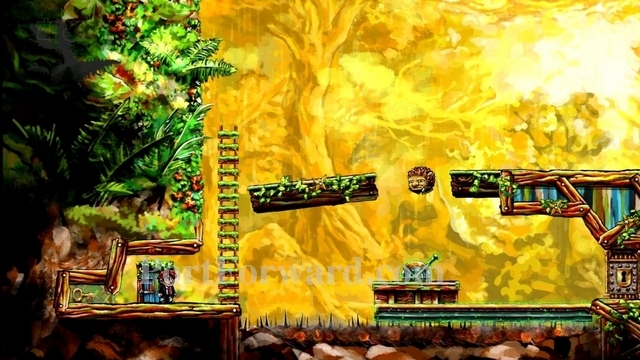
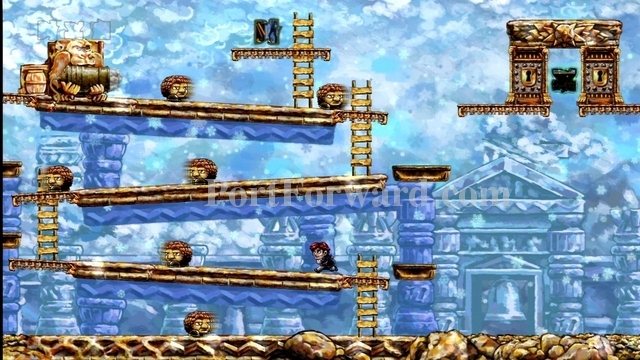
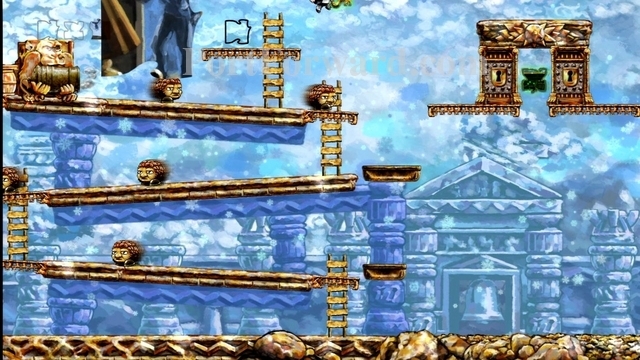
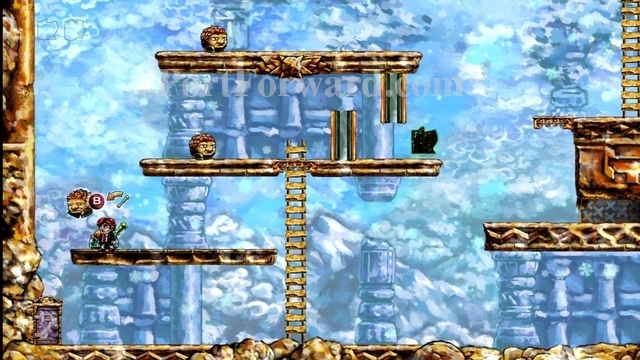
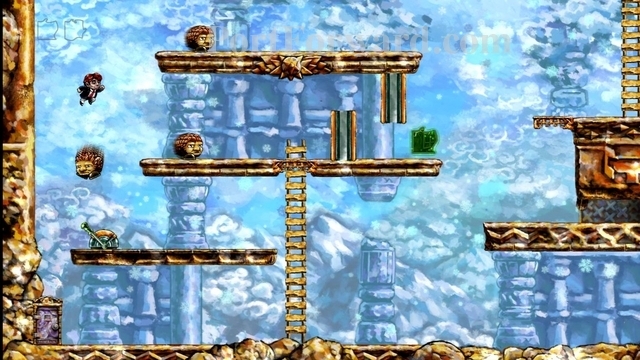
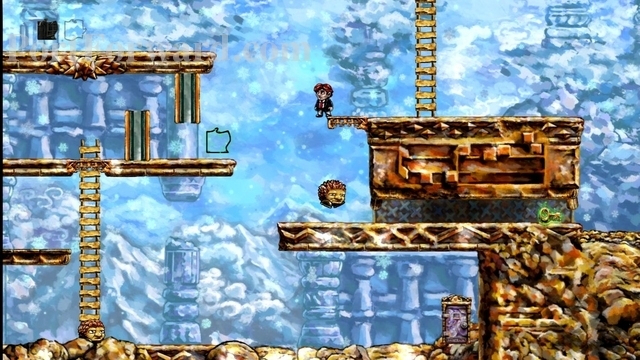
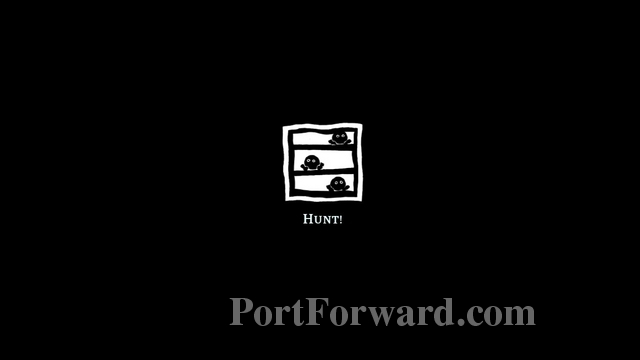
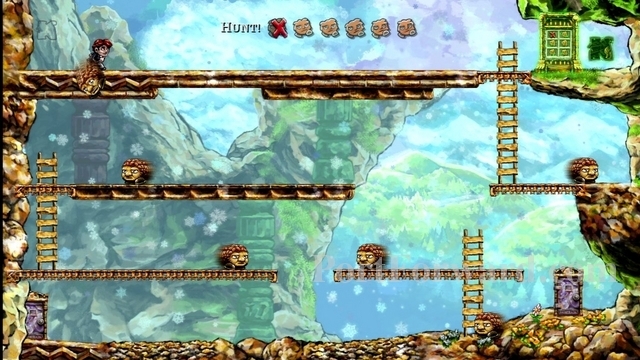
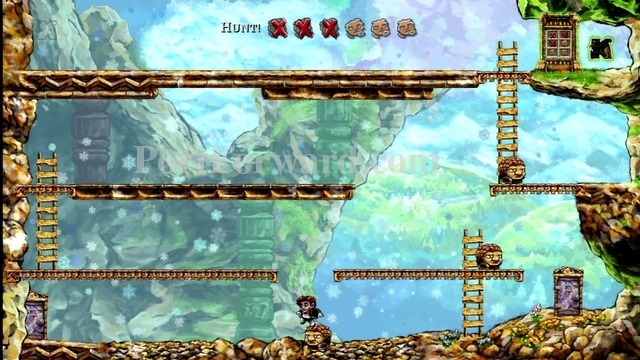
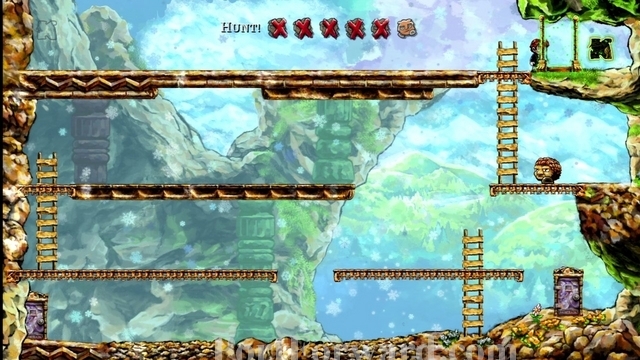
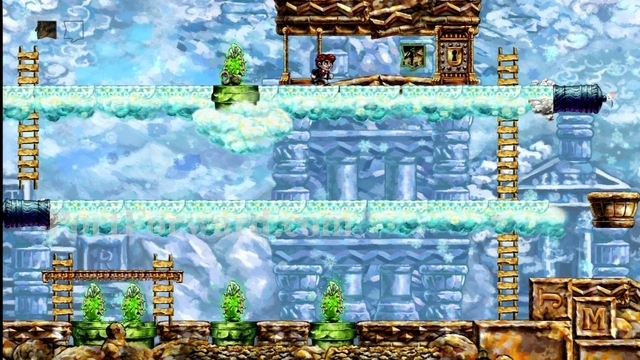
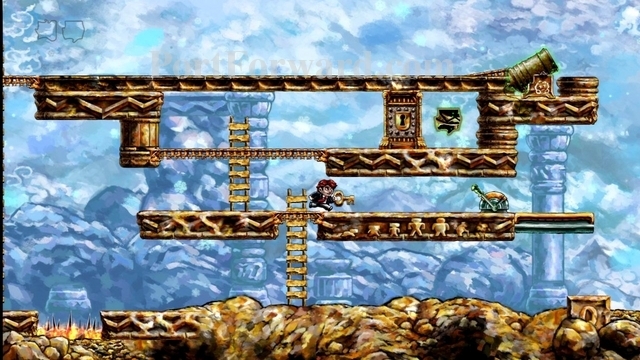
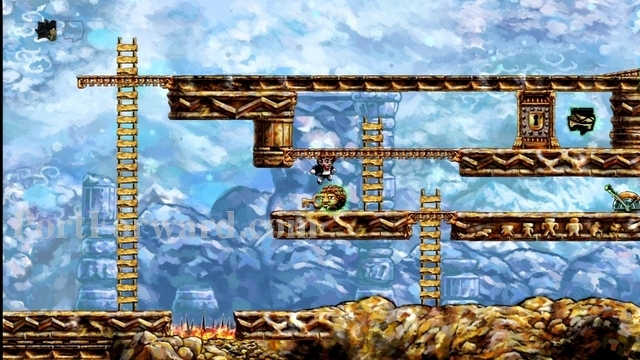
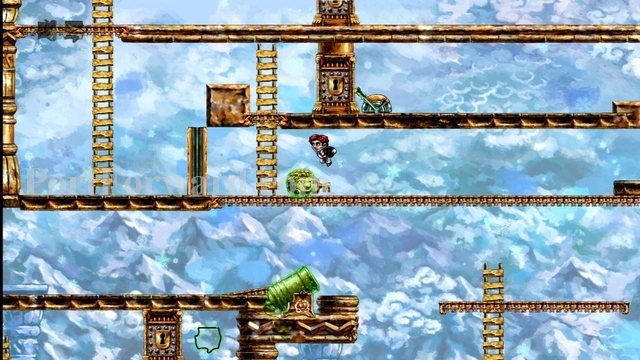
This is level 1-3, "Hunt!"

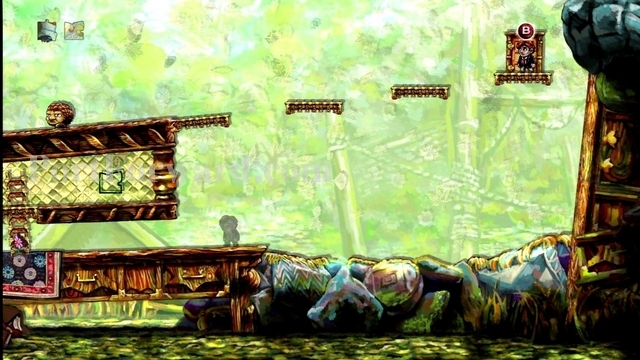
This level is fairly simple. Stop on the enemy on the ground level. If you look at the door in the upper-right corner, you'll notice it has six enemies on it. Every time you kill an enemy it marks them with an X.
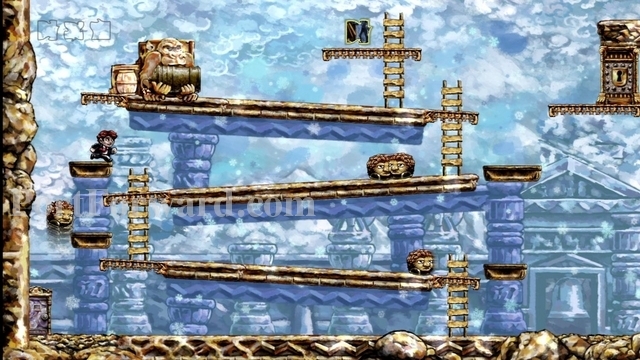
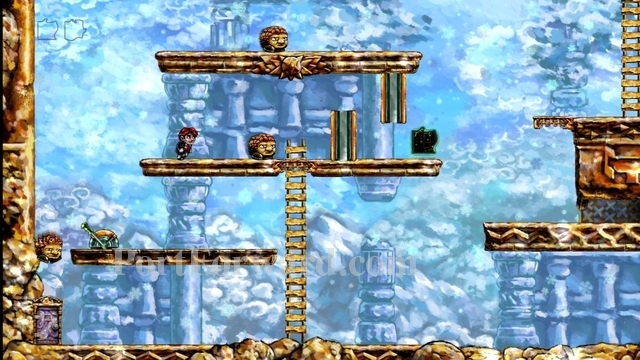
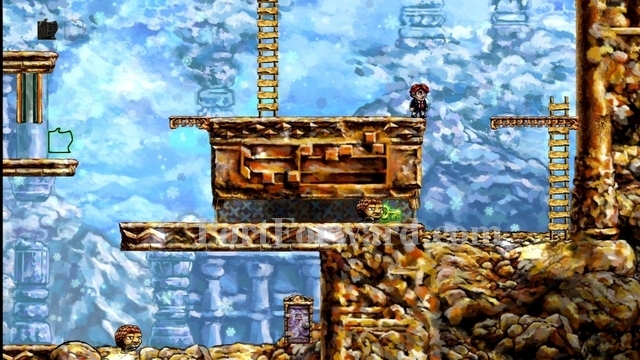
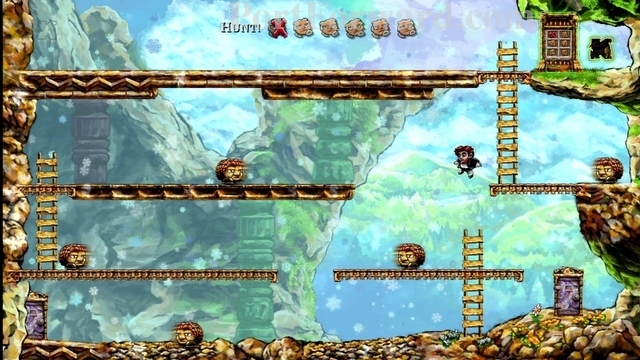
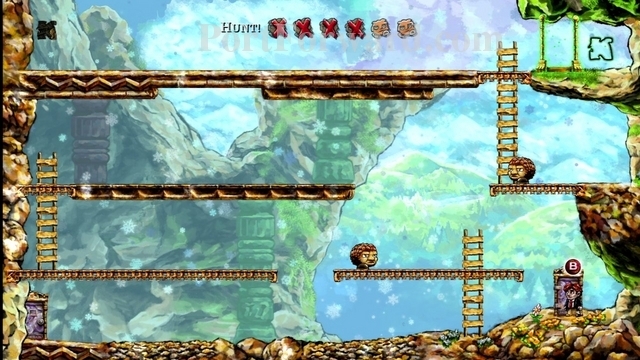
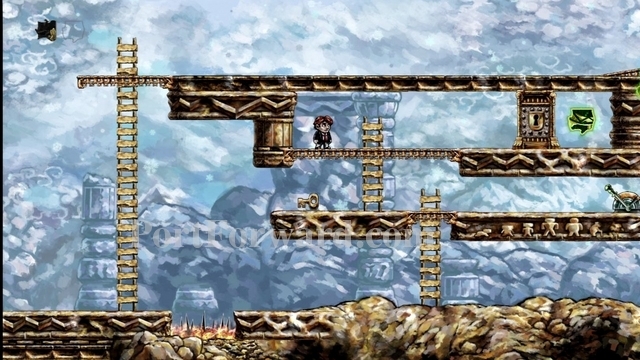
Now climb up the ladder, but don't kill the enemy found on that platform. Instead, jump over to the platform on the left and kill that enemy.
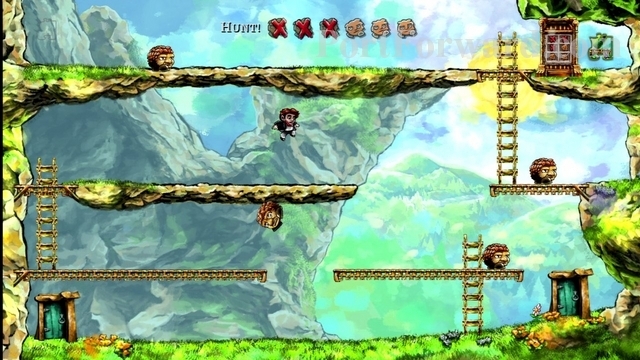
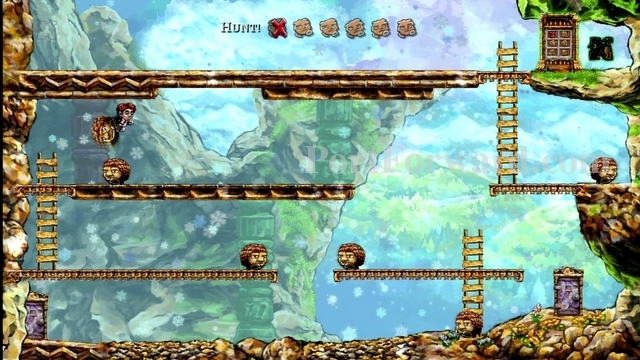
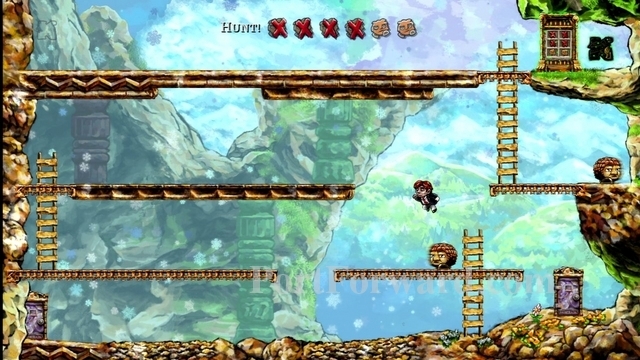
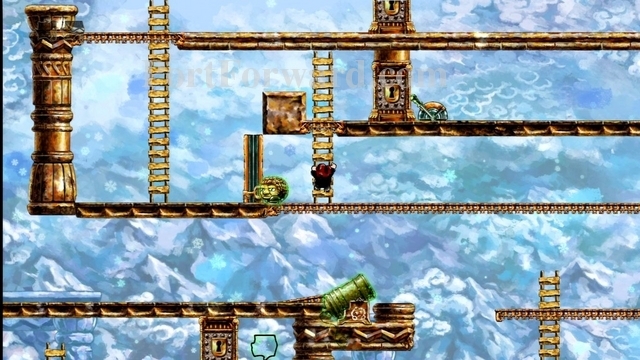
Climb up the ladder on the left side, then kill the enemy on that platform.
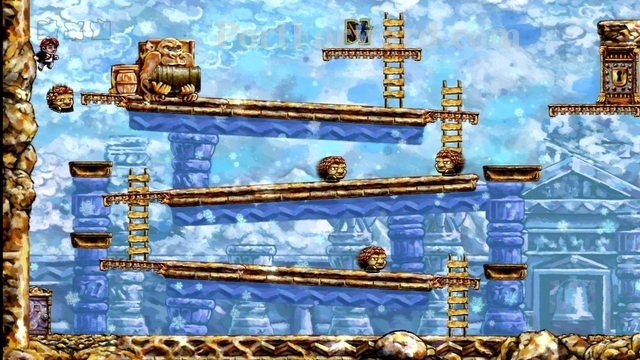
Now this is the trickiest part. Jump off the platform, landing on the enemy below.
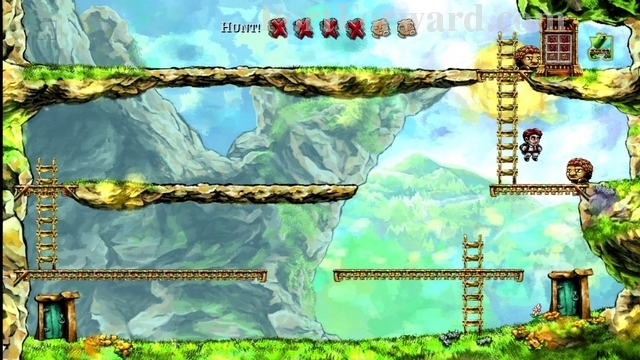
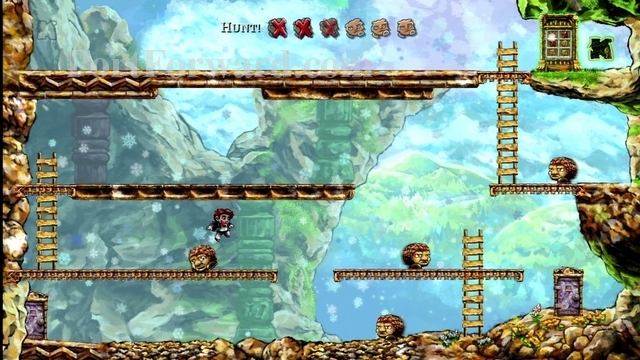
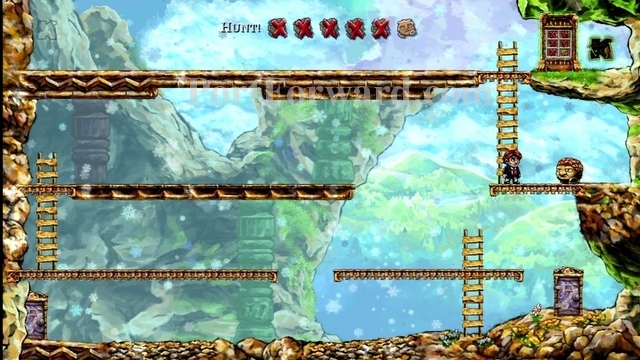
You should get enough bounce to land on the platform to the upper-right. If you don't make it, just rewind and try again. Now you can stomp the enemy on this platform.
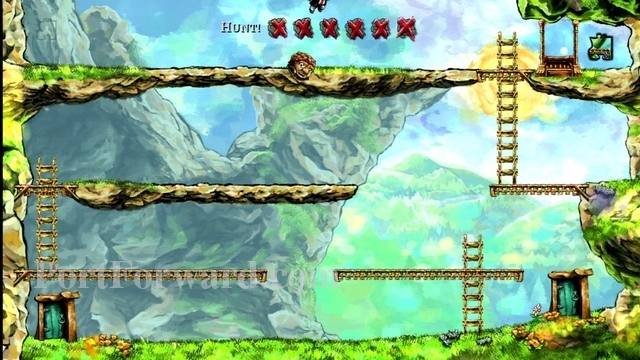
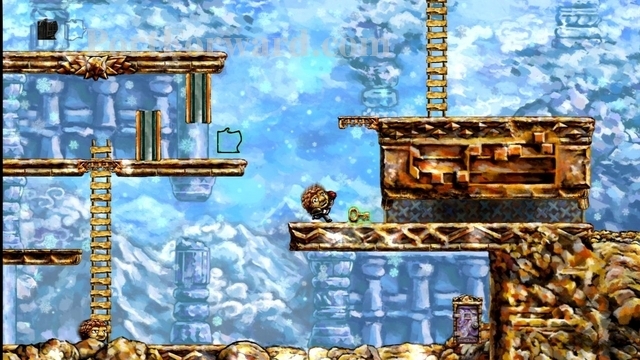
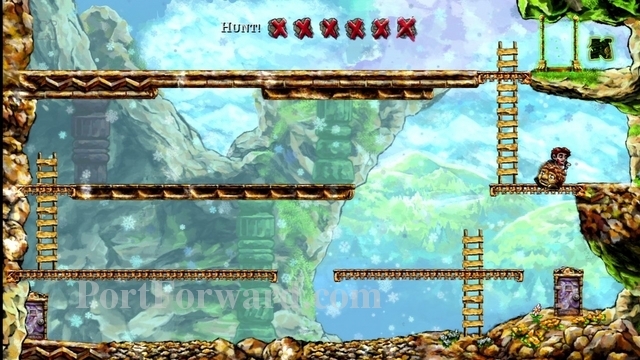
Climb up the final ladder and kill the enemy up here. Now that you've defeated all the enemies, the door will open.
Grab the puzzle piece.
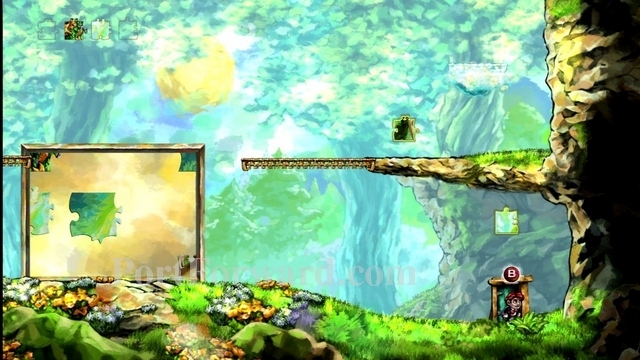
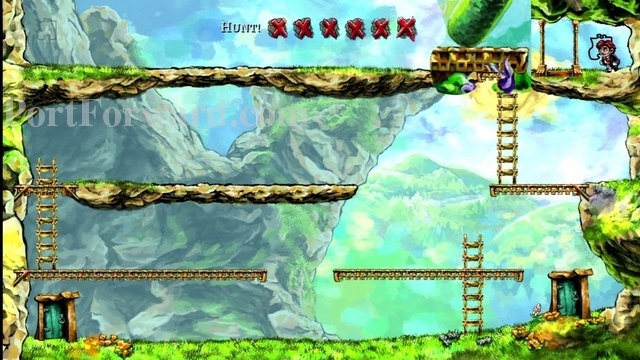
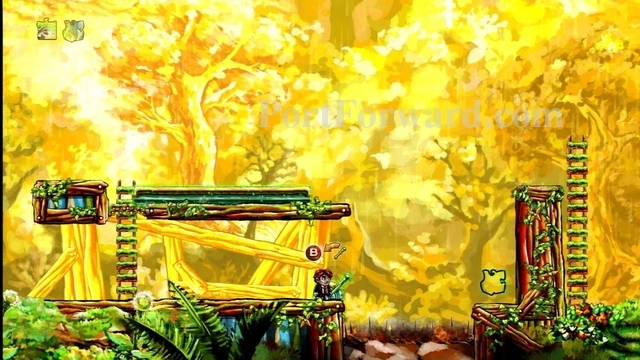
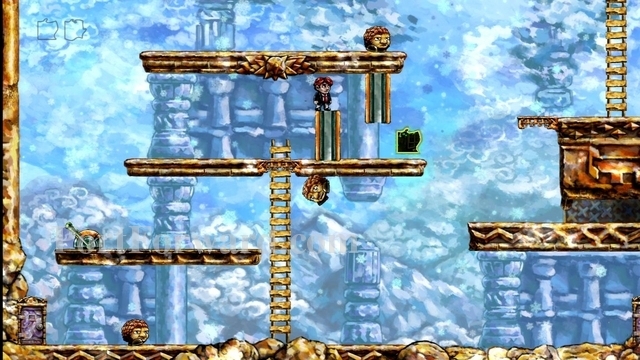
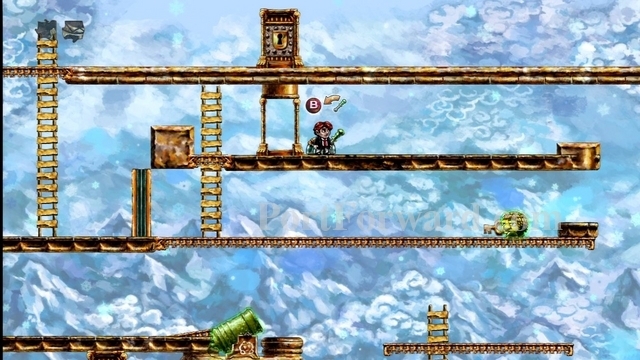
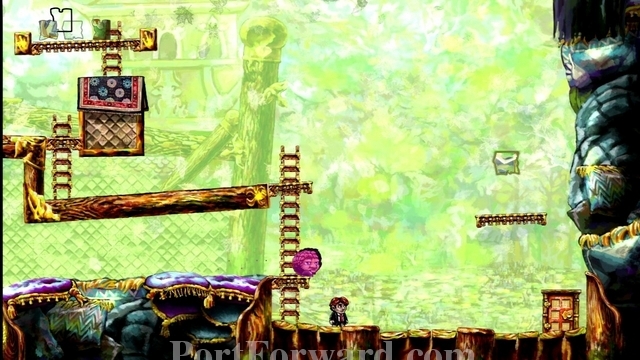
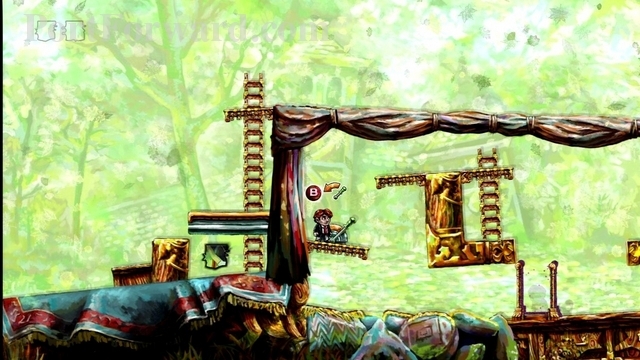
Now that we have that puzzle piece, let's go back to the previous level. Go through the door in the lower-left corner.
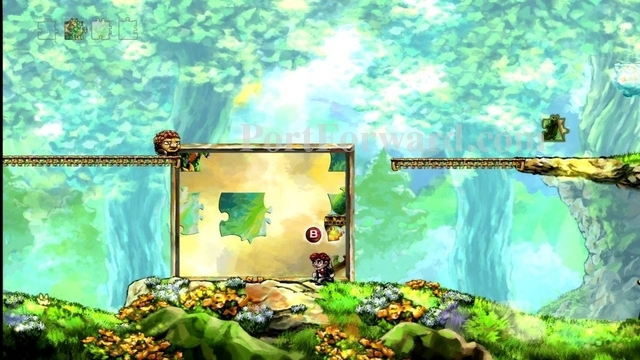
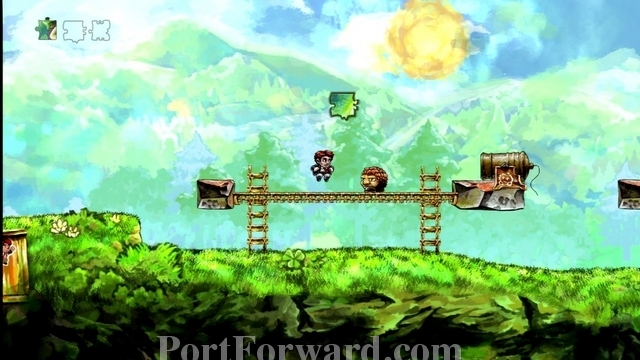
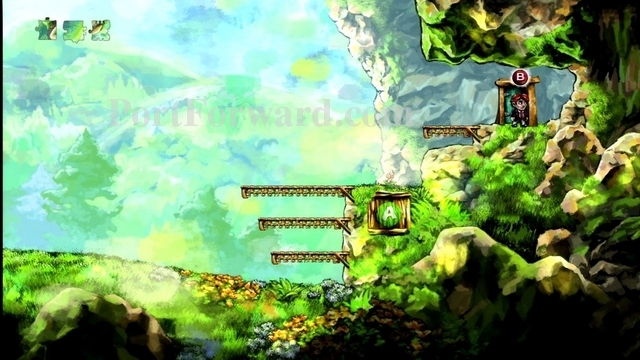
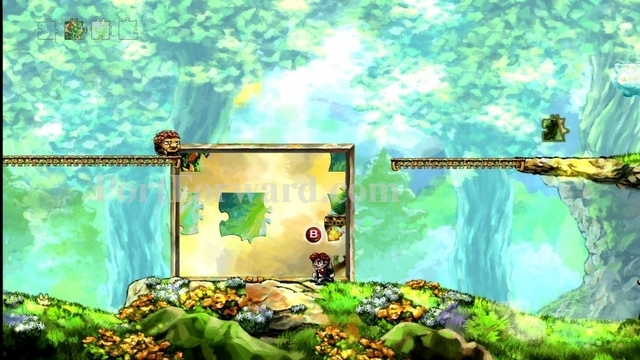
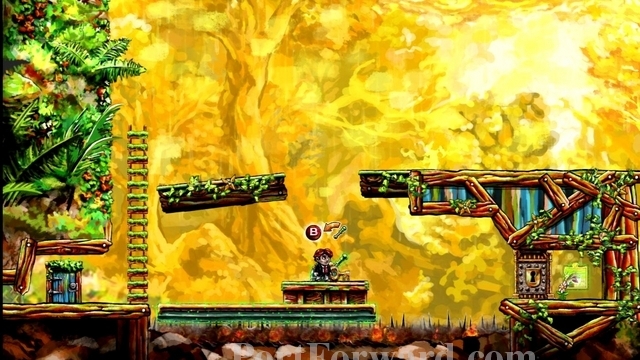
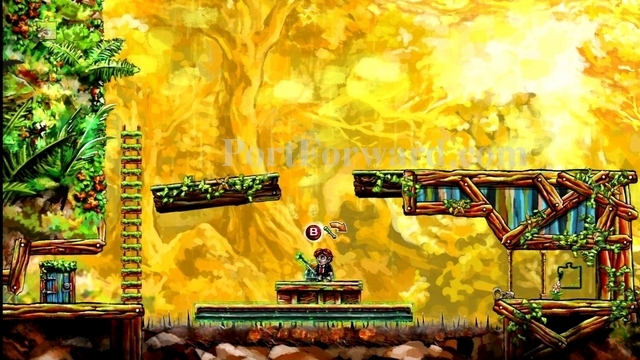
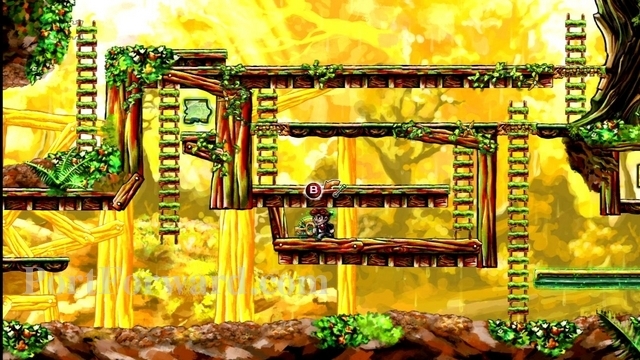
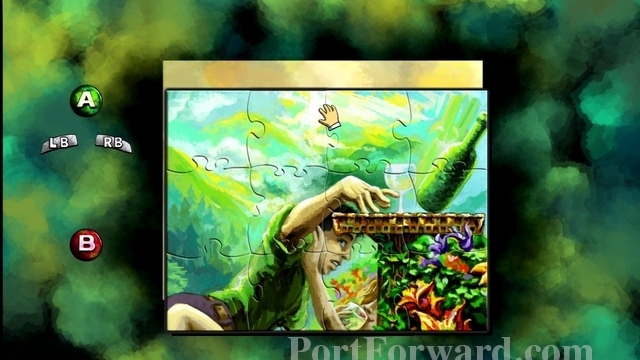
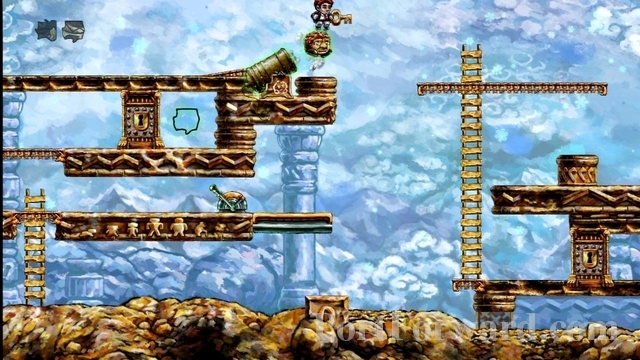
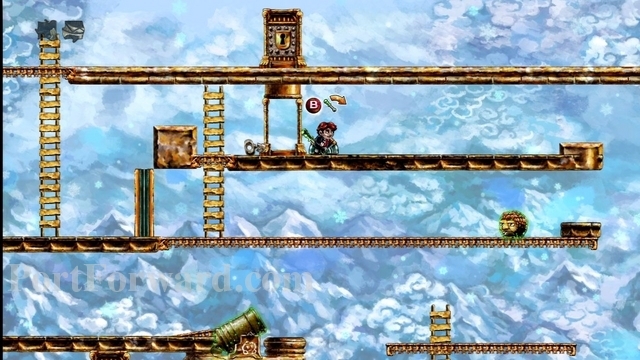
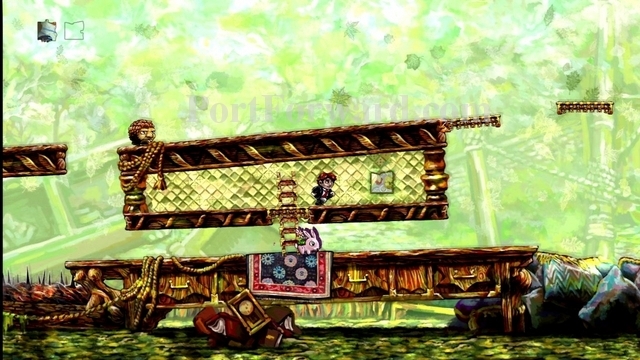
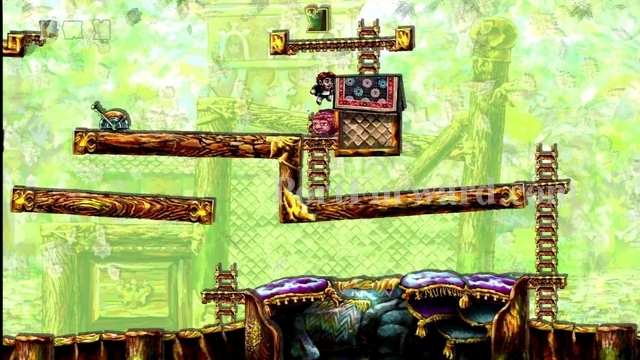
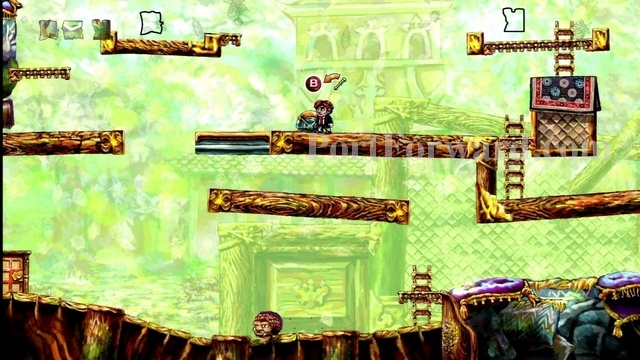
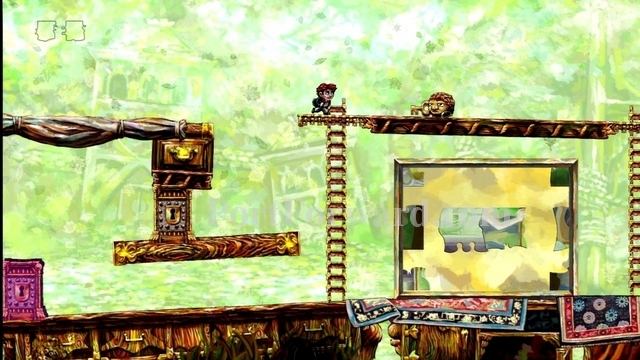
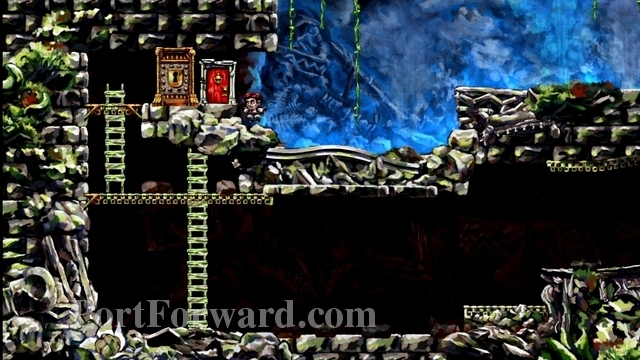
Walk in front of the puzzle board and press B to enter it.
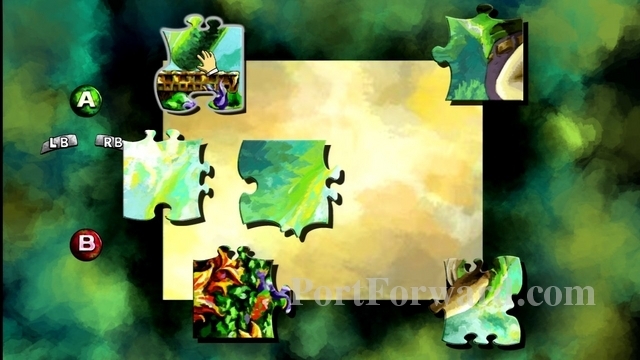
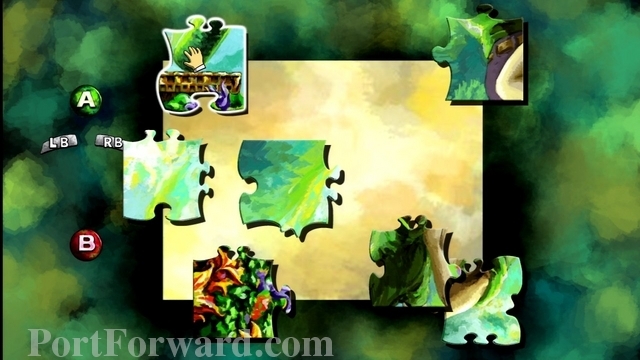
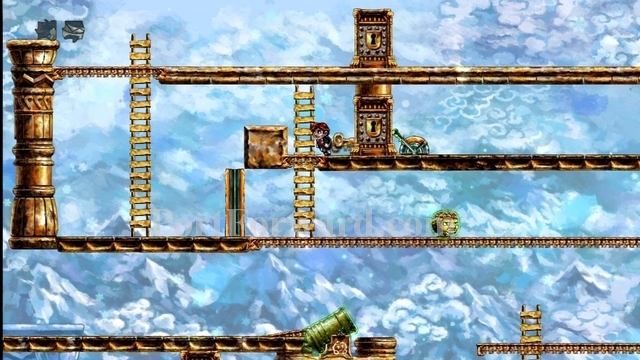
Move the puzzle piece with the platform on it to the upper-left corner. Rotate it if necessary using LB or RB.
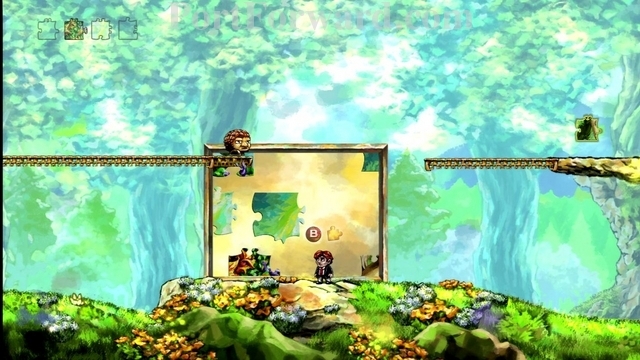
When you line it up perfectly, the enemy will walk onto it. While the enemy is standing on it, press B to look at the puzzle board again.
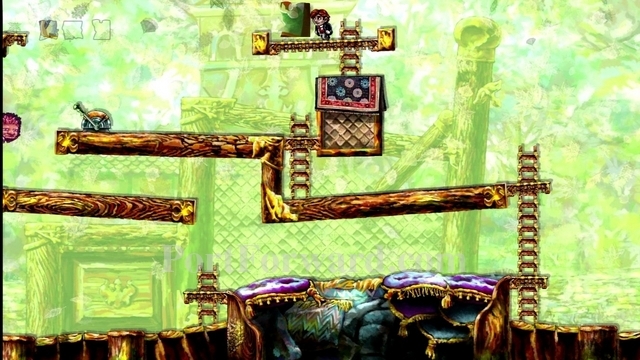
Now you can move the puzzle piece a bit to the lower-right.
The enemy should stay on it. If not, rewind and try again.
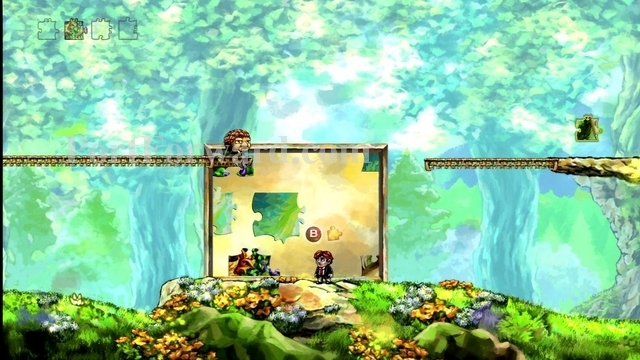
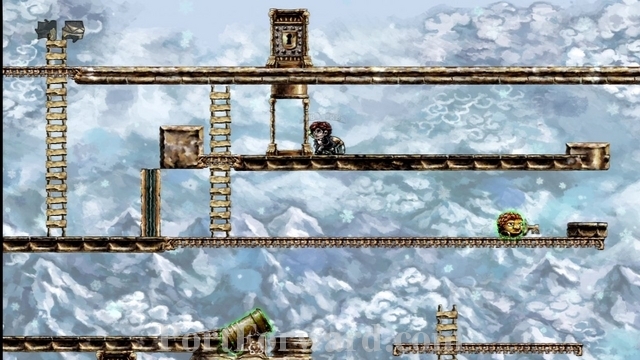
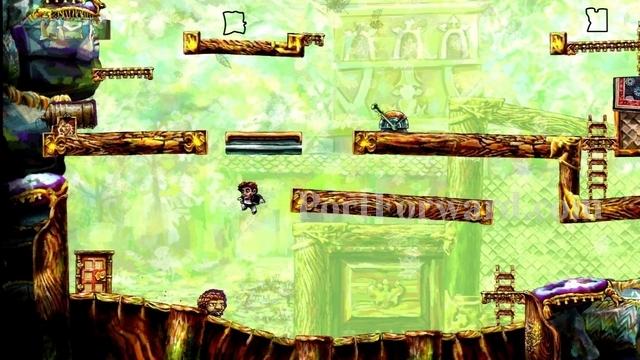
Continue moving the enemy until it is about halfway between the upper platforms. You want the enemy low enough to get a good bounce too. Now go left and climb the ladder and continue to the platform on the upper-left of the puzzle board.
Jump onto the enemy, bouncing off it and hopefully reaching the upper-right platform. You can always rewind and try again if you don't make it.

Grab the puzzle piece.
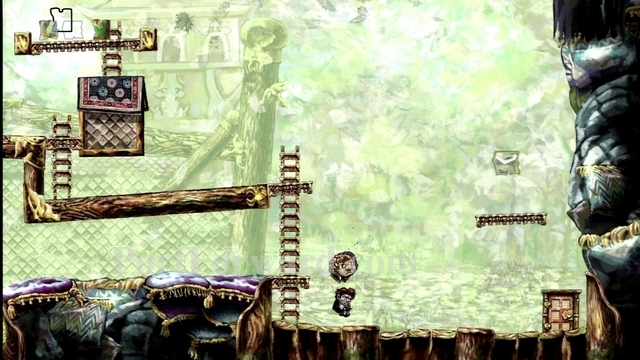
Next, just go through the door that takes you to the next level, then come right back. This will bring back the enemy that we killed (If you rewind, you'll just rewind getting the puzzle piece too.)
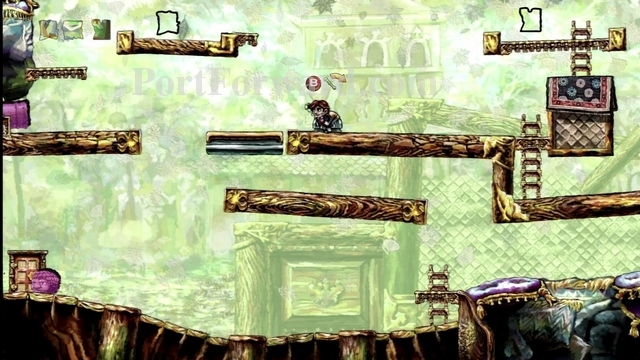
Now go edit the puzzle board again.
Place the piece back to the upper-left.
When the enemy walks on it, go edit the puzzle board again.
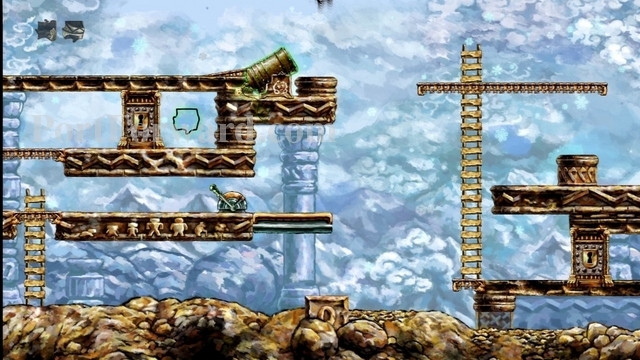
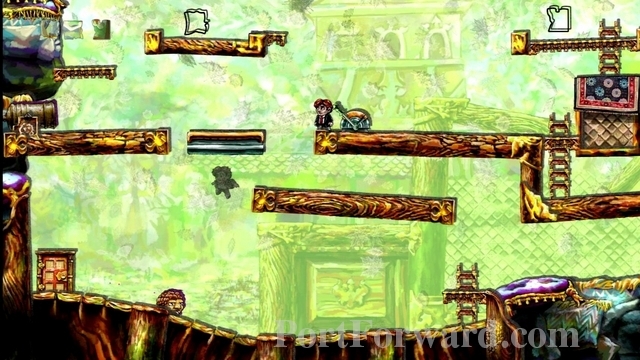
Now just move the platform piece far away.
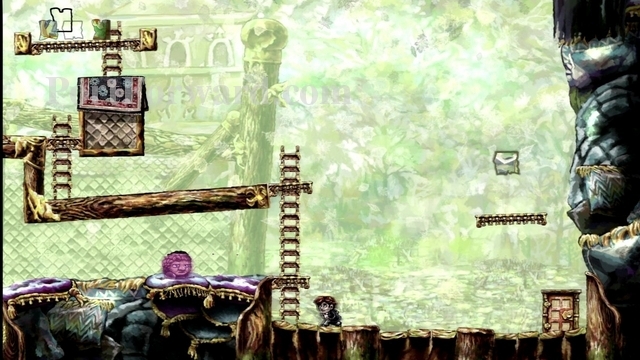
This will make your enemy fall to the ground.
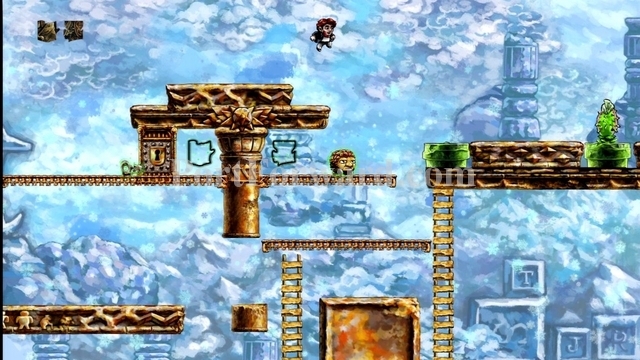
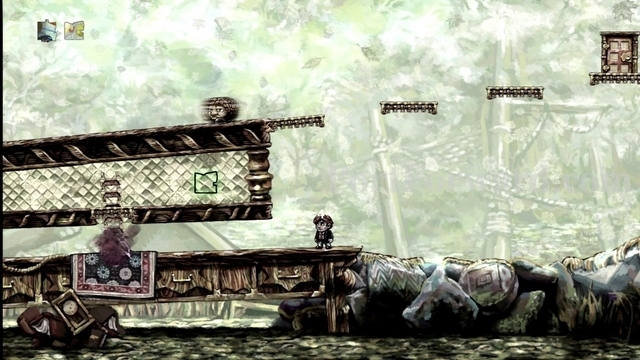
Head over to the right, near the exit. Jump on the enemy's head to bounce up and collect the puzzle piece.
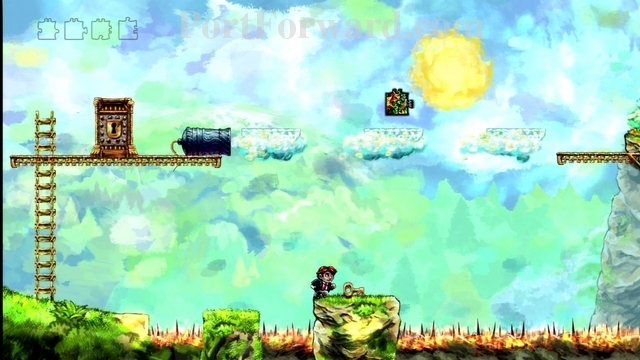
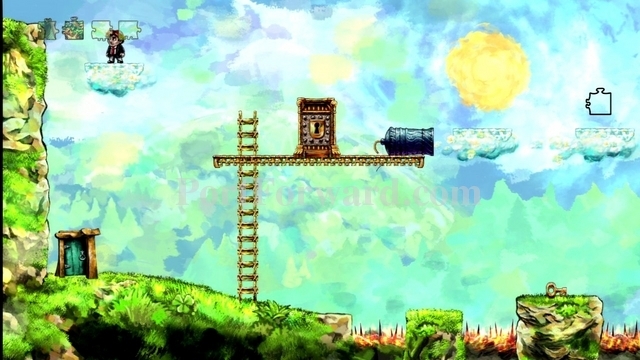
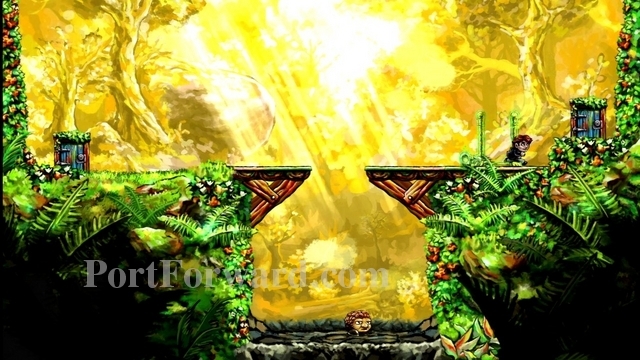
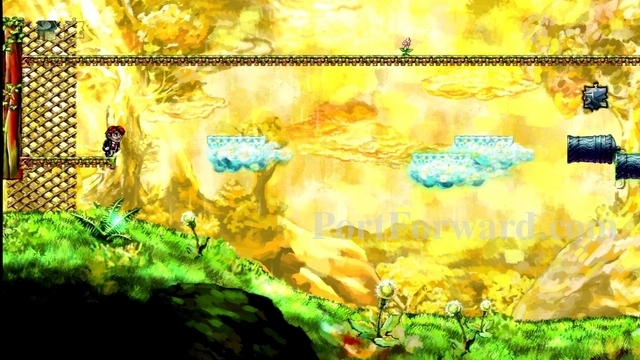
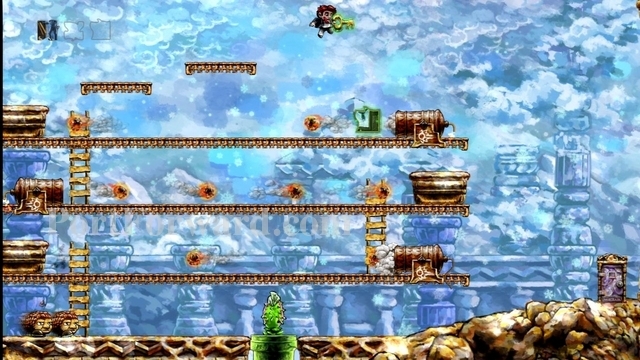
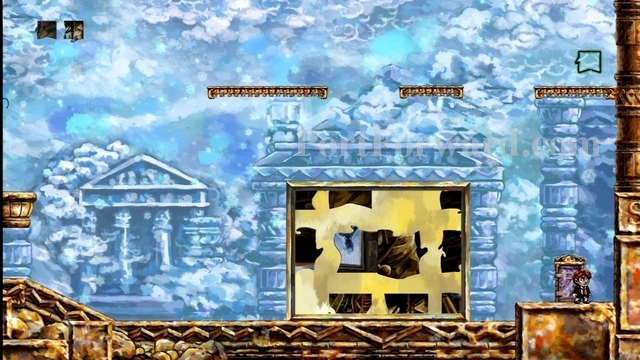
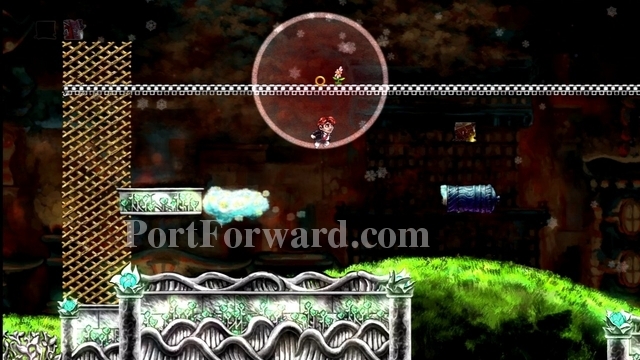
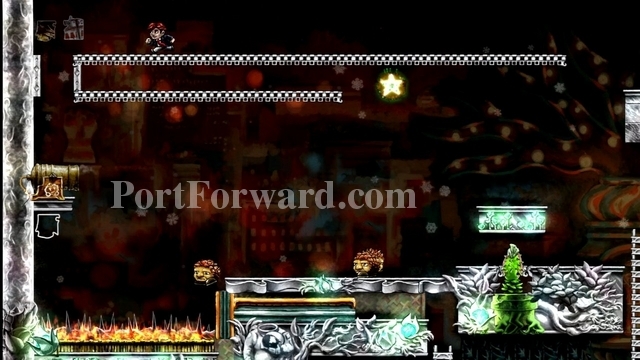
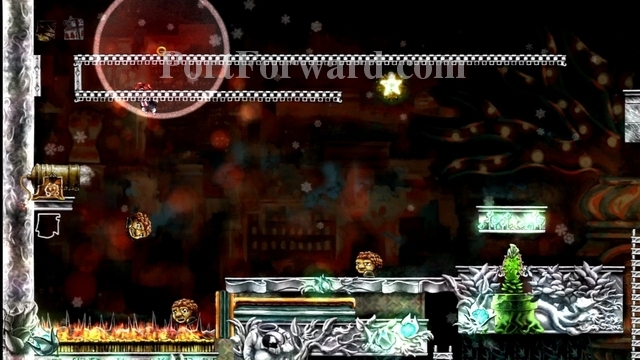
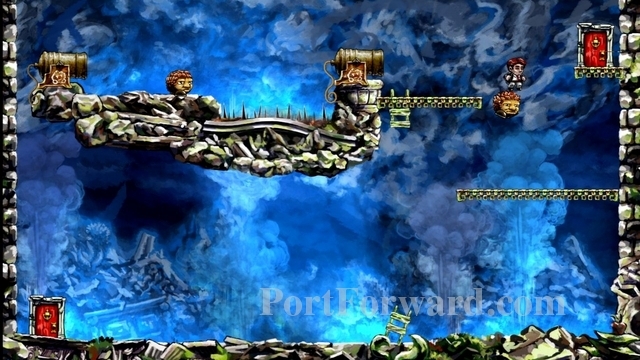
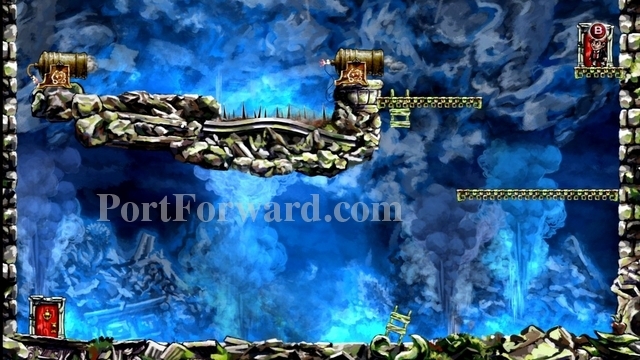
Now, you may notice something else odd about this level. There is a cloud sitting in the upper-right corner. It is moving insanely slow, going leftward.
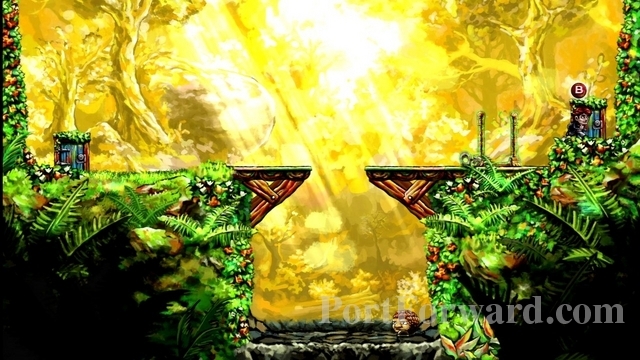
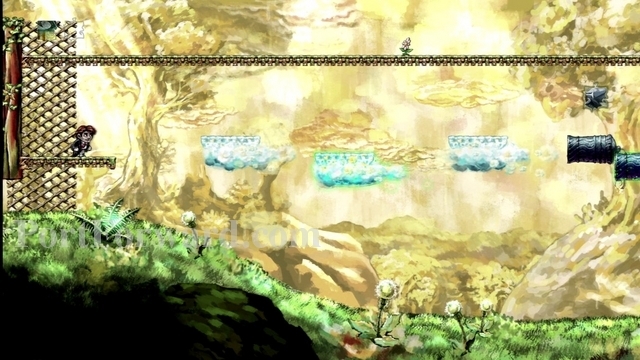
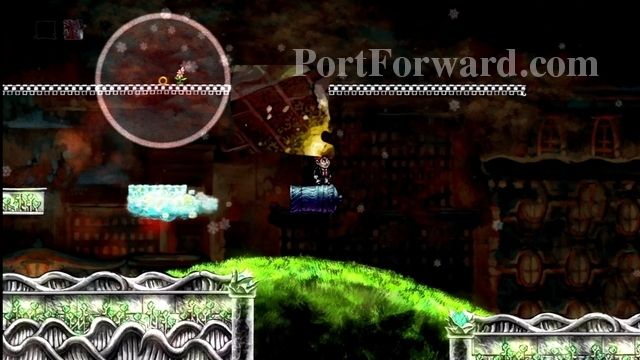
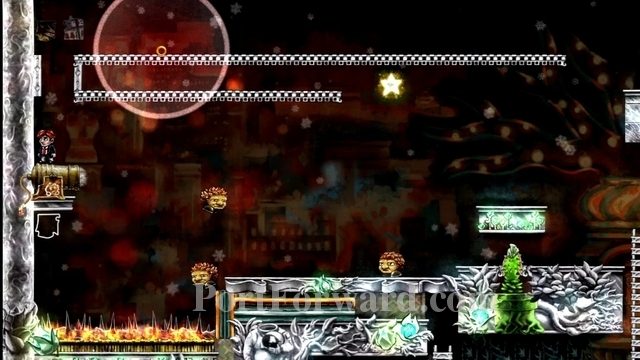
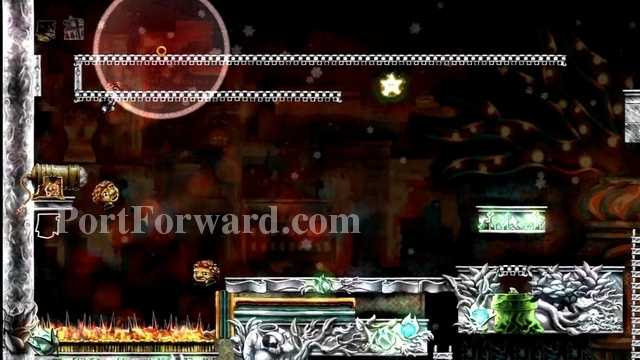
Go to the left and cross over the clouds, then jump from the left cannon, landing on the locked door. If you sit here for about an hour and forty-five minutes, eventually, the cloud will get to you.
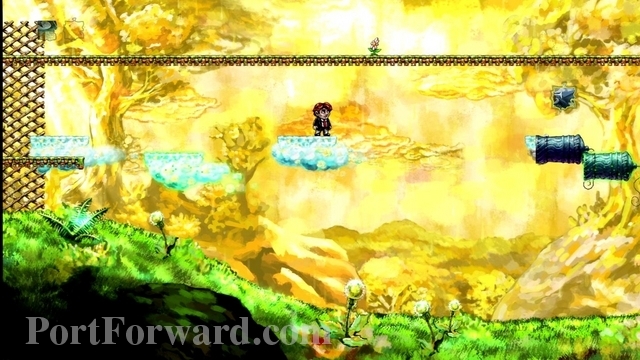
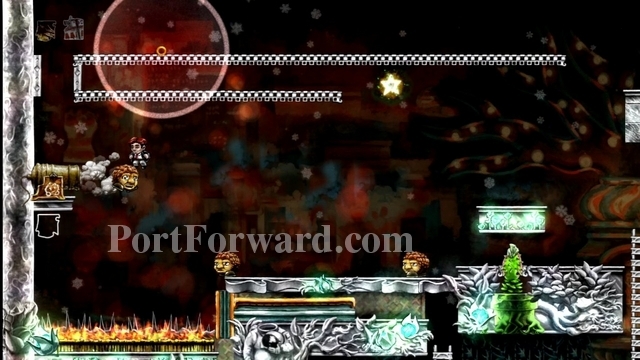
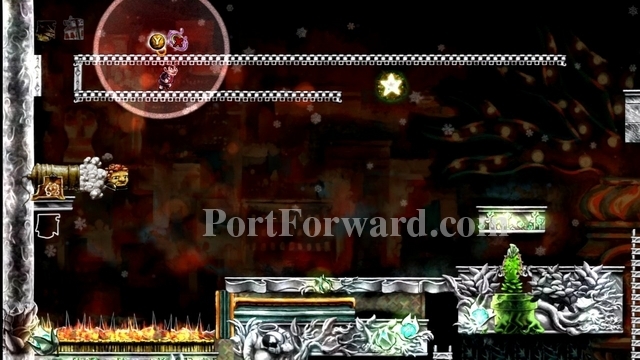
Jump on the cloud, rewind if you miss.
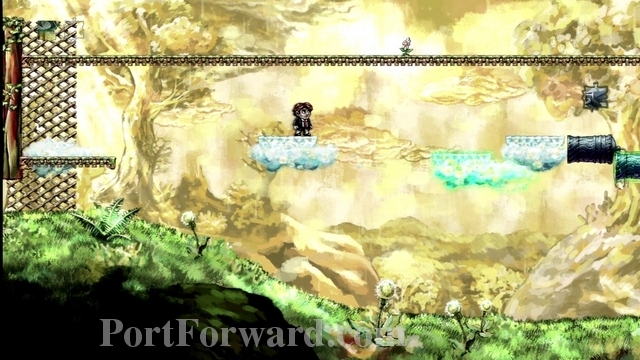
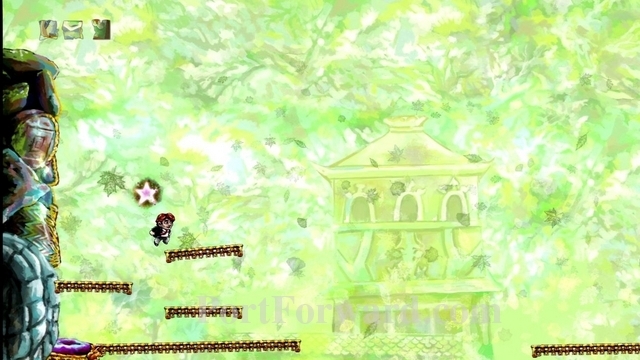
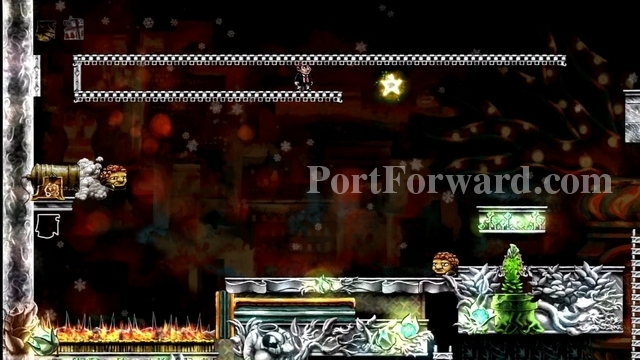
Wait about fifteen more minutes to get close enough to the upper-left cliff, then jump onto it.
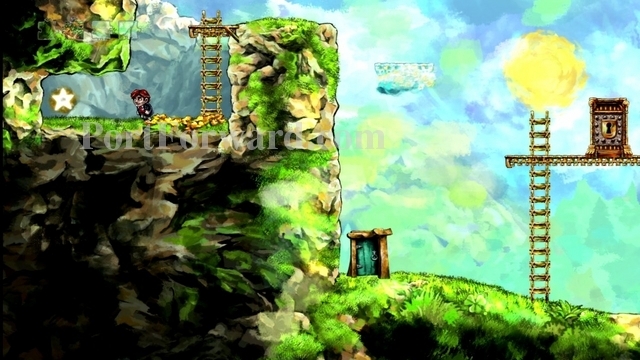
This will reveal a hidden star! Grab it.
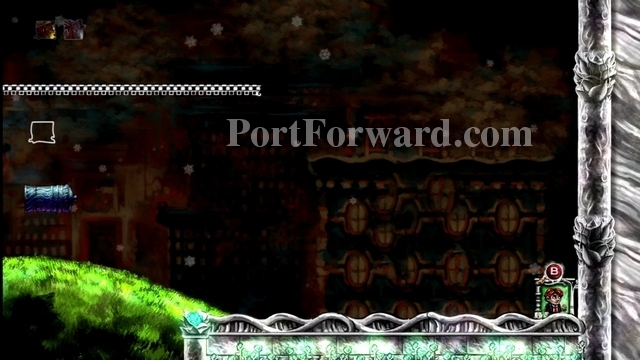
Now we are completely done with this level, exit through the right door.

We've already completed the "Hunt!" level too, so exit through the door in the lower-right corner.

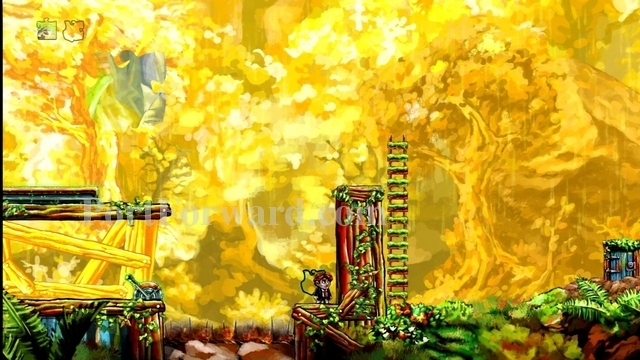
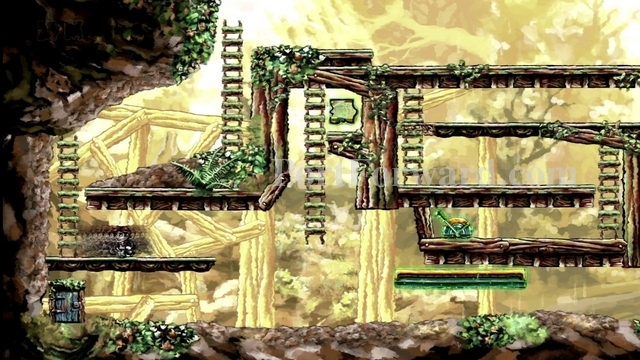
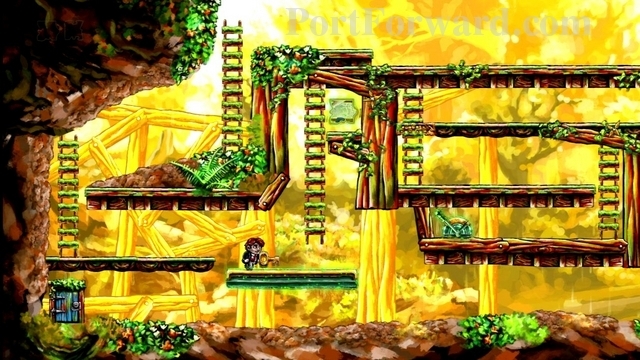
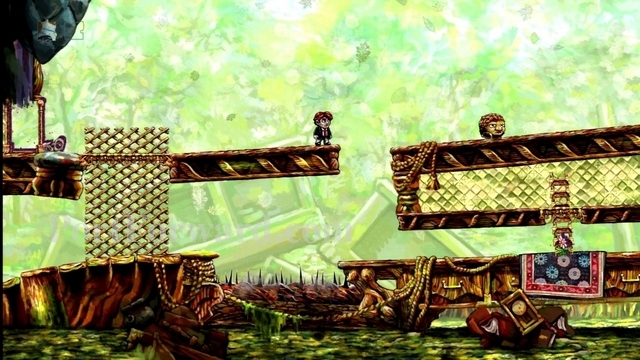
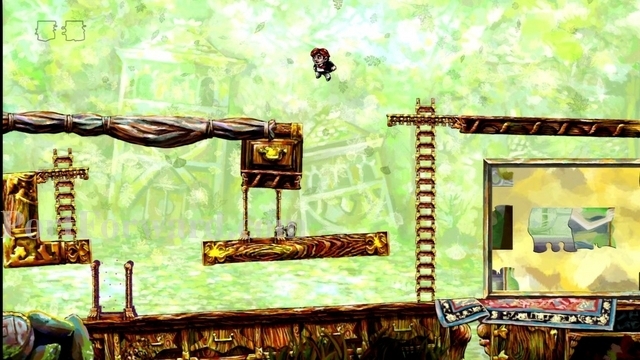
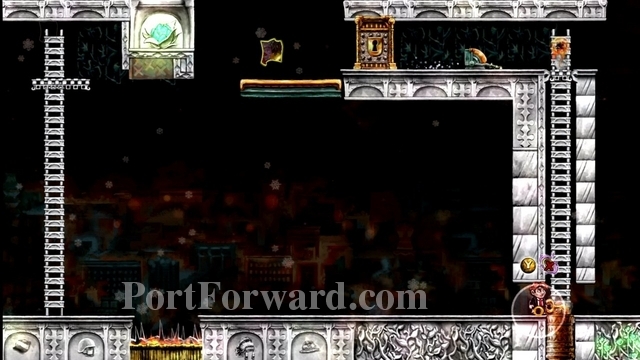
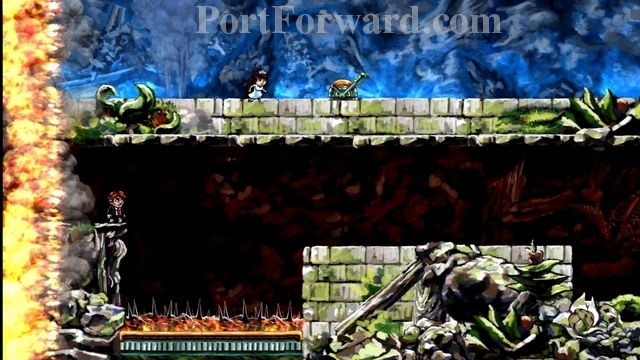
Now we move on to level 1-4, "Leap of Faith".
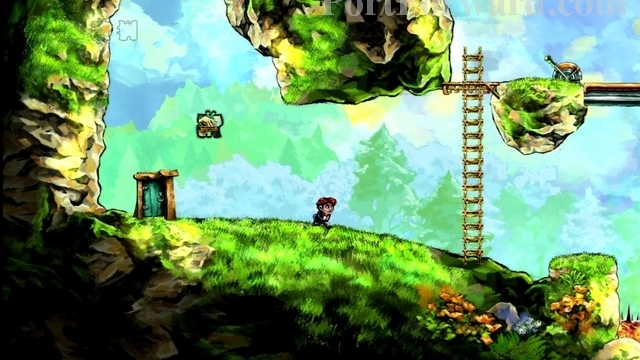
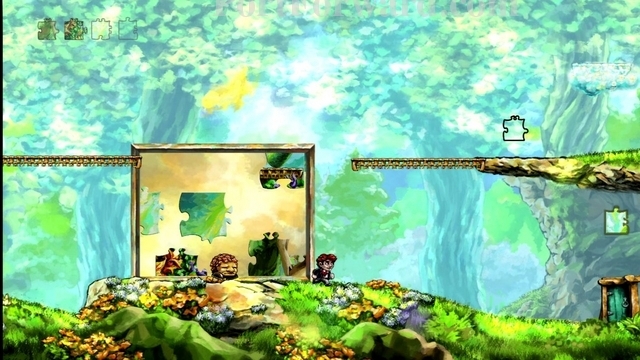
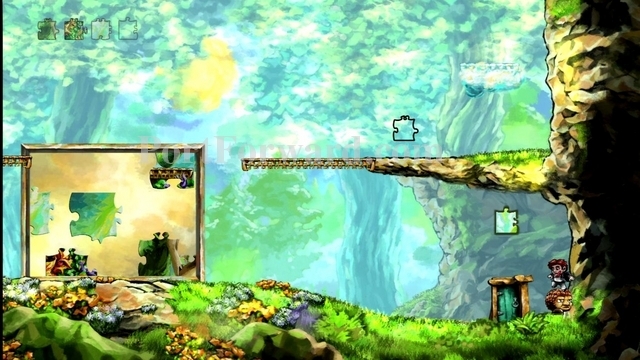
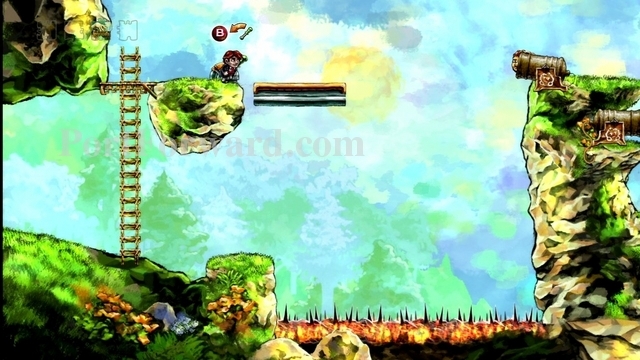
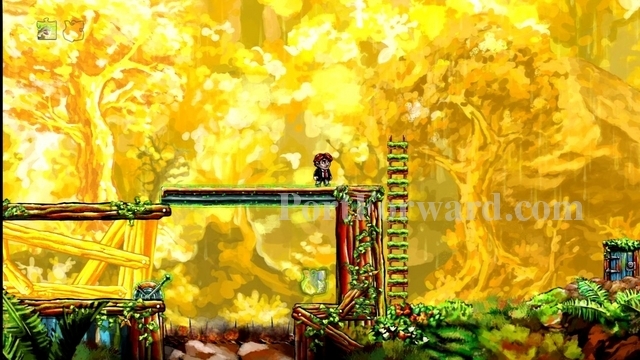
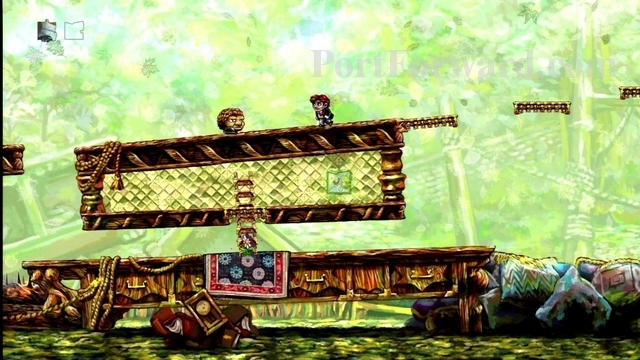
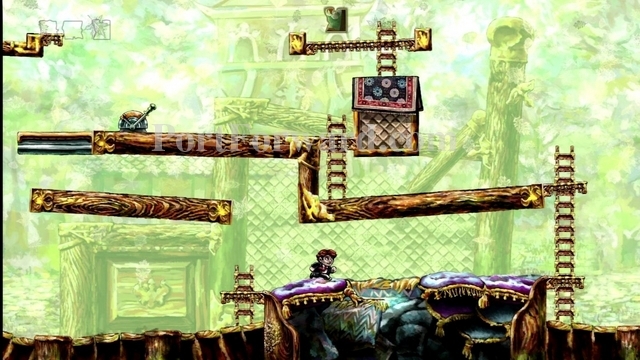
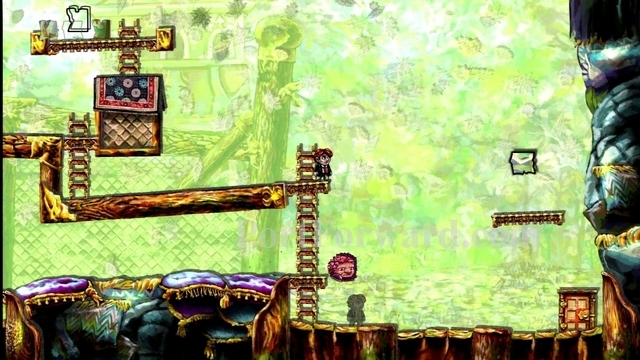
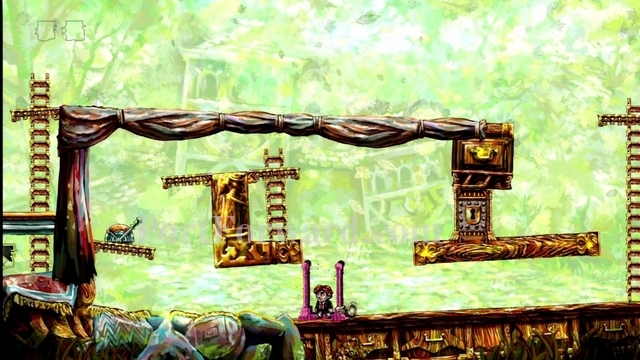
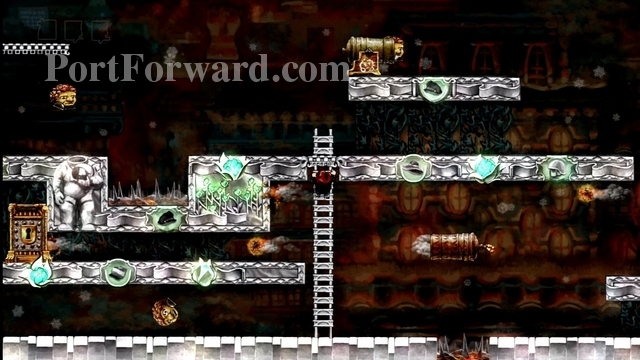
You'll see a puzzle piece out of reach, just head to your right and climb the tall ladder.
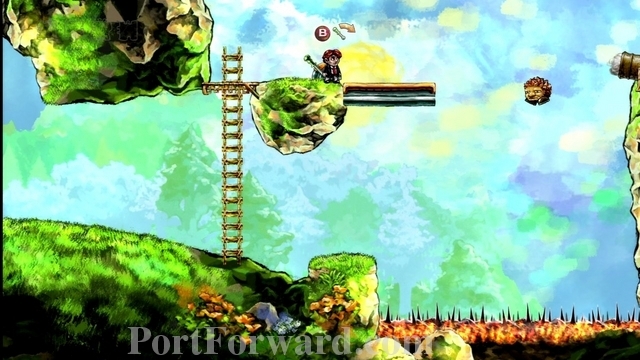
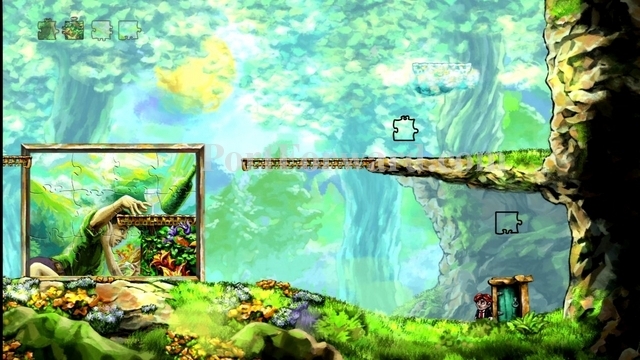
You'll see an enemy being shot from a cannon, then falling in the spikes. Let's help the poor fellow out. Press B on the switch and the platform will move rightward.
You want to catch the enemy on this platform.
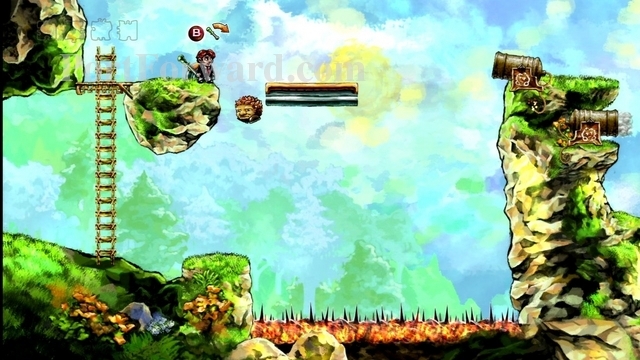
Once you catch the enemy, make sure the platform starts heading left (if it isn't already.) This will hopefully get the enemy past the spike pit.

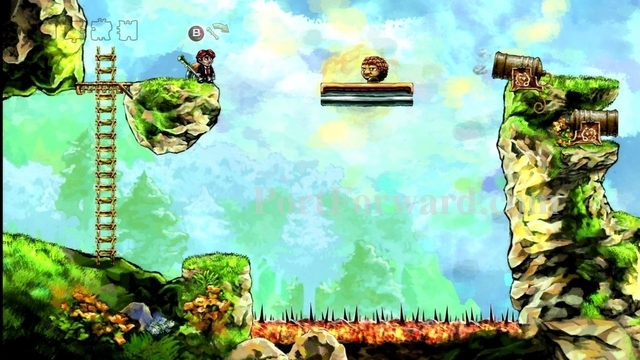
Now follow the enemy over to the puzzle piece on your left. Bounce off its head to reach the piece.
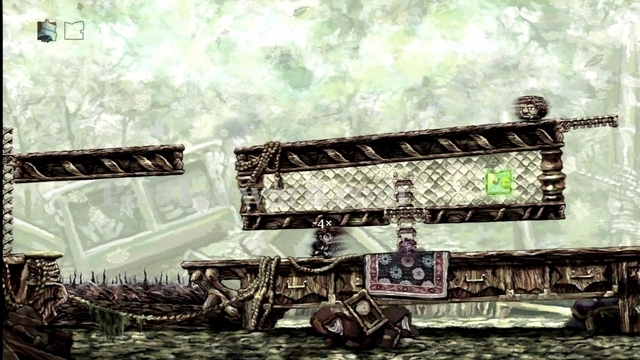
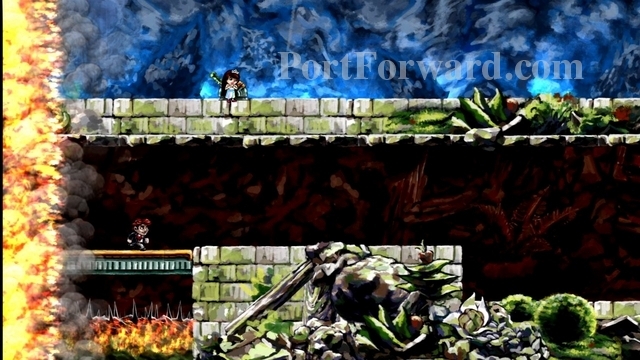
Now climb back up to the switch. Hit the switch to start the platform moving rightward.
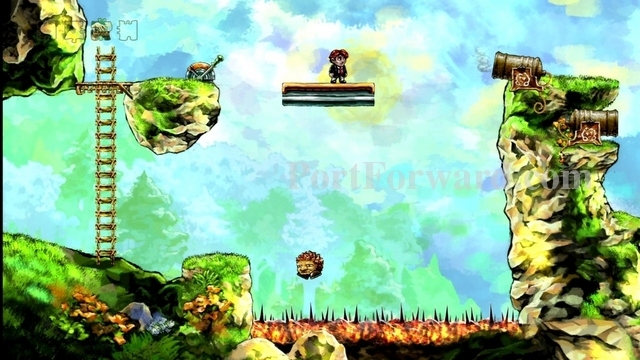
Jump on the platform and ride it.
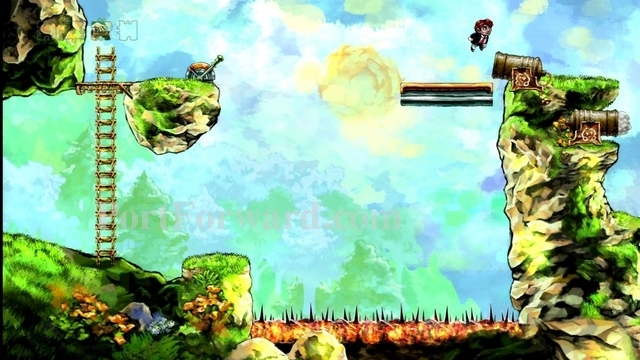
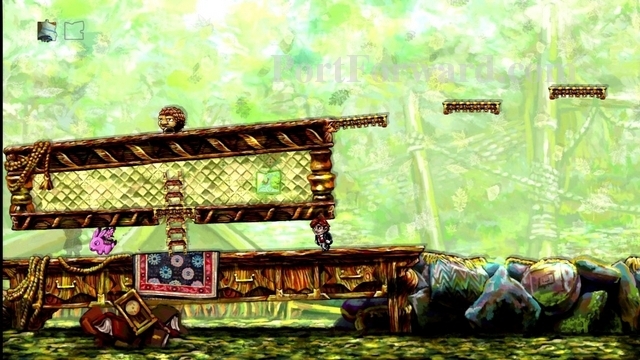
Jump off the platform when it reaches the right side.
This part is a bit tricky. You'll want to time a jump so you land on the head of an enemy that's shot out of the cannon below.
Bounce off the enemy and go collect the puzzle piece. You may need to rewind several times to get this one right.
Now we want to fall down the cliff. There will be a spike pit on the left to avoid. As soon as you get to it, steer left.
This will hopefully make you avoid another spike pit below you, and also make you land on a platform with your next puzzle piece.
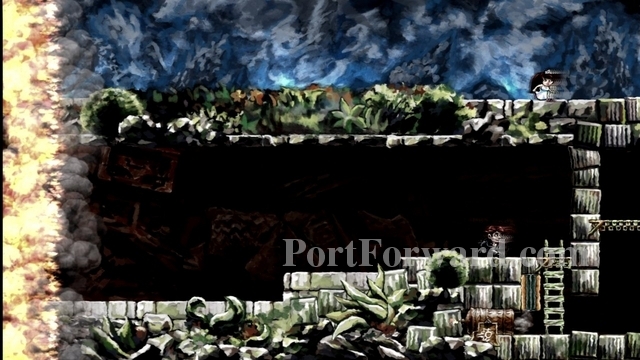
Climb up the ladder on your right. Every one and a while, an enemy will fall down the stairs. You'll want to duck into the alcoves on the right to avoid this.
One of the alcoves also contains a puzzle piece to collect.
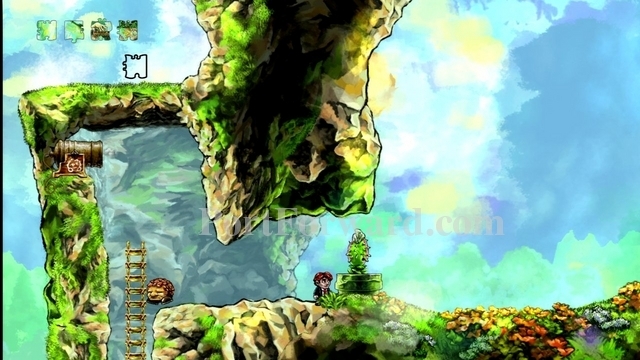
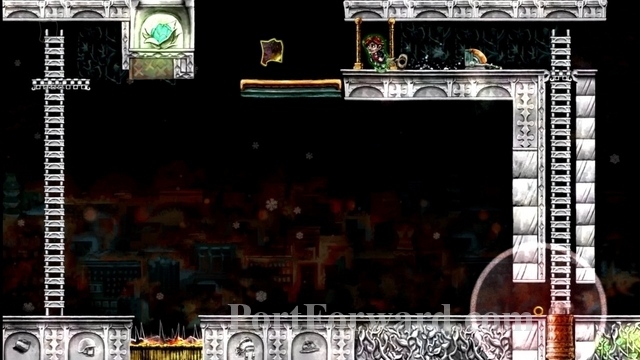
At the top of the ladder head right. You'll see a pipe with a snapping plant coming out of it. When the plant goes into the pipe, quickly jump over it.
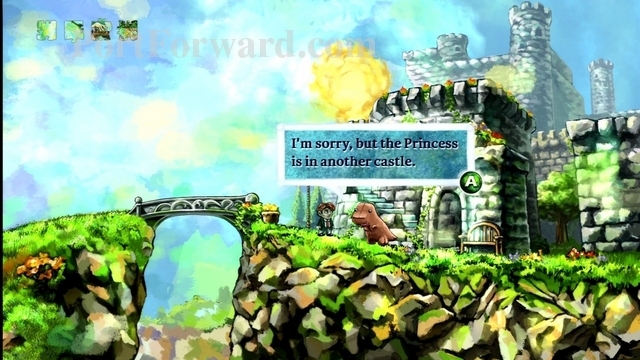
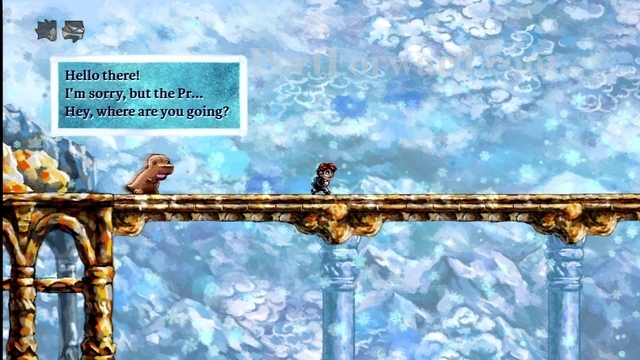
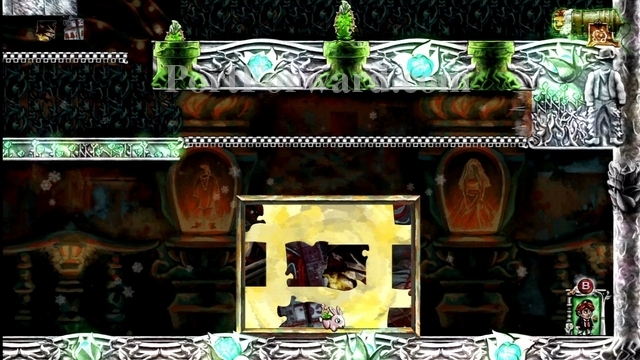
Further to the right, you'll find a flag and a castle. A dinosaur-like creature will greet you and tell you "I'm sorry, but the Princess is in another castle." Notice any Mario references yet? Ha ha.
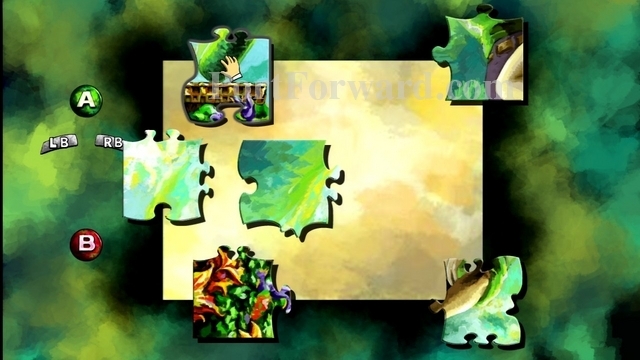
You'll now be back to your house. Press B on the puzzle board.

Put the puzzle together. Some pieces will need to be rotated using LB and RB. This is what it should look like when you're done. You'll unlock an achievement for this.

If you go out and look at the stars (and you collected that star we mentioned), you'll notice there is now a star lit up.
Braid Walkthrough World 3
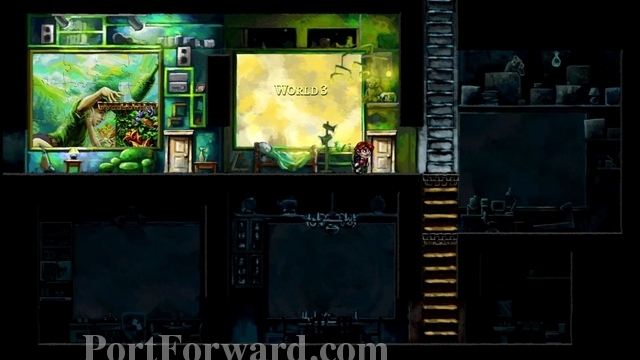
Enter the door to World 3.
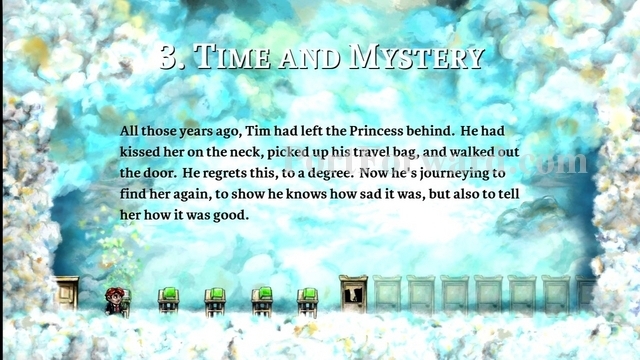
Read the books for some back story.
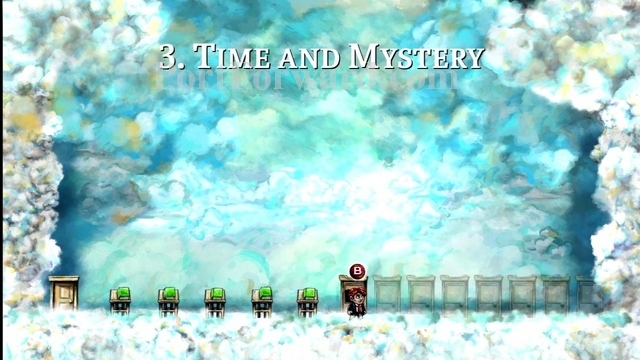
Enter the first door on the right.
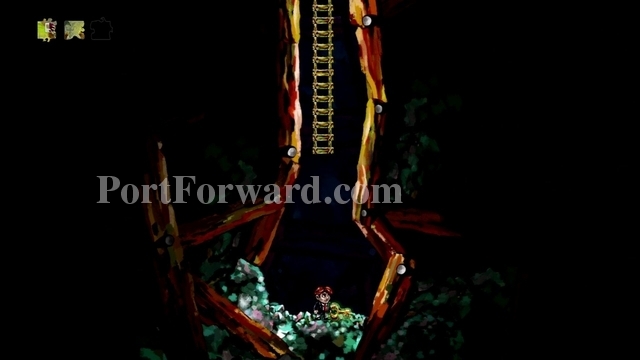
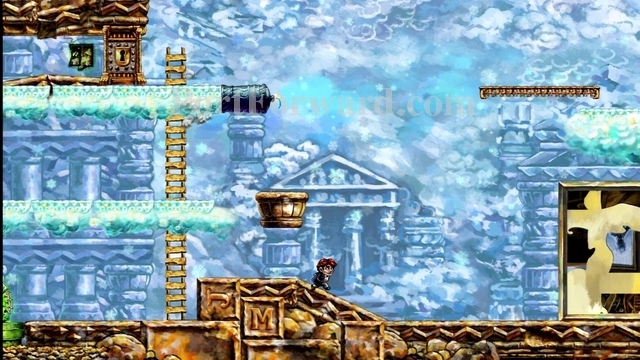
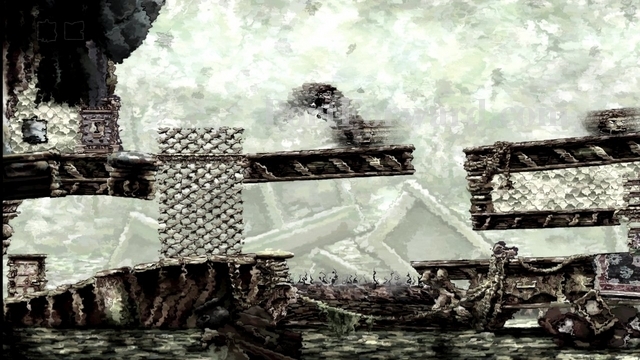
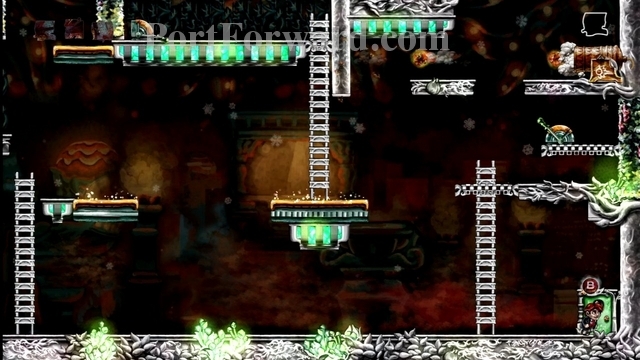
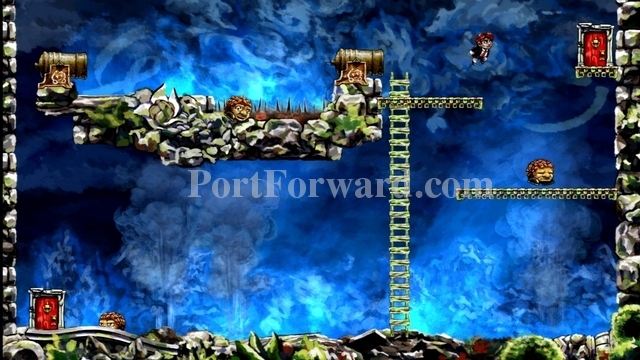
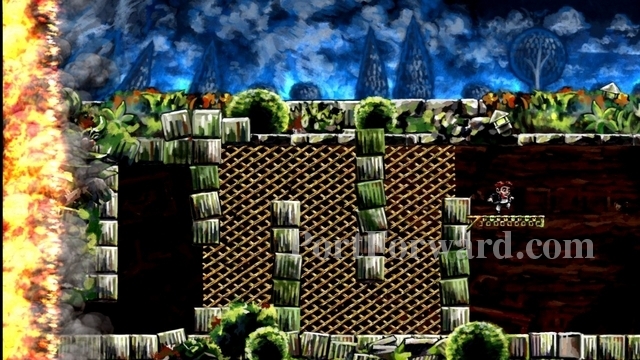
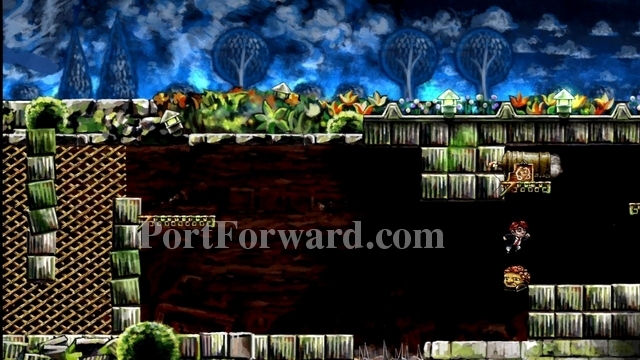
This brings you to level 2-1, "The Pit".

Jump into the pit.
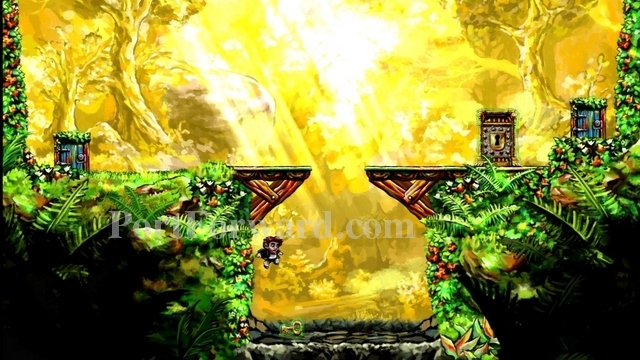
Stomp on the enemy's head.
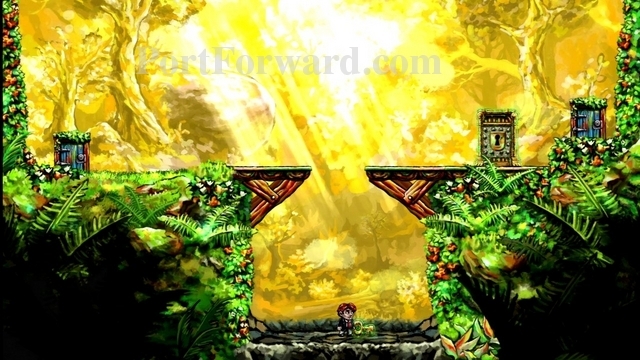
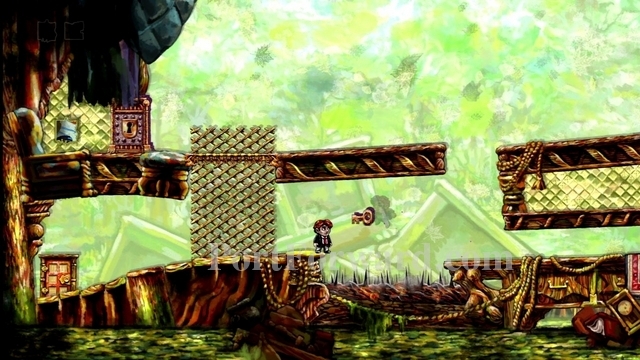
Take the key. Notice the green glow around it. This means it is unaffected by rewinding time.
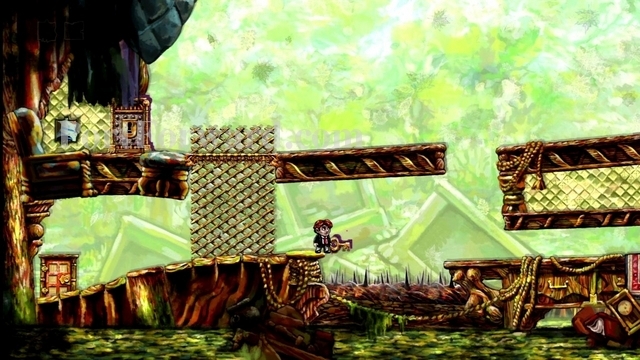
Rewind yourself up to the ledge. The key will stay with you.
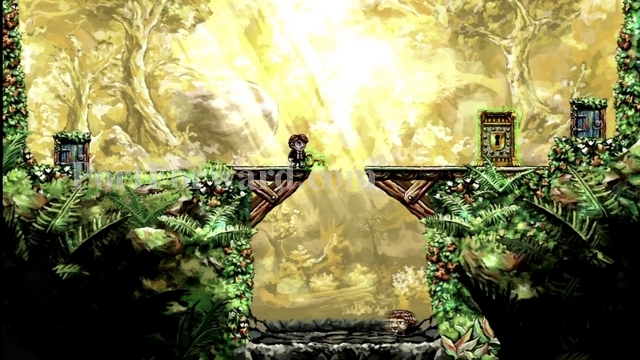
Open the locked door with the key.
Exit the level through the door on your right.

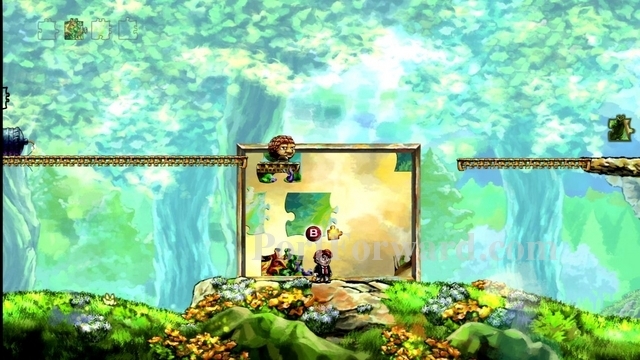
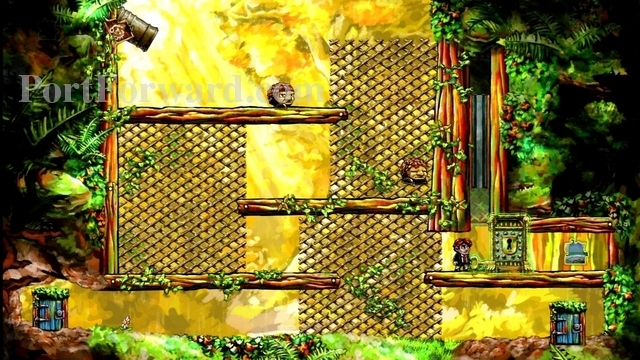
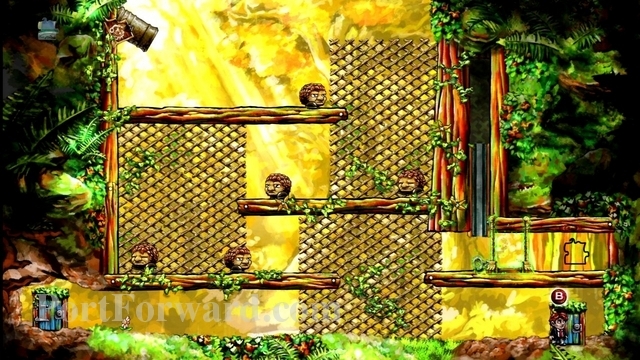
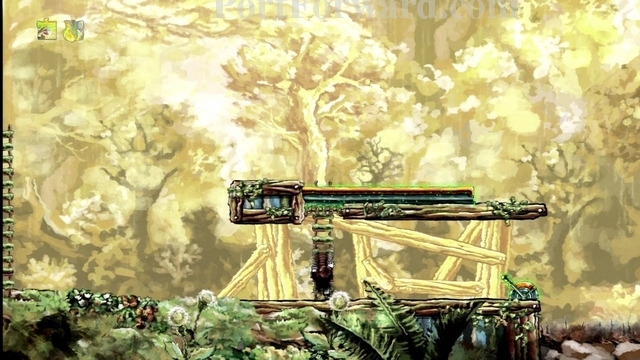
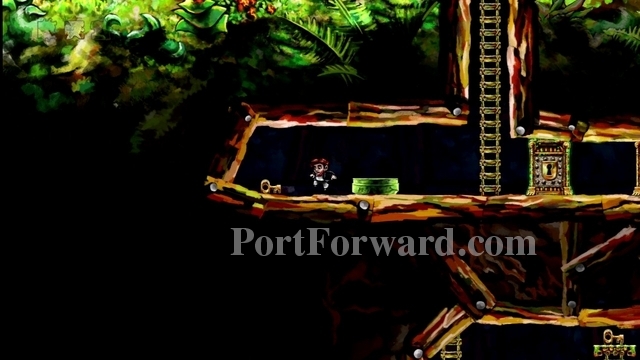
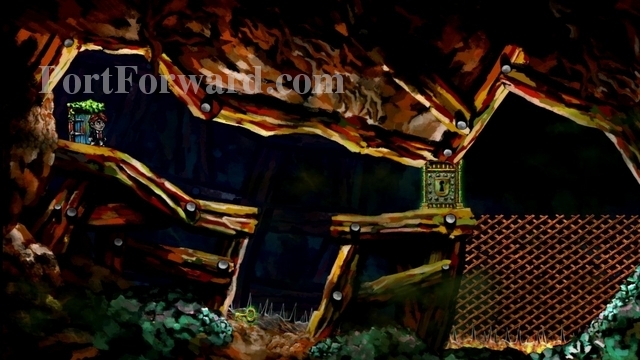
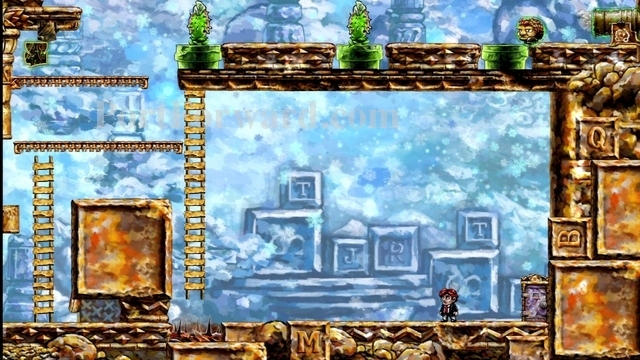
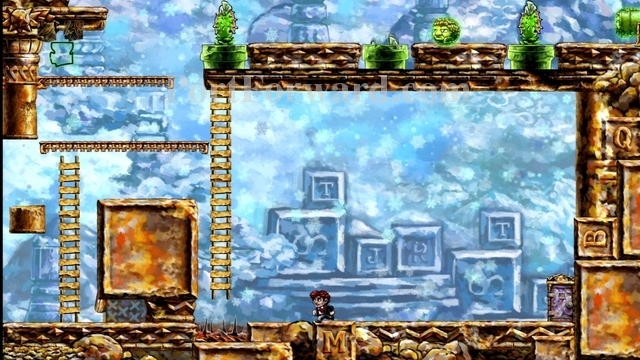
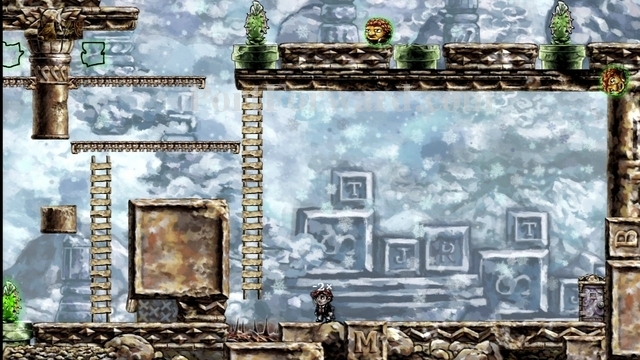
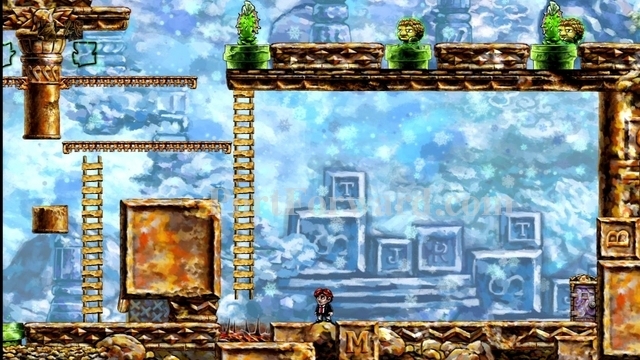
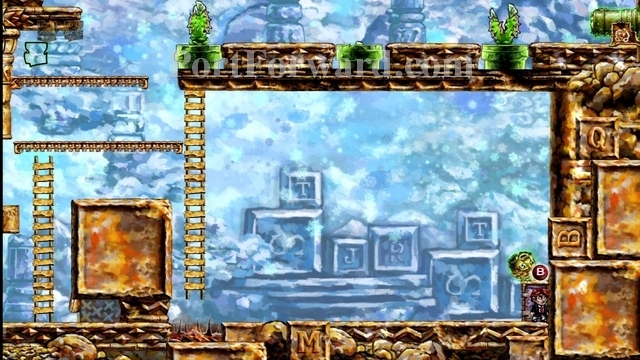
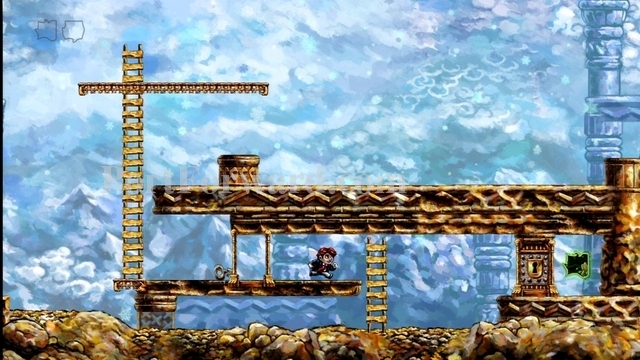
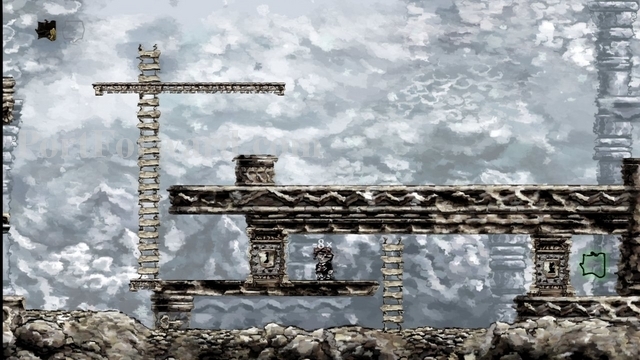
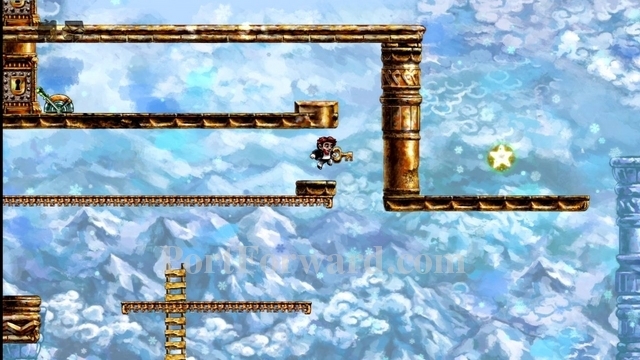
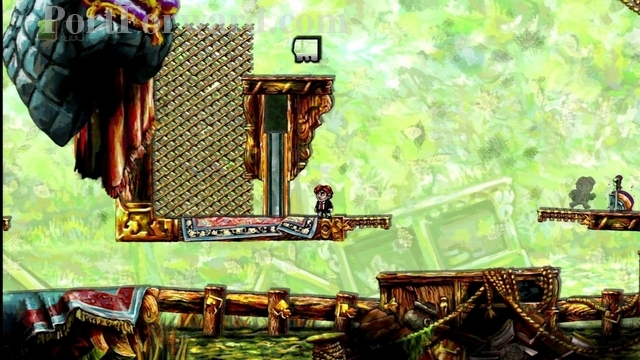
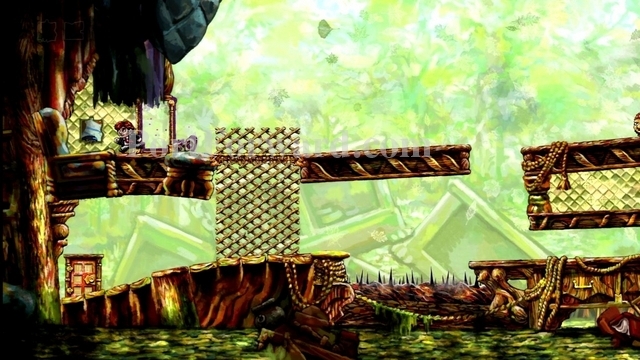
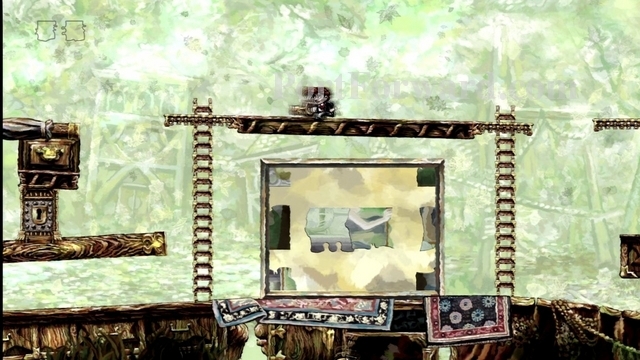
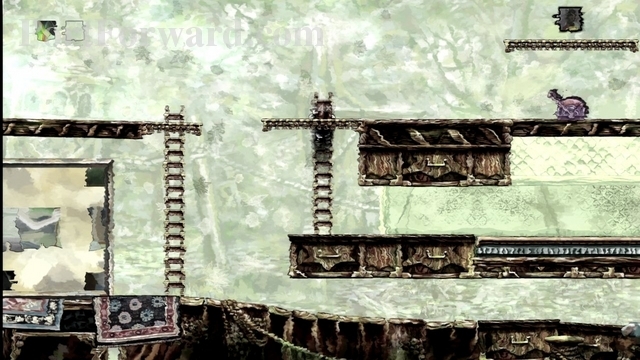
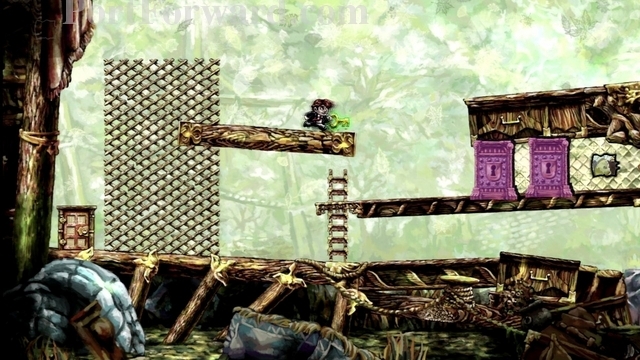
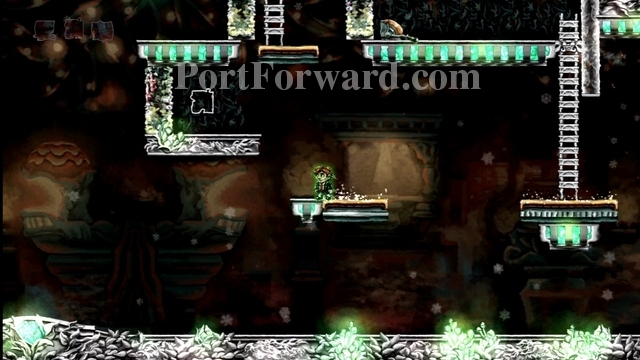
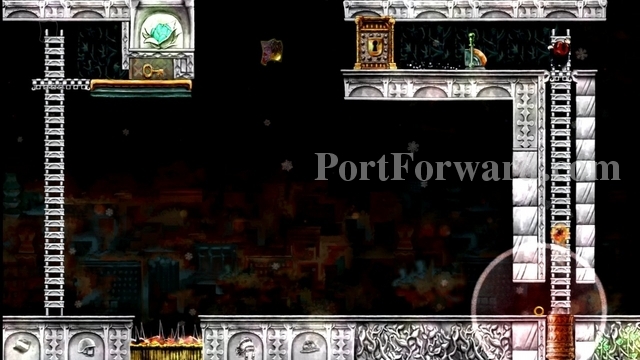
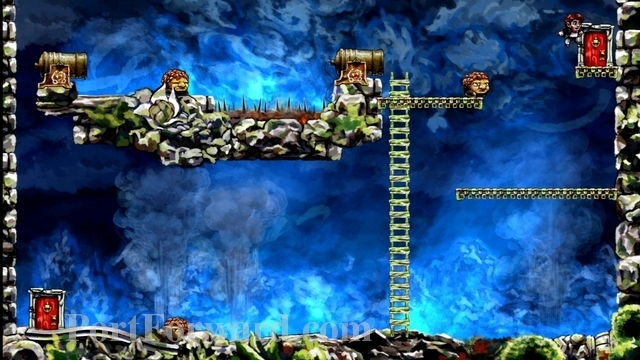
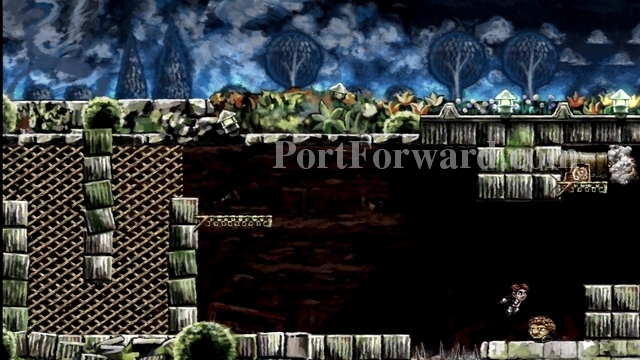
Now we are at level 2-2, "There and Back Again".
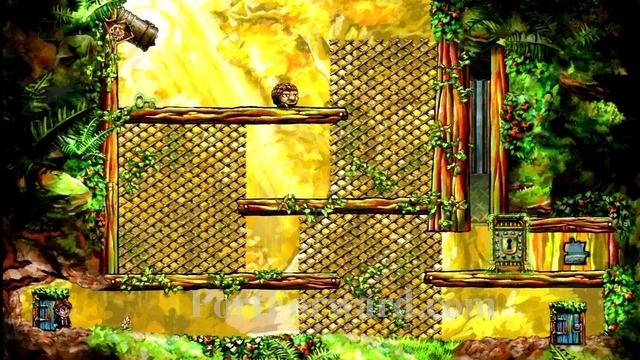
Notice there is a wall slowly moving downward, which will end up blocking the locked door.
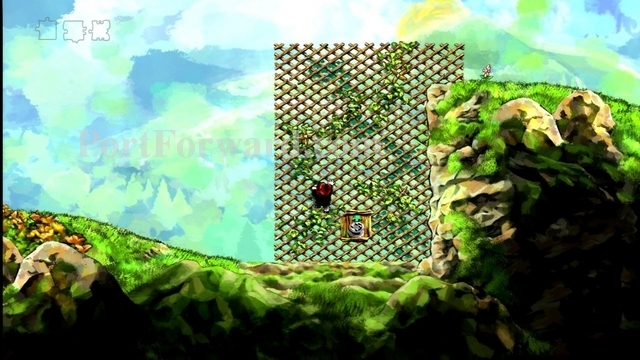
Climb up the lattice.
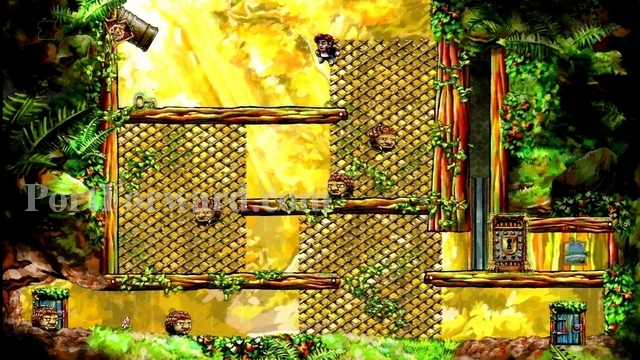
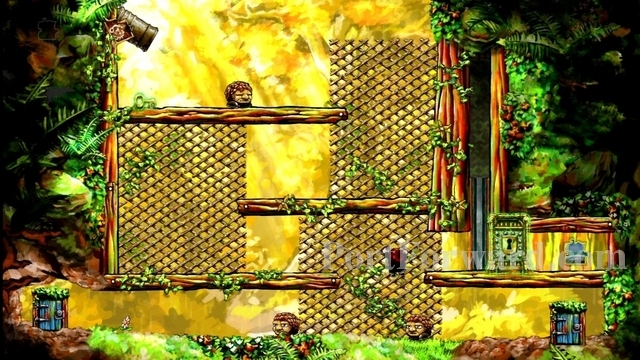
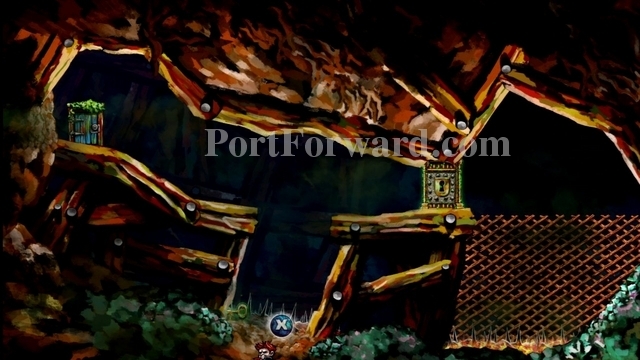
Jump off and grab the key.
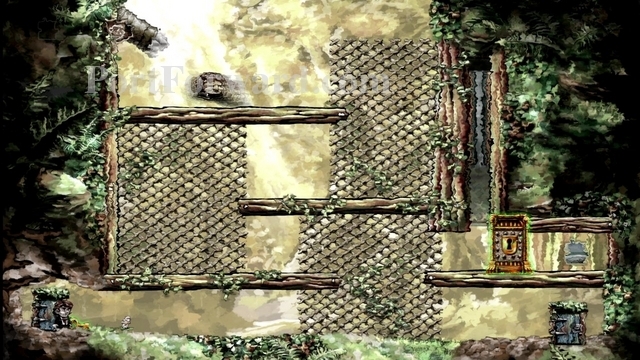
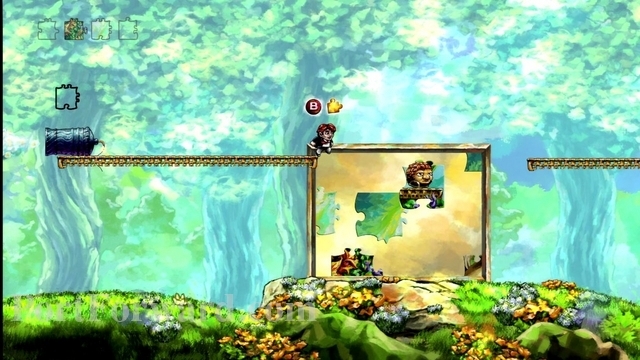
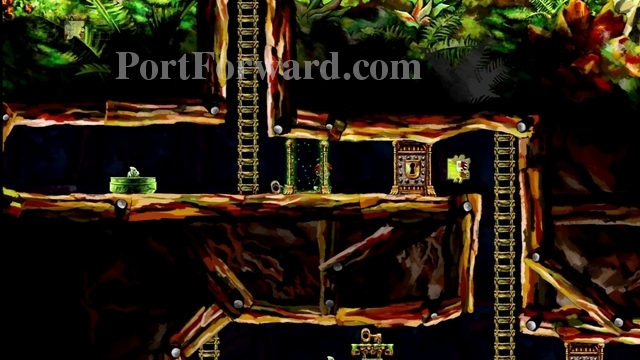
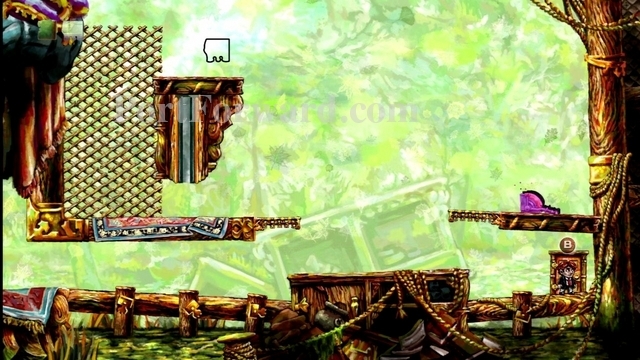
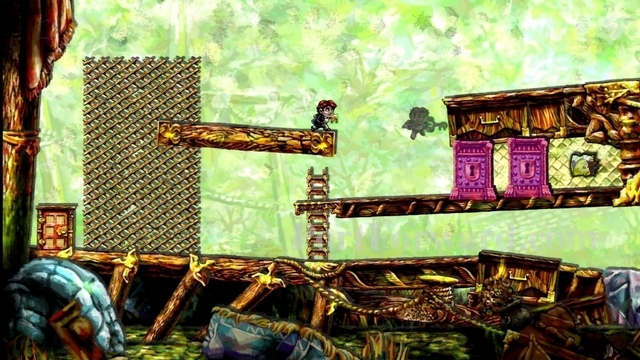
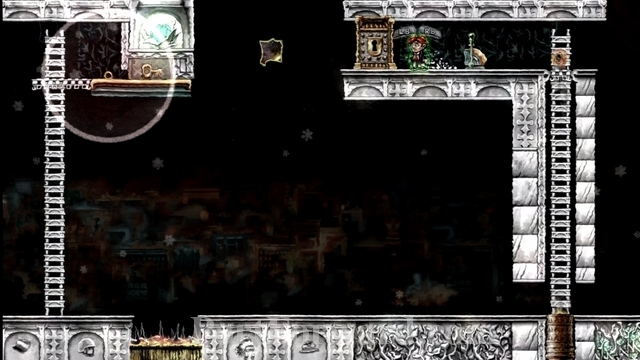
The key is unaffected by time. Once you have the key, rewind back to the start, when the moving wall is at its highest point.
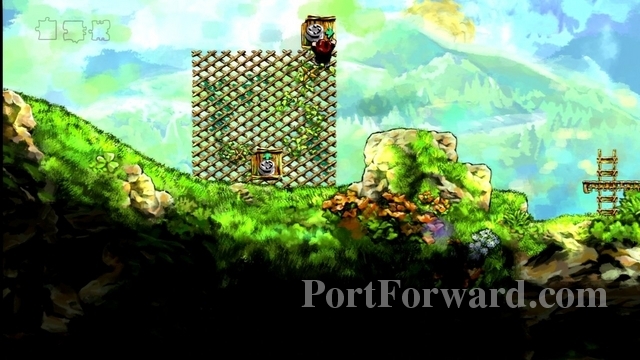
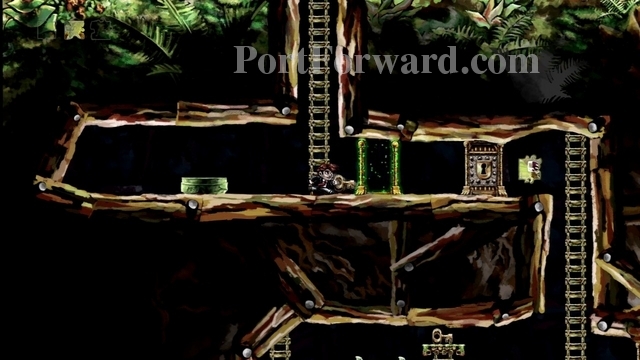
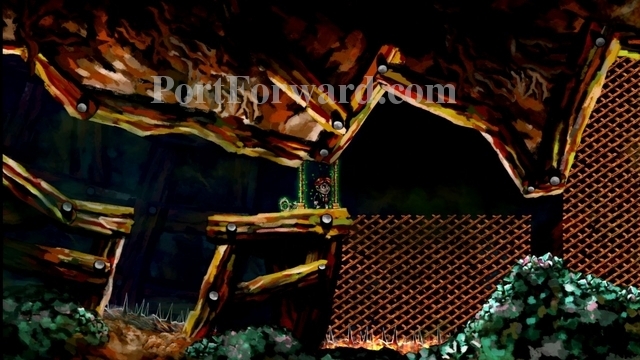
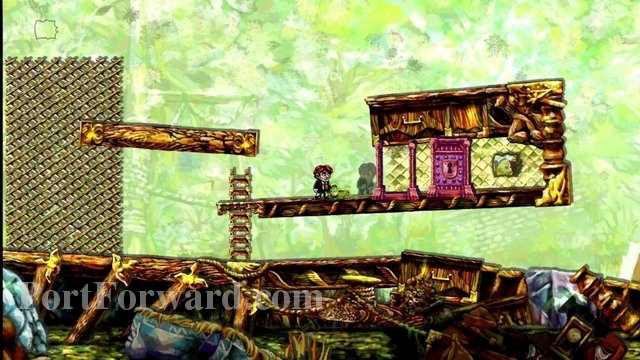
Climb the lattice to reach the locked door, then open it.
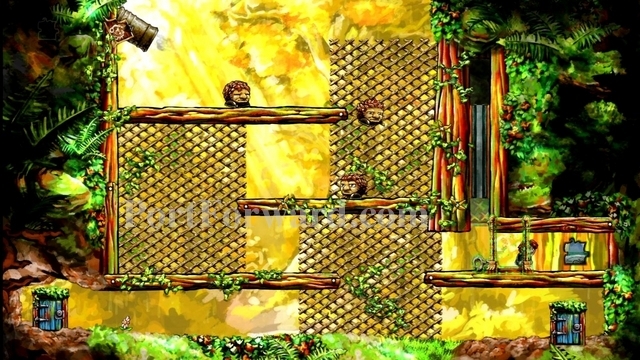
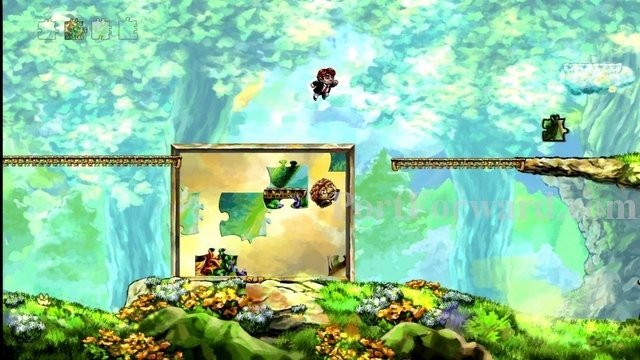
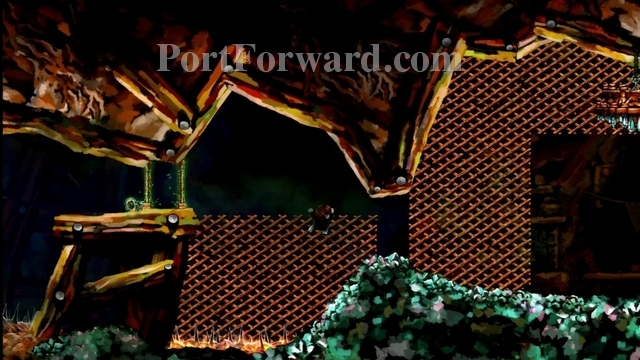
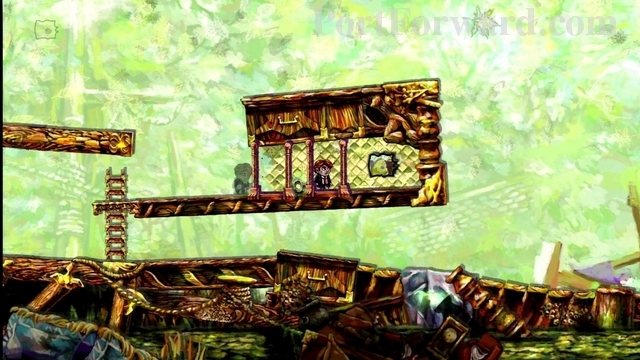
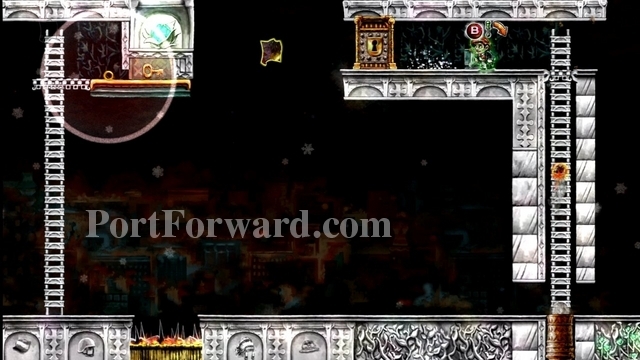
Take the puzzle piece and get out of there before the moving wall blocks you in.
Exit through the lower-right door.

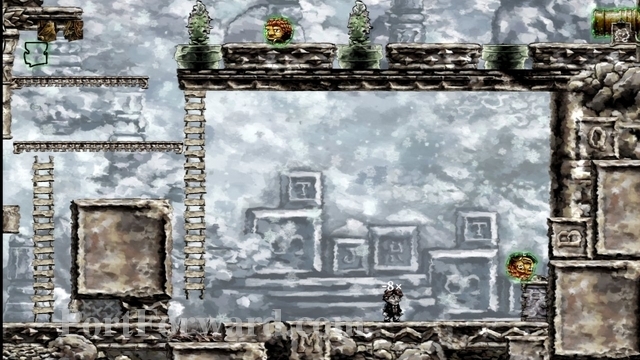
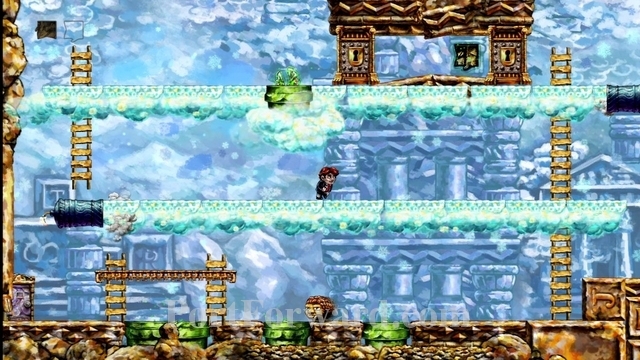
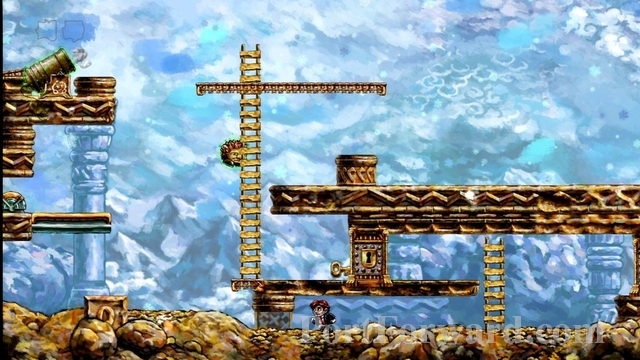
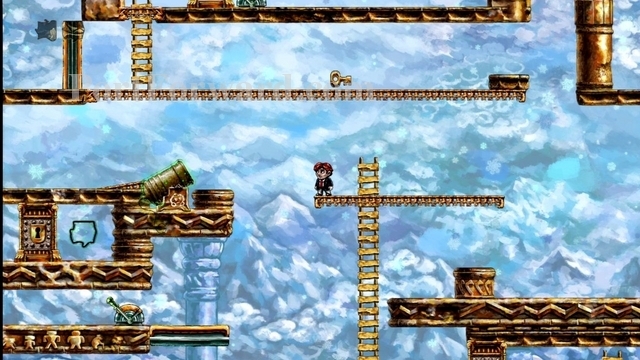
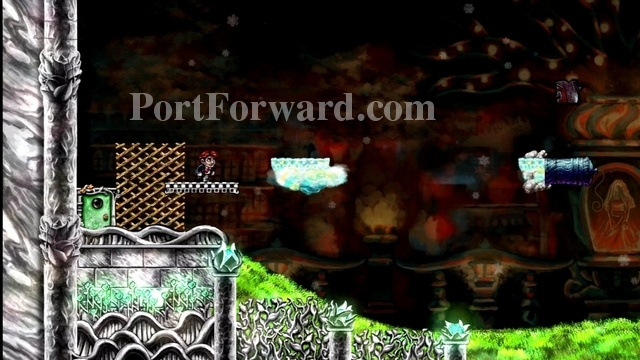
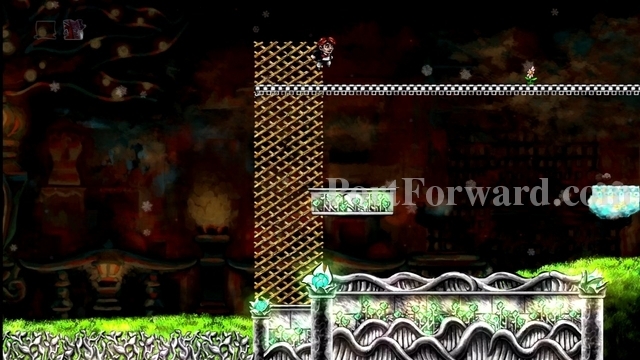
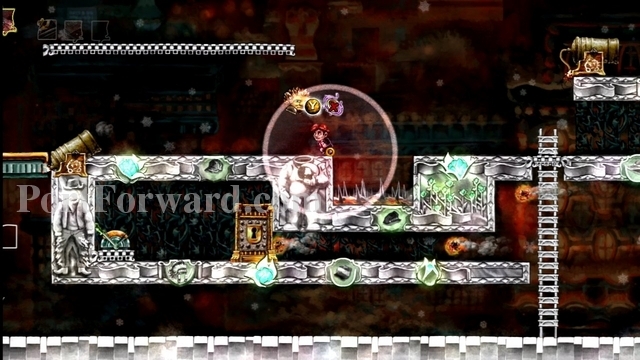
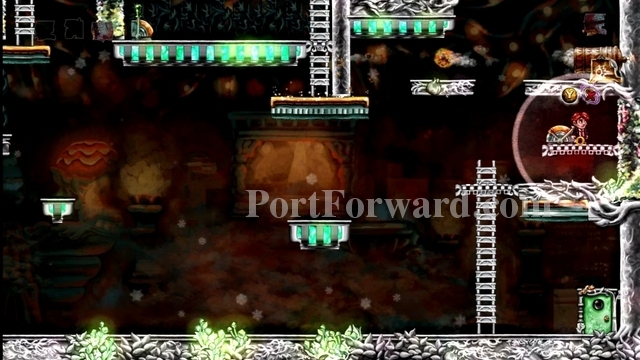
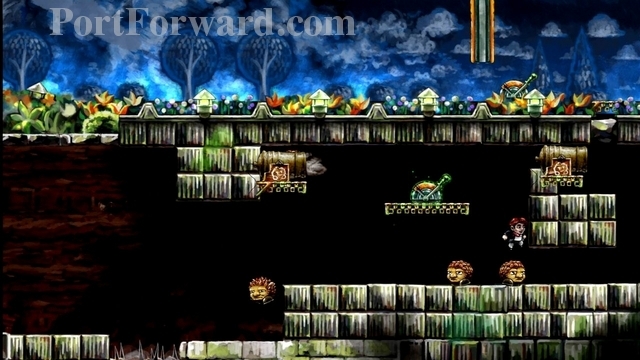
Now you are in level 2-3, "Phase".
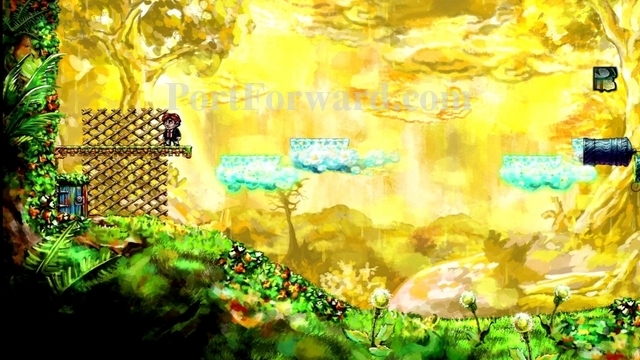
Climb the lattice and get on the platform.
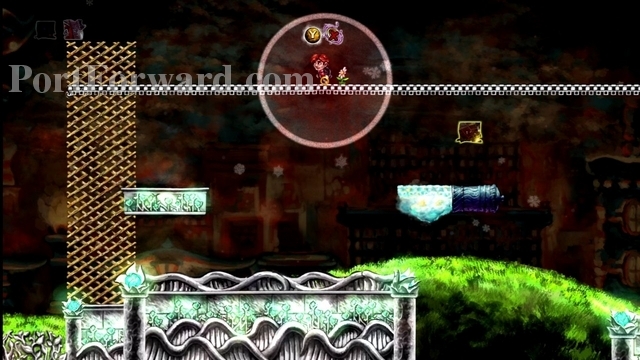
The green-glowing clouds are unaffected by time, but the others are. Rewind time until the clouds are evenly spaced.

Now you should be able to just jump across them.
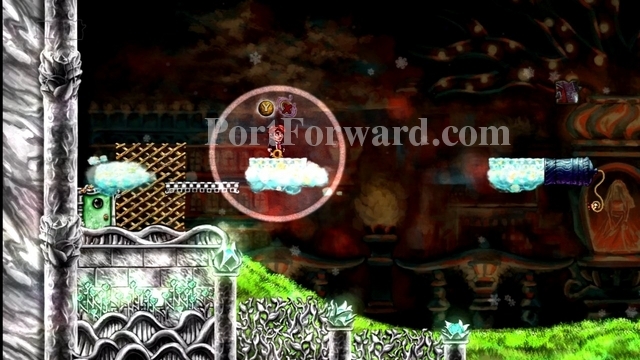
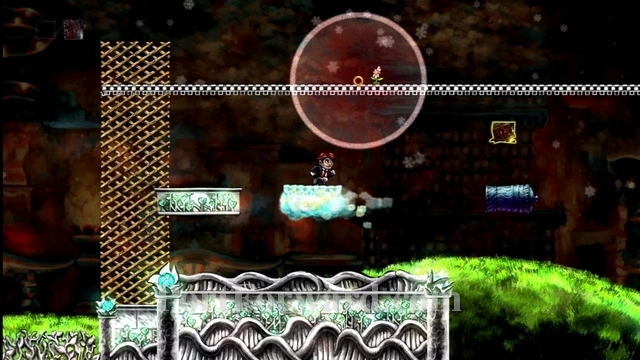
Get the puzzle piece from above the cannon.
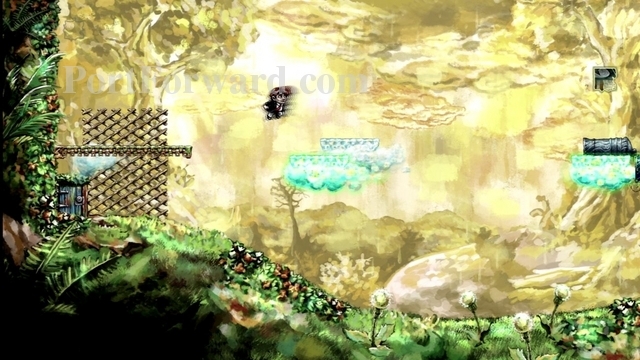
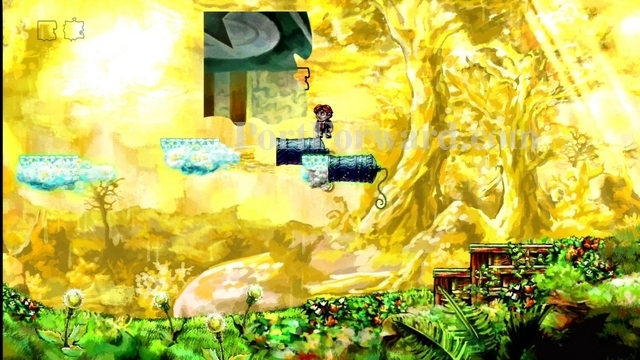
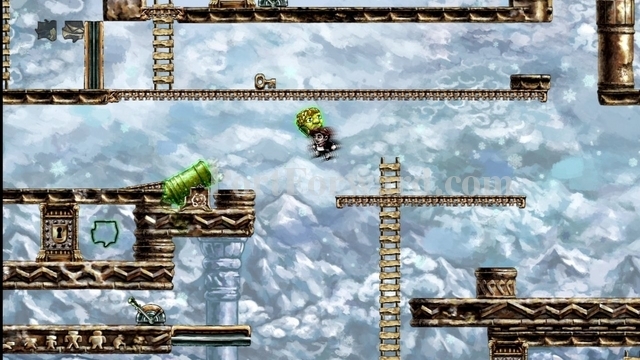
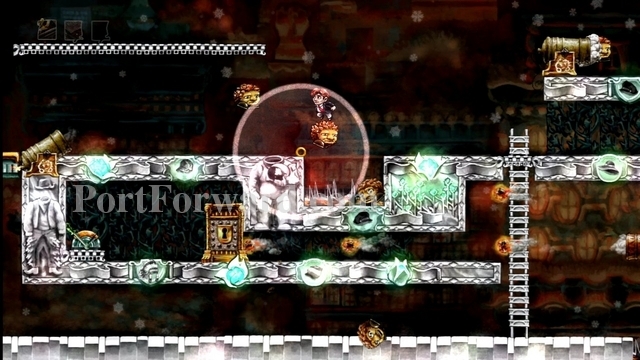
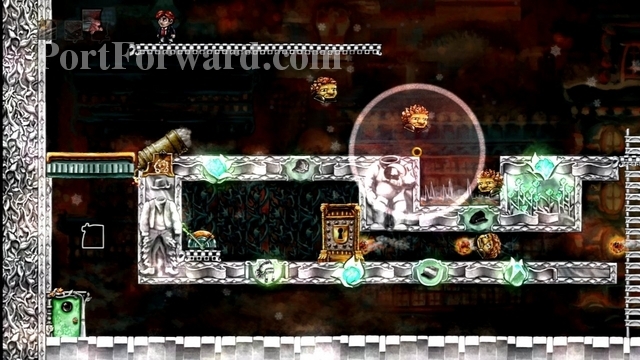
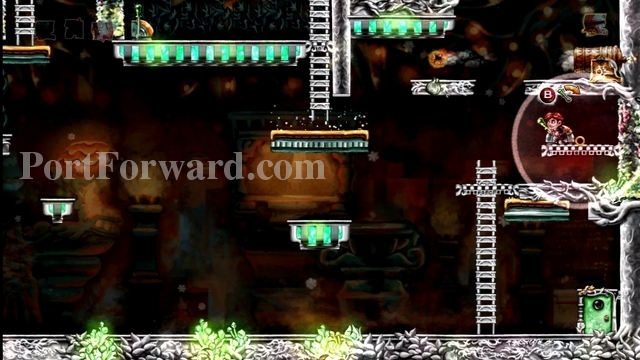
Head over the the right. You'll find some more clouds.
Rewind time to get three of the clouds to line up evenly.
Jump across to the third cloud, which should not be glowing green.

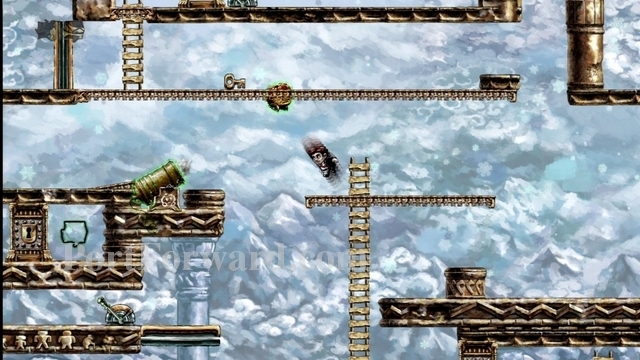
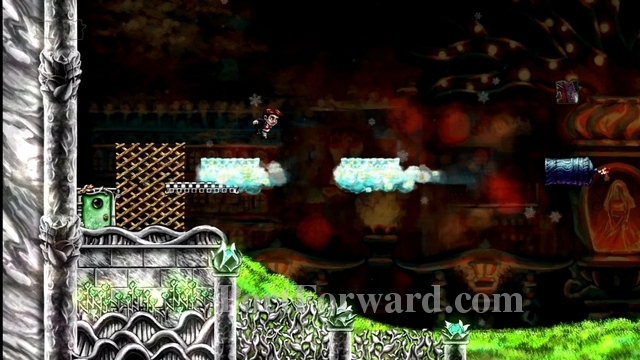
Just stand on the cloud for a bit, waiting for another green-glowing cloud to be shot out of the lower cannon.
Once you see the green cloud, rewind time to get it between the two white clouds.
Now jump across the clouds. Repeat this until you can jump onto the cannon.
Collect the puzzle piece from here.
Exit through the door on the right.

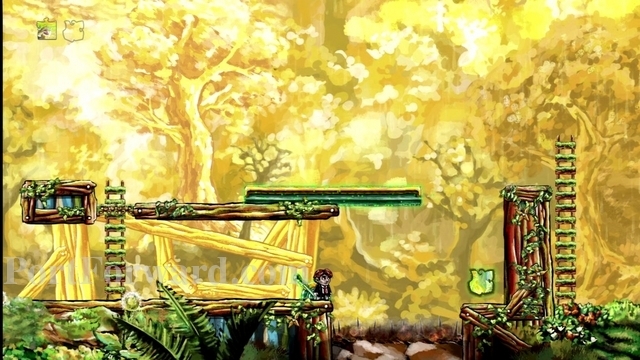
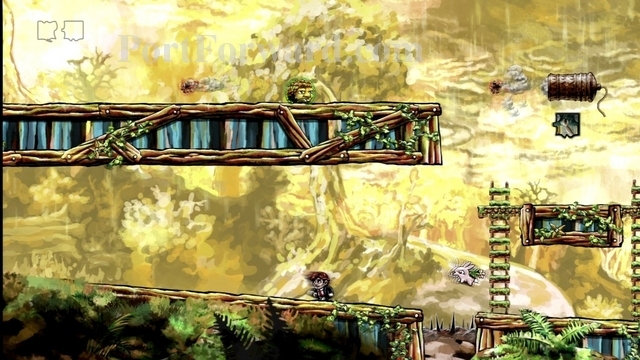
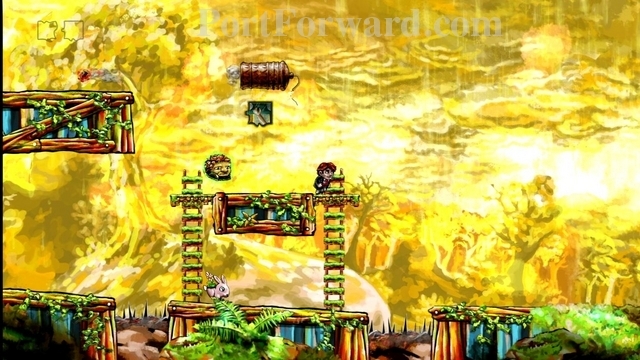
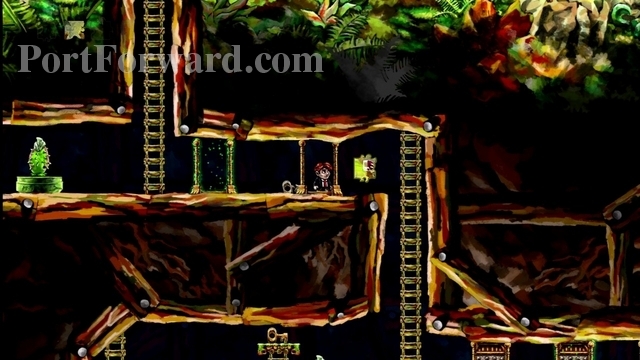
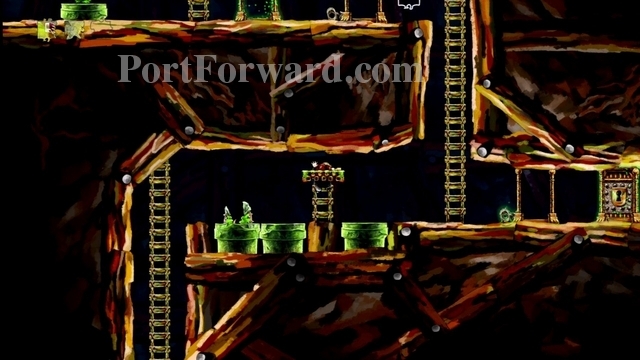
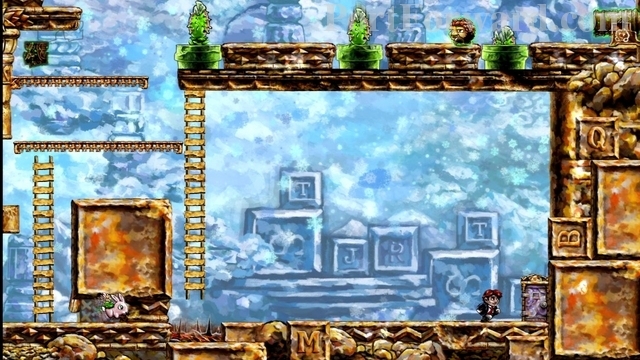
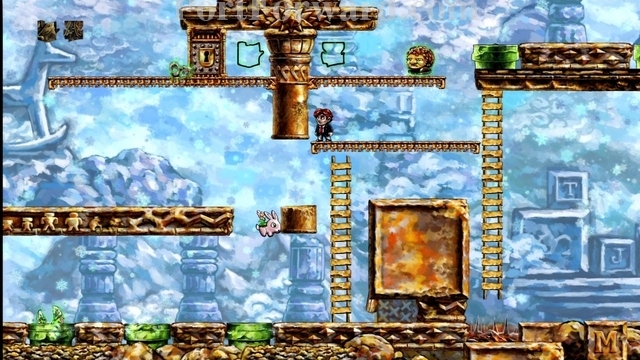
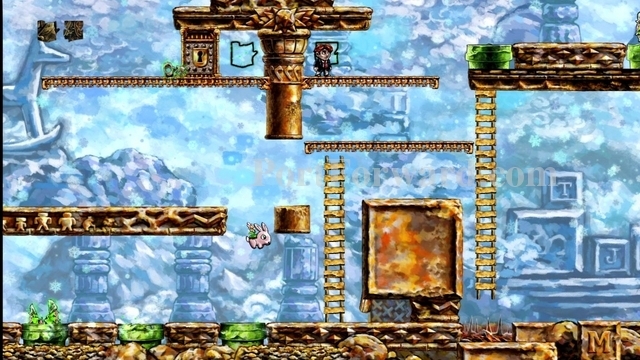
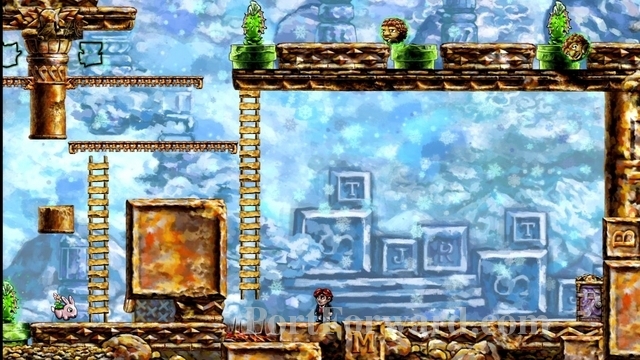
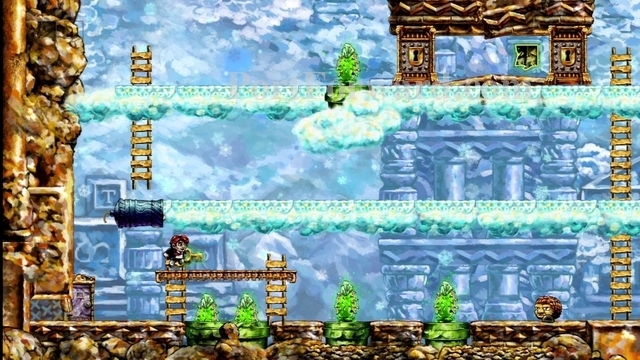
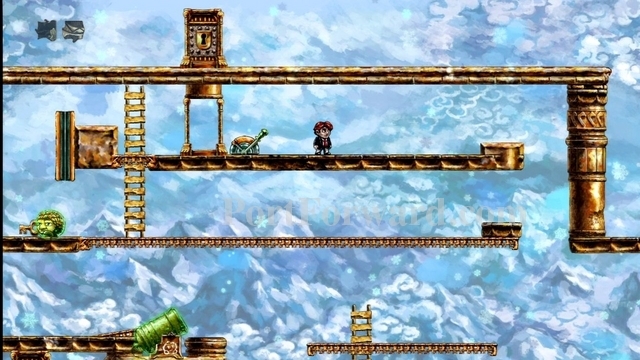
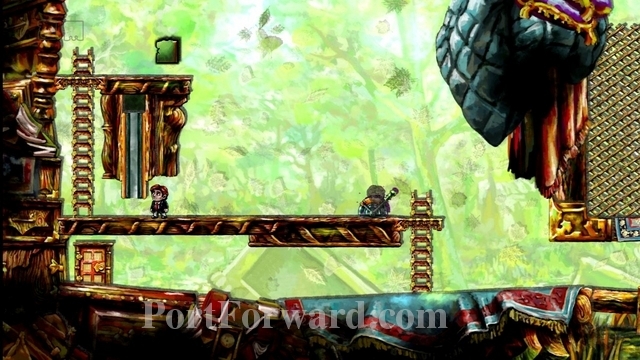
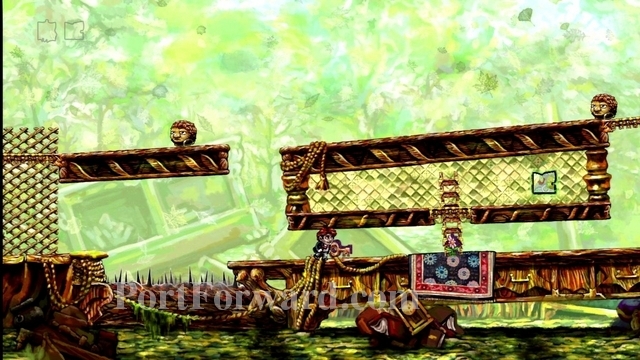
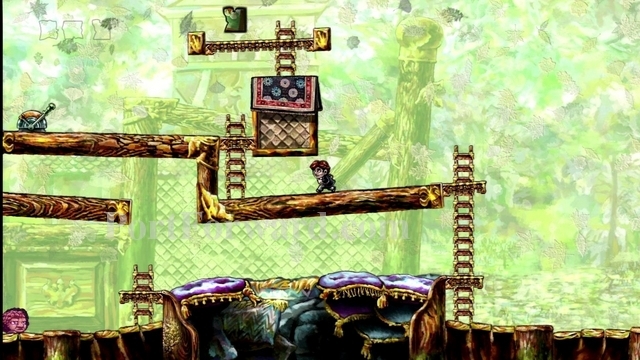
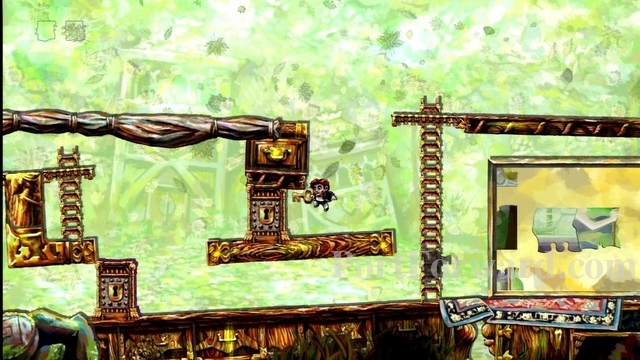
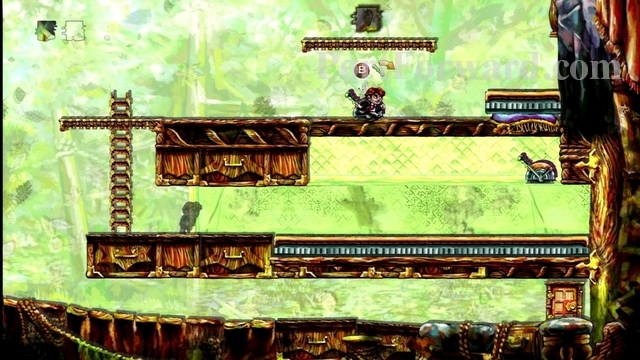
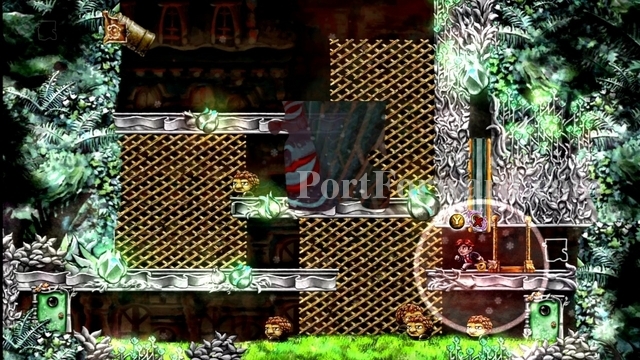
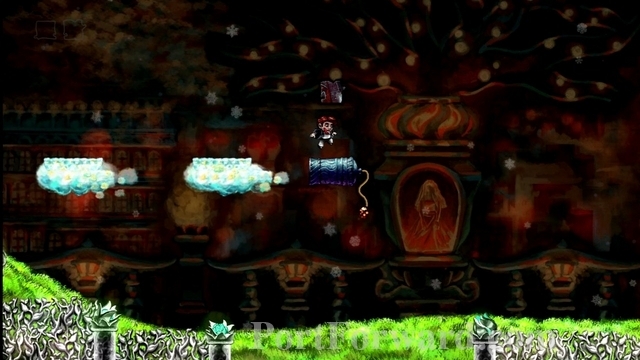
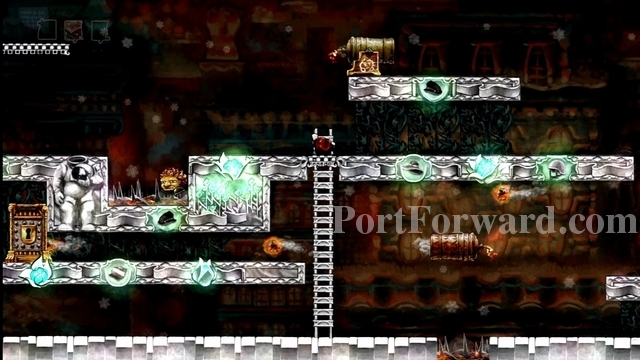
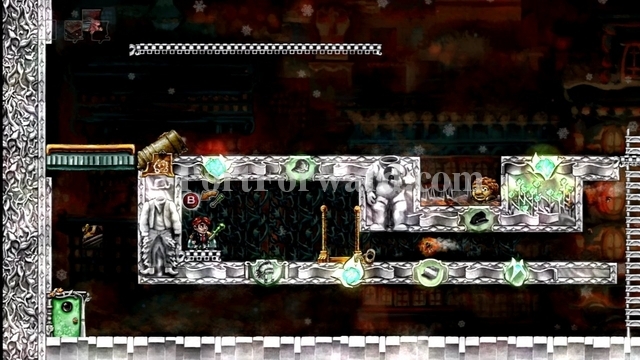
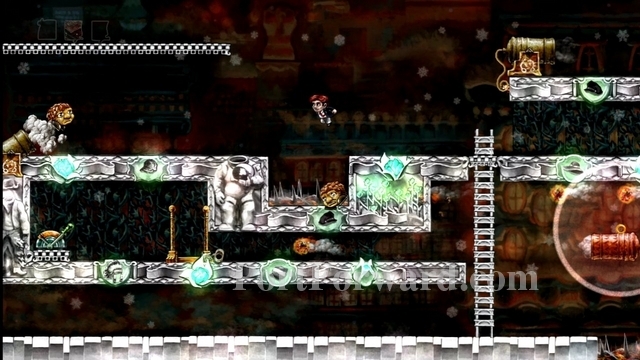
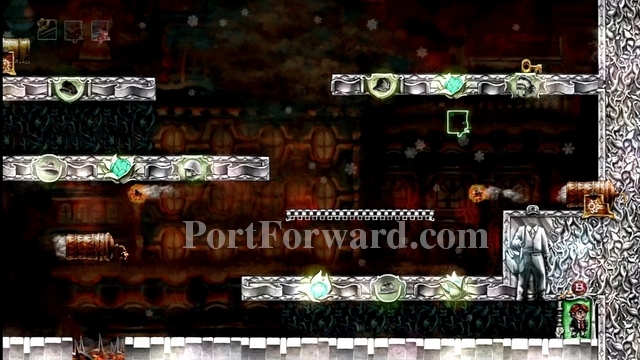
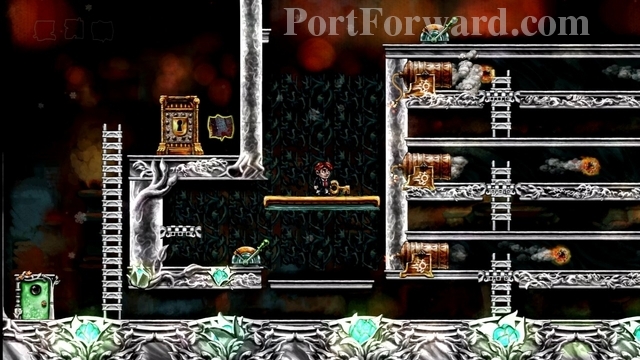
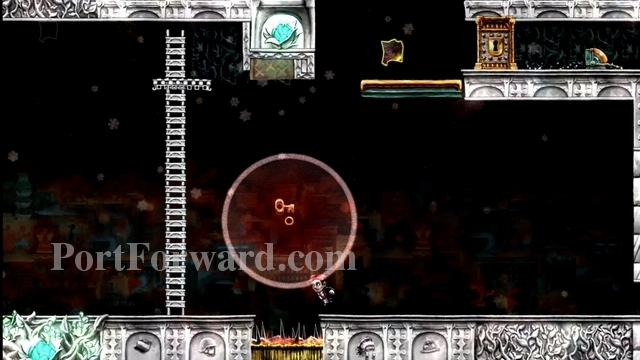
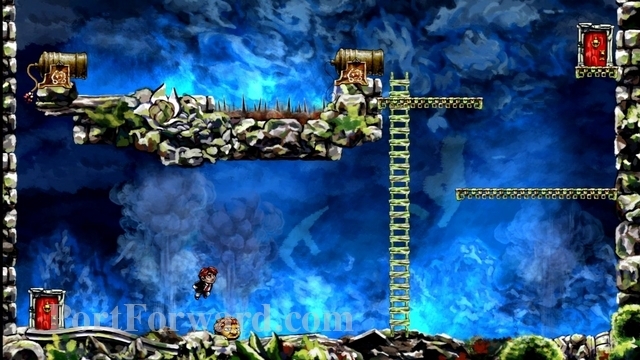
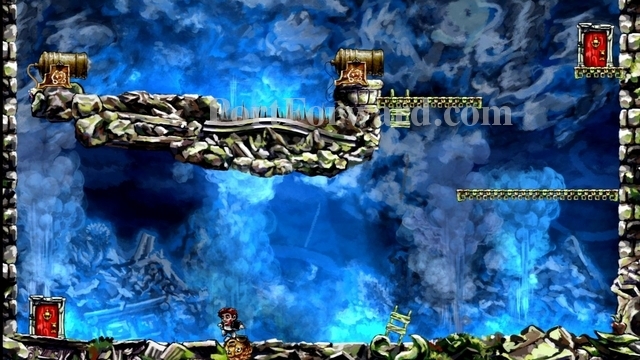
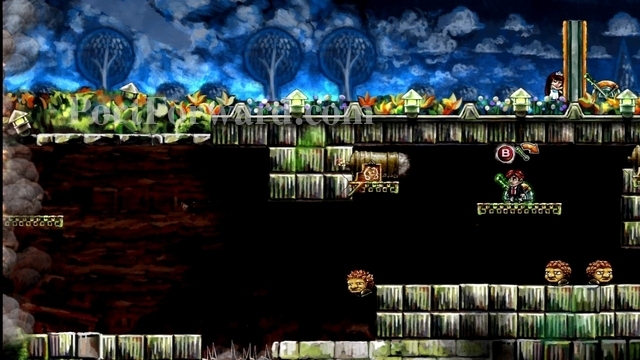
Now you'll be at level 2-4, "The Ground Beneath Her Feet".
When this level starts, you'll see an enemy fall into the spikes.
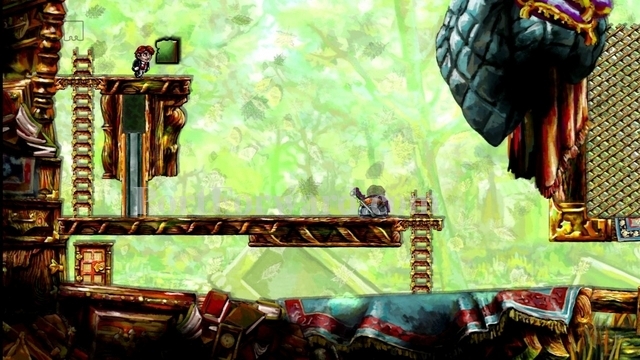
Climb the ladder and jump down to the switch.
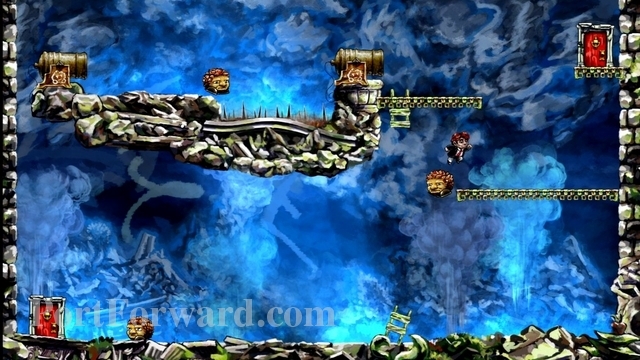
Pull the switch and the platform below will move leftward.
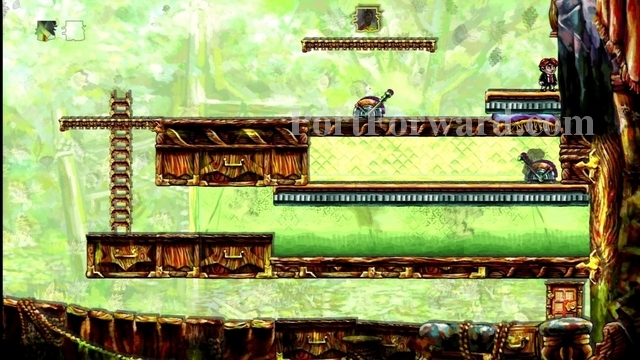
Rewind time, bringing the enemy back to life. The platform and switch are glowing green, so they will not rewind.
Now the enemy will not walk into the pit, but instead go left until it grabs the key for you.
Take the key from the enemy.
Flip the switch to bring the platform to the right.
Open the locked door and take the puzzle piece.
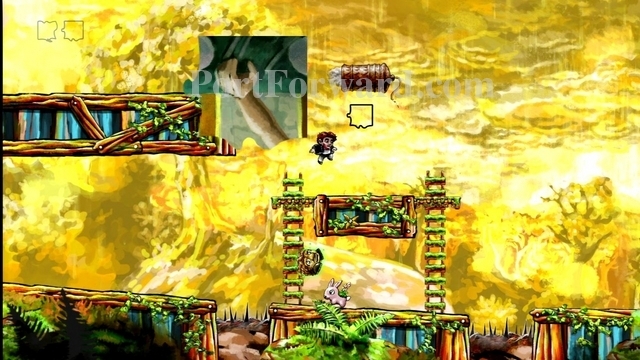
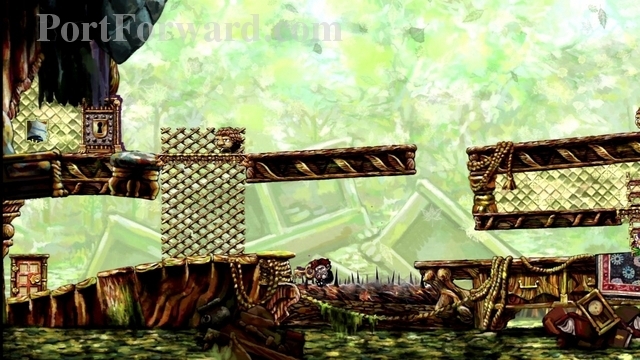
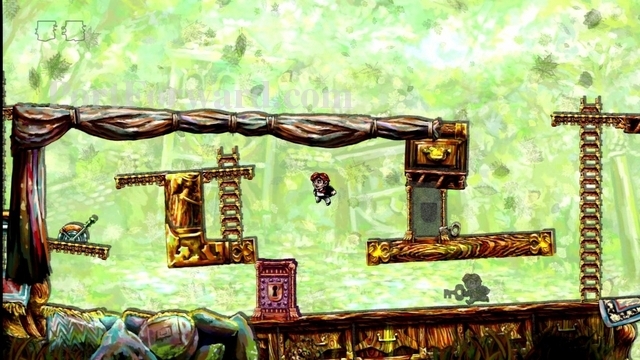
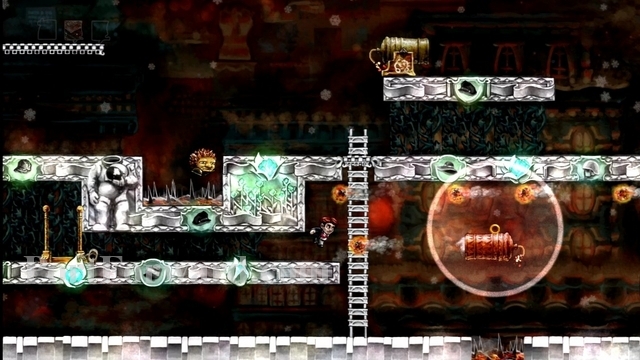
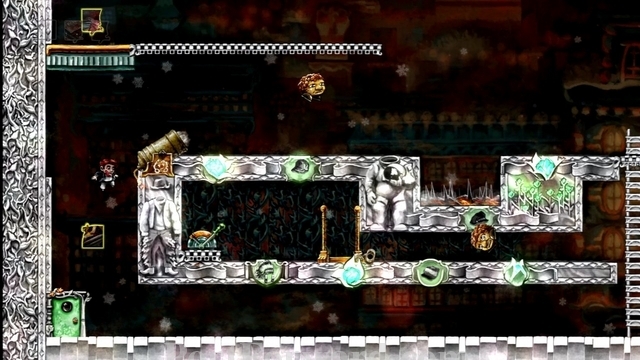
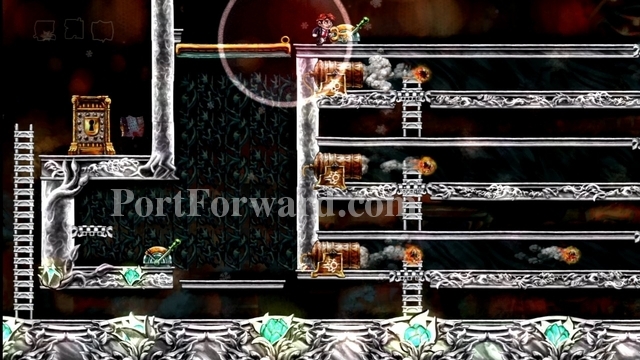
Flip the switch again, moving the platform left. Then climb the ladder and head to the right, jumping over the gap.

Over to the right, you'll find another switch. Pull the switch to make the platform above move right.
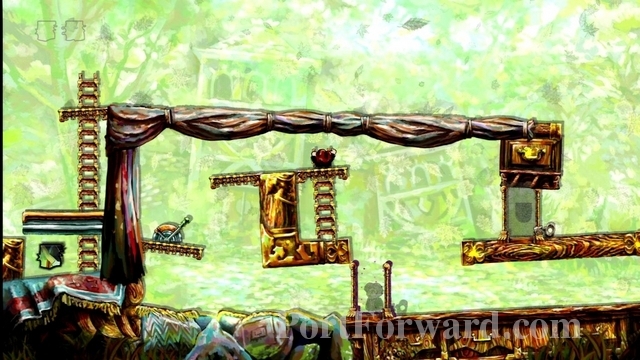
Go up on the platform and stand above the puzzle piece for a few seconds (or maybe even better, the platform to the right of it.)
Go back down and flip the switch.
Rewind time, taking you back to where you were standing before.
You will now be able to get the puzzle piece.
Now rewind again, to get yourself back to safety. Luckily, this puzzle piece was glowing green, meaning it is unaffected by your time manipulation.
If you rewind back to the switch, just pull it and have the platform go back to the right.

Now you can exit through the door on your right.

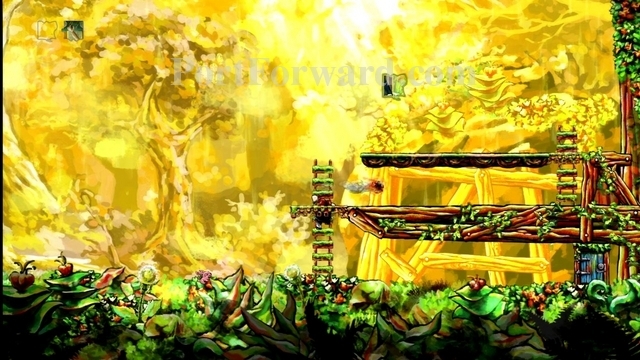
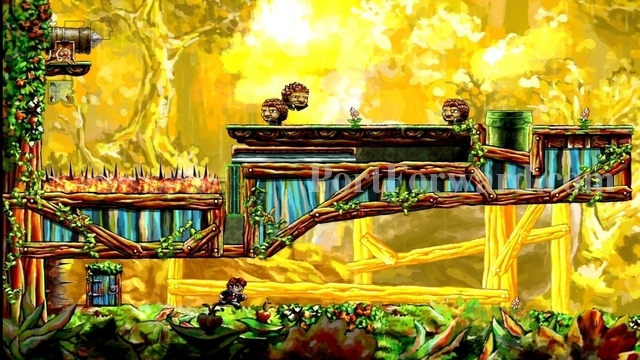
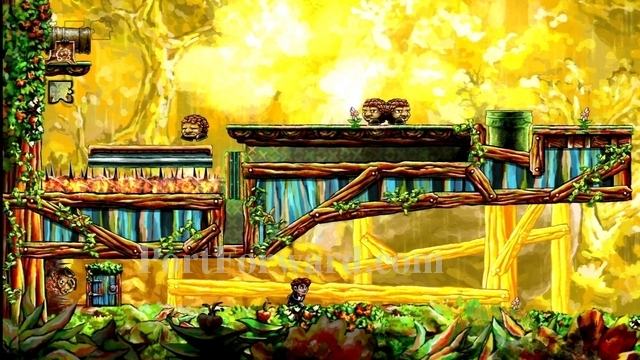
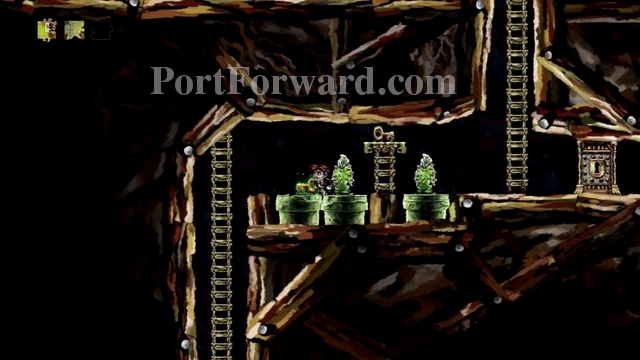
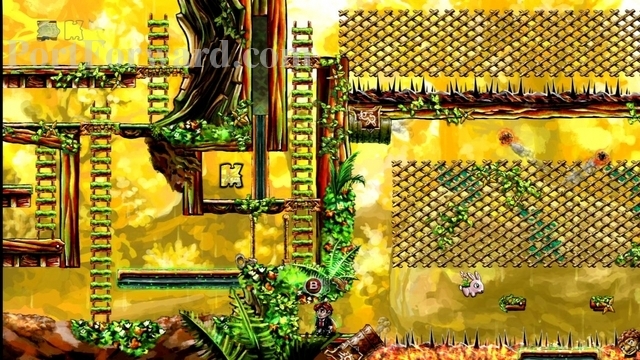
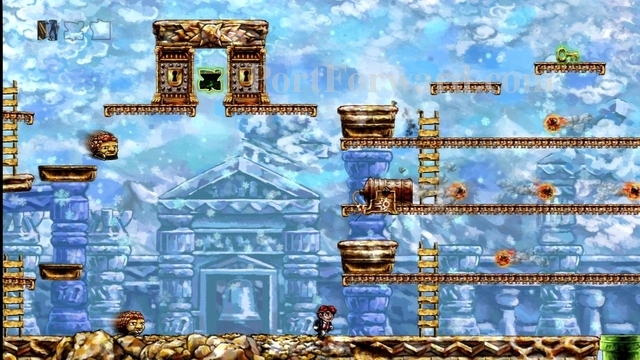
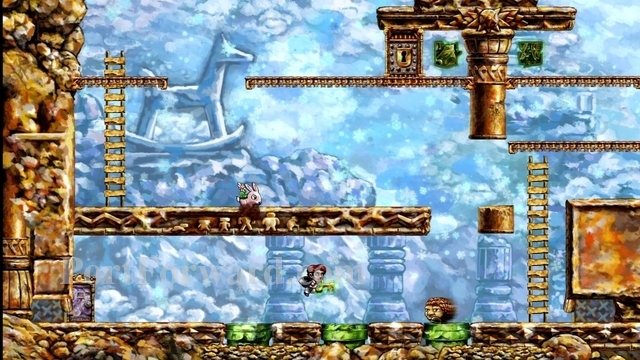
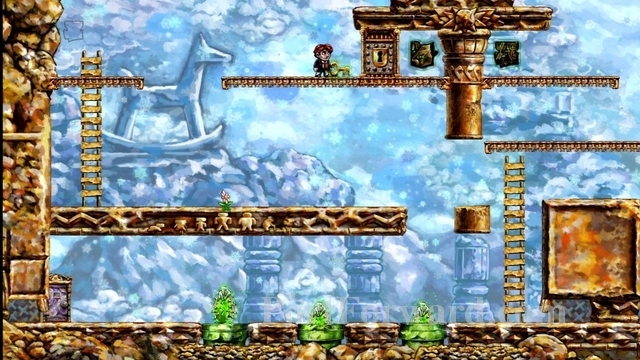
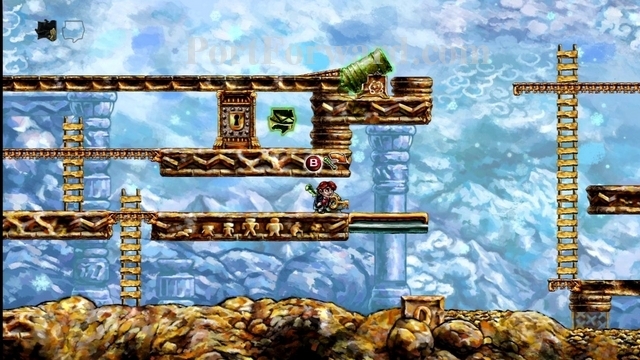
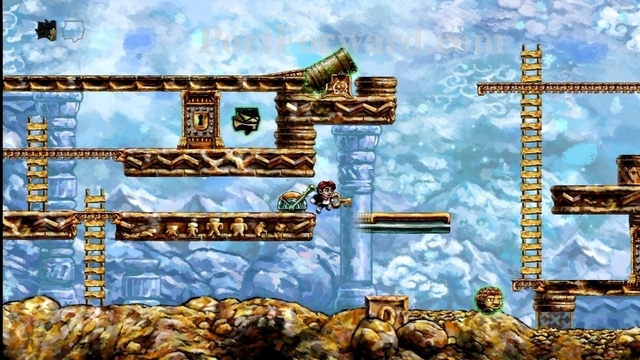
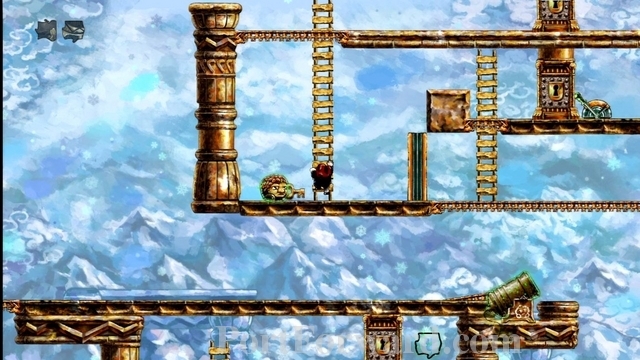
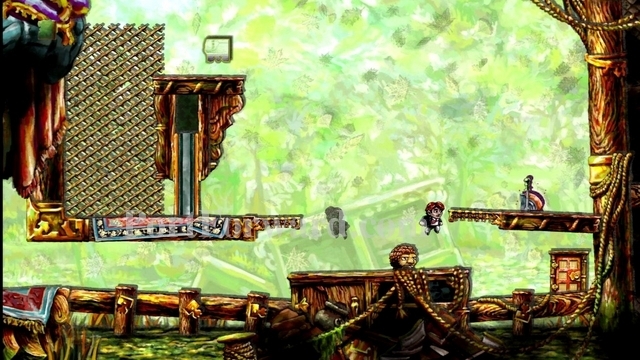
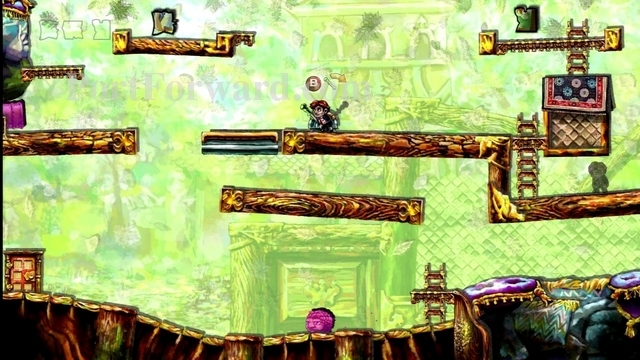
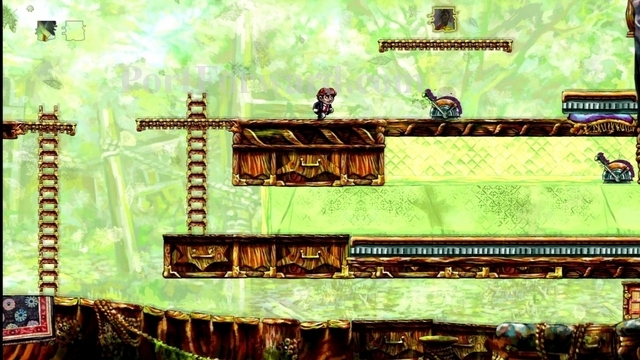
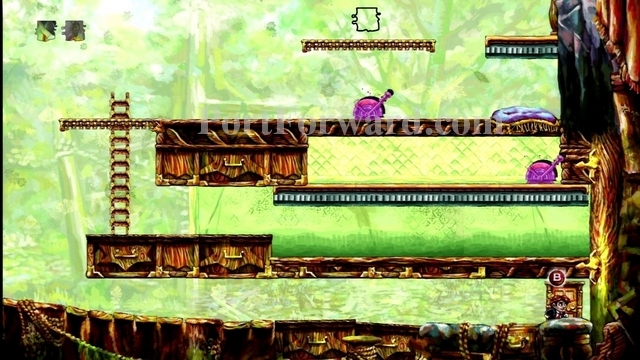
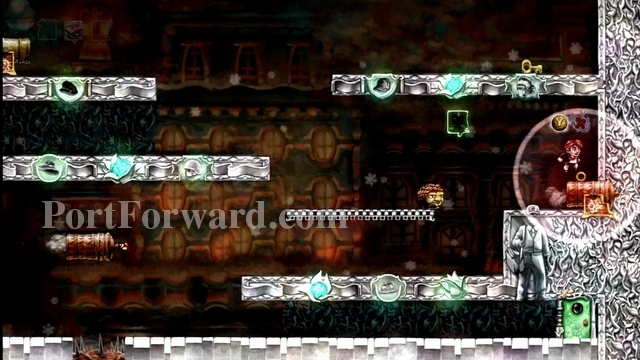
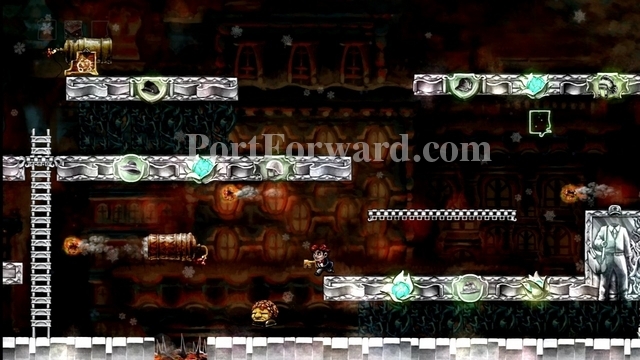
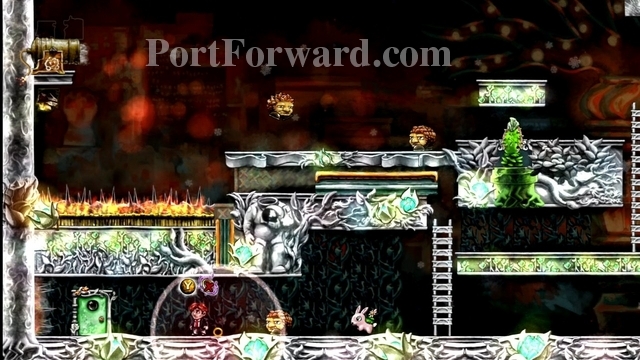
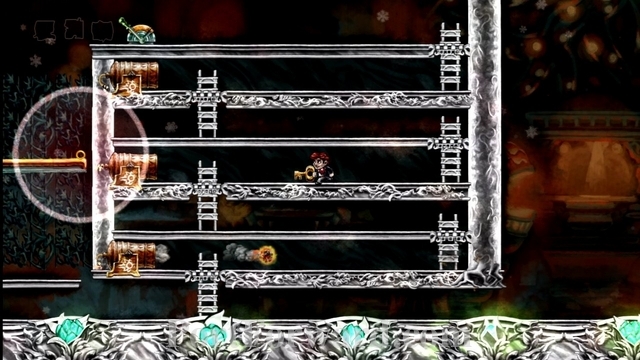
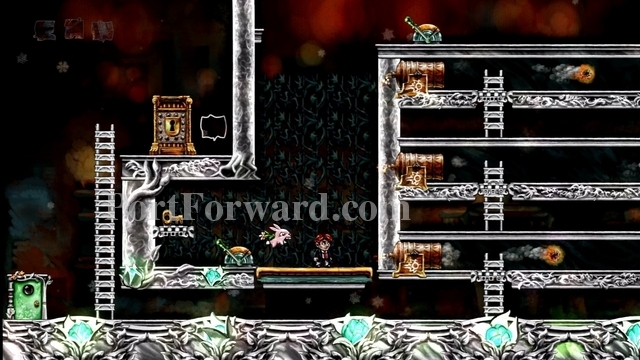
Now you are on level 2-5, "Tight Channels".
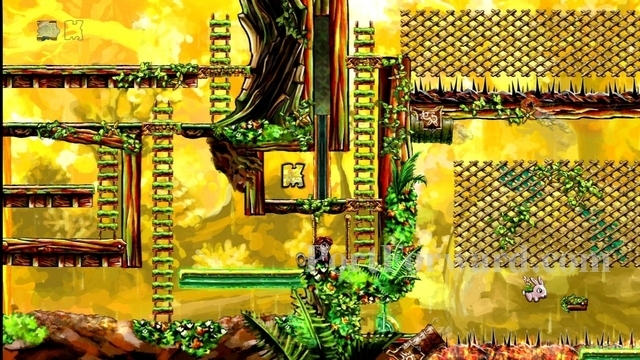
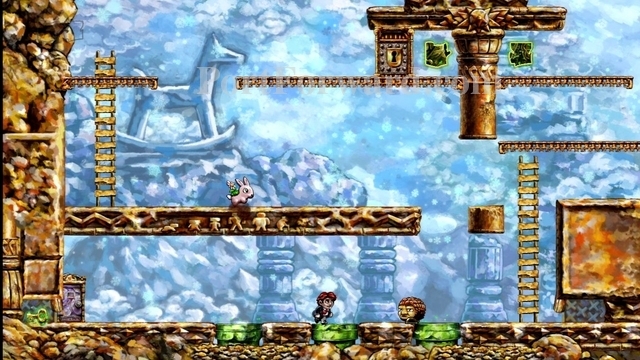
Make your way to the right.
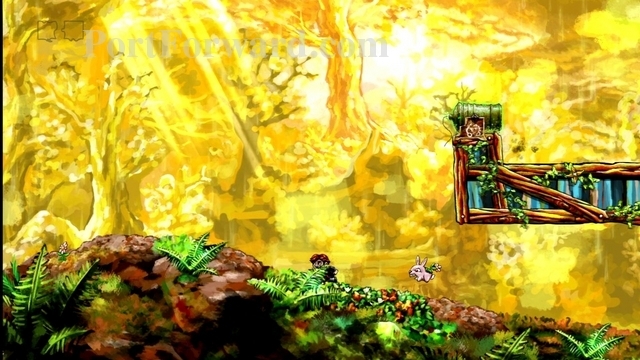
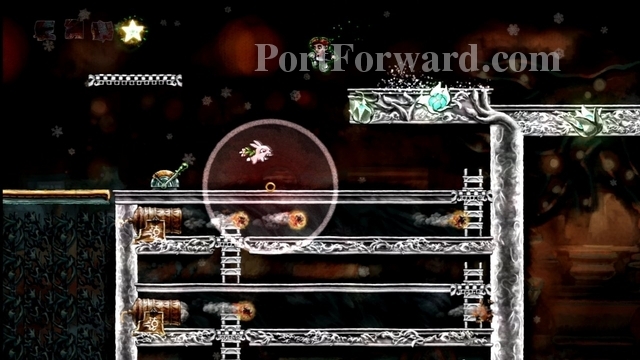
Careful of the rabid rabbit. Bounce on his head to kill him.
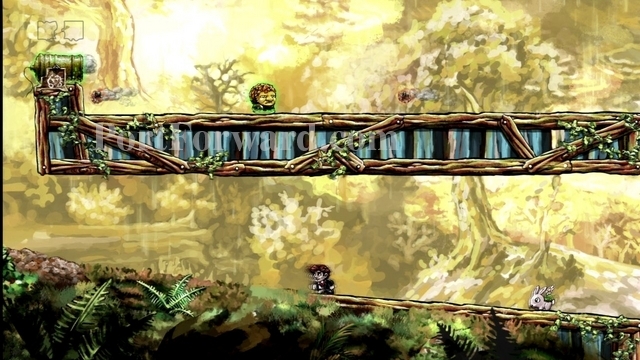
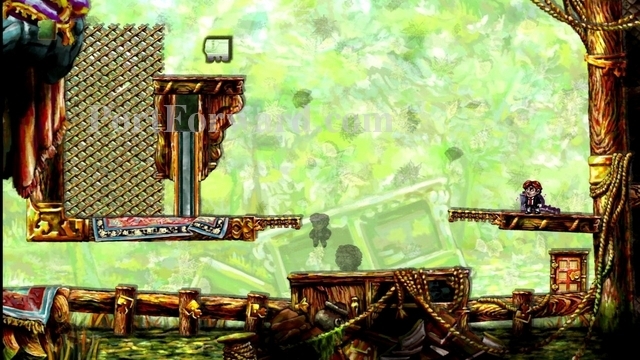
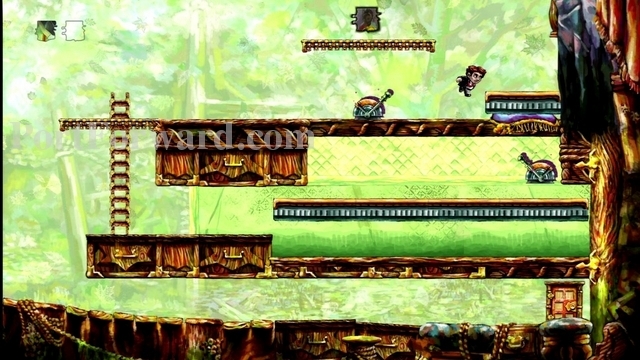
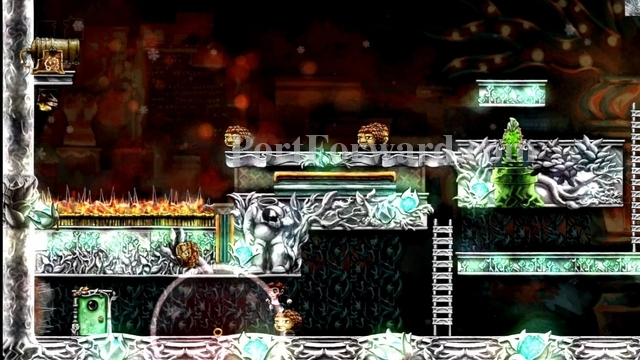
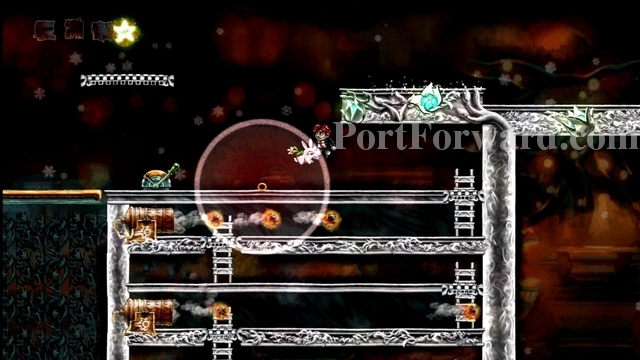
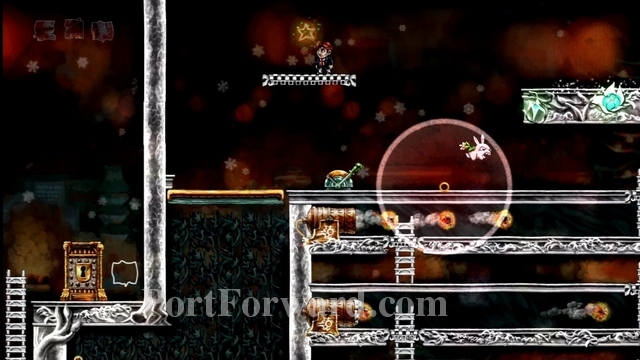
You need to keep the enemy above from being killed by the fireballs. Start by going to the right and climbing up on the platform where a puzzle piece is, then come back here. You'll need to rewind time every once and a while to keep the fireballs away from him.
Keep rewinding as needed, until you and the enemy are back up on the platform the ladders lead to.
Now jump on the enemy's head.
This should bounce you high enough to reach the puzzle piece.

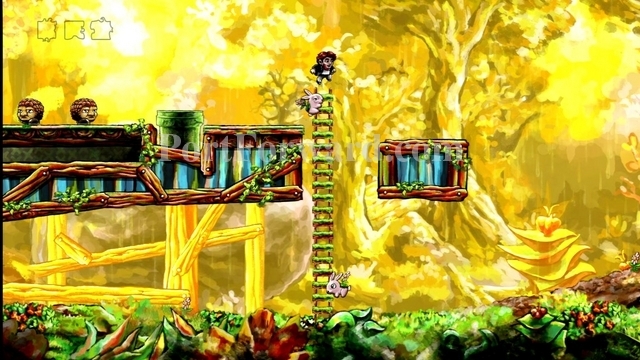
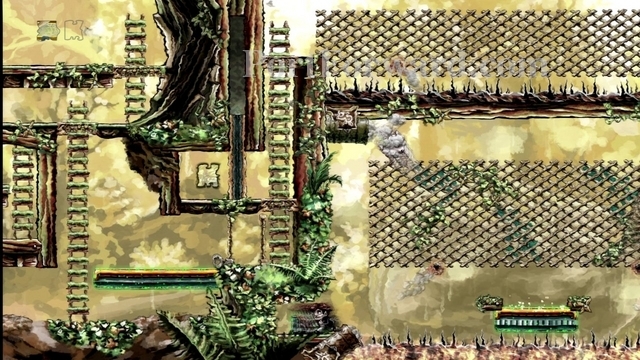
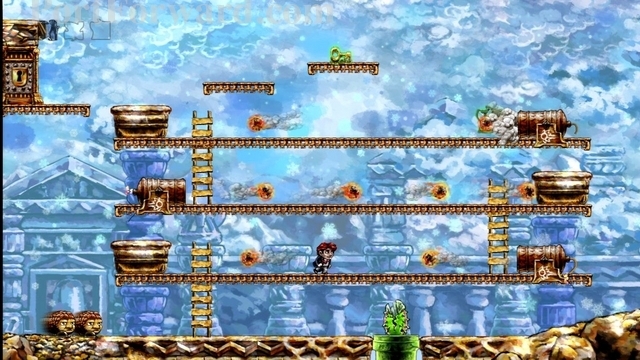
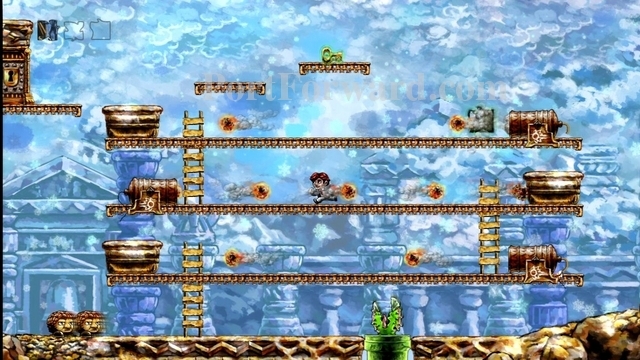
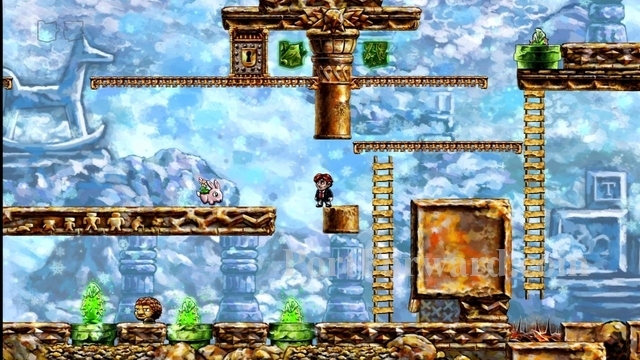
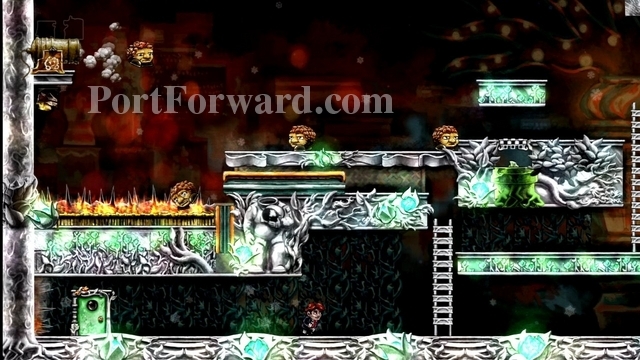
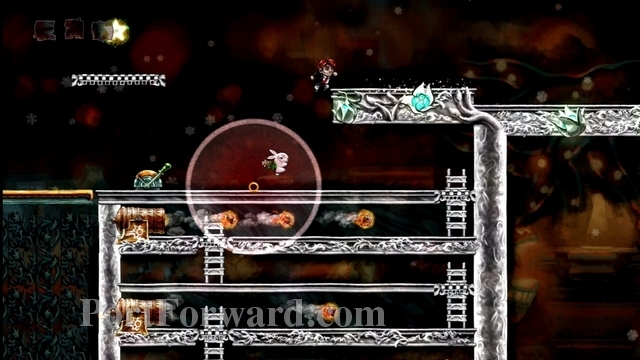
Continue rightward, ignoring the bunnies that start chasing you. Go past the snapping plant when it hides.

You'll run past a cannon. Jump over the fireballs as they come at you, while still continuing rightward. The cannon should take care of most of the bunnies for you.
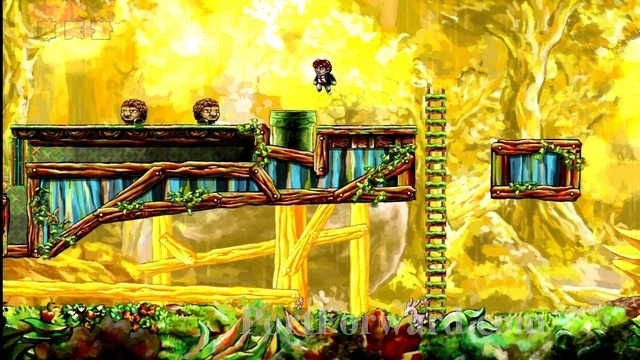
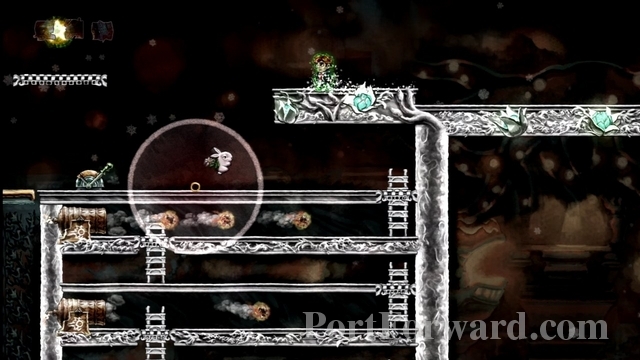
You'll eventually reach a ladder. Climb partway up the ladder and wait for a fireball to go by.
Then immediately run to your right and climb the other ladder.
Collect the puzzle piece to your left.
Exit through the lower-right door.

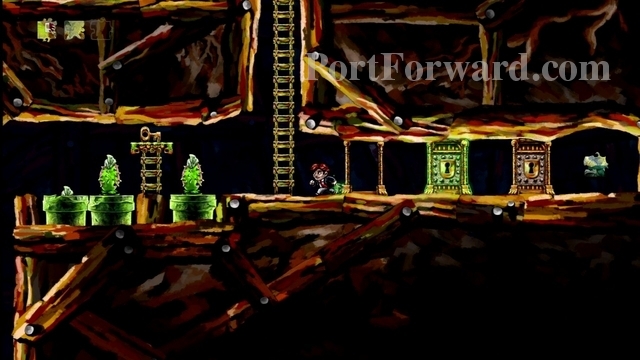
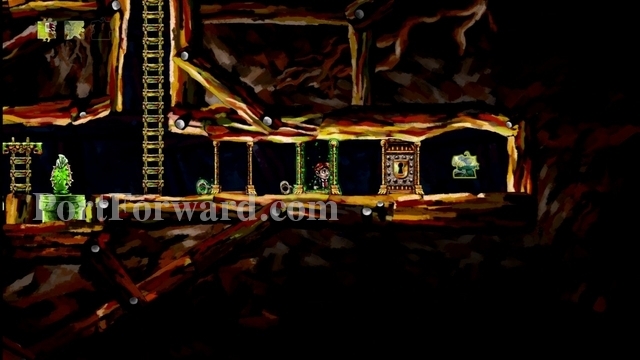
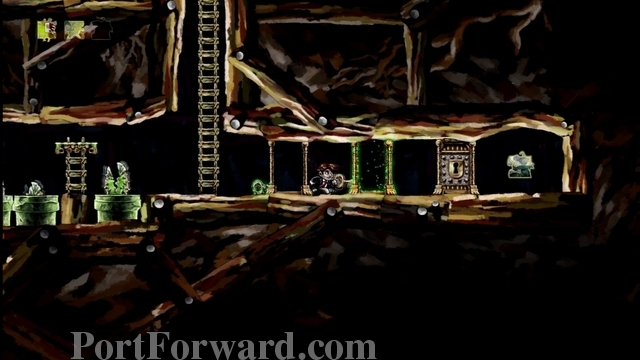
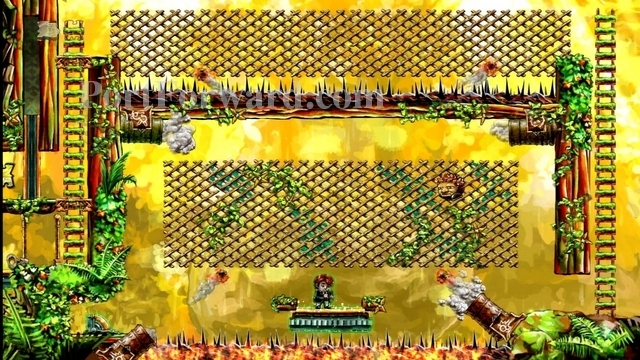
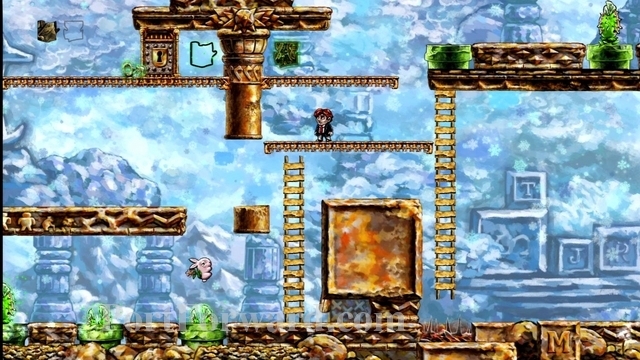
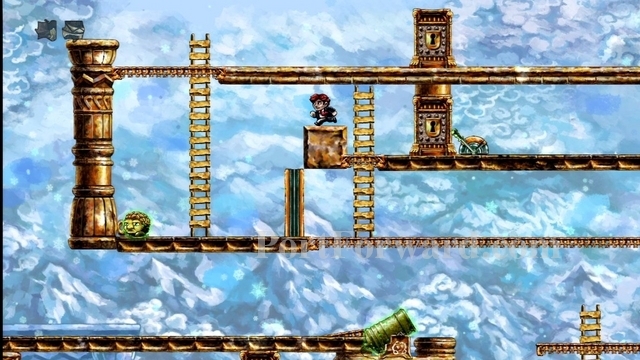
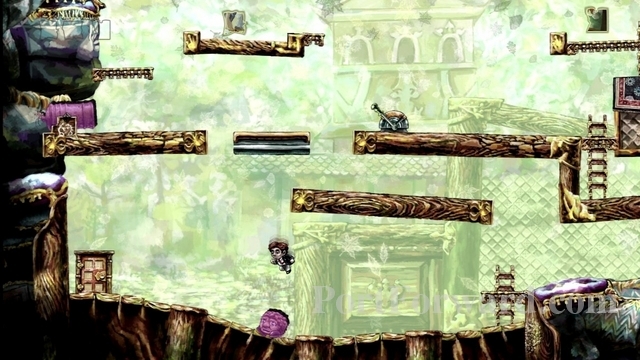
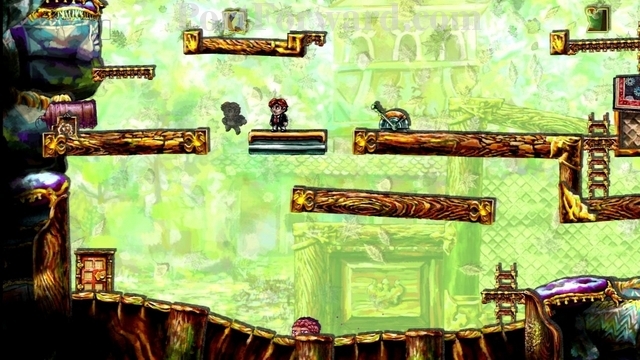
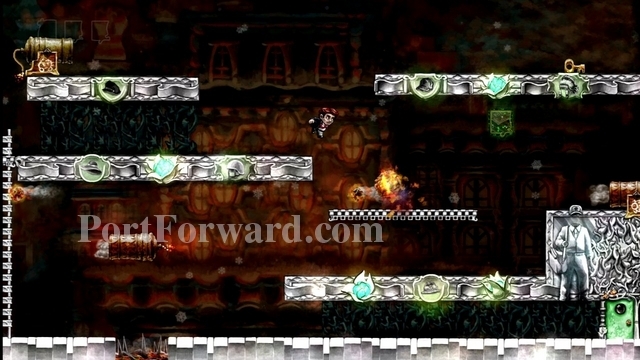
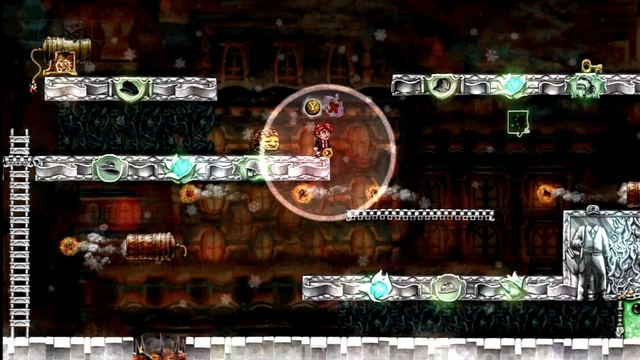
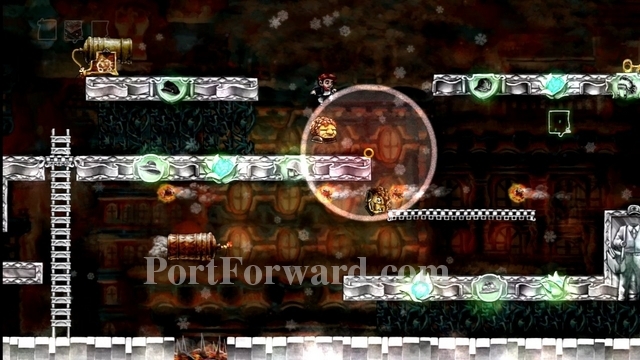
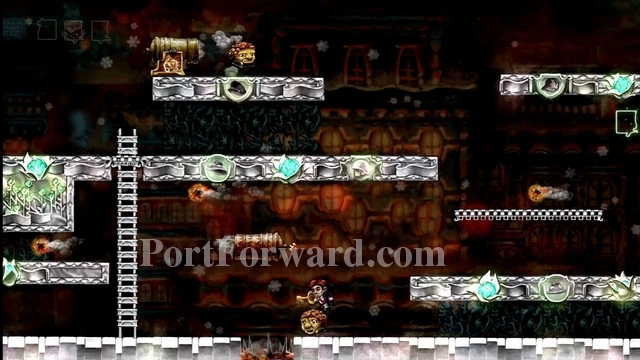
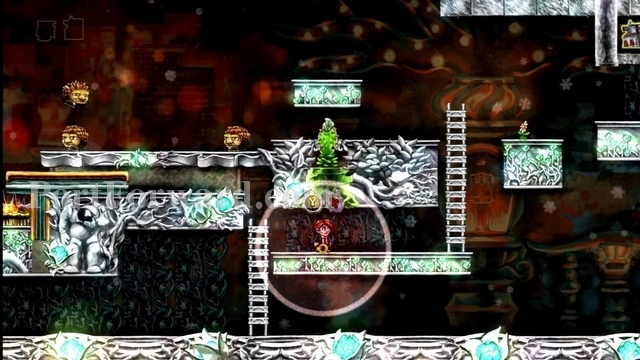
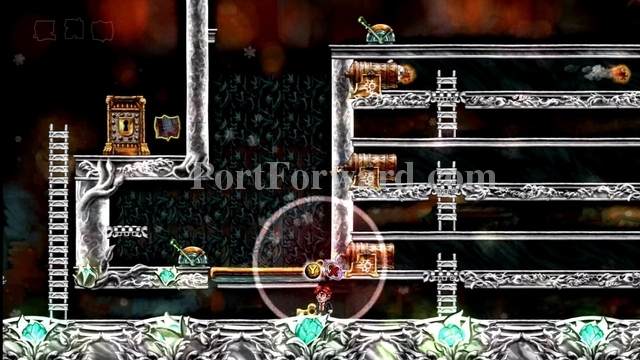
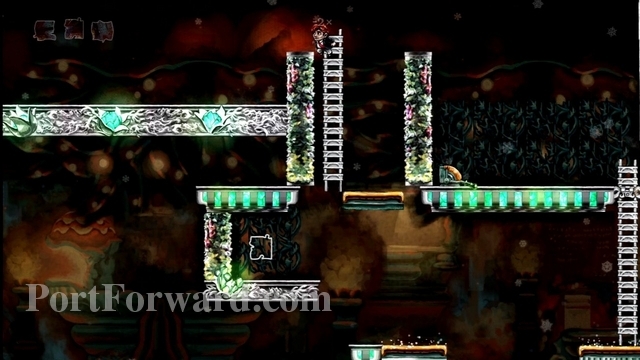
You are now on level 2-6, "Irreversible".
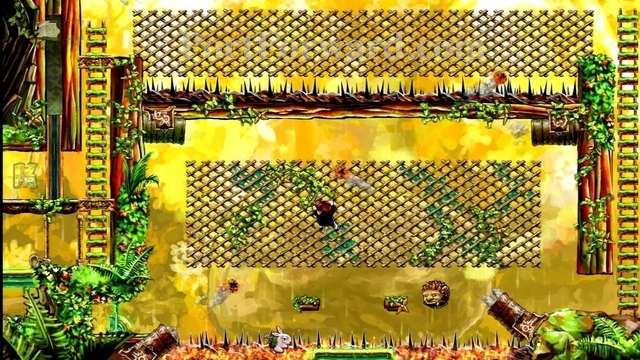
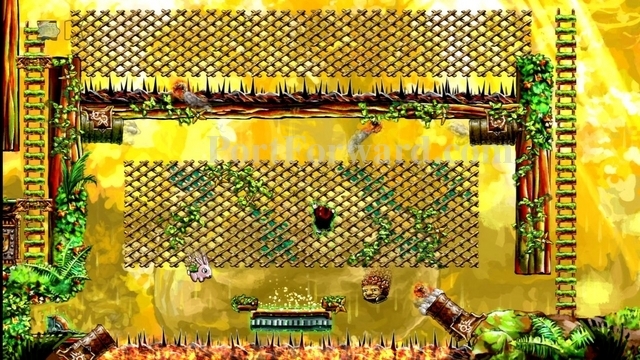
At the start of this level, you want to do everything you can not to reverse time. This is because of the two platforms moving toward each other. Once is affected by time, the other isn't. Stomp on the enemies.
You need the left-moving platform to pass above the upward moving platform. If you end up reversing time, go through the door and come back to try again.
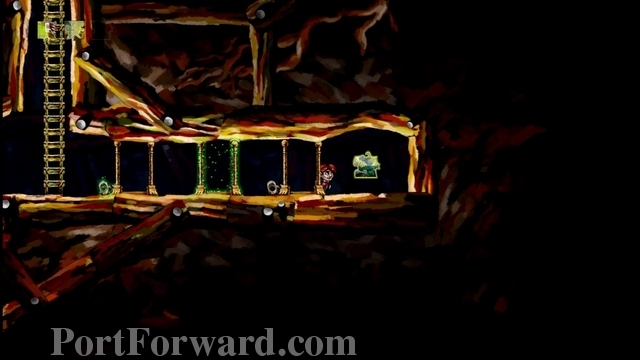
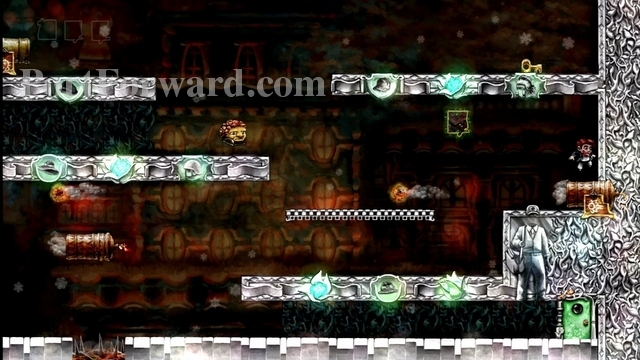
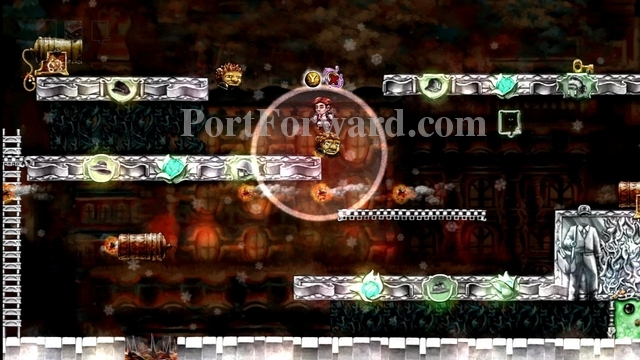
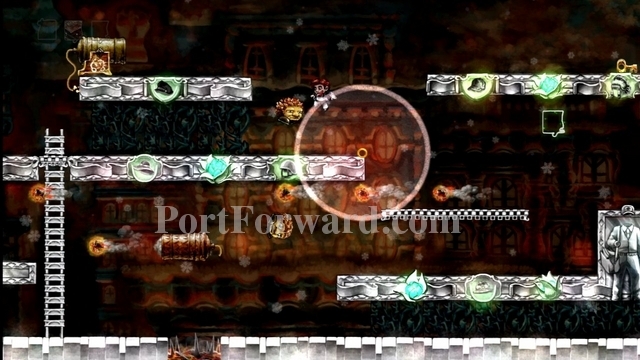
Once the left-moving platform has moved a good amount past the upward-moving platform, continue to your right.
Climb up the ladder and kill the bunnies. If you need to rewind, you can do so now, just not too far.
Jump past the snapping plant when it hides in the pipe.

Go left, past the enemies, and collect the puzzle piece.
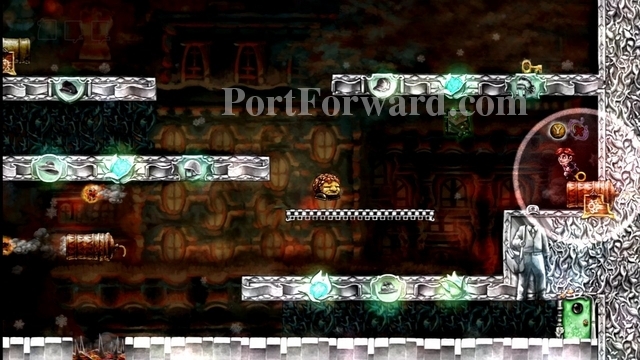
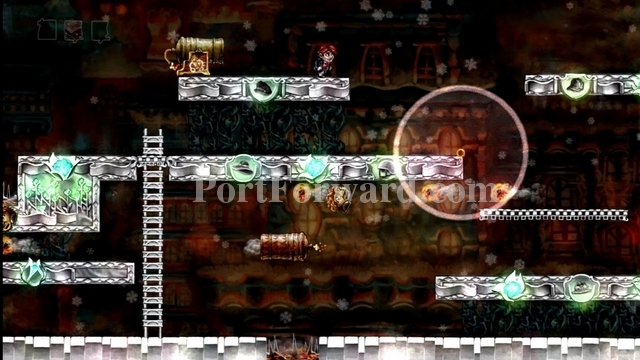
Now head right. You'll find a ladder that goes underground. Climb down it.
Jump past the snapping plant and grab the key.
Open the first door. It is protected from the reversal of time.
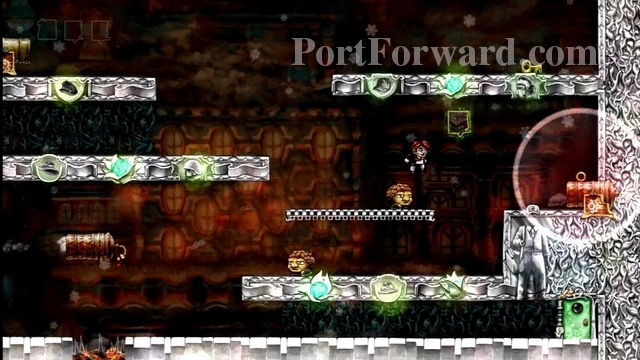
Reverse time to get your key back.
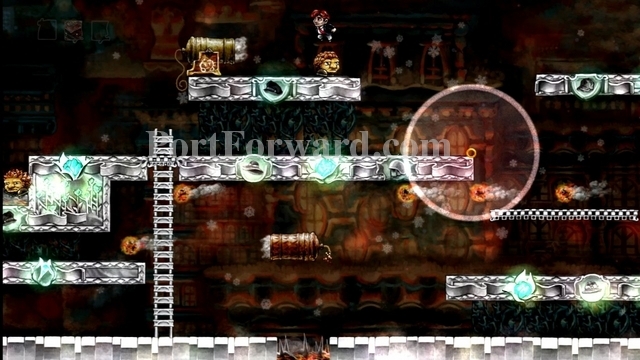
Now open the second door and grab the puzzle piece.

Go left, past the snapping plants. Just ignore the key above them for now.
Go down the ladder and grab a green-glowing key.
Now rewind time to get yourself back up the ladder.
Open the first door with this key.
Now go past a snapping plant and climb up the short ladder to get another key.
Use this key to open the second, time-protected door.
Rewind time to get the key back.
Now open the third door and collect the puzzle piece.
Climb your way back out of here.
Careful of the bunnies.
Exit through the door on the right of this level. DO NOT put any of the puzzle together on that puzzle board yet. If you do, you may not be able to get one of the hidden stars.

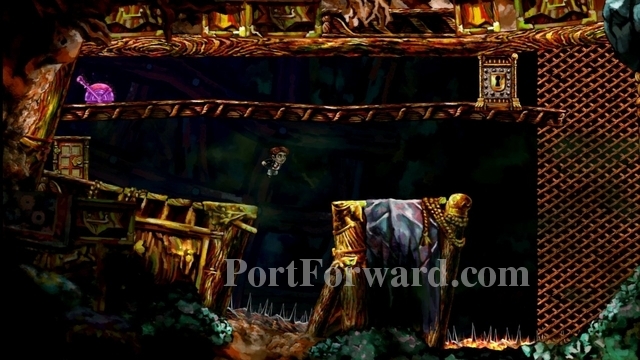
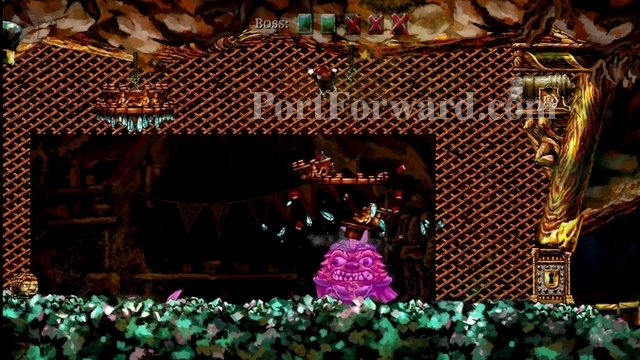
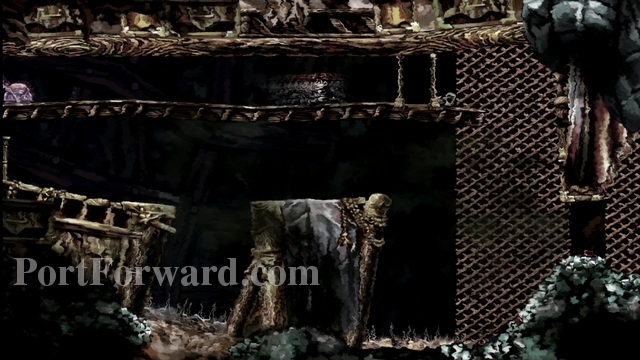
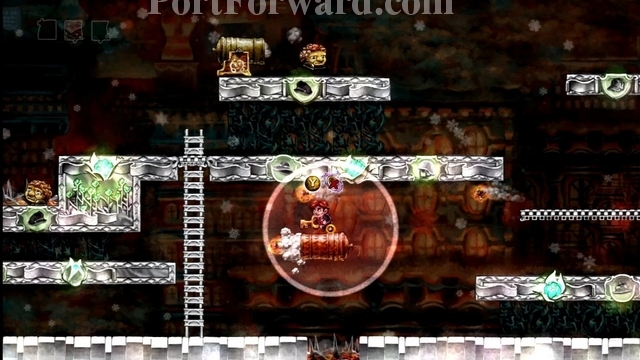
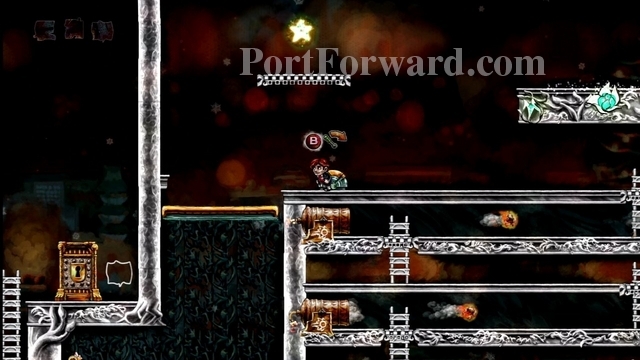
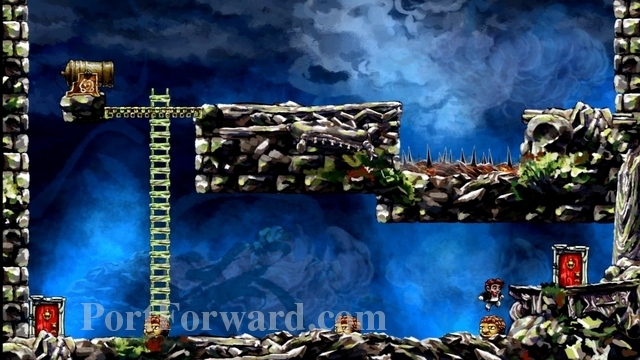
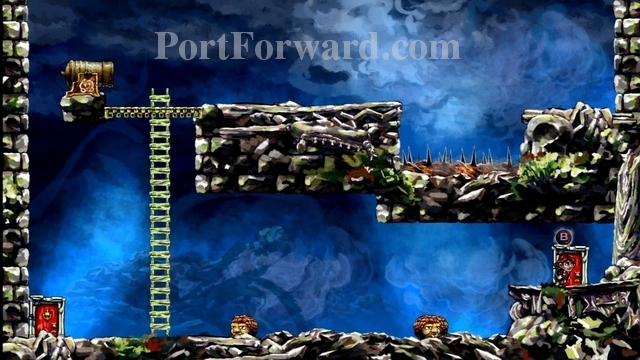
You have reached your first boss fight. This is level 2-7, "Lair".
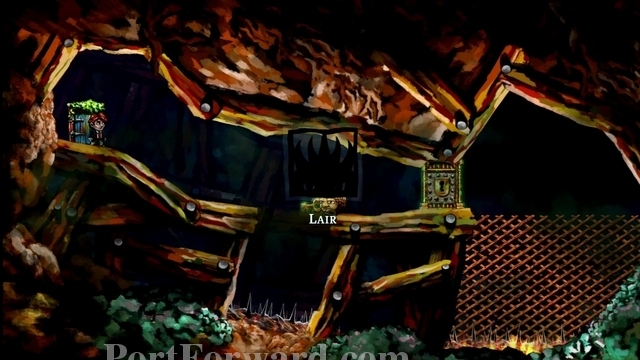
You'll see an enemy holding a time-protected key.
The enemy will die in the spikes, leaving the key in the pit.
Jump down onto the key, dying in the process.

Now reverse time. You should take the key with you as you do.
Jump over the pit and open the door.
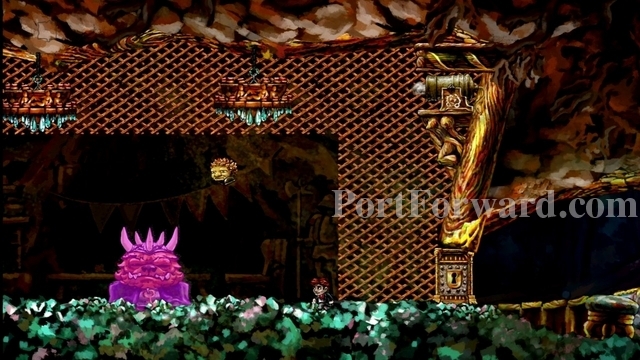
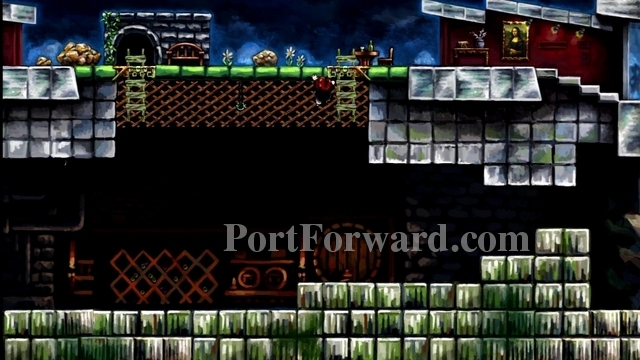
Go rightward, using the lattice.
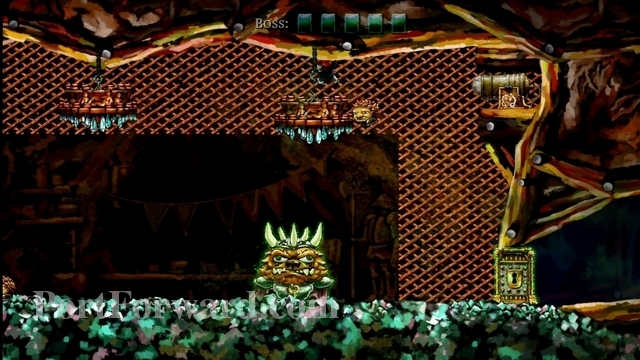
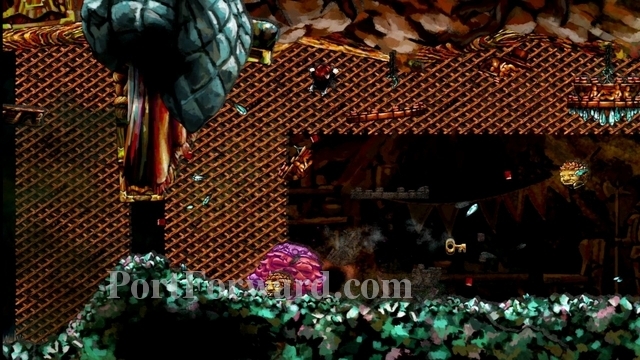
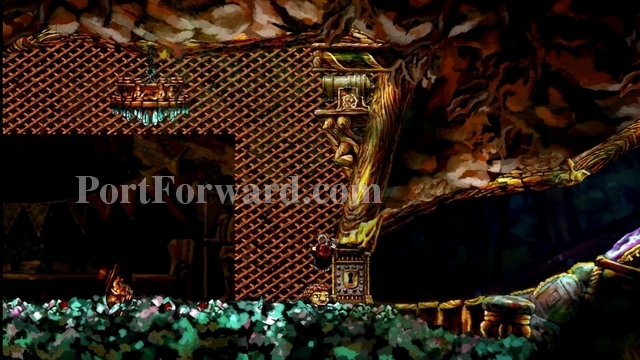
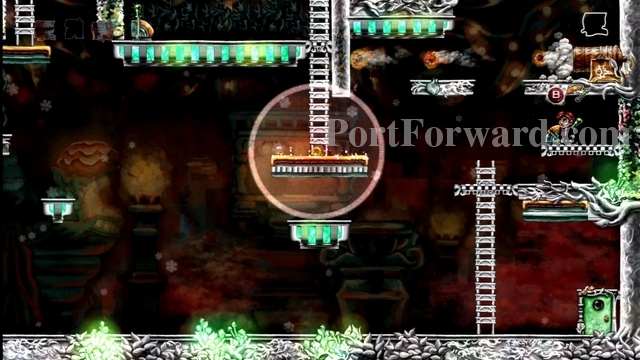
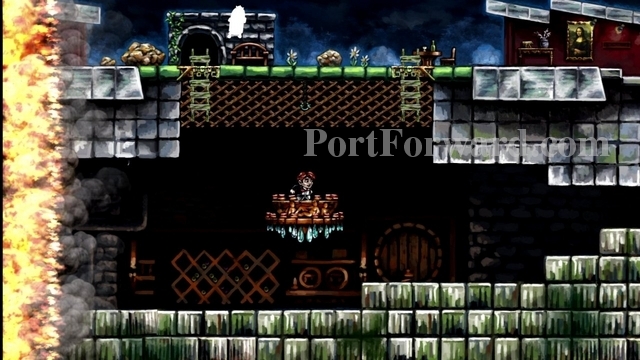
The boss will wake up when you get close to him.
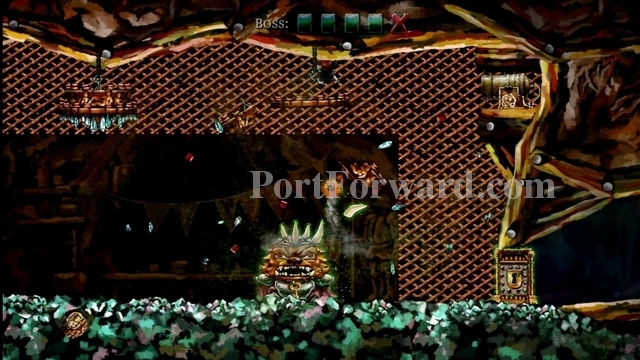
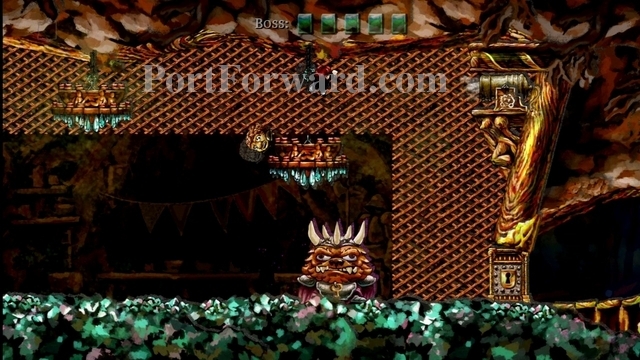
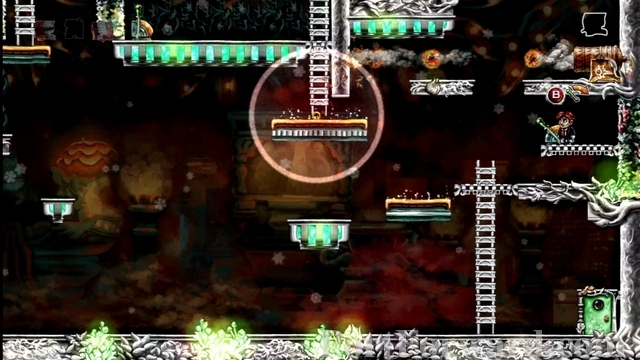
You're goal is to drop the chandeliers on his head.
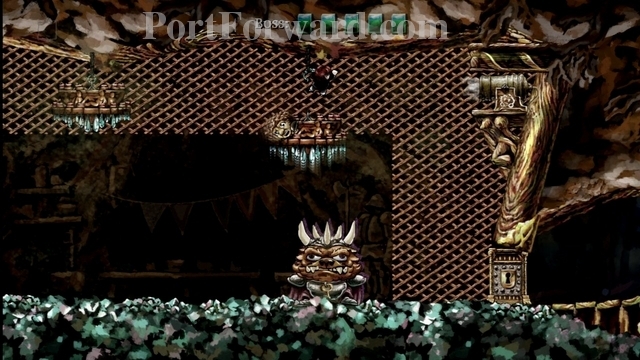
After you drop one, rewind time to bring it back up to the ceiling. The damage done to the boss won't reverse, since he is protected from the effects of time.
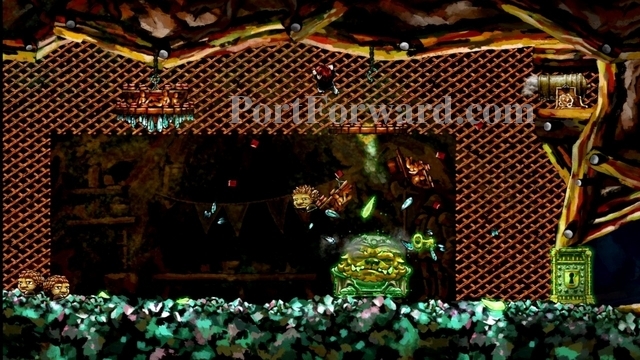
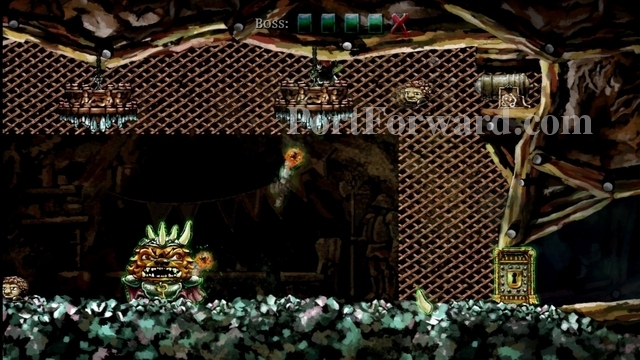
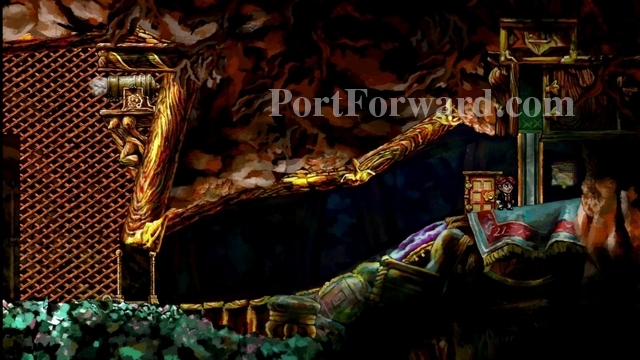
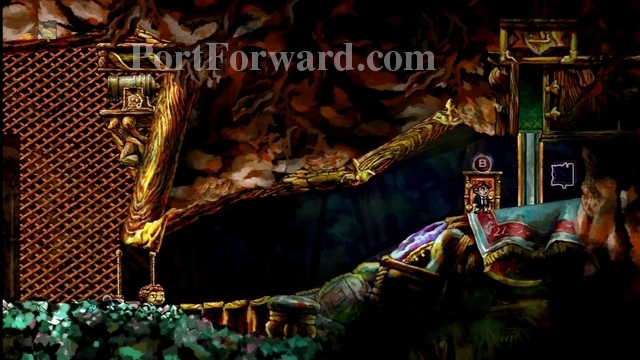
Continue hitting him until all the spikes are removed from his head. He will then die and drop a time-protected key.
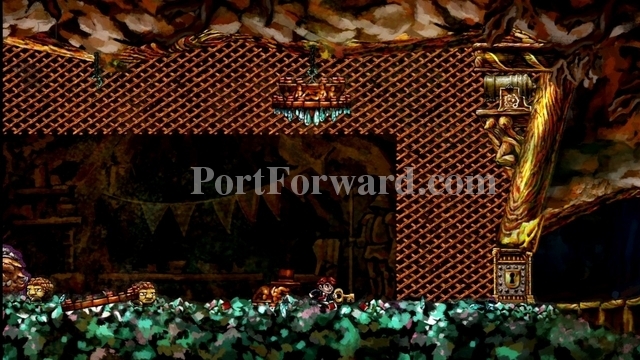
Grab the key and unlock the door on your right.
Exit through the door on the far-right.

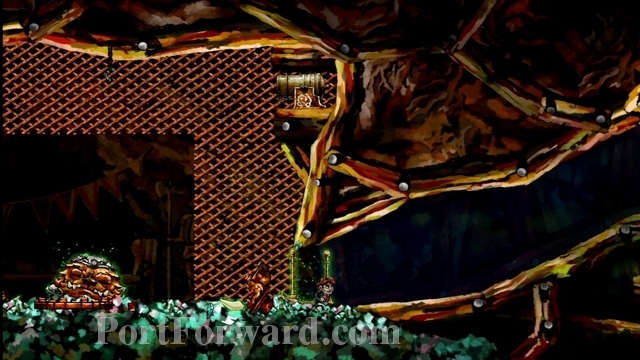
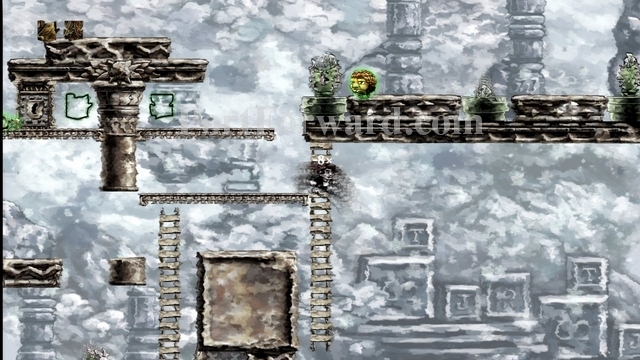
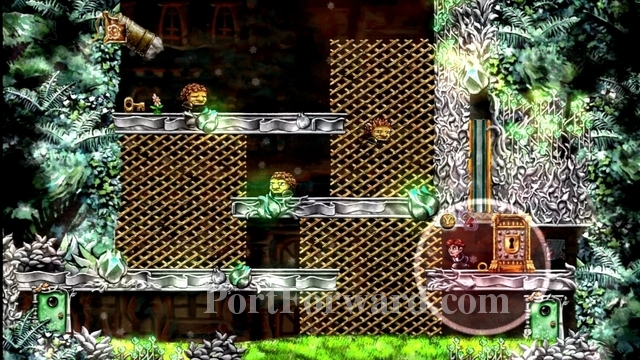
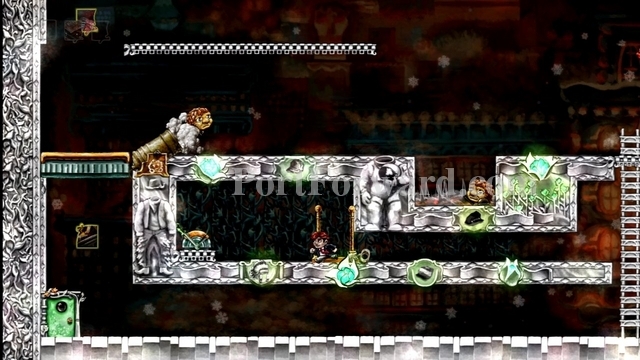
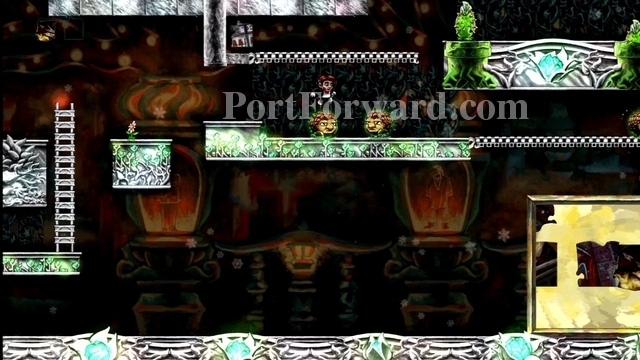
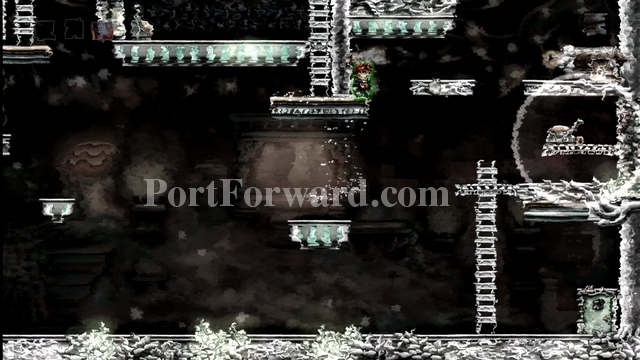
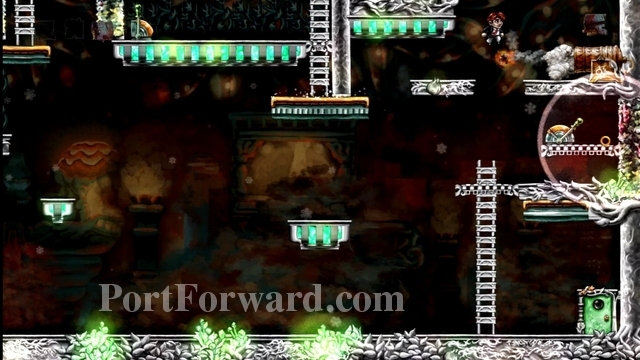
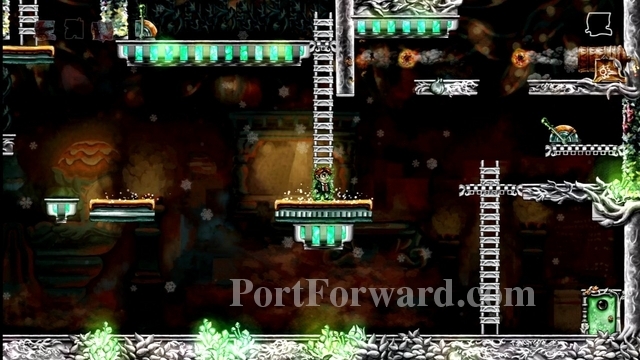
And now for the final level in World 3. This is level 2-8, "A Tingling".
Walk over to your right.
Climb the first ladder you come to, then go down the two ladders to your left. Kill the enemy and pull the switch.
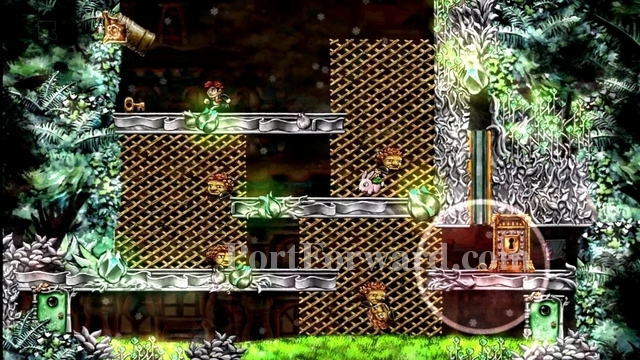
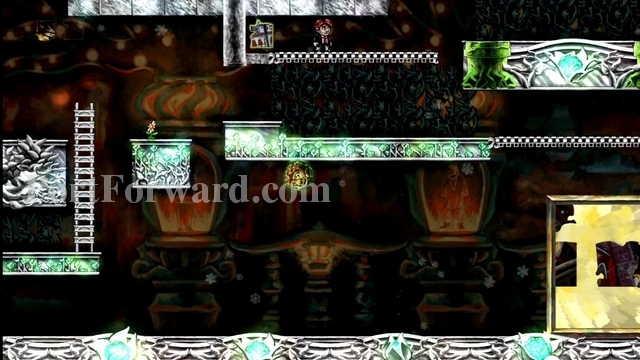
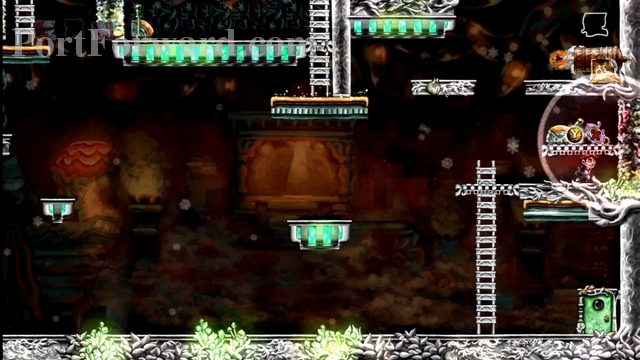
Climb up the ladders to the top platform.

Climb down the ladders on your left and stand on the lower-left platform for a few seconds to use it as a rewind spot.
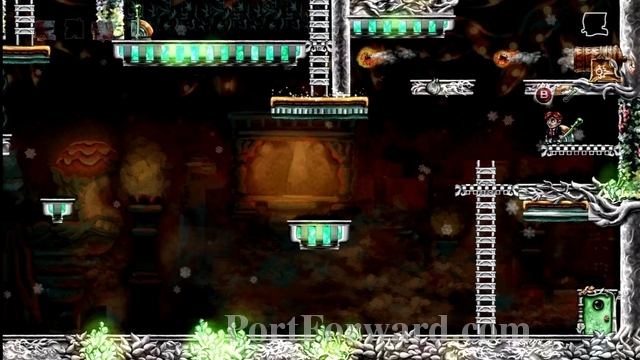
Now climb back up and head back to the switch, pulling it again.
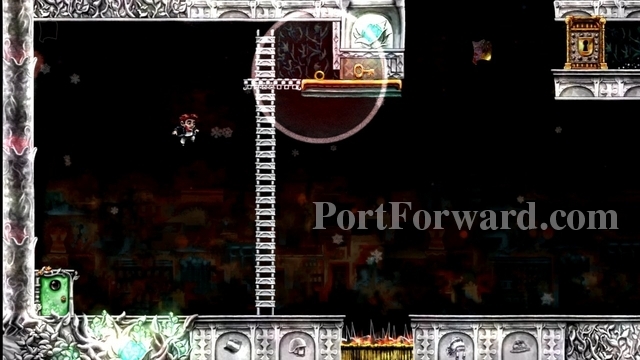
Rewind quickly to the spot you stood on the lower-left platform.
As the moving platform gets near, get on it.
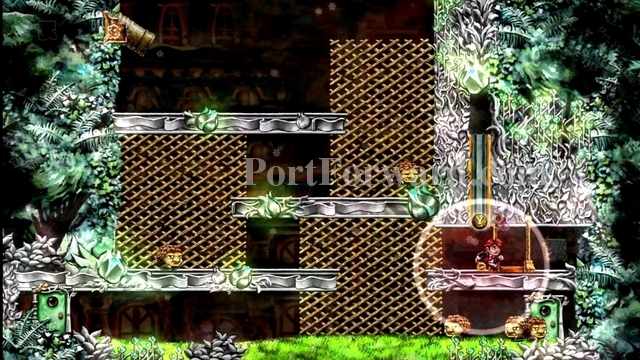
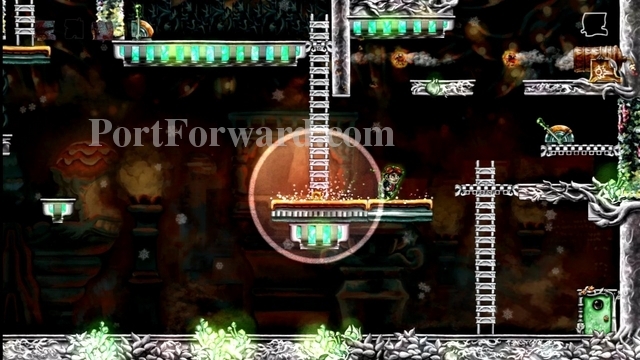
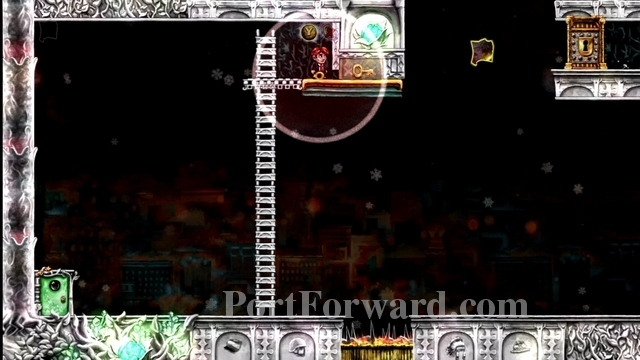
Jump onto the ladder and collect the puzzle piece.
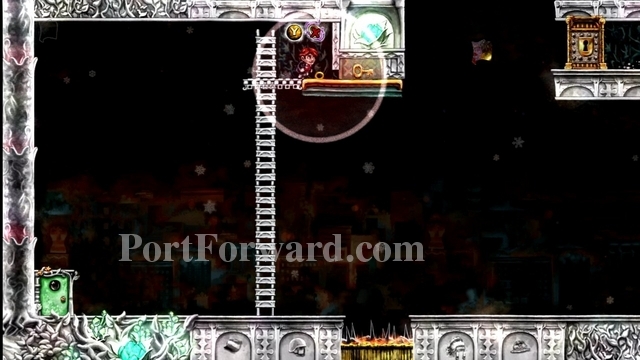
Now go back to the switch and pull it again.
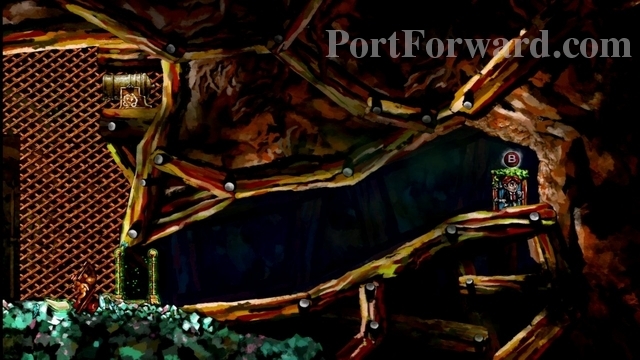
Get on the moving platform when it butts up next to the locked door. Unlock the door and go through.

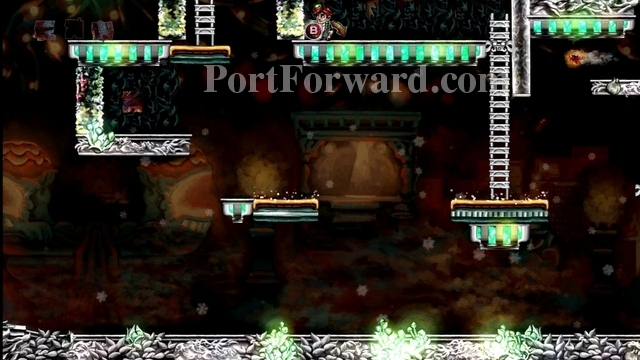
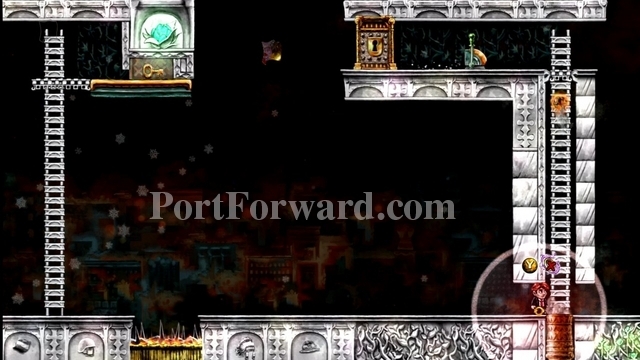
Climb the ladder and head rightward across the lattice.
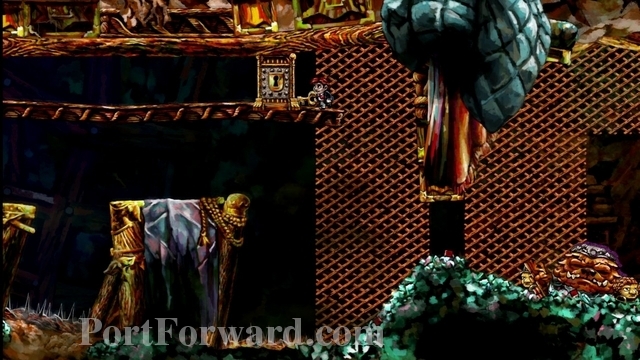
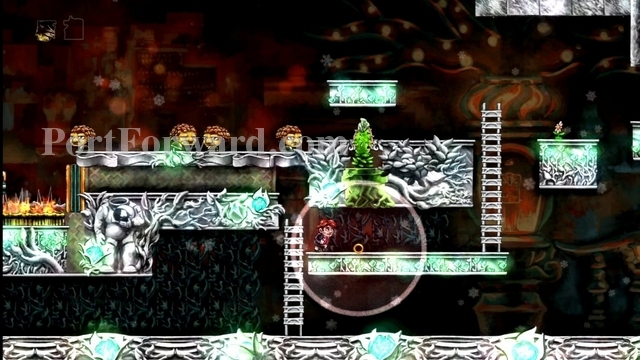
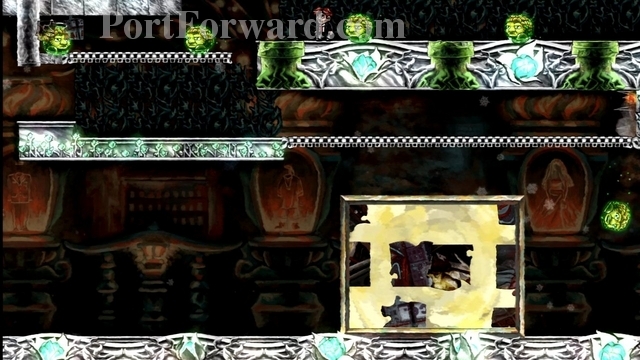
Climb down the ladder, then jump onto the mesh down below. Careful of the many obstacles.
Drop down to the lower-left corner and pull the switch.
This will raise up a time-protected platform. Rewind yourself back up to the lattice.
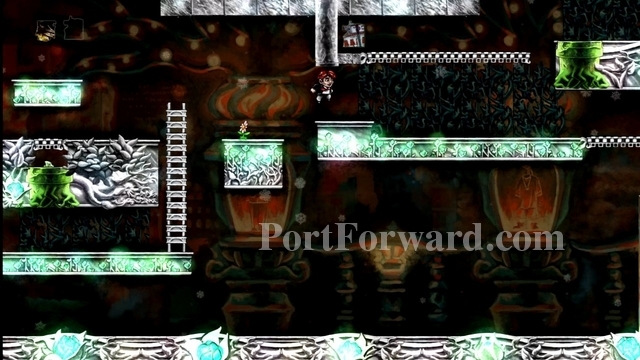
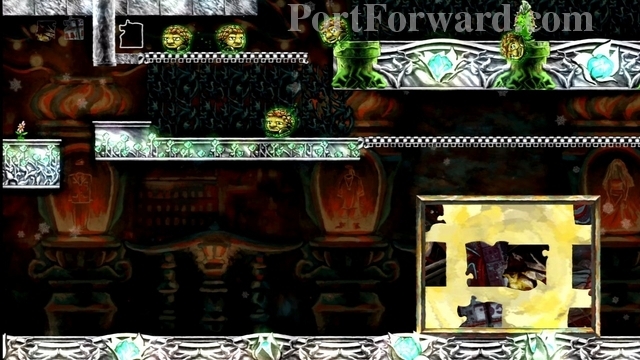
Stand on the time-protected platform.

Rewind time until the moving wall, seen on the left, is completely up.
Now quickly go along the lattice to the right and climb the ladder. You don't have much time, so if you get hit you may just want to get back on the time-protected platform, then rewind and try again.

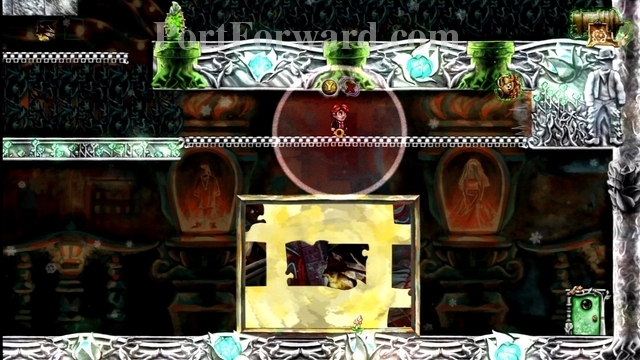
Go leftward, along the top lattice.

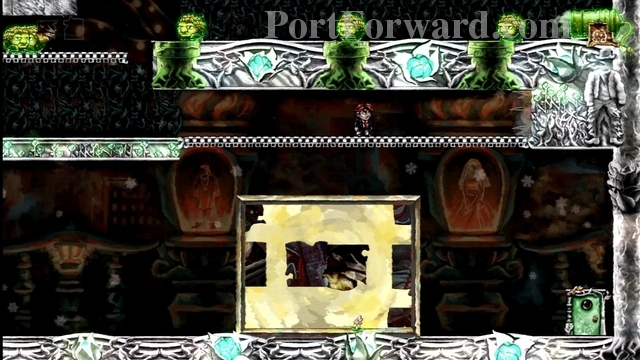
Climb down the ladder and quickly grab the puzzle piece and get out before you are trapped. If needed, you can rewind and try again.

You can now exit this area to your right.
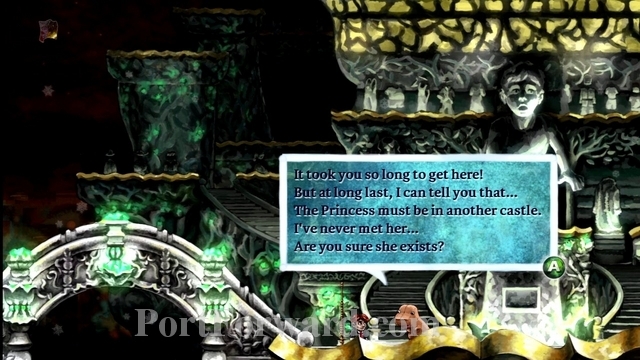
You'll talk to the dinosaur-like creature again.
Now we are back in your house. DO NOT solve the World 3 puzzle just yet...
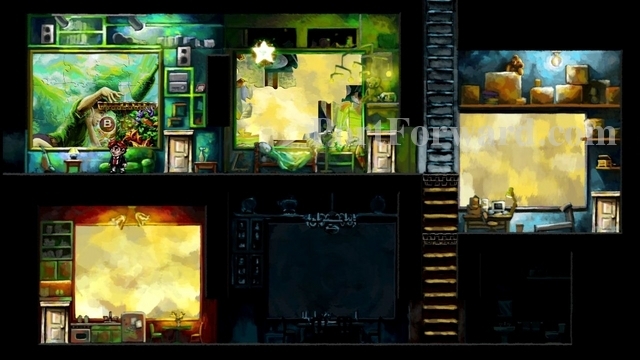
Go into the puzzle board and look for two pieces that have part of a star on them. Position them as I have, near the upper-left corner.

Once you get them in the right spot, a star will appear.
Go to the World 2 puzzle board.
Move the puzzle down, so that the platform is at the bottom of it.
Now you can jump onto that platform.
Jump in the air, and press B at the top of your jump.
Move the puzzle upward, but not further than your jump.
If done correctly, you should land on the platform again.
Continue jumping and raising the platform up.
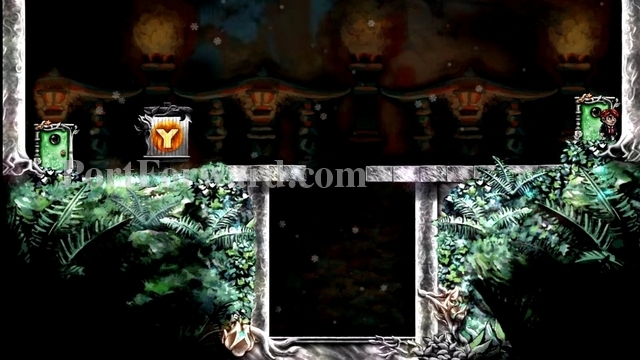
Once you are high enough, you should be able to Jump onto the black wall that divides World 2 and World 3. Then just jump onto the star to collect it.
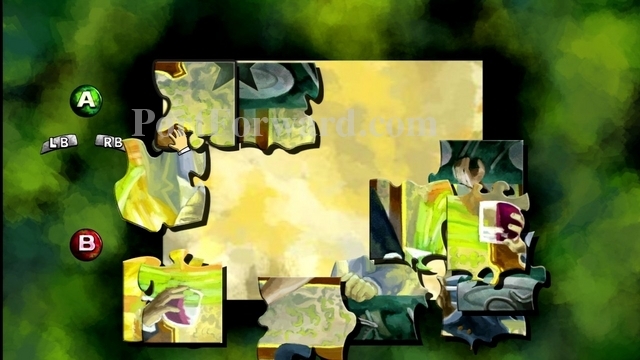
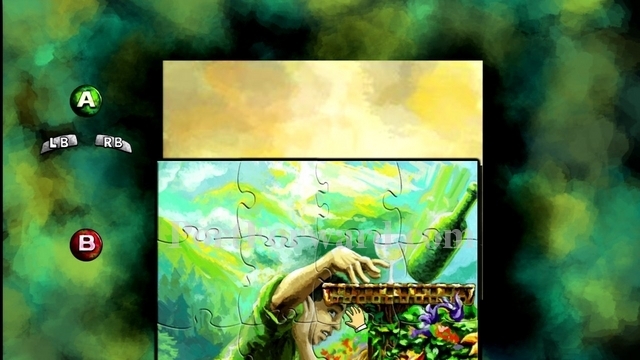
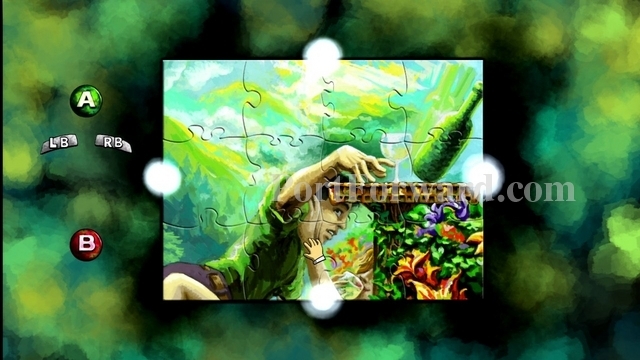
Now you can enter the World 3 puzzle board to solve it.
It should look like this when complete.
You should also put the second puzzle back in position.
If you go look outside, you'll now see our second star light up the sky!
Braid Walkthrough World 4
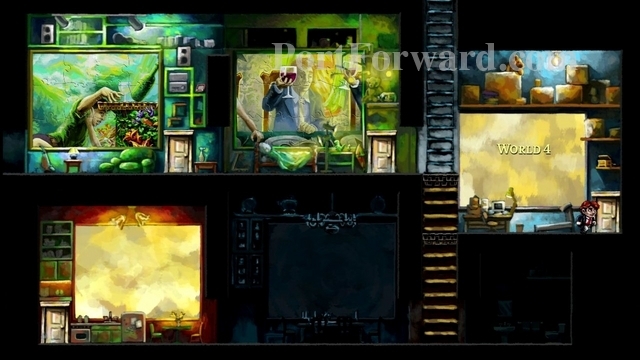
Enter the door to World 4.
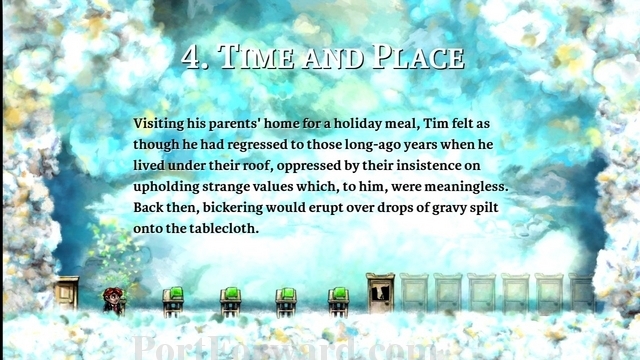
Read the books for some back story.
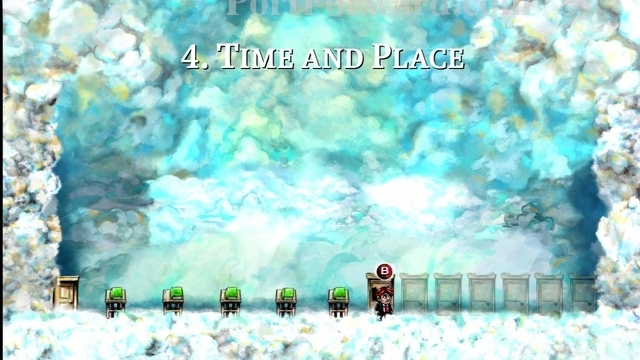
Then enter the first door on your right.

You'll begin level 4-1, "The Pit".
In these levels, you'll learn a new time mechanic. When you walk to your right, time moves forward. When you walk to your left, time reverses. You'll see as you move forward, so does the enemy in the pit.
Don't drop in the pit, instead jump over it and walk right into the locked door. This will move you as far as possible to the right, making the enemy walk forward and pick up the time-protected key.
Now walk left and drop into the pit. Time will reverse, but it won't affect the key. Kill the enemy and take the key.
Now reverse time the normal way to get yourself out of the pit.

Unlock the locked door.
Exit through the door on the far-right.

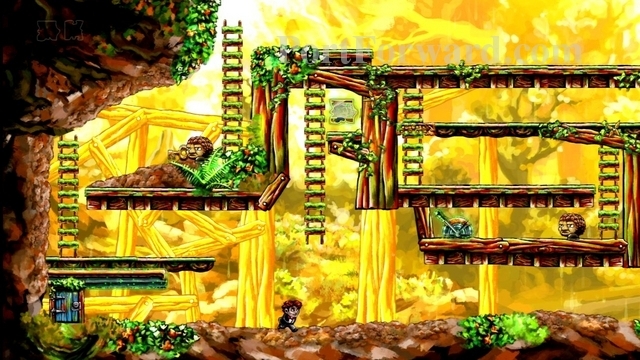
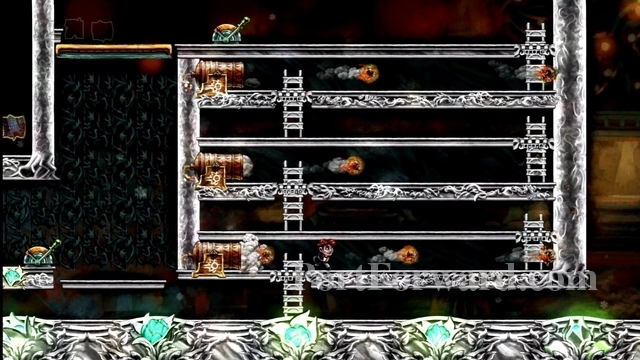
This will bring us to level 4-2, "Jumpman".
This level may look very familiar... think Donkey Kong, another Mario reference. Start by going to the right and climbing the first ladder.
Climb the ladder on your left and get onto the small platform to the upper-left of it.
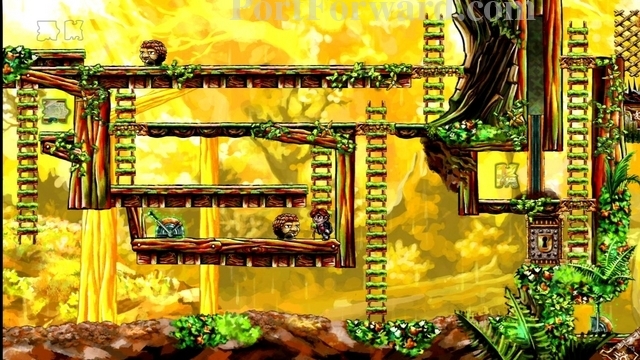
Now if you jump left, which reverses time, an enemy will fall upward. Land on him as he does, getting enough of a bounce to land on the platform behind "Donkey Kong".
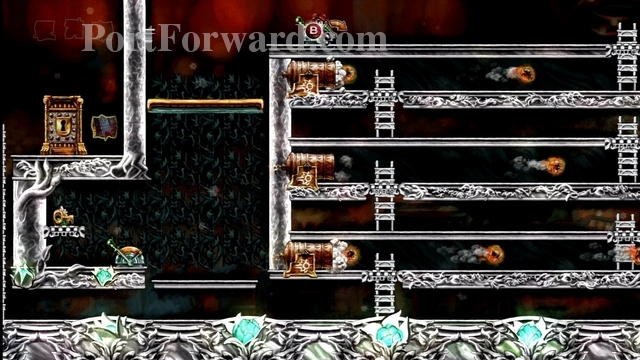
Jump over "Donkey Kong" and head for that puzzle piece.

You can bounce on the enemy's head here to reach the puzzle piece.
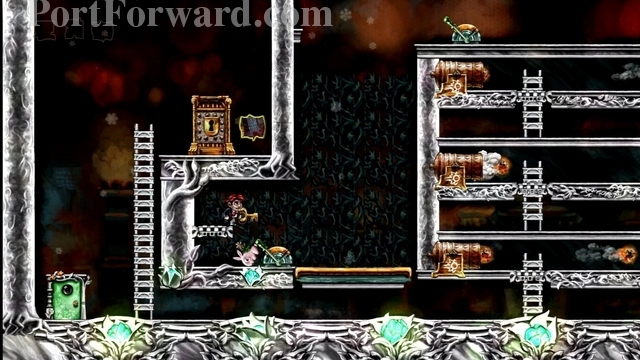
Now let's head over to another set of platforms on your right.
Climb up the first ladder and head rightward, jumping over the fireballs.
Climb the ladder and head left. Since you're reversing time by walking left, the fireballs will go the same direction as you. Just avoid hitting any.
Climb the ladder and jump onto the block on your left.
Now you can jump on the platforms to your right to grab a time-protected key.
Jump to the right, landing on a puzzle piece. This puzzle piece is protected from time, so reversing time won't make you lose it.
Rewind time, bringing yourself back to where you collected the first puzzle piece.
Jump onto the enemies head to bounce up to the locked door.
Open the locked door and grab the puzzle piece.
Now we're done with this area, but you can't simply walk to the exit, the snapping plant will be in your way. Instead, climb the ladder and head right, jumping over fireballs. Just jump over the cannon to get over to the right.
Exit the level through the door on your right.

This will bring you to level 4-3, "Just Out of Reach".
Climb halfway up the ladder and pull the switch on your left.
Now climb up the ladder the rest of the way. The enemy should walk under the first moving wall, letting you get up the ladder. If not, the switch probably needs to be pulled again.
Now Jump off the left ledge, far enough to the left to undo the switch. Bounce on the enemy's head.
After bouncing on the enemy, try to land back onto the platform you jumped off of.

When you get close to the walls, jump on the enemy's head.
This should let you bounce up onto the first wall.
Go right and collect the puzzle piece.

Jump rightward from the puzzle piece. Your goal is to bounce off the enemy's head, but not kill him.
After you bounce, you want to land on the platform above. You need that enemy to be alive, so make sure you go far enough to the left to bring it back to life.
Walk to the right, so the enemy grabs the key.
Drop off the left edge of the platform and kill the enemy, taking the key.
Reverse time to get back on the upper platform.
Climb the ladder.
Use the key on the locked door, then grab the puzzle piece.

Head back down and go through the exit door.
This will take you to World 4-4, "Hunt!"
Make your way to the top platform. You should bounce on the enemy to kill it.
Go down the first ladder. Bounce off the enemy on the platform below.

Land on the platform to the left.
Kill the enemy to your left, but don't go too far left, or the one on the top platform will come back to life.
Drop down to the right. Then kill the enemy on your left.
Now drop down to the bottom floor and dispose of that enemy.

Climb the ladder to your right. Bounce on the enemy here.
As you bounce, head a bit to the left to keep the enemy alive. Then bounce on it again to get up higher.
You should be able to land on the upper-right ledge.
Now stomp on the final enemy here. The door above will open.
Climb up the ladder and grab the puzzle piece.
Go through the door in the bottom right corner.

This is World 4-5, "Movement By Degrees".
Head to the right. As you do, the enemy will move toward you.
There will be snapping plants that come out of the pipes. The plants run at normal time. Do your best to keep the enemy alive as it passes the plants. Climb up the ladder and get on the small platform to the left of it.
When the snappers go down, jump over to the platform on your right and keep heading right until you hear the sound of the enemy picking up a key.
Go back to your left and grab the key. The enemy will probably have dropped it when hitting a snapping plant.
Climb up the ladder and head to the left ladder. Climb it, then unlock the door on your right and grab your first puzzle piece.
Stand under the other puzzle piece for a bit, for a good place to rewind to.
Go to the lower-right of this level. You'll see some snapping plants that go forward and reverse with time as you move. Enemies will fire out of the cannon and are time-protected.
You're goal is to get that time-protected enemy over to the puzzle piece. Walk to the left to get the middle snapping plant down in the pipe.
Then quickly rewind back under the puzzle piece.
This should drop the last plant, letting the enemy over to the puzzle piece (note I already grabbed the piece before taking this photo.)

Bounce on the enemies head.
You should land on the platform with the puzzle piece. Stand up here for a while, using it as a rewind point.
Go down to the bottom right. Let another enemy past the snapping plants.
Rewind up to the platform after the enemy passes the second snapping plant.
Jump on the enemy's head to get onto the platform above.
Stand up here for a while to use it as a rewind point.
Now you want to go down and get another creature across.
Rewind, back to the top platform.
Jump from the highest part of the platform, onto the enemy's head.
You're goal is to bounce over the first snapping plant.
Try to jump past the second snapping plant. You will fail, but this is what you want.
You want to suspend yourself in place at a point where the third pipe has no plant.
After the enemy passes the third pipe, rewind yourself back past the plant.
The enemy should make it past the pipe.
Jump on the enemy's head to bounce over the second snapping plant.
You can easily jump over the third snapping plant. Jump on the cannon.
Now you can grab the star!
Rewind yourself back to where it's easy to get to the bottom-right door, then go through it.

This is World 4-6, "Movement, Amplified".
Go up the large ladder on your right, onto the second set of clouds. Run to the right and make a leap of faith off the end of the cannon.
You'll land on a cloud that quickly comes to you.
Jump off the end of the cloud, landing on a platform.
Jump onto the platforms on the right to grab the first puzzle piece.
Go back to the left and get onto the lower set of clouds. You need to get the enemy at the bottom over to the far left without hitting the snapping plants.
Keep going to the right until you hear the enemy grab the key.
Now head back and get the key.
Get on the bottom row of clouds, then climb the ladder on your left to get to the top row.
Jump over the plant.
Unlock the door and grab the puzzle piece.
Go through the door in the lower-right.

This is World 4-7, "Fickle Companion".
Grab the key and jump over the spike pit.
Go up the ladder, then head for the lever on your right. Drop off the right side of the platform.
Open the door. Kill the enemy when it wanders to the right.
Quickly run to the left, under the door you unlocked. The door will be locked again. An enemy will shoot out of the cannon.
The enemy should grab the key.

Go to the right of the ladder and wait for the enemy.

Kill the enemy, take the key, open the door to your right, and take the puzzle piece.
Rewind to get back out of this area.
Rewind yourself back to the lever you passed.
Flip the lever, then go down and kill the enemy.
Another enemy should pop out of the cannon. Walk to the left to get the platform to catch the enemy.
Keep walking left. The enemy should end up on a platform above you, hopefully carrying the key.

Climb up the ladder after the enemy passes.
Jump on the enemy's head before it gets to the end of the platform, but after it passes the ladders.
You'll land on the platform above.
Go down the ladder and grab the key. Don't go too far left or you'll lose the key.
Climb up the ladder and open the locked door to your right. Grab the puzzle piece.

To get a hidden star, rewind to the beginning of the level. Grab the key and climb up the first ladder, to the top of the platforms. Head to the cannon on the right. You want to jump on the enemy's head as it comes out of the cannon. Before you can do this, you'll have to kill the enemy that is likely wandering at the bottom of the level, then quickly rewind up here.
After you bounce on an enemy, freeze time until another enemy gets shot out of the cannon. Continue time and bounce on this enemy's head too.

If successful, you'll land on a hidden platform above you.
Stand up here for a bit, making a good rewind point, then head to the right and drop down.
Climb up the ladder on your left. The key should stay on the platform above, as long as you don't go too far left. Stand on the platform, near the left side of the ladder (closer than my picture shows.) Stand for a bit to make a good rewind point. Go down and kill the enemy wandering on the ground, then quickly rewind to this spot.
Jump to your left. Rewind yourself up into the enemy as it gets shot out of the cannon. You want the enemy to bounce on your head.
You want to be able to rewind some more and bounce the enemy off your head a second time, launching it up onto the platform with your key.
Wait until the enemy grabs the key.
Then rewind yourself up onto the platform.
Jump over the enemy without killing it.
Get on the ladder and wait near the bottom of it for the enemy to get close.
Go up the ladder as the key touches you. If timed right, you'll take the key from the enemy.
Open the locked door.

Wait past the door for a bit, making a rewind point.
Go back out the door, making it locked again.

Your key will appear back on the lower platform near the enemy.
Let the enemy grab the key, then rewind to the lever, past the locked door.
Pull the lever.
Let the enemy go past the wall that opened on the left.
Head to the left, which will close the wall.
Get on the lower part of the ladder and steal the key from the enemy again.
Climb the ladder, then open the door to the right.
Keep heading right. You'll find a star!

Now just drop to the right and keep going.
You'll find the dinosaur, and the end of this world.

If you look outside, you should see 4 stars shining in the sky at this point.
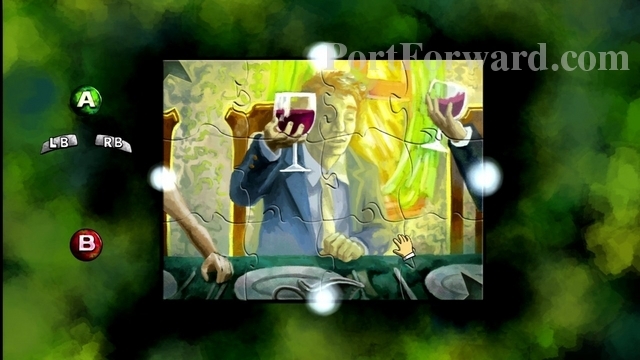
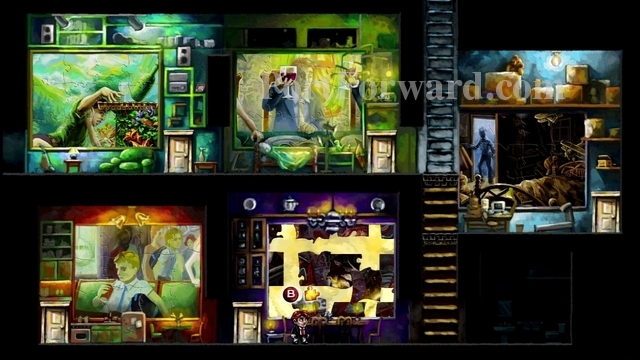
Press B on the puzzle.
It should look like this when solved.
Braid Walkthrough World 5
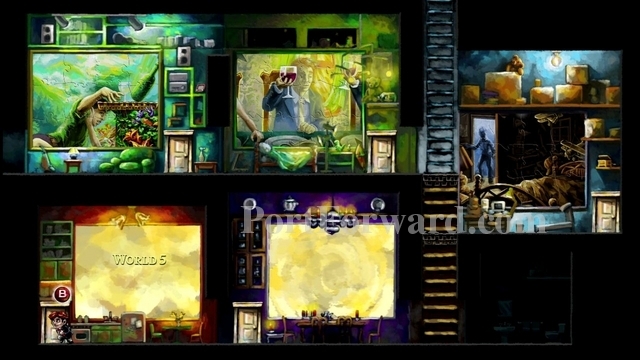
Enter the door for World 5, in the bottom-left corner of your room.
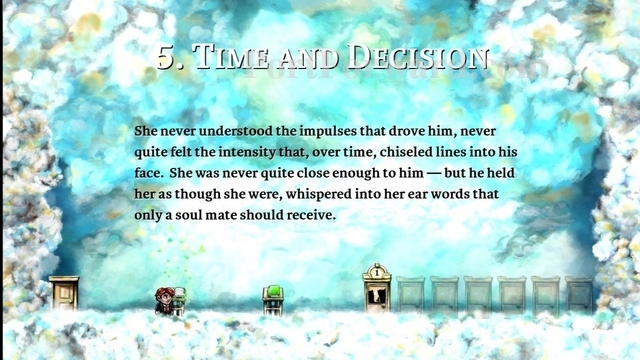
Read the books for some story.
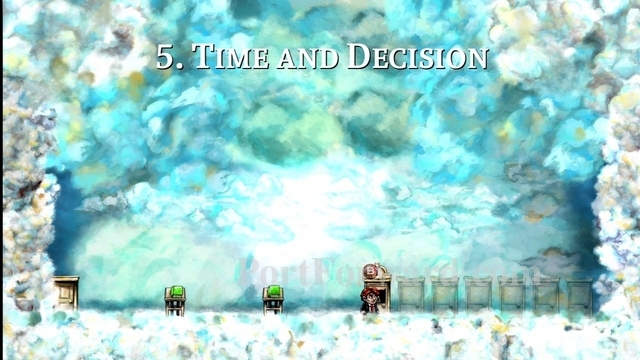
Then enter the door on your right.

This is World 5-1, "The Pit".
Jump down into the pit and grab the puzzle piece.
Rewind yourself back out of the pit, thus losing the puzzle piece. Your shadow will retrace your steps, jumping back in the pit.
Your shadow will collect the puzzle piece for you.
Jump over the pit and go through the door on your right.
This will take you to World 5-2, "So Distant".
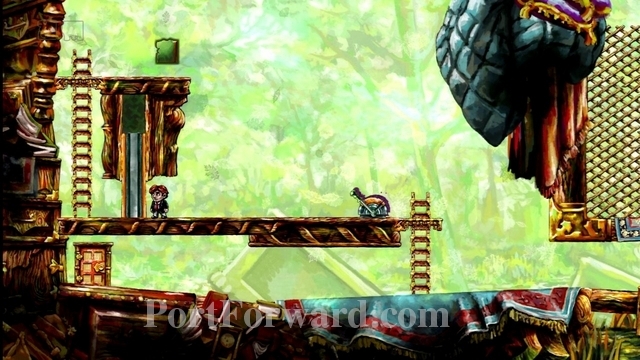
Go up the ladder and stand in front of the wall on your left for a few seconds.
Then walk back to the lever you passed. Pull the lever.
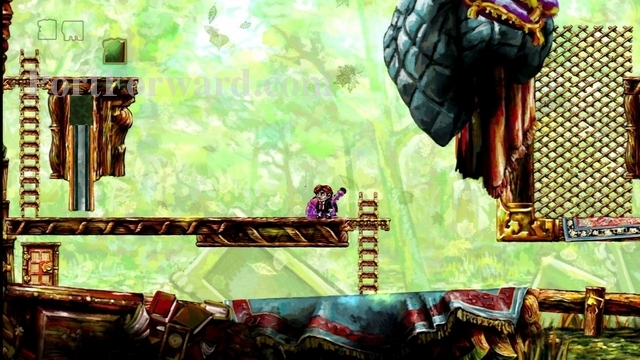
Rewind yourself back to the wall on your left.
You shadow will pull the lever for you, letting you pass.
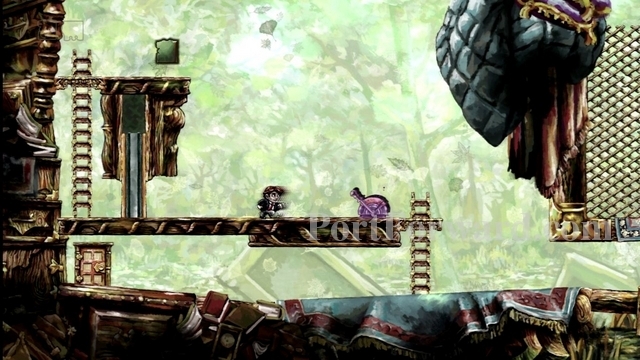
Go up the ladder and grab the puzzle piece.
Jump on the enemy's head to get up to the switch.
Wait for a few seconds, then pull the switch.
Rewind to when the enemy was still alive. Now jump on the enemy's head to get to the left platform, with the movable wall.

The shadow should pull the switch, letting you through. Go up the lattice and grab the puzzle piece.
Go through the door in the bottom-right corner.

This is World 5-3. It has no name for some reason.
Go up the lattice and head to the right, dropping down and grabbing the key.
Jump over the spike pit on your left, making it as far over as you can. You'll die, but that's ok.
Rewind to the other side of the spike pit.
Your shadow will go pick up the key as you did, and jump into the spike pit.
If you are close enough to the edge of the spike pit, the shadow should give you the key.
Go up the lattice and open the door on your left, gaining a puzzle piece.
Head to the right. Jump over the gap.
Wait on the right side of this platform for a bit, then head back to the left.

Drop down in the gap and let the bunny attack you.
Rewind yourself up to the platform above.
Drop down to your right. The shadow should get the attention of the rabbit.
Quickly climb up the ladder before the rabbit comes after you. Grab a puzzle piece here.
Rewind yourself back to the platform above.
Platform to the upper-right. Go through the door found here.

This is World 5-4, "Crossing the Gap".
Go to the right, up a little ladder.
Then go up a bigger ladder on your right. Go left at the top of the ladder.
Go up the next ladder and get to a lever. Pull the lever.
Jump down and kill the enemy down here.
Rewind back up to the lever. Your shadow will go down and kill the enemy.
Made sure you're over to the left, near the cannon. A new enemy will pop out of it. Jump on its head to get to the platform above.
Jump over and grab the puzzle piece.
Make sure the platform is to the left.
Go down and kill the monster.
Rewind yourself back to the lever.
Get onto the platform below.
When the monster drops into the gap, jump and bounce it up to the right. This will kill you, so rewind.

Then your shadow will bounce the enemy.
When the enemy is near the rug, bounce on it, landing on the rug.
Grab the puzzle piece.
Now get to the right of the far-right ladder.
When an enemy comes, make it bounce off your head.
Rewind a bit.
Climb up the ladder and let your shadow bounce the enemy.

Jump on the enemy while it's up in the air. If successful, you should land on the platform with a puzzle piece.
Go back to the lever. You want to get the platform back to the left if it isn't.
Drop down and kill the enemy.
Rewind up to the switch.
Your shadow will kill the enemy.
Go onto the platform below you. Jump into the bottom of the enemy when it drops into the gap.
Rewind to the switch.
Now your shadow should bounce the enemy up to you. Jump into the bottom of the enemy to bounce it again, then rewind and have your shadow do it.
Continue bouncing the enemy until it hits a platform and turns around.

Then bounce the enemy to the left.
Eventually, the goal is to bounce the enemy to the upper-left platform, where there was once a puzzle piece.
Another enemy will shoot out of the cannon. Jump on it to get up to the other enemy.
Bounce off the enemy's head. You should land on a hidden platform above.
Jump up here and grab the hidden star!
Exit through the door on your lower-right.

This is World 5-5, "Window of Opportunity".

Climb up the ladder and head right.
Jump over the gap to your right.
Take the key from the enemy.
Go down the ladder. Head left and unlock the door.
Rewind back up to the platform where you got the key.
Jump off to your left and unlock the door.
Quickly jump onto the other locked door, before your shadow comes and unlocks it.
Get on the ladder to your left.
Drop down to the switch and pull it.
Go to the right and climb up the ladder, then jump over the gap to the left.

Go down the ladder and get the puzzle piece.
Climb back up the ladder and head right, jumping over a few gaps until you see another puzzle piece.
Wait for a few seconds and then pull the lever, then jump on the platform on your right.
Rewind a little ways before pulling the lever.
Quickly get down the ladder and over to the right before the floor starts going up.
Pull the lever on your right after you wait a few seconds.
Rewind yourself back up to the top.
Go pull the lever for your shadow below.
Get on the platform to the right. If all goes well, the floor will rise for your shadow and then he'll pull the lever.

This will make your platform go up. Jump over to the left and grab the puzzle piece.
Go through the exit in the bottom-right corner.
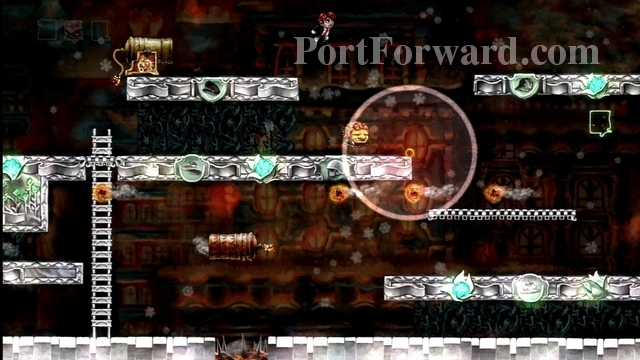
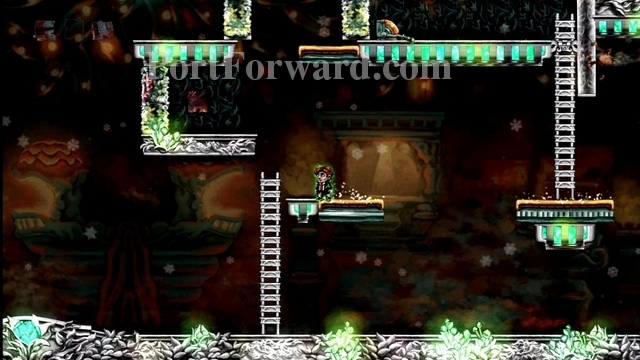
You're now at World 5-6, "Lair".
Jump over the spike pits to your right.
Get near the boss to activate him.
Climb the lattice, up to the chandeliers. Drop a chandelier on the boss' head.
Rewind so that the chandelier is back in place.
After you rewind, your shadow will drop the chandelier on the boss' head again.
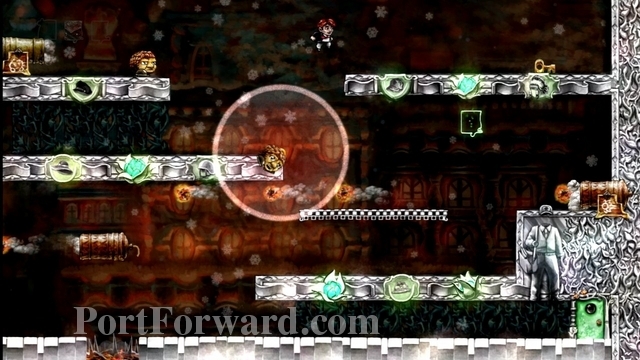
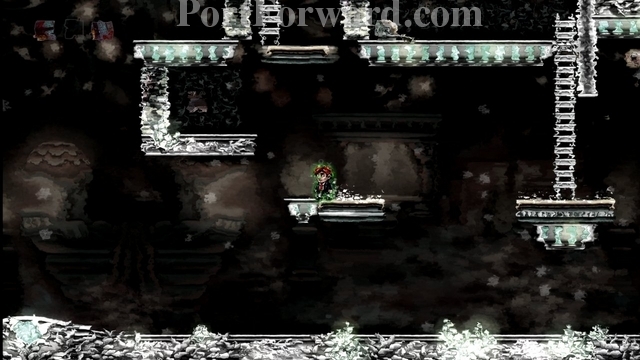
Continue, until the boss dies and drops a key.
Go get the key.
Take the key to the left, where you find a locked door at the top of some lattice.
Go over to the lever and wait a good 10 or so seconds.
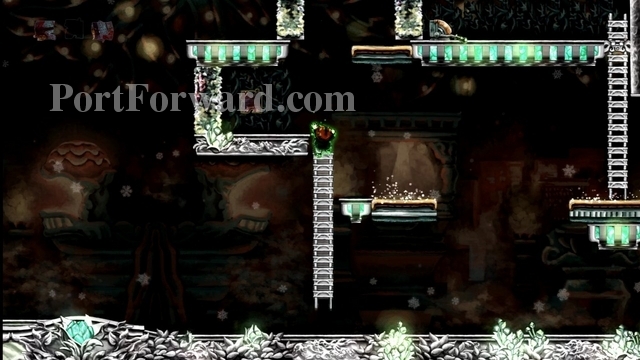
Pull the lever and rewind yourself back near the boss (but don't bring him back to life!)
Open the locked door on the right.
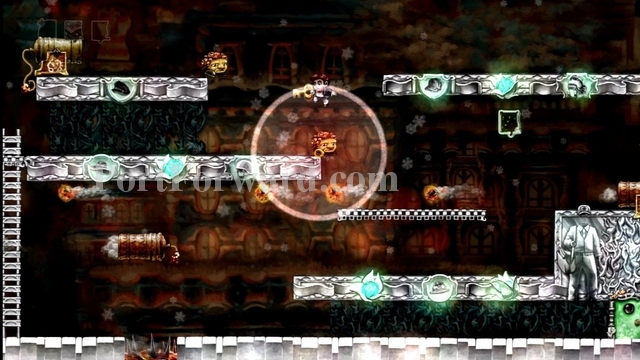
Go to the movable wall on your right and wait for it to open.

Your shadow will hopefully open it, letting you grab a puzzle piece.
Exit through the door here.
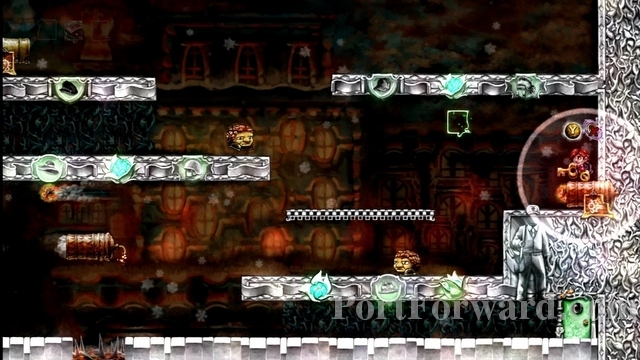
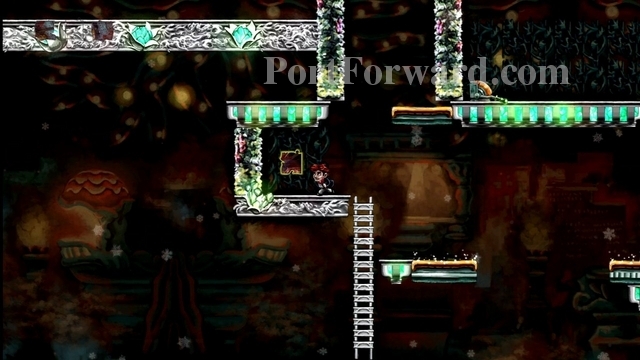
On to World 5-7, "Fragile Companion".
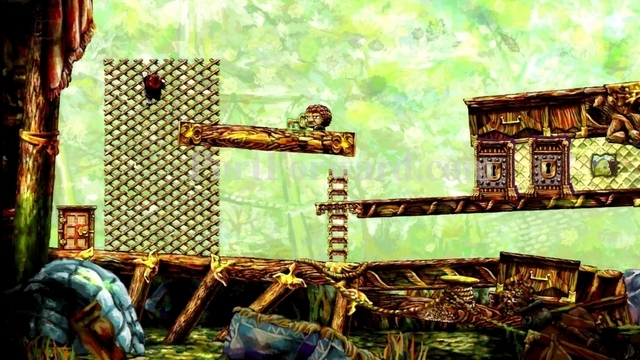
Climb up the lattice.
Jump on the enemy and take the key.
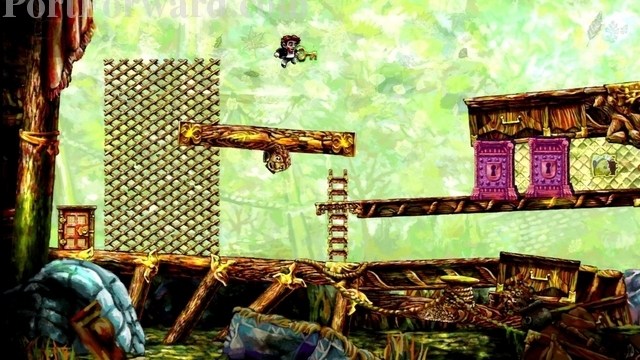
Jump toward the locked door.
hen you are extremely close to unlocking it, rewind yourself back to the platform. If you accidentally unlock the door, exit the room and come back in.
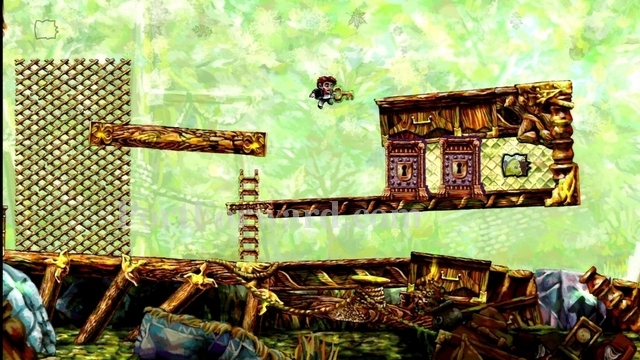
Your shadow should make the jump you did.
The door will actually open for your shadow.
Now you can use your key to open the second door. Take the puzzle piece.
Walk to the right of this area to end this world.
Press B on World 5's puzzle board.
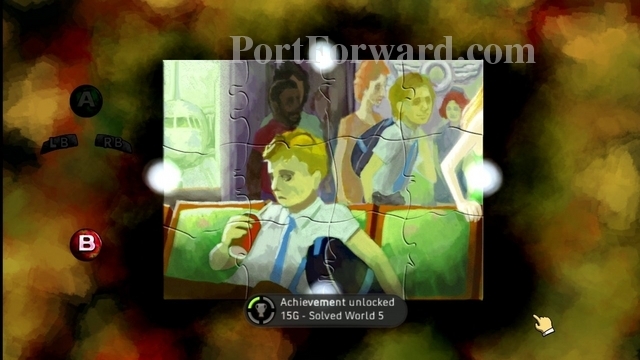
When you complete it, it should look like this.
You should now have 5 stars lit in the sky.
Braid Walkthrough World 6
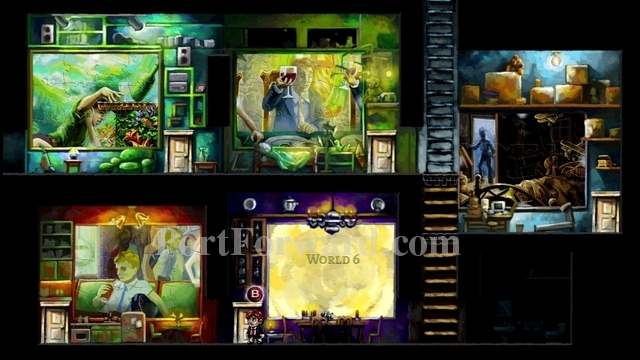
Enter the door to World 6.
Read the story, then enter the room on your right.

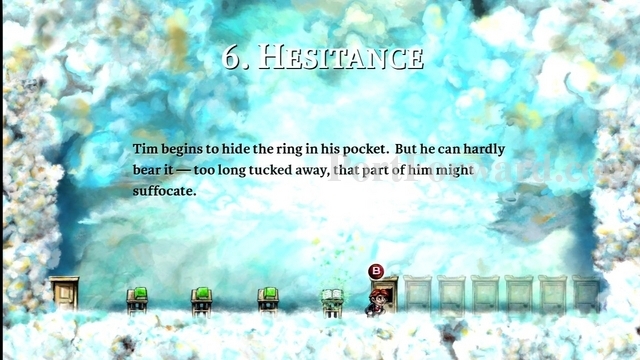
You'll start World 6-1, "The Pit?"
There are no puzzle pieces in this area.
Instead, it's just a place for you to test out this world's ability, the ring. Press Y to place the ring on the ground. You'll see that time moves slower near the ring. Press Y again to pick up the ring.
Jump over the pit and exit through the door on your right.

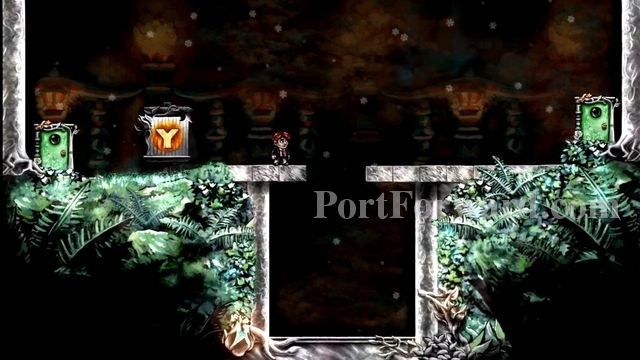
You'll come to World 6-2, "There and Back Again".
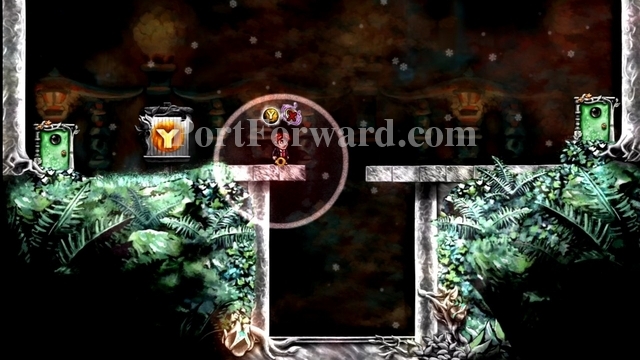
Quickly place the ring next to the locked door, slowing the falling wall.
Climb the lattice and grab the key at the top of the level.
Go back down and use the key on the locked door.
Grab the puzzle piece and get out, before the wall gets in your way.
Exit through the door on the bottom-right.

This is World 6-3, "Phase?"
Climb the lattice and get on the platform.
Jump on a cloud and drop your ring on it to slow it down.
When the cloud to the right is close enough, pick up the ring and jump to it.

Place your ring on this cloud to slow it down as well.
Keep doing this routine, until you reach the cannon. From here, grab the puzzle piece.
Head to the right and climb to the top of the lattice.
Drop your ring just to the left of the flower.
Go down the lattice to a platform. Jump onto a cloud headed toward you.
Jump off the cloud. The ring should slow you down.

Hopefully enough so you will land on the next cloud shot out.
Get on the cannon and grab the puzzle piece.
Head over to the right door and exit.

The next room is World 6-4, "Cascade".
Head to the right and go up the ladder.
Go to the right and drop onto the platform to the right of this one.
Jump over to where the cannon is.
Place the ring on the cannon.
Get back on the platform to your left. Bounce on an enemy's head to get the first puzzle piece.
Go pick up your ring.
Drop down to your left and climb back up the ladder.
Place your ring on the very right edge of this platform.
Bounce off an enemy as it is about to drop off the platform.
Without touching the ground, bounce off the next enemy that comes.
You may even need to bounce on a third enemy.
Land on the platform with the cannon.
Jump over the enemy that comes out of the cannon.
Jump onto the enemy when it is in your ring's time circle.
You should bounce high enough to get to the upper-right platform.
Grab the key, then pick up your ring.
Place the ring on the cannon again. Let a creature drop down below the cannon's firing range, then pick up your ring and follow the enemy.
The enemy will drop down near the spike pit. Remain on the platform above this.
Jump from the platform, onto the enemy.
You want to bounce up onto the cannon, found above the spike pit. Drop the ring on the cannon.
Climb the ladder on your left halfway up. Go left on the platform there, where the cannon shoots into. Open the locked door.
Stand at the lever and pull it. Now head back to the right. Jump a fireball near the unlocked door.
Then dart to the right. You should just make it out.
Climb the ladder and jump over the pit on your left.
Drop to the left, collecting a puzzle piece as you fall.

Now use the door in the lower-left to exit this area, then reenter the area.
Climb up the ladder and jump over the spike pit on your left. Place the ring on the left side of the spike pit.
Bounce on the monsters' heads until you land on the upper platform.
Grab the puzzle piece on your left.
Now exit this area, using the door on the lower-right.

This will bring you to World 6-5, "Impassable Foliage".
Place the ring under the upward-moving wall.
You are waiting for the leftward-moving platform to get past the upward-moving one. Go ahead and kill the creatures while you wait.
Pick up the ring when you are certain leftward-moving wall is far enough.
Climb up the first ladder. Place the ring under the pipe.

Now climb the ladder to your right. You should be able to walk leftward, past the snapping plant, now.

Get the puzzle piece on your left, when the platform is over the fiery spike pit far enough.
Go grab your ring now.
Climb the ladder on your right and jump over the gaps to the right.
Use the time ring to sync up the snapping plants.
Now pause time, letting some creatures walk by the pipes.
Go to the left, where the monsters fall down to your platform. Bounce on two of them in a row, bouncing you high enough to get on the upper platform.
Grab the puzzle piece on this platform.
Get to the right of the first pipe on your right. Freeze time, letting some creatures go by you.
Double-bounce off a few of the creatures.
You want to land on the hidden platform above.
Jump onto the platform on the left.
Place your ring on the platform, about 2/3rds of the way over the spikes (closer to the right side of the pit), then drop onto the cannon.
Jump onto an enemy that gets shot out of the cannon.
You'll bounce up near the ring, slowing your bounce.
You want to continue to bounce off enemies that get shot out of the cannon.
After bouncing off a few of them, you should land on the lower part of the platform above.
Head right and grab the star!
Exit through the door on the lower right.

Now you'll come to World 6-6, "Elevator Action".
Go up the second ladder on your right. Dodge the fireballs as you climb to the top.
Pull the lever at the top.
Ride the platform down and grab the key. Kill the bunny that gets in your way.
Pull the switch and ride the platform back up.
Place the ring on the far-right of the moving platform, then pull the switch.
Now you should go back down the ladders, while the ring slowly descends with the platform. This will slow down the cannons, letting you pass.
At the bottom, pick up your ring.
Climb up the ladder on the left and open the locked door. Pick up the puzzle piece.
Head to the far-right of this area. Climb the ladder here. Drop your ring near the lever.
Pull the lever and get on the platform that drops with the ladder on it.
Stand on the right side of the platform. Rewind time so the platform is all the way up. Make sure you don't rewind too far or your ring will disappear.
Jump onto the platforms on your right, over any fireballs that fire. Grab the puzzle piece.
Go pick up your ring.
Pull the lever.
Place the ring at the bottom of the ladder, found on the moving platform.
Go pull the lever again.
Wait until the platform the ring is on is at the top. Then pull the lever again.

The leftward-moving platform should get past the downward-moving platform.
Go grab your ring, then climb up the ladder.
Pull this lever.
It'll drop a ladder on your left. Go climb this ladder and stand in the time-proof area on the platform to the right of it.
Rewind time, so the ladder is back at the top of the screen, but don't rewind too far or the switch will revert back as well.
Let time resume, jump on the ladder and reverse time a little bit (while you're still protected from time.)
You want to jump over to the puzzle piece on the left.
Now exit this area, using the door on the lower-right, but come right back in.
Repeat your steps to get the ladder down. Rewind so it is back up, but not too far so the switch doesn't revert.
Jump onto the ladder when it falls, and rewind very quickly to get the ladder back up. Jump over to the left.
Drop off to the left and pull the lever.
Go down to the crazy bunny again, but don't kill it.

Pull the lever and bring the bunny up. If you or the bunny dies, rewind and find a way to keep you both alive.
Place your ring between the platform with the star and the platform on your right. Bounce off the bunny when it leaps at you.
You want to land on the right platform.
Stand in the time-proof area. Rewind the bunny back to life.
Jump onto the bunny as it makes it's leap.
You want to bounce up to the platform with the star.
You can pause the game and exit the current world if you want.
Then just enter the final door on your right.

This is level 6-7, "In Another Castle".
Climb up the ladder. Place the ring as far right on this platform as you can.
Drop down and wait a few seconds, basically for a rewind point for your ring.
Go back up the ladder and grab your ring.
Now drop down and jump over the spike pit. Place your ring near the cannon.
Climb up the ladder.
Stand in the time-proof area on the left. Rewind time so that the ring appears over to your left.
Now pull the lever. The platform with the key and ring should start moving rightward.
Drop down and get near the spike pit. Wait for the ring and key to fall. Jump and grab them mid-air. Make sure you hit Y to grab your ring at the same time.
Place your ring near the cannon again.
Climb up the ladder the cannon is shooing at. Open the door on your left and grab the puzzle piece.
Head to the right. You'll find the dinosaur, ending this World.
Press B on the World 6 puzzle.
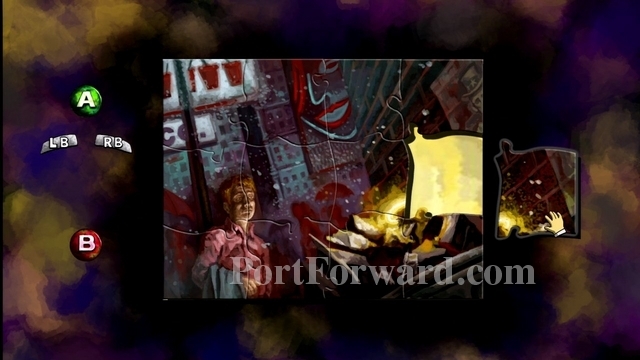
Put it together.
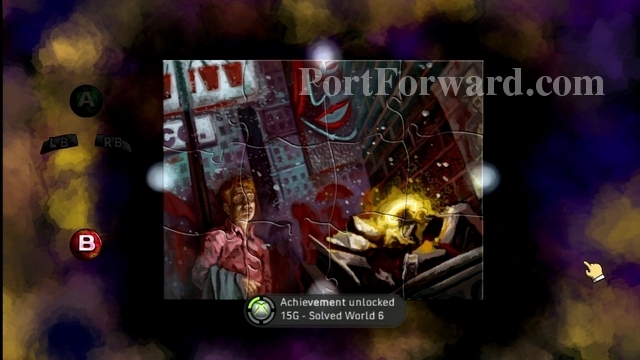
It should look like this when complete.
You are now only missing one star!
Braid Walkthrough World 1
Climb up the new ladder in your house.

You'll find an attic. This is actually World 1. Enter the door.
Read the story and go in the far-right door.

This is World 1-4.

You'll notice the enemies move in reverse. Stand where they come up through the ground.
They will now walk on the ground. Bounce off one to get up to the door.
Exit through the door.

Now you'll come to World 1-3.
Again, the enemies go in reverse. Stomp on the enemy as it comes out of the ground.
Climb up the ladder and wait for the enemy to reverse up to you.
Bounce off the enemy's head to reach the door.

This is World 1-2.
Bounce off the enemy's head again. You probably want to do this to two enemies.
When the first enemy goes upward, bounce on his head, launching you up with him. It may take several tries.

Then ride up on the enemy's head, landing on the platform to your upper-left.
Now when the second enemy comes, bounce off its head and land at the door.
Exit to the next level through the door.
And now you've reached the final level, World 1-1, "Braid".
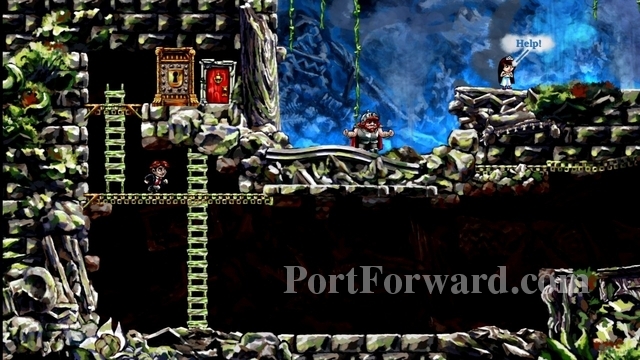
Your nemesis will have the princess. She'll scream for help.
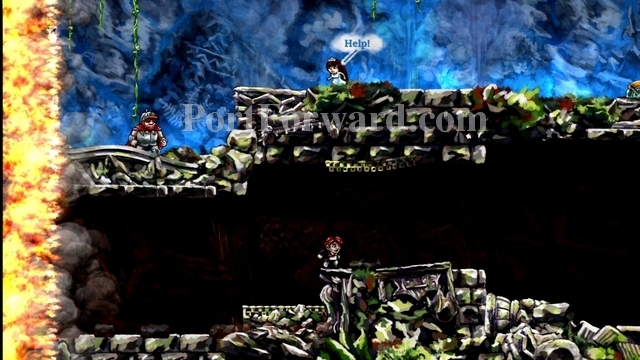
Your nemesis will knock down a platform, letting you head right.
The princess will pull switches at the top to help you. She'll open this wall for you.
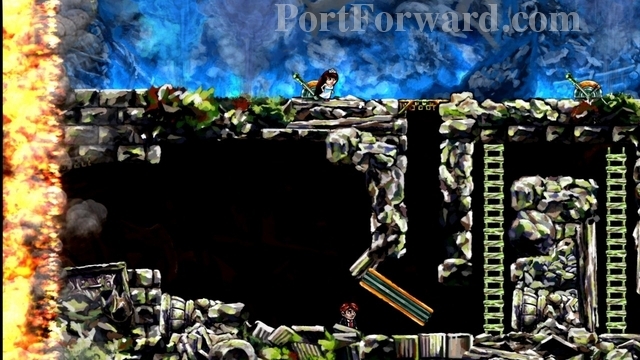
Keep heading right. You'll come to a pipe with a snapping plant. If you can't seem to get by it, rewind and try to be faster.
There will be a wall blocking your path. The princess will lower it just in time, so you don't get burned by the fire wall.
Jump into the spike pit when the fire gets close to you.
You should land on a platform the princess lifts for you.

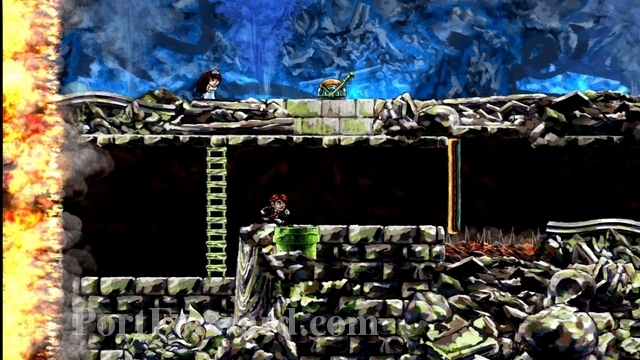
You'll come to a cannon shooting fireballs. Jump over the fireballs, then climb the ladder and pull the time-proof lever.
Rewind to just before you got to the cannon.

Dodge the first fireball, then climb down and head right. The cannon shouldn't fire anymore.
Quickly get through the lattice. When you go down the lattice, you may just want to press A to drop instead.
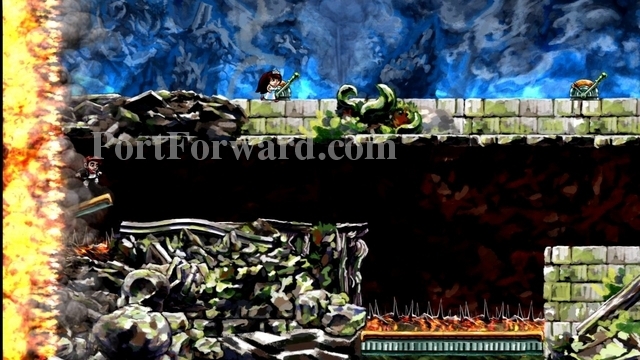
Jump over the spike pit to your right. You want to get to the first enemy you see before it gets up on the ledge. You want to use this enemy to bounce you up there. If you don't make it in time, rewind and try to be faster.
Double-bounce on some enemies to get to the time-proof switch. Pull it.
Rewind to when you first bounced up using the enemy.
Ignore the lever and head right as fast as you can. Jump over the enemy without bouncing on it.
Soon you'll find a pipe with a snapping plant. You want to get here fast enough to jump over this plant. If you can't do it, you can rewind and try to be faster.
By getting past the first snapper fast, you'll be able to get by the second one faster.
Continue to the right if you want the standard ending. You'll end up rewinding back to the beginning and go through the door. If you want the extended ending do this: Stand where the broken chandelier is and wait for the princess to put it back together. Jump on it and make sure you try to get on the lattice above. You only have one shot at it.
Go up the ladder to the right.
You'll find the final star to the right!
Now head all the way to the left and go through the door.
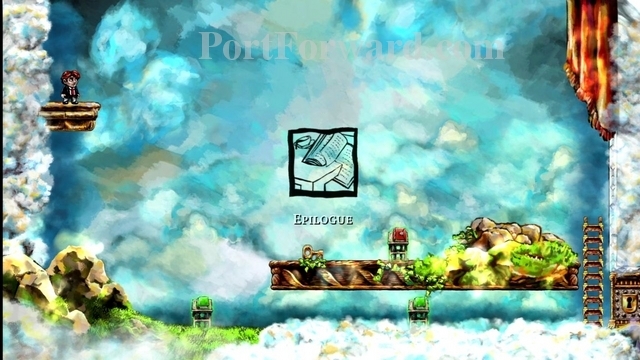
Congratulations! You'll reach the Epilogue. Read the books for the story.
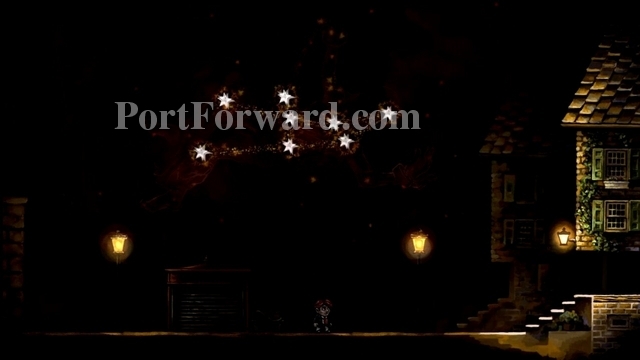
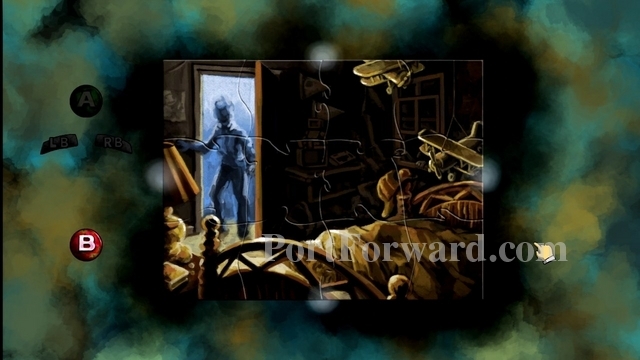
When you get back. You'll see all the stars in the sky. Press up and you'll see a picture.


 Castlevania: Symphony of the Night Walkthrough Reverse Keep + Reverse Chapel
 Castlevania: Lords of Shadow 2 Walkthrough Prologue
 Bully Walkthrough Introduction