Borderlands 1st release Walkthrough Introduction
Welcome to Borderlands walkthrough! This walkthrough will show you the way to win the game easily (mostly story missions but included few optional missions). Click "Next Page" to continue.
Borderlands 1st release Walkthrough Tips: You Should Know Before Playing
During early game (around level 1-20), search for any loot you can and sell that items. The money you get can be used to buy Ammo, SDU or respawn. Don't buy weapons or armor, you'll find the one you need while looting.
To get more experience: Do missions and hit critical points (usually head because most of the time you fights human enemies).
The second wind (life chance when you HP reach 0) is very useful. If you thinks you gonna die, target one enemies and lowered his HP but don't kill it. Once you get the chance, shoot him and escape.
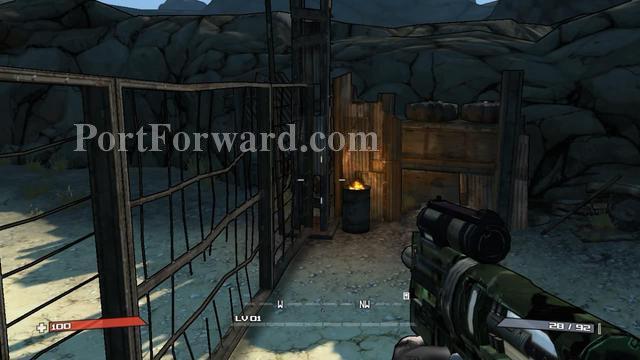
Borderlands 1st release Walkthrough Arid Badlands: Step Out From The Bus
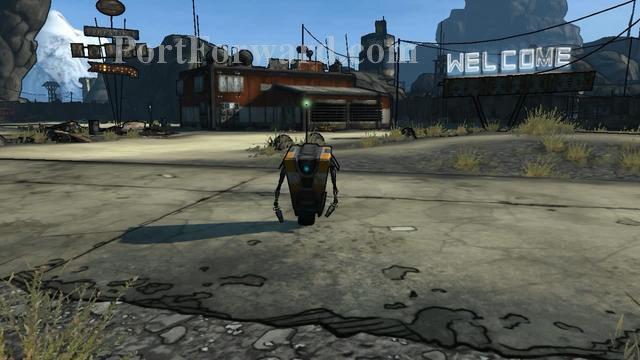
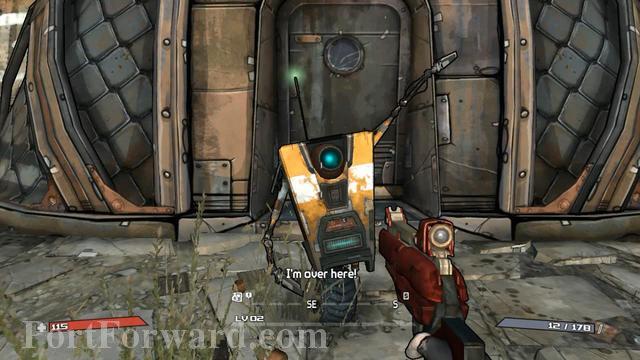
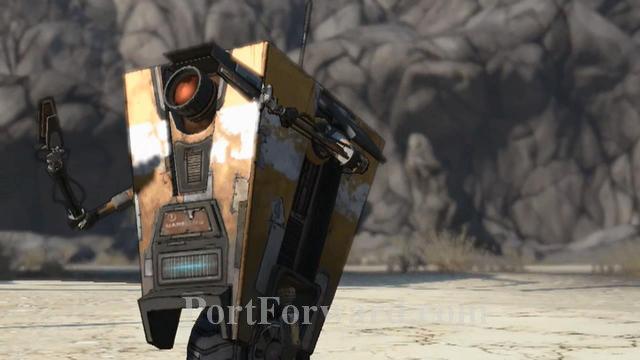
This is the first mission (in other word tutorial mission). You'll meet the robot like in the picture. It'll guide you to next task.
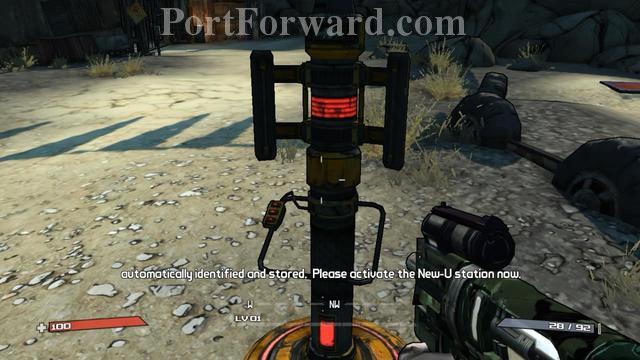
Here, you can customize your character.

After finish customizing, follow the robot and wait for the door to open.
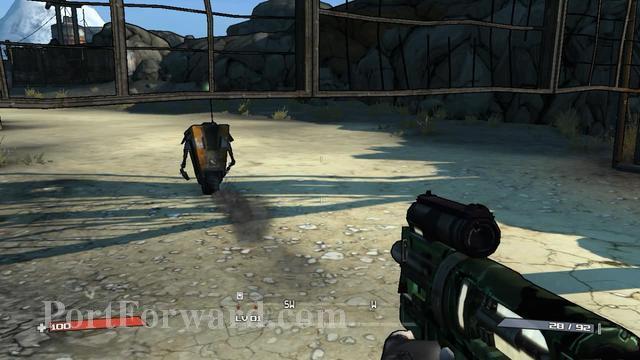
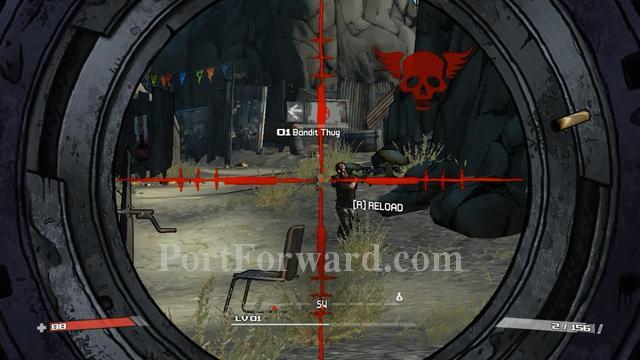
Now, get ready for the first fight.
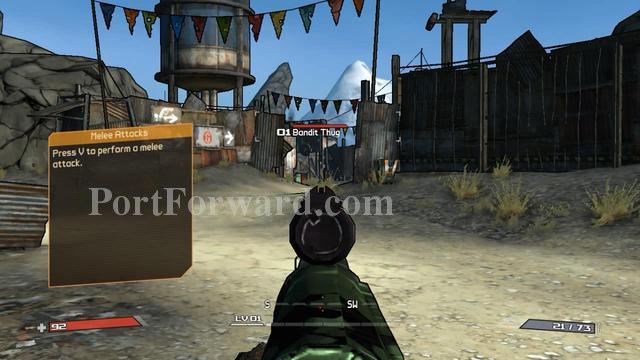
Clear this area.
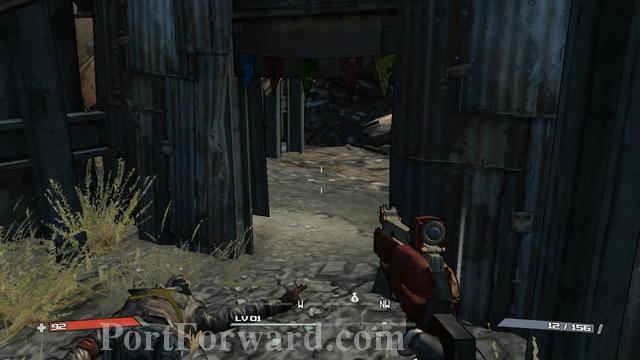
The robot will open a small door. Duck and keep going.
Do the same thing again.
Lastly, go near the robot and you'll get a new and first "real" mission.
Borderlands 1st release Walkthrough Arid Badlands: The Doctor Is In
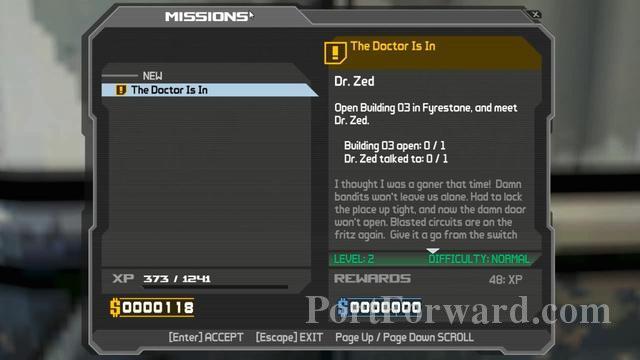
Mission overview.
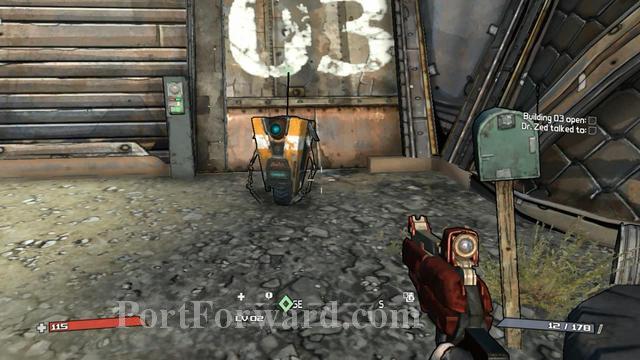
Firstly, find the robot. There's a switch besides it.
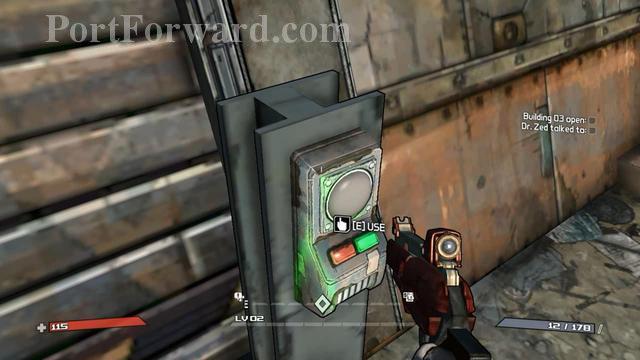
Use to open the door.
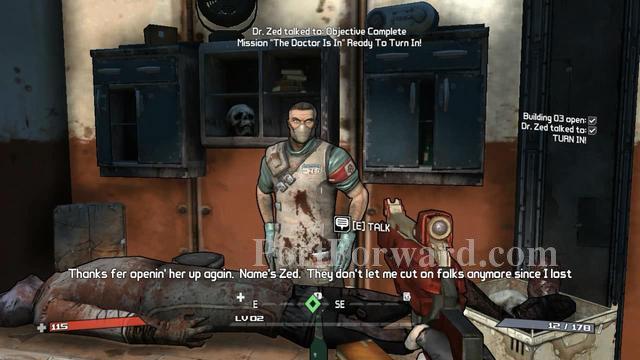
Get inside to finish the mission
Borderlands 1st release Walkthrough Arid Badlands: Skags At The Gate
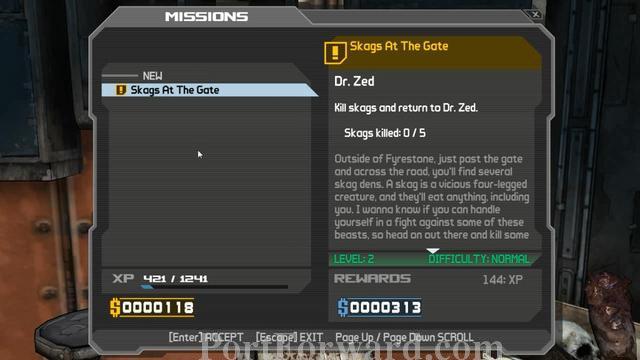
MIssion overview.
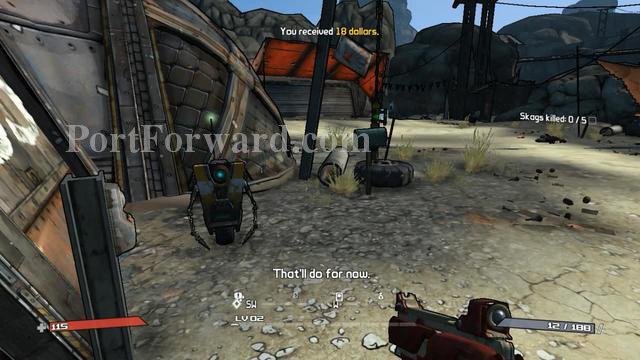
Get out and follow the robot.
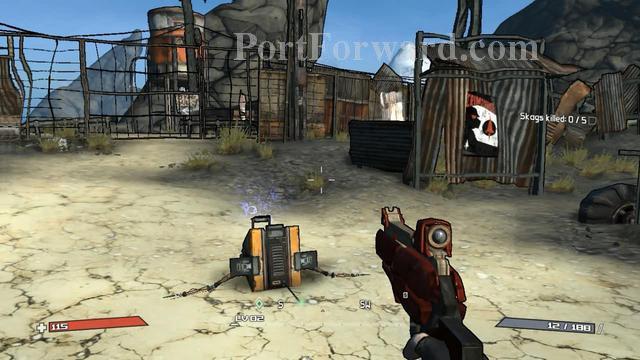
Get ready to fights when the robot was attacked and broken.
After you finish them all. You'll received a new mission. Complete mission "Claptrap Rescue" before continue this mission.
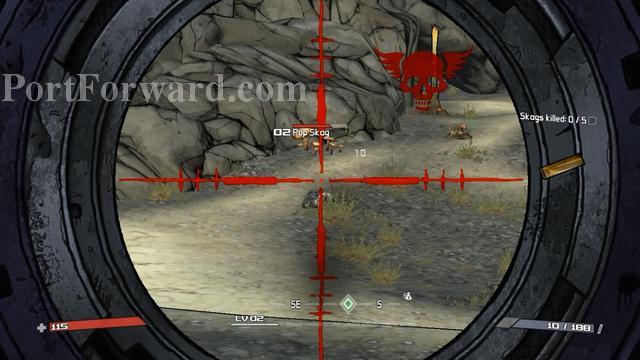
Now, just kill 5 skags to complete this mission.
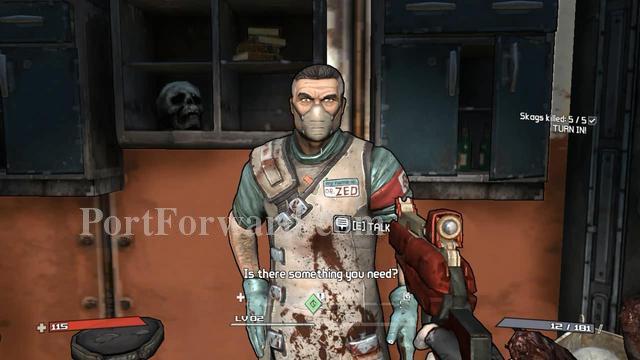
Turn in and misssion accomplished.
Borderlands 1st release Walkthrough Arid Badlands: Claptrap Rescue
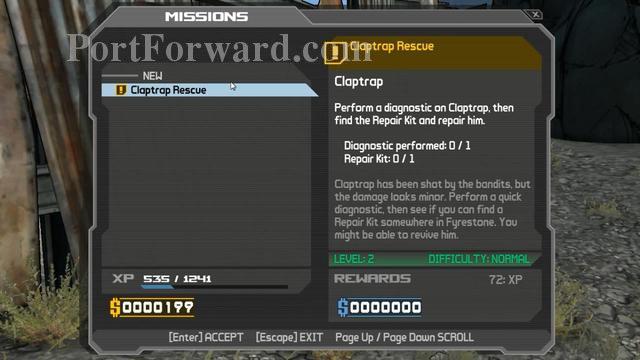
Mission overview
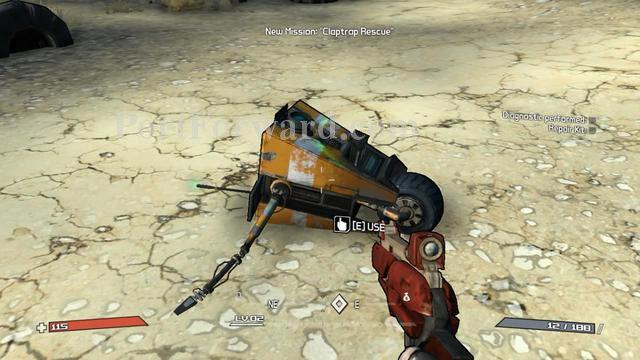
Firstly, go near the robot and press "Use" key.

Go back here and take the repair kit. Use the waypoint or map if you lost.
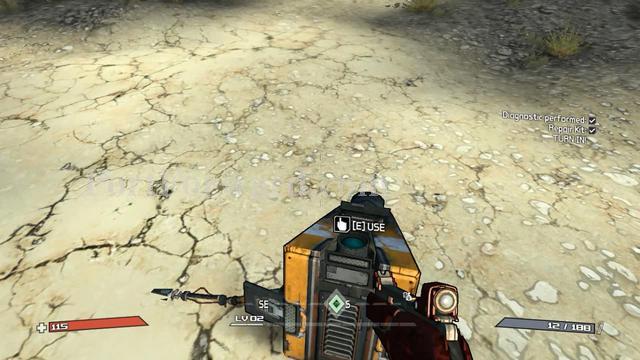
Complete this mission by use it at the robot again.
Borderlands 1st release Walkthrough Arid Badlands: Fix'er Upper
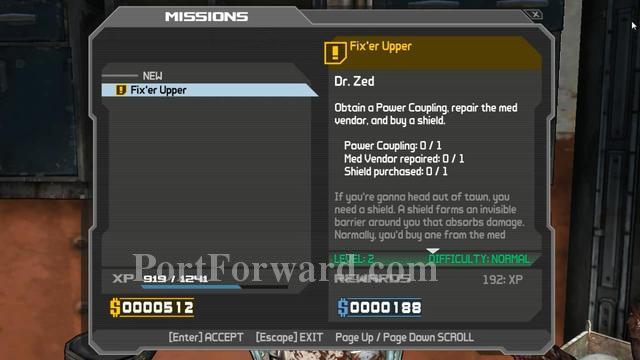
Mission overview.
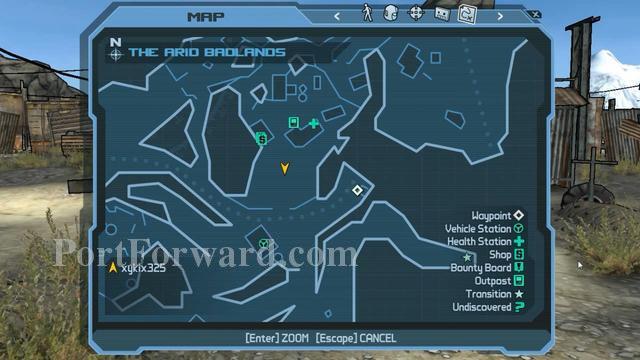
Firstly, go to the waypoint indicated in the map. It just around the corner.
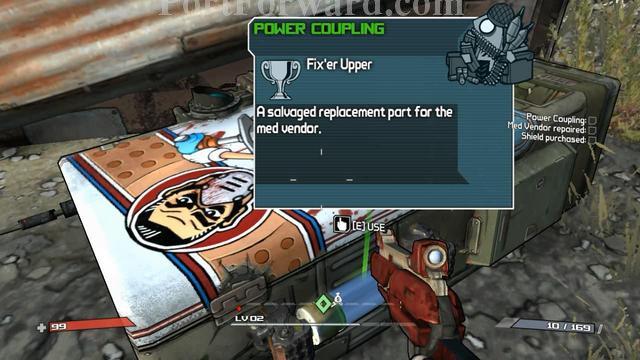
Take this mission item and head back to the doctor store.
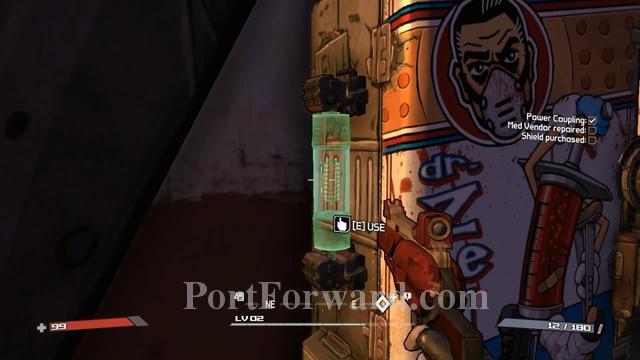
Check the vending machine and use it.
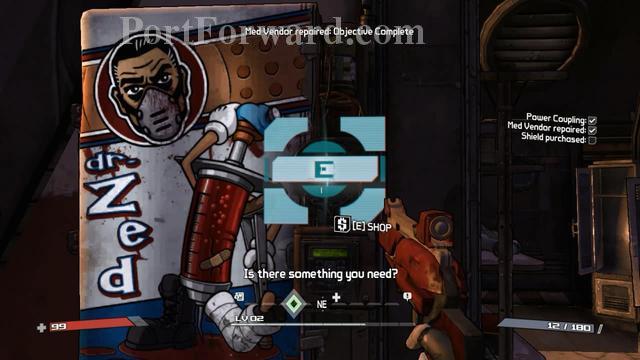
Now you can purchase shield from here. Buy one and equip it.
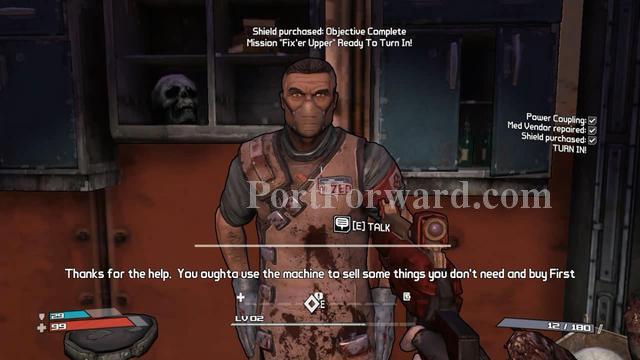
Turn in to complete the mission.
Borderlands 1st release Walkthrough Arid Badlands: Binding Nine-Toes
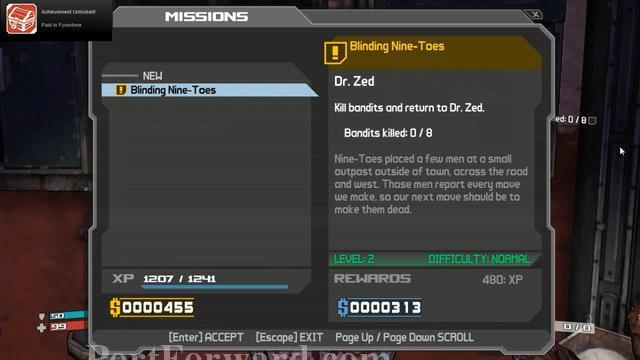
Mission overview.
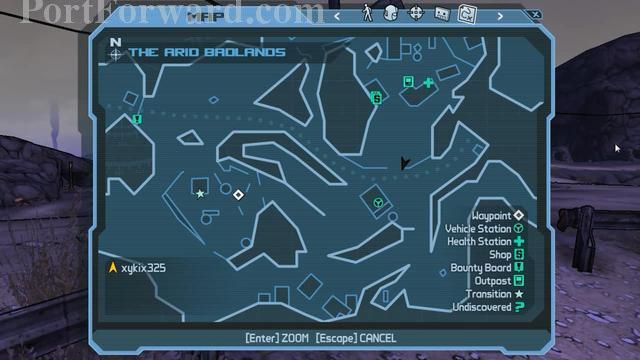
Go to the waypoint.
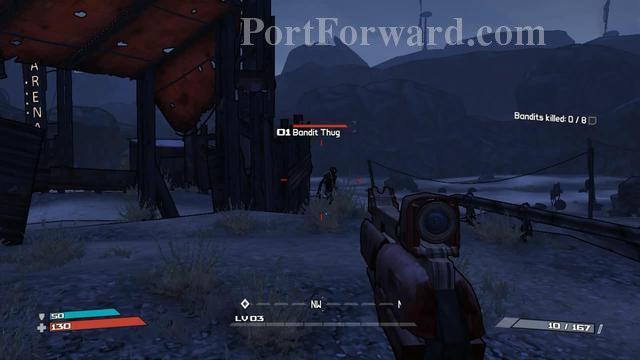
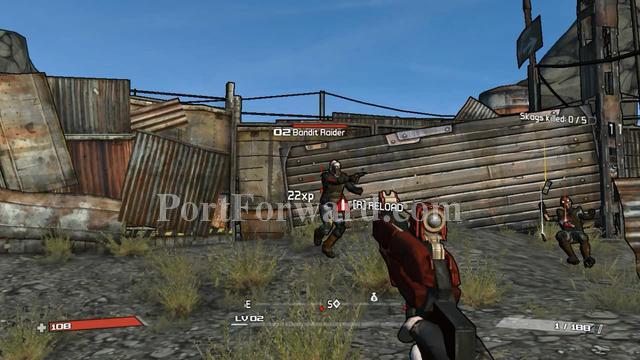
The task is easy. Just kill the bandits here.
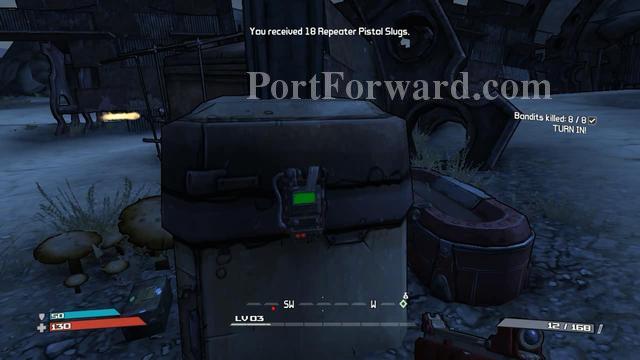
Turn in at the doctor to complete the mission.
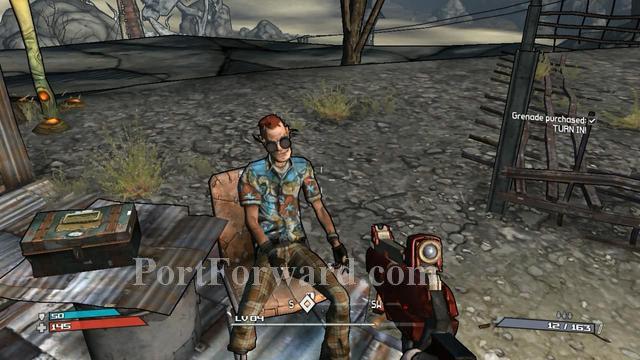
Borderlands 1st release Walkthrough Arid Badlands: Nine-Toes - Meet T.K Baha
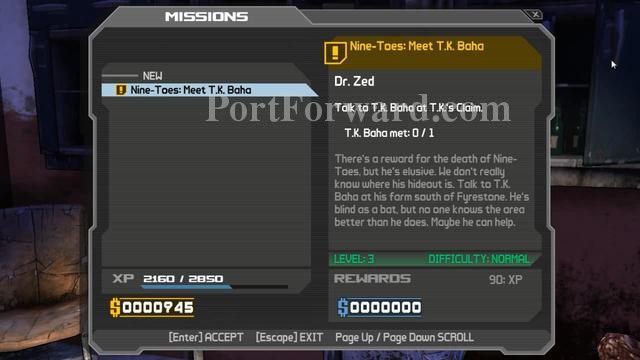
Mission overview.
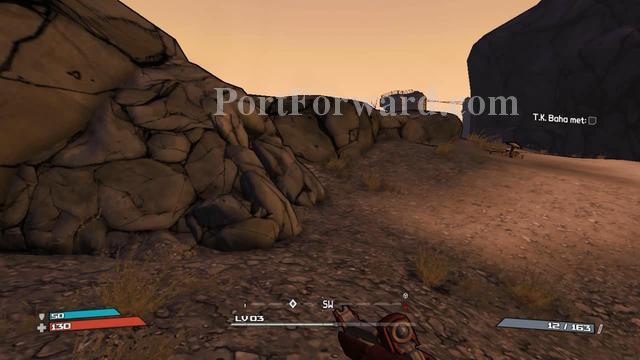
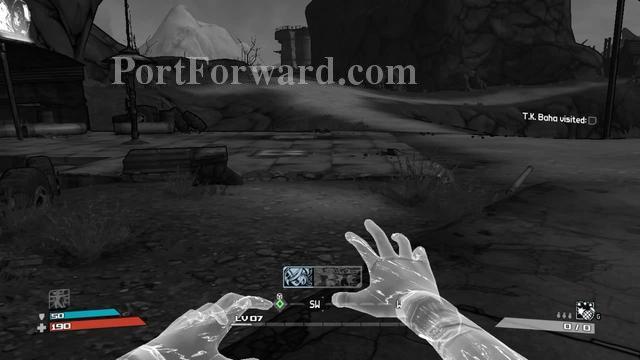
Go to the waypoint.
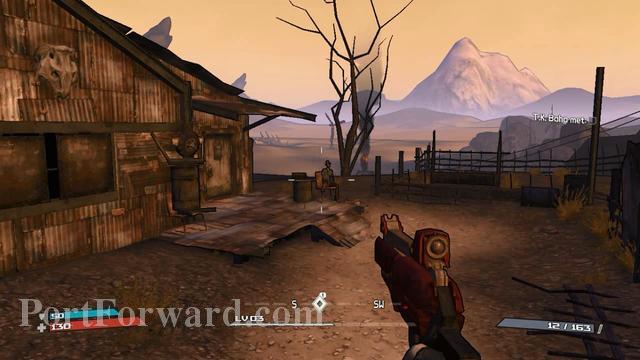
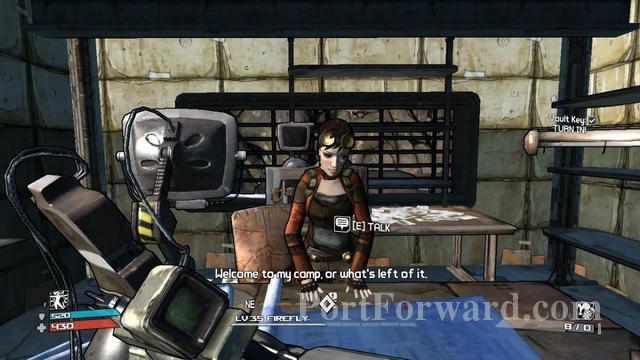
This is the guy you searched for.
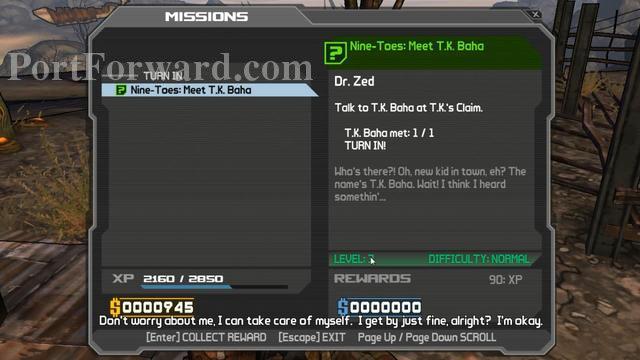
Talk to him to finish.
Borderlands 1st release Walkthrough Arid Badlands: T.K's Food
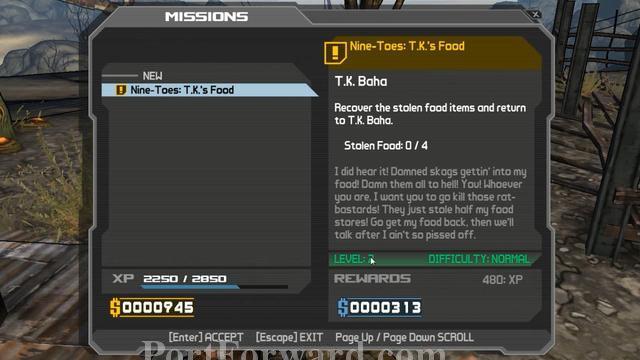
Mission overview.
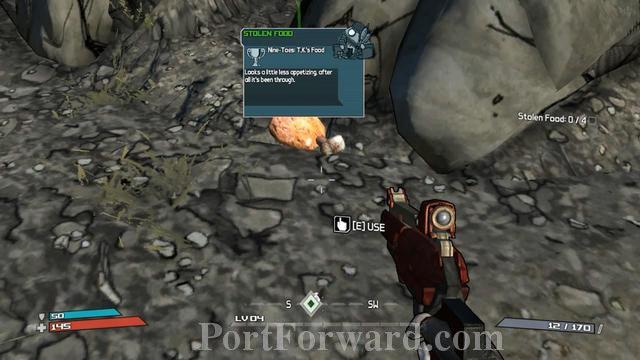
Go to the waypoint and you can easily find the mission item.
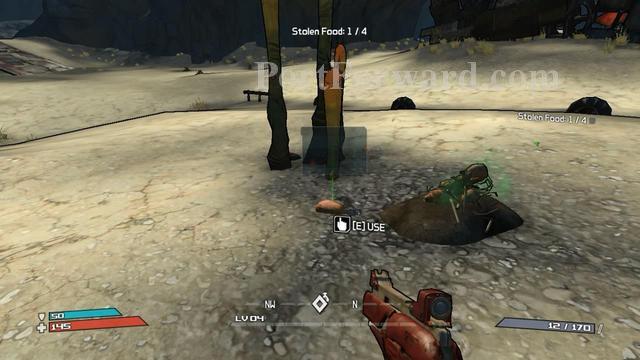
The second item.
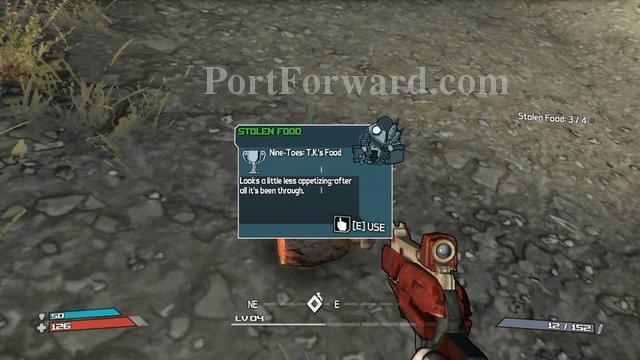
Third.
Last item.
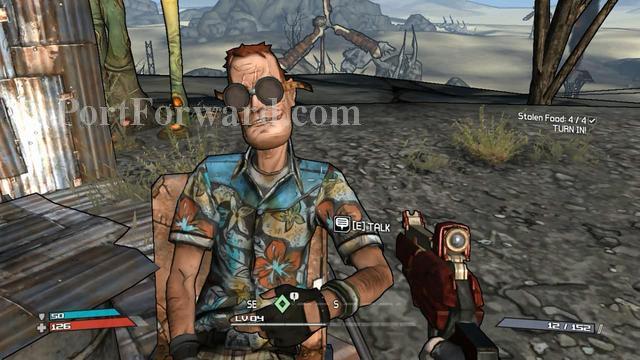
Turn in to complete mission.
Borderlands 1st release Walkthrough Arid Badlands: Got Grebades?

Mission overview.
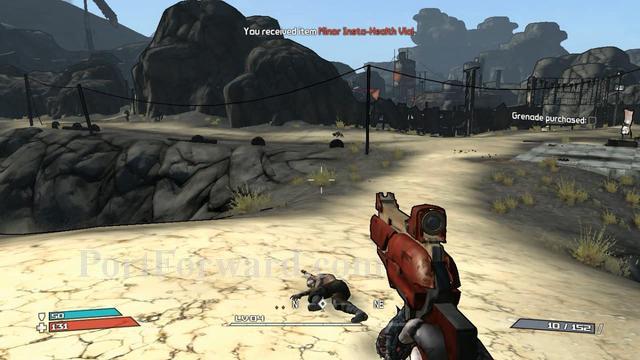
"Go back to the main camp
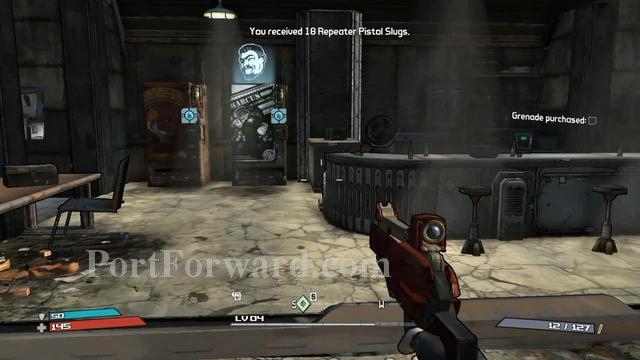
Find the green vending machine. Buy some grenades from it.
Turn in to finish.
Borderlands 1st release Walkthrough Arid Badlands: Take Him Down
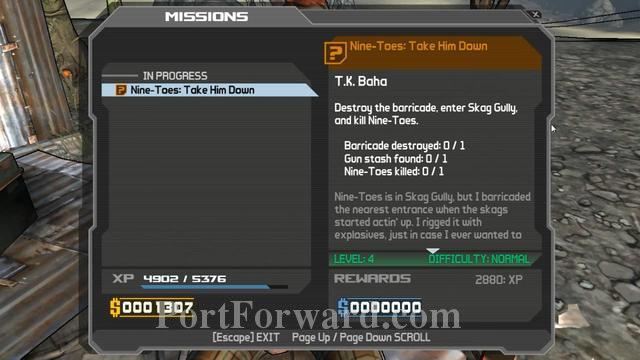
Mission overview.
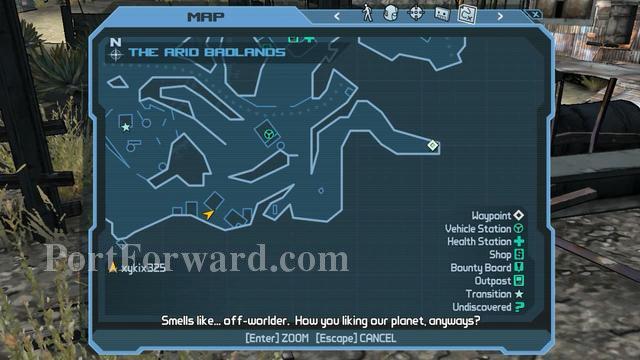
Go to the waypoint.
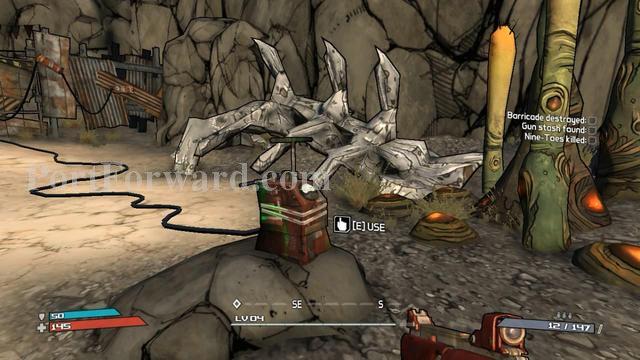
Use the TNT.
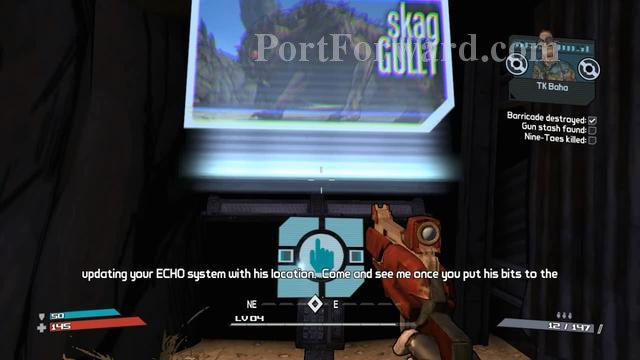
Go to Skag Gully.
The waypoint is quite far, so bear with it.
This is it. Take this.
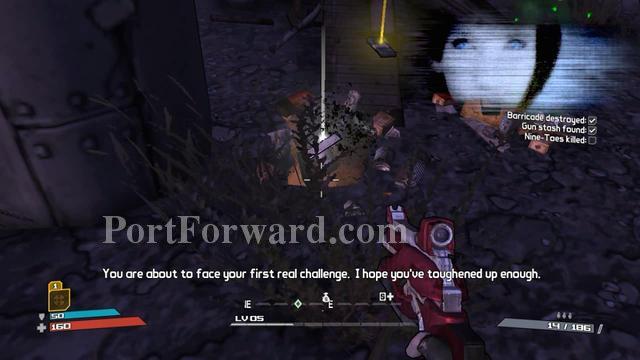
Yep, it's quite challanging. Buy some numbers of medkit or gain more levels before fights unless you wants to respawn many times and wasted your money on that.
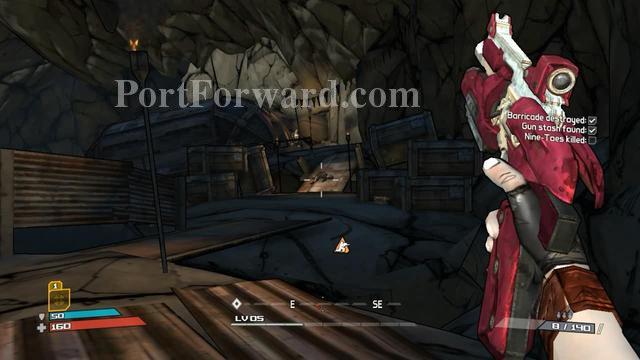
Go to the boss room while clearing the path.
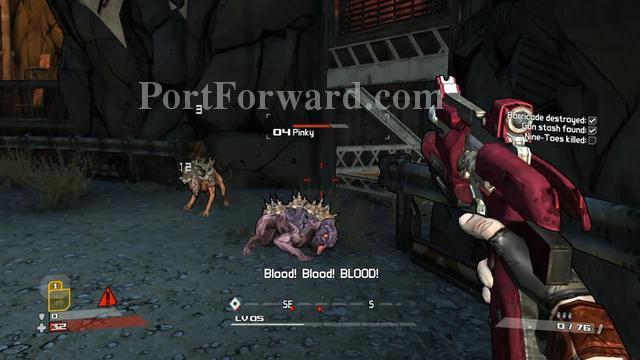
The real challange are his pets. Eliminate them so you can focus to only one target.
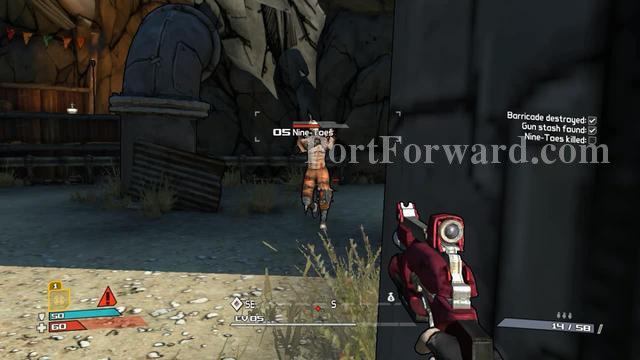
Once 1 vs 1. Just find a spot to take cover and shoot him (especially head) until end.
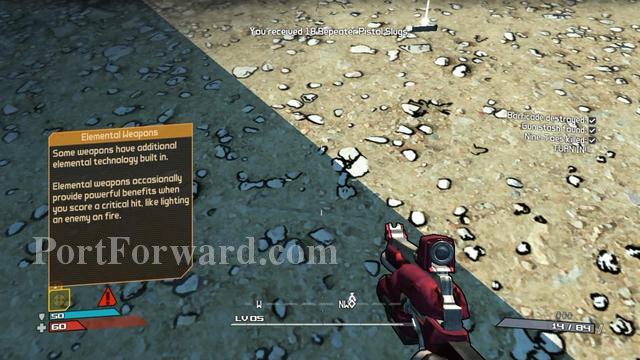
Turn back to T.K finish the mission.
Borderlands 1st release Walkthrough Arid Badlands: Time To Collect
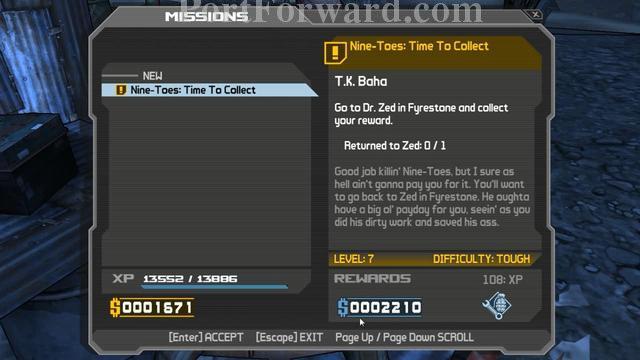
Mission overview.
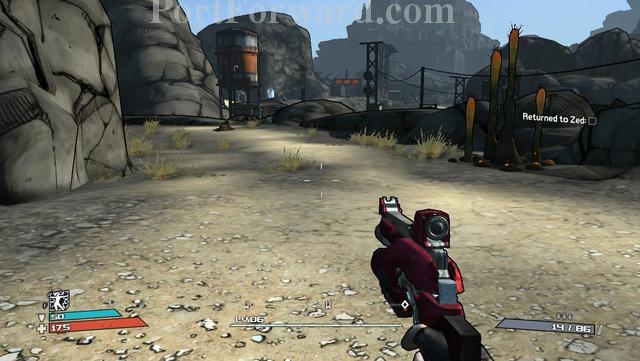
Zed is a doctor you'd met before at the main camp. Go back there and meet him.
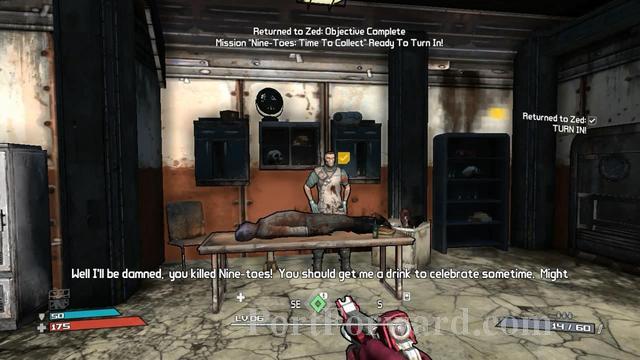
Just get inside to finish.
Borderlands 1st release Walkthrough Arid Badlands: Job Hunting
Mission overview.
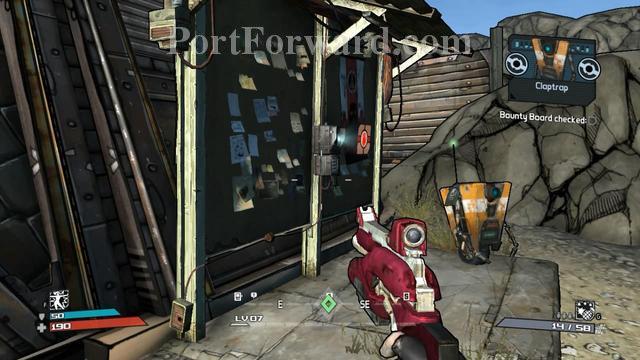
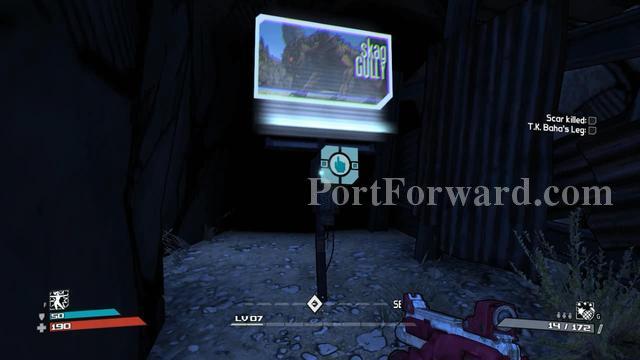
Just turn around the building and see the board. Return to the Zed to finish
Borderlands 1st release Walkthrough Arid Badlands: T.K. Has More Work
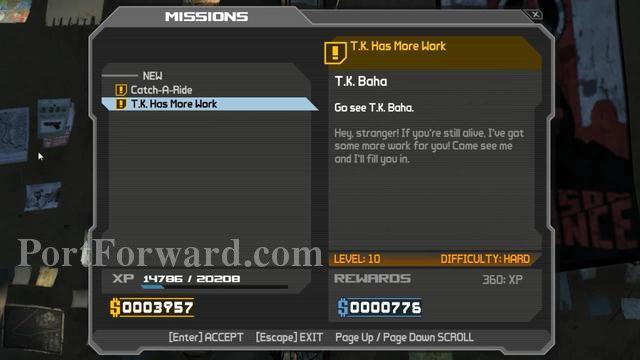
Mission overview.
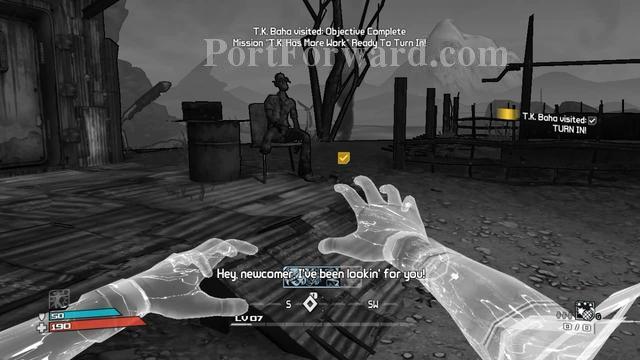
Visit T.K. Baha at his home. Talk to him to finish.
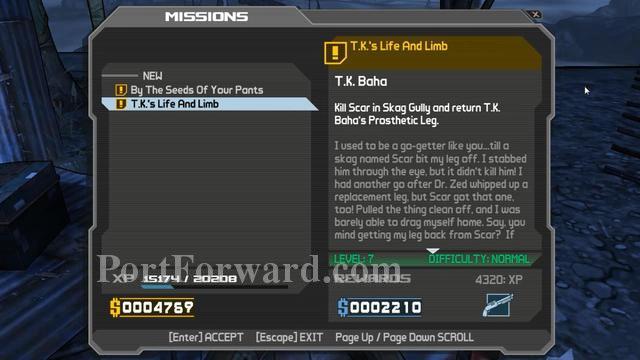
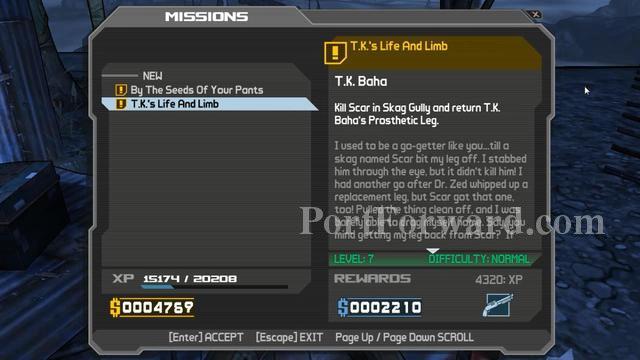
Arid Badlands: T.K.'s Life And Limb
Mission overview.
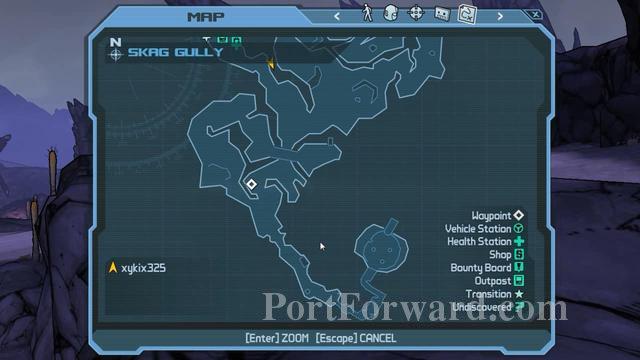
Open your map and go to Scag Gully.
Be careful during on your way to the waypoint. If your level is low, then you'll be in hard time.
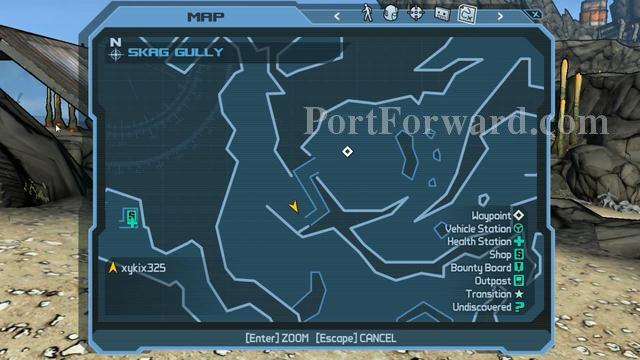
Although in the map show the way, but you cant go through there yet. You have to take the other path which is around it.
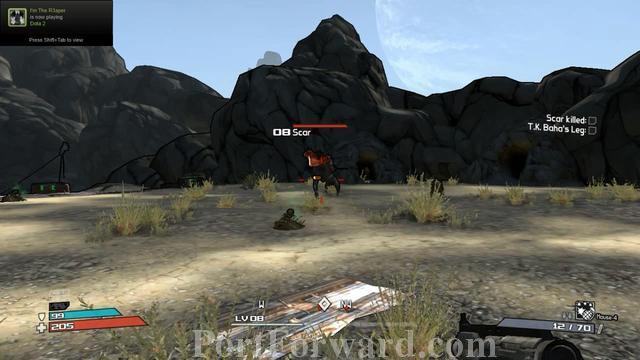
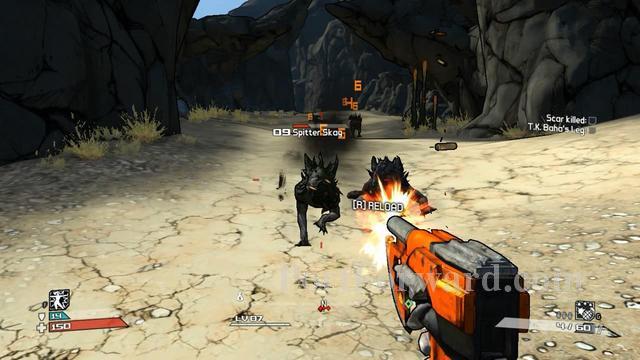
The Scar is almost like a boss-level creature. The monster quite strong to handle if your level is low.
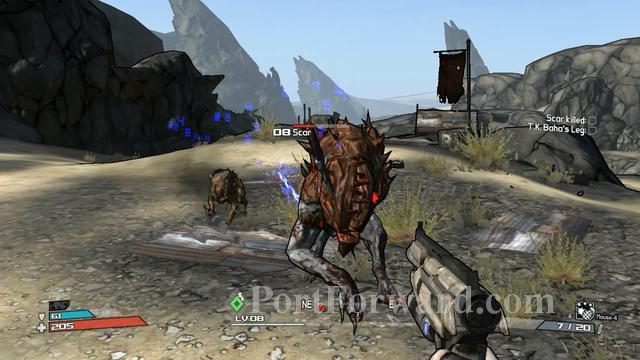
Keep running, shooting and evade when Scar trying to attack you.
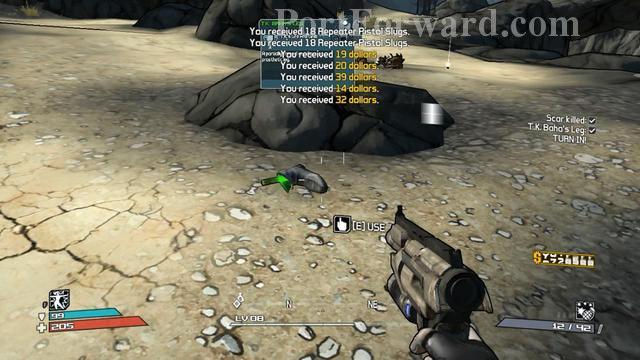
Baha's leg can be obtained near the Scar dead body.
Borderlands 1st release Walkthrough Arid Badlands: By The Seeds Of Your Pants
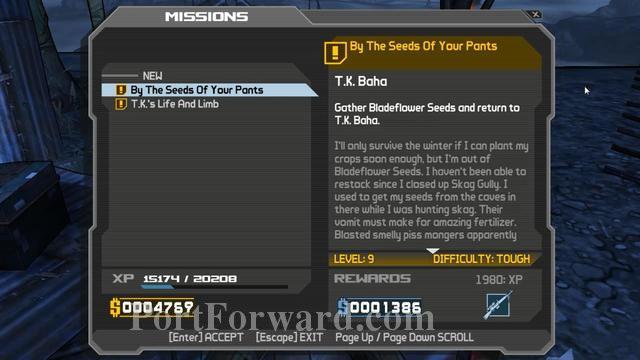
Mission overview.
For this mission, it's an easy mission. Open your map and follow the waypoint.
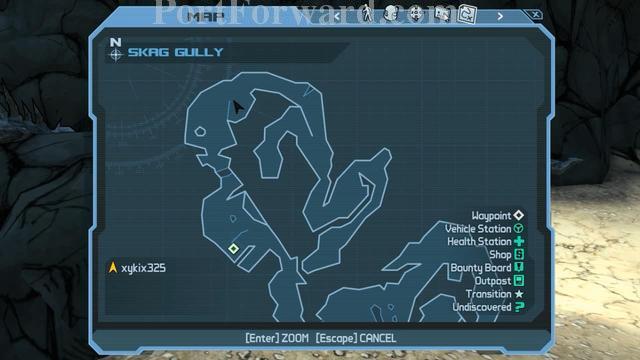
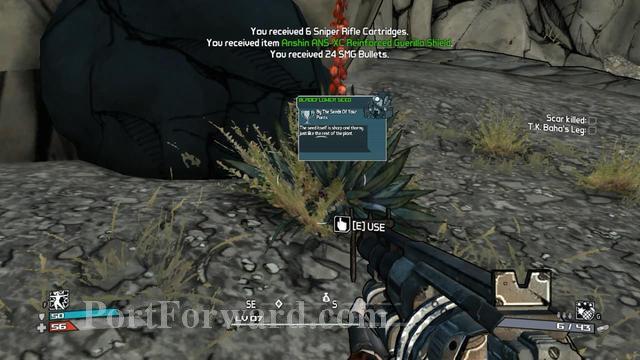
Each place of the flower is different, so the map will show you the way.

Your path is not safe, so you have to fights in order to reach the waypoint.
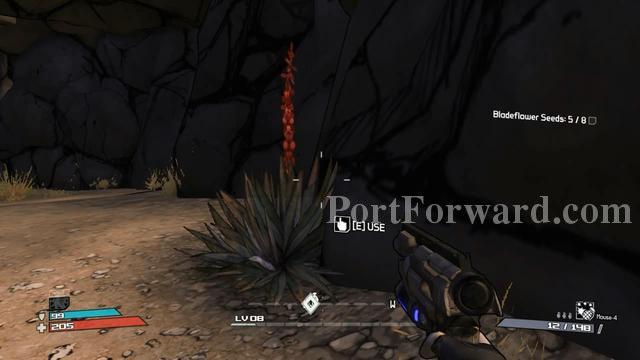
The waypoint is almost 99% correct most of the time.
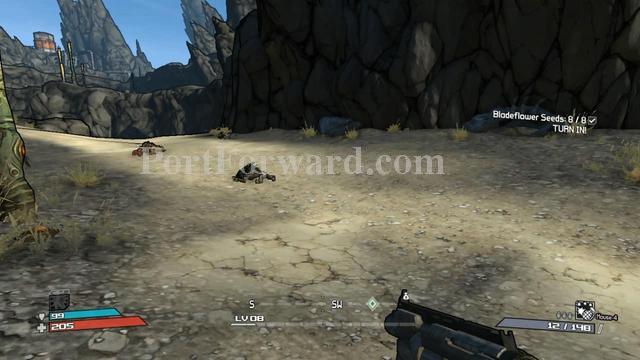
When finish, just turned in.
Borderlands 1st release Walkthrough Arid Badlands: Why Are They Here
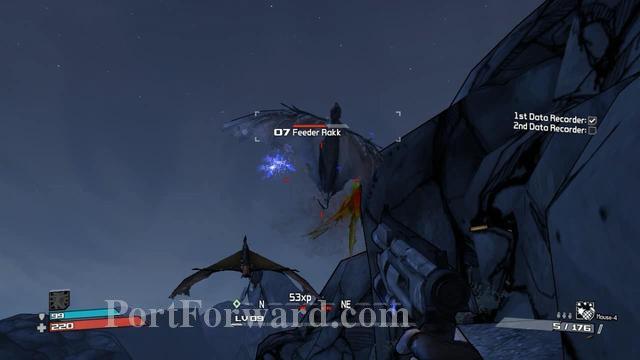
Go to the waypoint. Notice that there are few flying creatures on the way there.
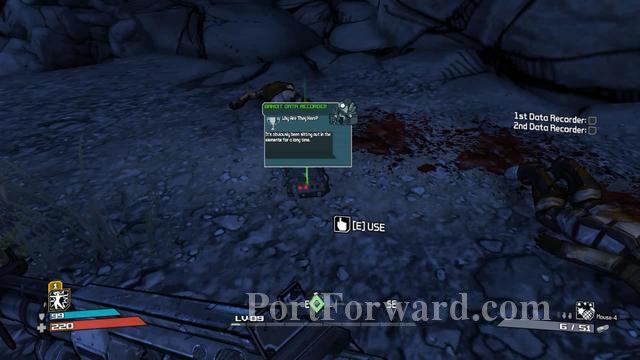
The first recorder is just lying on the floor.
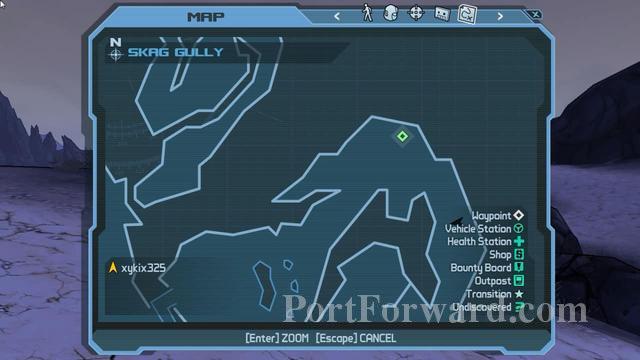
For the second recorder, it won't be far.
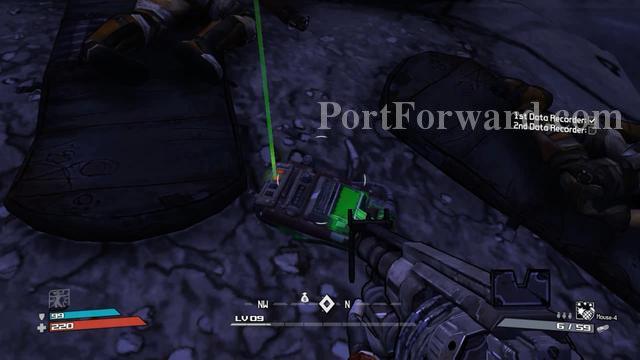
The second recorder. Take this and finish the mission by turned it in.
Borderlands 1st release Walkthrough Arid Badlands: Catch-A-Ride
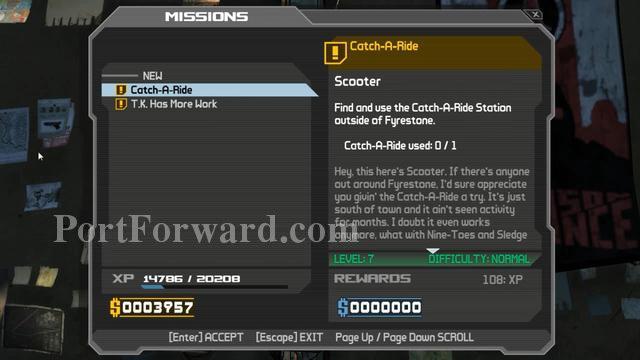
Mission overview.
To finish this mission, just go to the nearest waypoint. Just go there and it will automatically done.
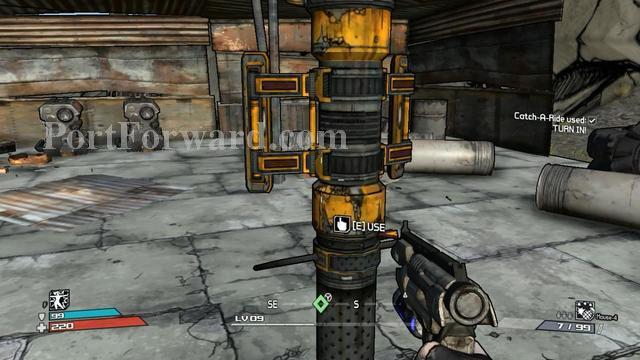
Then use this to finish the mission.
Borderlands 1st release Walkthrough Arid Badlands: Bone Head's Theft
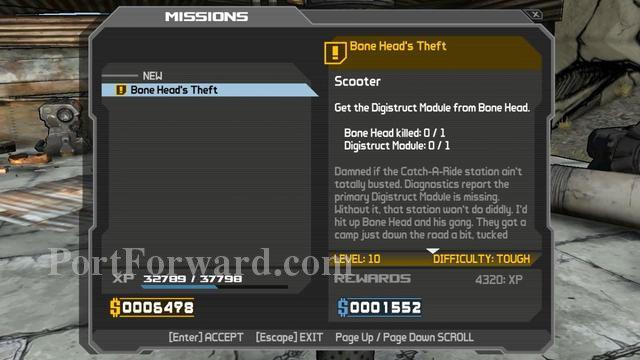
Mission overview
Go to the waypoint. You can take the path behind your main camp here.
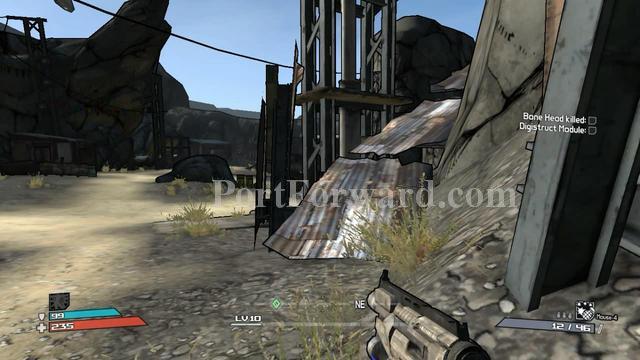
Climb up to the right.
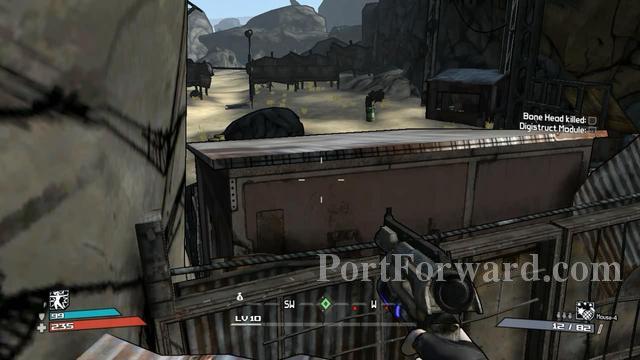
Jump on the roof.
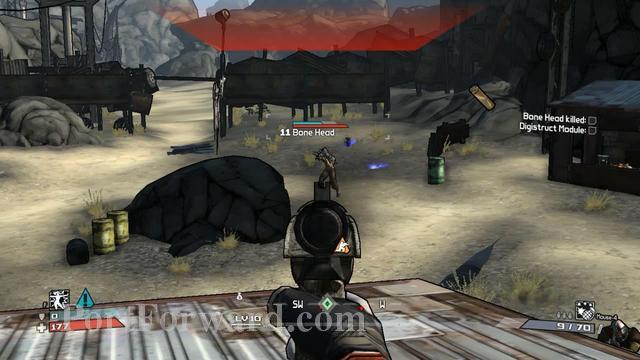
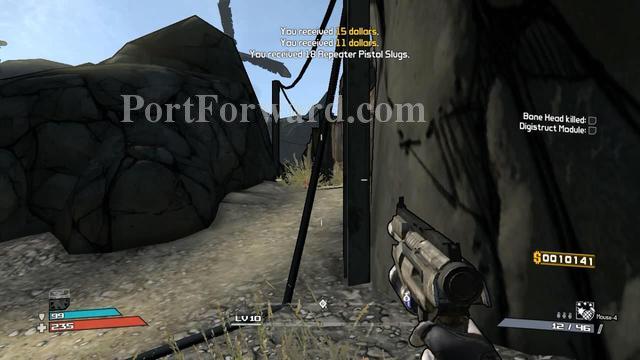
Now just clear this area. If you're armor low, take cover behind and repeat again until he Bone Head killed.
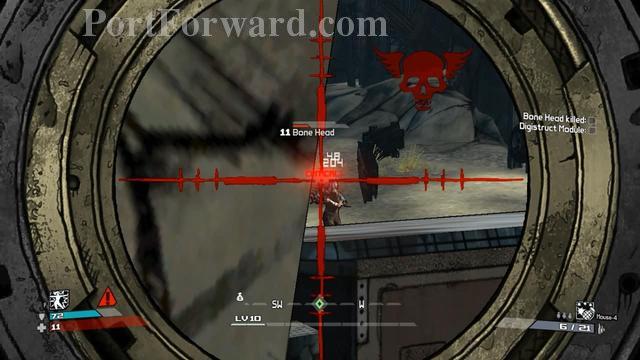
The best spot for almost all enimies.

The second mission item is in that box.
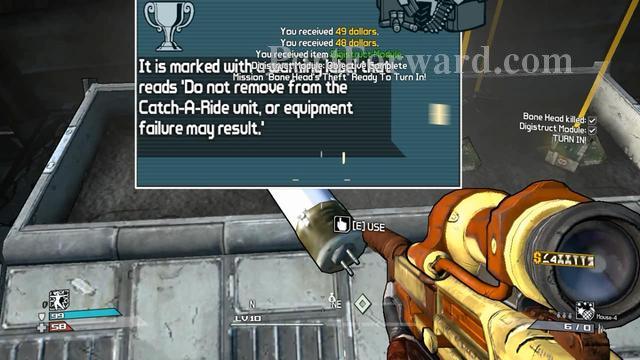
Take this and turn in to the catch-a-ride station.
Borderlands 1st release Walkthrough Arid Badlands: Get A Litte Blood On The Tires
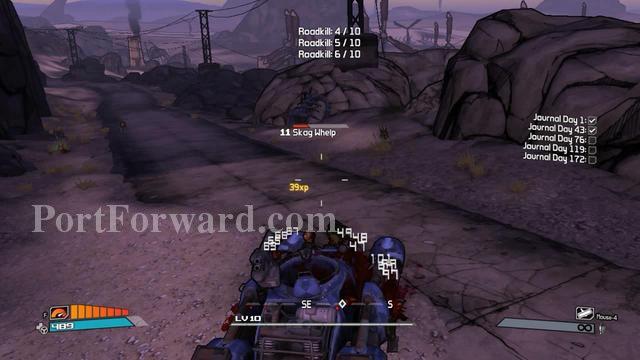
Mission overview
This mission is easy. Just go to the catch-a-ride station, spawn a vehicle and ramp any enemies on the road.
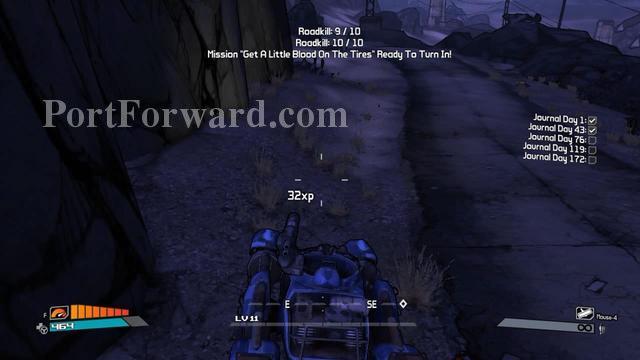
Once finished, just turn it in.
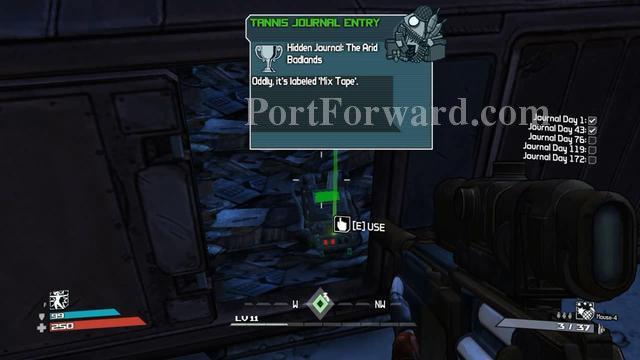
Borderlands 1st release Walkthrough Arid Badlands: Hidden Journal: The Arid Badlands
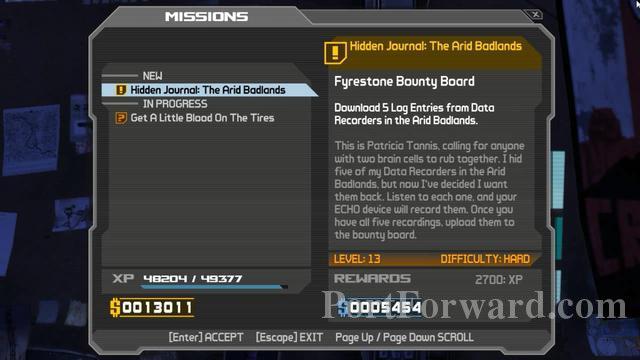
Mission overview
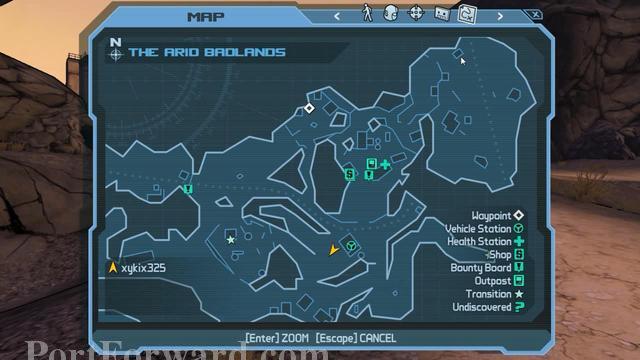
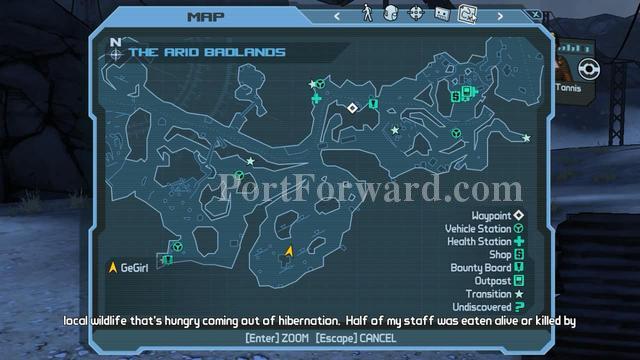
Go to the first waypoint.
Take the first journal. Then move on to the next waypoint.
The second journal. Move on to next waypoint.
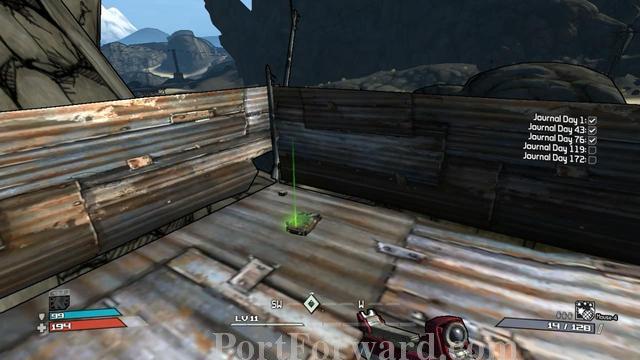
To get the third journal, it's a little bit tricky.
When you reached the waypoint. If you try to find the journal on the ground, then you'll find nothing.
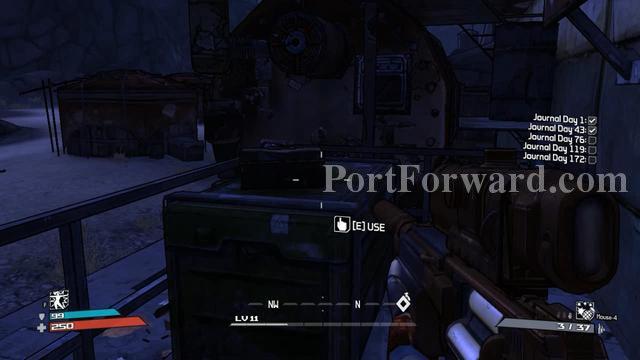
Firstly, jump on this box.
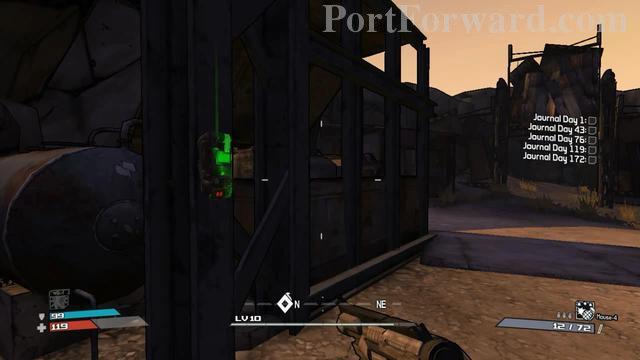
Now, climb up through this way.
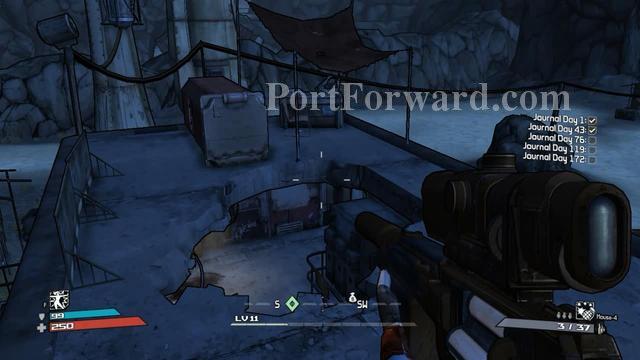
Still not found? Then maybe you miss it. It just in front (from picture).
There is it... :)
Now move to another waypoint.
Easy, not like before.
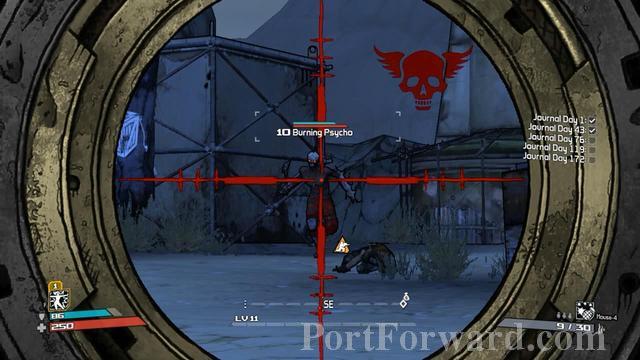
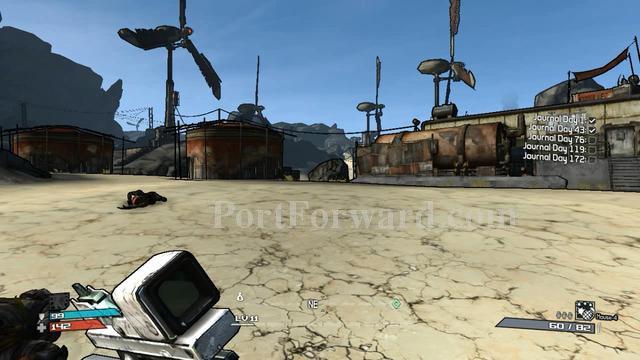
The last one is a little bit tough becuase of enemies here. Just be careful.
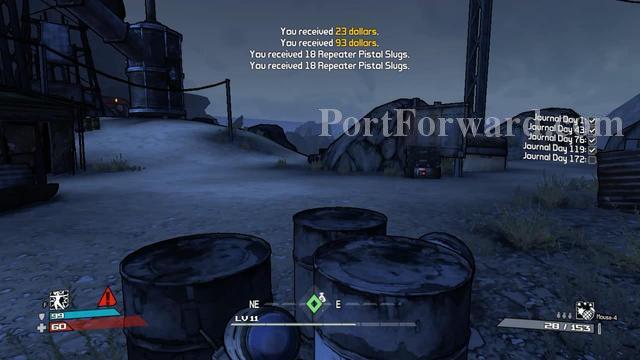
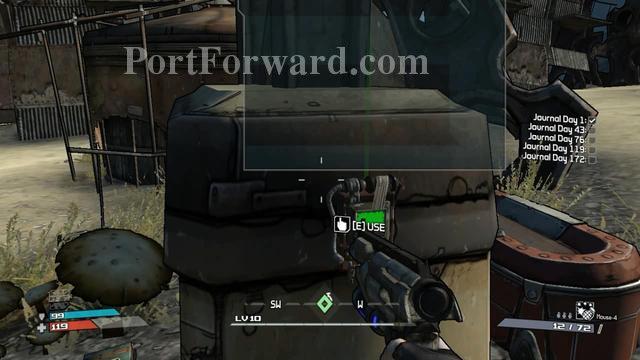
Well. Where is it the last journal?? Look for these three barrels and look below.
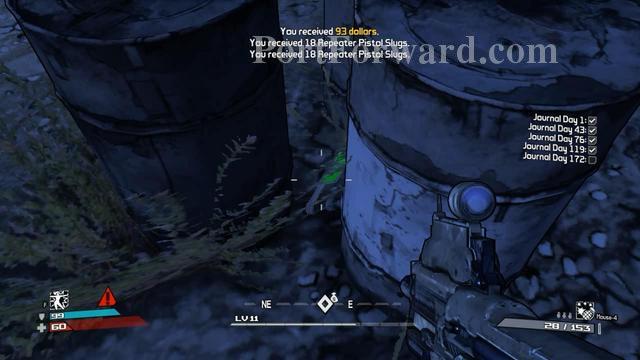
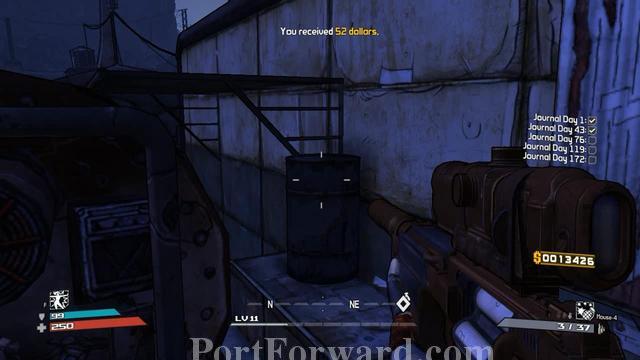
The last one is here. Now you can turn it in.
Borderlands 1st release Walkthrough Arid Badlands: The Piss Wash Hurdle
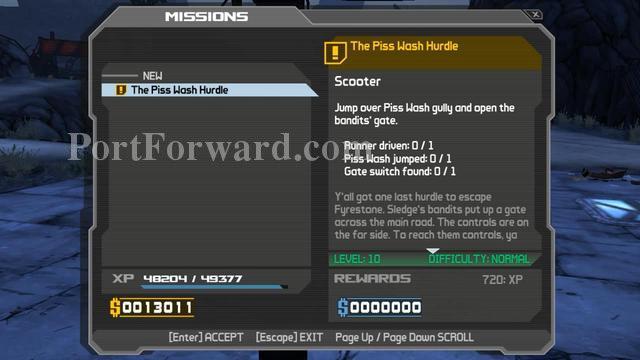
Mission overview.
To open this door, you have to find the way around it. Open your map and find another way.
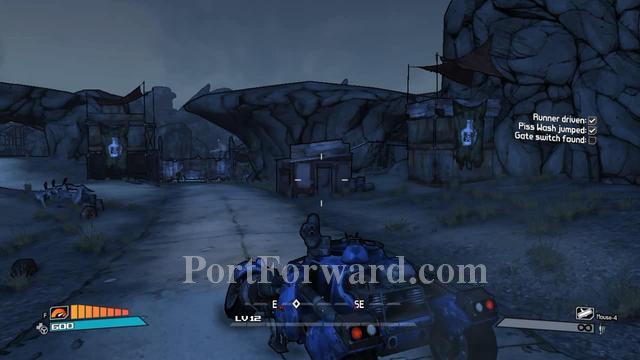
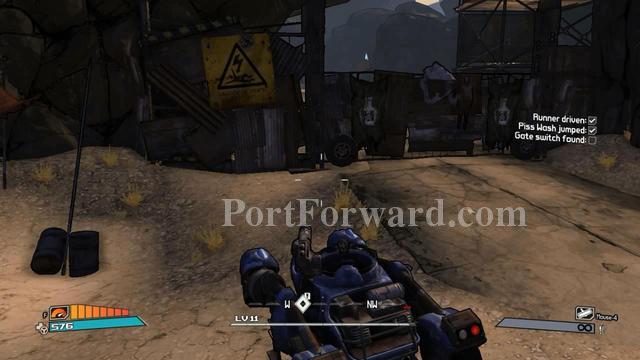
When you reached here, clear this area. You should complete 2/3 tasks.
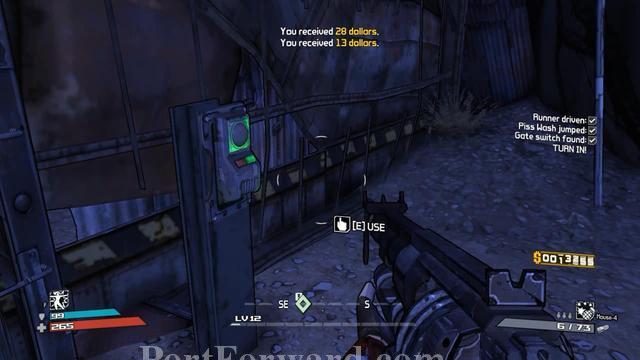
The switch is near the main gate. Use it to complete the mission.
Borderlands 1st release Walkthrough Arid Badlands: Return To Zed
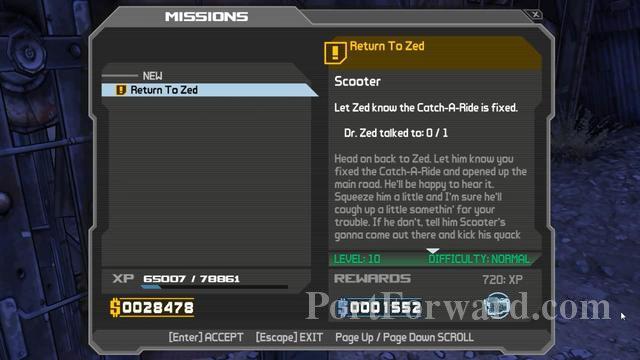
Mission overview.
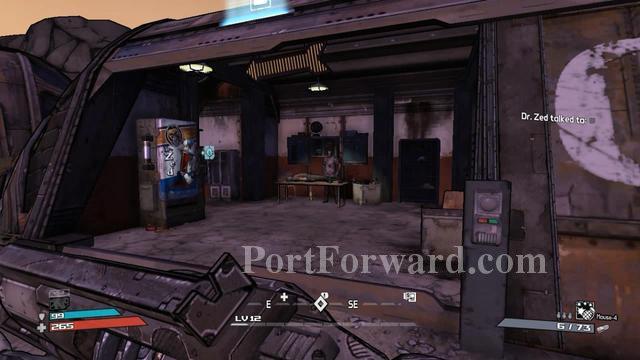
Just go back to main camp and enter Zed's store. Talk to him to get new mission.
Borderlands 1st release Walkthrough Arid Badlands: Sledge: Meet Shep
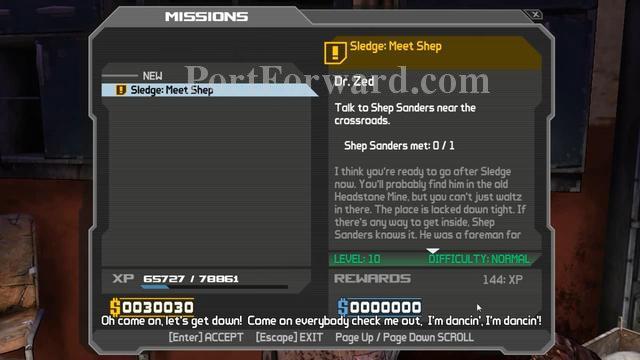
Mission overview.
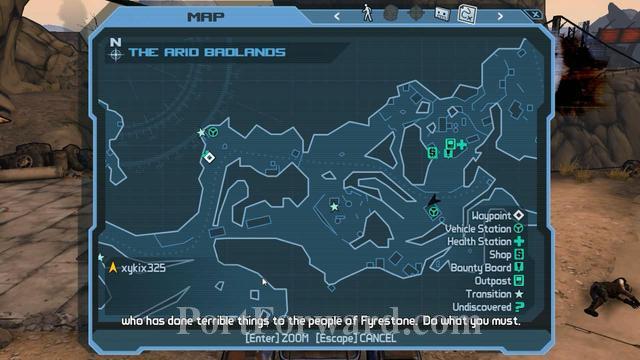
Go to the waypoint.
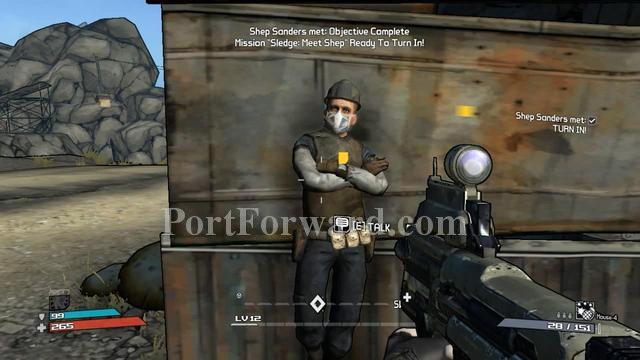
Talk to this guy. Mission completed.
Borderlands 1st release Walkthrough Arid Badlands: Breaking Wind
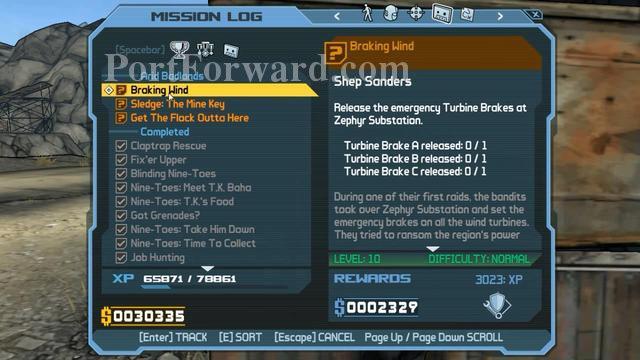
MIssion overview.

Go to the first waypoint.
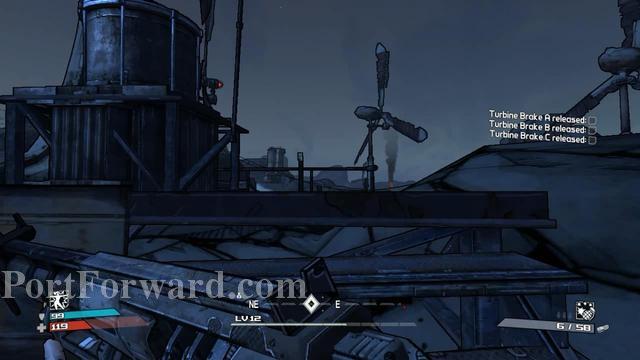
The first switch
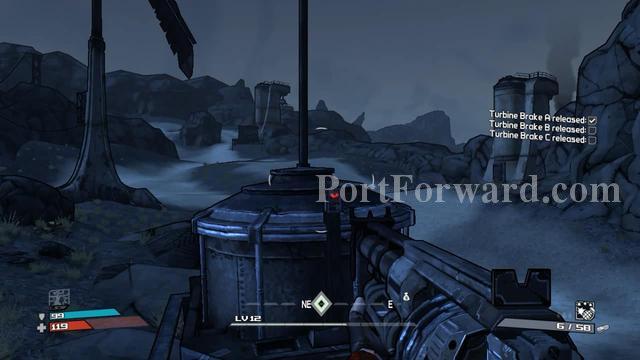
Second switch. Not too far from the first one.
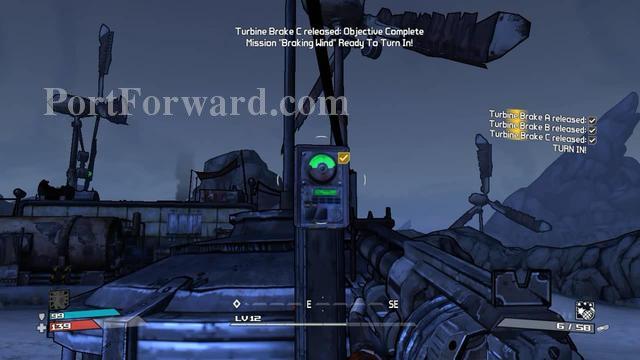
Use the last switch and you're ready to turn in.
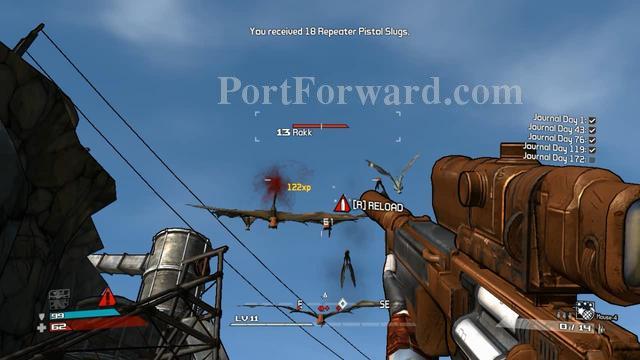
Borderlands 1st release Walkthrough Arid Badlands: Get The Flock Outta Here

For this mission, all you have to do is find Rakk (Flying monster) and kill 10 of them. You can find them on the way to the last mission. See page before this.
Borderlands 1st release Walkthrough Arid Badlands: The Mine Key
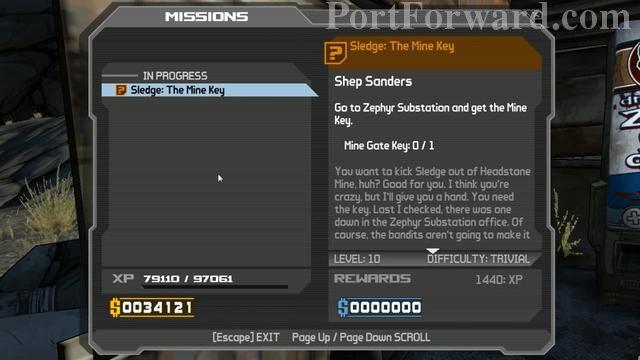
Mission overview.
Now go to the waypoint.
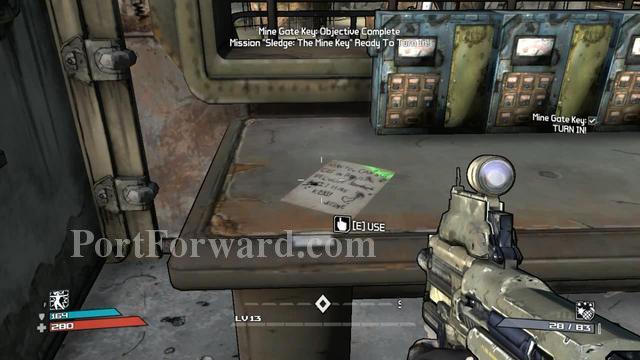
Just enter the building and use the paper on the table to finish the mission.
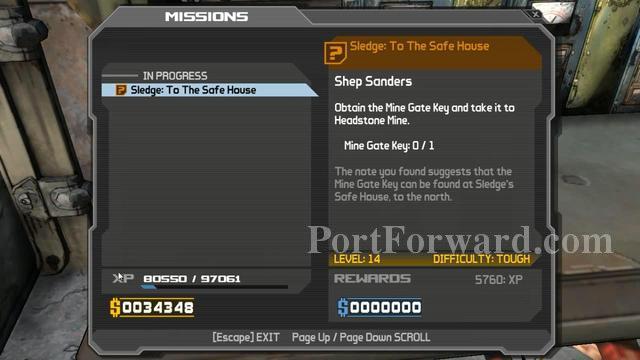
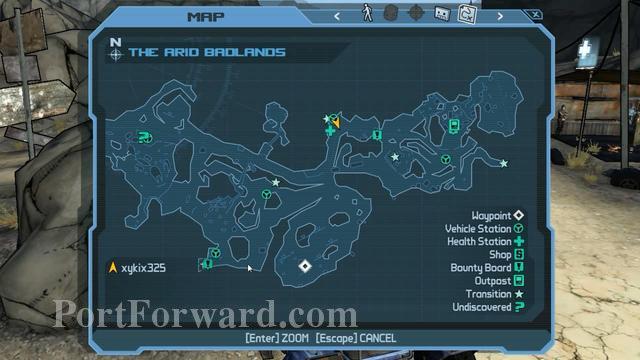
Arid Badlands: Sledge: To The Safe House
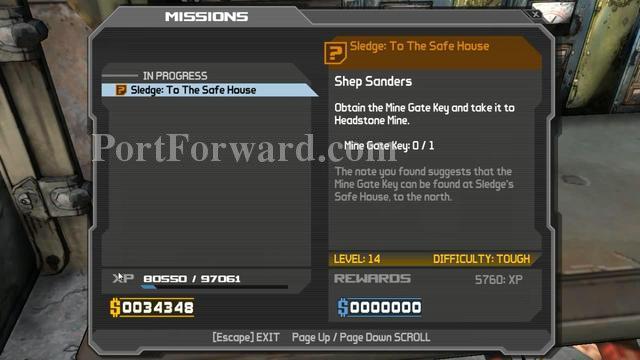
Mission overview.
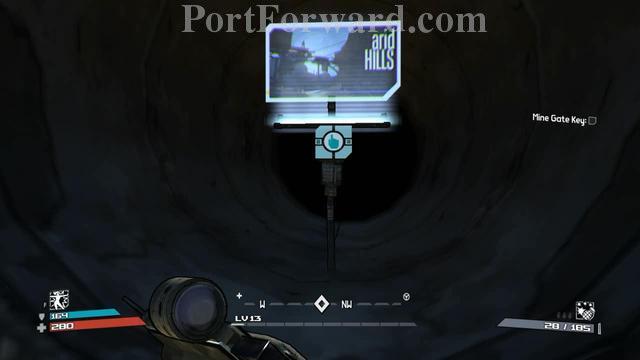
Head to the Arid Hills.
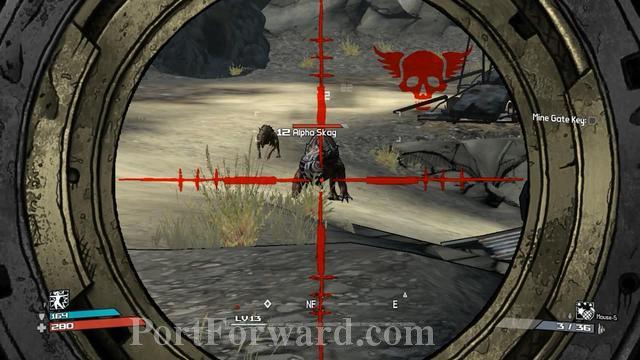
Make way to the waypoint.

Once inside, make sure that you have enough ammo.
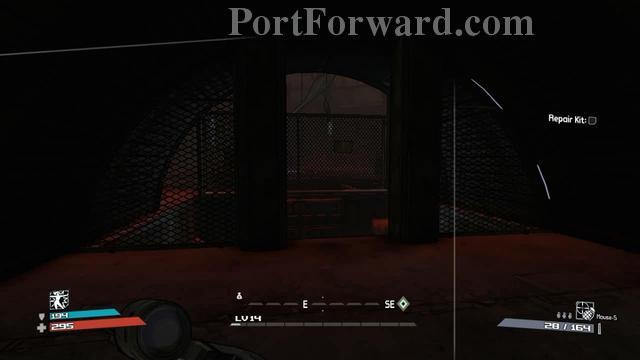
When you get down, there's no turning back. So be prepared.
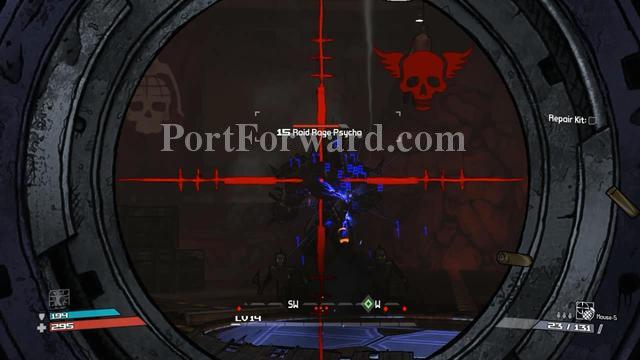
You'll fight the Raid Rage Psycho. Since he's big, you can evade his attack easily while keep aiming and shooting his head.
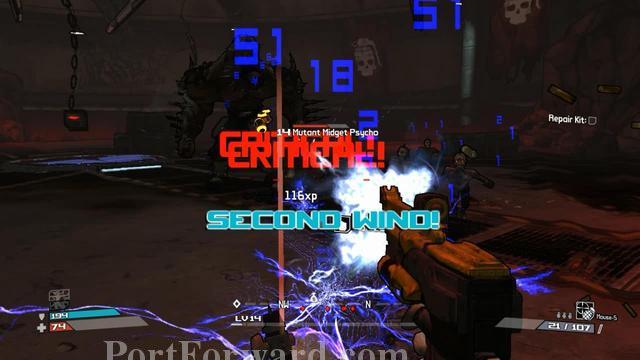
Sometimes, luck not on your side. So, use the weak enemies around you to get the second wind.
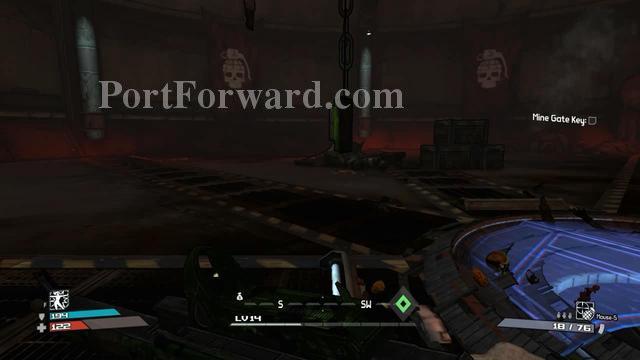
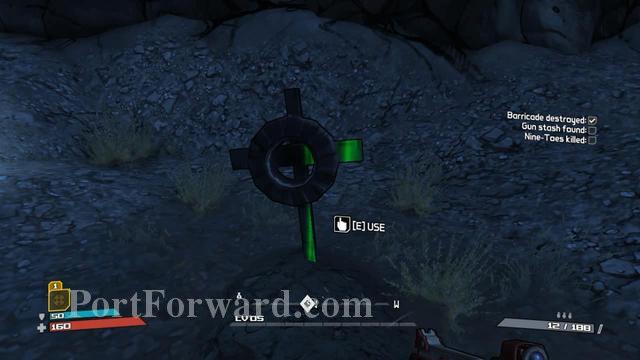
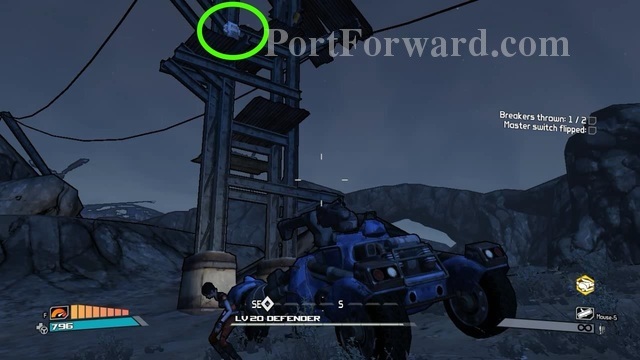
To continue, find the hanging switch near the blue circle platform.
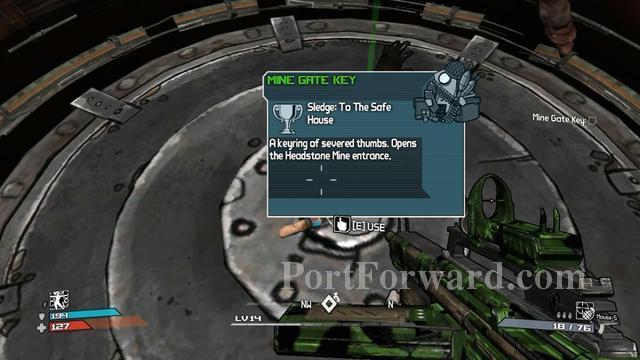
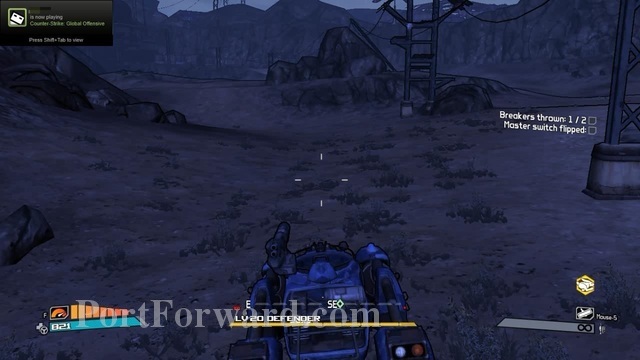
Take the mine key.
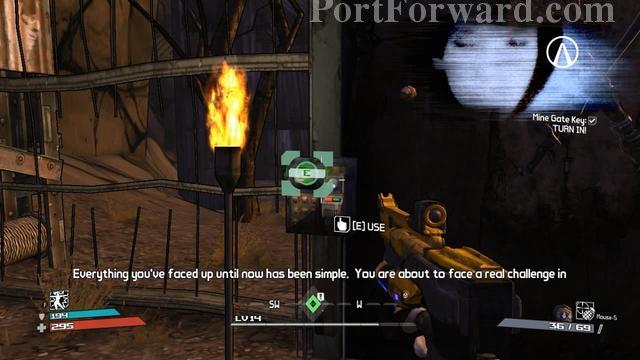
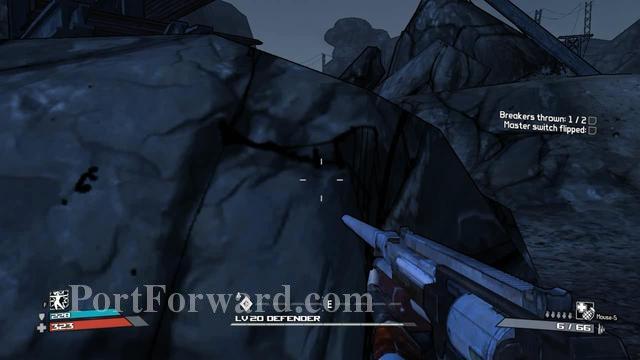
Go to the waypoint and turn it in over here.
Borderlands 1st release Walkthrough Arid Badlands: Sledge: Battle For The Badlands
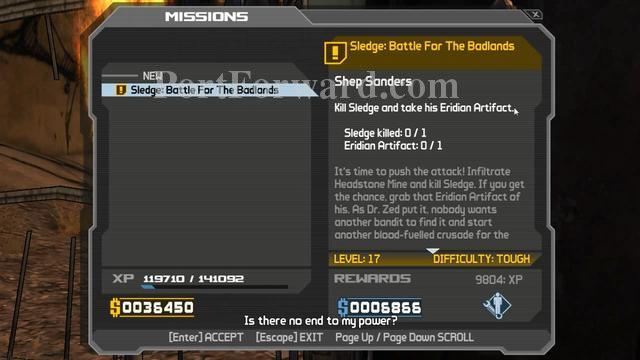
Mission overview.
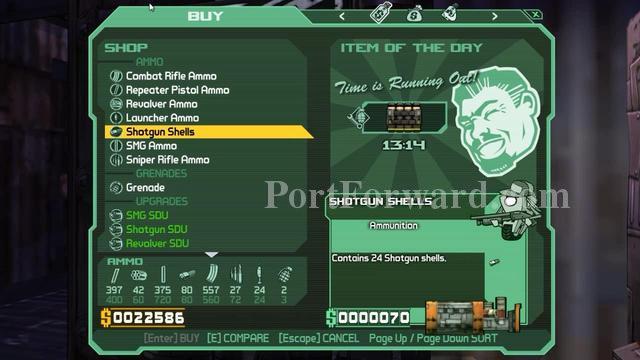
Before keep going, replenish your ammo and other items first. If you think you can't beat the boss, train for few levels more.

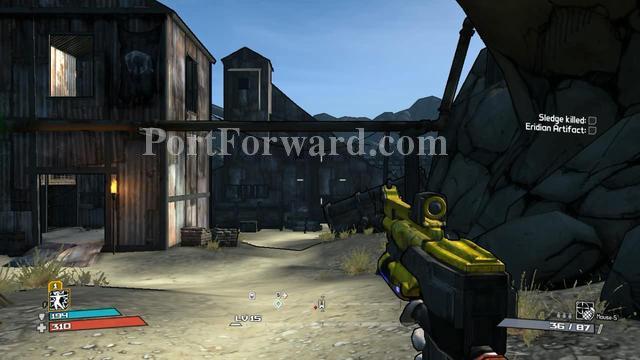
Make way to the waypoint.
Are you ready? Then let's rock.
Tips, bring one of your favourite weapon for killing normal enemies and a powerful sniper for the boss. And dont forget to max your ammo. Buy SDU if can.
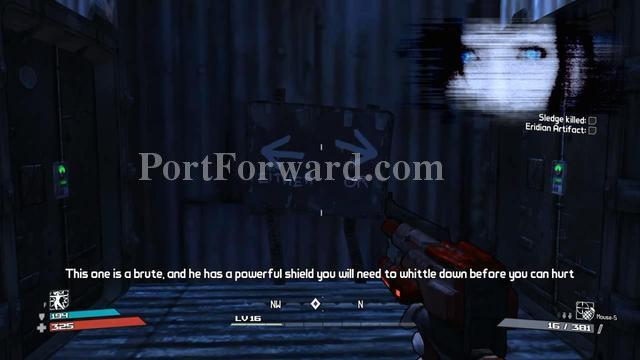
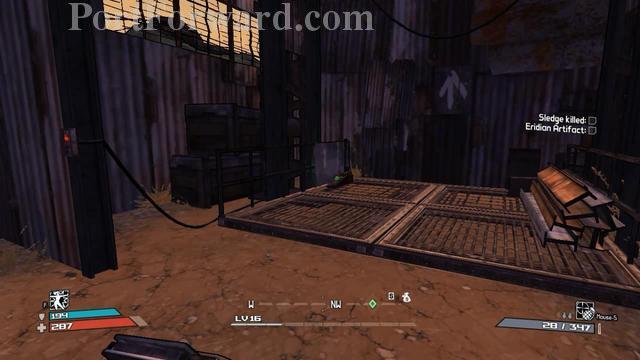
Both lead to the same boss room. Be prepared! You cant go back unless dead.
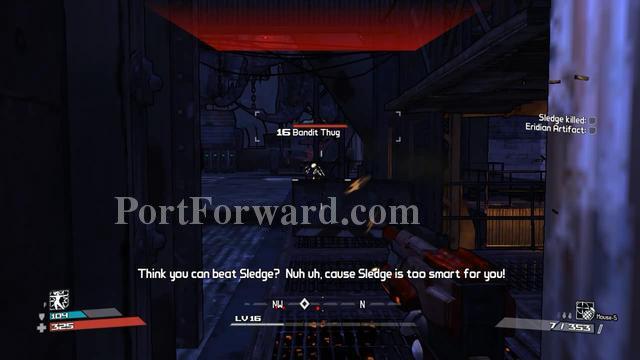
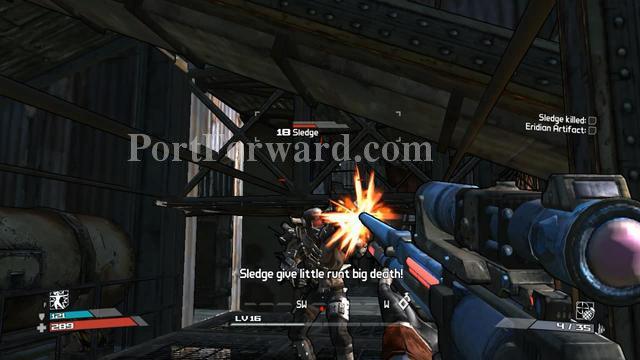
Firstly, don't aim for the boss. Kill normal enemies first.
When you alone with the boss. Now go here and take cover.

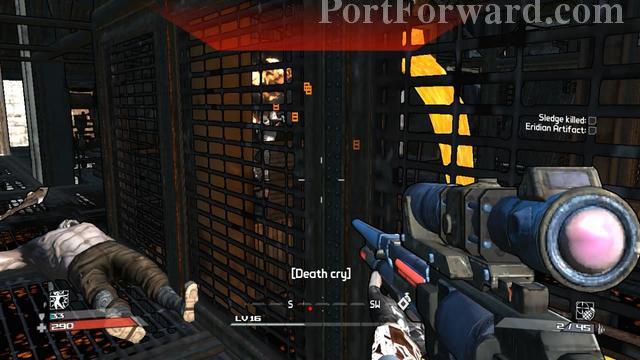
Shoot few times and take cover around that place. Aim for the critical spot, his head.
As you can see, his attack won't hurt you when you take cover behind this place.
Repeat until he die.
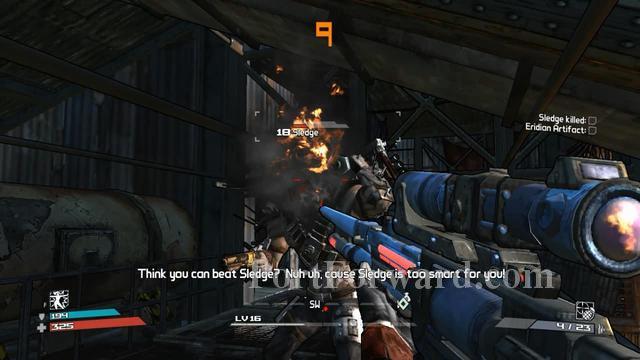
It's all about timing. To be safe, shoot 1 or 2 and go take cover quickly. Then, after the boss smash the wall (if you near him), get out from the cover and shoot again. Repeat so that the boss doesn't move and chase you.
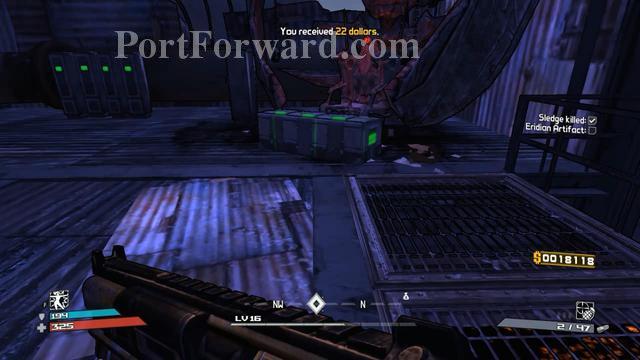
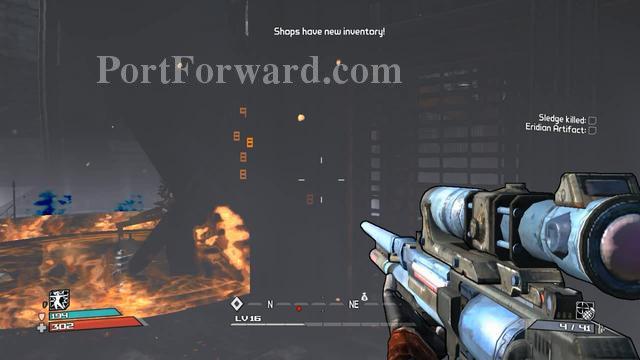
The Eridian artifact can be found inside this container. Take it and turn in this mission.
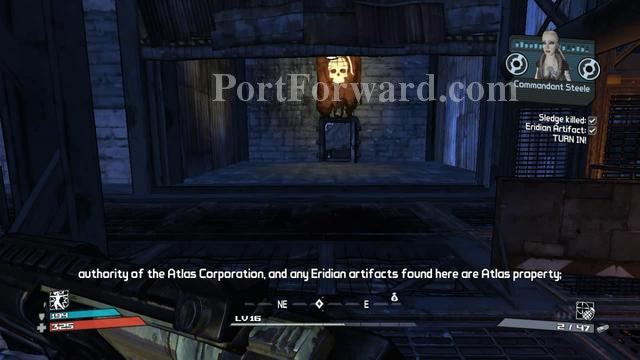
Exit through this door which will open after you kill the boss.
Borderlands 1st release Walkthrough Arid Badlands: Leaving Fyrestone
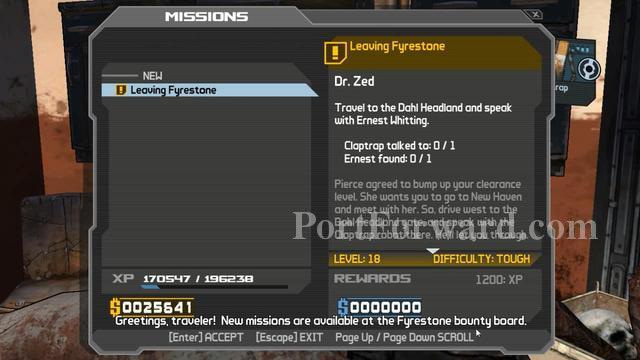
Mission overview.
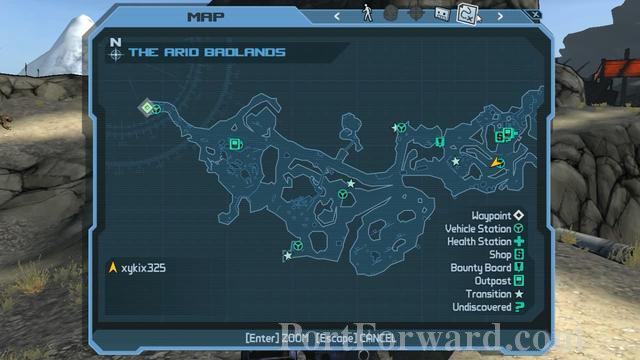
Go to the waypoint.
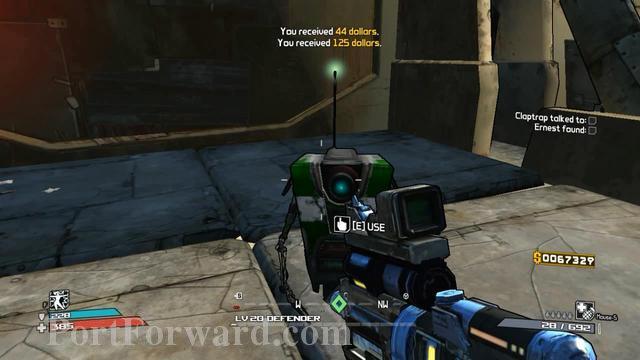
Before talking to claptrap and go to another location. You should know that enemies are getting stronger. Try to train for more levels. Complete other missions at the board.
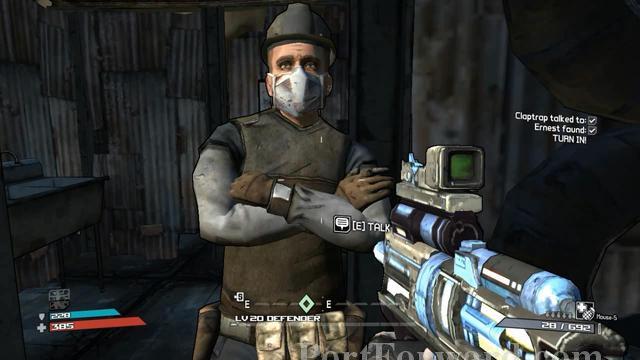
Complete this mission by talking to this man.
Borderlands 1st release Walkthrough Dahl Headlands: Getting Lucky
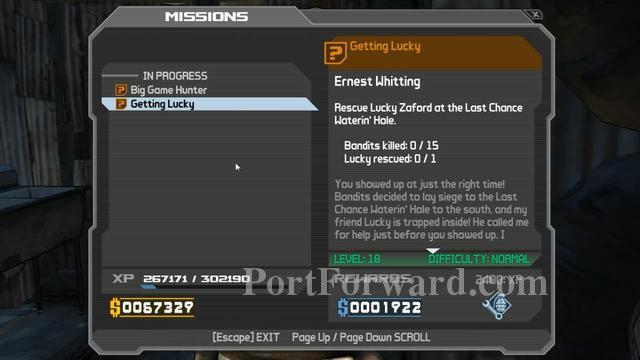
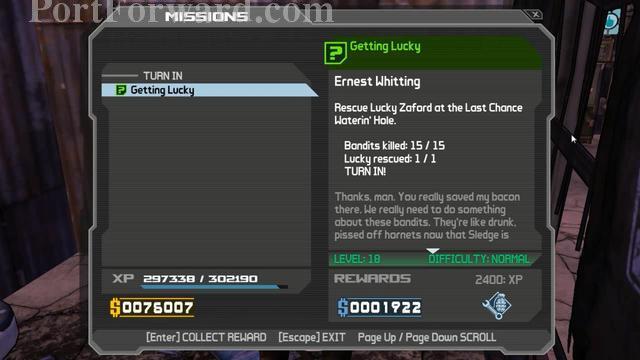
Mission overview.
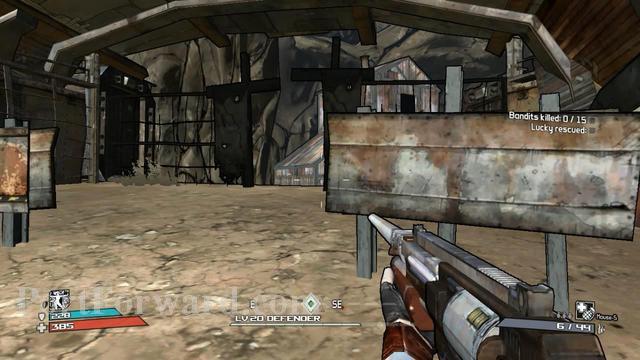
Go to the waypoint and enter the enemy camp through here.
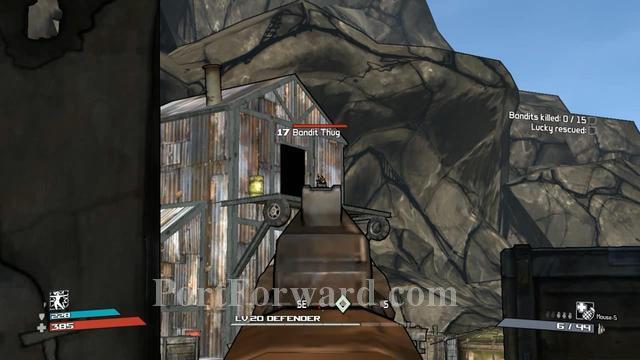
Now, clear this area. Kill all the bandits here.
You should know that this place has more enimies than 15. So bring enough ammo.
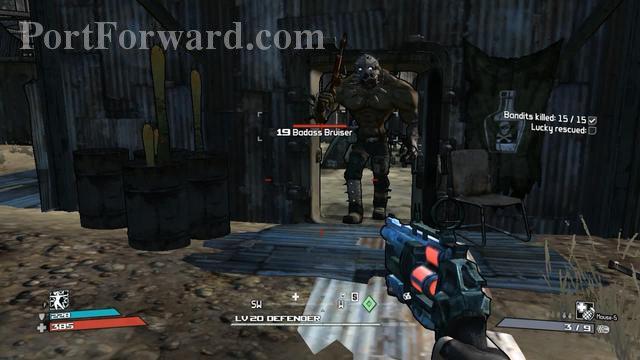
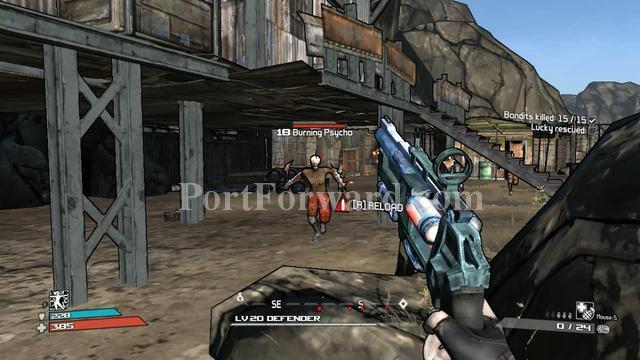
Then move to the next area and fight this guy. Quite tough.
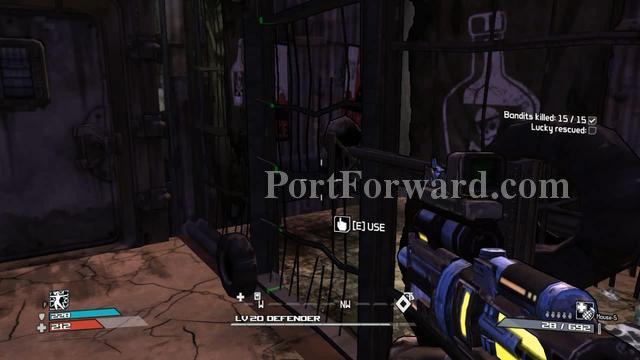
Use this door to open it. Now larry was saved.
Turn the mission at Larry.
Borderlands 1st release Walkthrough Dahl Headlands: Powering The Fast Travel Network
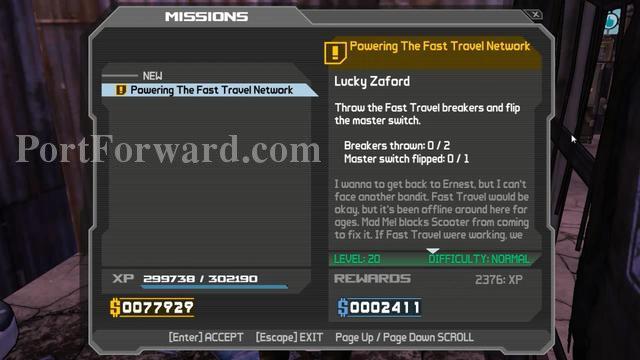
Mission overview.
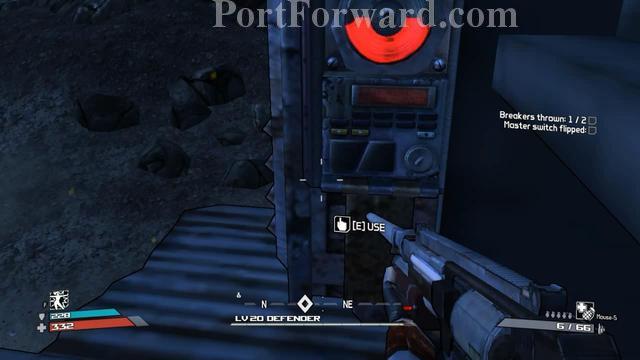
Firstly, go to the first waypoint. As you can see the switch in the green circle. You have to make your way up there.

Jump on a rock nearby.

Jump on this.
Use the switch.
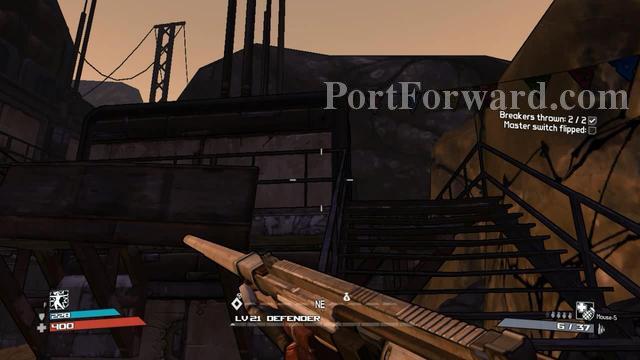
Go to nearby waypoint.
Jump on top the rock near it.
Keep jumping while following the path.
Now jump on this.
Use the switch. You're done with the switches. Move on to the next waypoint.
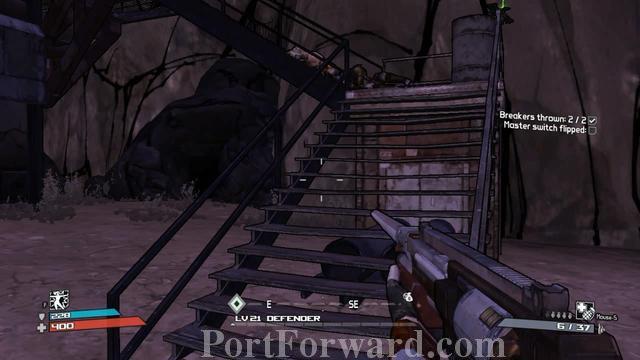
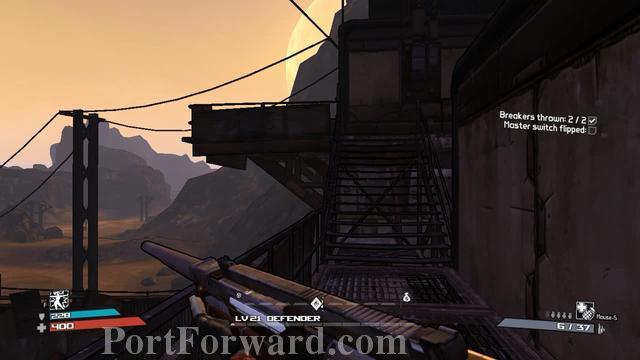
When you had clear this area, you can find the master switch by going up through this stair.
"Go straight.
"Go up and turn left

Go here (turn left) and then right.
You should find the switch nearby. Mission completed.
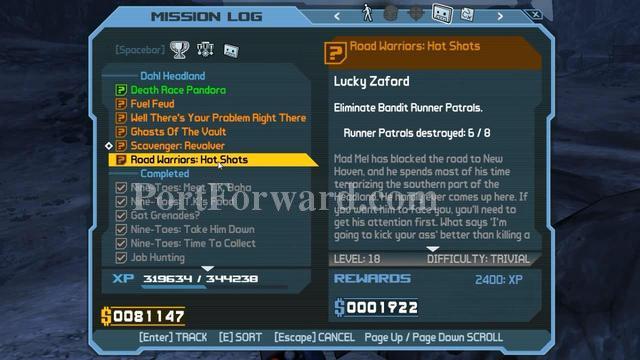
Borderlands 1st release Walkthrough Dahl Headlands: Road Warriors: Hot Shots
MIssion overview
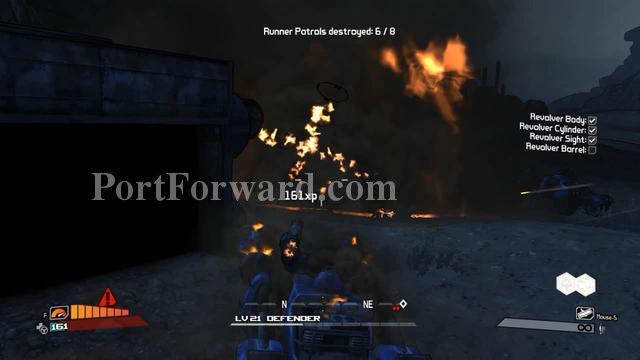
You should able to finish this mission (dont bother the revolver mission part) by destroying enemy vehicles.
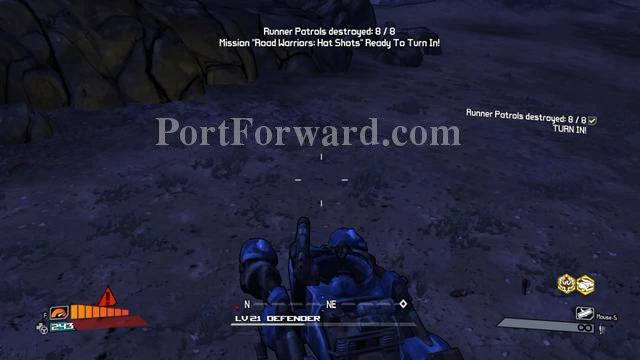
Once met the requirement, you can turn it in.
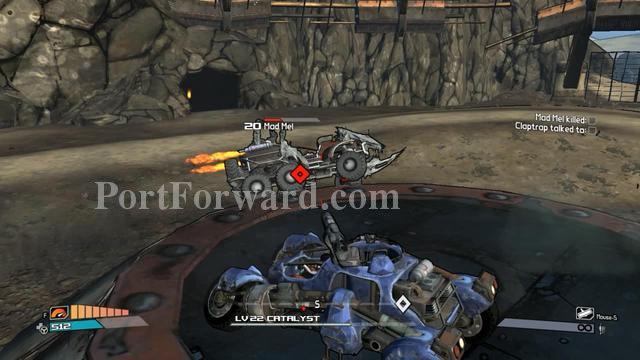
Borderlands 1st release Walkthrough Dahl Headlands: Road Warriors: Bandit Apocalypse
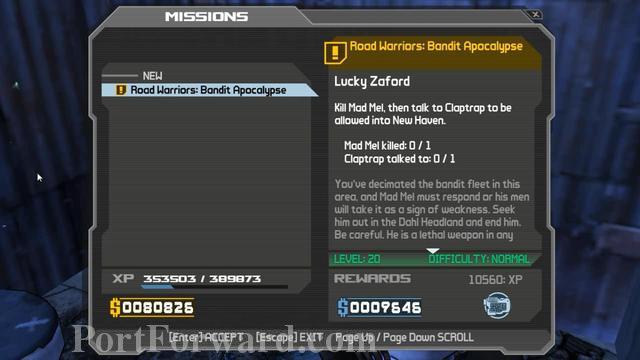
Mission overview
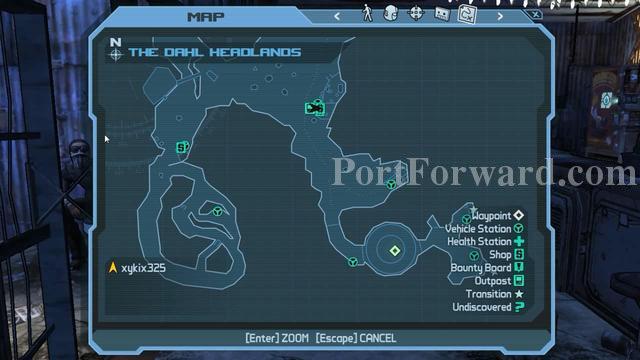
Go to the waypoint as shown in the map.
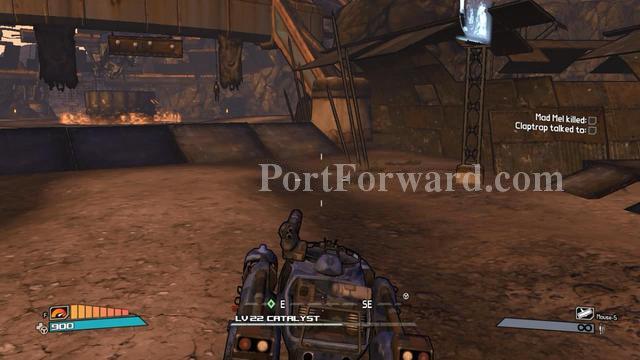
Before entering this place. Be prepared. This one though boss.
Don't let your vehicle flipped or destroyed. You'll be killed easily on foot.
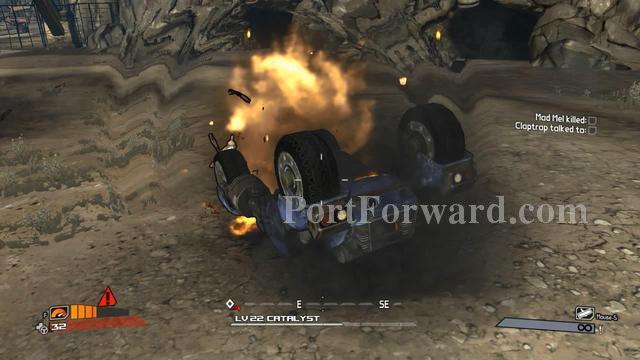
You can just move fast and keep shooting. But you can follow this way. When the middle platform accessible, get on it and move around it like a clock while shooting the enemy's vehicle.
He will try to get you but the movement you did prevent it get closer. Only his rocket may able to hit you.
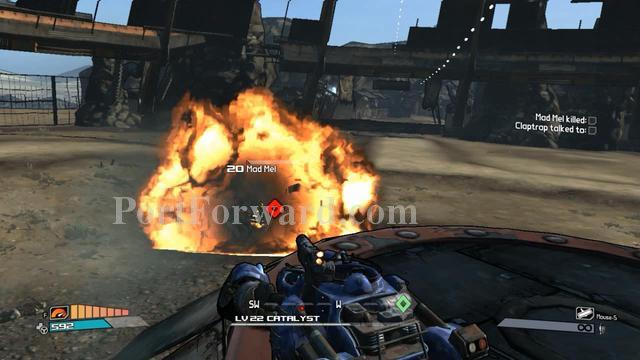
When you do correctly, you can even regenerate your vehicle health. Most importantly, you can eliminate the enemy easily with this method.

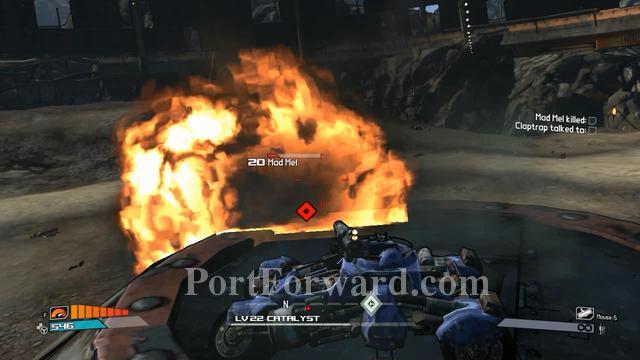
Now, talk to claptrap to continue.
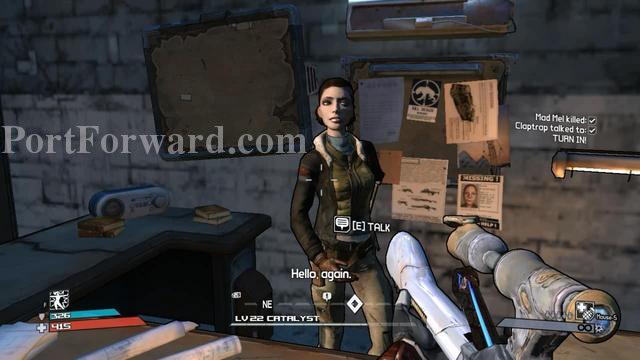
Now you can turn in to finish this mission.
Borderlands 1st release Walkthrough New Haven: Power To The People
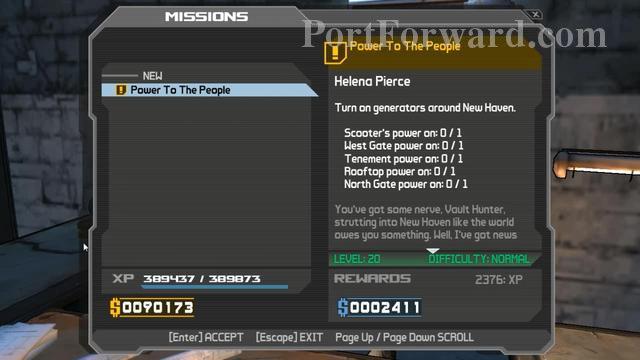
Mission overview.
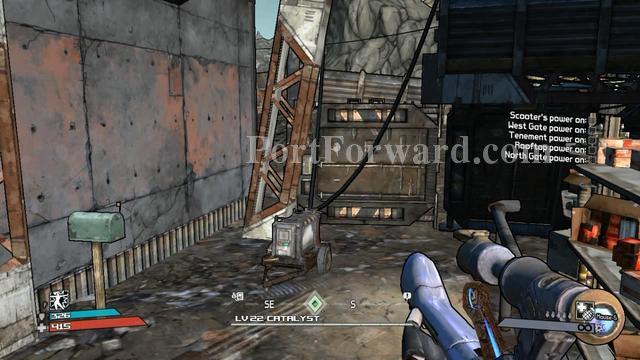
The task only in this area. The first one is here.
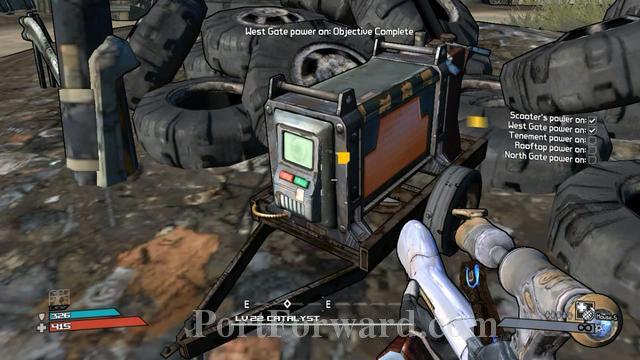
Second power generator.

Third power generator.
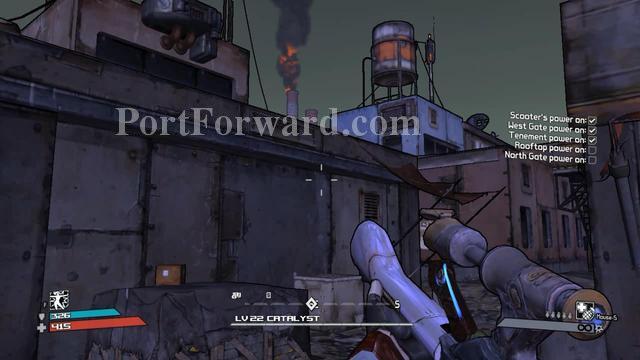
The fourth power generator is at top of a building. No worry. You can climb up here. See that boxes in front? Jump on it.
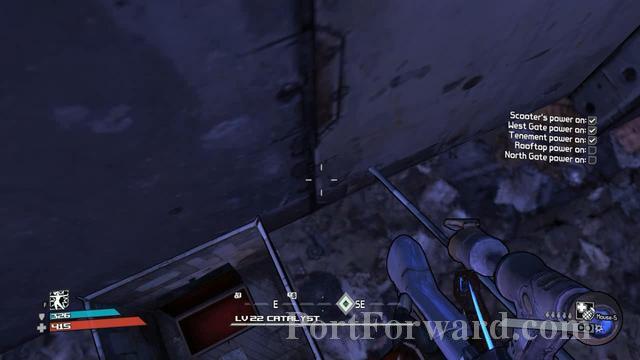
Dont jump in but jump to its side.
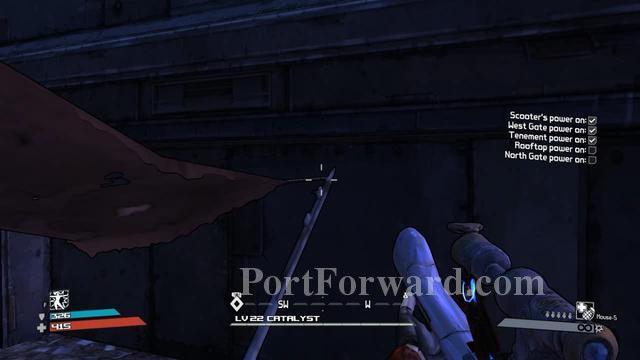
Then jump and press duck on this red-covered roof.
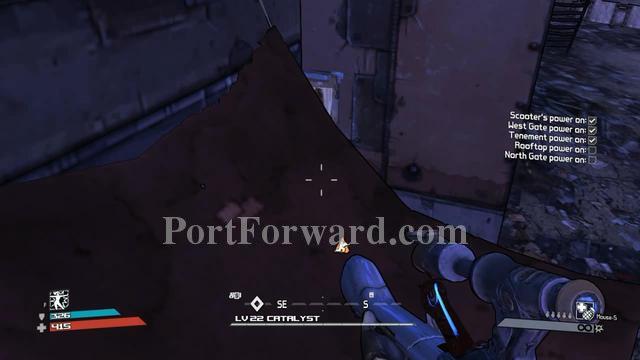
See, you can get on this. :D
Now keep going and turn left after you across the wooden bridge.
Here the fourth generator.

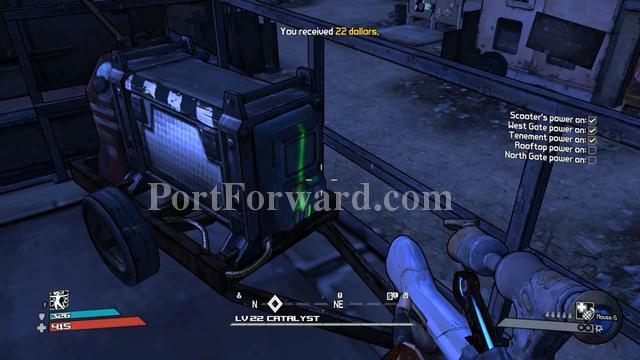
The last generator can be easily found here.
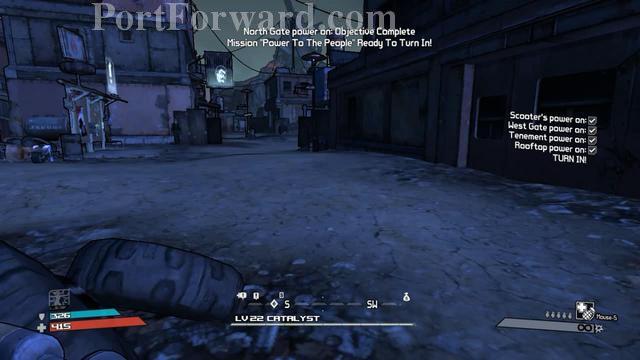
Now you can turn in and complete this mission.
Borderlands 1st release Walkthrough New Haven: Seek Out Tannis
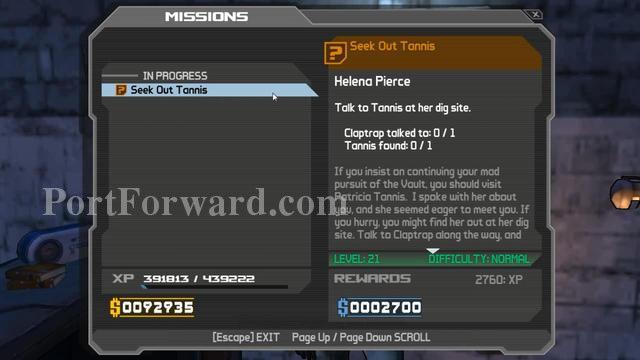
Mission overview.
Talk to the claptrap at the waypoint.
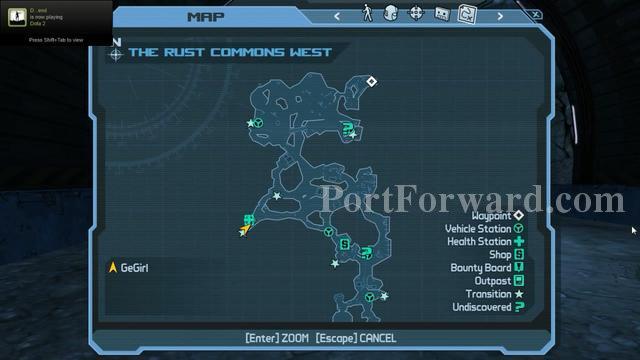
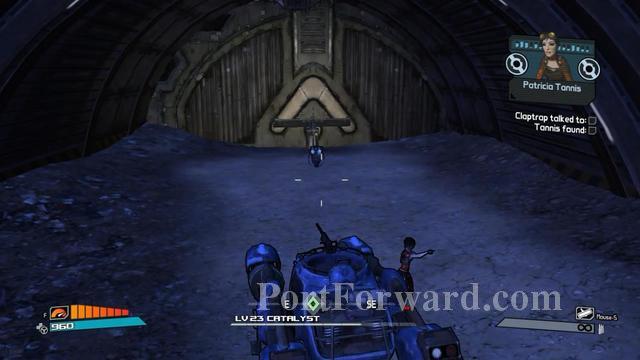
When you reached the new area, go to the new waypoint.
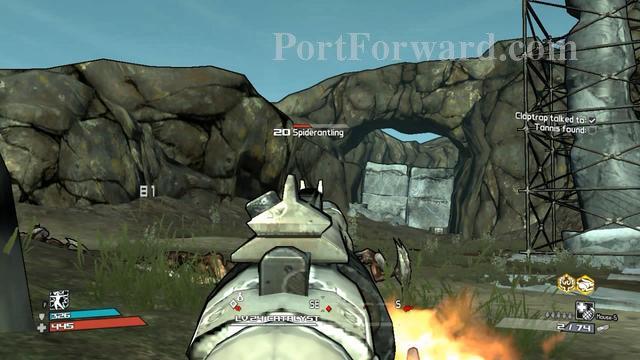
Quite many bugs here. Make your way safely to Tannis.
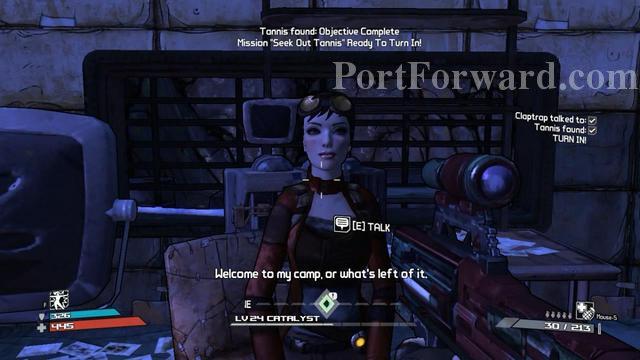
Talk to her to finish this mission.
Borderlands 1st release Walkthrough New Haven: Meet 'Crazy' Earl
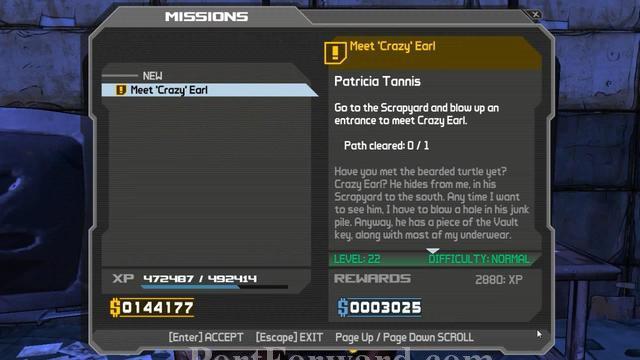
Mission overview.
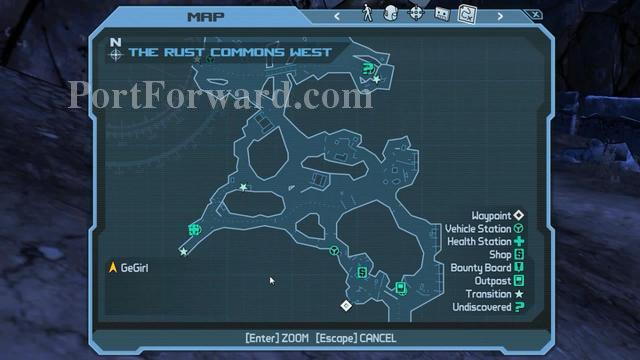
Firstly, go to the waypoint.
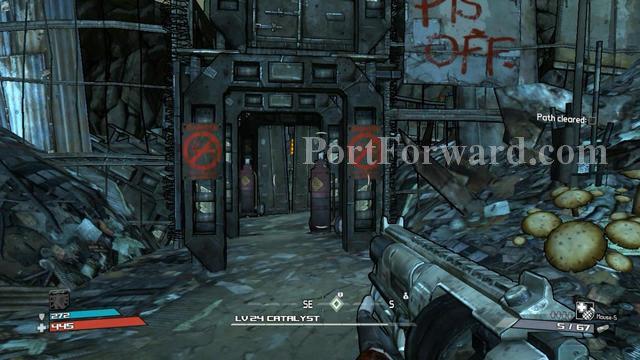
You noticed that the path is blocked. Just shoot the explosive tanks.
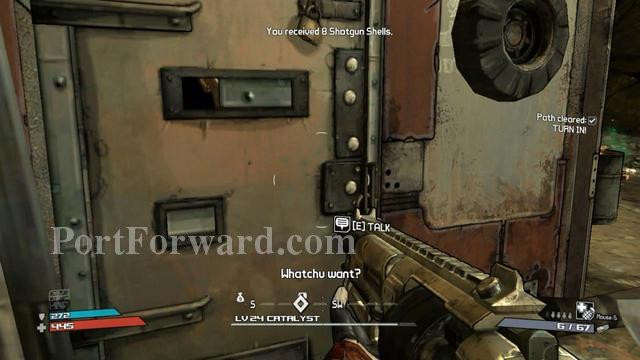
Talk to Earl to end this mission.
Borderlands 1st release Walkthrough New Haven: Get Off My Lawn
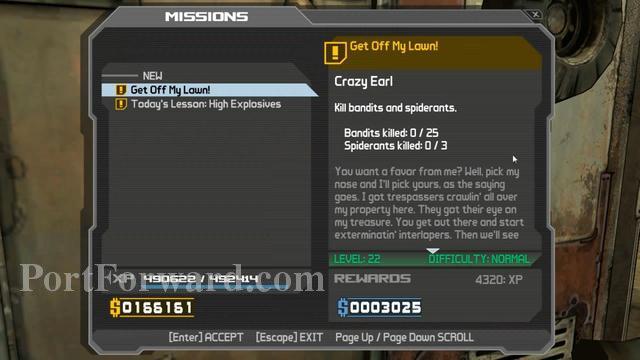
Mission overview. As you can see, this mission is so easy. You won't notice you finished them if you do the second task. Just kill bandits and spiderants to complete this mission.
Borderlands 1st release Walkthrough New Haven: Haif Of The Dog
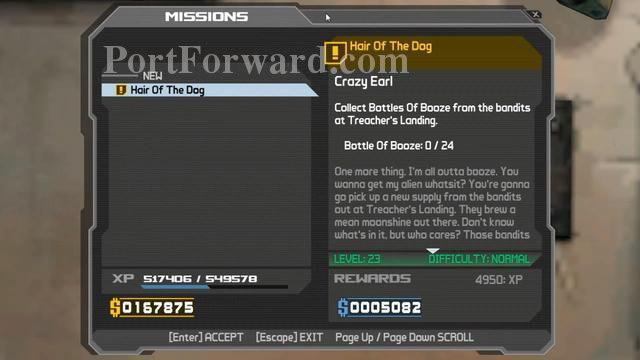
Mission overview.
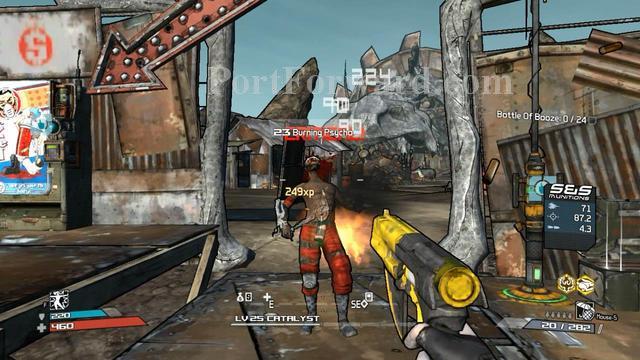
Follow the waypoint. You'll reach here.
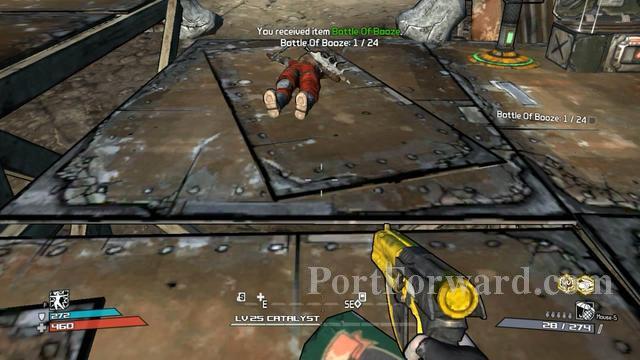
Some enemy drop the bottle of booze. So, just clear this area and you'll enough booze to complete this task.
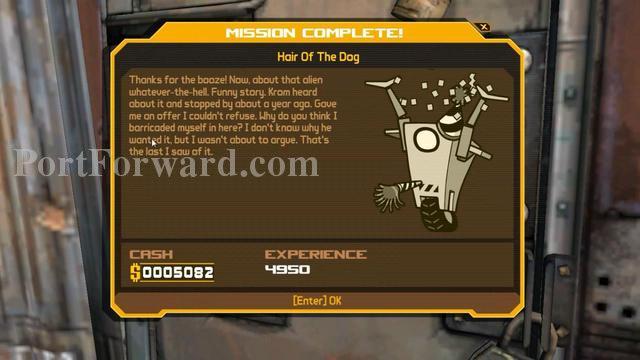
Turn in to Earl to complete the task.
Borderlands 1st release Walkthrough New Haven: The Next Piece
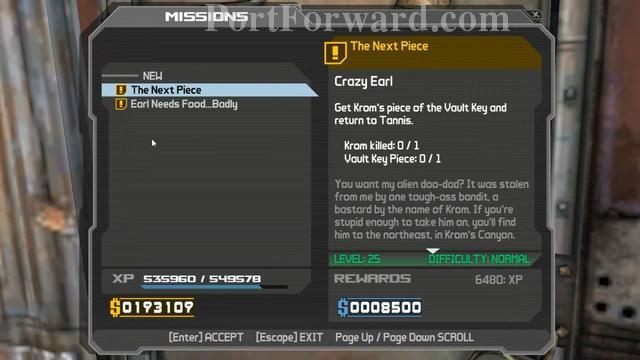
Mission overview.
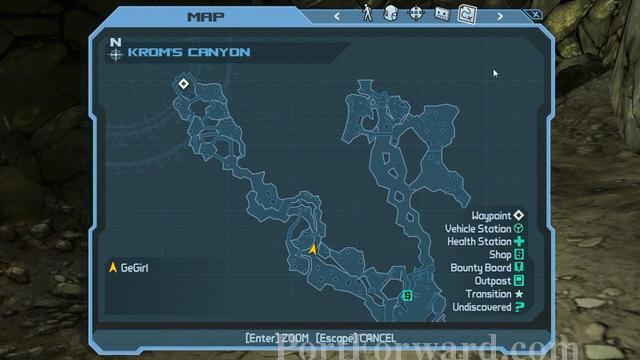
To reach Krom's place, you need to go through a path where you have to fight many enemies. It's good idea to max up your ammo and upgrade SDU. Also, bring a sniper or rocket laucher to kill Krom easily.
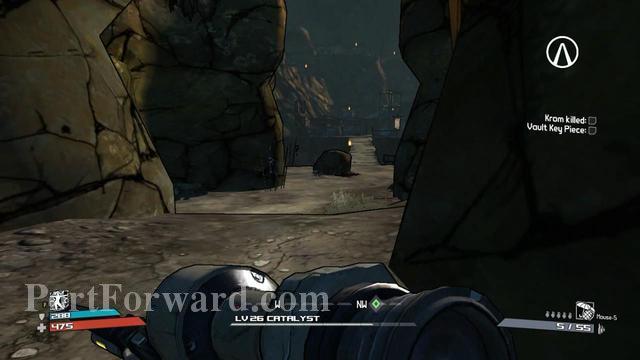
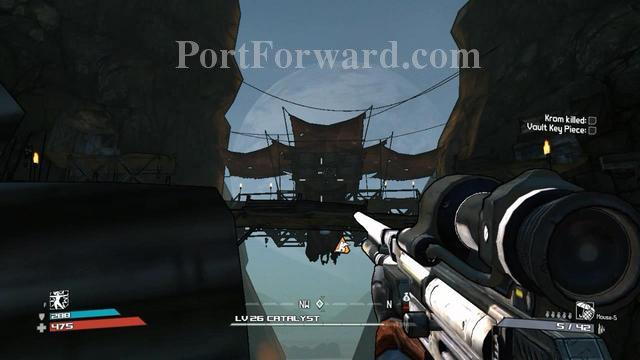
This is the place you have to go through to the Krom. Be careful though, Krom constantly shoot rockets at you.
The advantage of sniper is you can take cover and snipe enemy from the other side because Krom keep shooting rocket at you so be at the open place will get you killed.
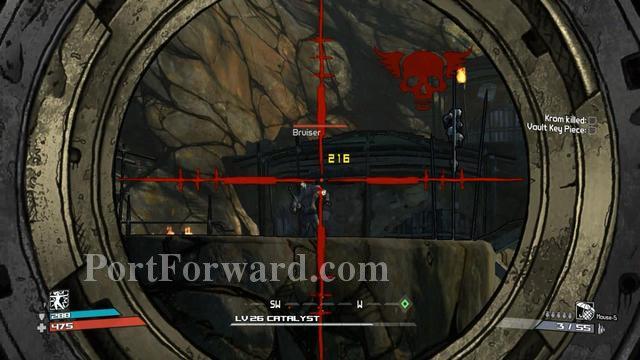
Try to get nearer to Krom.
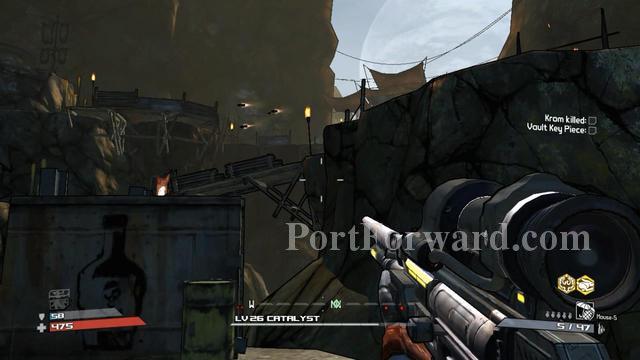
When you have clear view of him like in the picture? Then stay there and find cover. The strategy is shoot him and take cover from the rocket. You'll see the rocket coming. Sometimes, even you stand the rocket doesn't affect you at all. Depends on place and luck.
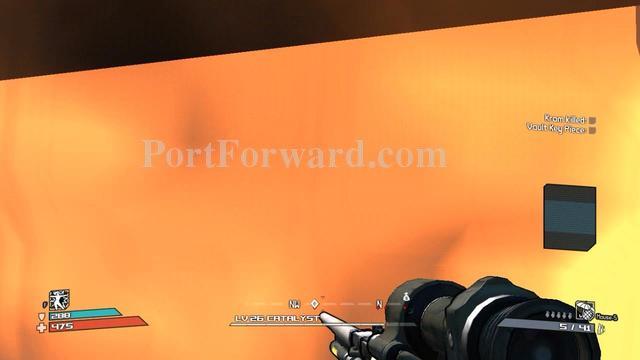
Although the fire from the rocket blast can be seen, but it doesn't hurt you at all behind the metal plate (as cover). Quickly after the explosion, stand up and shoot again.
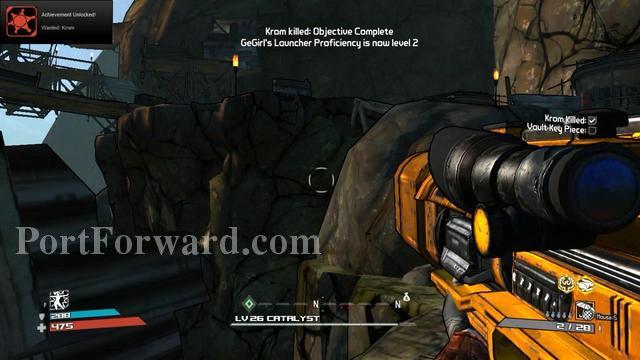
If you have rocket launcher, then use it. It's more effective than sniper or any other weapons againts turret.
Easy kill. :)

The vault key inside this container. Open it and take.
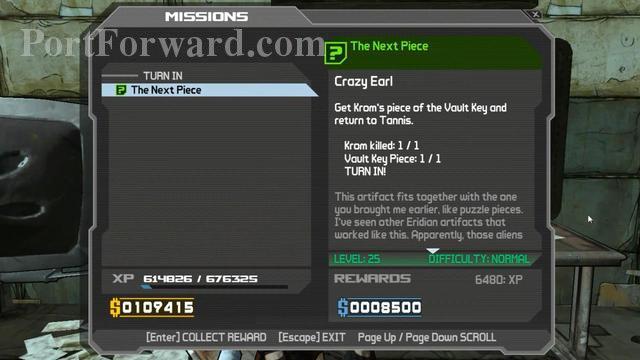
Turn in to complete this mission.
Borderlands 1st release Walkthrough New Haven: Jaynistown: Secret Rendezuous
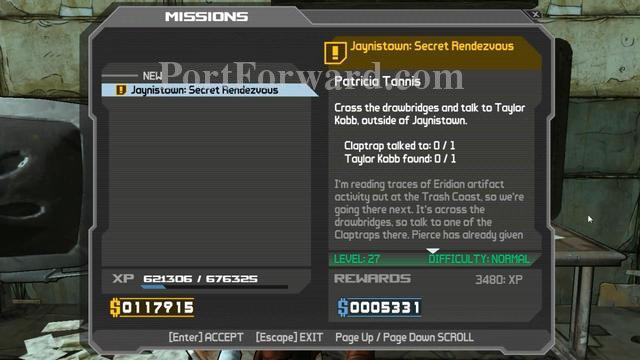
Mission overview.
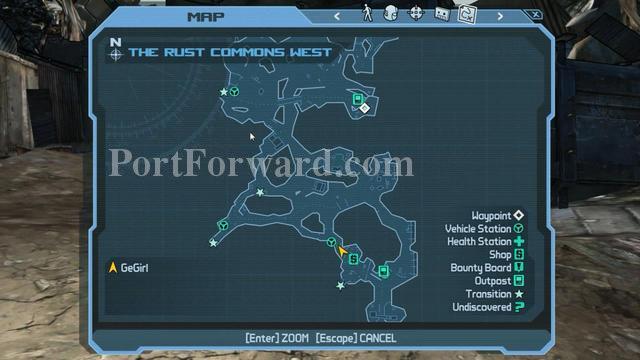
Go to the waypoint. Claptrap is at Rust Commons East.
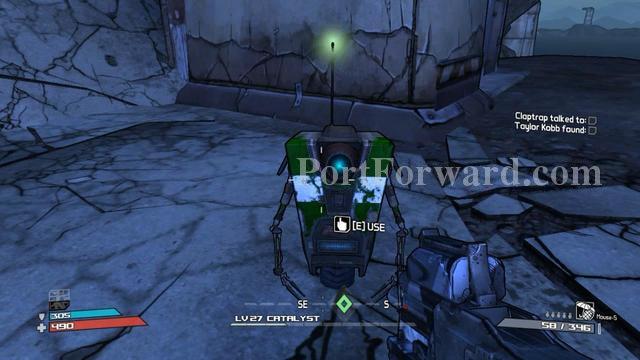
Now, talk to it. It will lowers the bridge.
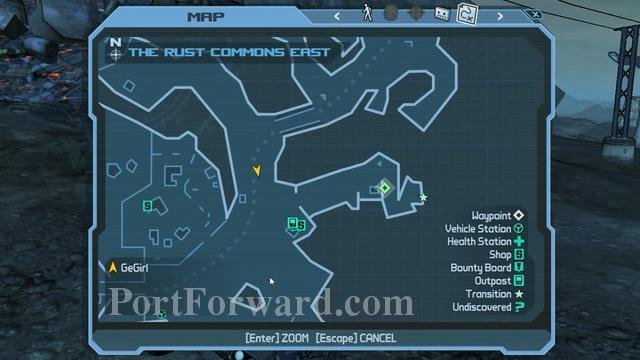
Again, go to the second waypoint.
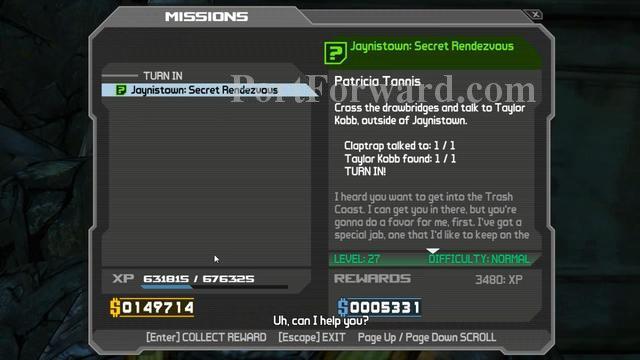
Talk to Taylor and complete this mission.
Borderlands 1st release Walkthrough New Haven: Janistown: A Brother's Love
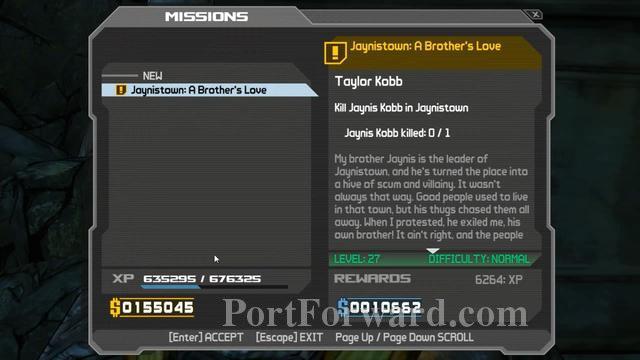
Mission overview.
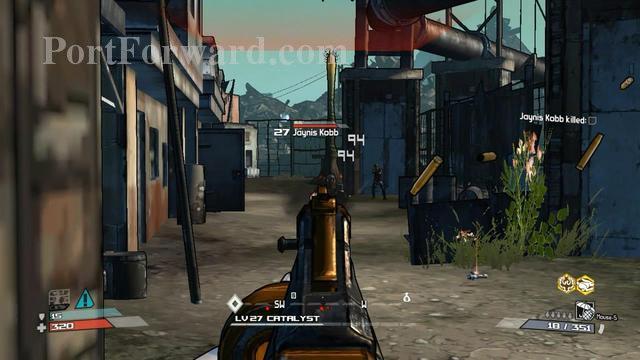
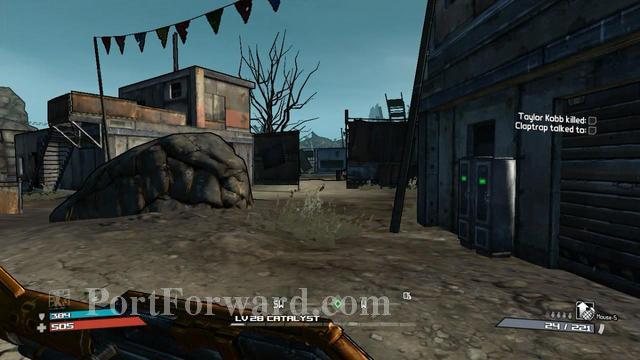
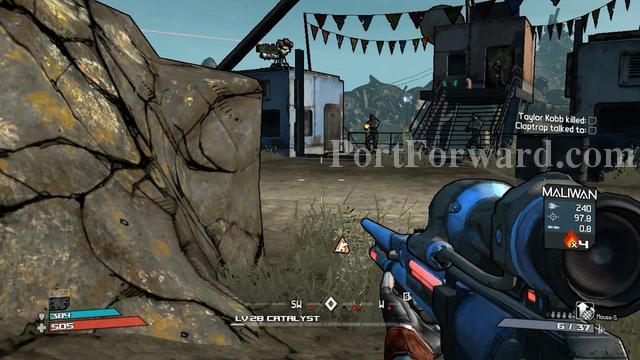
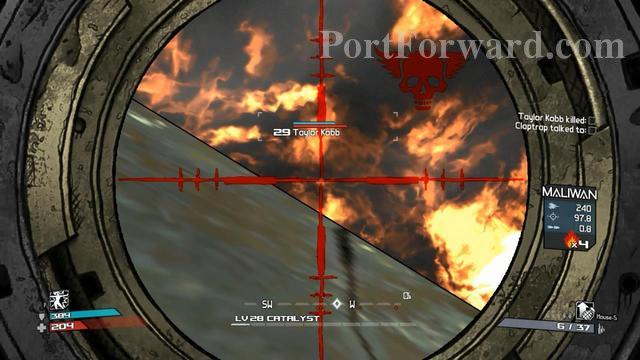
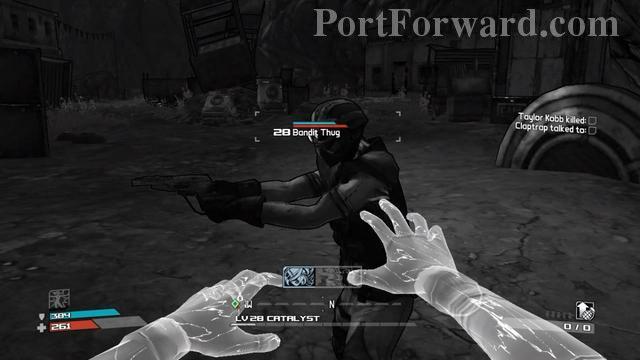
Go to the enemy's camp and do your stuff. Jaynis just an ordinary enemy. So killing him is not a big problem.
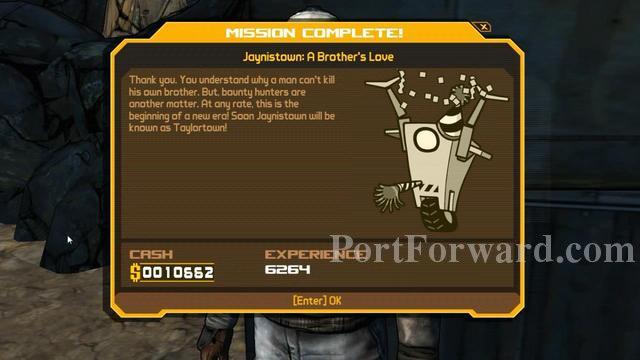
Turn in to finish the mission.
Borderlands 1st release Walkthrough New Haven: Jaynistown: Spread The Word
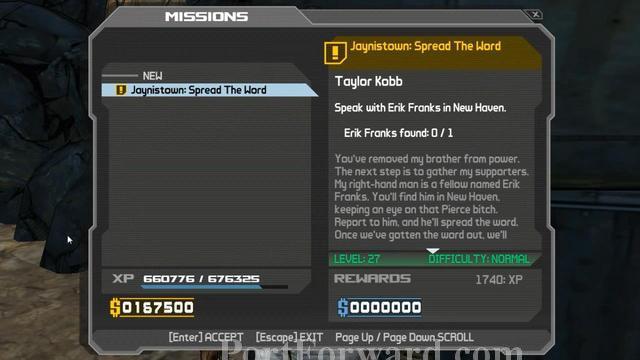
MIssion overview.
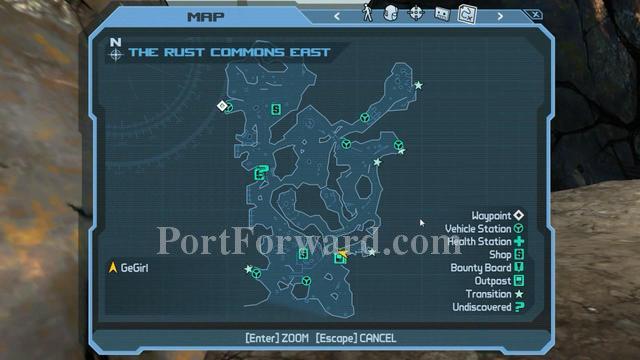
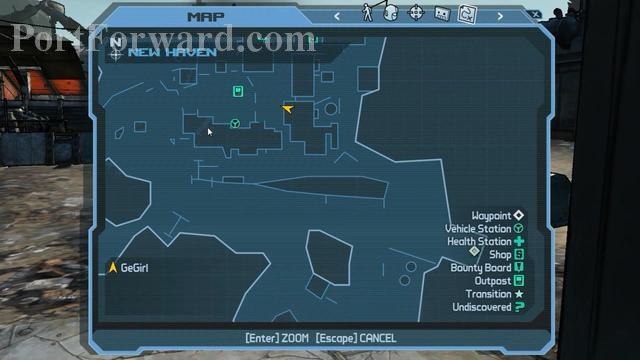
Follow the waypoint. The man you looking for is located at New Haven.
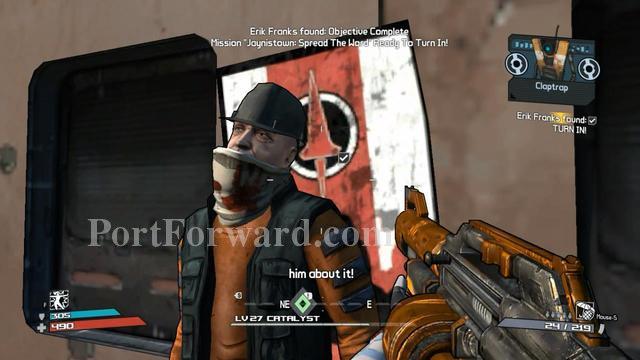
Talk to him to finish this mission.
Borderlands 1st release Walkthrough New Haven: Jaynistown: Getting What's Coming To You

Mission overview.
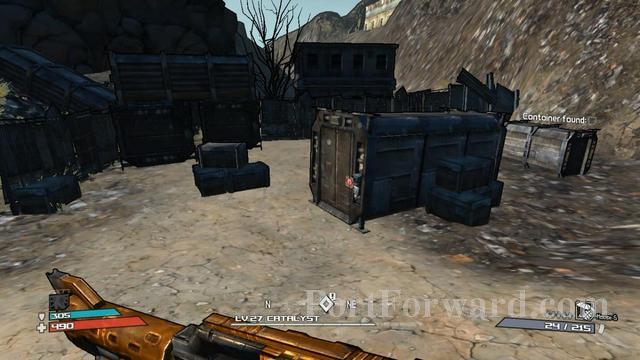
Go to the waypoint and you'll find the container.
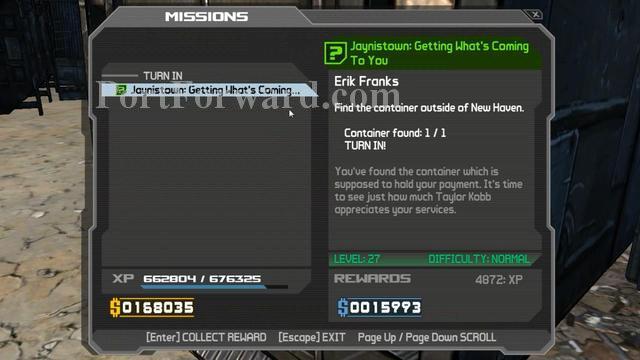
Use it and turn in here. Mission completed.
Borderlands 1st release Walkthrough New Haven: Jaynistown: Unintended Consequences
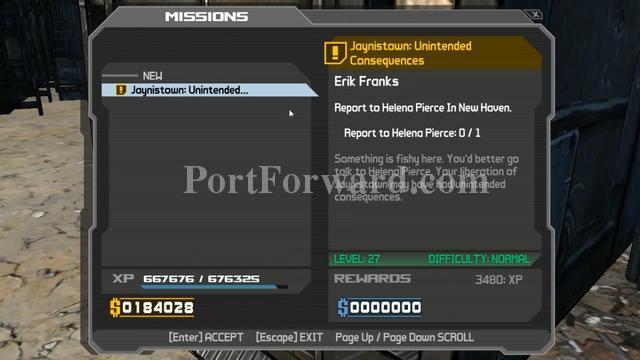
Mission overview.
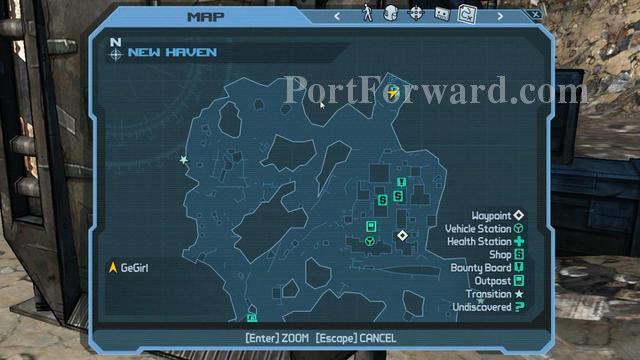
Just follow the waypoint.
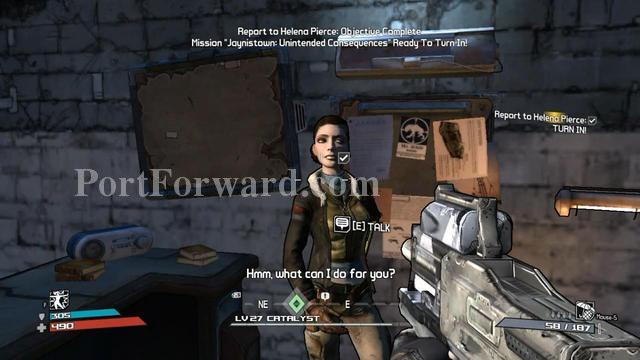
Report to her and finish this mission.
Borderlands 1st release Walkthrough New Haven: Jaynistown: Cleaning Up Your Mess

Mission overview.
Go to Rust Commons East.
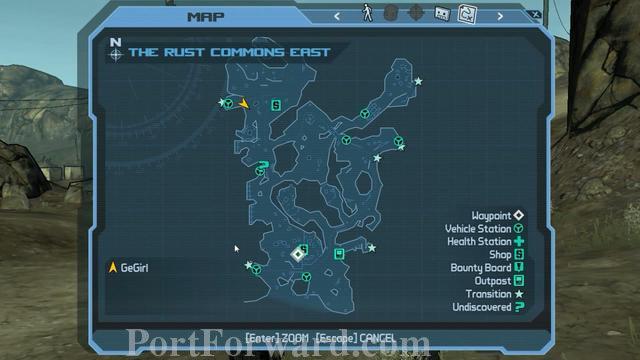
Keep going.
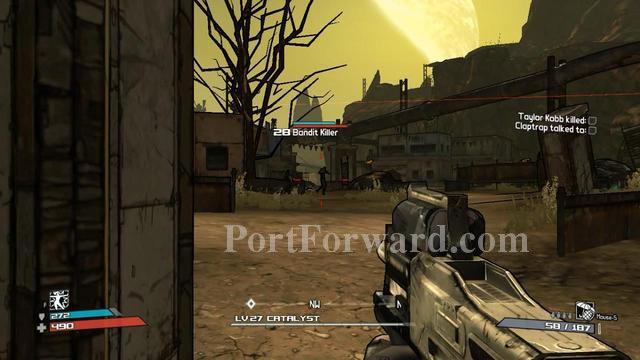
Here, you have to clear this area. Kill all the enemies here.
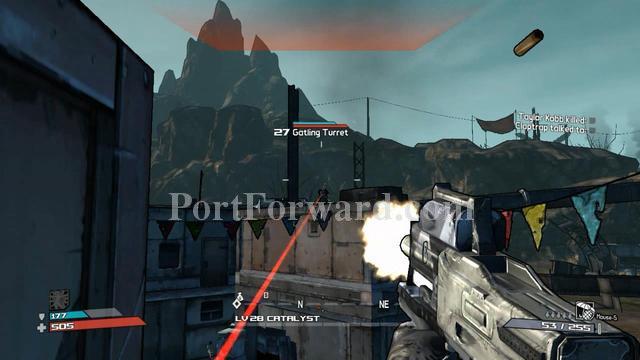
You should blow turret before killing other enemies.
When you ready, enter the boss area.
When they out, dont fight here. Go back to the place before entering here.
Take cover behind a rock (the rock located just before you enter the boss area). Now, you can easily attack him.
If he gets out from his area, which make you safer because no turret here, then ambush him and attack with your best weapon. If not, just snipe him until he die.
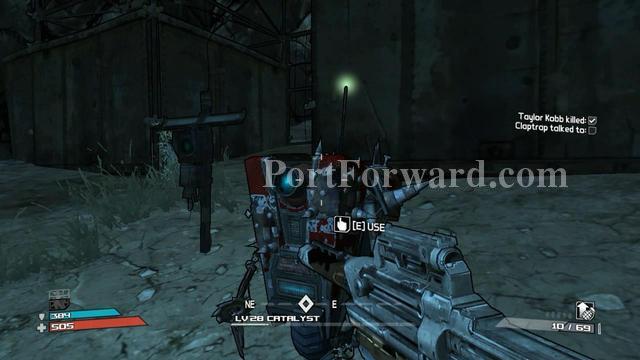
After that, go to the claptrap waypoint and talk to it. Now, you can turn in and finish the mission.
Borderlands 1st release Walkthrough New Haven: Another Piece Of The Puzzle
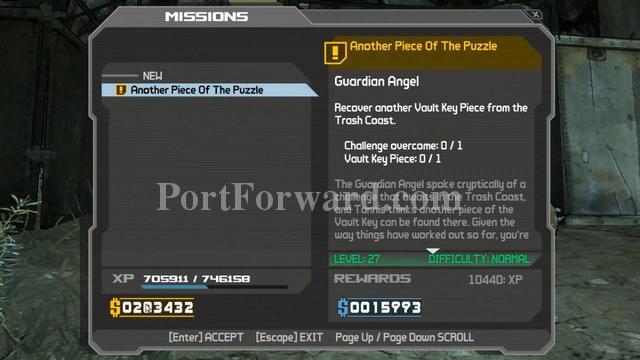
Mission overview.
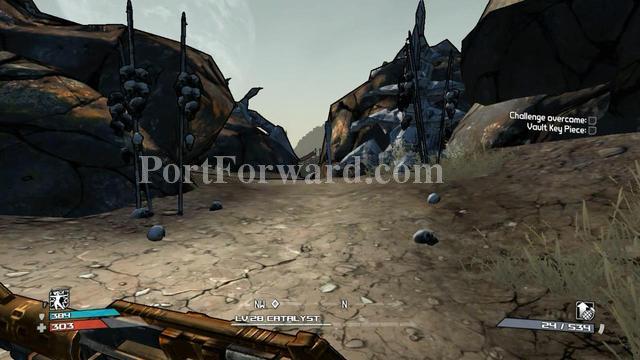
All you need is ammo. And a little bit of shooting skill. Proceed if you have that. :D
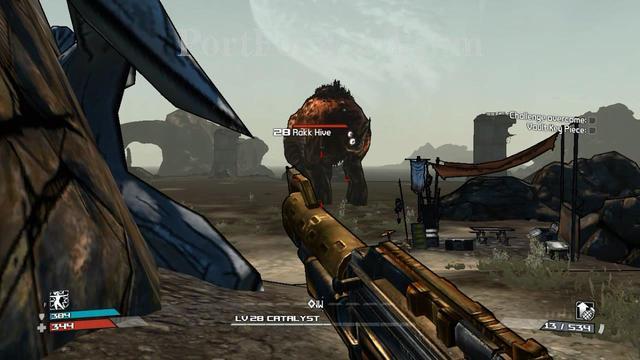
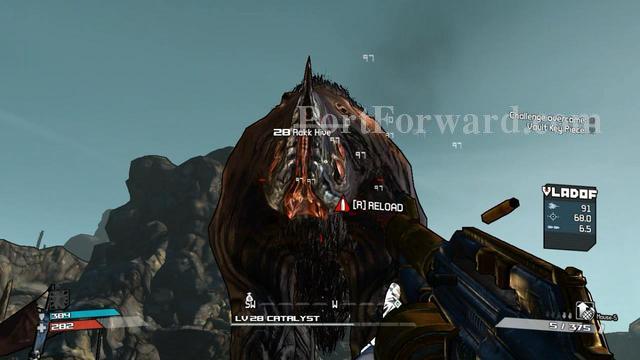
Although the Rakk Hive is huge. Don't worry. Just stay here.
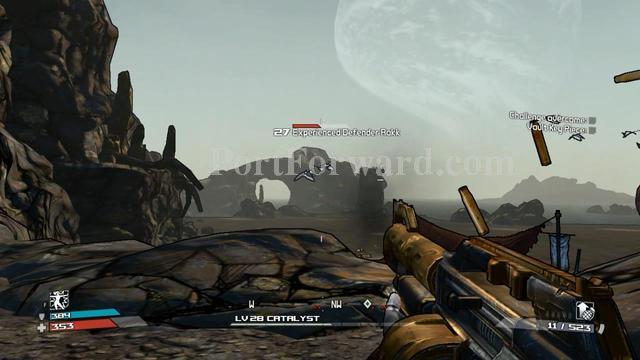
Before start messing with the Hive, clear the flyling Rakks first.
Then, take cover at any rock that have a nice view to it and aim the big guy at its eye. Make sure to hit as much accurate you can to get critical damage.
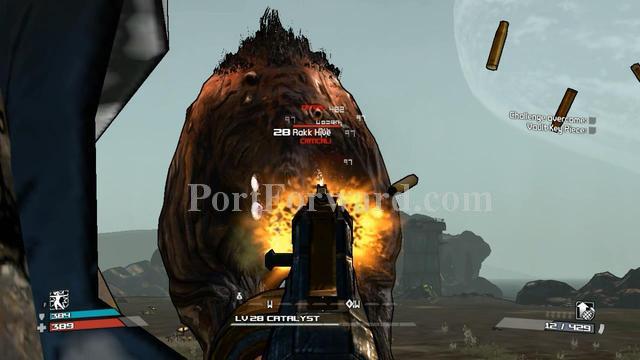
When the flying Rakk appear again, then kill it. After that continue poke the monster eyes with some bullets.
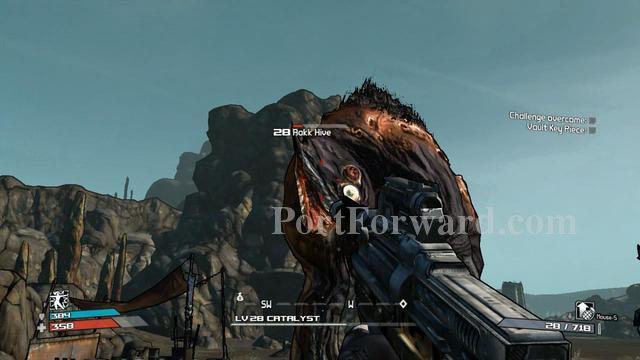
Pop its eyes until no more.
Only at the eyes do critical damage. It'll take some time to kill it without eyes. Do what you wants as long keep shooting.
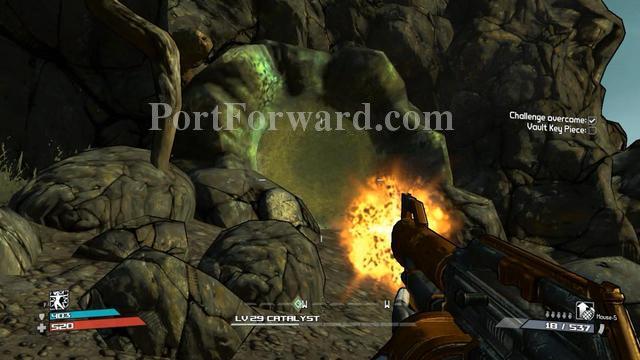
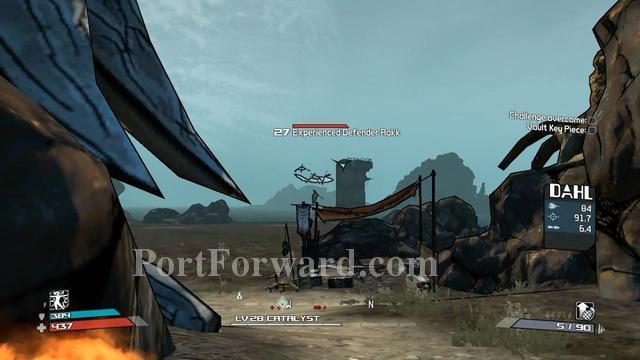
Go through here to get the vault key. Shoot at the goo wall.
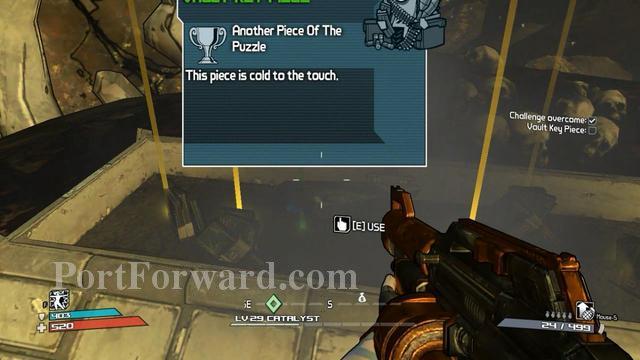
This is it. Take it and turn in this mission to complete.
Borderlands 1st release Walkthrough New Haven: Not Without My Claptrap
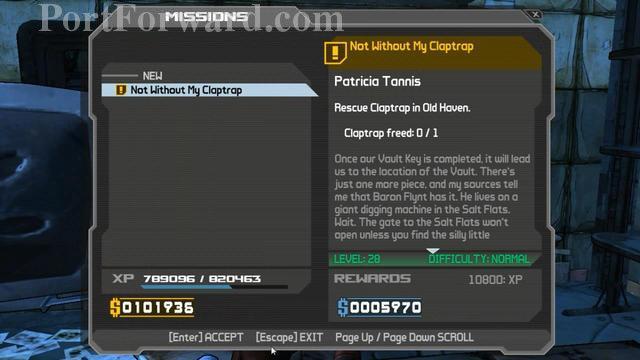
Mission overview.
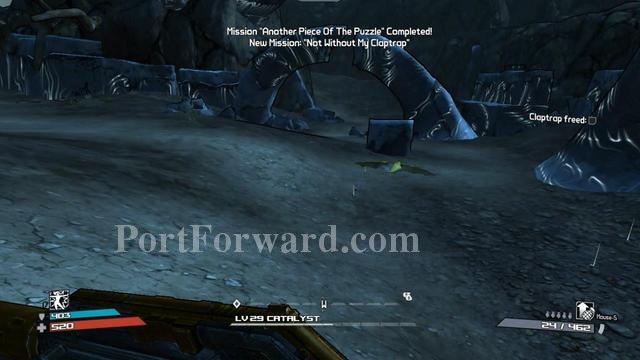
Go to the waypoint at the Old Haven.
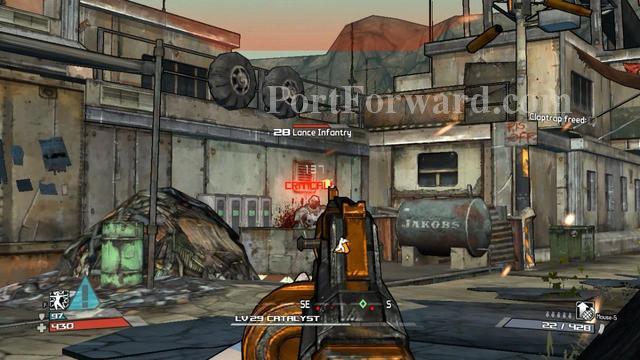
Old Haven is not same like New Haven. Many enemies here. Some of them quite strong.
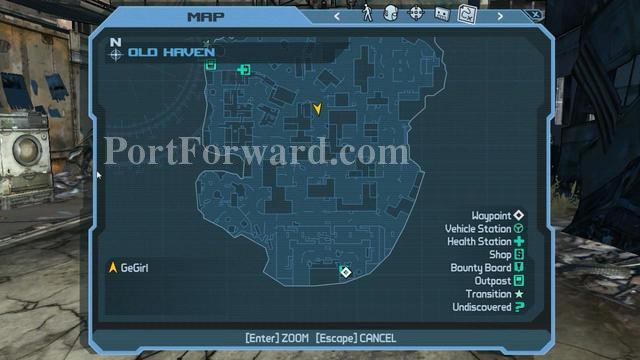
Make your way to the waypoint where claptrap located there.
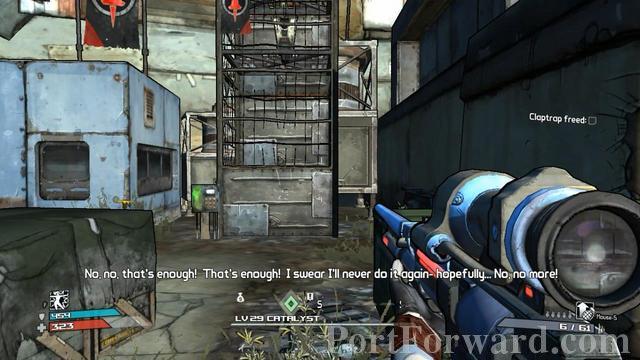
Release claptrap using the switch at the left.
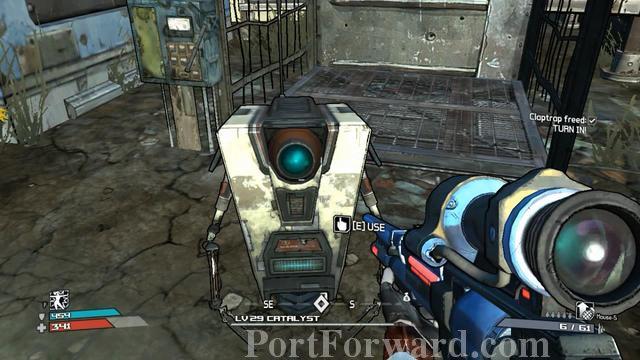
Talk to claptrap to complete this mission.
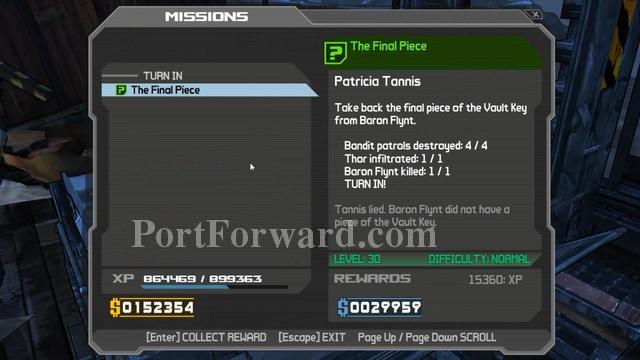
Borderlands 1st release Walkthrough Salt Flats: The Final Piece
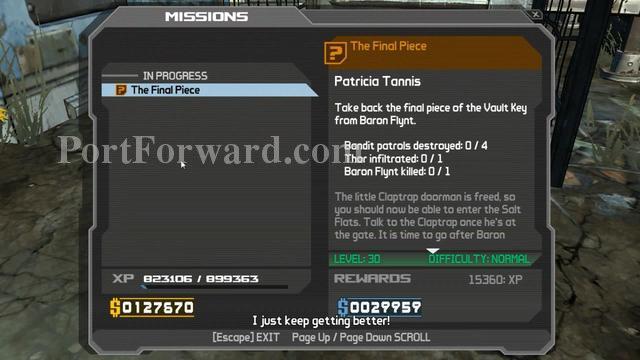
Mission overview.
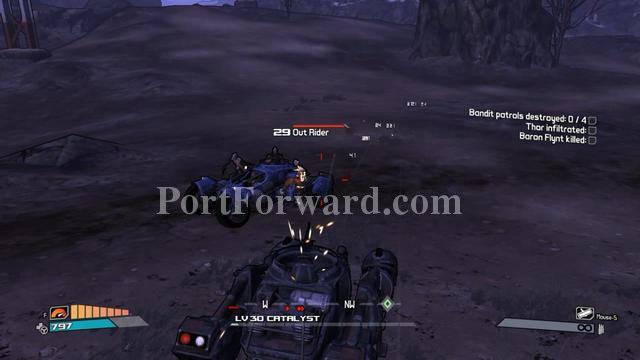
Go to the waypoint.
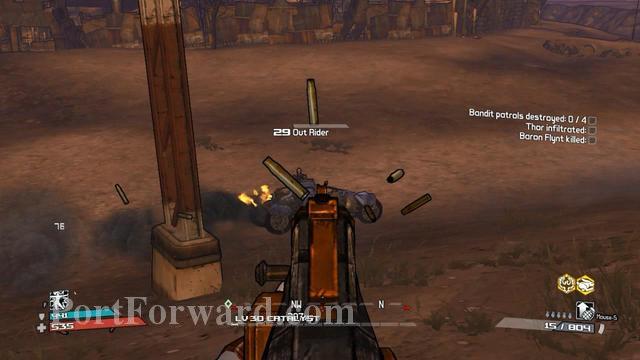
Wait for the Out Rider to come. Then park your vehicle to safe place and shoot them with normal weapon. More faster, accurate and effective too.
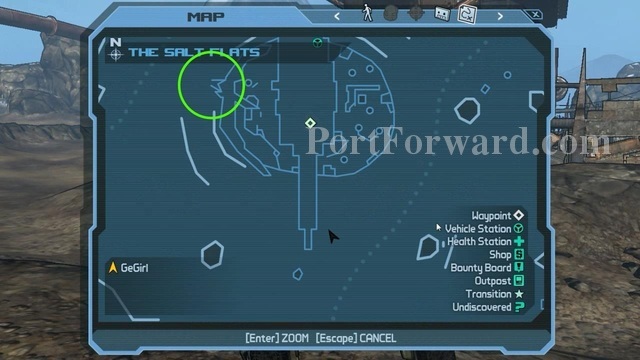
Now go to another location. To enter this place, go to the place circled in the picture.
To proceed, go here.
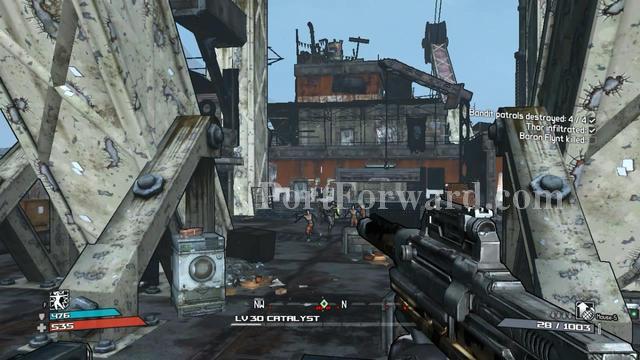
As usual, eliminate all normal enemy first if you can.
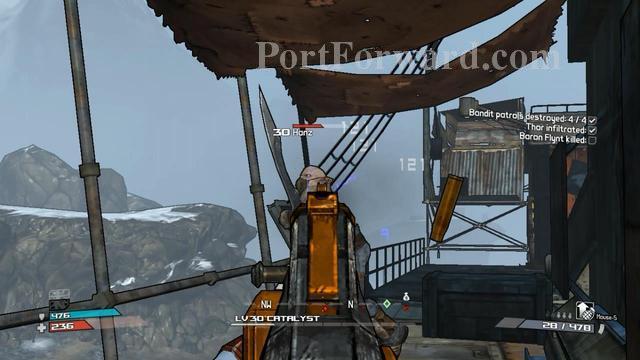
Be careful when Hanz and Franz out. Dont let them near you.
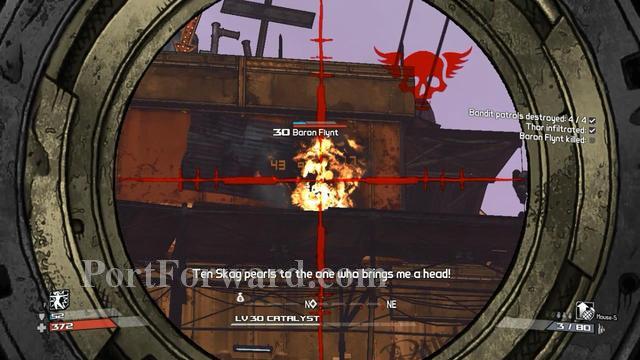
That Baron Flynt is just a weak guy.
He will try to get near you. If you have powerful shotgun, then use it. Aim for the head when he gets near. The end.
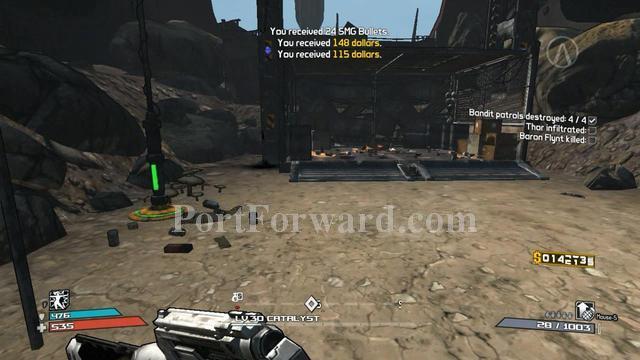
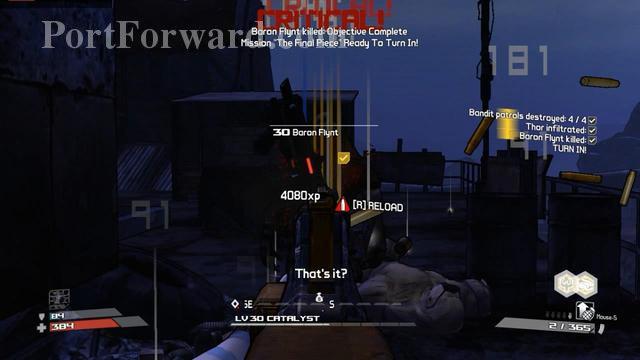
Now, go up. You'll find a container.
Use the container to turn in the mission.

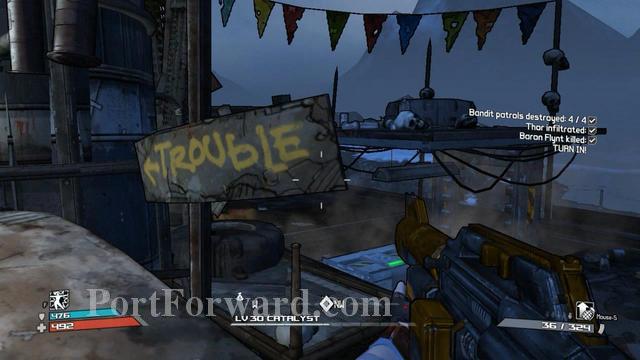
Get out using the same way you get in.
Borderlands 1st release Walkthrough Salt Flats: Get Some Answers
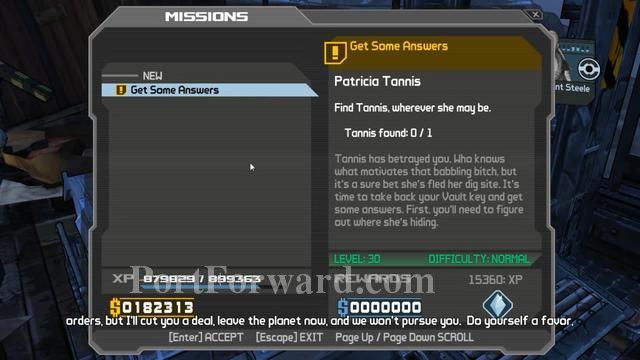
Mission overview.
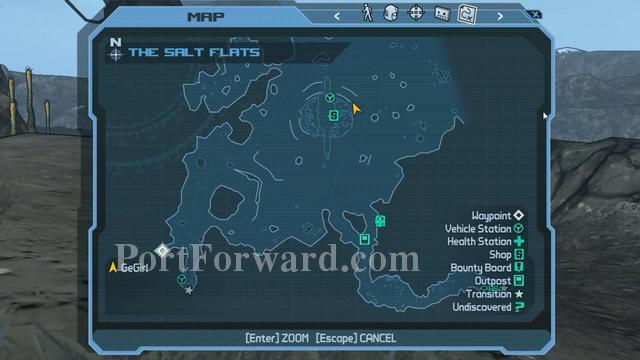
That traitor Tannis must be found. Quick go to the waypoint.
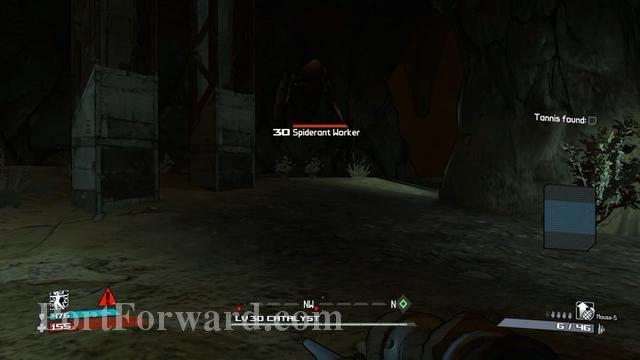
This is the cave where she's inside.
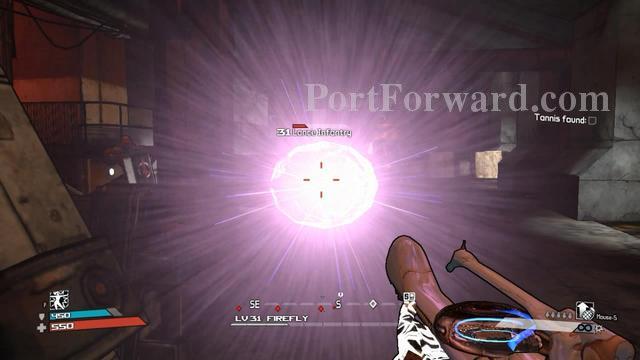
It's actually a trap. But you can handle it, right?
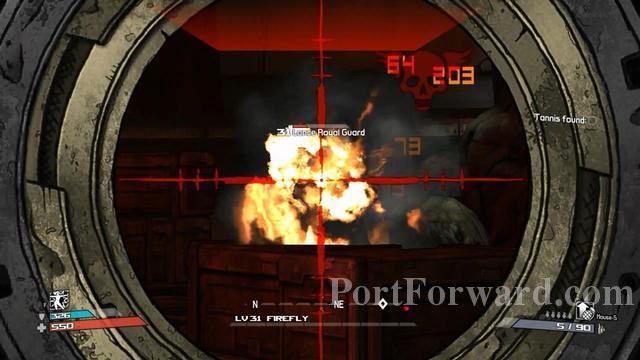
Kill the guards first. If you have fire elemental sniper, then use it. Super effective.
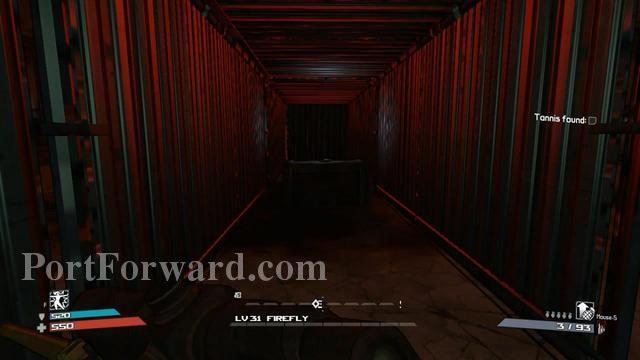
Another area with full of Lance armies. They quite strong due to their armor. But fire is one of the solution.
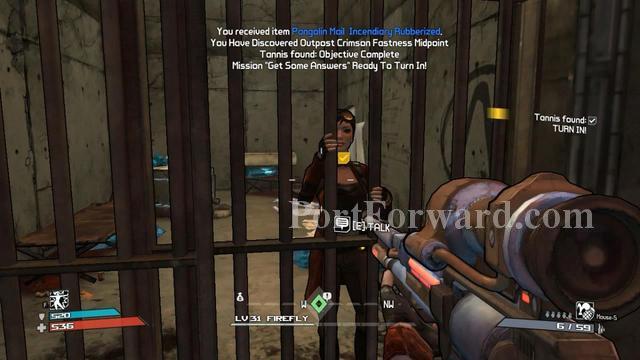
Yeah, found her. Now you can turn in by talking to her.
Borderlands 1st release Walkthrough Salt Flats: Find the Echo Command Console
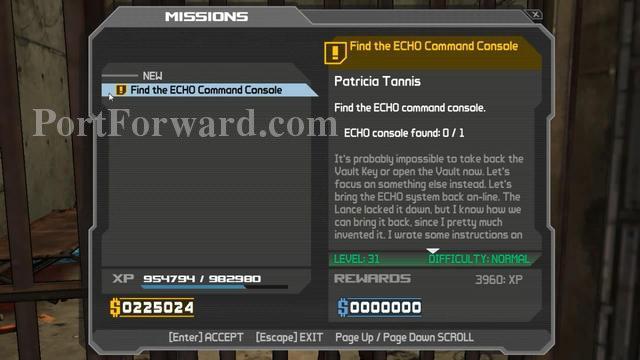
Mission overview.
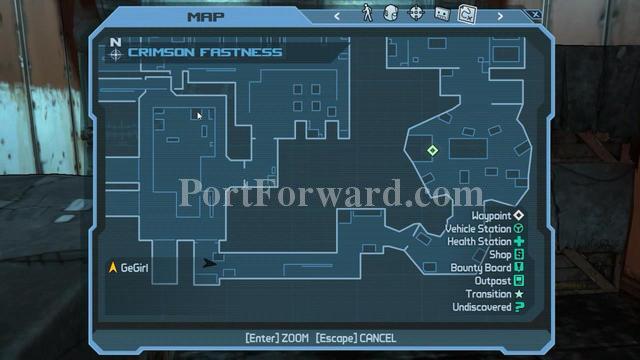
The Echo console also inside the building where Tannis has been found.
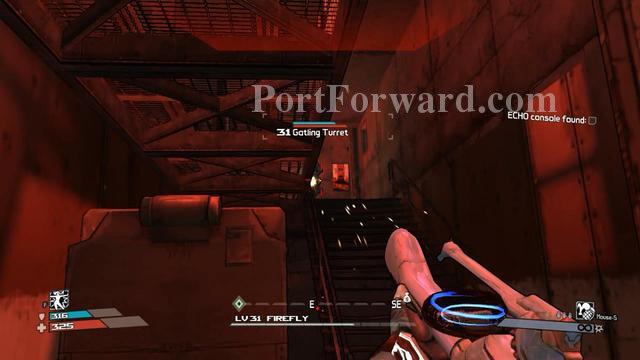
Don't ever fight turret one on one.
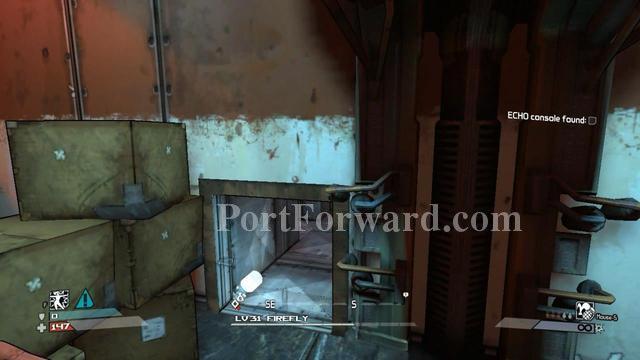
At the right side, there's a small path like this. Enter it.
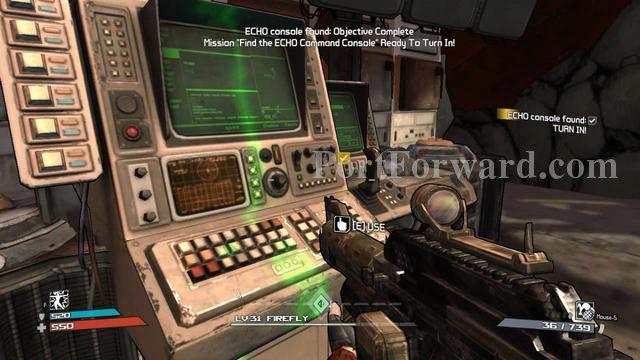
Once you find it, use the console to turn in this mission.
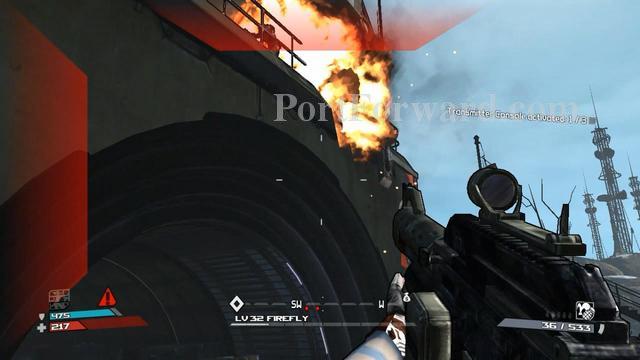
Borderlands 1st release Walkthrough Salt Flats: Reactivate the Echo Comm System
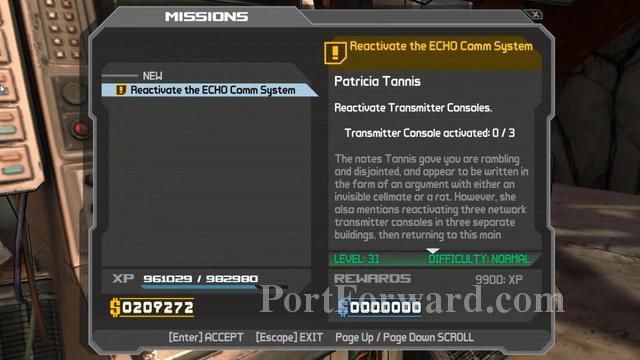
Mission overview.
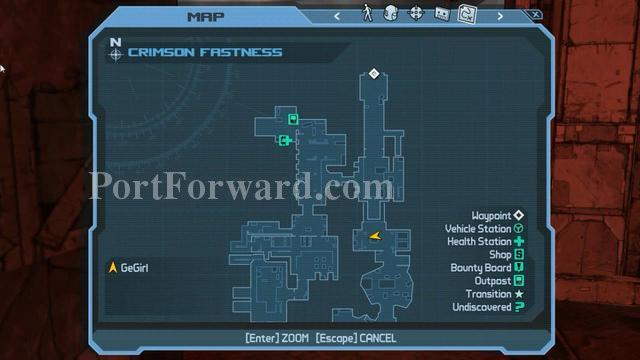
Get out from this building. Note that there're few Badass Engineers that really badass and tough.
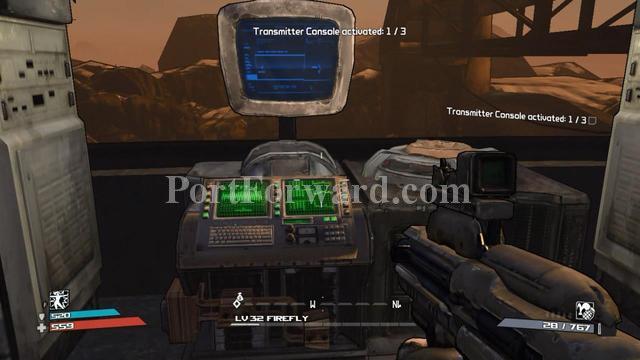
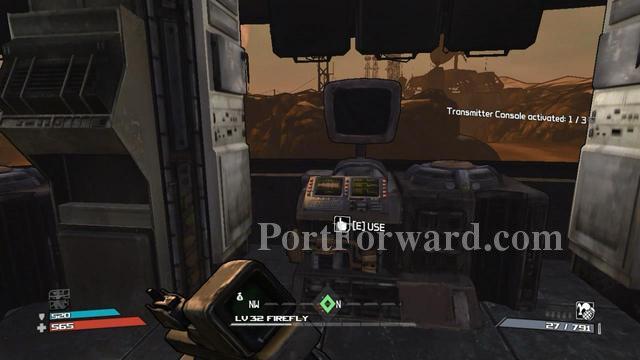
This is the first place, for the first trasmitter console.
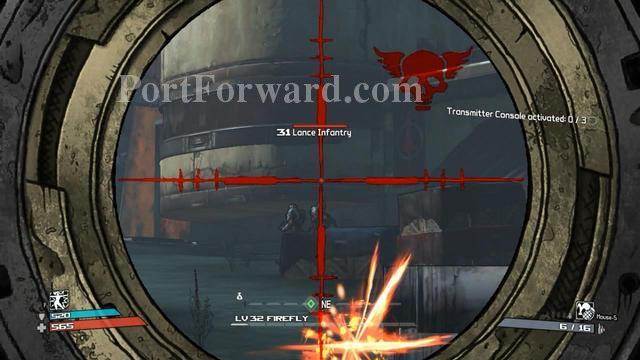
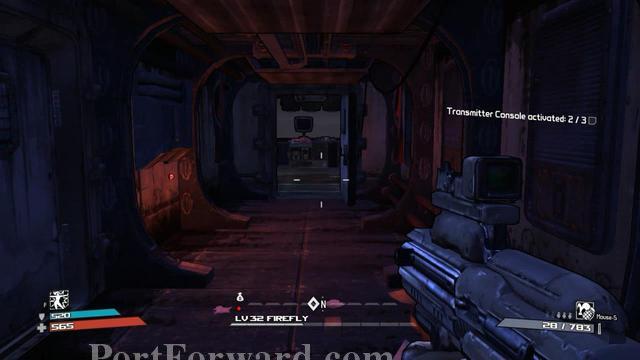
Two more to go. Open map and go to another waypoint.
The main problem on each places is the turret. You have to find a way to destroy it. Enemies guarding all those places are weak which can be killed easily.
One more!
Finally the last one.
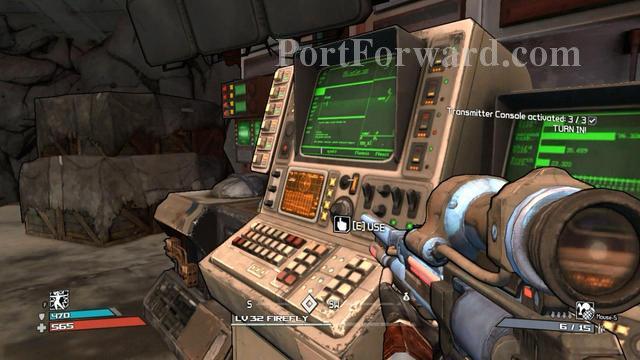
Turn this mission to the main Echo Comm Control.
Borderlands 1st release Walkthrough Salt Flats: Find Steele
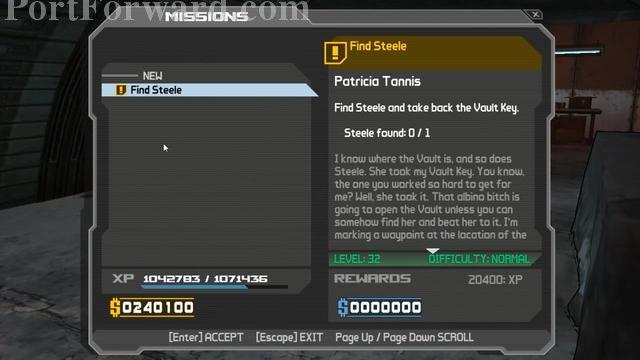
Mission overview.
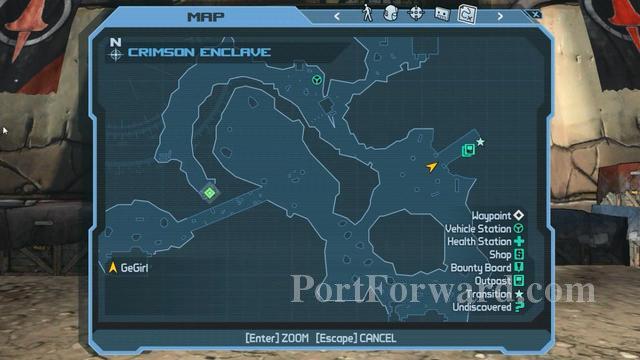
Go to Steele's place.
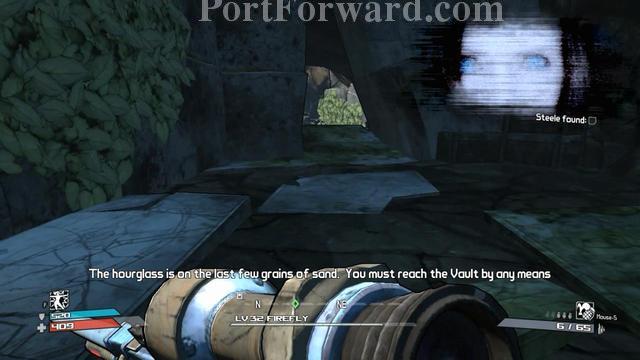
You should find Steele here.
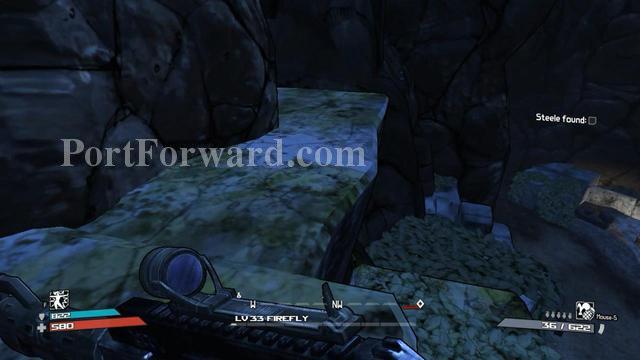
There's always one way path to go down or across to other side because you doesn't have to use the same way to get out of here. Explore around and you'll see the way.
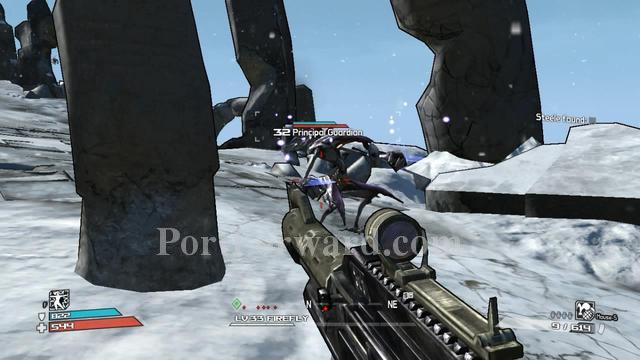
Your distance to meet the final boss is nearer. Keep going and stay safe.
So, are you ready for the final battle? Let's do this.
You can kill this thing easily. Follow the method below...
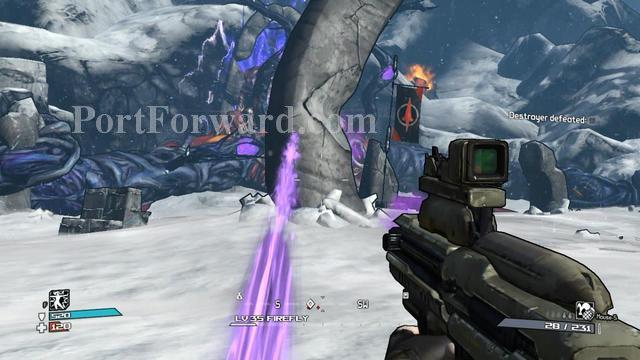
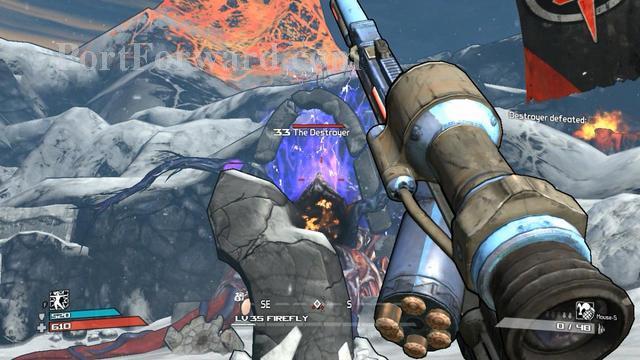
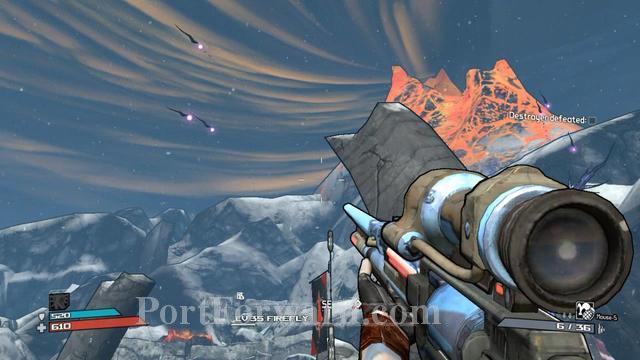
Stand behind the rock with distance like this. You'll be safe from the purple beam. But one more problem, the alien rockets. But the distance helps to avoid that rocket.
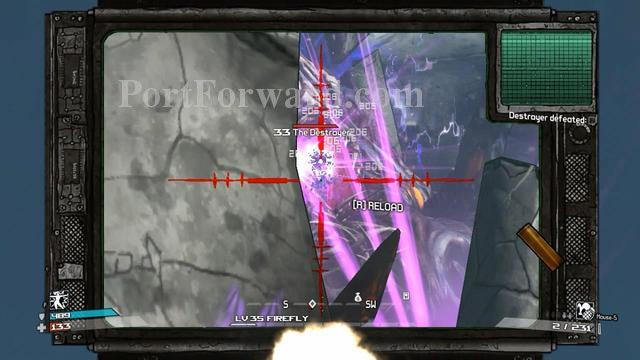
Shoot the monster eye or mouth for critical damage when you have the chance.
But don't spend too much time shooting. Always check the surrounding for the alien rocket.
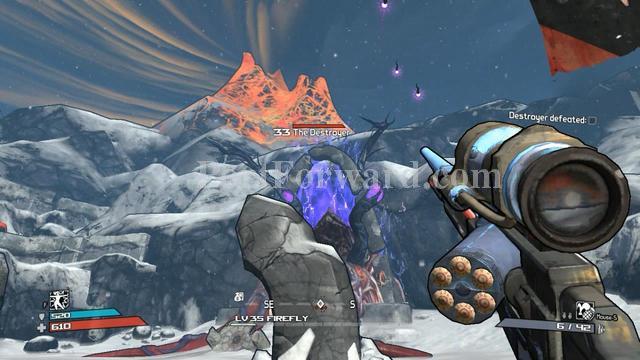
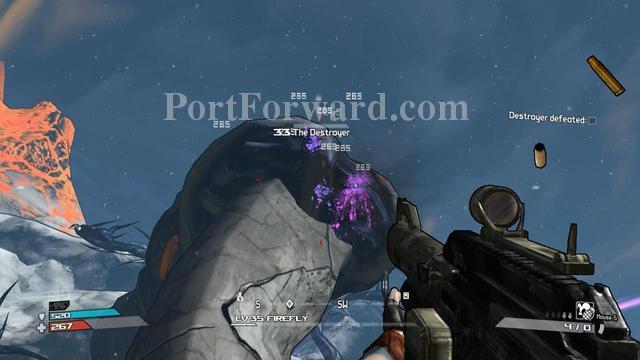
When you see the rockets coming at you. Quickly run towards the rock.
The explosion of the rockets can really hurt you to death. Once the explosion finished, go back to make distance between the rock. Do this until...
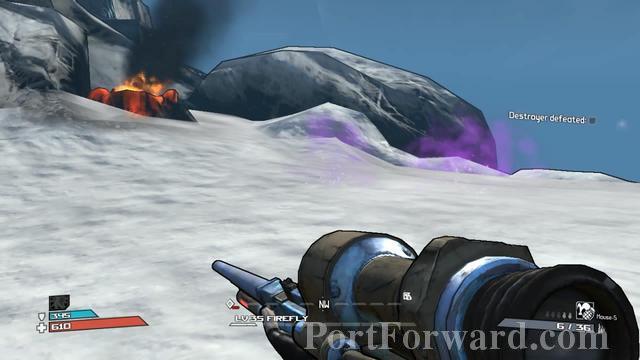
Sometimes, that monster will release more alien rockets. Now it's the time to run and take cover to another nearest rock. Be careful the monster might light up some beam when you go to rock at the other side. Repeat all over again.
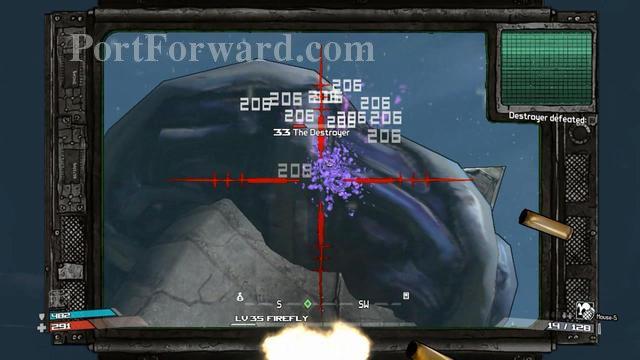
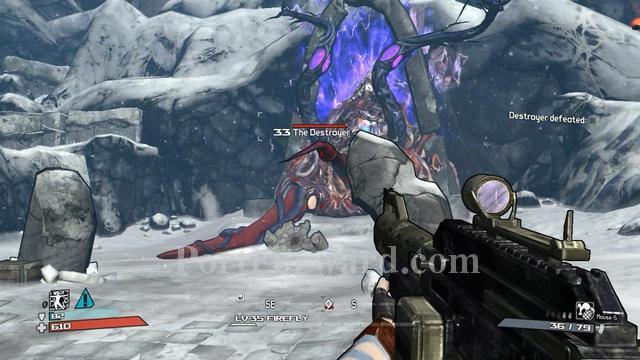
When the Destroyer health percentage reach at certain point, it tentacles will grab the rocks. Shooting its tentacle also deal quite some damage.
The quickest weapon to kill this thing are automatic rifle, smg or machine gun. Other than just are just useless.

This is the end of Destroyer's life. Congratulations, you've beat the game!
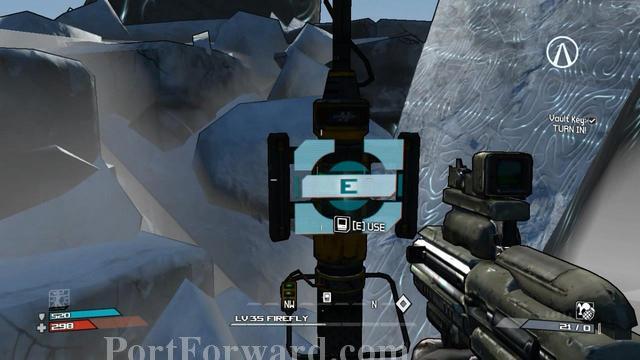
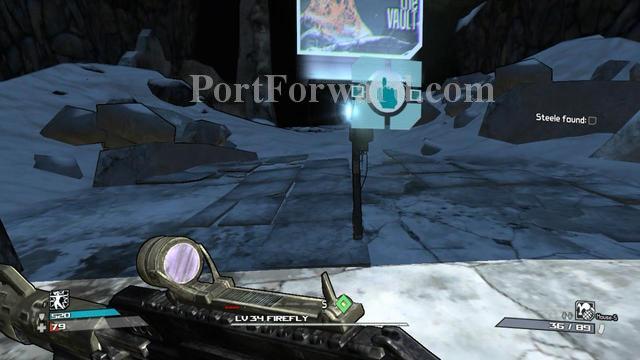
But your mission is not end yet. To get out, use the teleporter nearby and teleport to The Underpass.
Turn in to Tannis to finish this mission. You now complete the story mission of the game. There are many optional missions and DLC mission available in this game. Check it out.
Last but not least. Thank you for using this walkthrough. :)

 Bastion Walkthrough The Beggining
 Castlevania: Lords of Shadows Walkthrough Chapter I: Besieged Village
 Call Of Duty Walkthrough Mission #1 - Camp Toccoa
 Blade Kitten Walkthrough War On Terra
 Call of Duty Black Ops 2 Walkthrough Mission #1 - Pyrrhic Victory