BloodRayne Walkthrough Act 1 - Louisiana:Training

Welcome to the training mission in BloodRayne. Follow Mynce and read the instructions in the cutscenes.
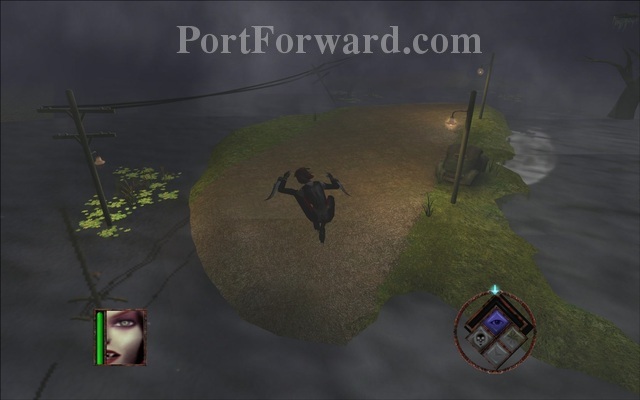
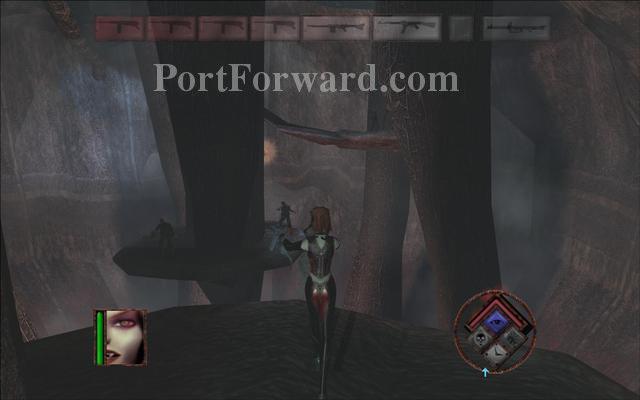
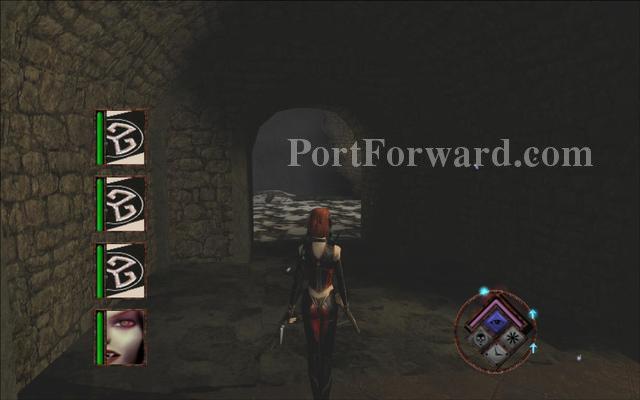
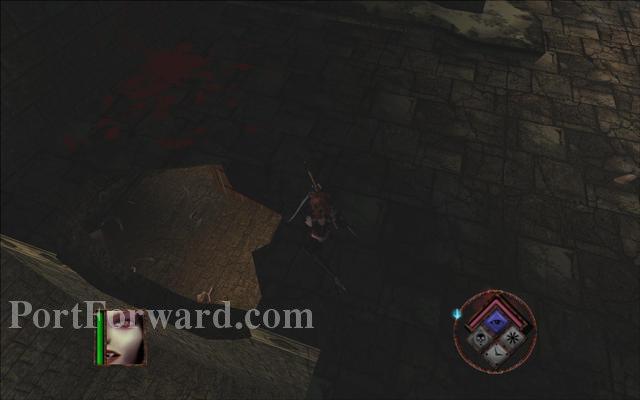
Jump over the water and land on the other side. Walking in water will hurt you over time so try to avoid it.
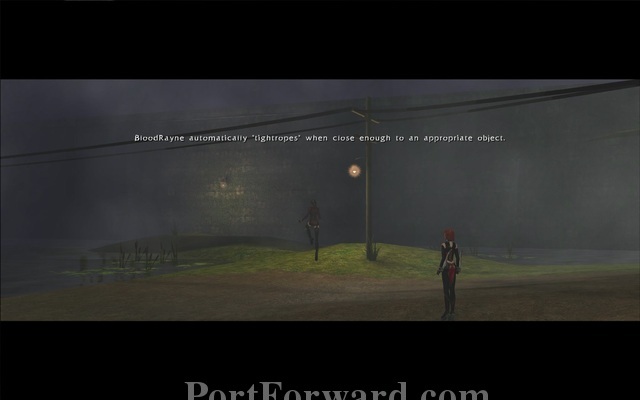
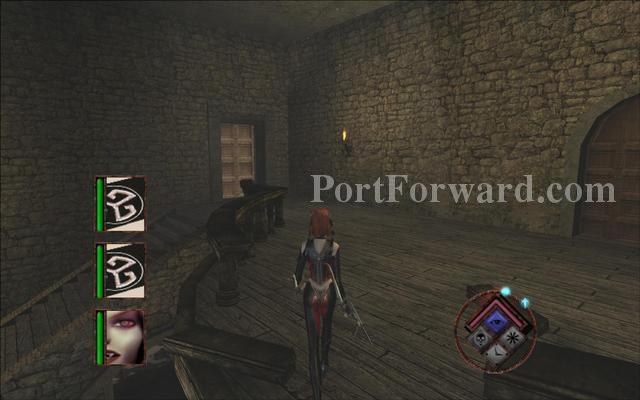
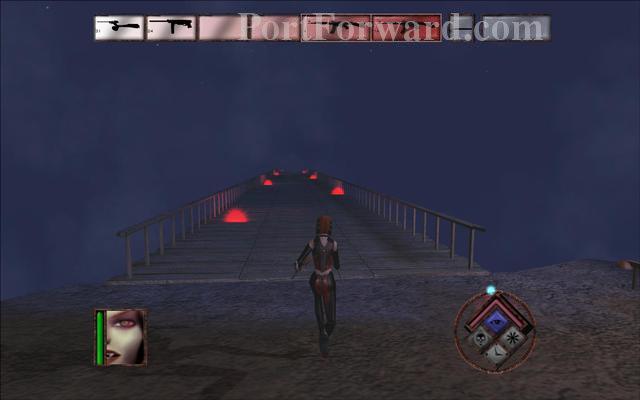
Jump on top of the cables to continue. The 'tighrope' thing means that Rayne can run on a narrow line without the need to press any other buttons to balance her.
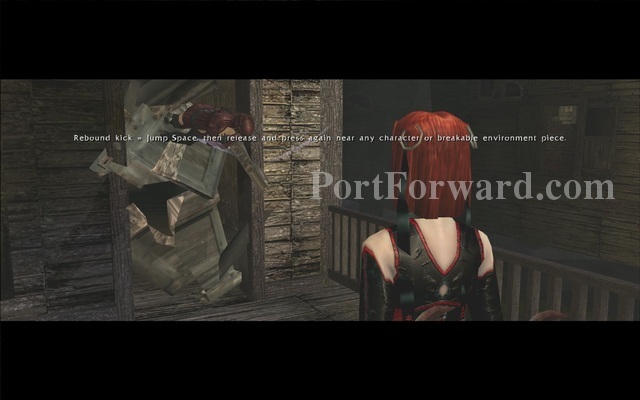
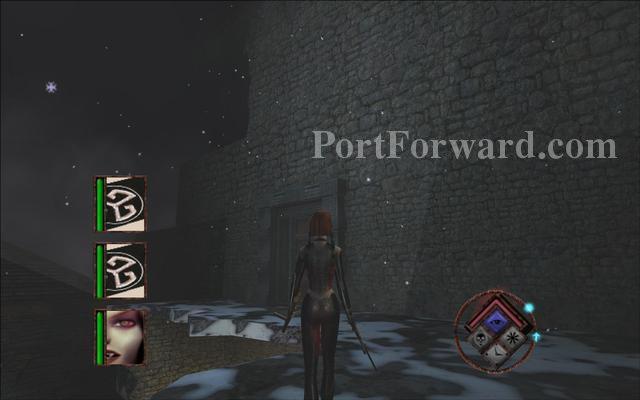
To break through some obstacles you need to press the jump button twice when you are in front of them.
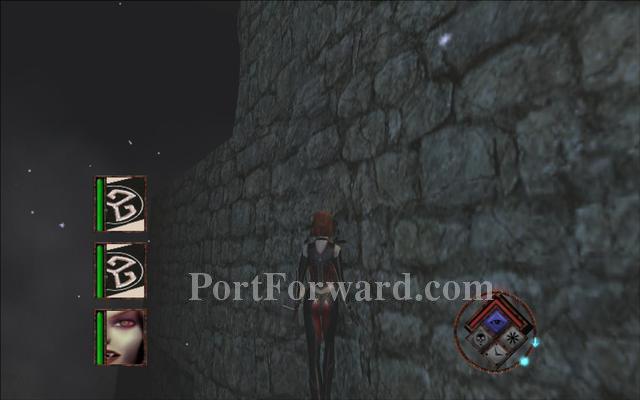
Use the rebound kick on this wall.
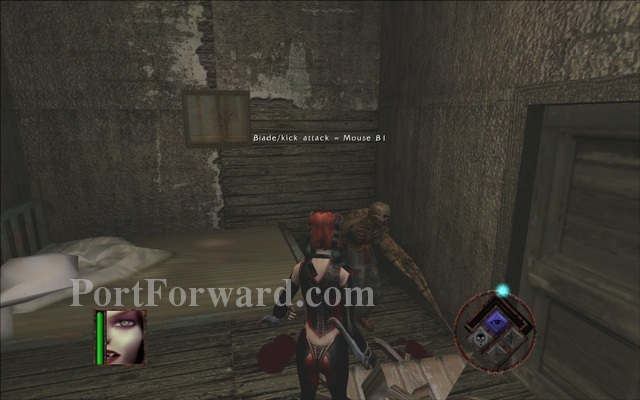
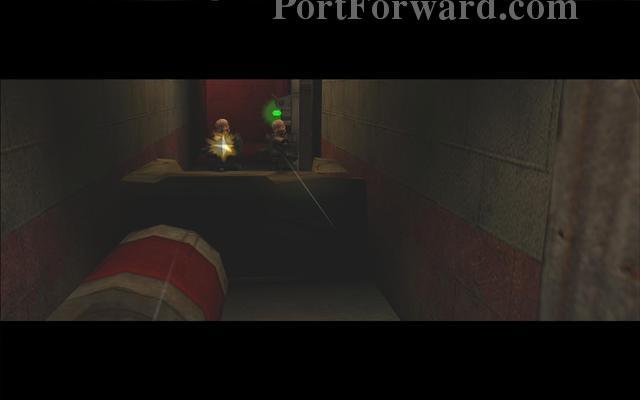
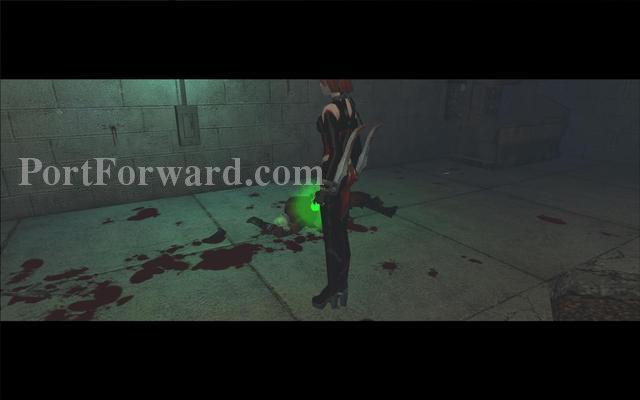
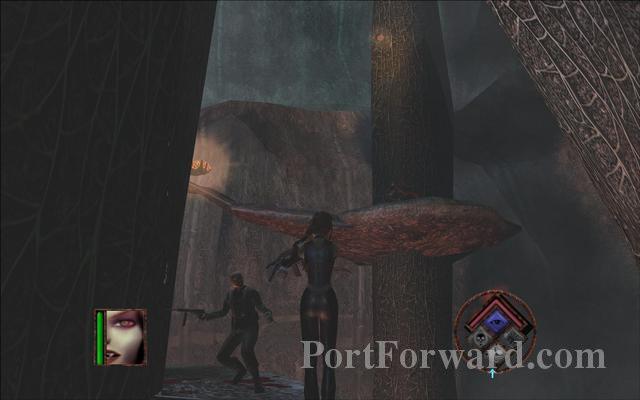
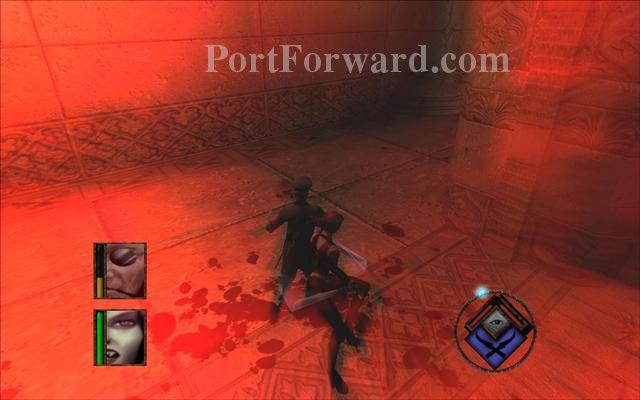
Kill the mutate by pressing left mouse button.
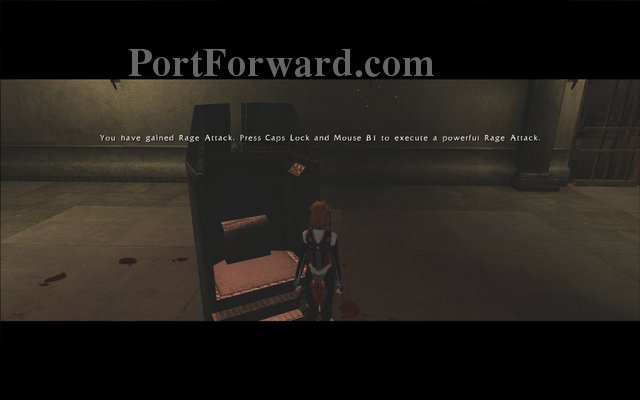
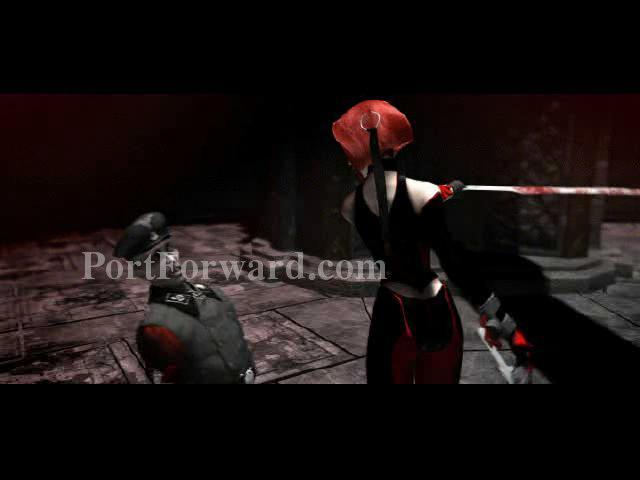
When you defeat him a new ability will be unlocked.
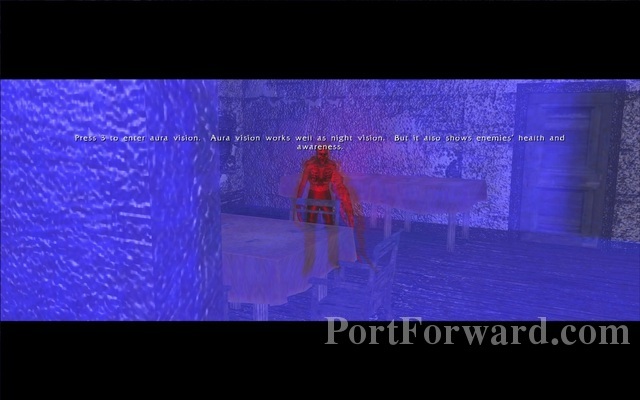
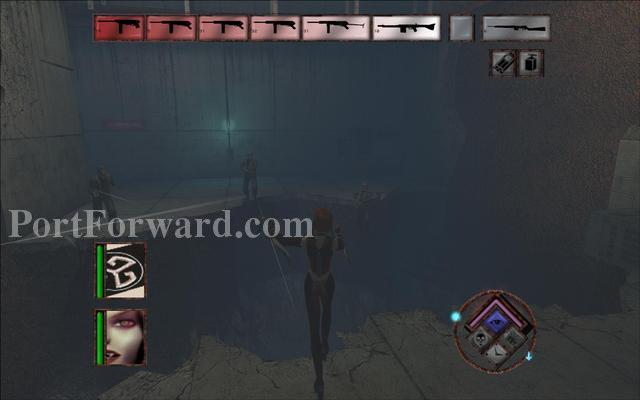
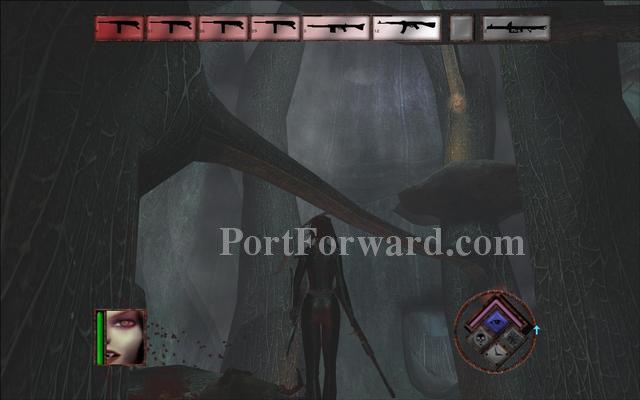
Pressing 3 will bring aura vision. If your enemies glow in green it means they have full health.
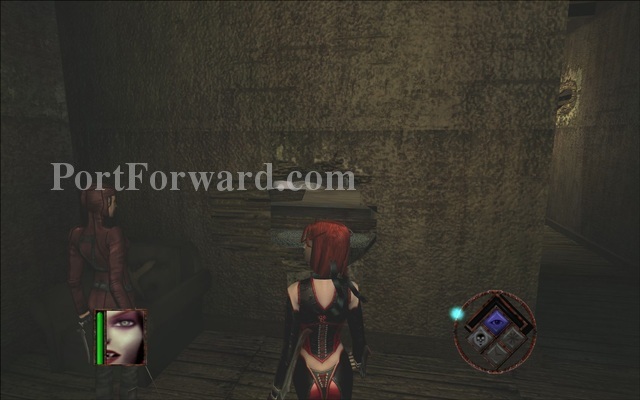
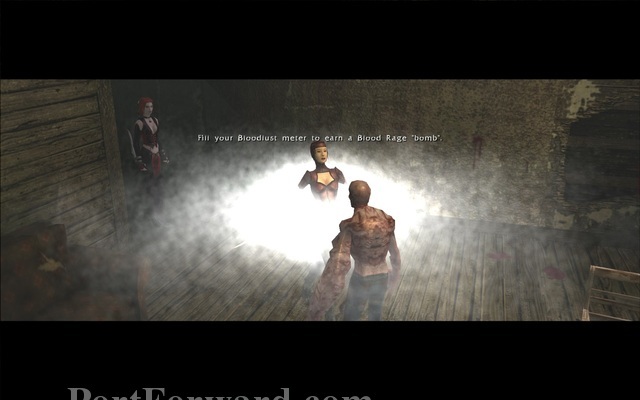
Go close to the next mutate and press 'E' to feed on him. You can release at any time by pressing E again. You can spin around your victim to use him as a shield with the mouse.
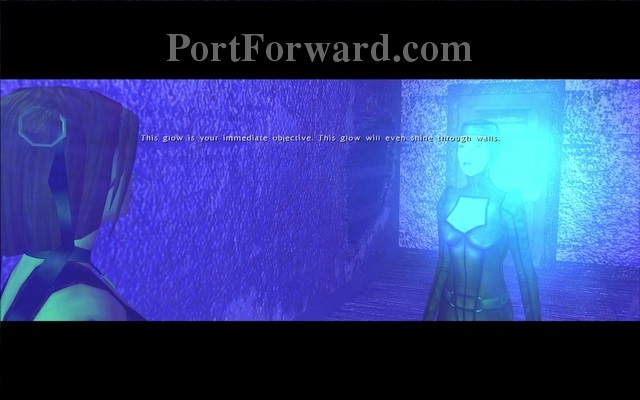
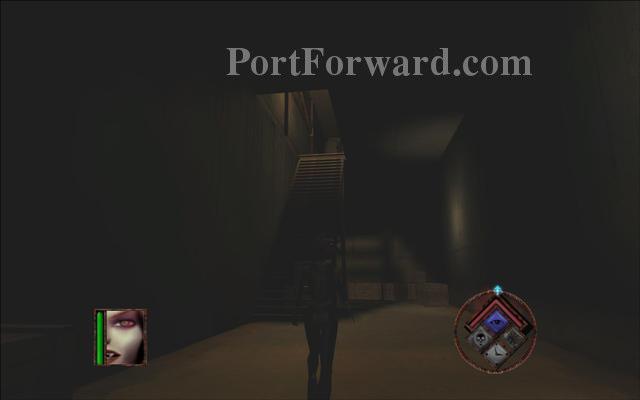
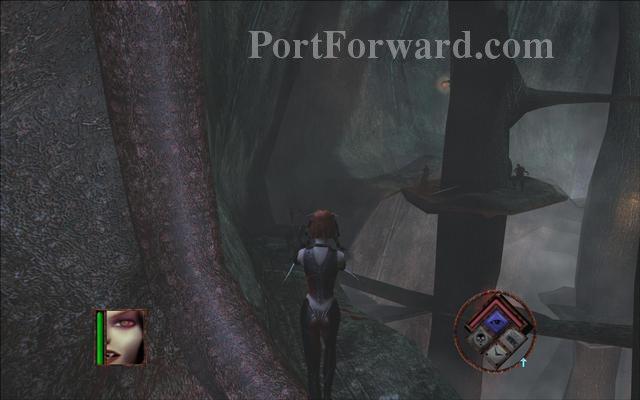
Using your aura vision will show you where to go.
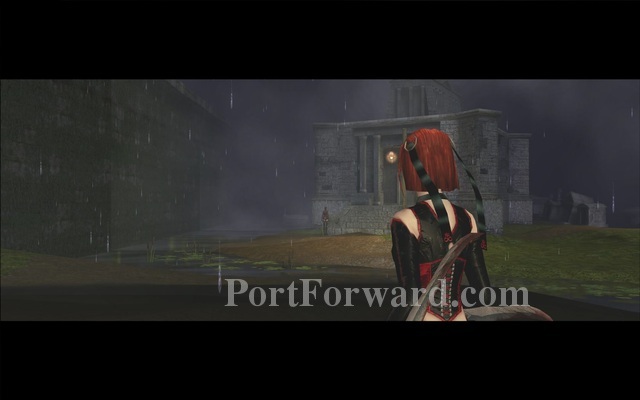
BloodRayne Walkthrough Act 1 - Louisiana: Sanctuary

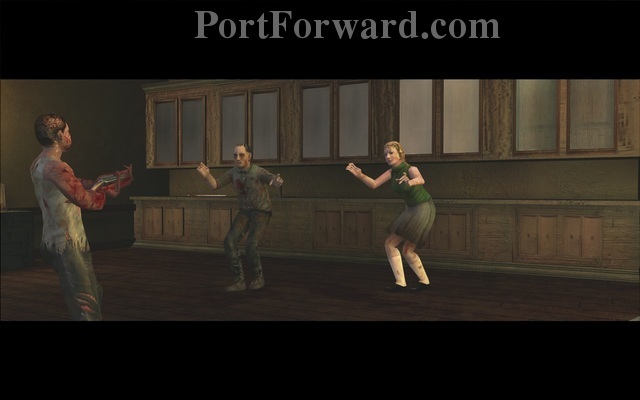
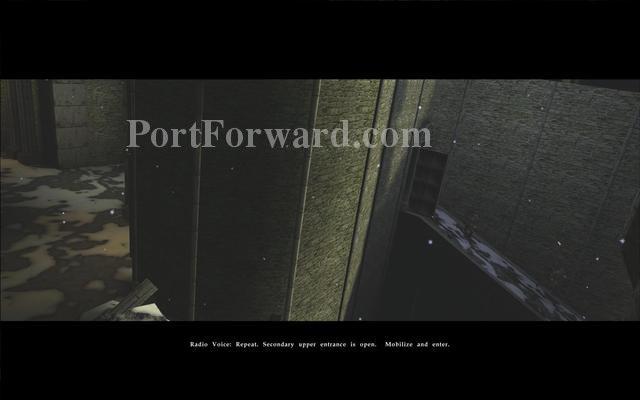
Mynce and Rayne arrive at a swamp town infested with mutants.

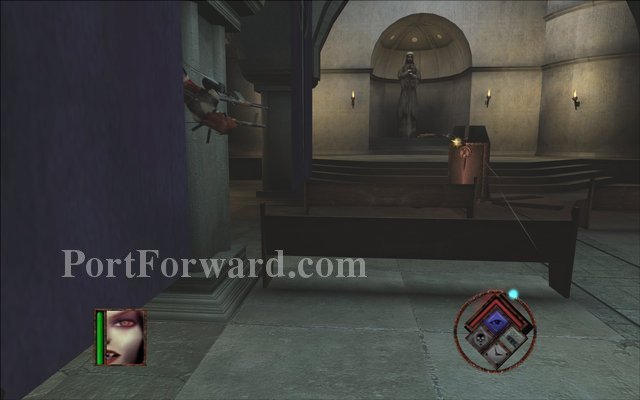
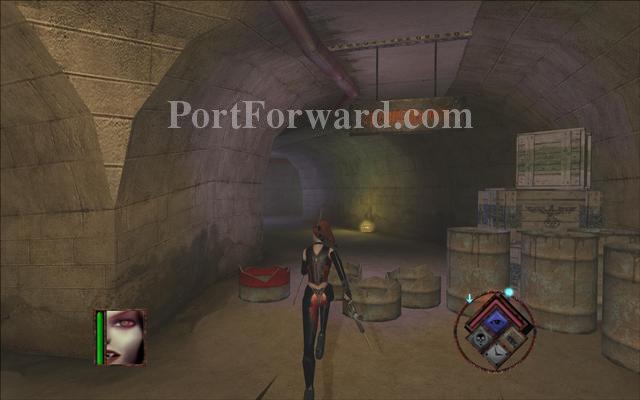
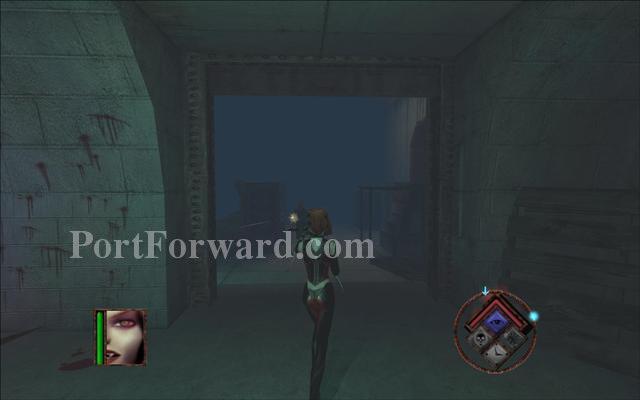
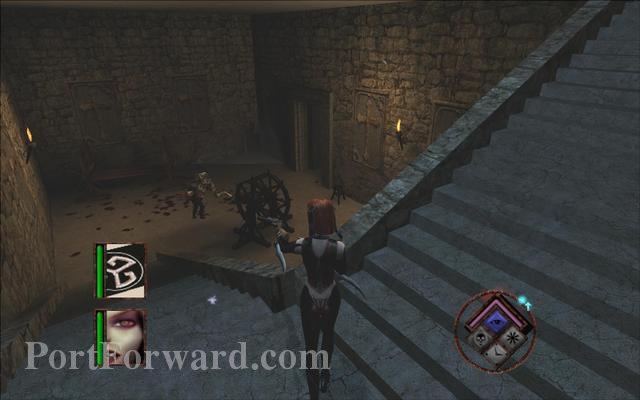
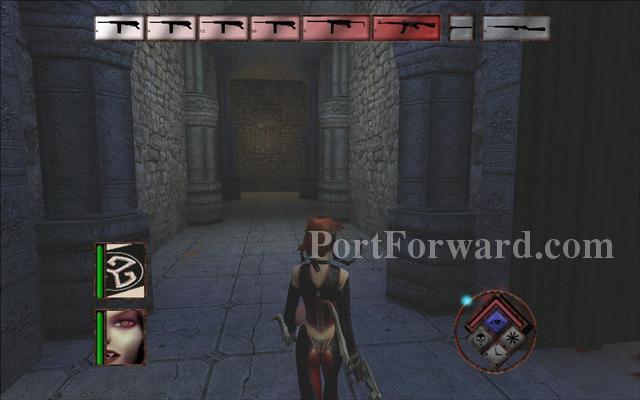
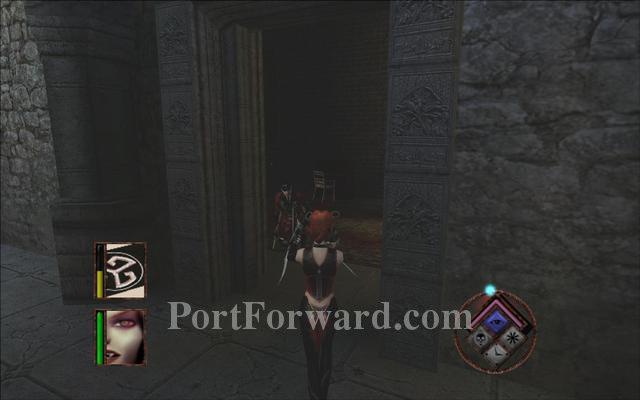
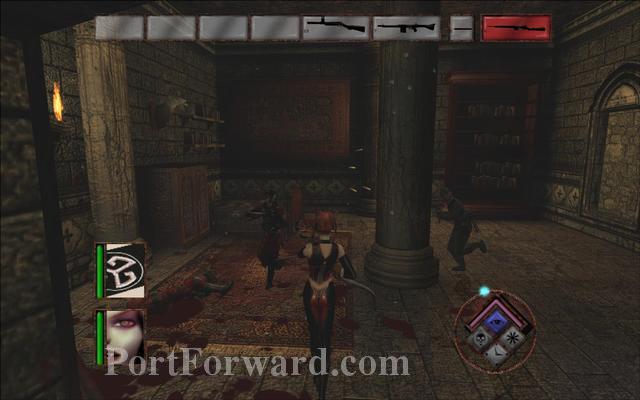
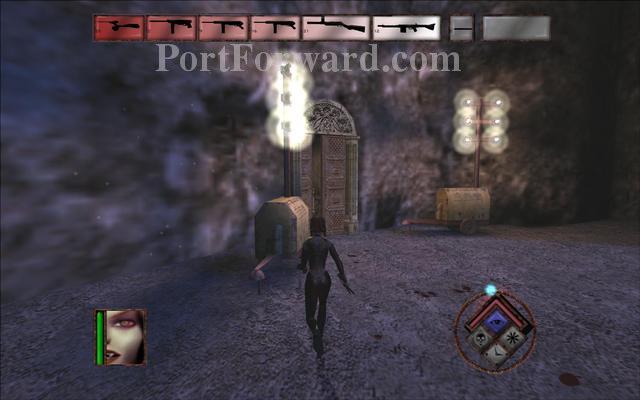
Follow Mynce inside the church.
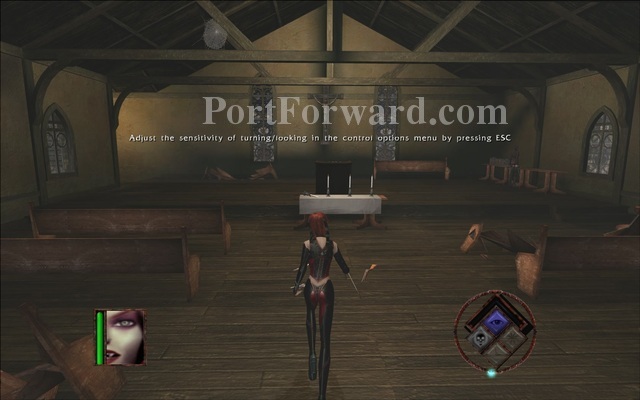
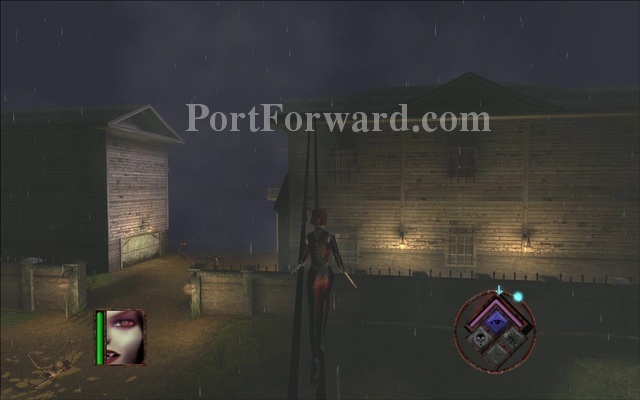
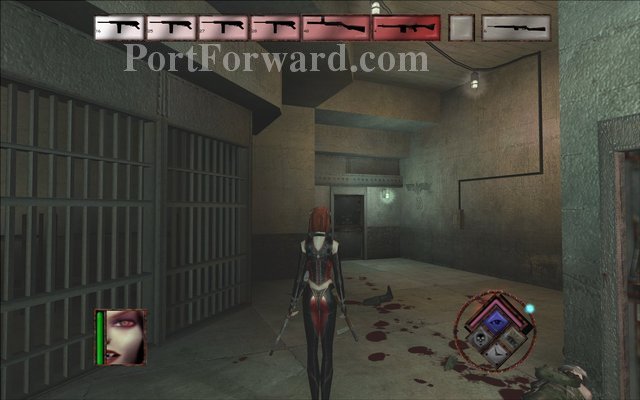
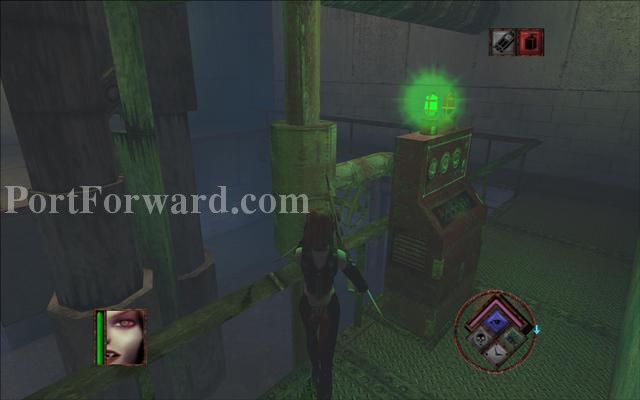
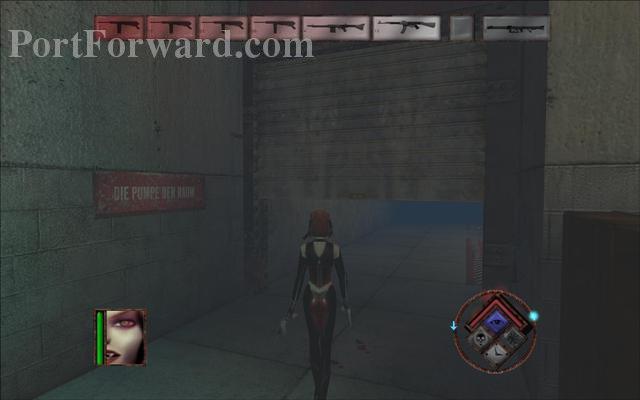
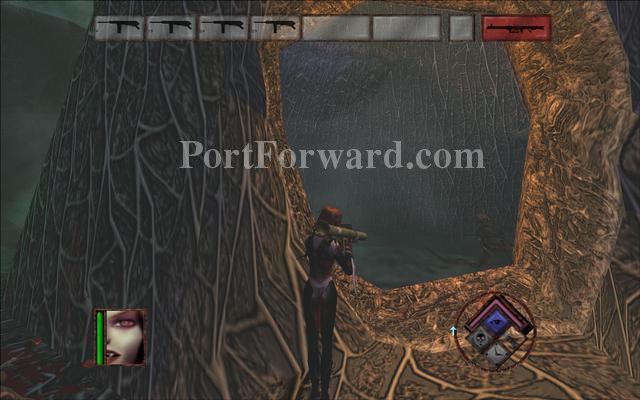
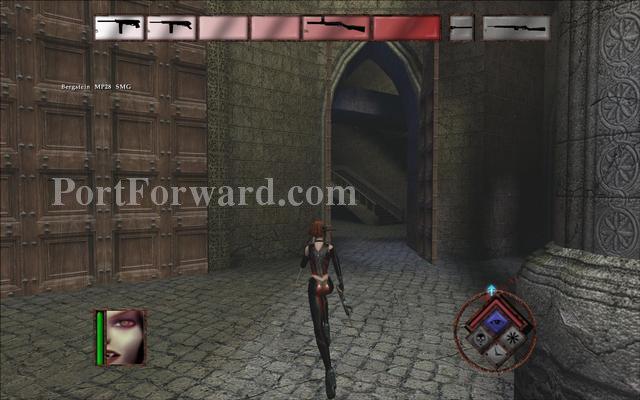
Get some guns from the floor and then get outside the church to kill some mutants.
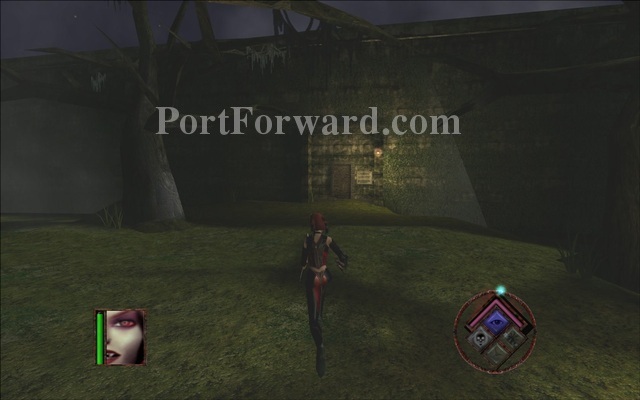
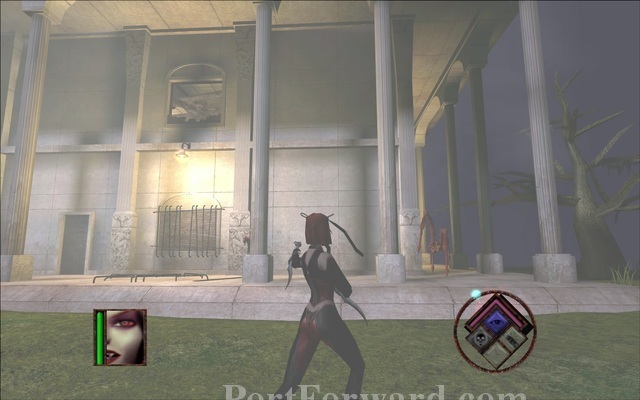
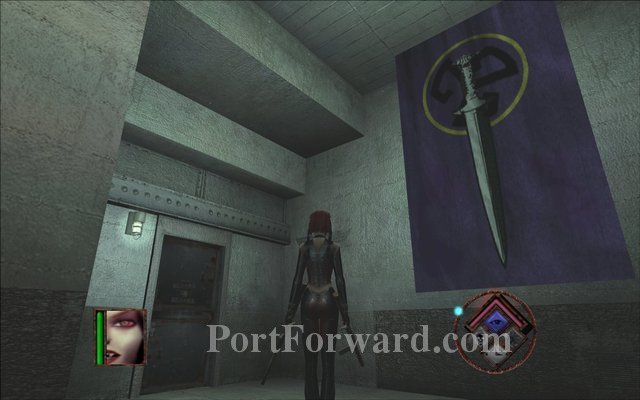
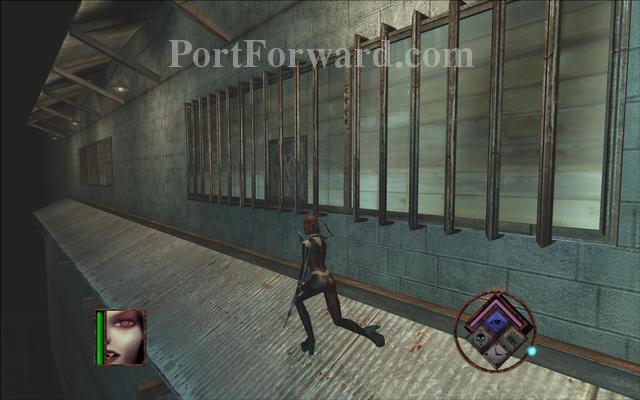
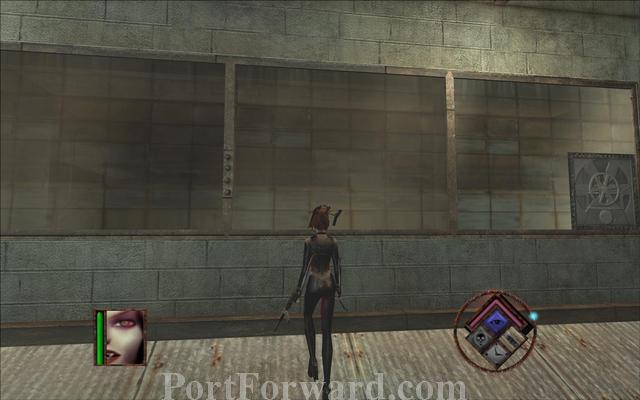
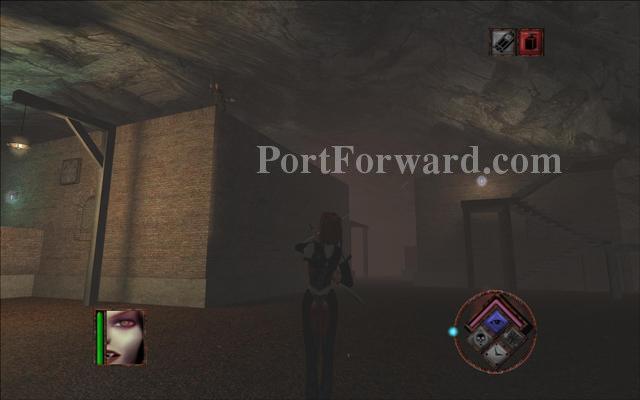
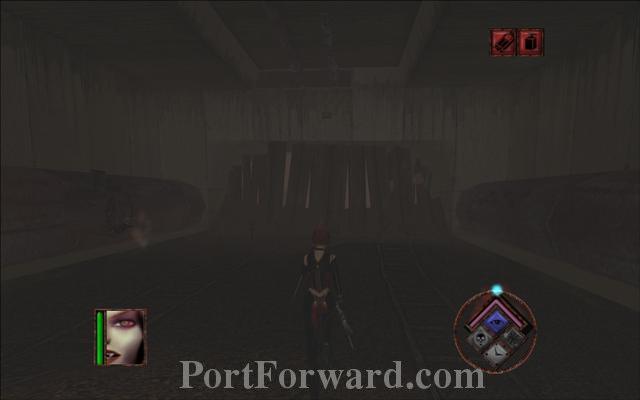
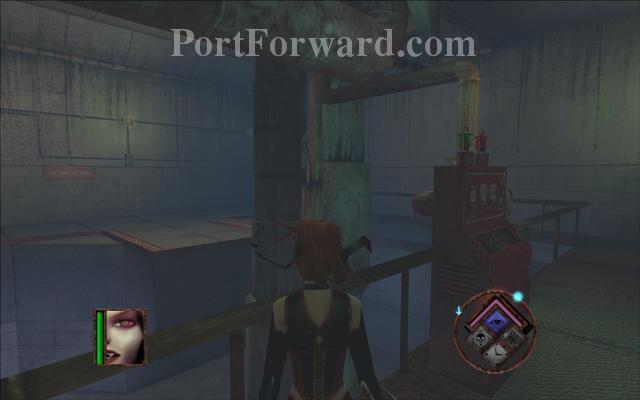
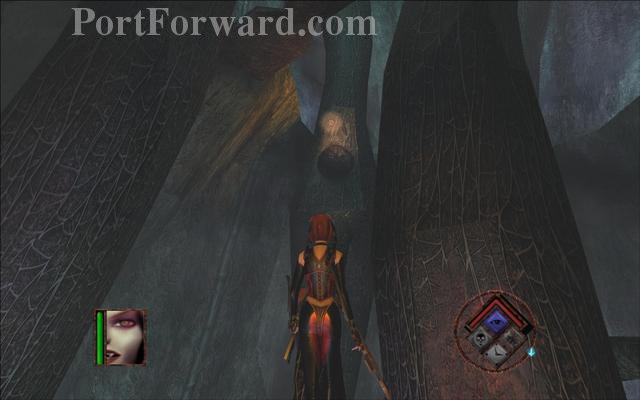
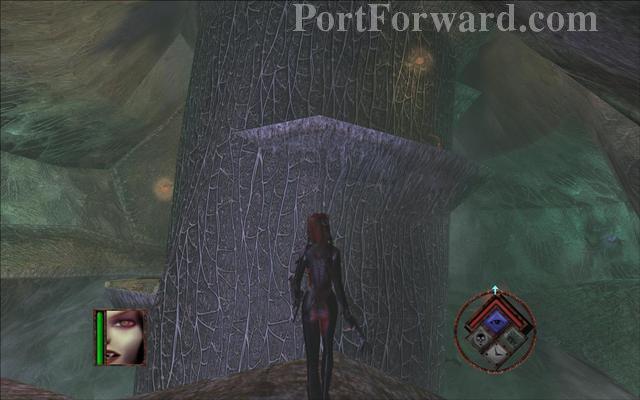
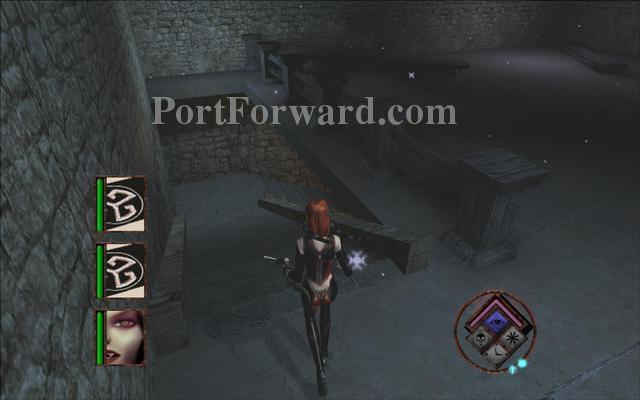
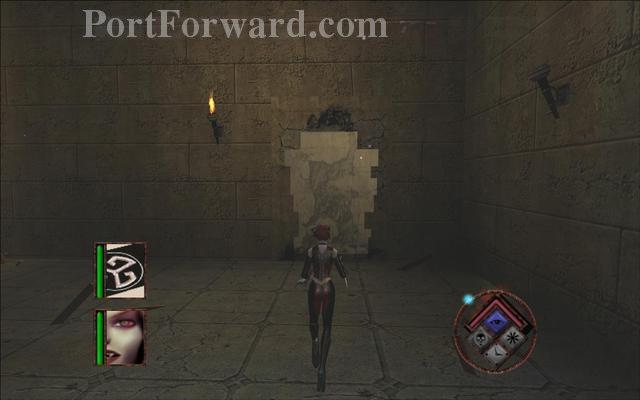
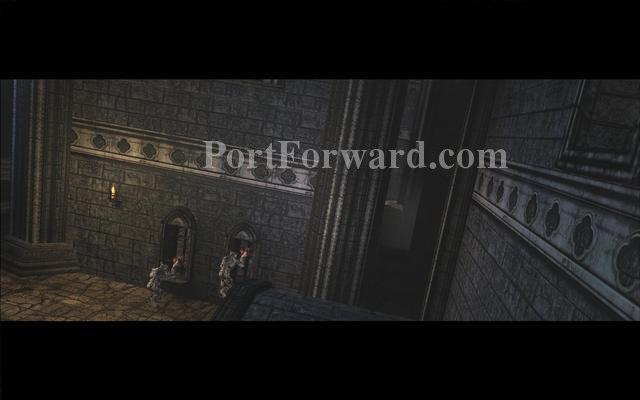
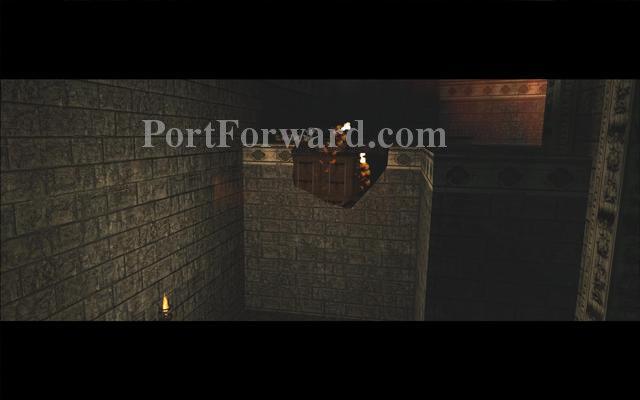
Approach the big wall with plaque.
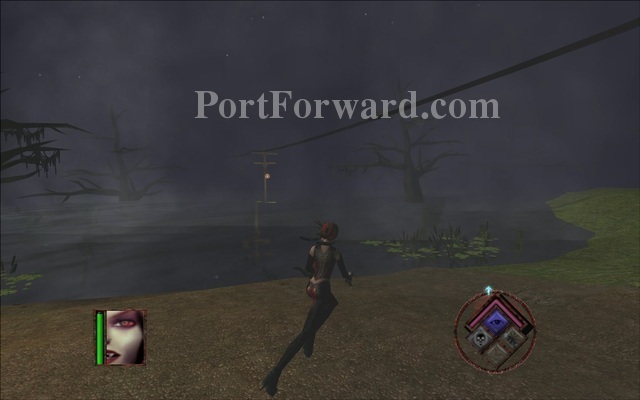
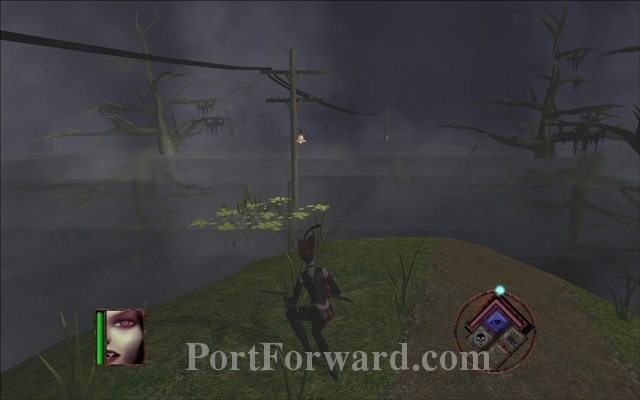
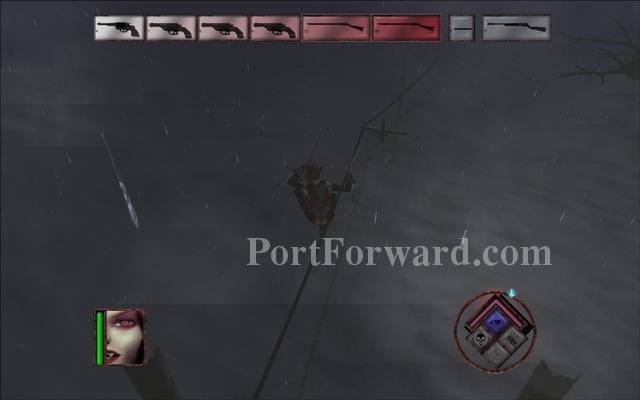
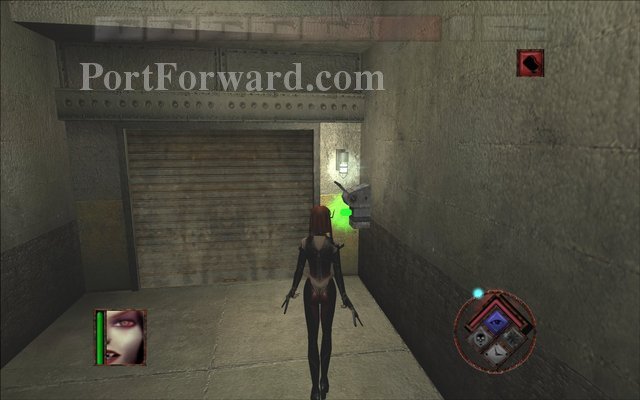
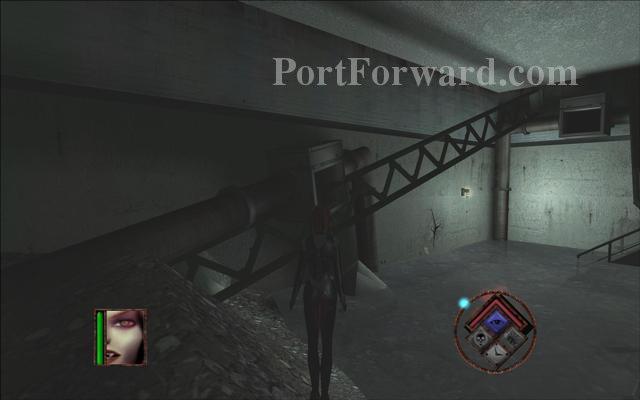
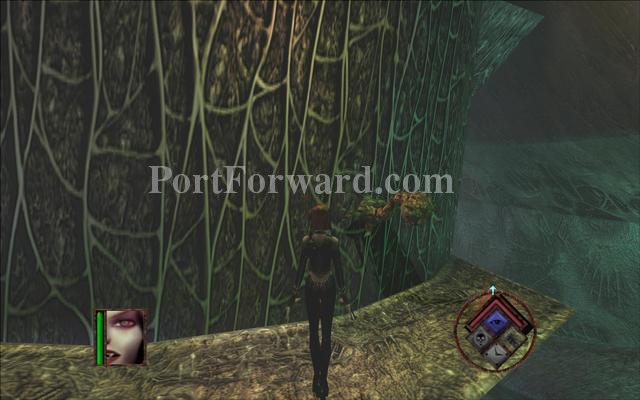
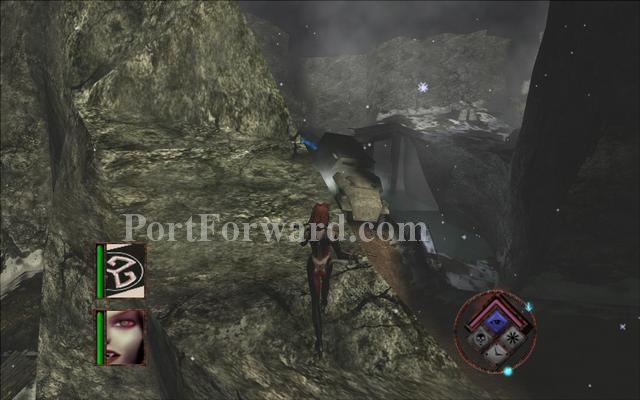
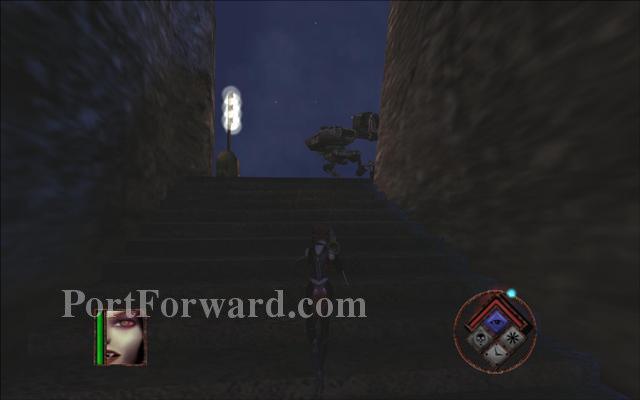
To go to the next level jump on top of the first power cables you see that are near the big wall.
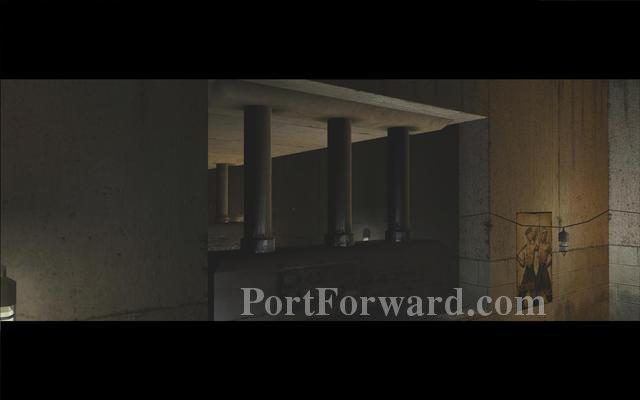
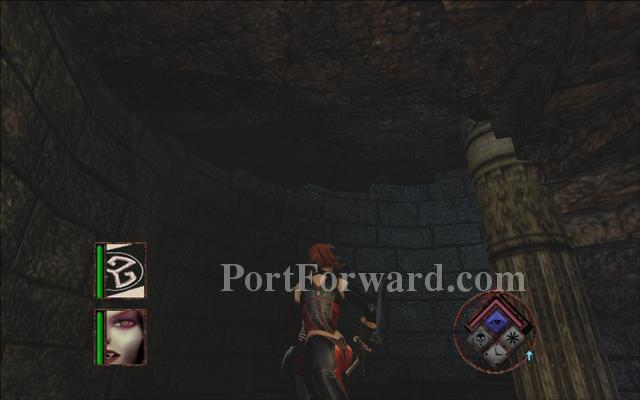
BloodRayne Walkthrough Act 1 - Louisiana: City of the Dead
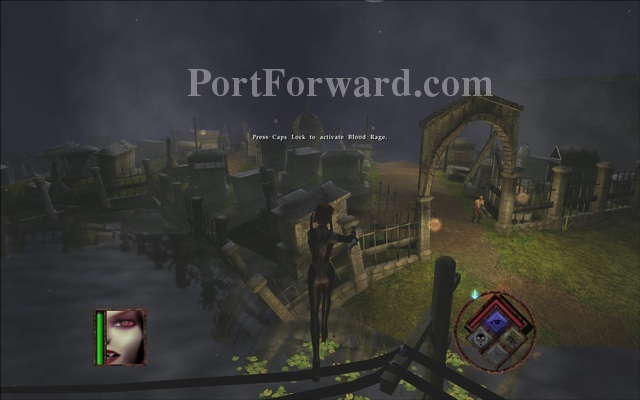
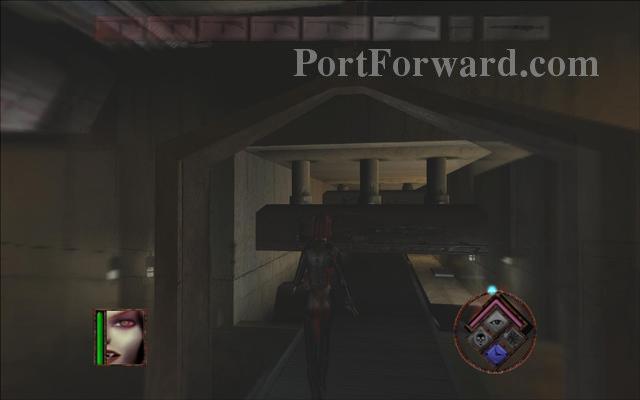
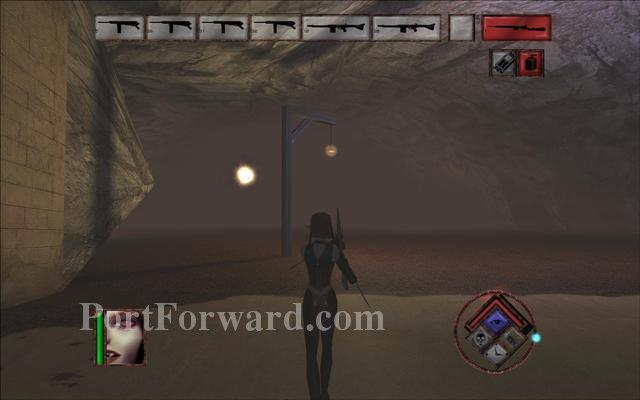
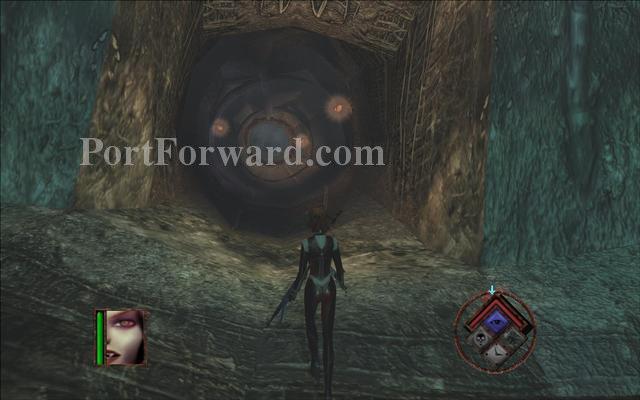
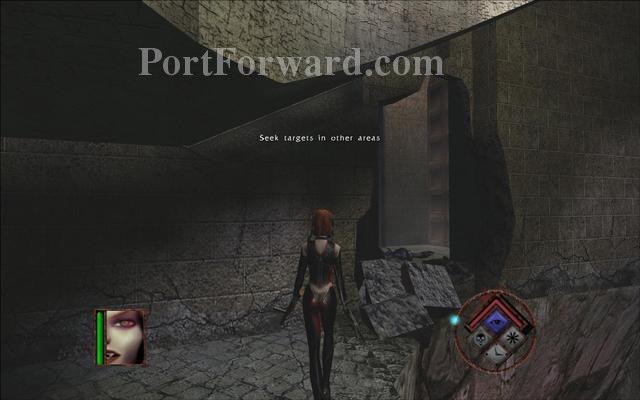
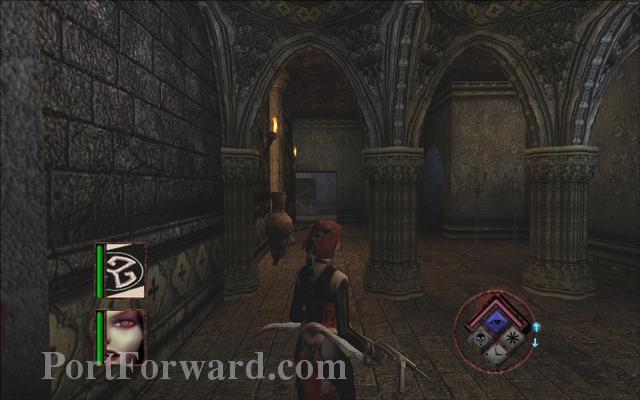
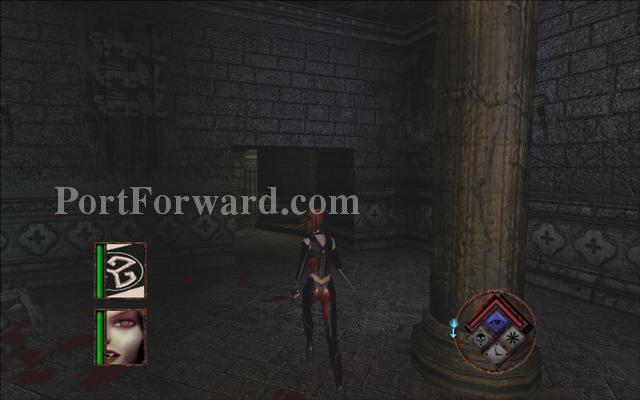
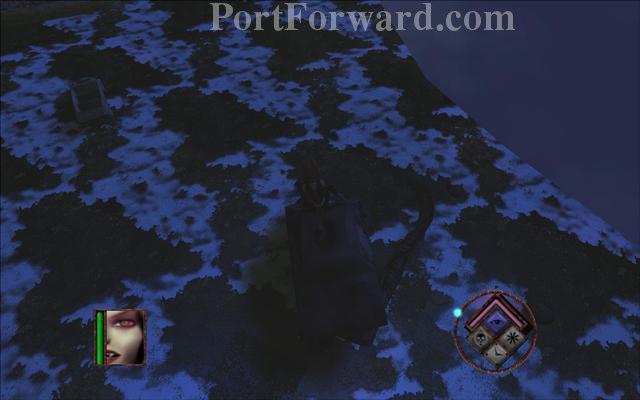
Move inside the graveyard.
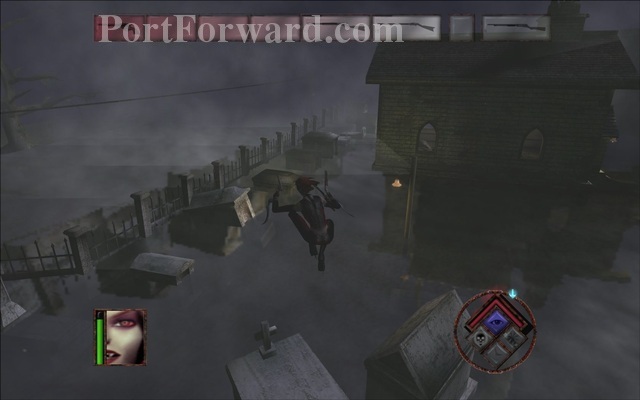
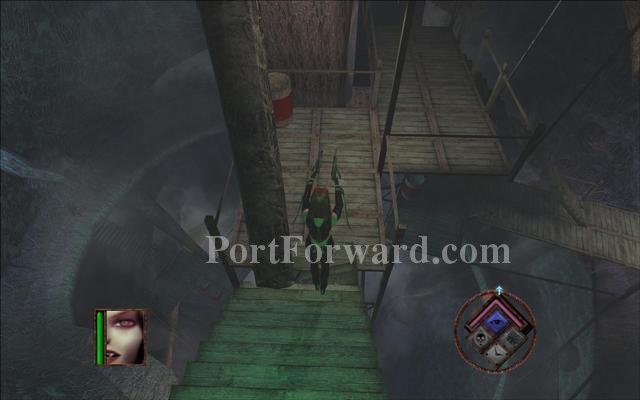
When you reach the small church surrounded by water jump on top of the tombstones to get across the water.
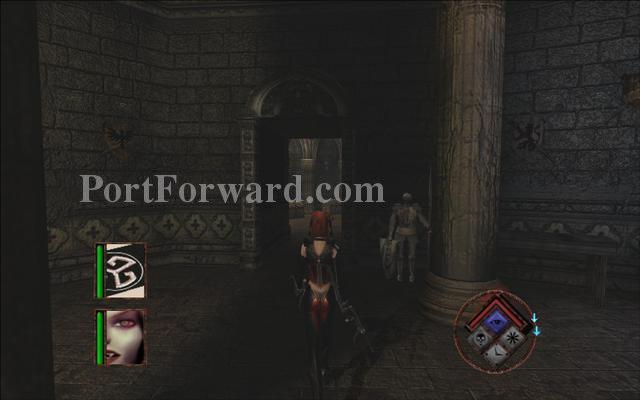
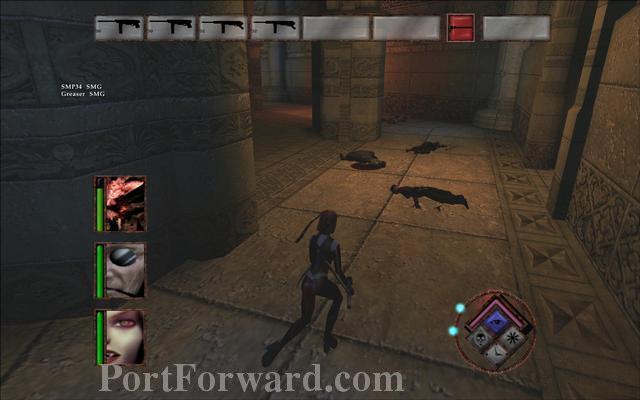
Kill the things that are inside the church.
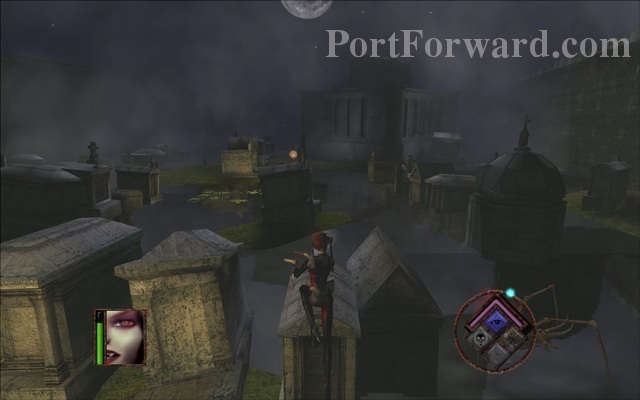
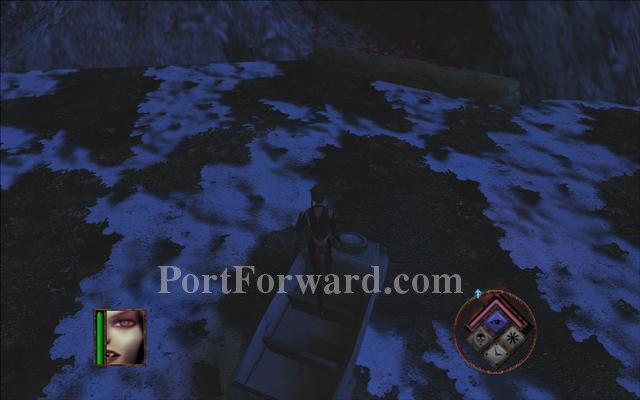
Then keep going forward and use the tombstones as safe zones from the water. You will see a big mausoleum.

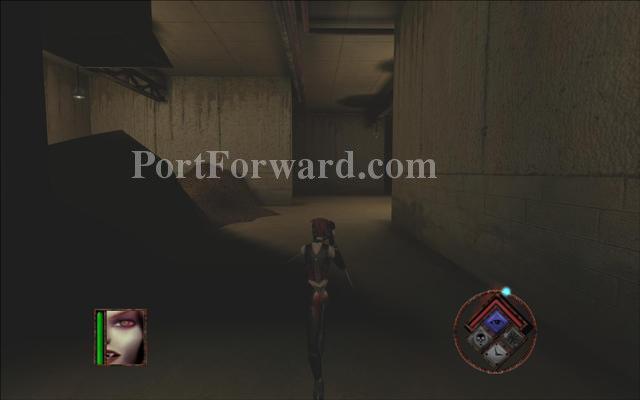
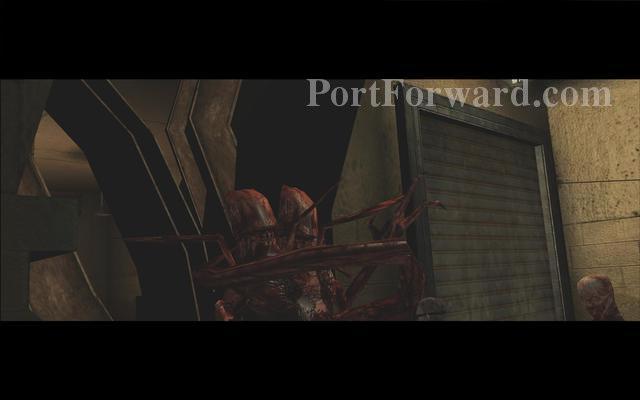
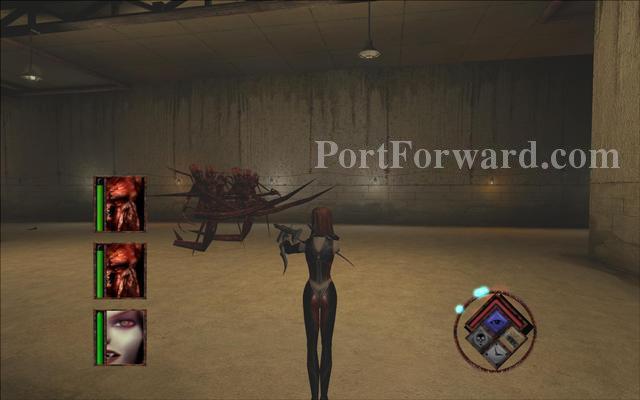
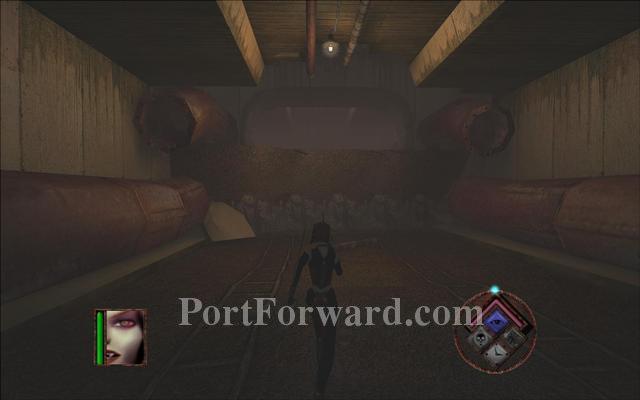
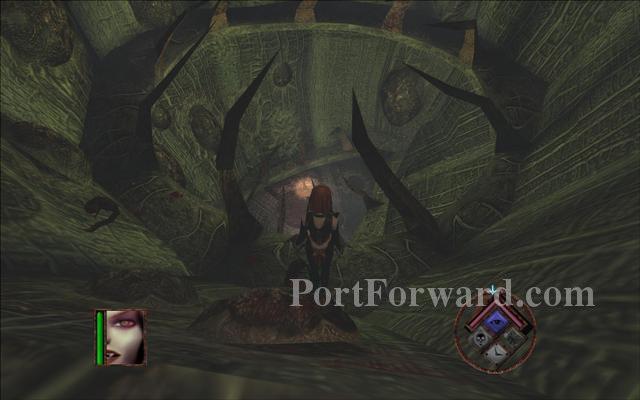
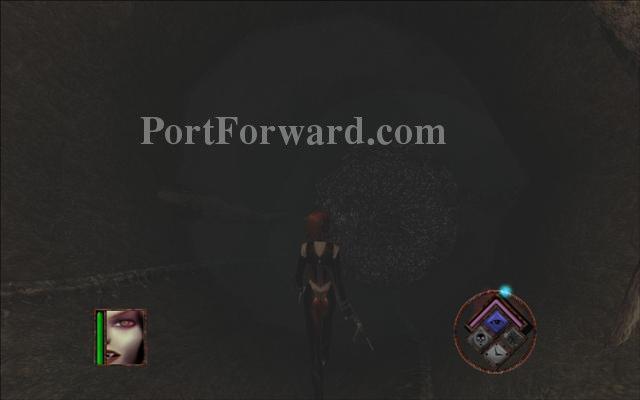
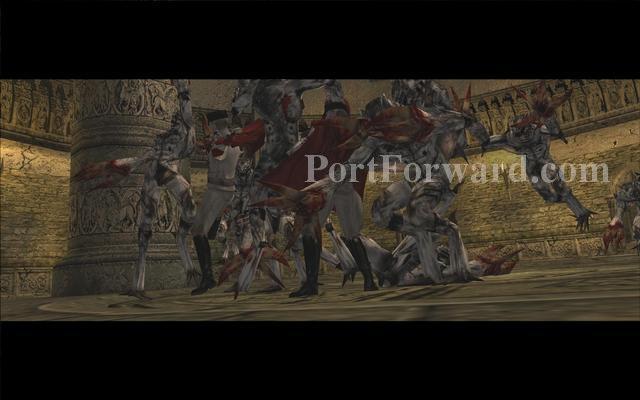
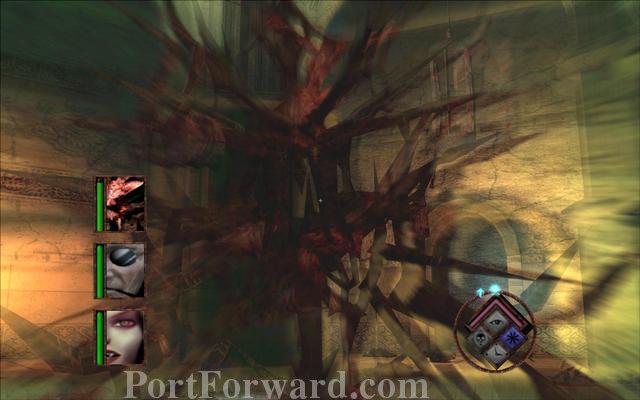
After the mausoleum you will see a big nest of the creatures you encountered before. Destroy it as fast as possible because it will keep spawning more bugs.
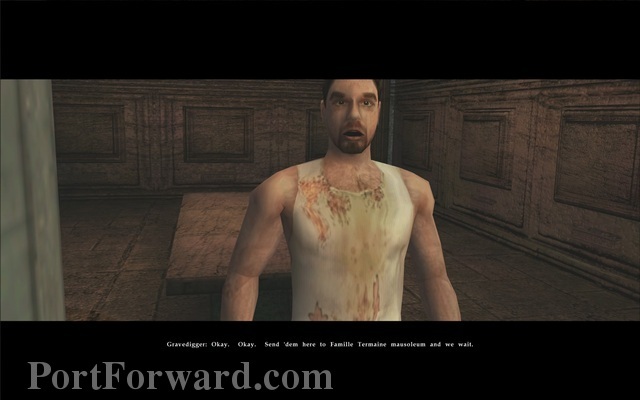
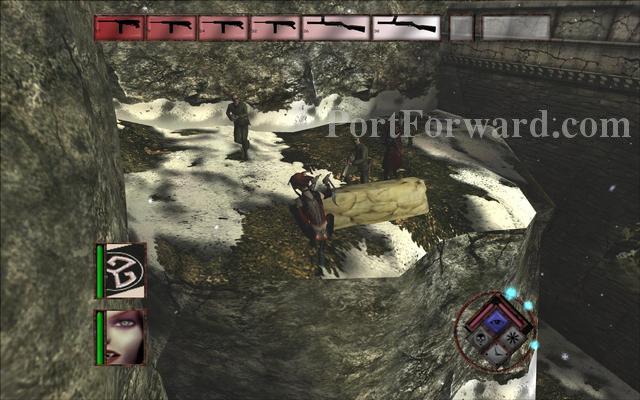
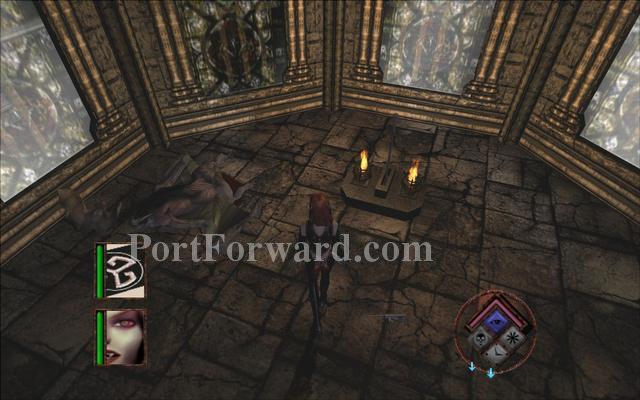
You will find the gravedigger inside the mausoleum. You will have to find more survivors and tell them to go here.
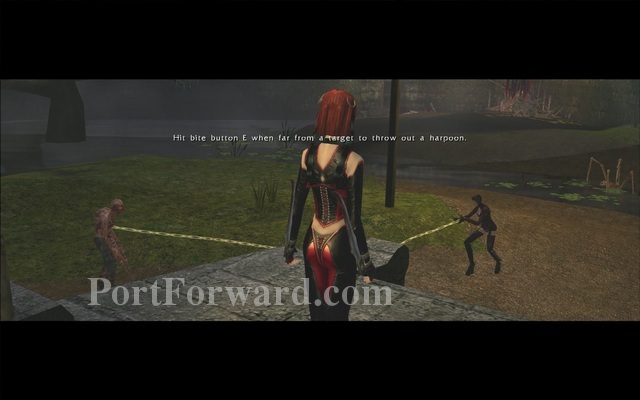
Mynce will teach Rayne how to use a harpoon. Hold the 'E' button to pull an enemy towards you to feed on him.
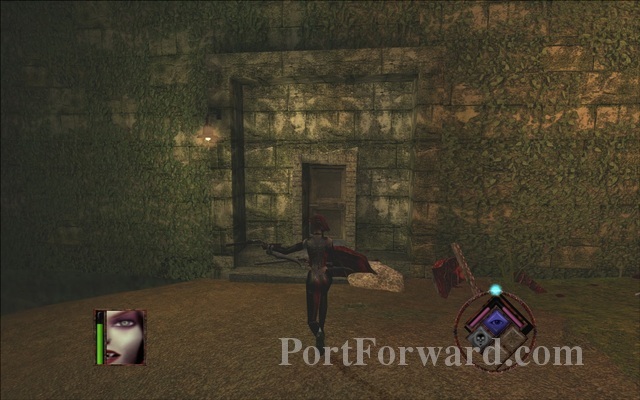
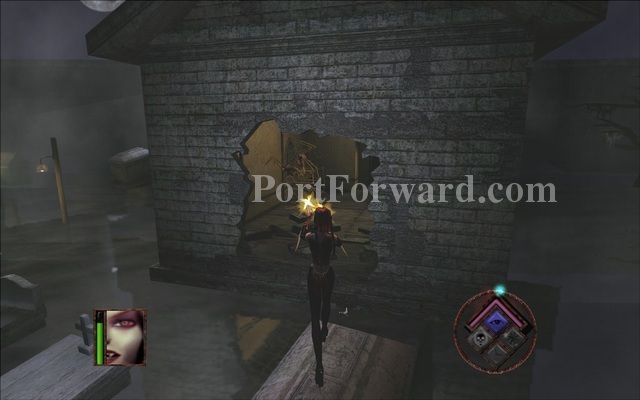
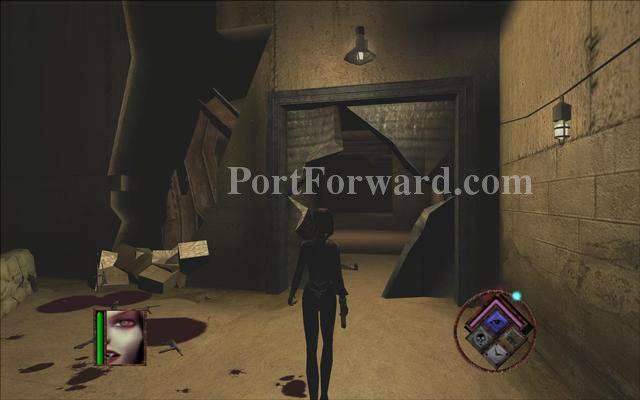
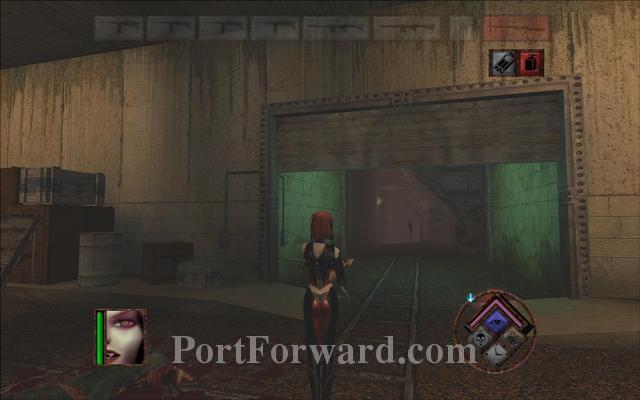
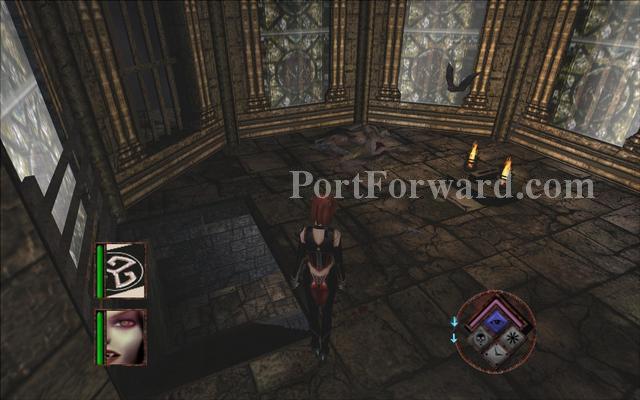
Enter the door on the wall that is next to the nest you destroyed.
BloodRayne Walkthrough Act 1 - Louisiana: Ghetto
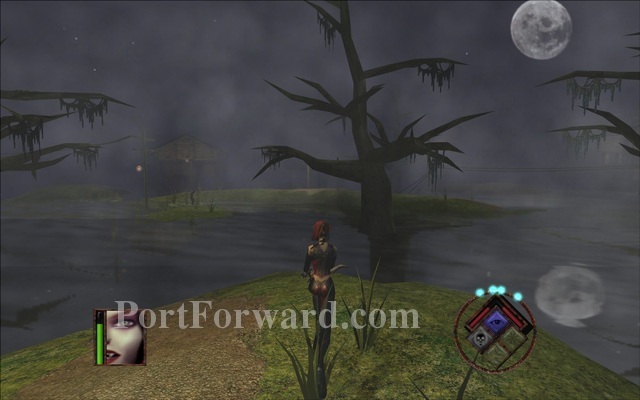
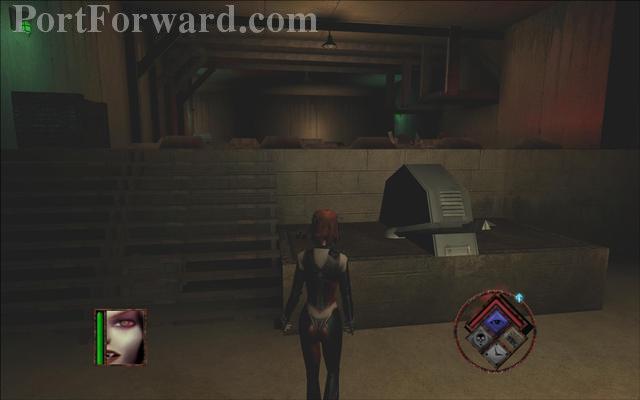
Move forward and jump on any dry land you can. Several points of interest are in this map and you can go to them at any order.
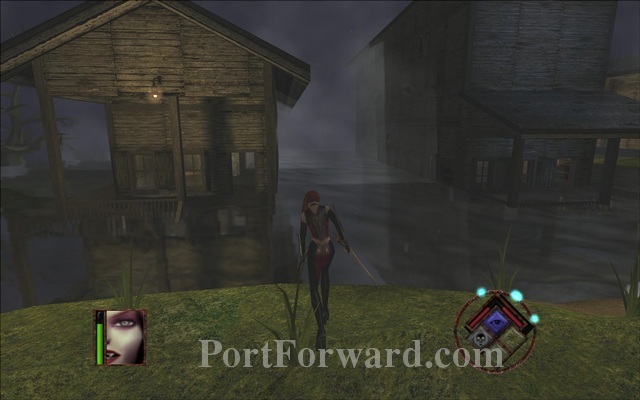
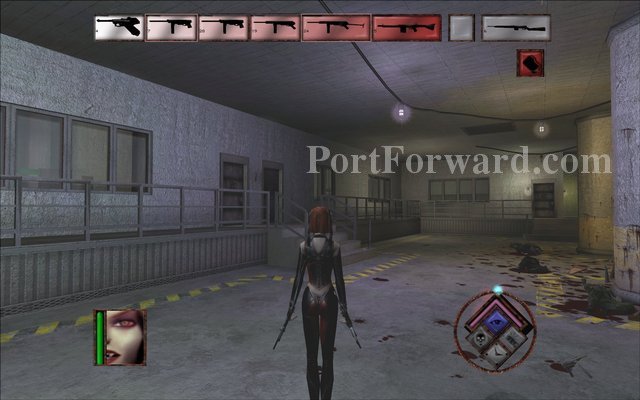
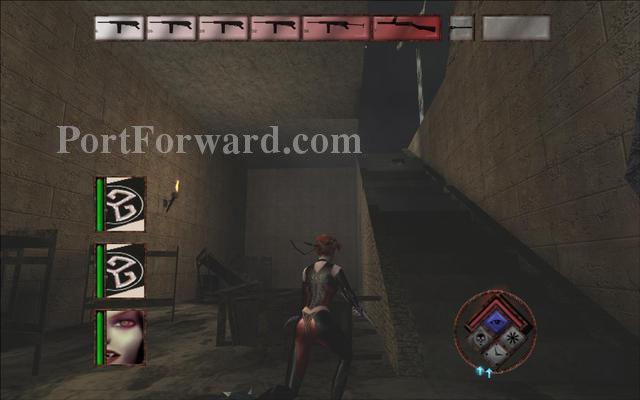
You can go inside the first house you see to find some guns if you need them.
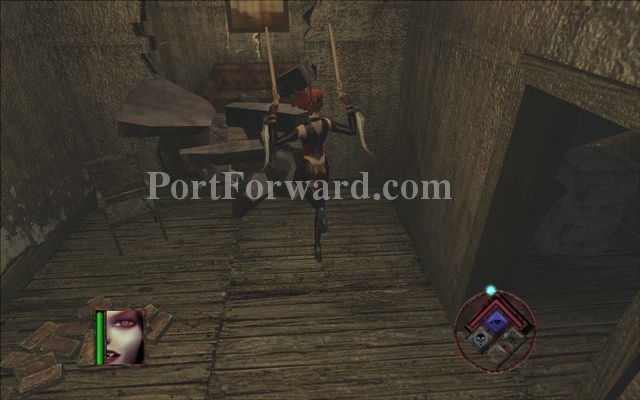
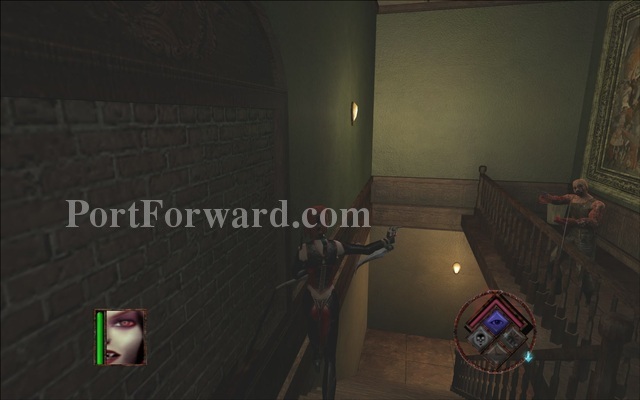
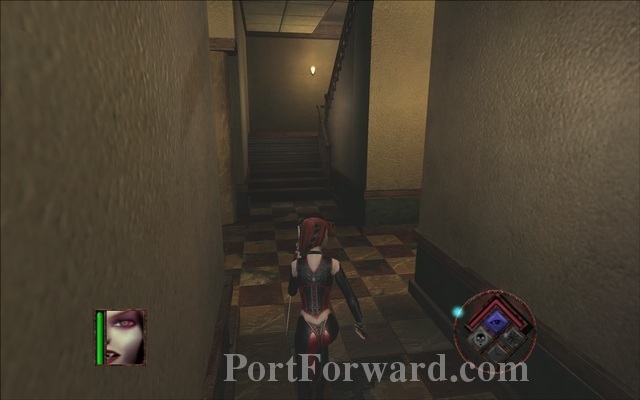
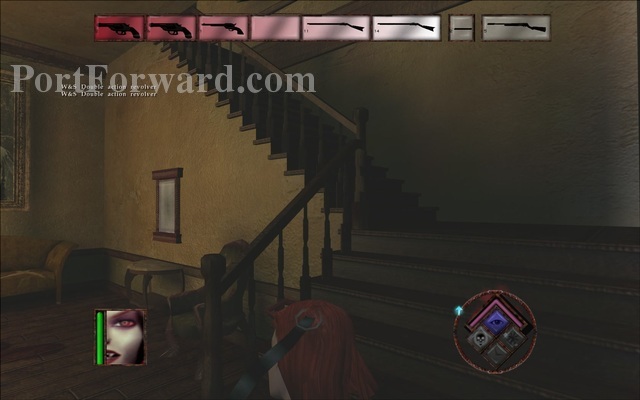
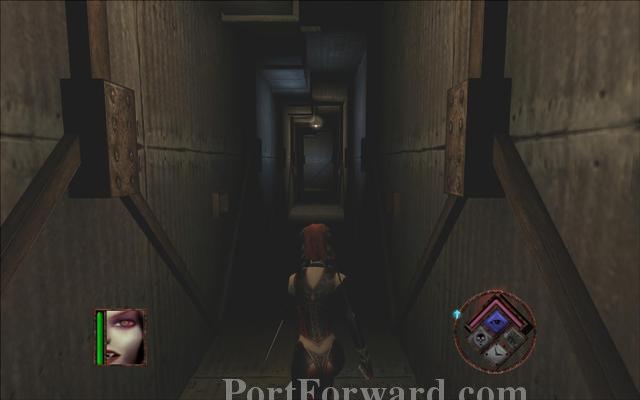
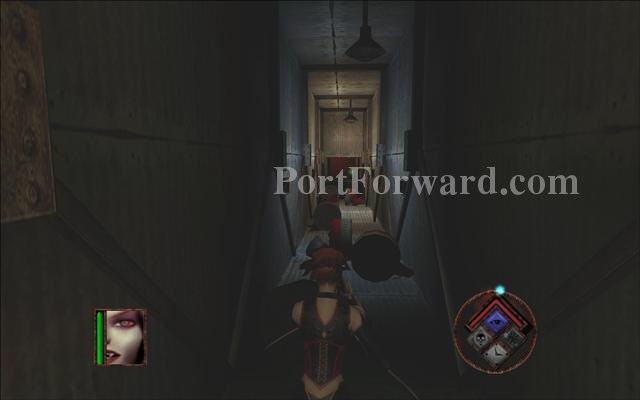
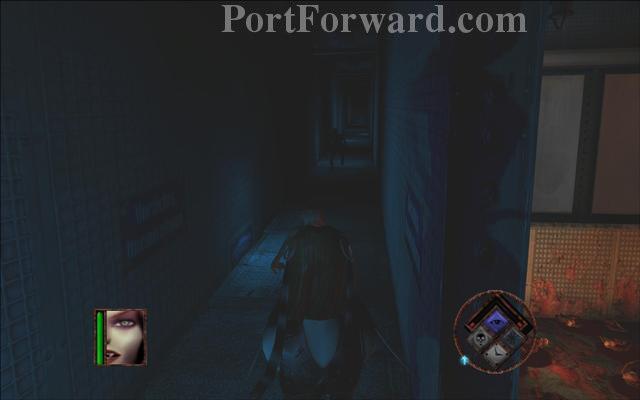
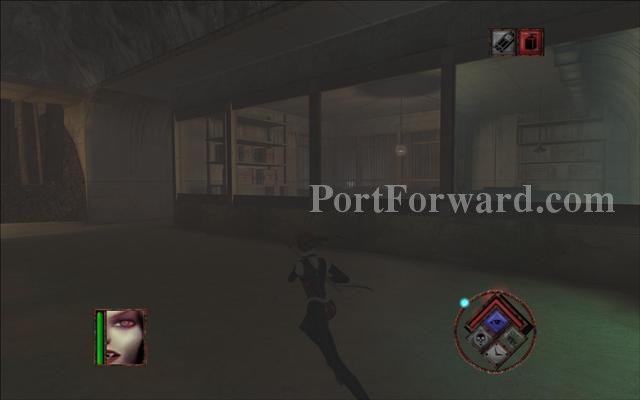
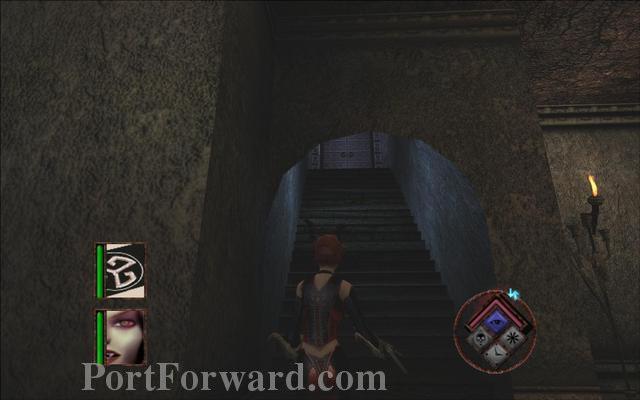
Go inside the second house and get to the second floor using stairs at the end of the corridor.
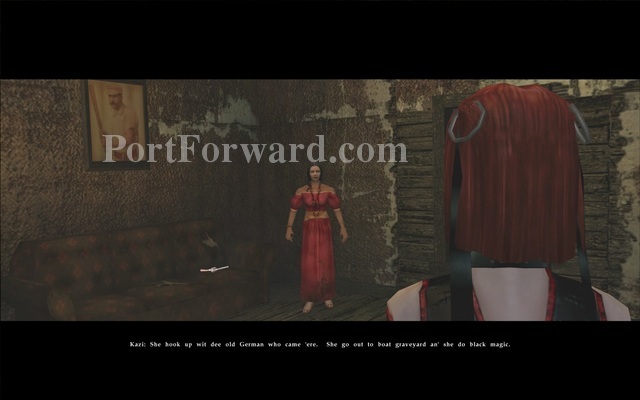
You will find a woman on the second floor. Rayne will tell her to go to the mausoleum.
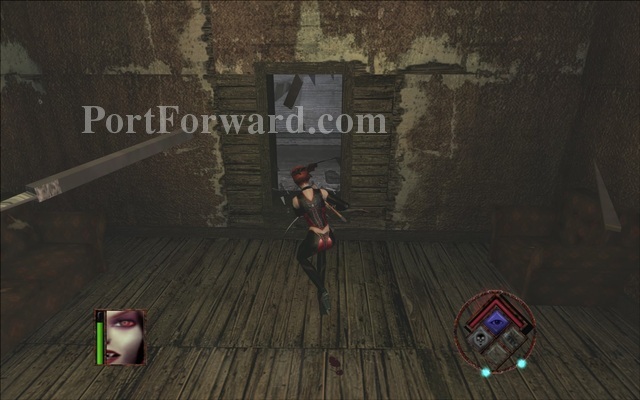
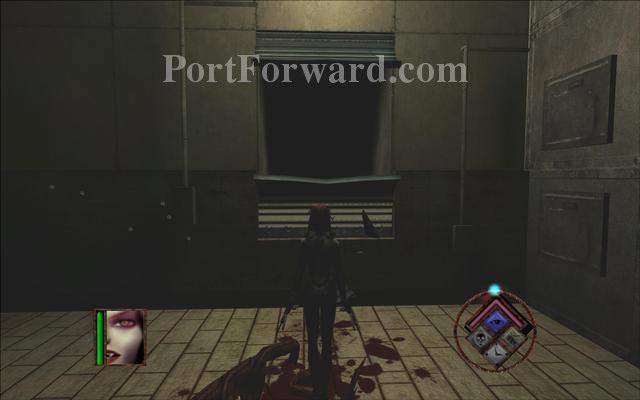
Fastest exit out of this house is through the window.

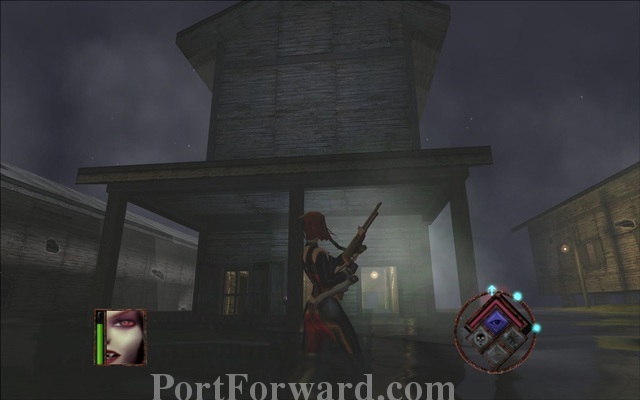
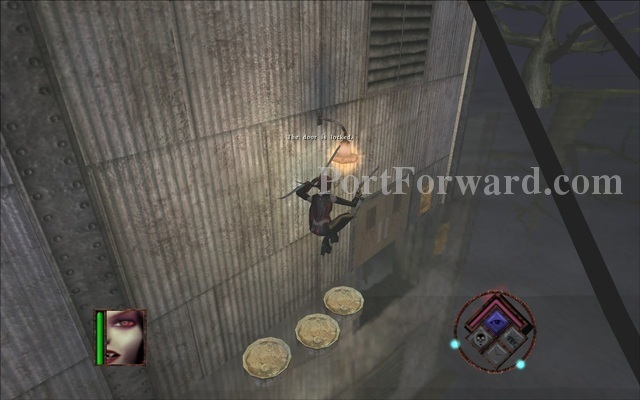
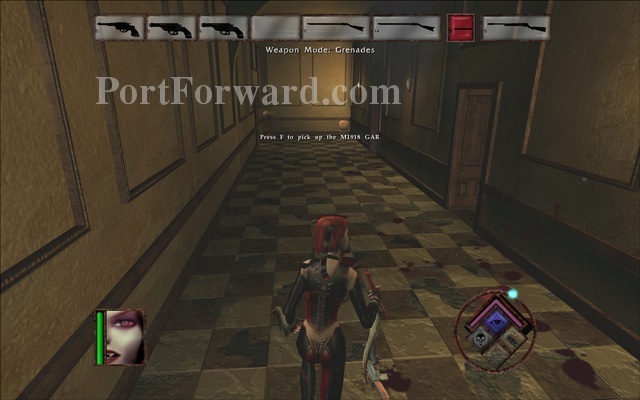
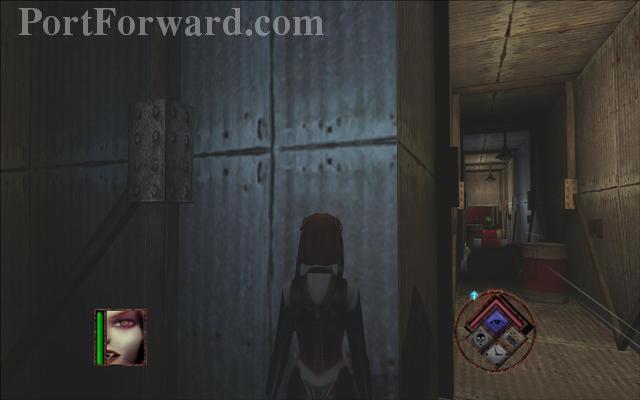
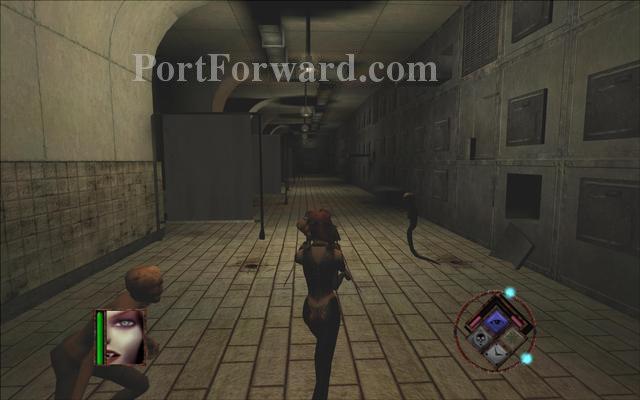
Go to the last house on the right. The front door is locked so go around and enter through the back door.
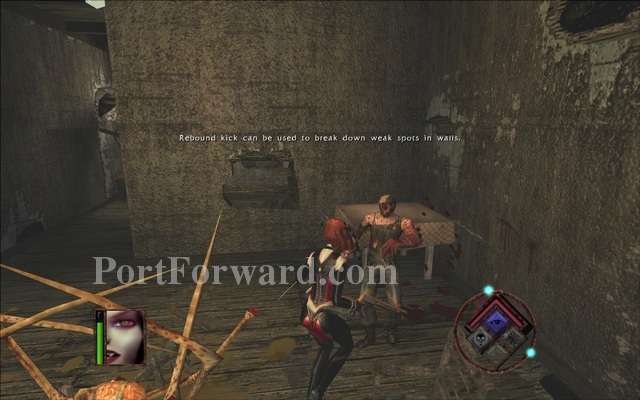
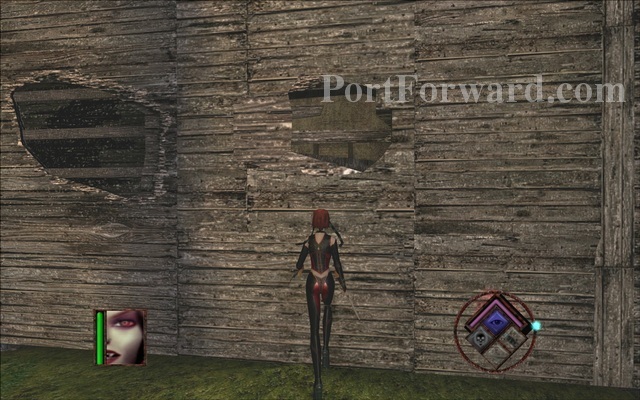
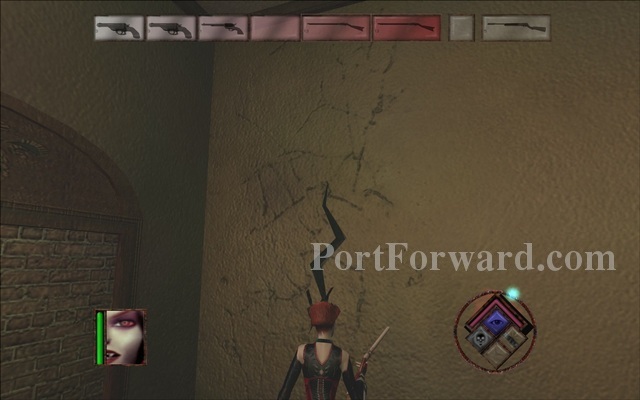
Kill some stuff and destroy the wall that has a hole on it.
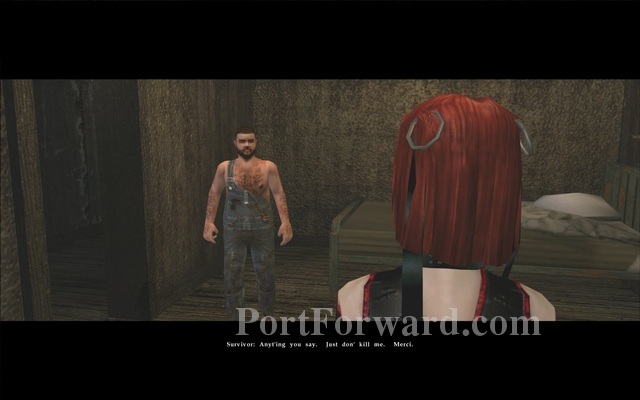
You will find another survivor.
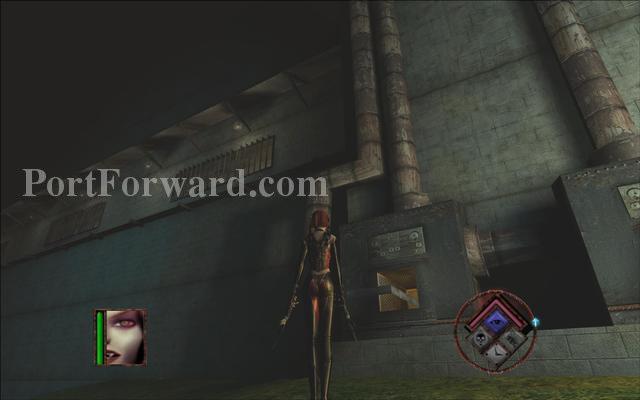
Go to the right side of the building that is next to the one you just found the last survivor in. You will find a spot where you can break in.
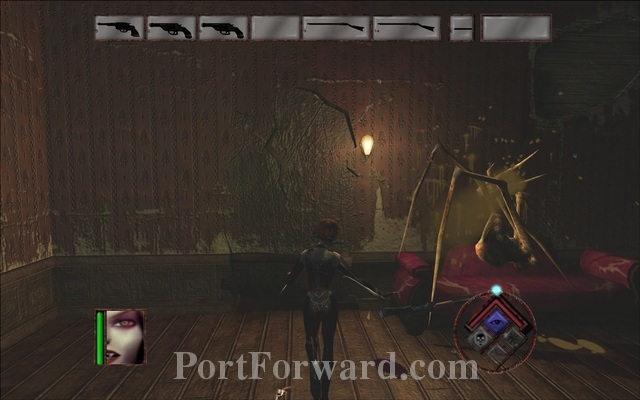
Enter the first room and destroy a wall.
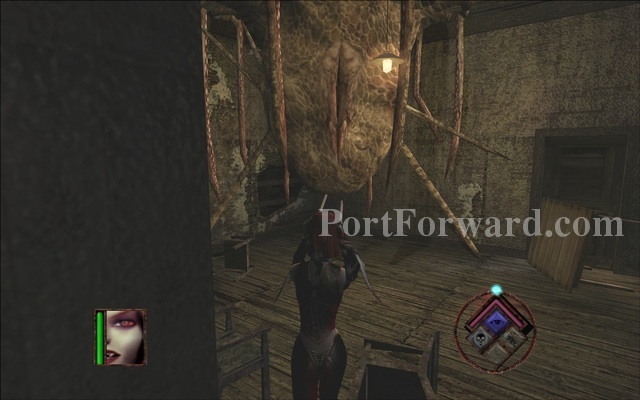
Destroy the nest in here. Using your blood rage makes it fast and easy. Dynamite is very effective as well.
When you are done go to the start of the level and jump on the power cables to go to the next map.
BloodRayne Walkthrough Act 1 - Louisiana:Town Hall
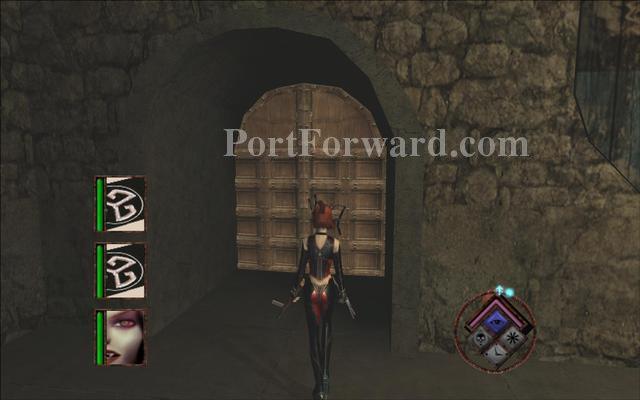
Get inside the first big building you see. You can enter through the double door on the right.
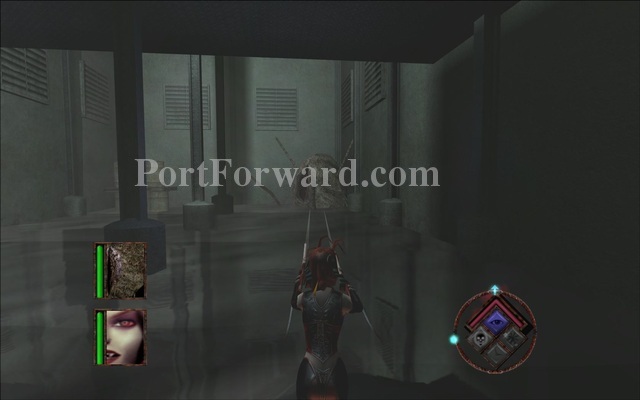
You will find a nest inside. Destroy it fast because you will have to be in water to be able to reach it. Guns are not effective against it.
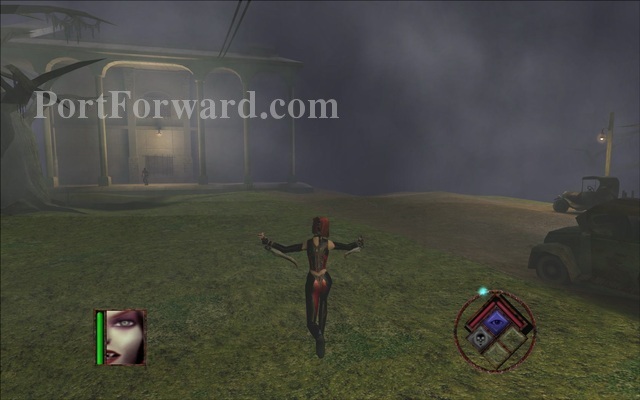
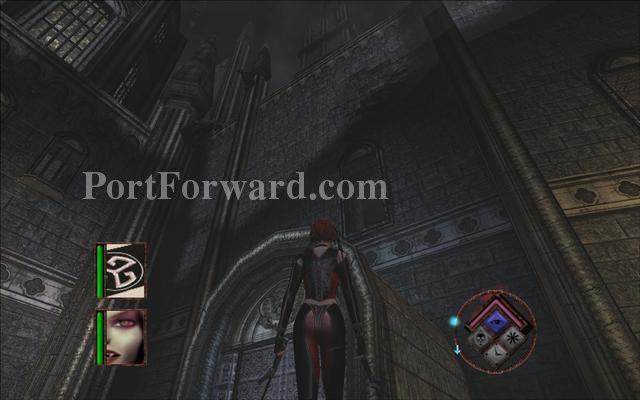
Exit the building and approach the town hall.
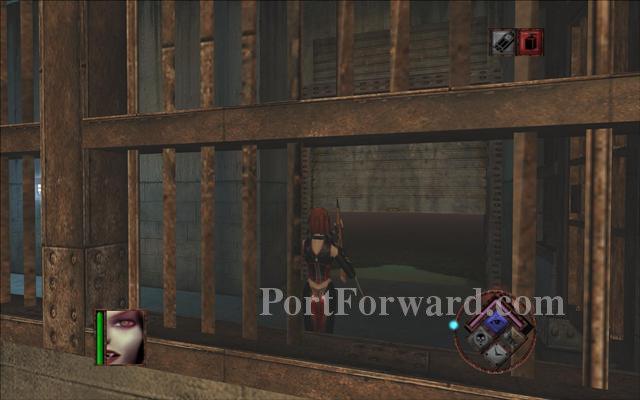
Run behind the town hall and you will see a barred up window. You can go inside from there.
Get down to the first floor.
Go to the right.
You will see a crack on the wall. Destroy the wall here to get in.
You find the deputy. He will go to the mausoleum also.
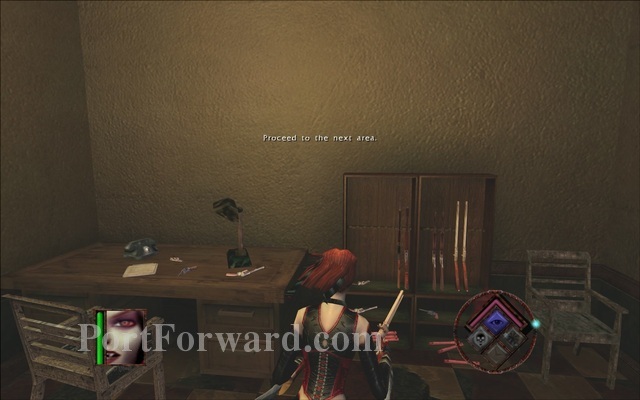
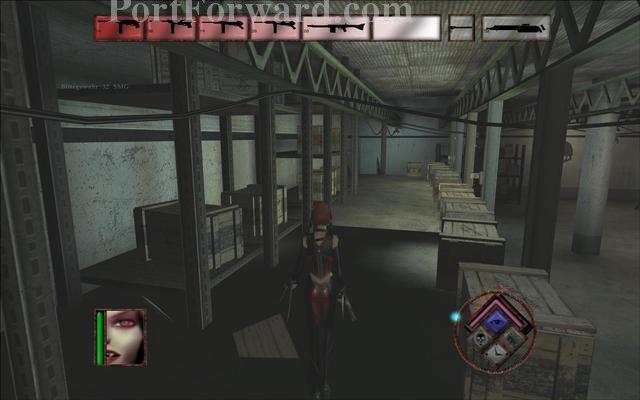
Get some guns and dynamite from his office and leave the building.
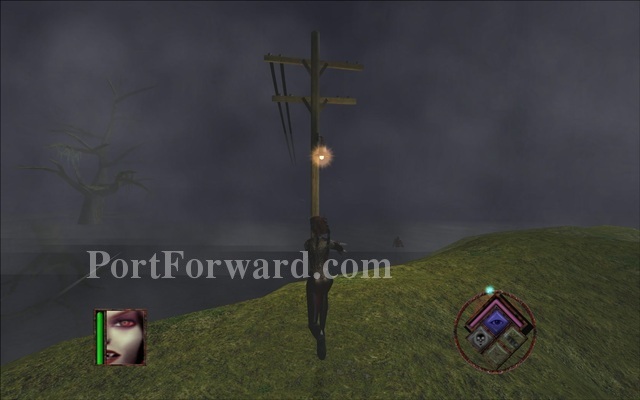
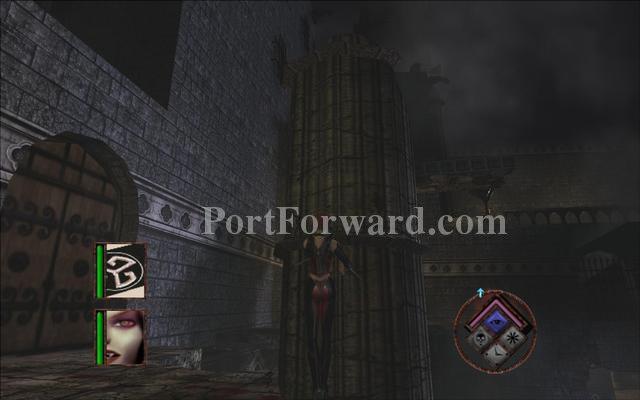
Jump on top of the power cables to reach the next area.
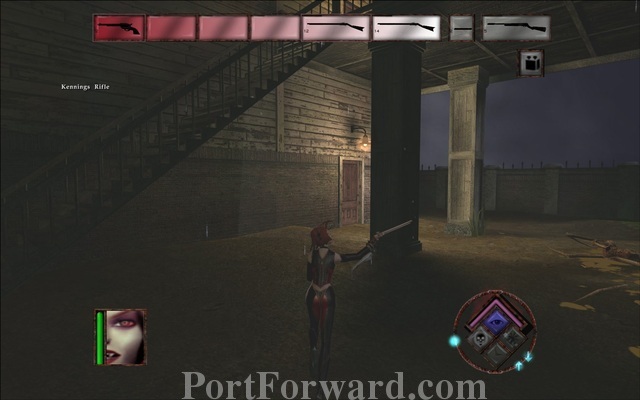
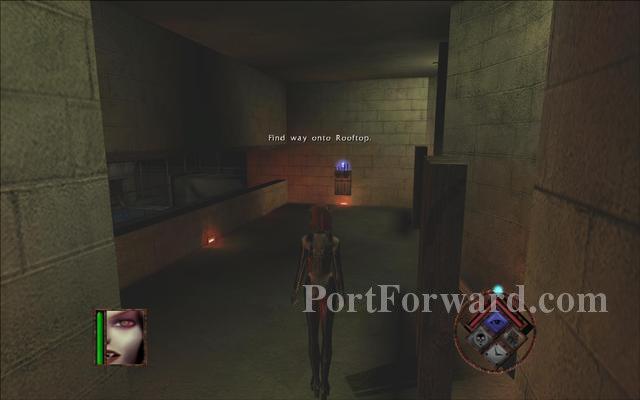
BloodRayne Walkthrough Act 1 - Louisiana: The Beauregard House
You will see two buildings. Jump on top of the power cables near them and go to roof of the one on the right.
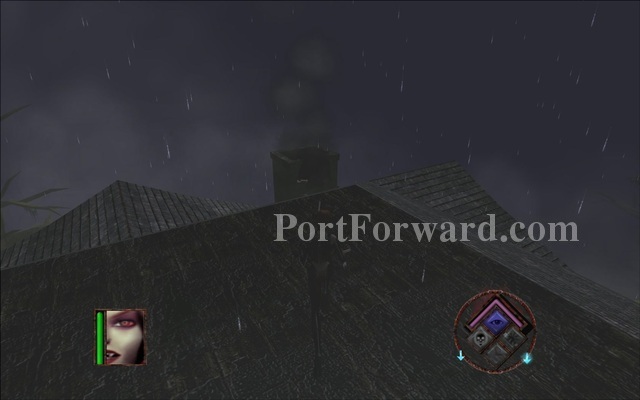
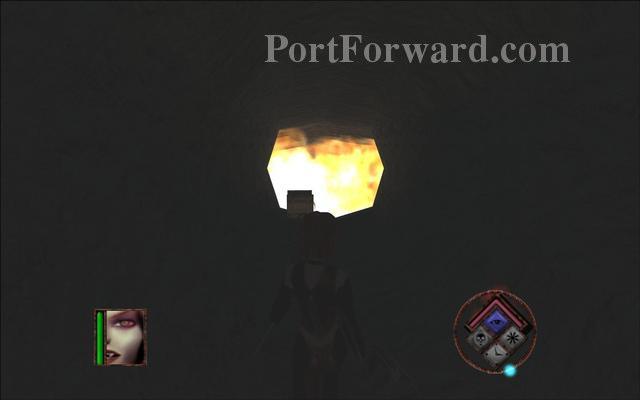
Jump down the smoking chimney to enter the building.
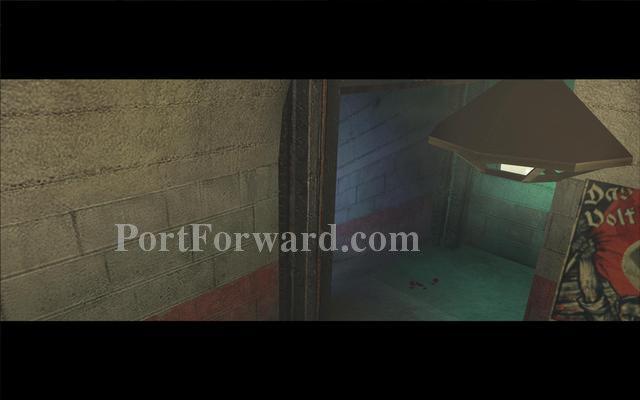
Destroy the wall with your spinkick to exit the chimney.
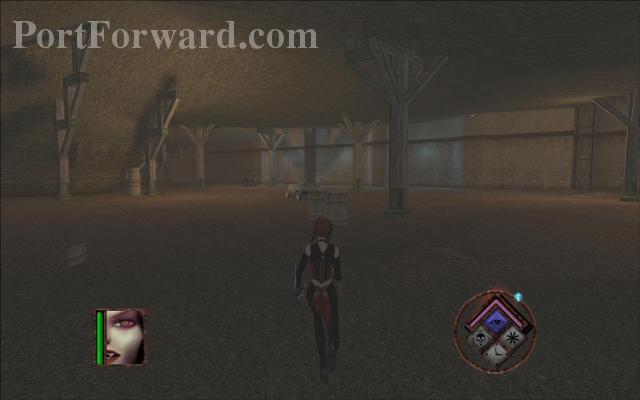
Exit the room through the door.
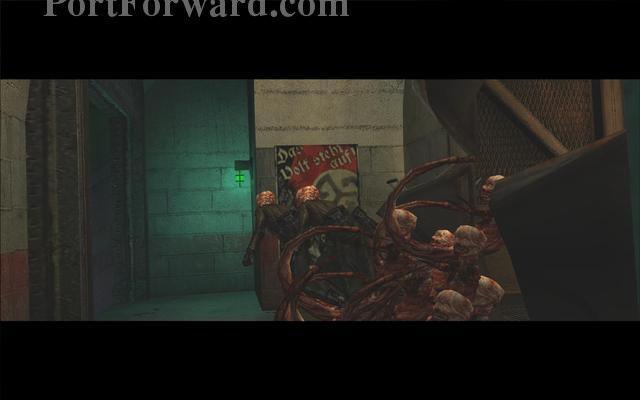
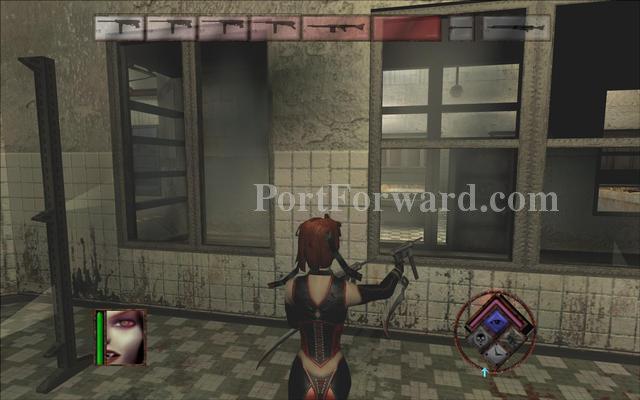
Enter the next room at the end of the corridor and go through two more doors.
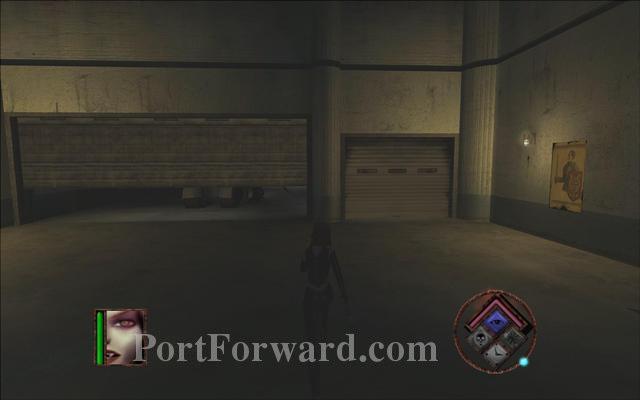
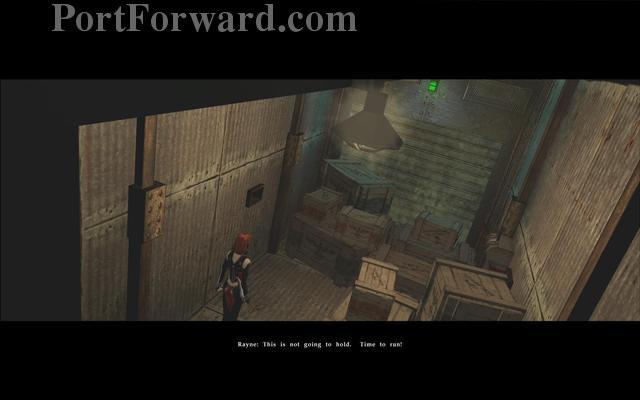
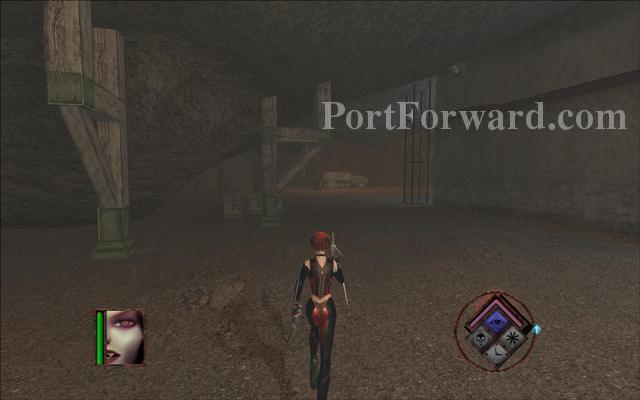
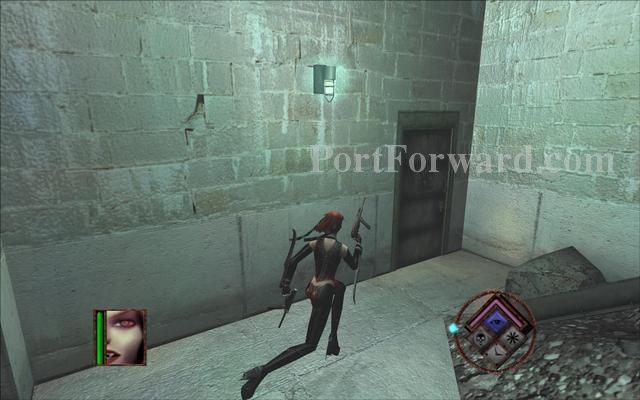
After the bathroom you will find an elevator. You have to find a new battery for it to work. Exit the building.
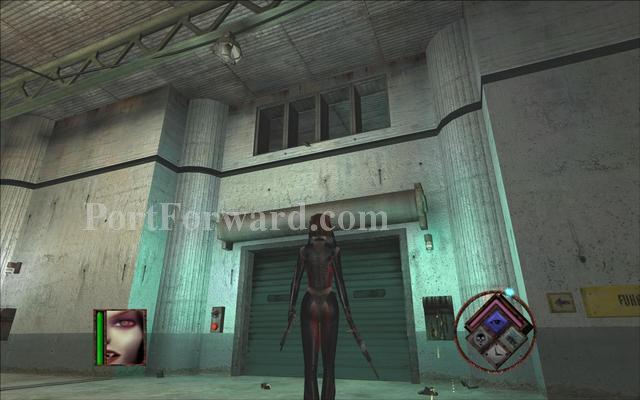
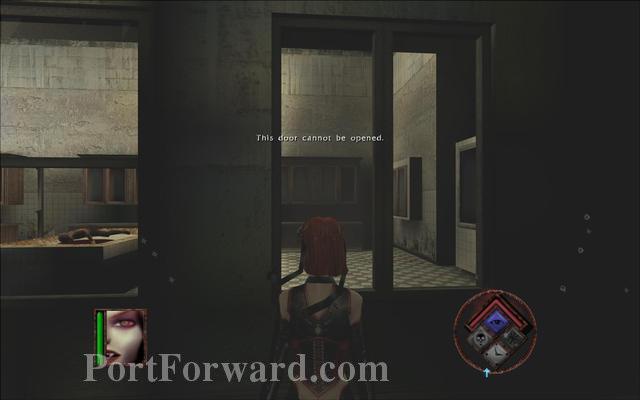
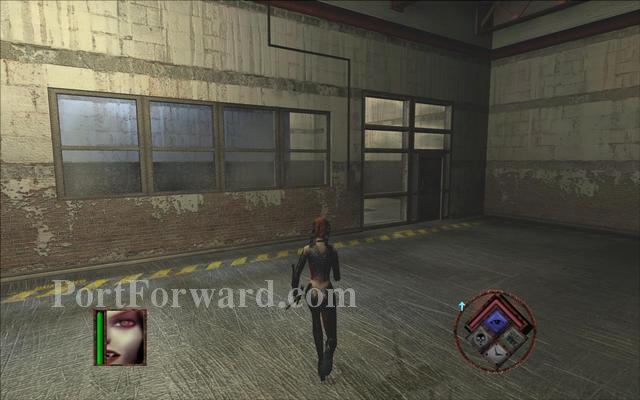
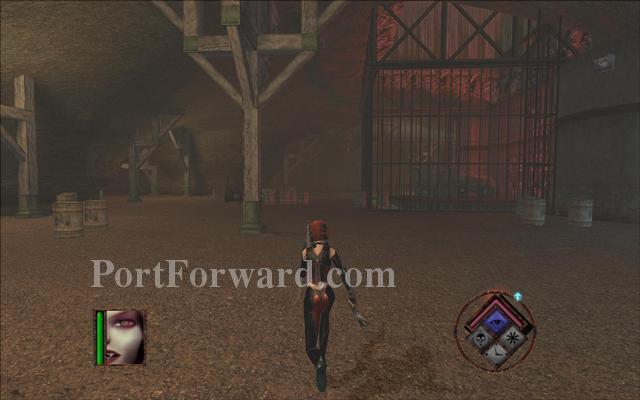
Enter the other building through the door on the right.
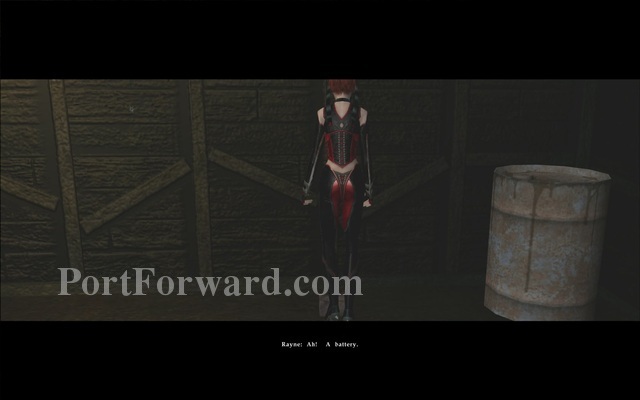
You will find the battery in the garage.
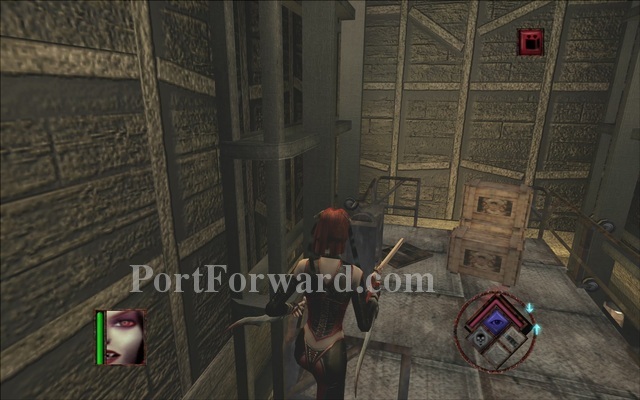
When you return to the lift use your attack key to place the battery and go down.
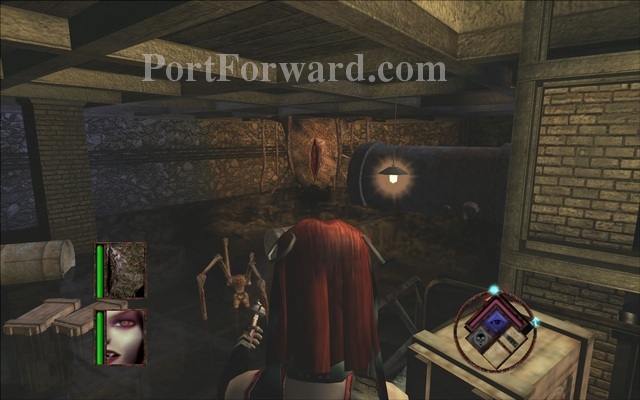
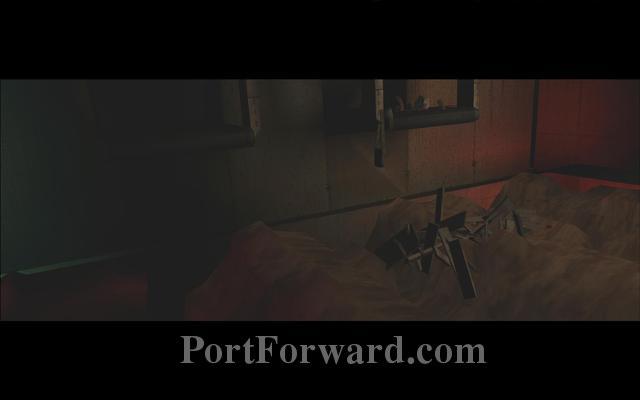
A nest is in the basement. You will have to take a dip in the water to reach it.
Afterwards go to the second floor of the same building using the stairs.
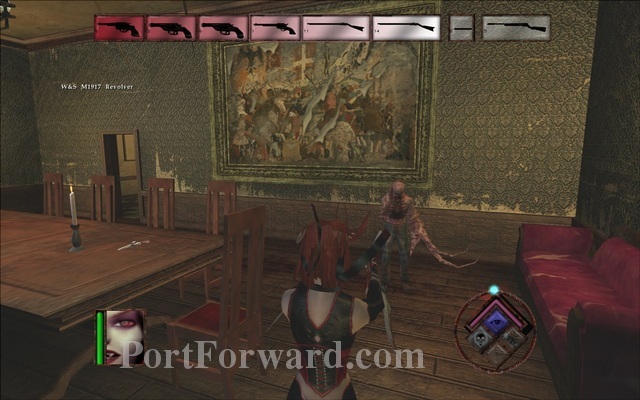
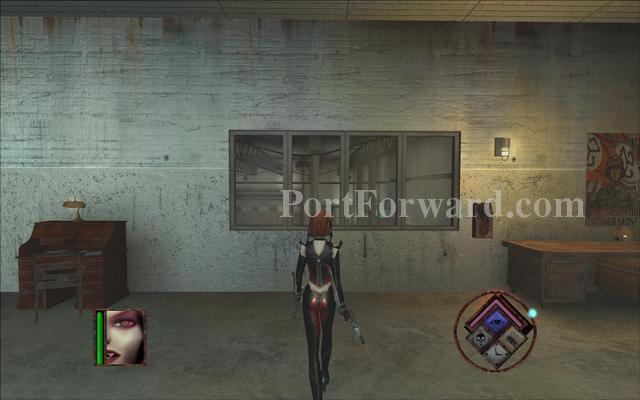
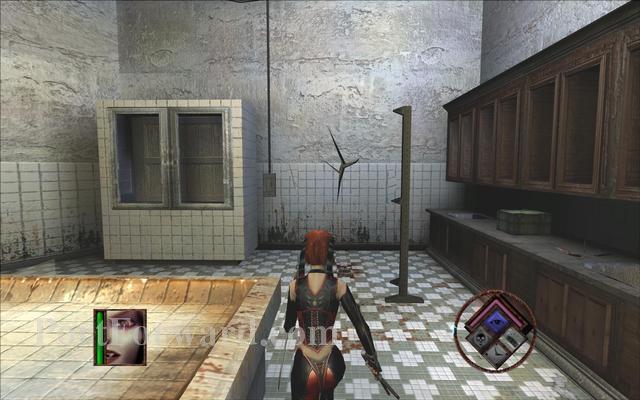
Pass a room with a large painting.
Go inside the first room on the right.
Destroy the wall you will find inside the room.
You find two survivors but only one of them escapes.
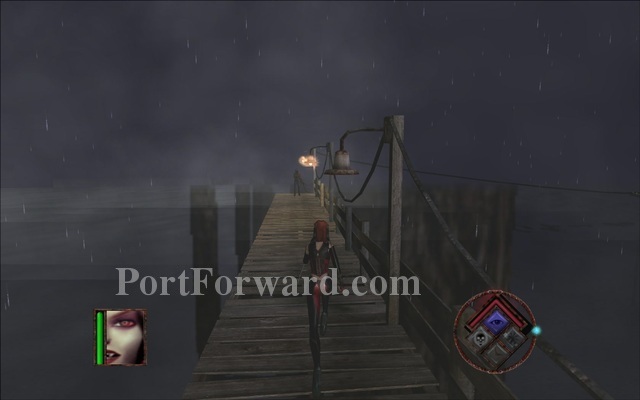
Leave the building and go to the end of the pier that is nearby.
Run on the power cables to reach the next area.
BloodRayne Walkthrough Act 1 - Louisiana: Colonial Power
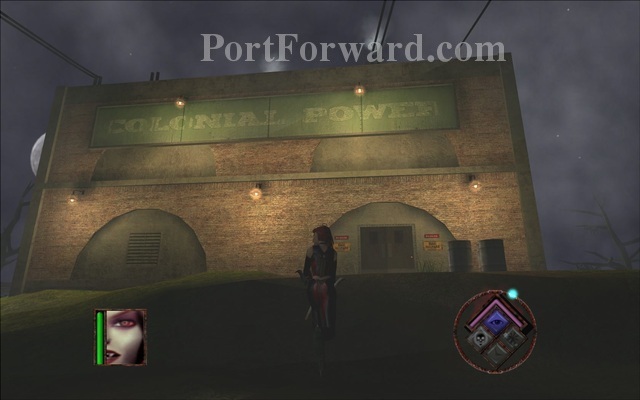
Enter the Colonial Power building from the front doors.
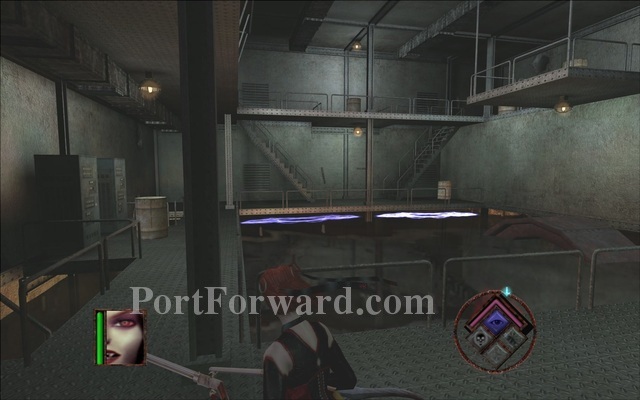
The basement is flooded. Get up to the second floor.
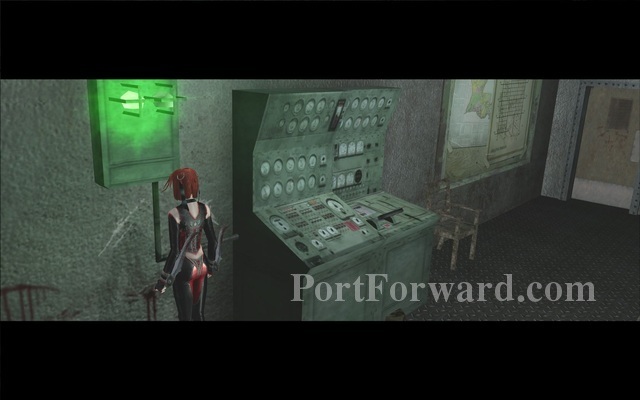
Enter the control room and hit the controls that have a light to drain the water.
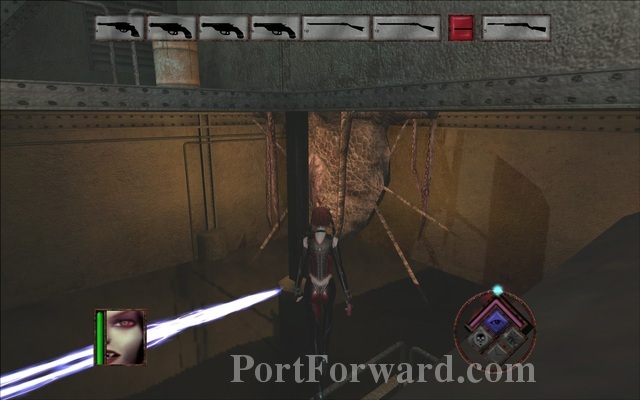
A nest is revealed when the water levels fall. Destroying it with dynamite is preferable.
BloodRayne Walkthrough Act 1 - Louisiana: City of the Dead Revisited
A cutscene plays. Mynce is distracted and gets taken away by one of the bugs.
The survivors suffer the same fate.
Go through the hole the bugs busted open in the big wall.
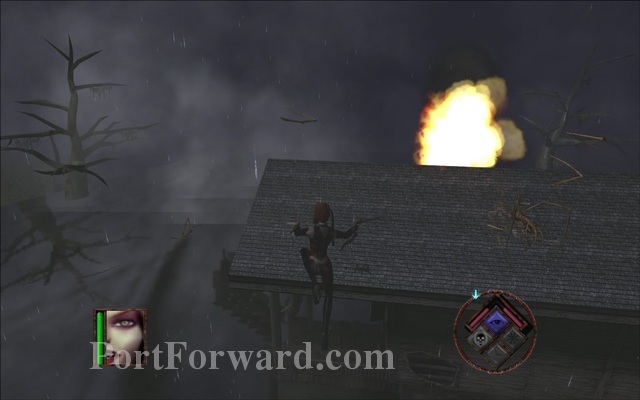
BloodRayne Walkthrough Act 1 - Louisiana: Old Town
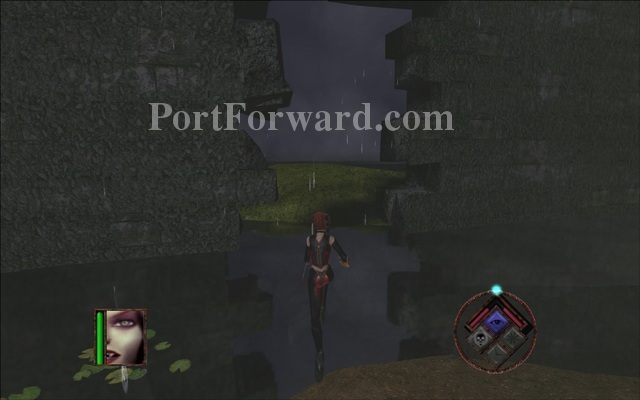
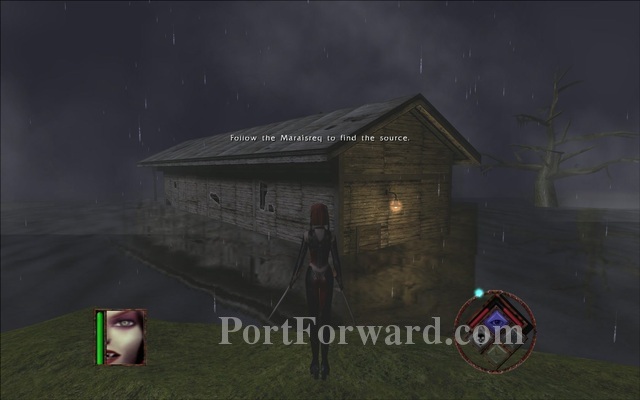
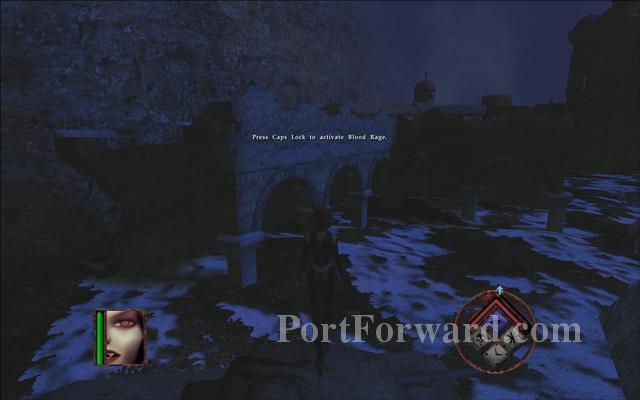
Rayne wants to find the source of the bugs. You will have to follow this particular individual across the map. Use your aura vision if you lose track of him.
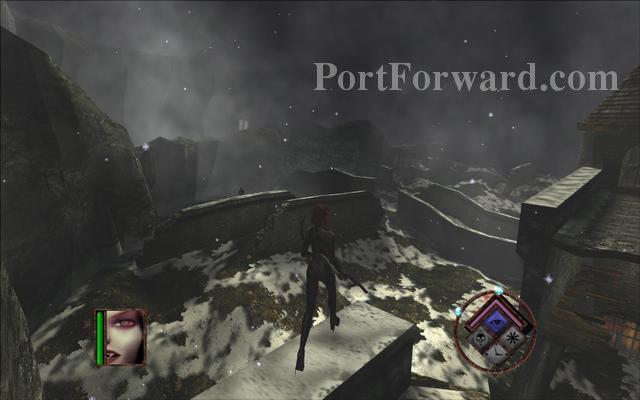
Jump on the roof of the first building.
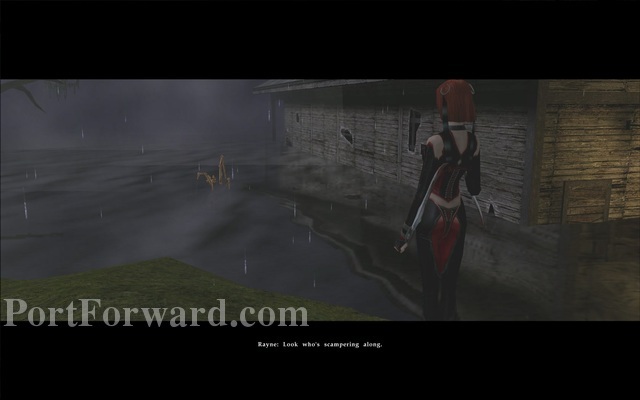
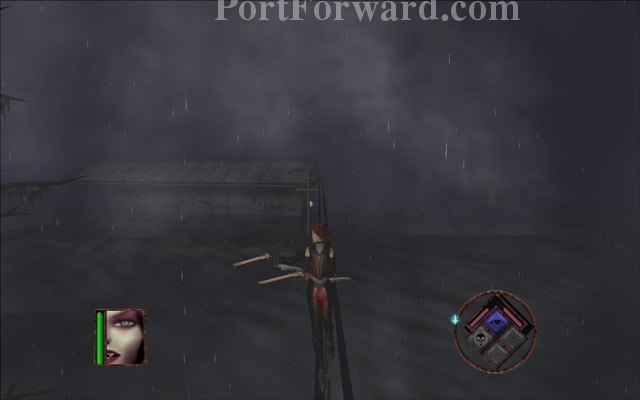
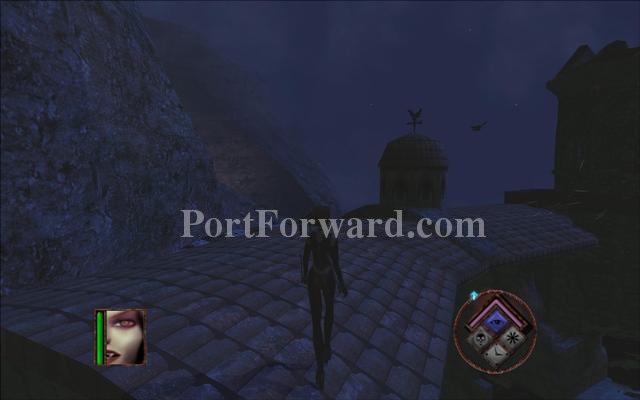
Jump across a couple of more rooftops and try not to lose the bug that runs on your left. Avoiding water can be tricky but there is a path of rooftops.
Reach some more rooftops when you cross a power line.
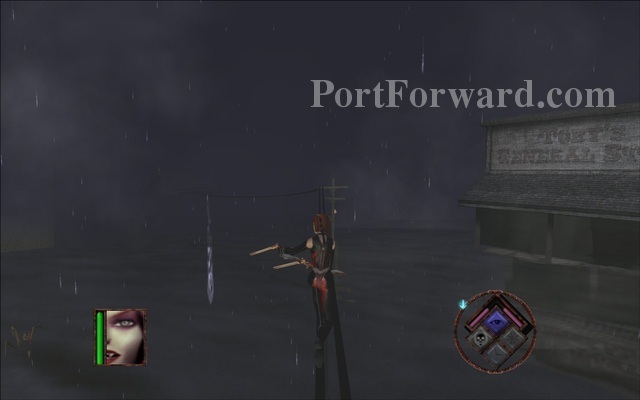
After a few more rooftops jump on another long trail of cables.
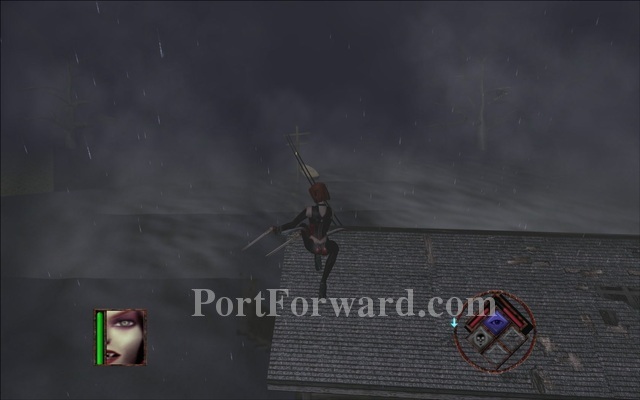
A few rooftops later and you will find a power line that stops at a boat. Reach the end of the cable.

Rayne sees something big with her aura vision.

Rayne will take a boat trip to the next area.
BloodRayne Walkthrough Act 1 - Louisiana: Queen of the Underworld
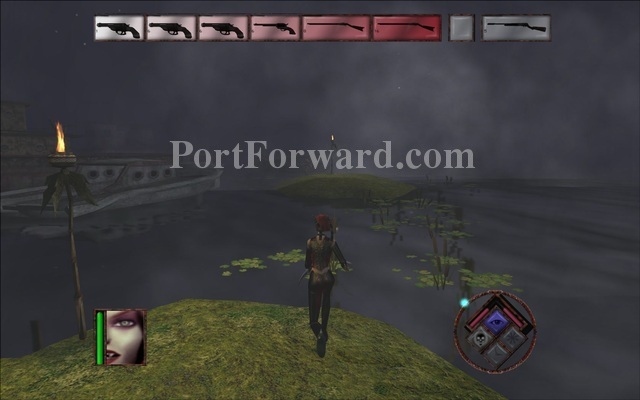
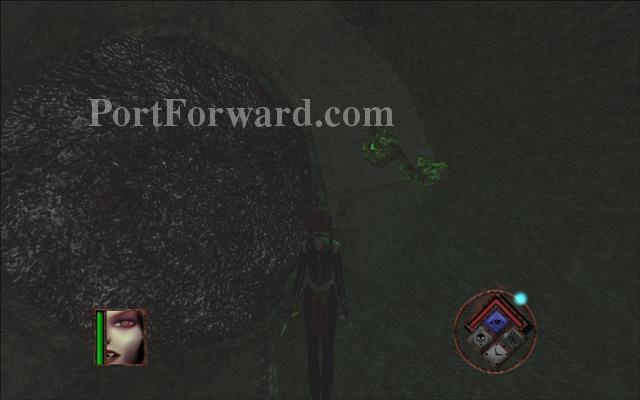
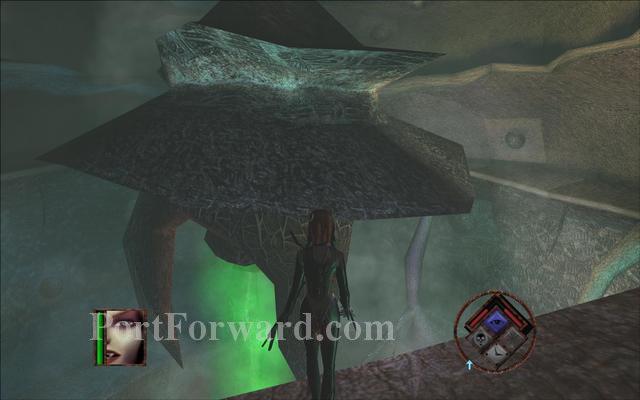
Move forward and jump across the boats.
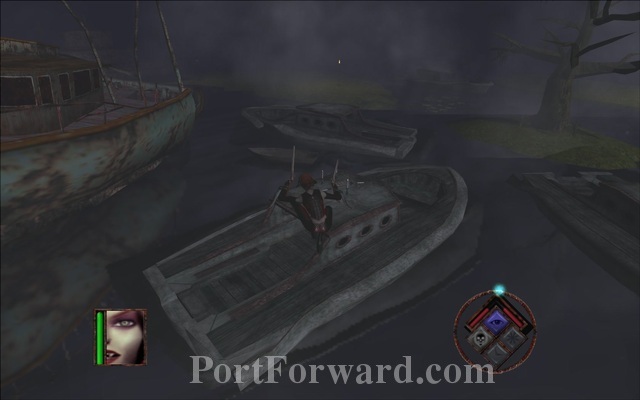
When you pass a few more boats you will find lit candles and a book on the roof of a small boat.
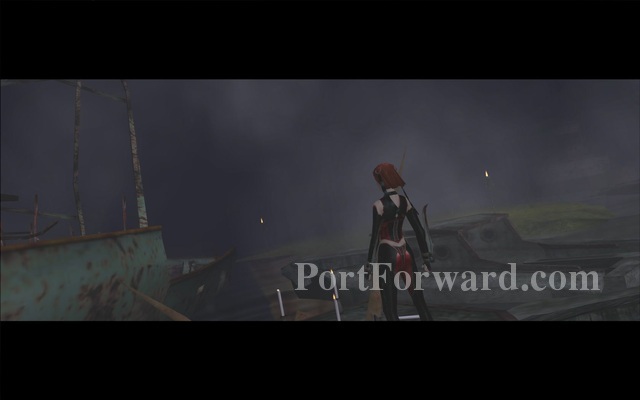
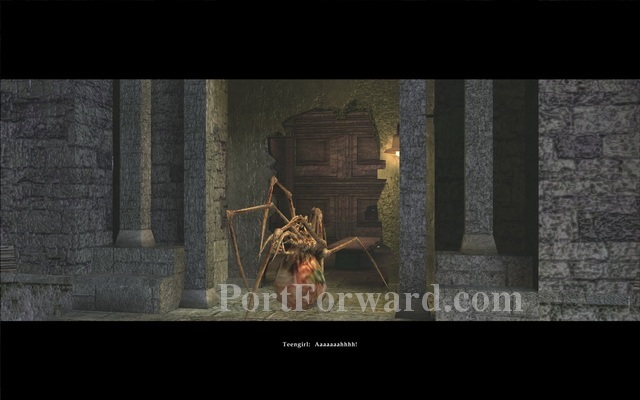
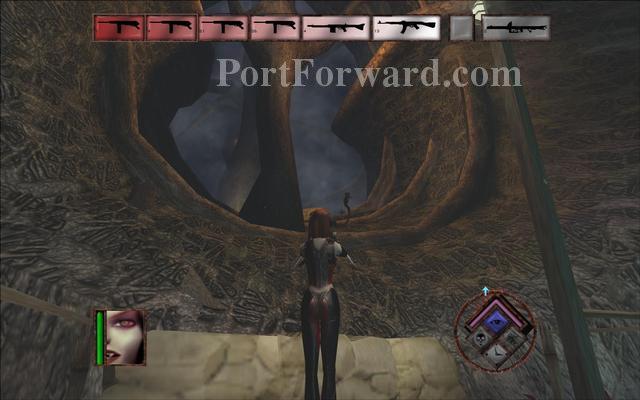
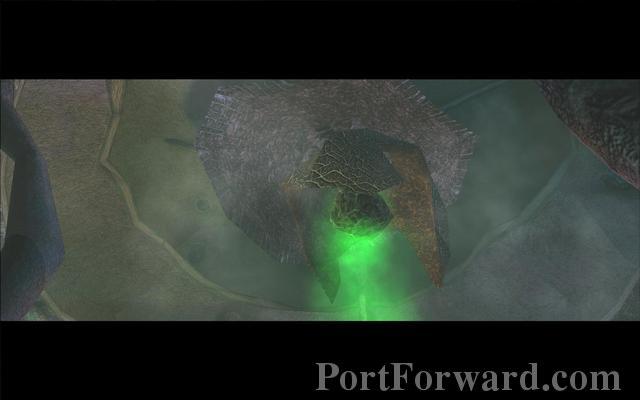
Jumping on the roof of the boat will trigger a cutscene. Something big emerges from the depths.
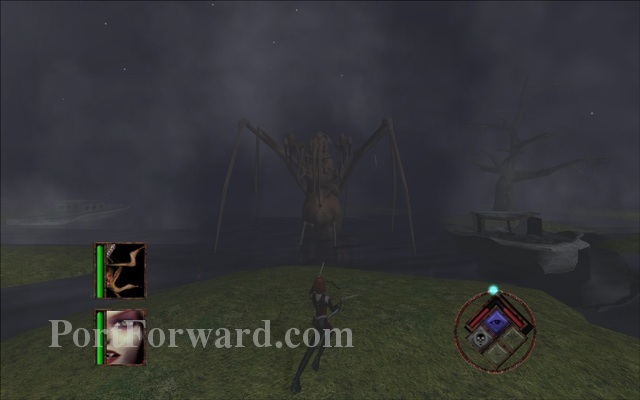
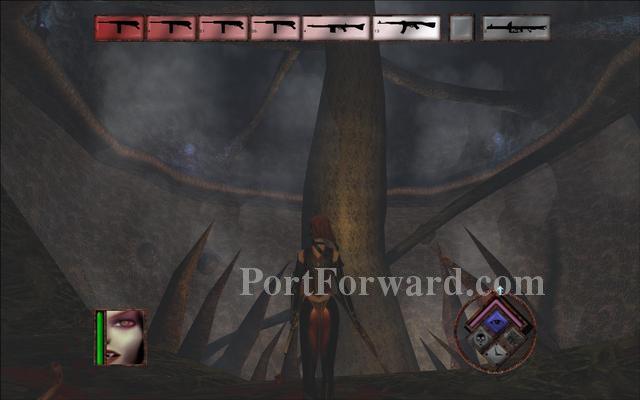
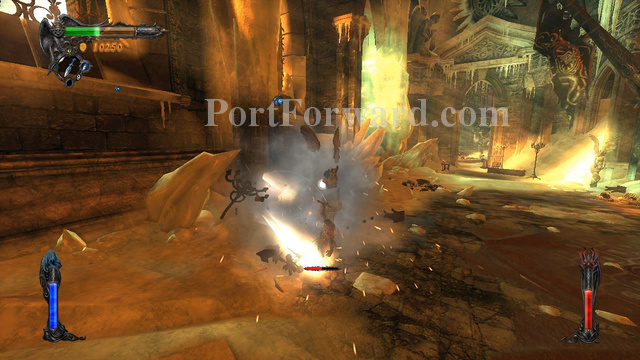
The boss of the first act is the mother of all bugs. Wait for her to get closer to you near the small dry land. Attack her big front legs to make her fall down briefly.

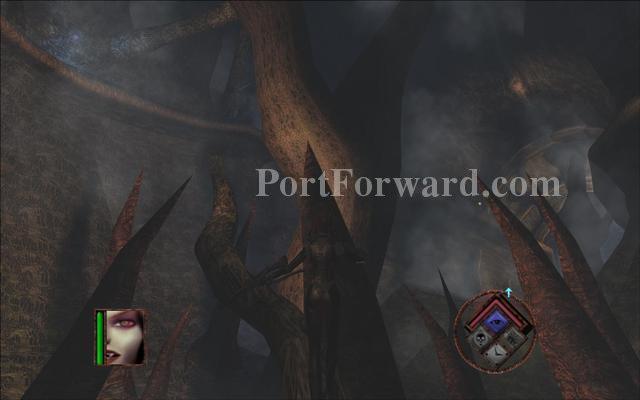
When she falls down attack her belly with blood rage for massive damage. If you don't kill her in one go just attack her other leg and repeat.

When you defeat the boss, Rayne will find something but sadly she won't hold on to it for too long.
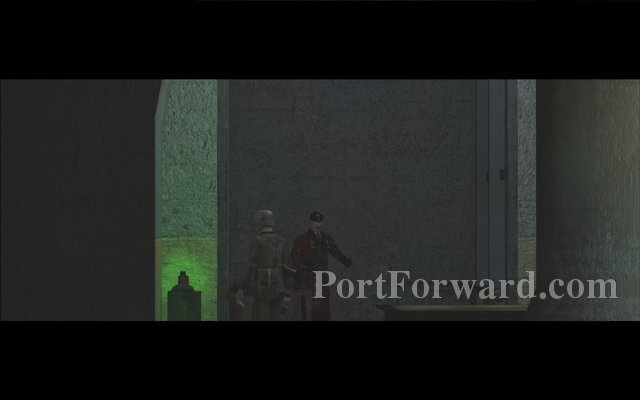
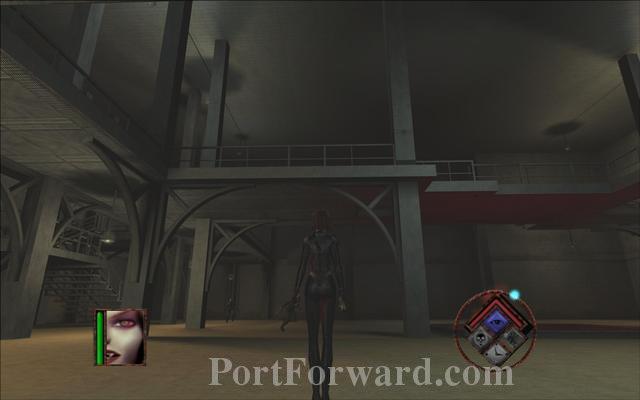
BloodRayne Walkthrough Act 2 - Argentina: Infiltration and Execution
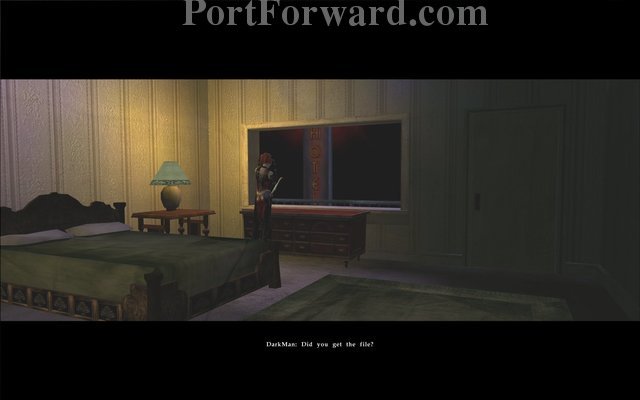
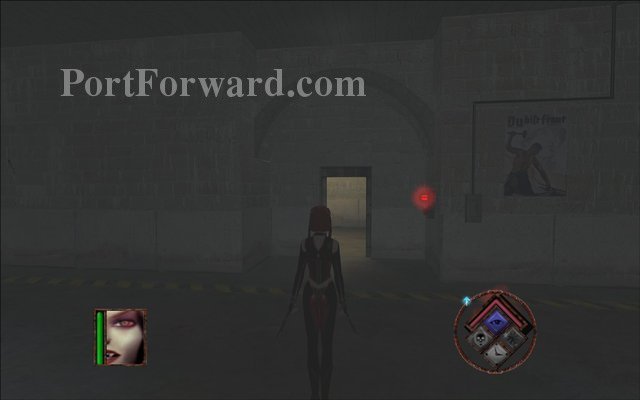
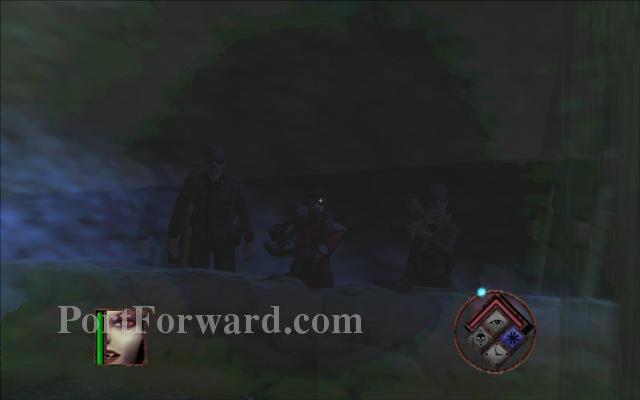
Rayne prepares for her mission. DarkMan gives her nazi commanders as targets for assassination.
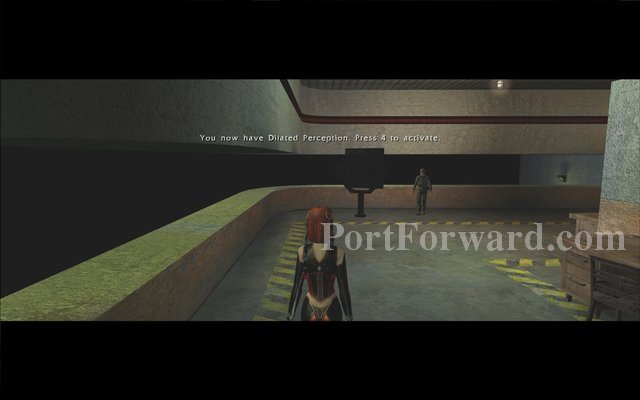
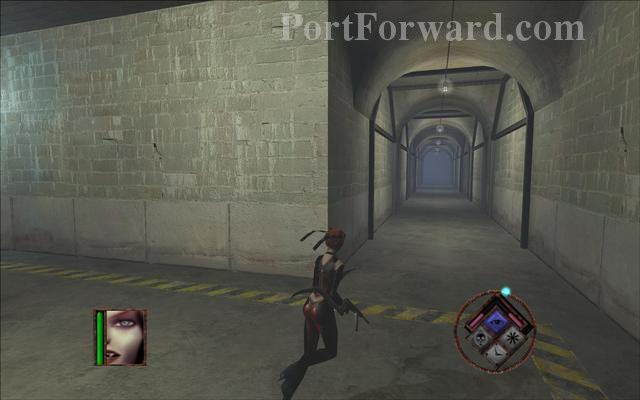
Dilated Perception is your slow motion ability. It is unlimited so use it whenever you like.
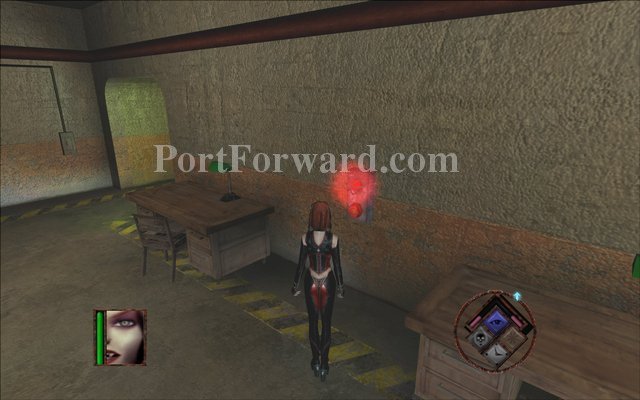
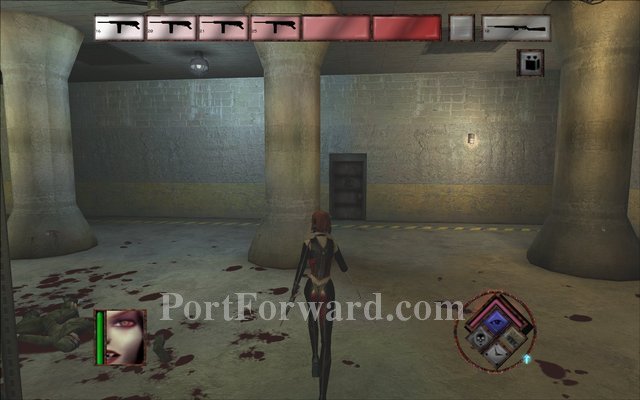
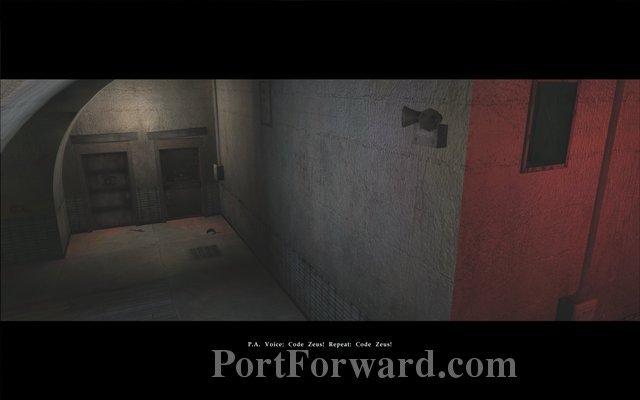
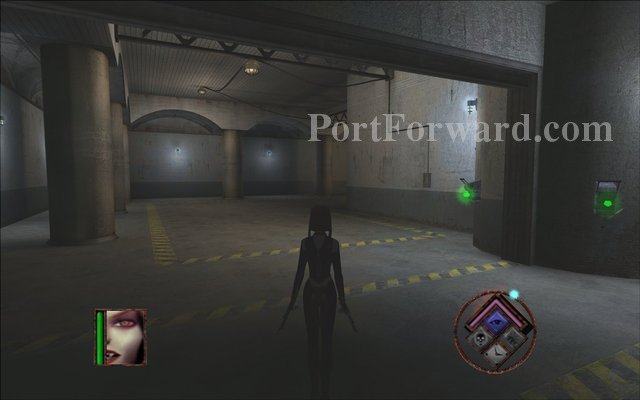
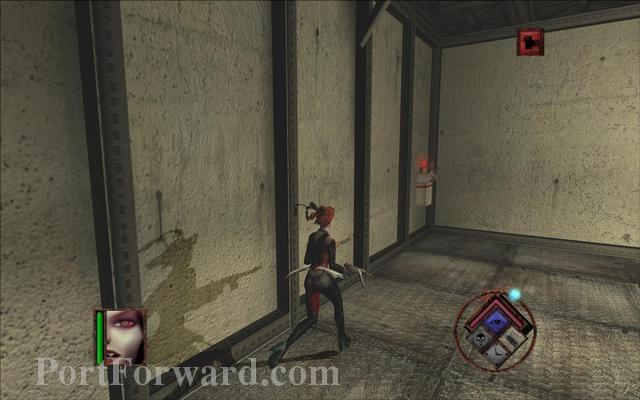
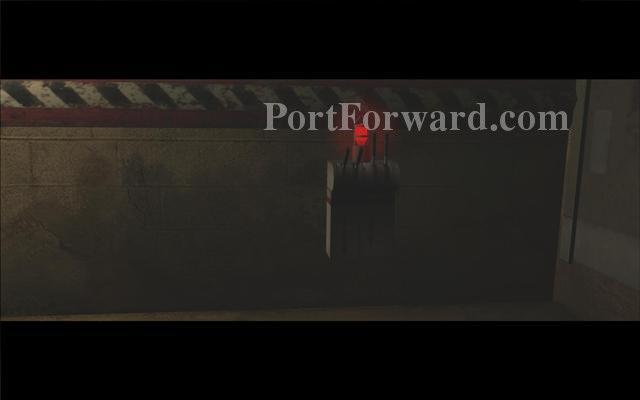
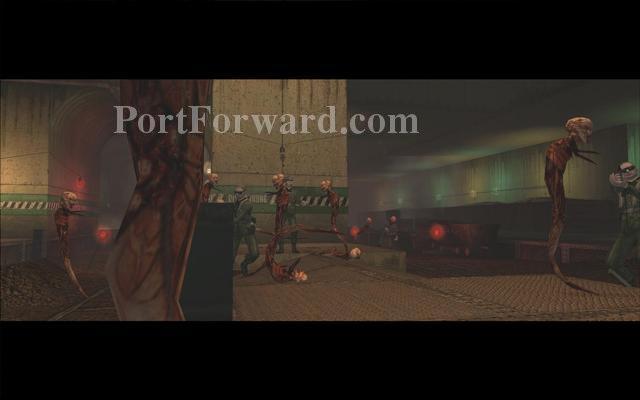
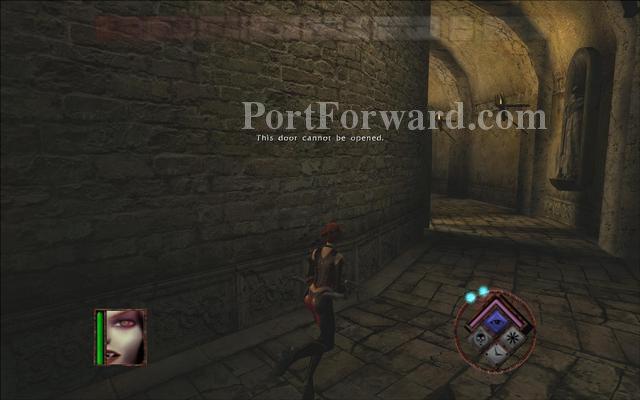
The red lamps are alarms. If a soldier reaches them he will call for backup. You can destroy them if you wish.
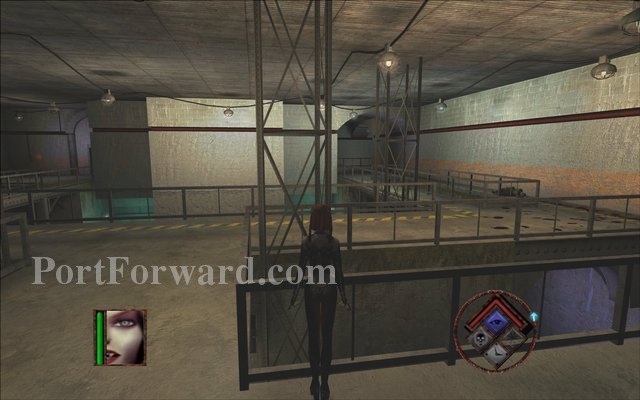
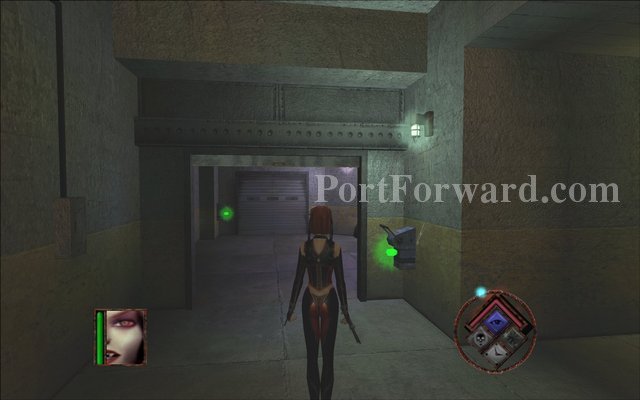
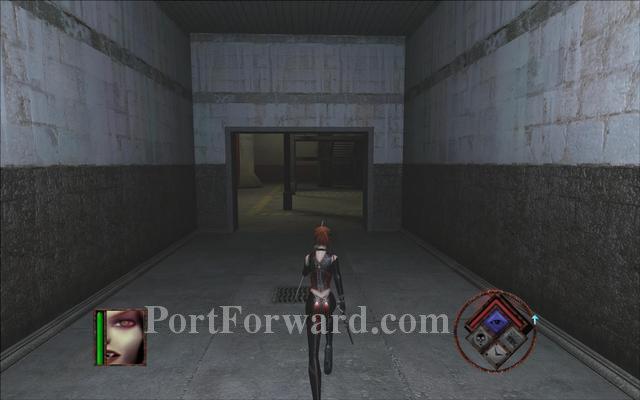
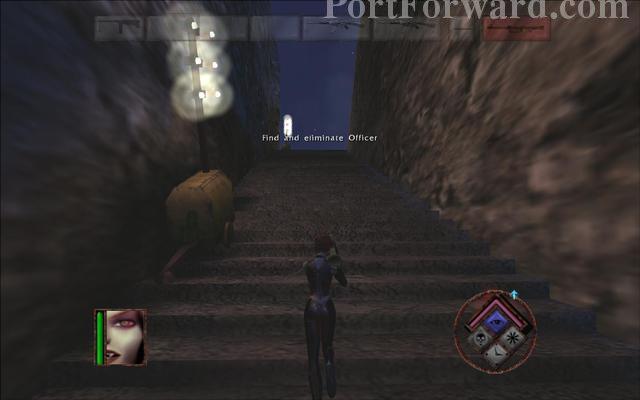
To find your first target follow the corridor to your right.
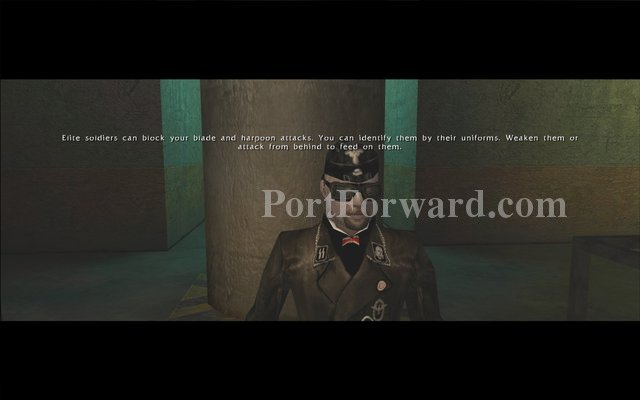
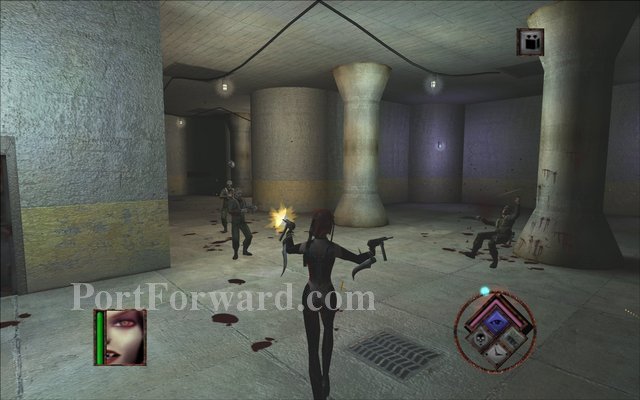
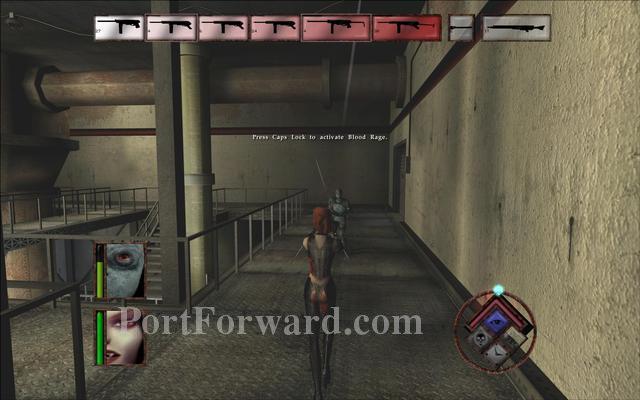
The soldiers in black uniforms are a bit tougher. Shoot them with guns to kill them faster.
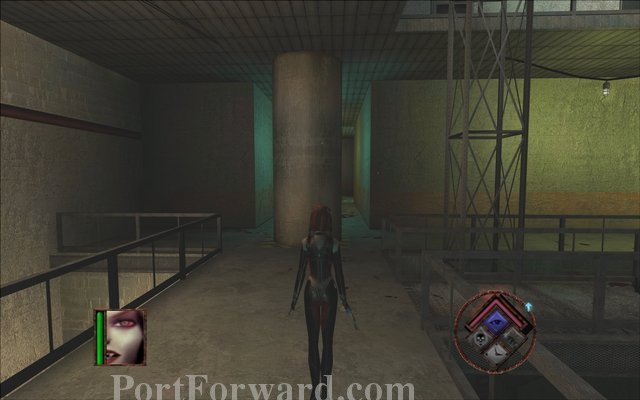
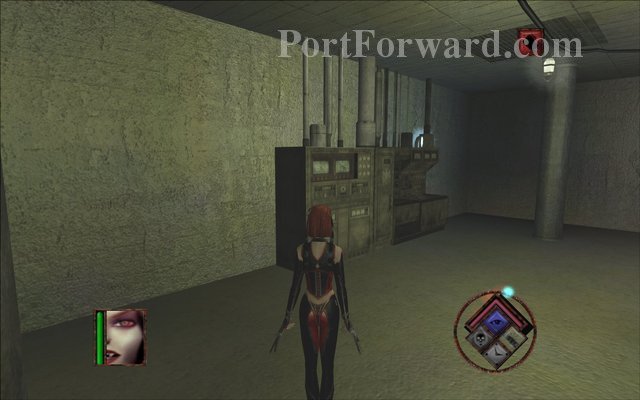
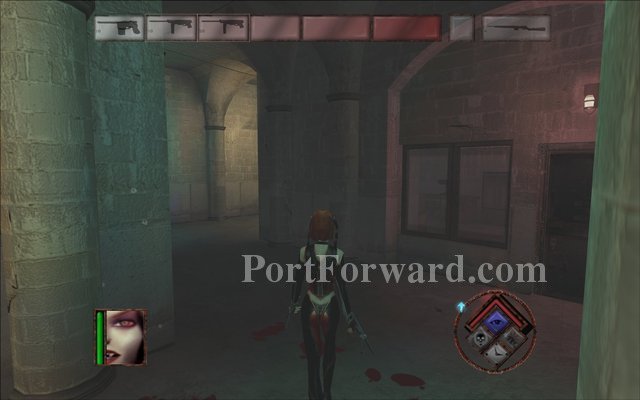
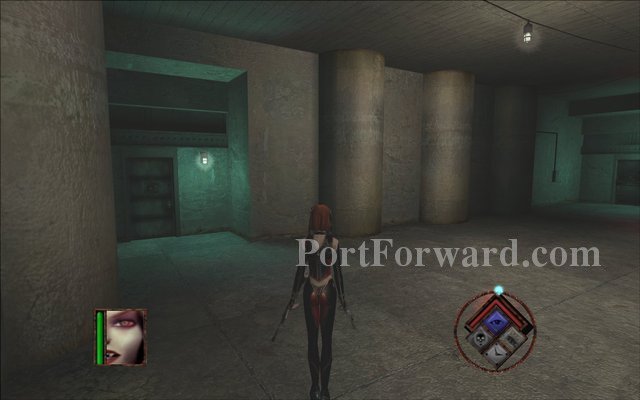
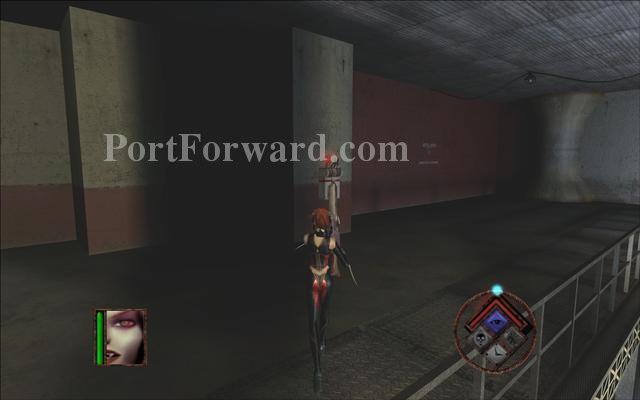
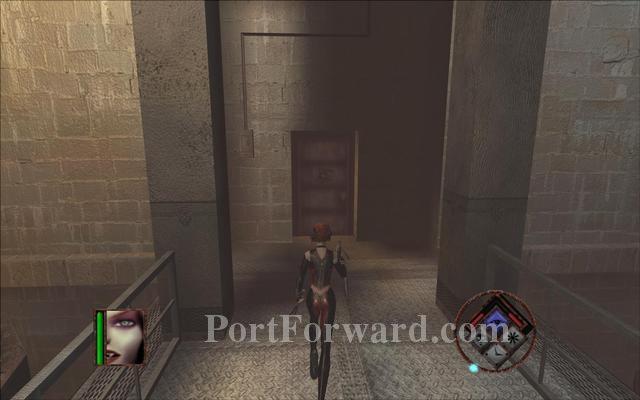
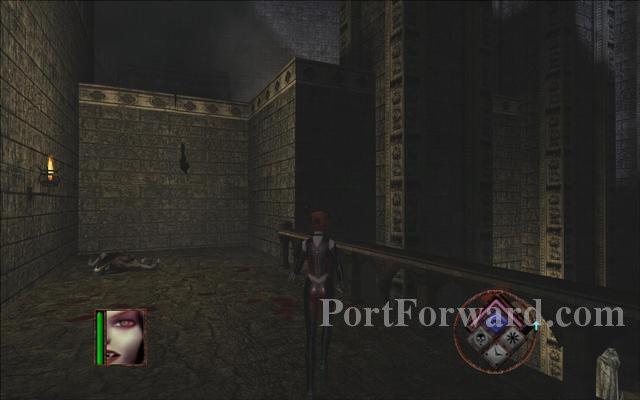
Continue down the corridor and go past the big pillar.
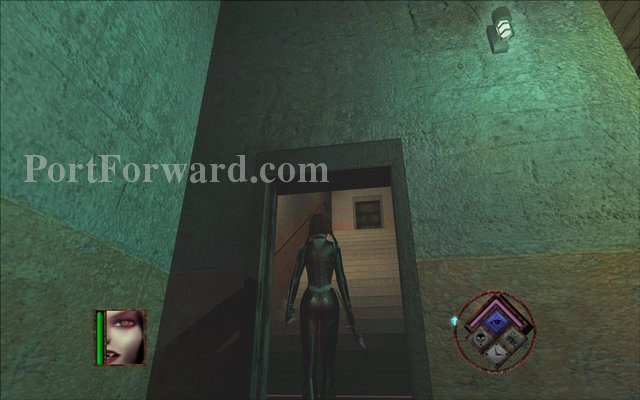
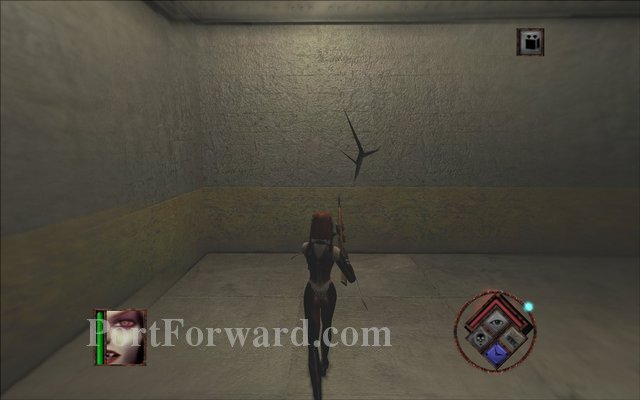
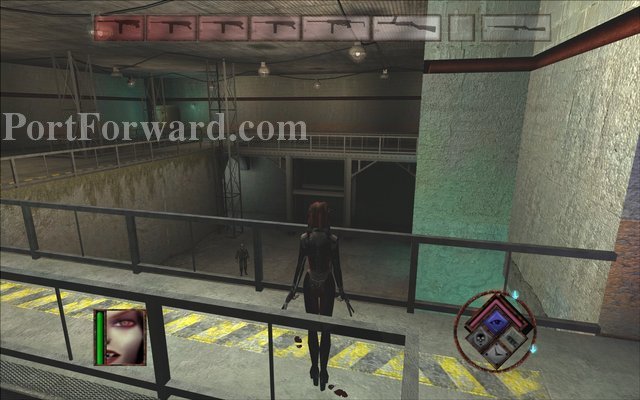
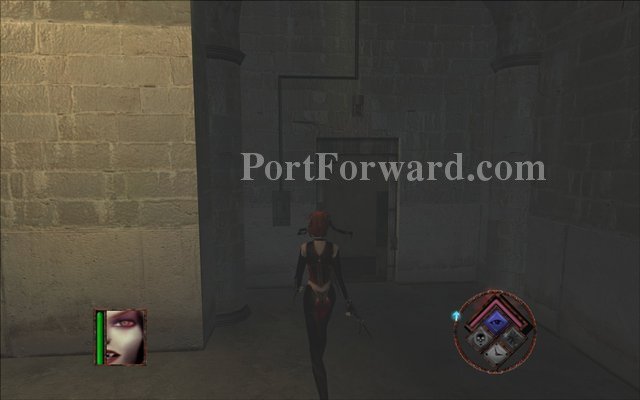
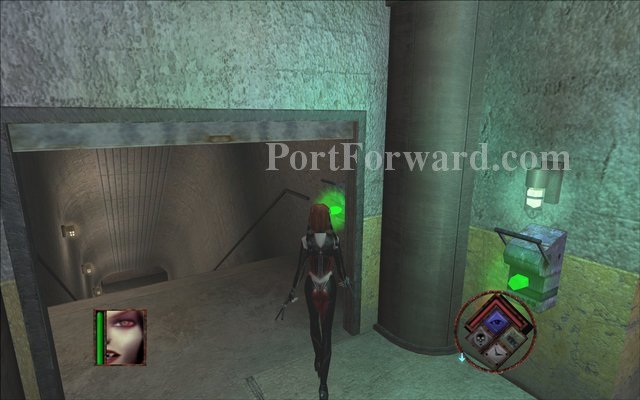
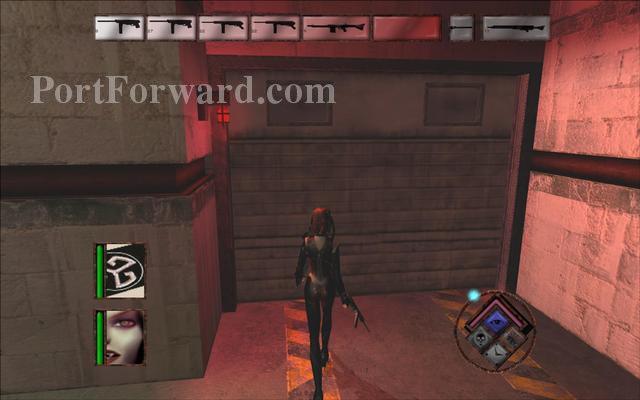
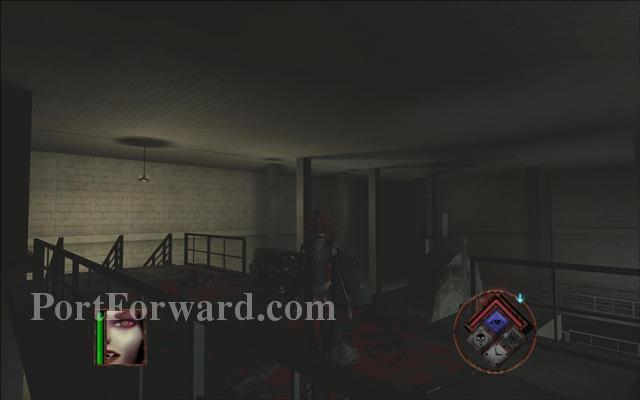
On your right you will find a door that leads to the upper floor.
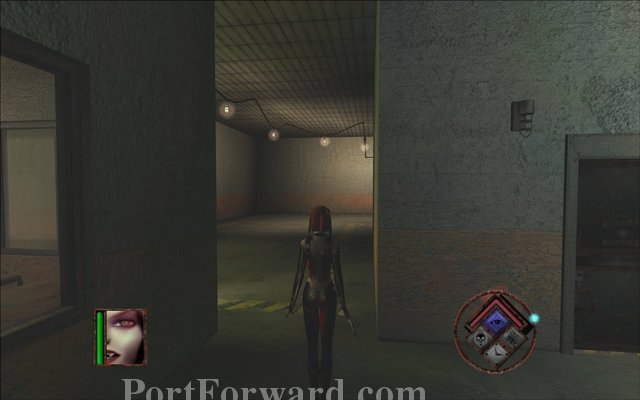
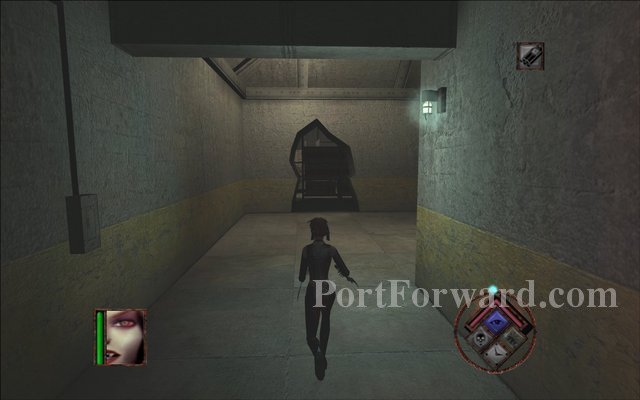
Go forward and then to your right.
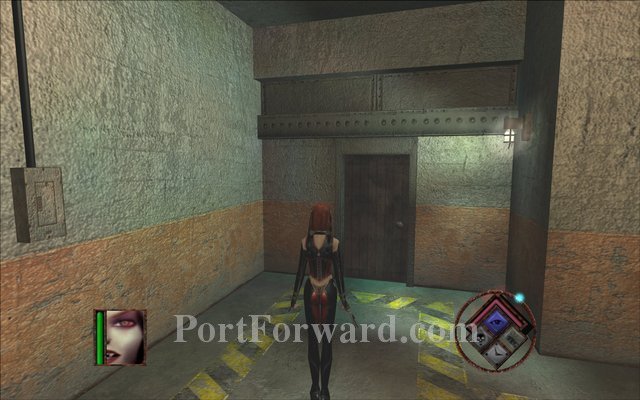
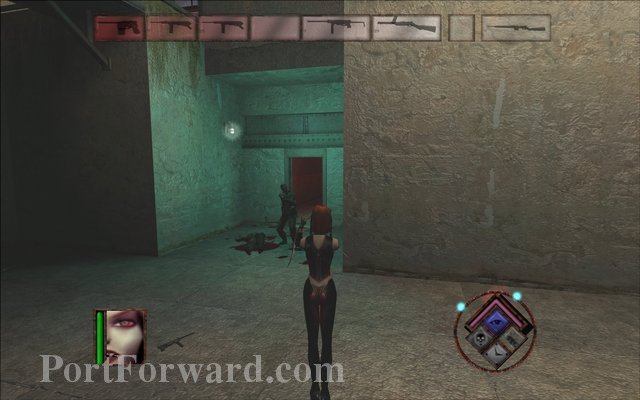
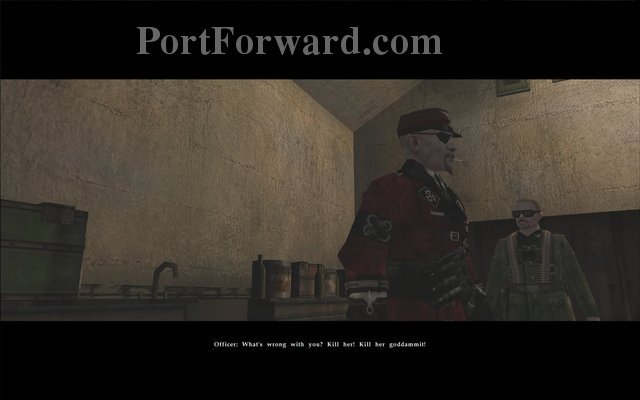
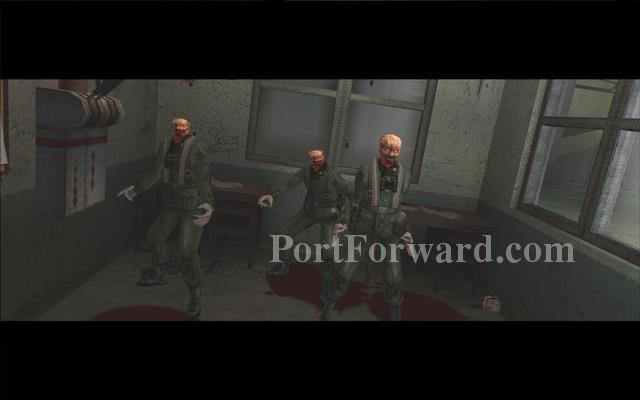
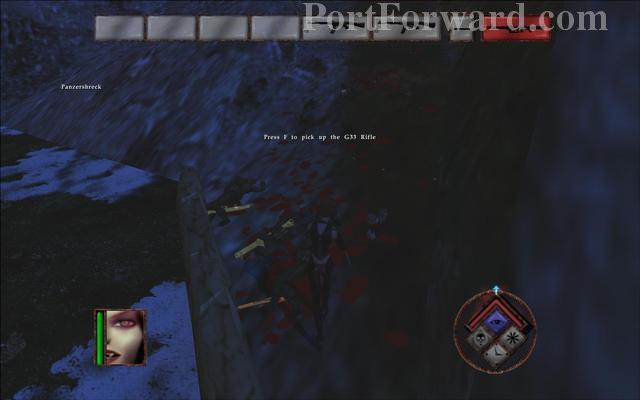
You will find your first target beyound this door. Use your spinkick to crash in. The commanders in red uniforms are your targets and they have much more health that the normal soldiers.
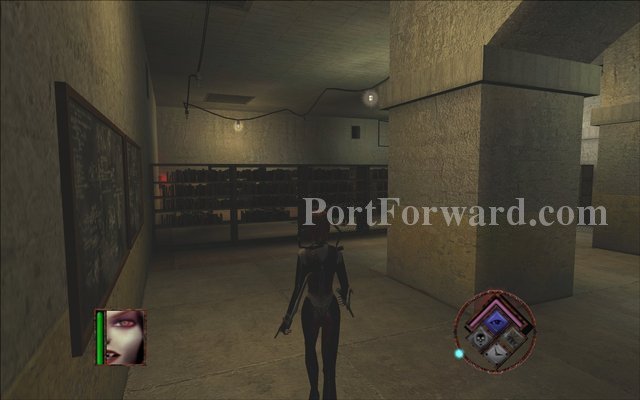
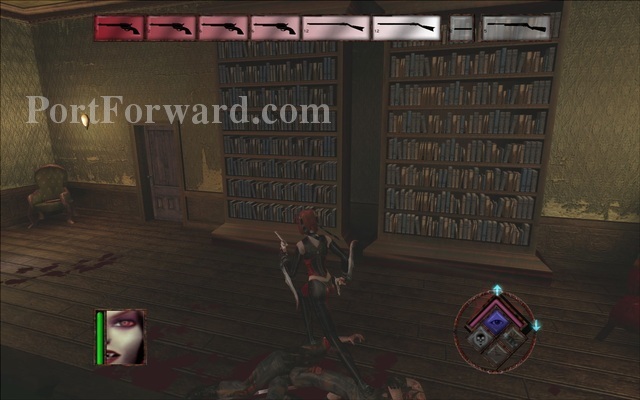
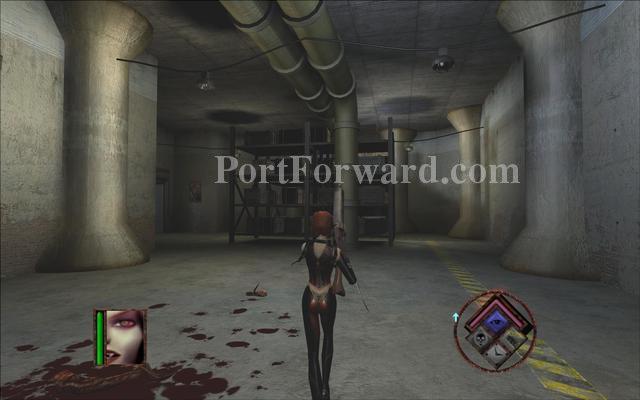
Go through the library to find your next target.
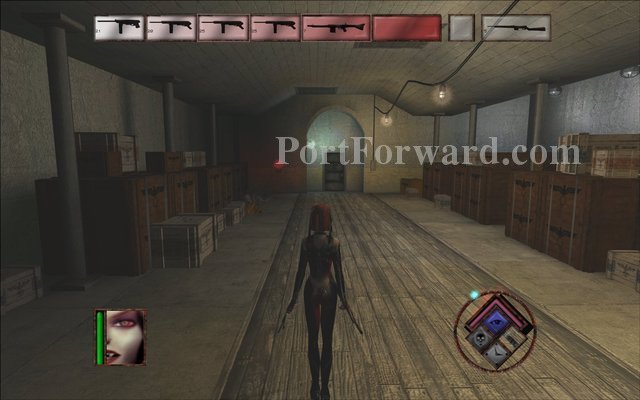
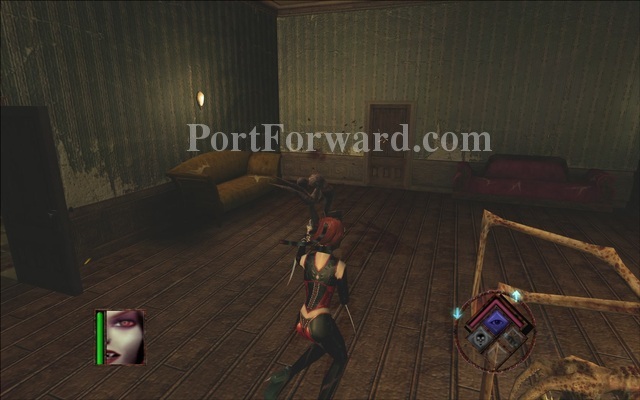
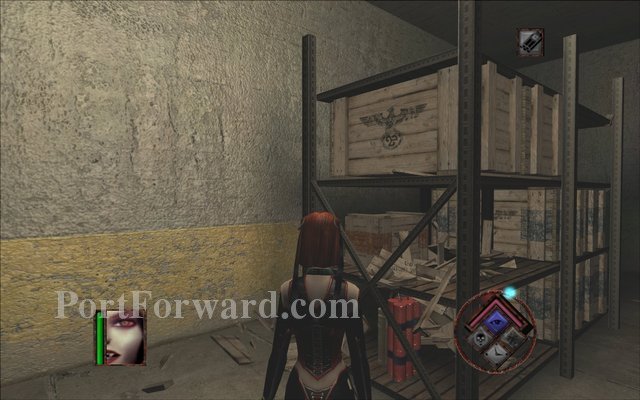
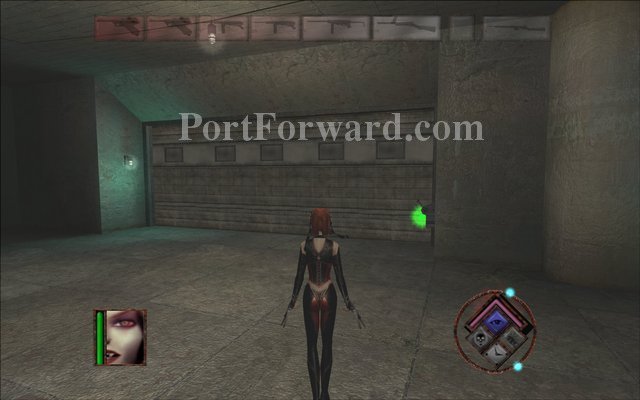
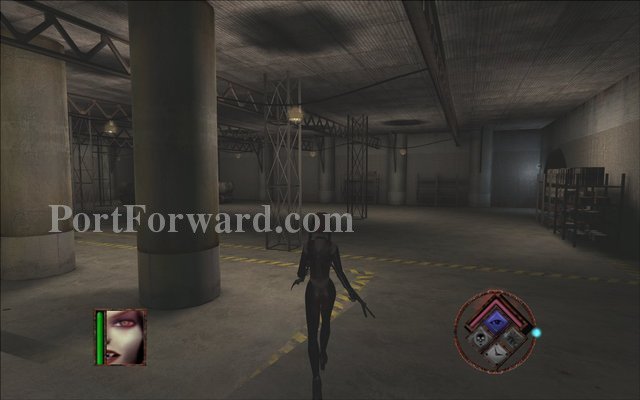
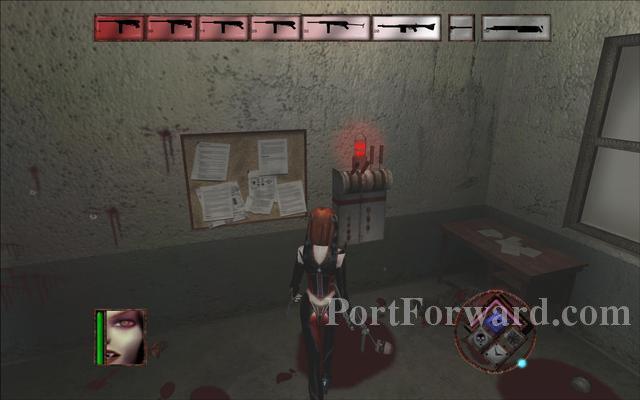
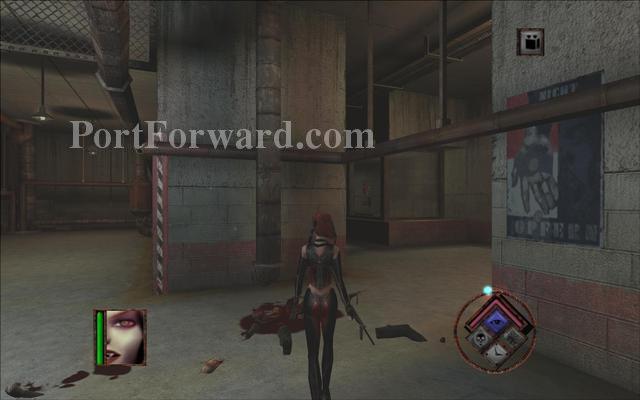
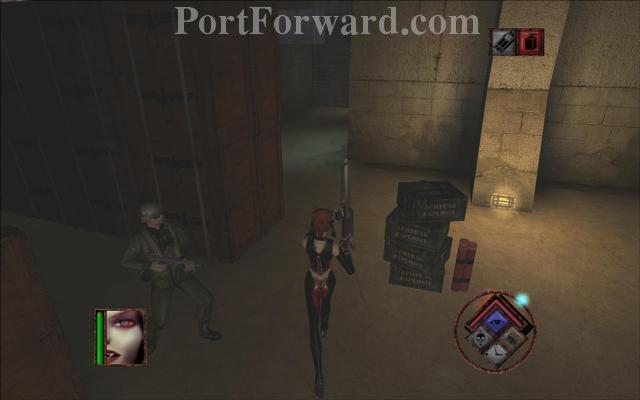
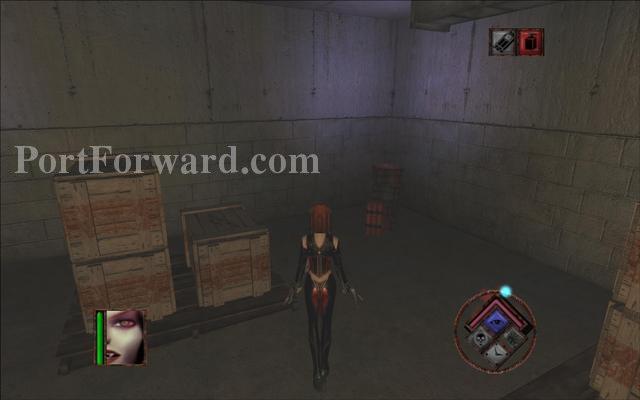
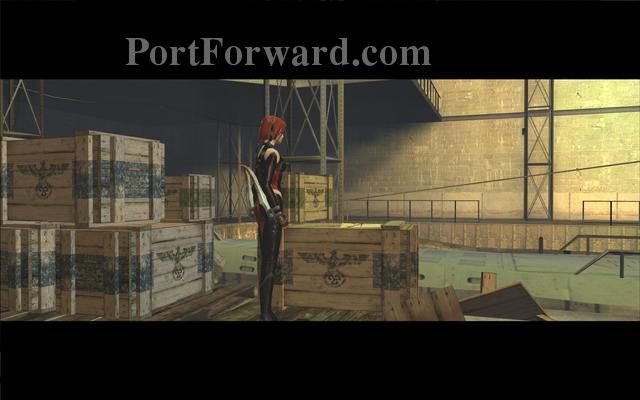
Move past the storage room. You might find some guns in crates you destroy.
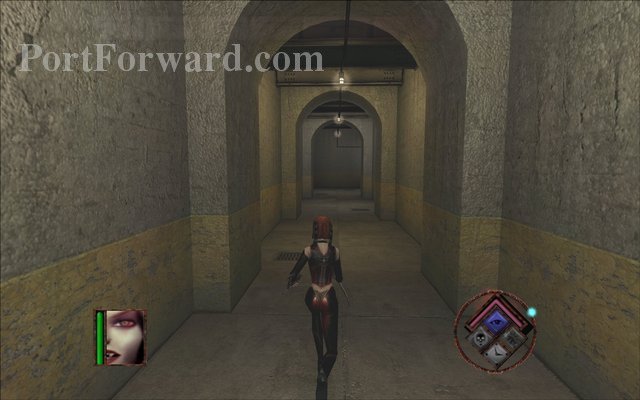
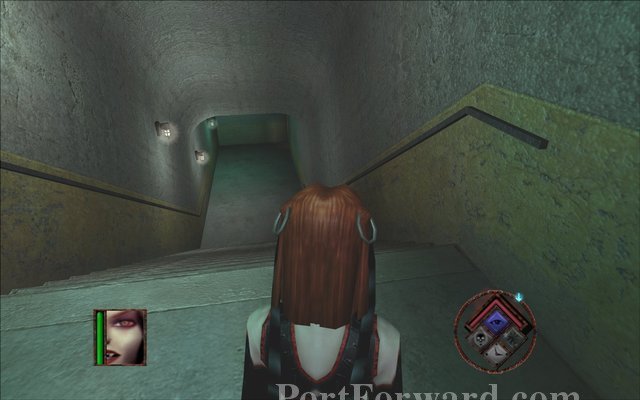
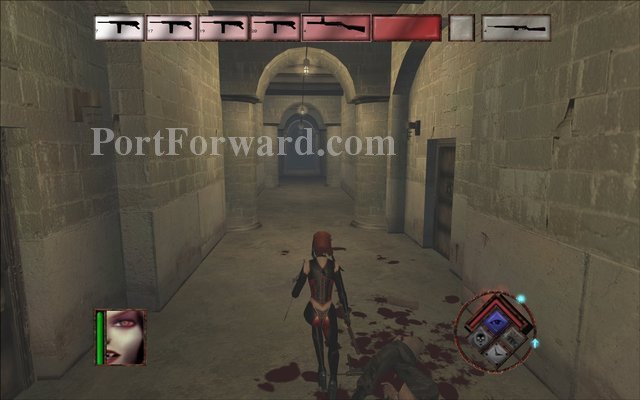
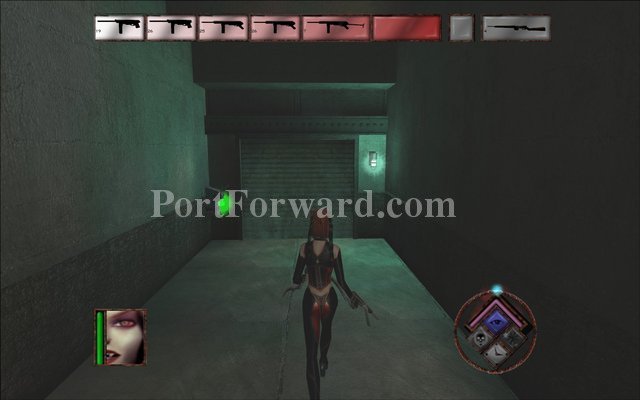
Continue down the long corridor.
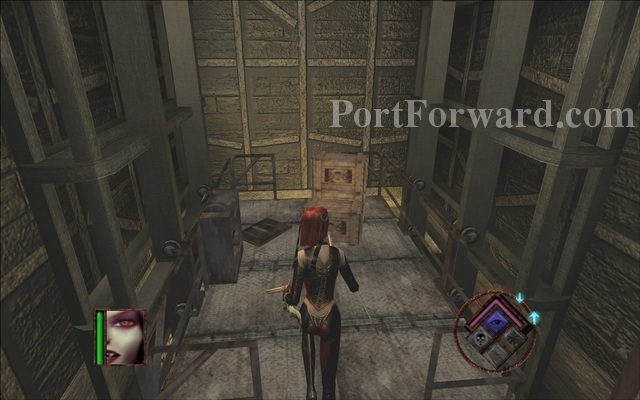
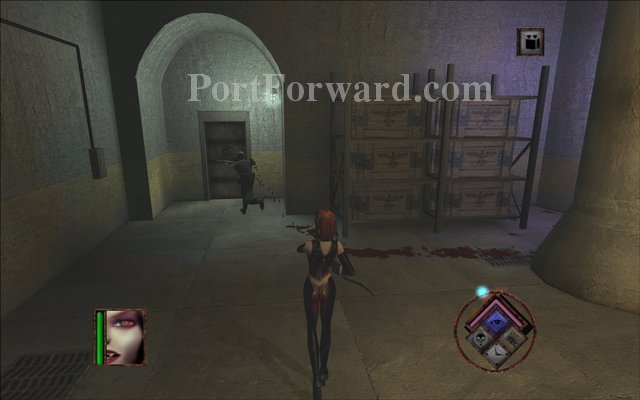
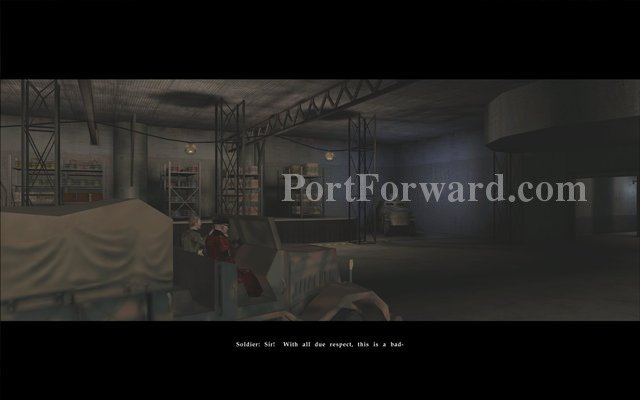
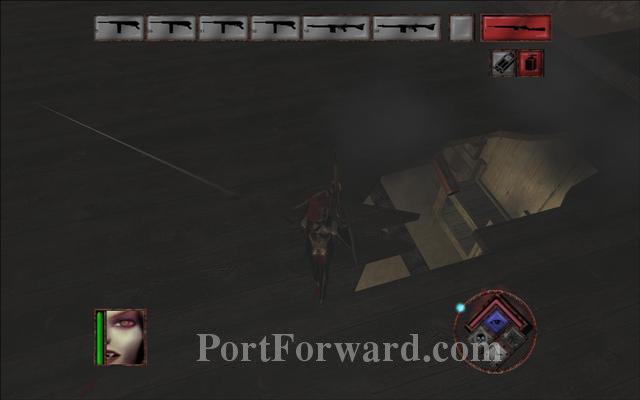
You will see one of your targets running away. The soldier will take the lift battery with him so you can't follow your target.
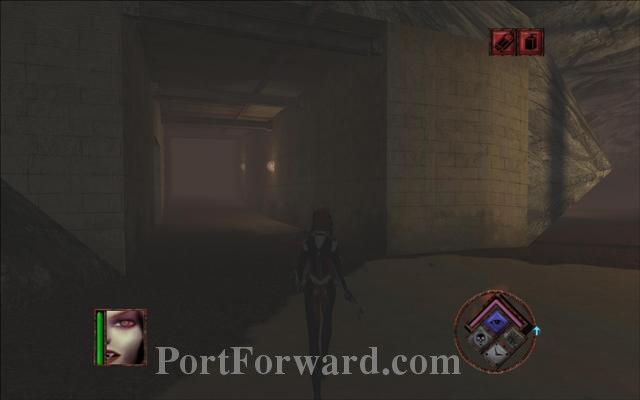
Go to the right and enter the door.
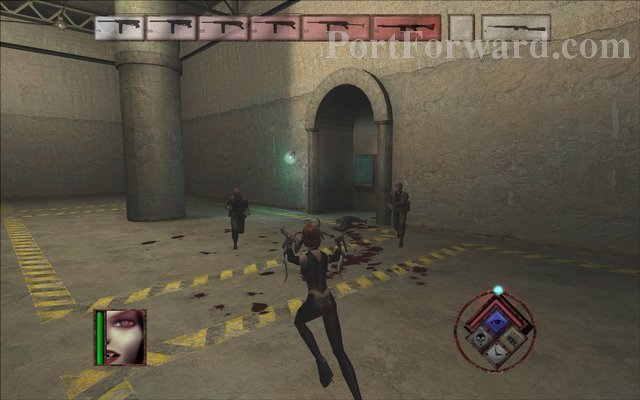
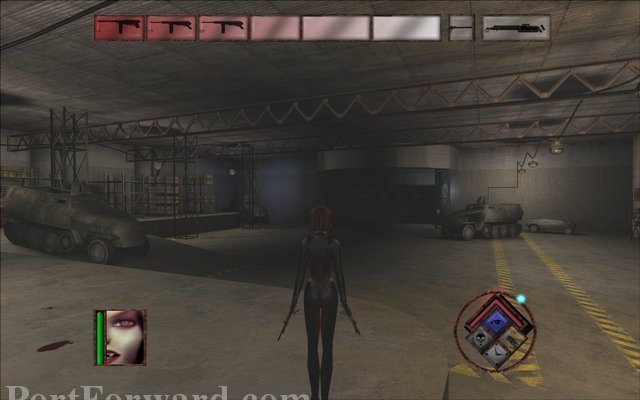
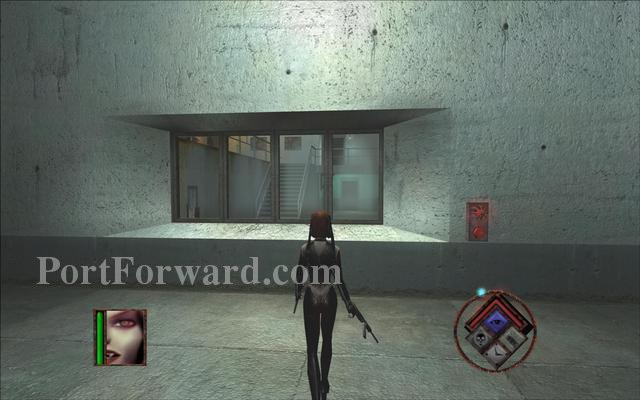
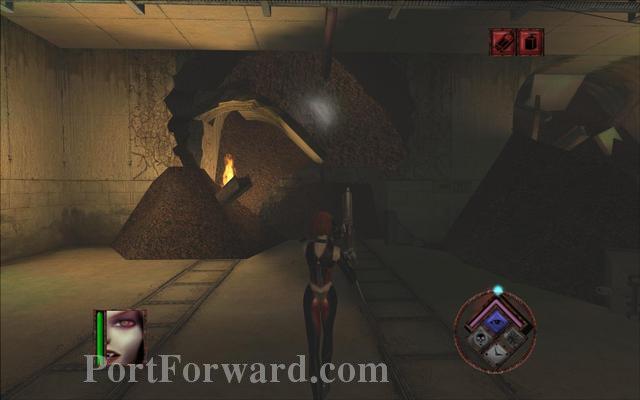
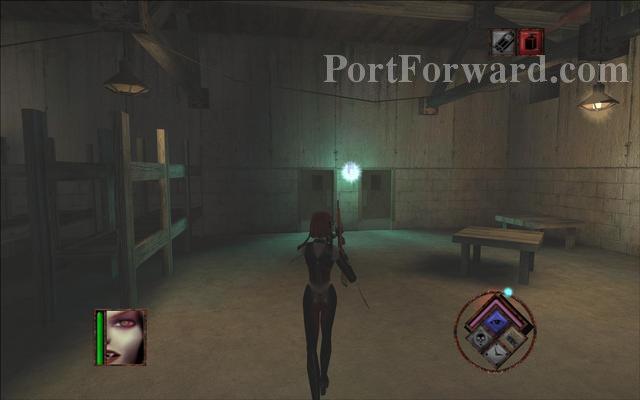
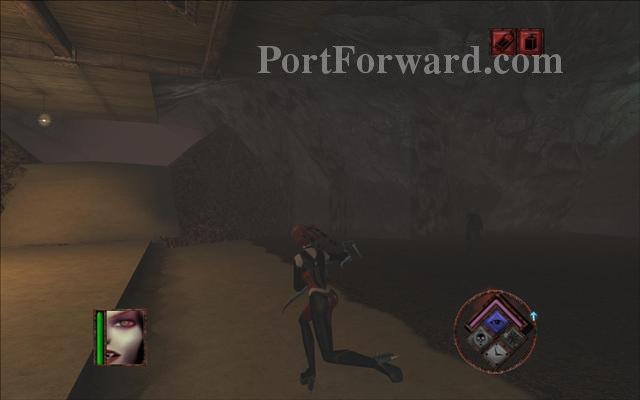
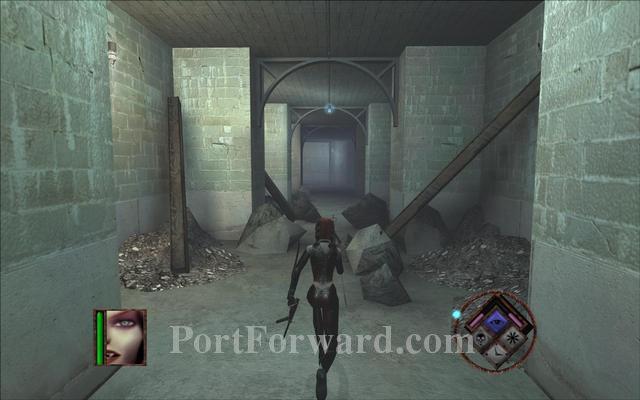
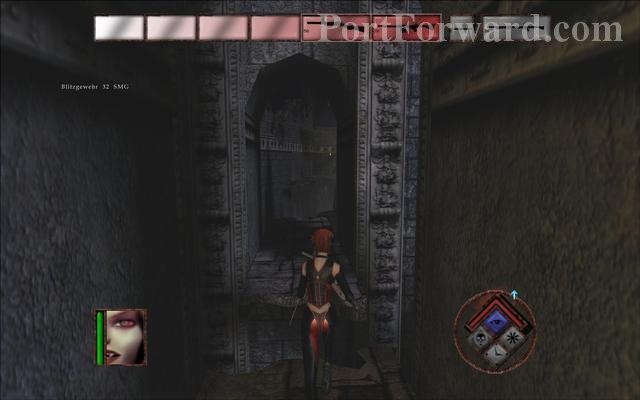
Many soldiers will try to stop you along your way but they are no match for you. Continue to the left.
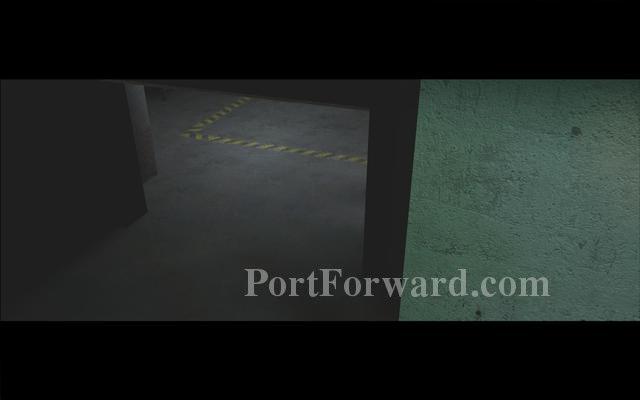
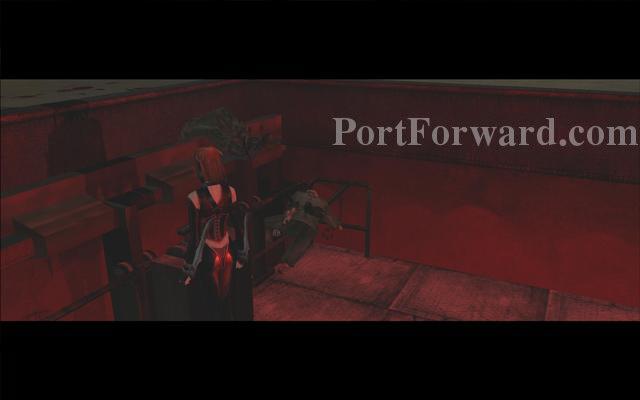
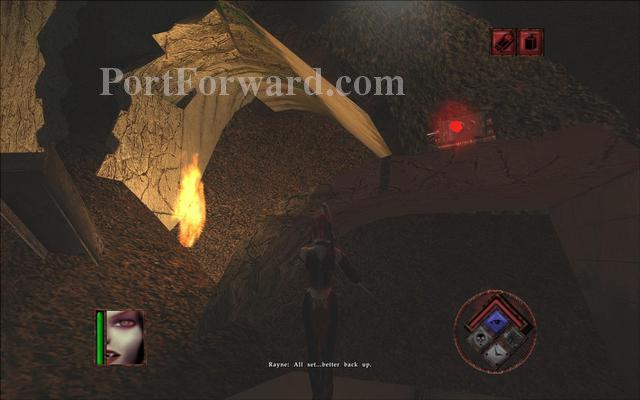
Make a path through the crack in the wall.
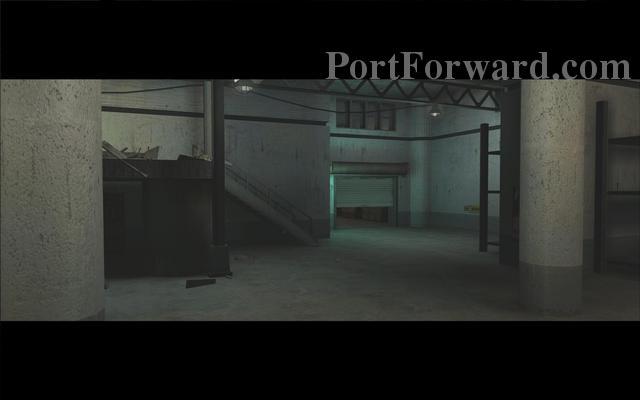
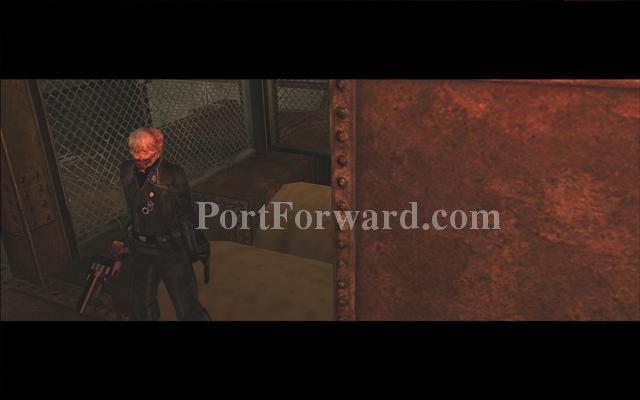
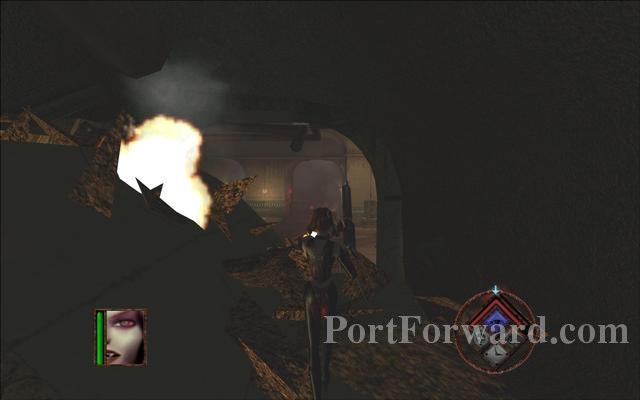
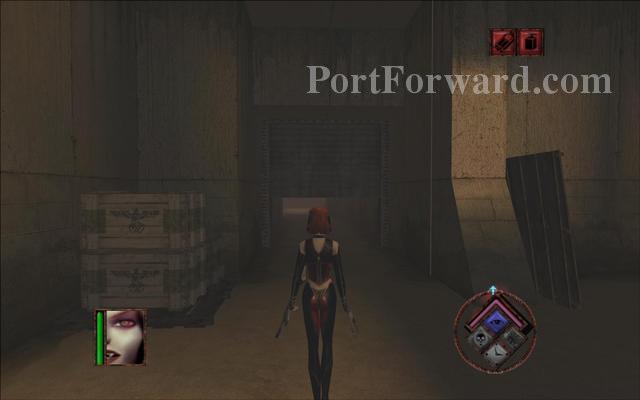
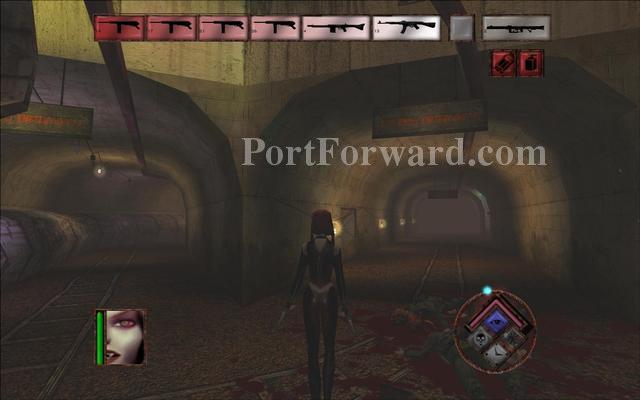
When you enter the storage area you will find the soldier with the battery hiding behind a pillar. Approach his corpse to get the battery.
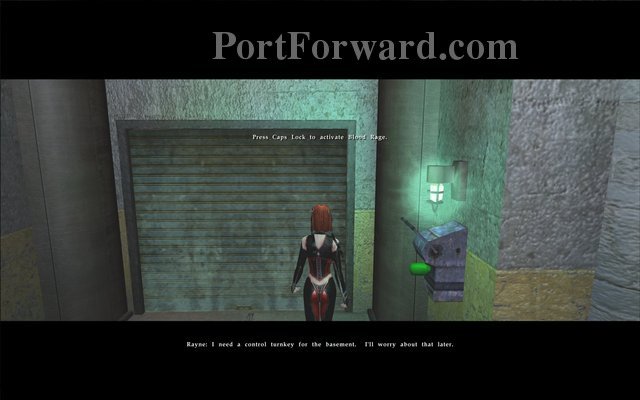
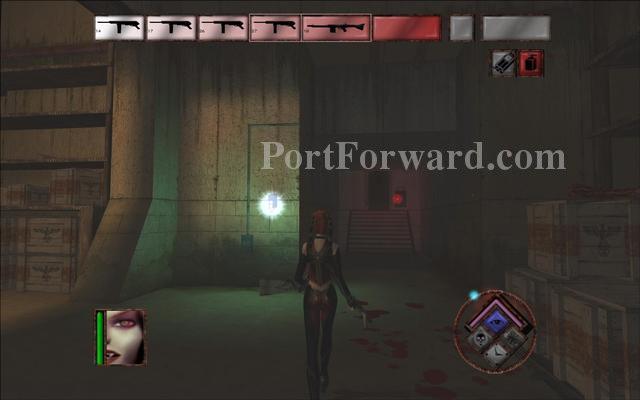
Backtrack to the lift and hit the red light to place the battery.
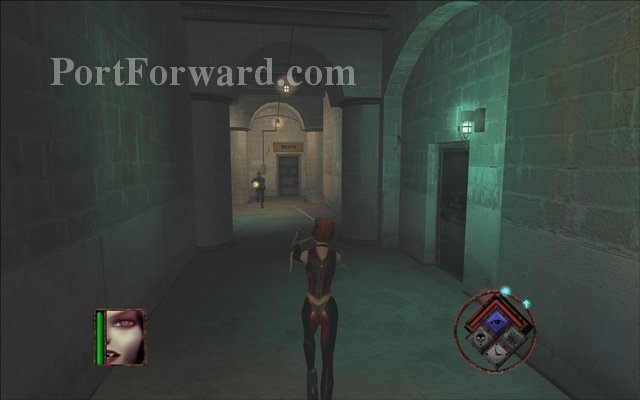
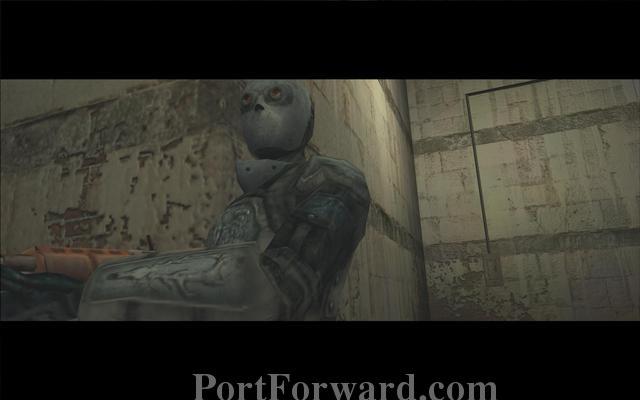
When you go down continue through the door on the right.

You will find your target talking on a radio. Time to surprise him.

Get back up the lift and move forward to where you came from.
Go to your left to enter the next area.
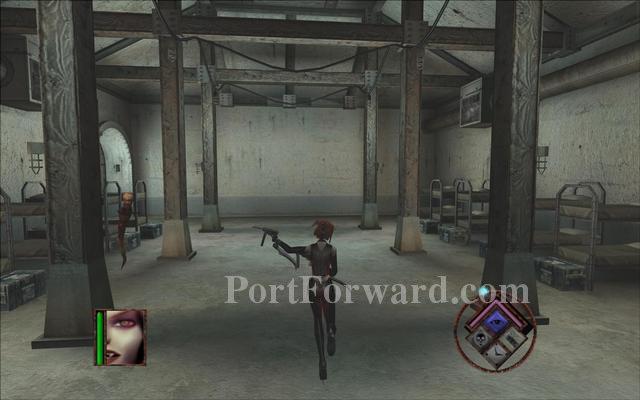
BloodRayne Walkthrough Act 2 - Argentina: Thule Chapel
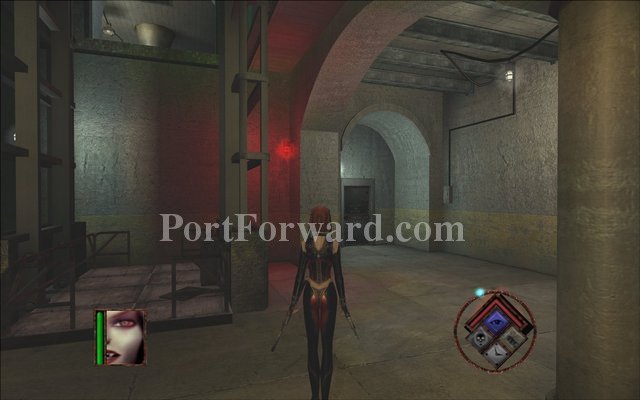
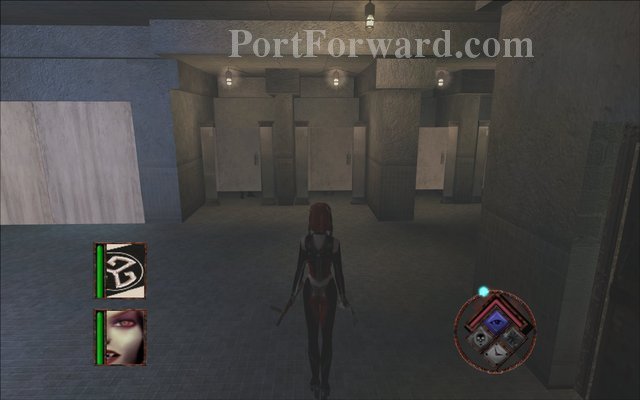
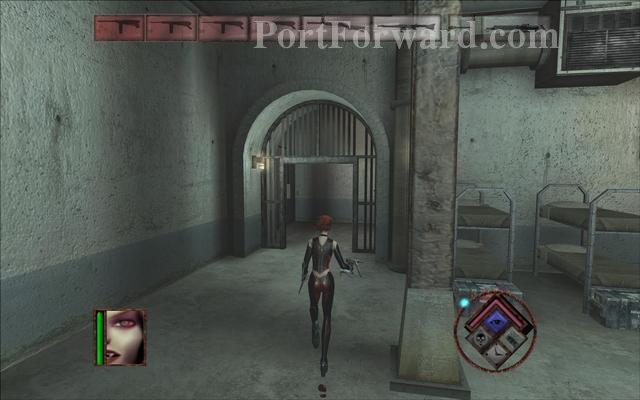
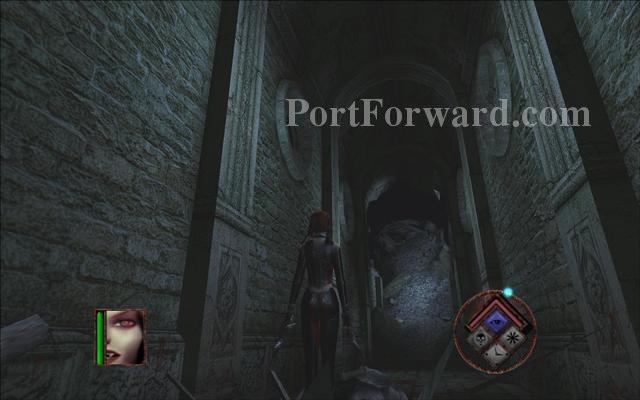
This area is small but contains one special target. Continue through the door.
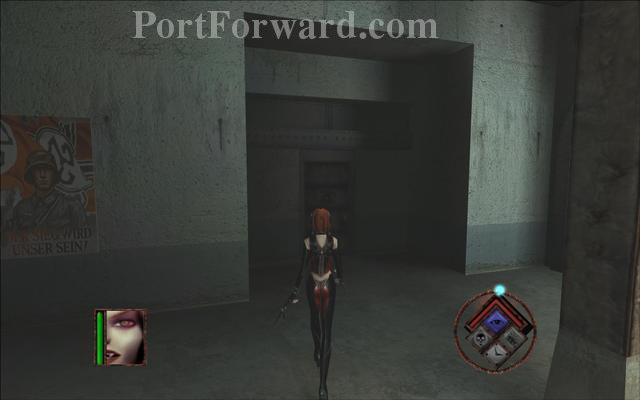
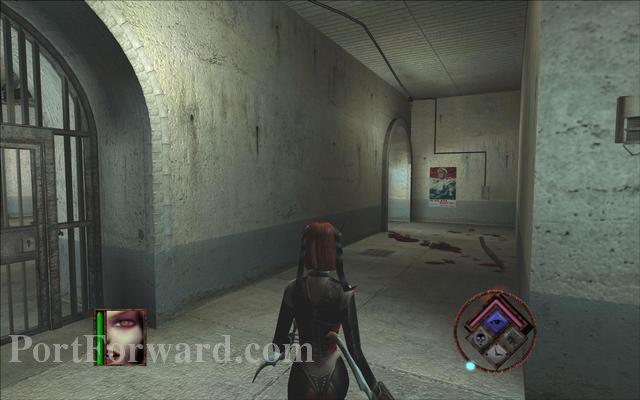
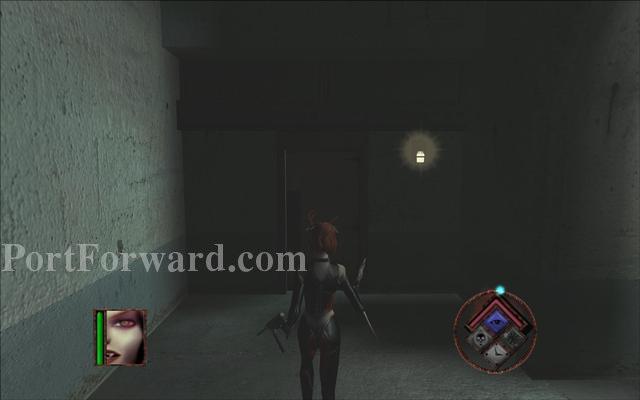
Move past the area with cells.
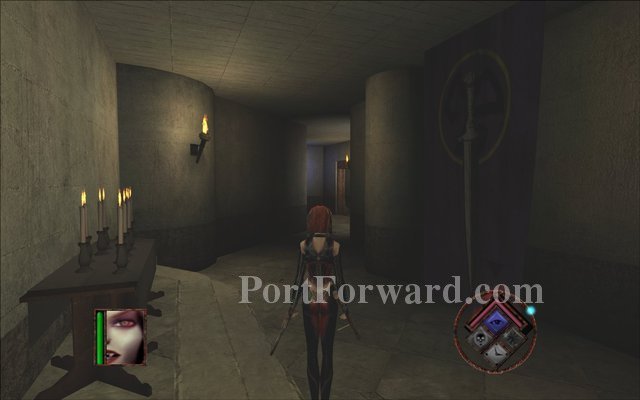
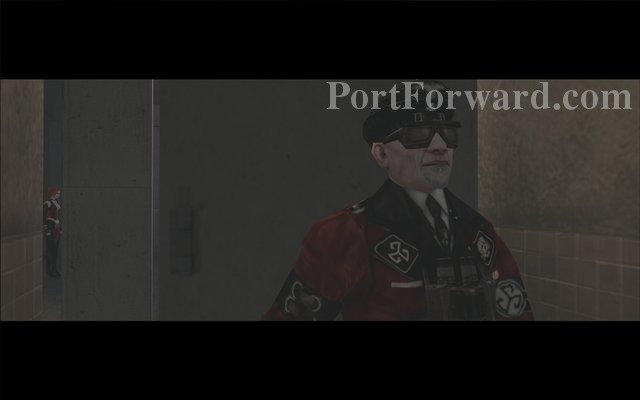
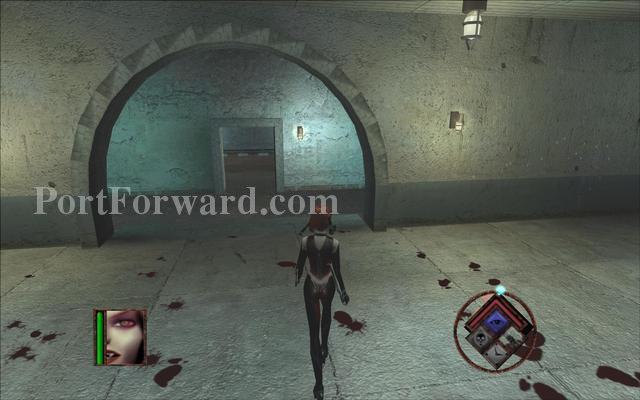
Continue forward past the lit candles.
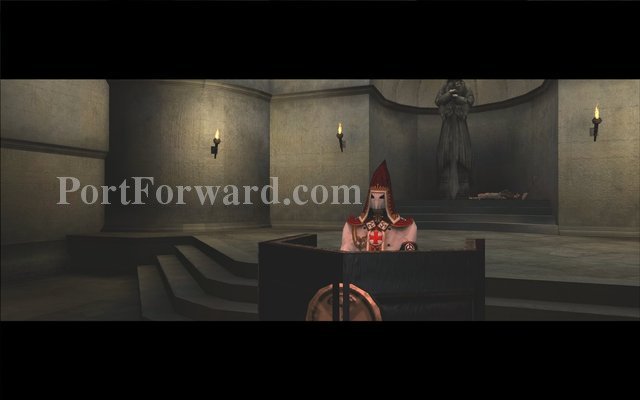
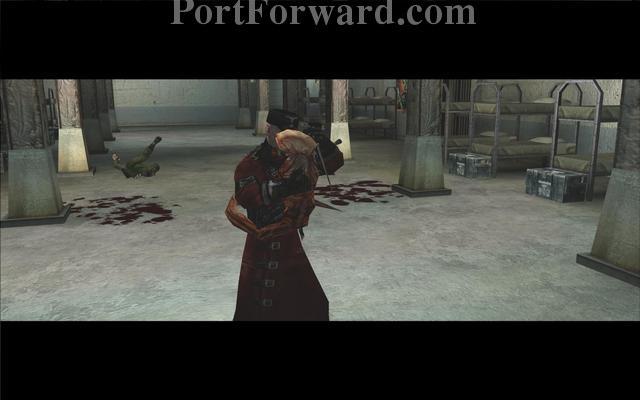
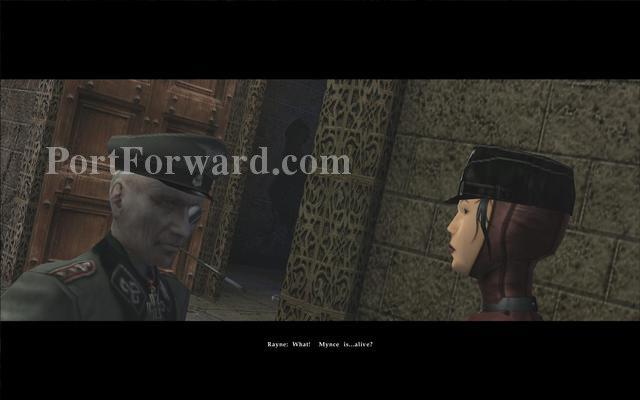
When you enter the next hall a cutscene will play. You are introduced to the high priest of the nazis.
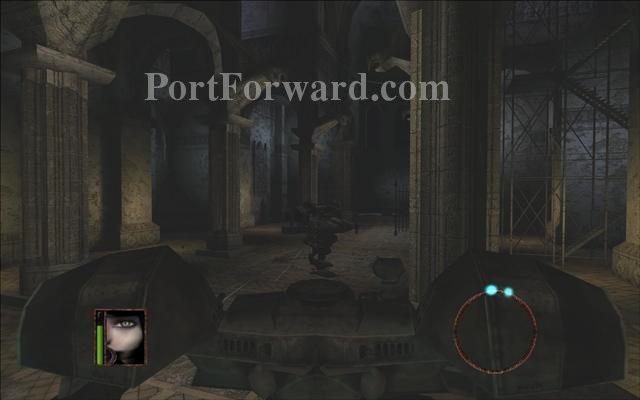
He will be positioned on a moving armored platform that will go back and forth across the room.

When he stops shooting you to reload use your slow motion to get behind him and shoot him in the back. Repeat until dead. If you are in need of health you can feed on the soldiers that keep coming. Use your guns only on the boss.
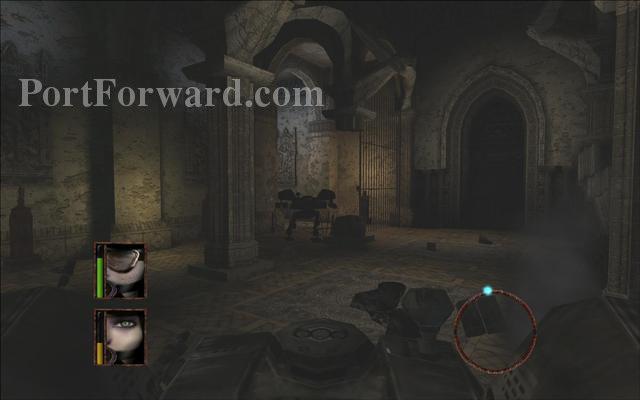
When you defeat him a new ability will be unlocked. I don't recommend using it because it is only one attack and uses up 1/3 of your rage meter. It's best to just use your blood rage.

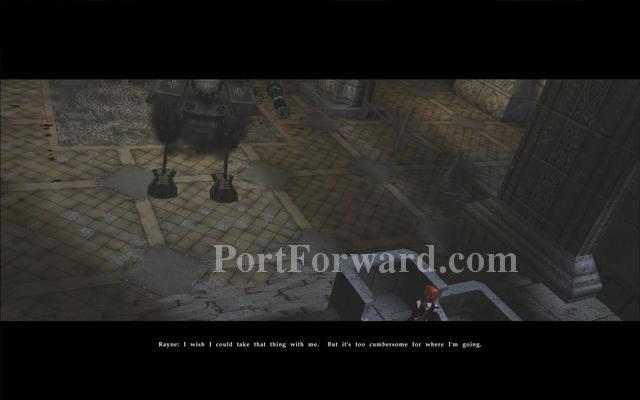
Backtrack to where you came from and leave this area. Beware that more nazis will come. New enemies will spawn through areas you have previously cleaned.
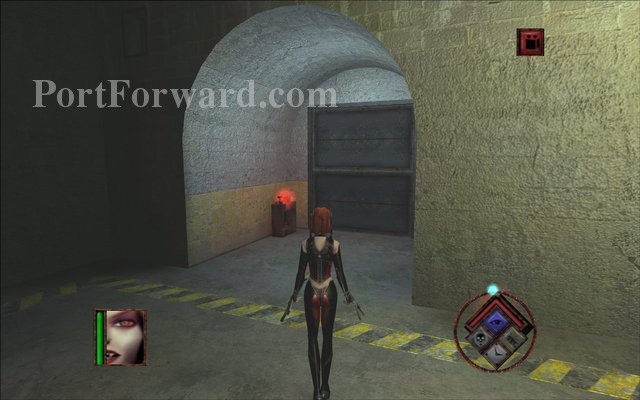
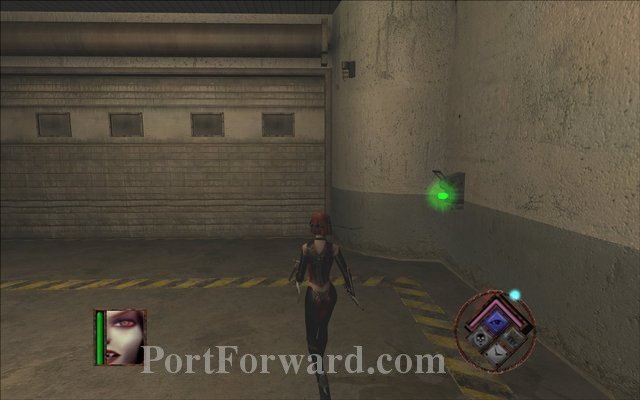
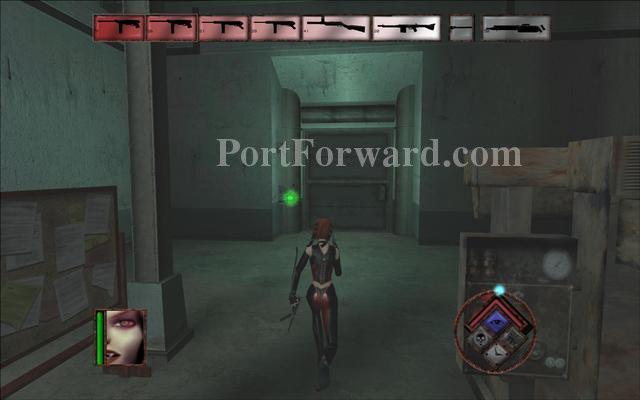
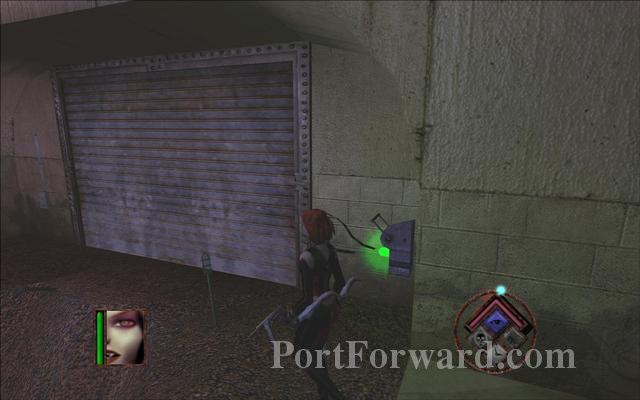
When you exit the chapel area go to your right and use the swith with green light to enter the communications area.
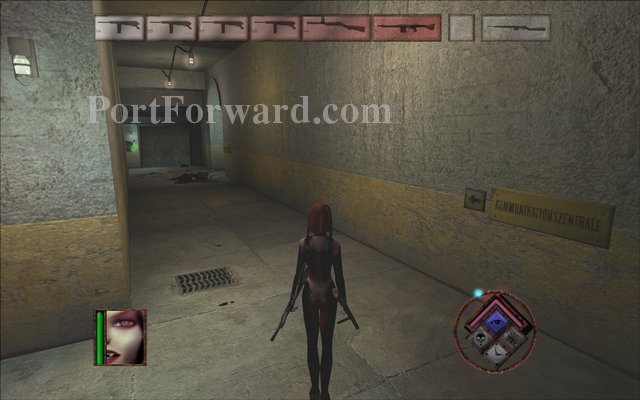
BloodRayne Walkthrough Act 2 - Argentina: Communication Breakdown
Enter the offices on your left.
Approach this machine to talk to your boss.
DarkMan tells Rayne that she must destroy the communications machine.
Go to the storage area with the path you made in the wall.
Pick up the explosives from a crate in there.

Get back to the comm machine to place the explosives and then run away.
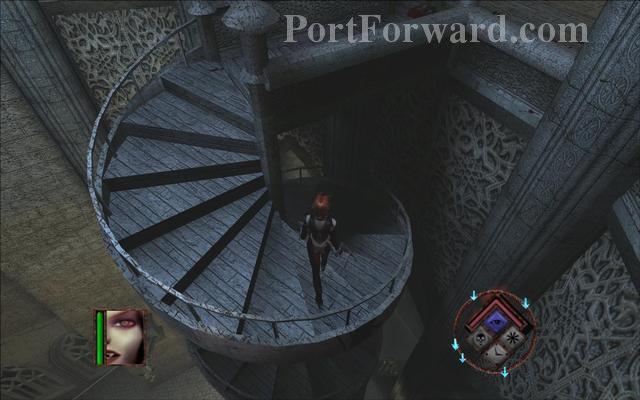
To reach your next target go down one floor.

Go through the door on your left past 2 pillars.

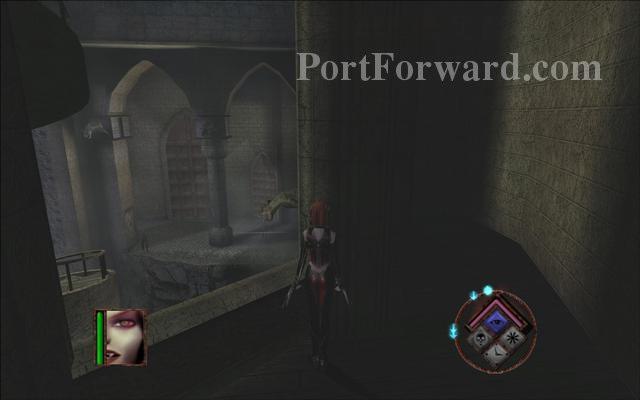
Backtrack through the library.
Use the green switches to go back to the first area.
Jump down here.
Go through the second door on your left when you jump down.
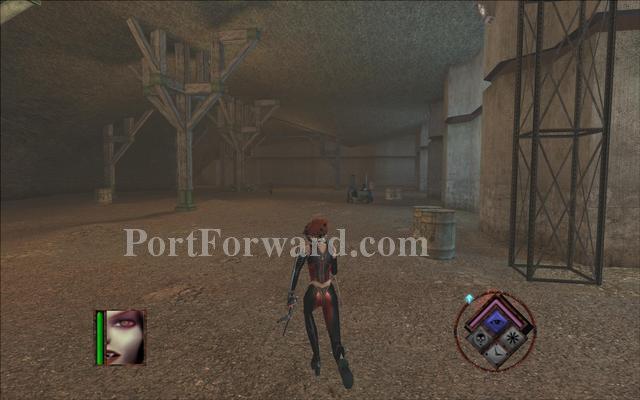
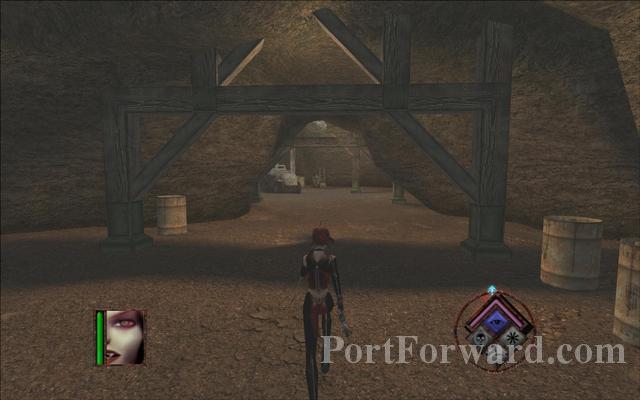
To enter the naval area go through the big gate.
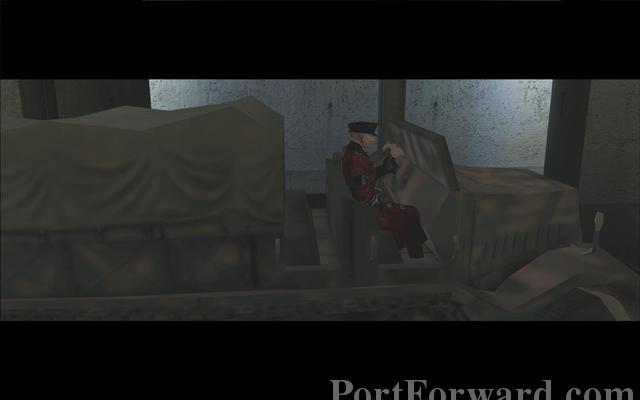
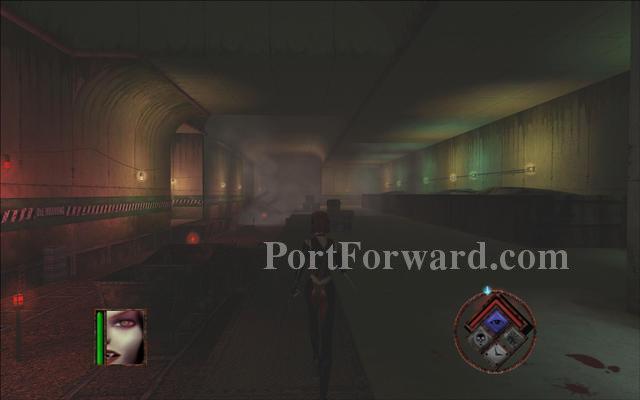
BloodRayne Walkthrough Act 2 - Argentina: The Dock
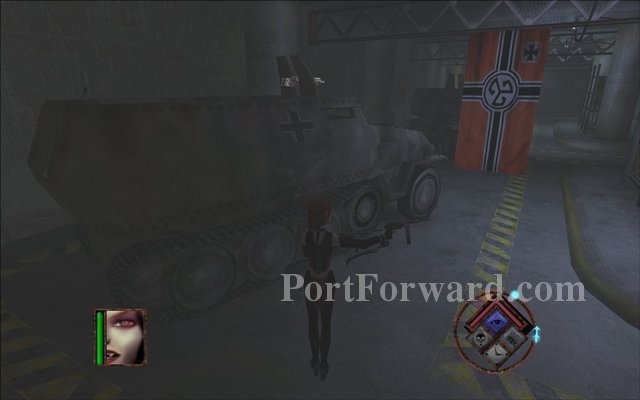
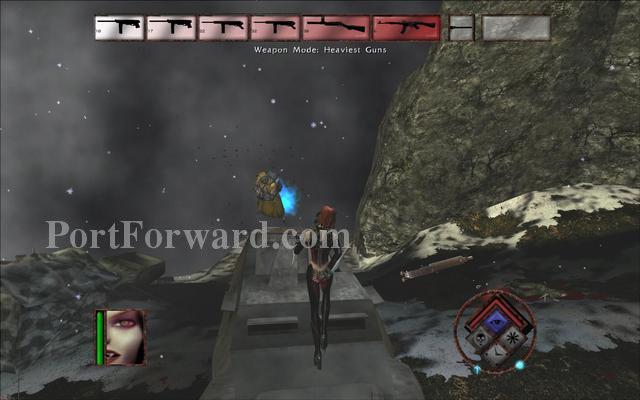
You can find heavy weapons placed on the halftracks sometimes. Keep an eye for them as they are the most powerful weapons in the game.
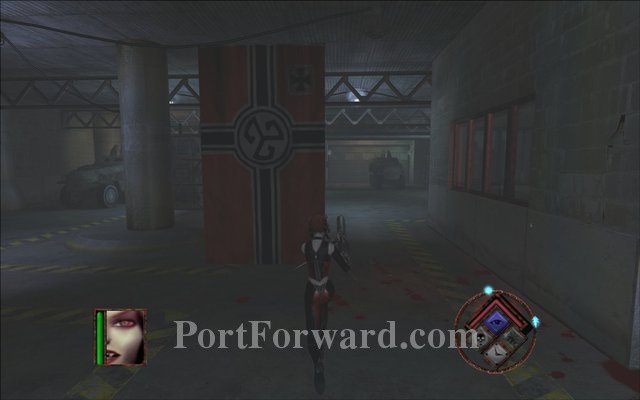
Continue down the garage and go right.
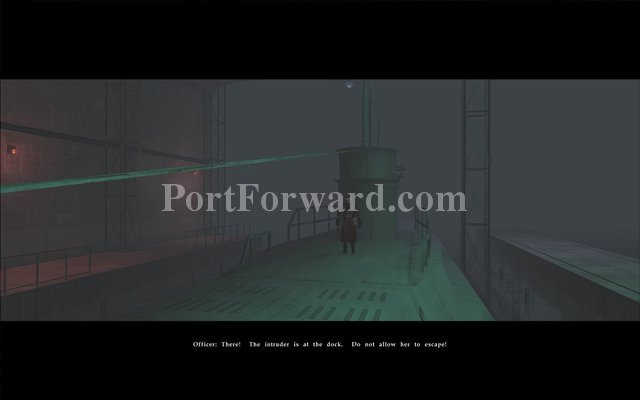
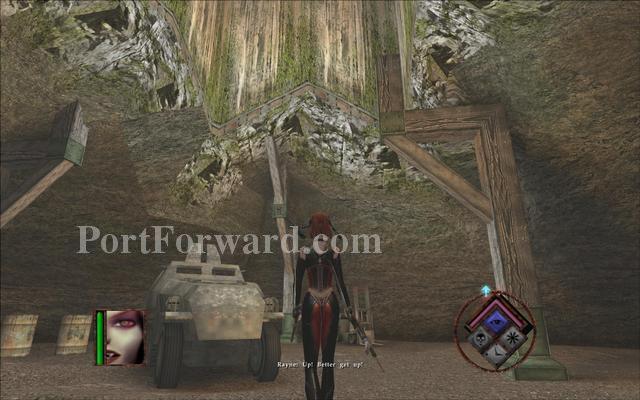
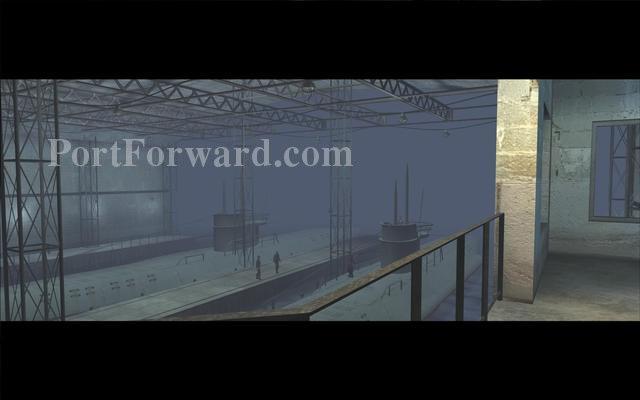
As soon as you enter the next area a cutscene will play. Your next target is on the submarine. You will find heavy resistance here so it's better to kill the weaker soldiers before you go for the guy in red uniform.
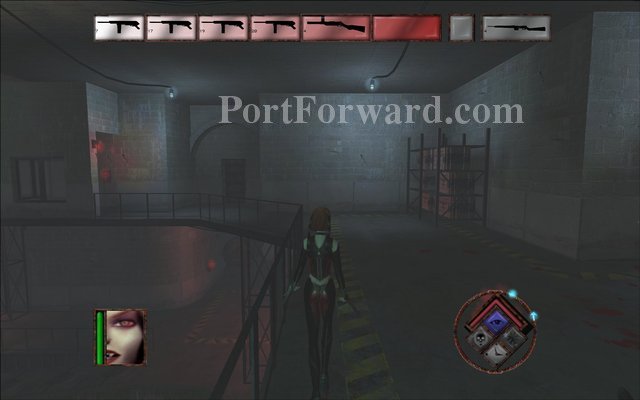
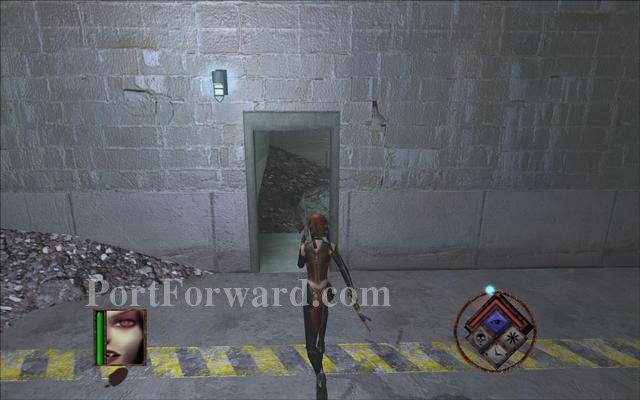
Jump on the second floor of the submarine area and go through the door on the right.
Reach the end of the long corridor.
Then go right and enter the room with sign in front of you.
This officer is in the bathroom.
Destroy the bathroom door on the left to get to him.
Backtrack a bit and move past a door with alarm.
Go through the corridor on your right.
You will reach a destructible door. Get ready to face your next target in this hall but beware the soldier that uses a rocket launcher.
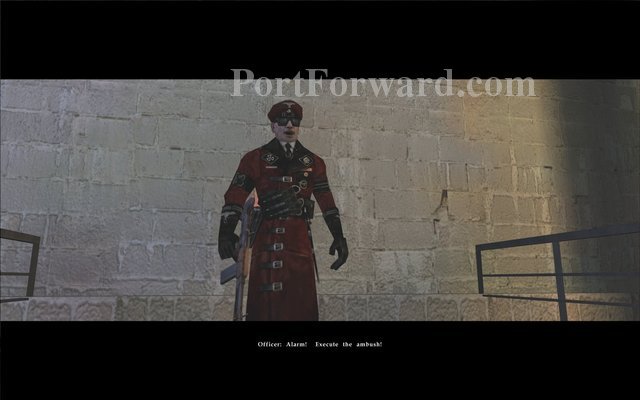
As soon as you enter the officer shouts for ambush. Kill the soldier with the rocket launcher and use it against your target for best results.

The naval area is dealt with. Backtrack to the previous area through the big gate.
When you go back to the first area go to the main hall after your point of insertion.
Enter a door with an archway to reach the barracks.
Use the green switch to enter the barracks.
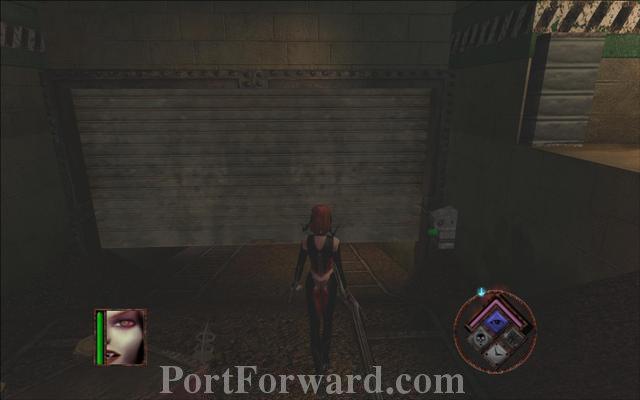
BloodRayne Walkthrough Act 2 - Argentina: The Barracks
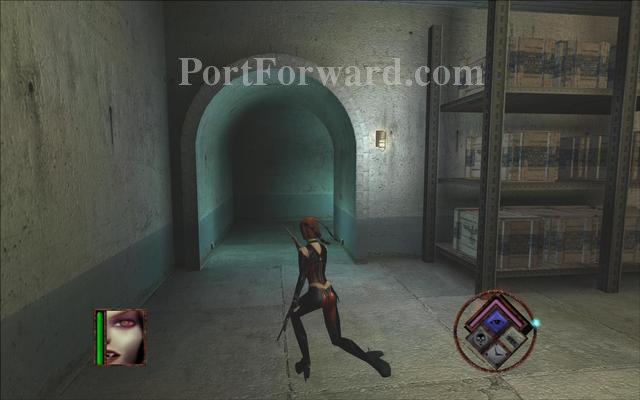
At first you will see a locked door for the basement. You will go there later. Go through the corridor on your right instead.
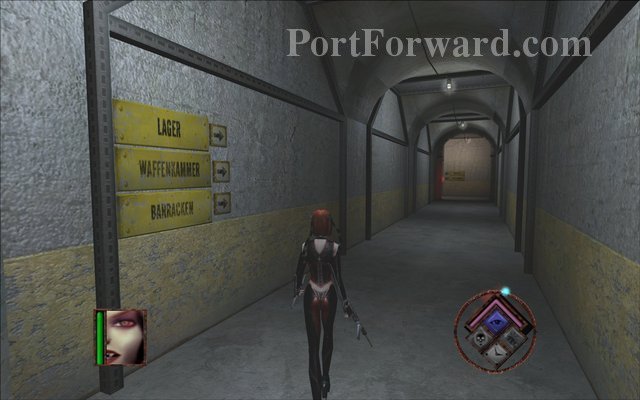
Keep going down this corridor.
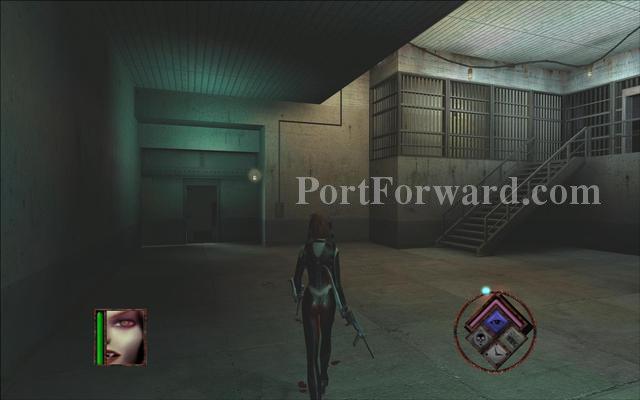
Go to your right and follow the 'barracken' sign.
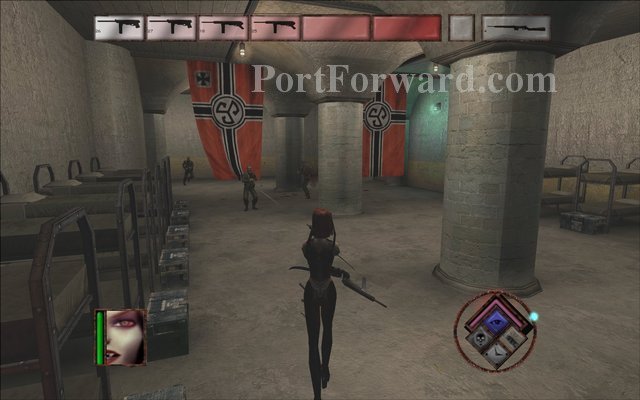
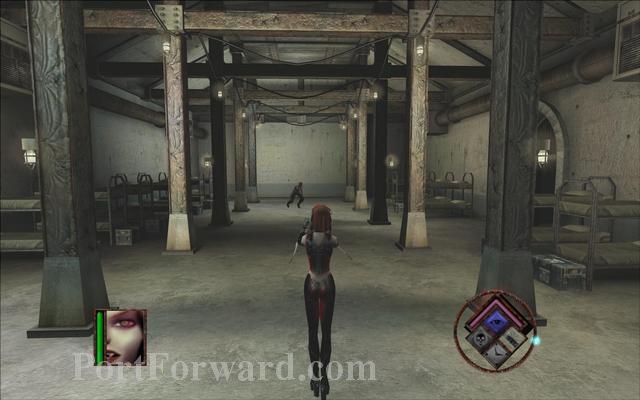
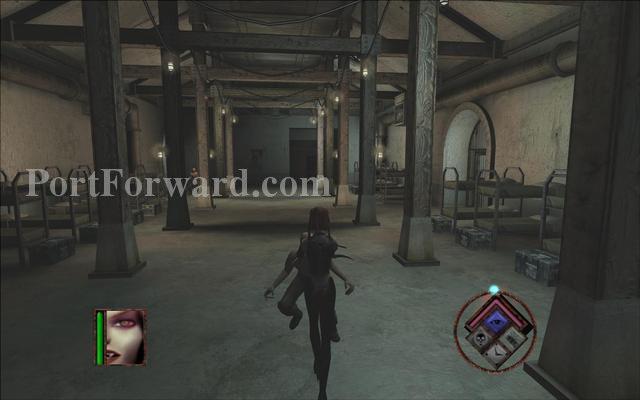
Move past the area with bunks.

Enter the door with sign 'speisesaal'.
You will find the mess hall. Go to your right to enter the kitchen.
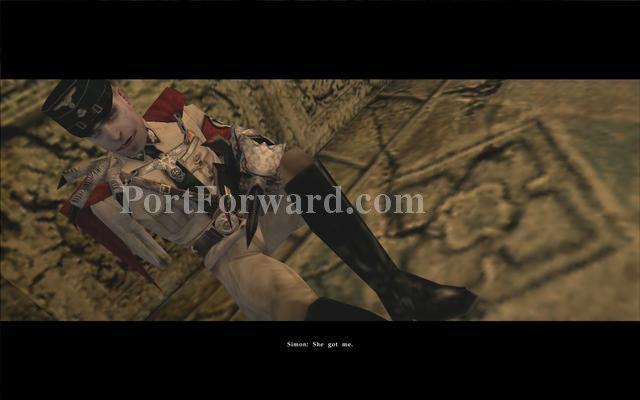
Your next target is inside the kitchen.
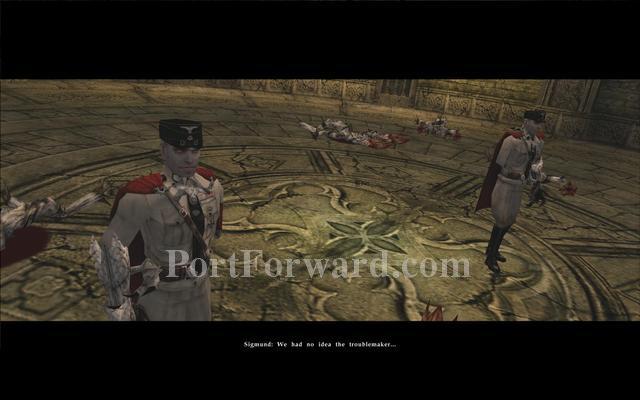
A cutscene will play. Sounds like the nazis have other problems as well.
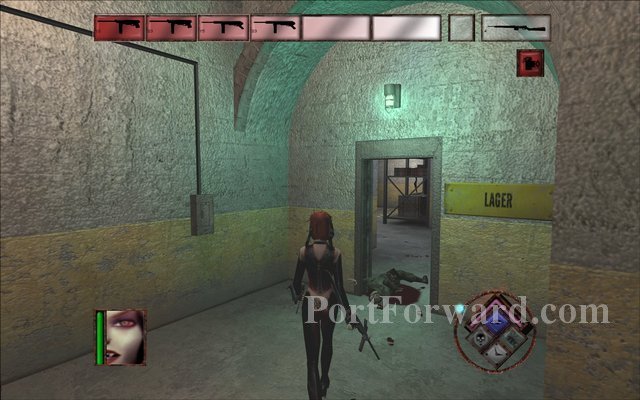
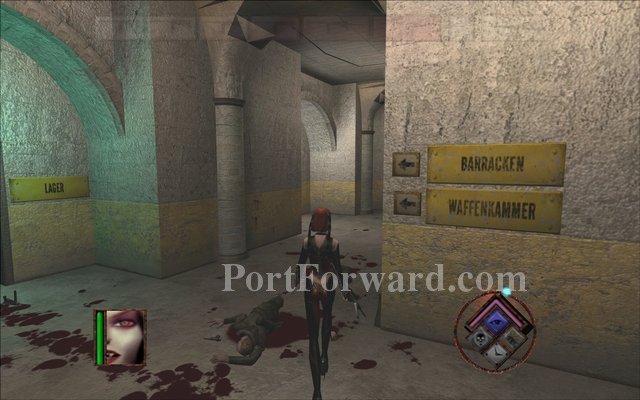
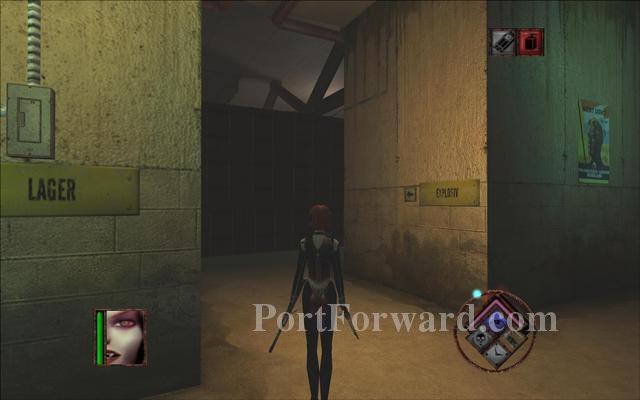
Backtrack through the corridors and enter the 'lager'. You will find the turnkey for the basement in a soldier with grey uniform around this area.
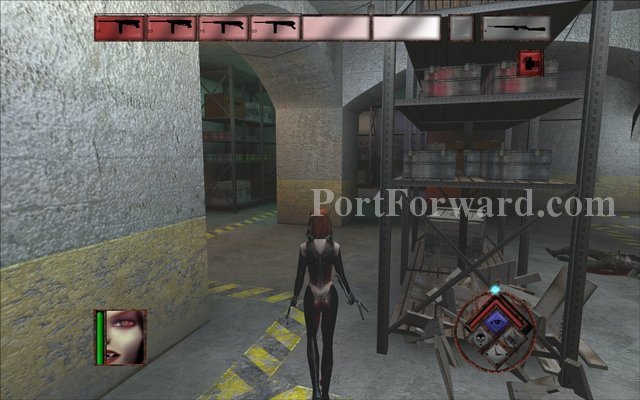
Move past the big storage.
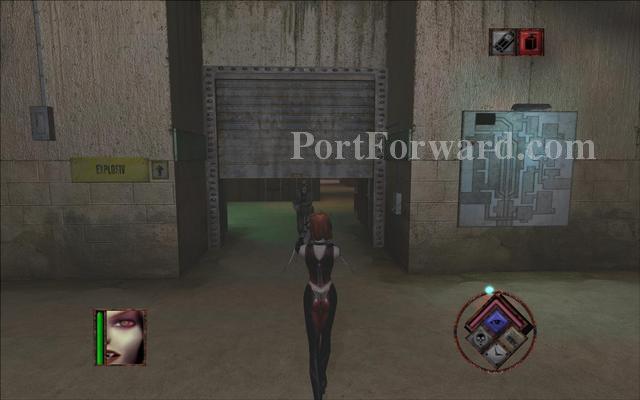
Use the turnkey on the gate at the start of the level and go down.
Go down the hall and turn right. Get some guns from the halftracks.
One of your targets escapes deeper underground.
Go towards the big gate.
Use the green switch and move past the gate.
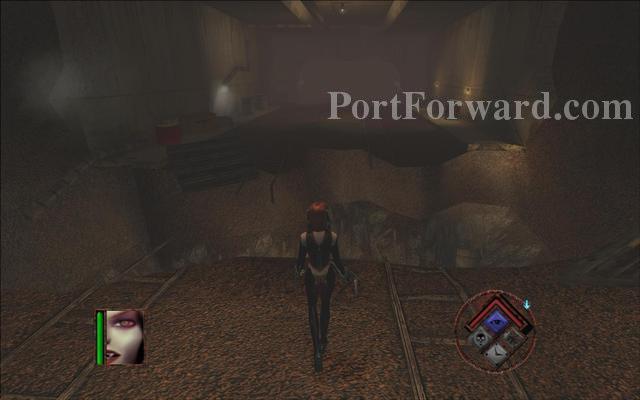
The next gate will lead you to the basements.
BloodRayne Walkthrough Act 2 - Argentina: Lurking Underground
The officer drives deeper into the basement.
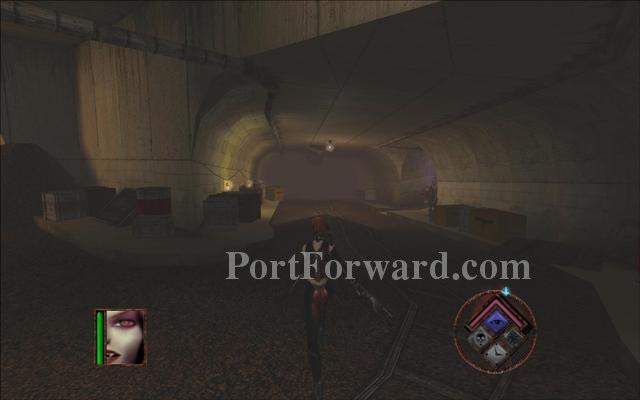
Follow him down the long corridor.
You hear the nazis getting attacked by something. Wait for the gate to close then enter through there.
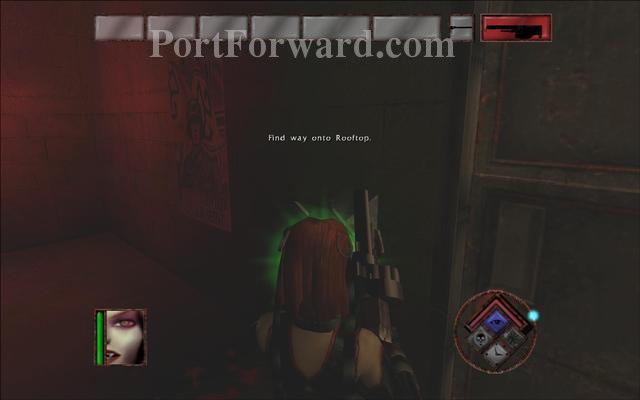
When you reach the end of the next hall look to your right and pass through some windows. Then go on the second floor.
Pass through the windows on the second floor.
Next an explosion will break the windows above a malfunctioning gate. Enter through the windows.
In the next room break the crates to find some guns.

At the end you will see a small room. You can go inside only through the leftmost window .
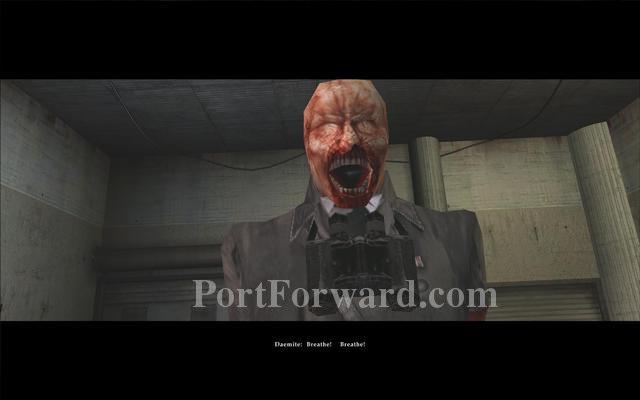
When you enter the room a cutscene will play. You are introduced to the parasitic daemites. They can take over the bodies of the nazis but are fairly weak on their own.
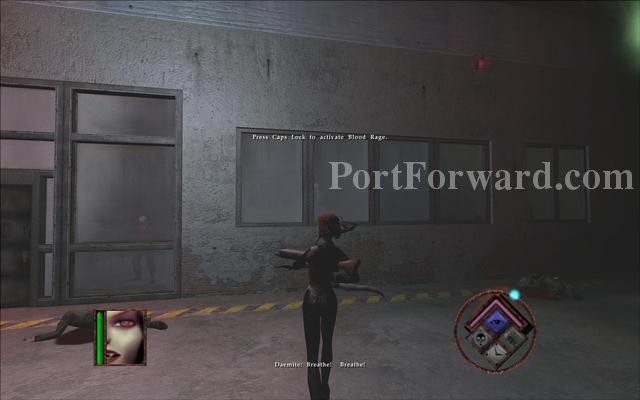
Hit the switch with red light to open a gate.
Go through the gate that just opened.
Hit the green switch in the next room to leave this area.
BloodRayne Walkthrough Act 2 - Argentina: Death's Quarters
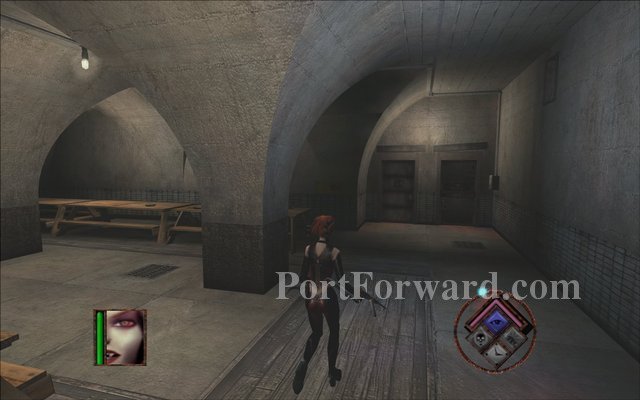
Go through the arched passage.
Continue through the door on the left.
Pass the first room with bunks.
Pass another room with bunks and go towards its other end where you will see a door.
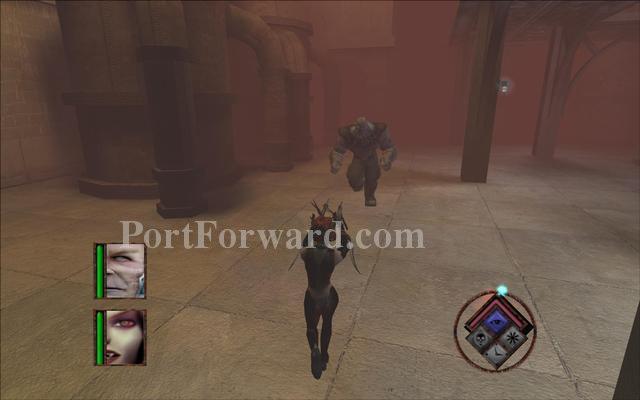
When you pass the door prepare for a fight.
The officer you were chasing runs out of luck. The daemites take over his group.

When you defeat him Rayne will learn to use the harpoon ability while jumping.
Continue through the gate with bars.
Go right.
Pass another area with bunks. The daemites will keep coming from vents and shafts here so it is best to just keep running.
Pass another door to enter the bathrooms.
Enter the archway and go right.

Go towards the dead end on the right.
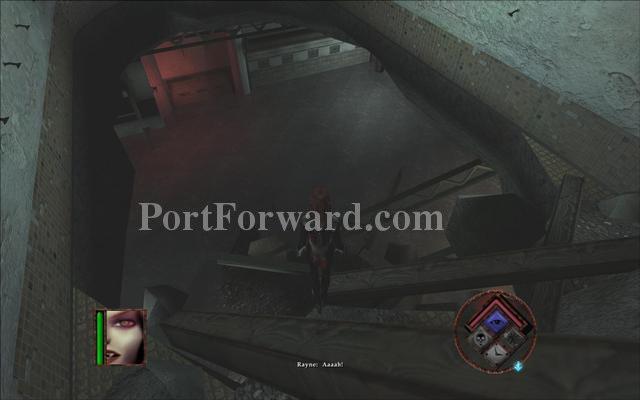
The floor will collapse. Jump down there.
Destroy the wall you will see on your right.
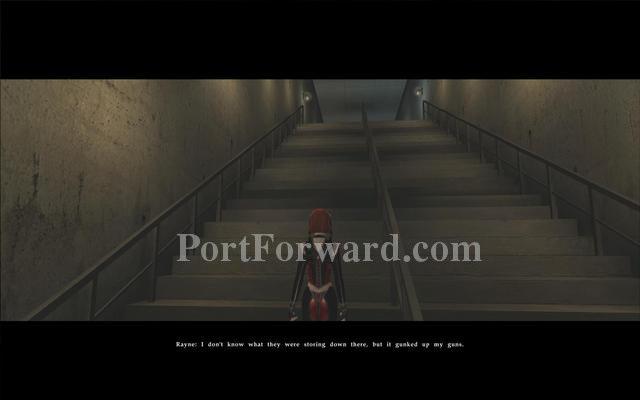
When you climb up some stairs Rayne will say that her guns are useless and she will leave them all behind.
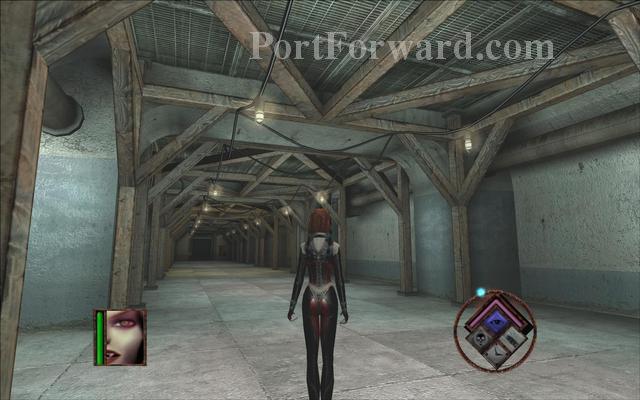
Continue down the long corridor.

Hit the switch to continue to the next area.
BloodRayne Walkthrough Act 2 - Argentina: Hell Hall
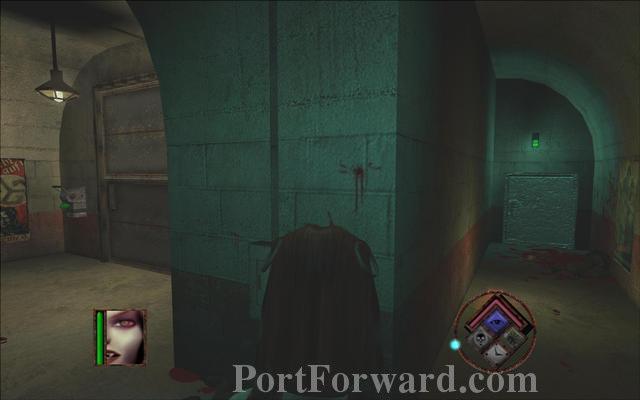
Go to your left when you enter the level and go through the small passage.
Hit the blue switch to open a gate.
Get back to the start of the level and go to your right to enter the gate you just opened.
The daemites break through the gate behind you. Time to run like hell.
Rayne tries to block their way but to no avail.
Run down the corridor and don't look back. The daemites are swarming behind you.

After some running a cutscene will play.
Two daemites have barricaded one corridor.
You cannot pass through there now. You will have to go to your left and search for some grenades you can throw at the red barrels.
Hit the big switch to stop the crushing machine briefly. Don't stand on it for too long because it starts back on automatically.
Get up some stairs after the crusher.
On the second floor you will see a daemite with a grenade launcher. Attack him and he will fall down the crushing rollers.
Downstairs he will drop some grenades in a sachel. Go down and take them.

Go back to the barricaded corridor. Select your grenade launcher and shoot around the corner to blow up the barrels and the daemites.
You can go through the corridor now.
Hit the green switch to proceed.
BloodRayne Walkthrough Act 2 - Argentina: The Laboratory
Some daemite will try to suffocate you with poison gas.
Shoot the windows and the gas will kill everything instantly. Then go inside through the windows.
Hit a switch inside that room and a gate will open behind you. Proceed to there.

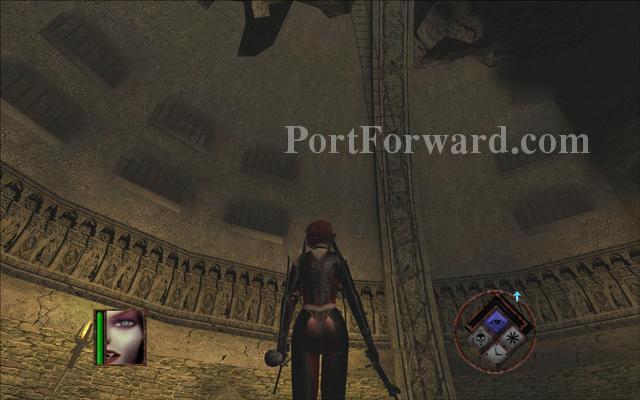
Get up to the second floor in this hall.
You will find a switch up there.
Hit the switch to open a gate downstairs. Proceed through there.
Go to your right and follow the path.
You will see one of your special targets 'Kommando'. He will run away for now.
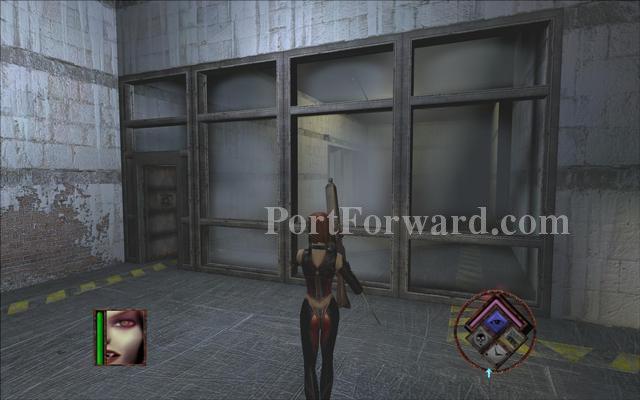
Enter the room with windows.
Go to your right when you enter.
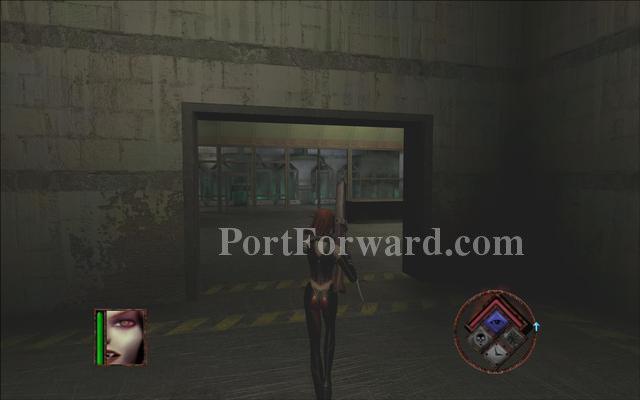
Destroy the wall on your right to make a path.
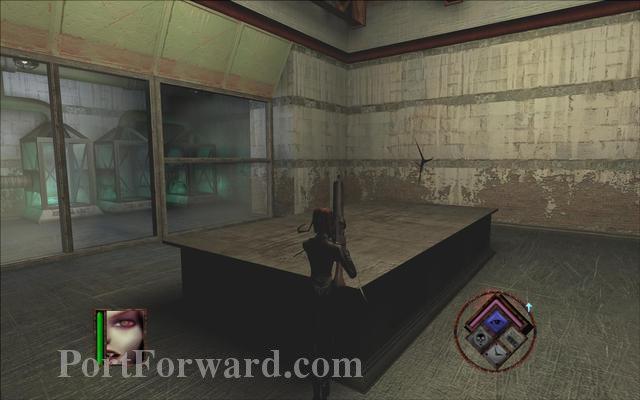
Make another path on the wall to your right. Beware the daemites in the chambers. They can get out easily.
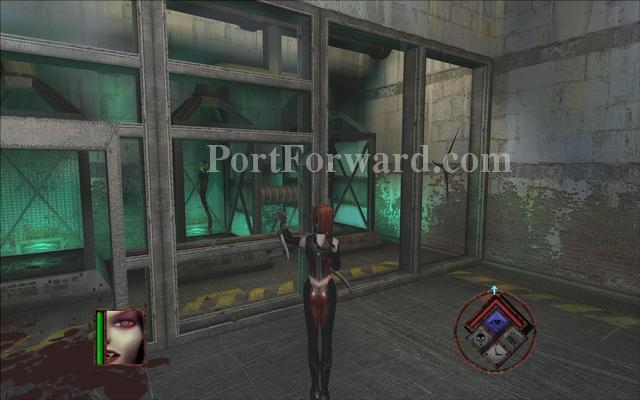
Go through the leftmost window. You can pass only through windows that don't have bars in the middle.
Break through another set of windows.
One last wall to destroy in this room.
Pass through the door on you right.
Keep going forward to reach a big hall.

Kommando and his men will attack you. This boss can throw flashbangs at you and teleport himself somewhere else. Just move around the level to find him again. Use his men as moving healthpacks.
This map has three floors. Jump around the floors to search for the boss if you can't see him.
After you kill Kommando go to the second floor and hit a switch.

Go to the third floor to exit. Floow the path.
You will find another officer beyound the next gate.
A cutscene will play. He tells you about the daemites and releases poison gas on you. Kill him by shooting the windows just like before.
BloodRayne Walkthrough Act 2 - Argentina: Hell Hall Revisited
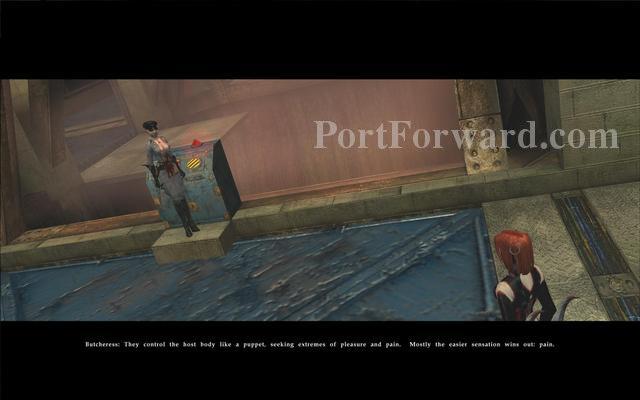
You will return briefly to the Hell Hall. A cutcene plays, the butcheress tells you some facts about the daemites. Use your blood rage and kill her fast. She will sometimes try to open the trap doors so stay on the yellow bricks when that happens.
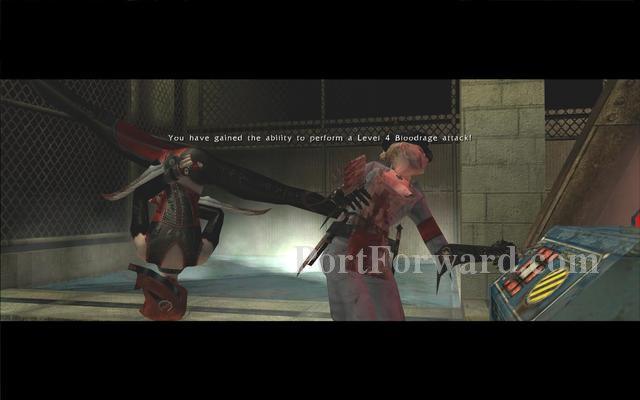
When you defeat her a cutscene will play. Rayne kicks her down into the daemite pit.

Rayne uses the controls to burn the daemites down.
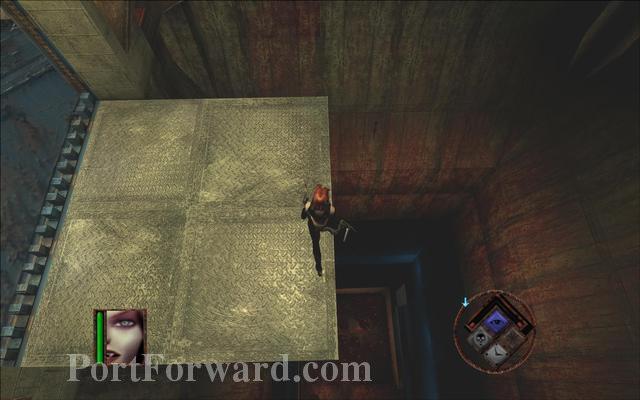
Jump down the daemite shaft.
Exit the pit of dead daemites and go through the corridor on the right.
Go towards the end of the morgue.
A few daemites will crash open a grate. Enter there.
BloodRayne Walkthrough Act 2 - Argentina: The Mill Mile
Look up and jump on the pipes first then on the ledge near the windows.
Run to your left across the ledge.
Jump through the windows without bars.

Go to the left of the room and find a switch to hit at its center.
The switch will activate the crushers. Move through there.
To pass safely under each crusher use your slow motion ability.

Go through the passage without rollers.

Then pass through the destroyed conveyor.
Hit a switch on the right side of the room to open the exit.
Next hall has a lift on the left. To use it you need a battery. Go to your right to find it.
Go to your right and pass the glass containers.
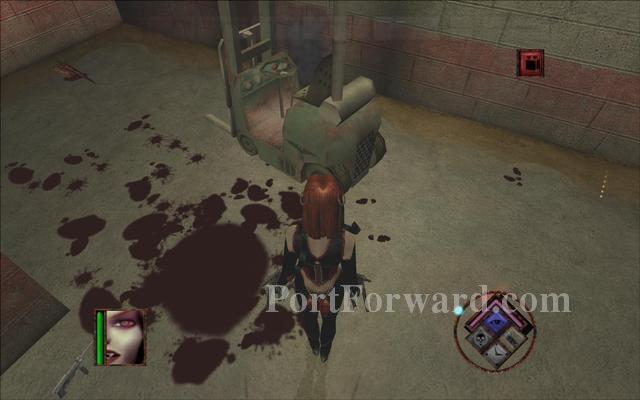
Pick up the battery from the forklift. Afterwards go back to the lift and use it.
You will pass by some crates. Destroy them to find a single rocket launcher.
Continue forward.
A cutscene will play. The daemite guardians will crash through a wall and kill the nazis.
You need to kill two of the guardians to proceed. Use your blood rage when they are close together to kill them fast.
Go through the destroyed gate. You don't need to kill the third guardian to go to the next level.
Jump on the second floor in this hall.
Hit the big switch on top to call the big lift at the center of the room.
Use the lift to go lower.
BloodRayne Walkthrough Act 2 - Argentina: Deep
In the mines the daemite infestation rages on.
One of your targets runs away.

You will have to find a detonator and explosives to blow up the sealed tunnel and go deeper into the mines.
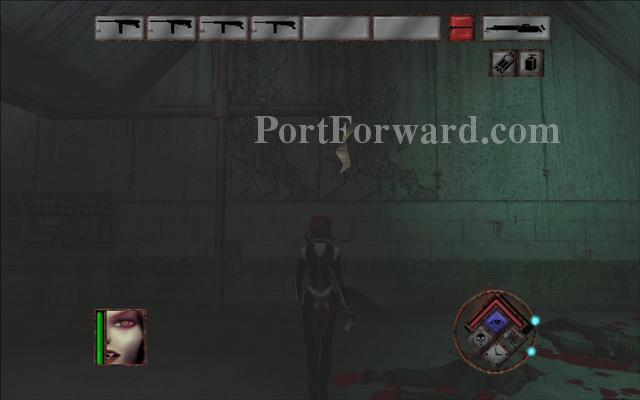
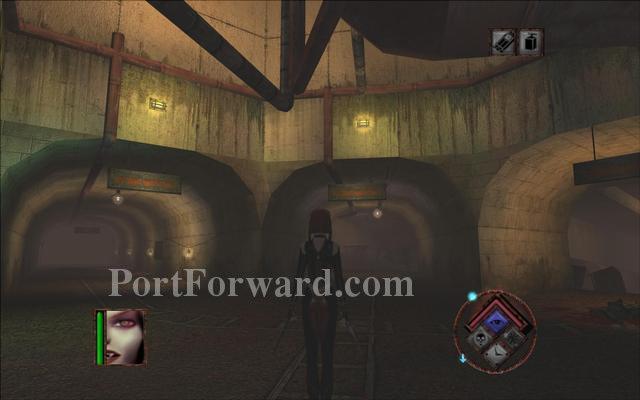
Find a crack in the wall and go through there.
Move through a small door.
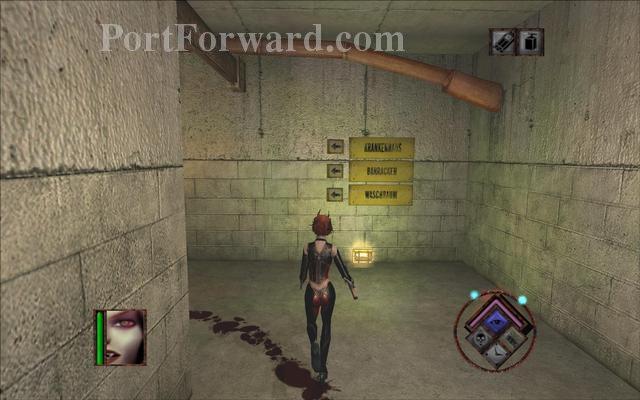
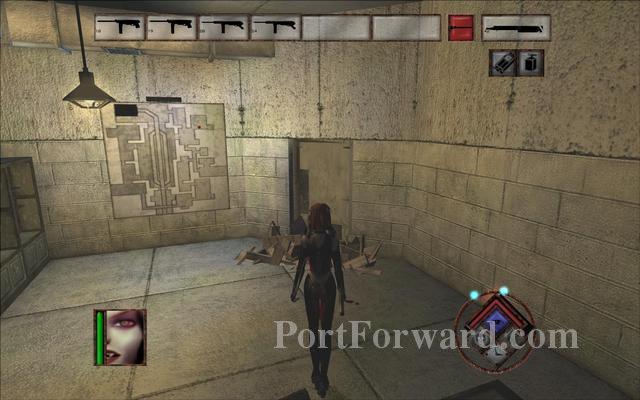
Go to your left and follow the 'waschraum' sign.
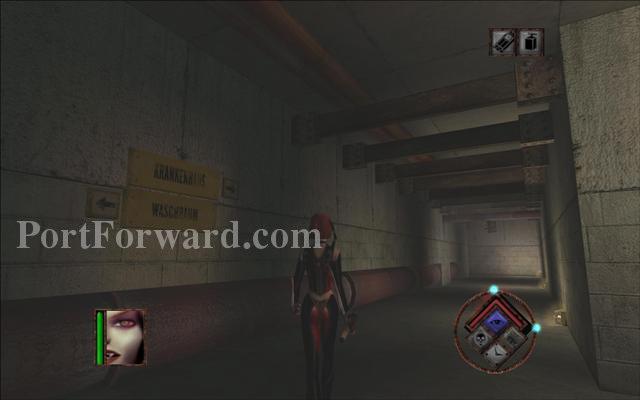
Go left from here.
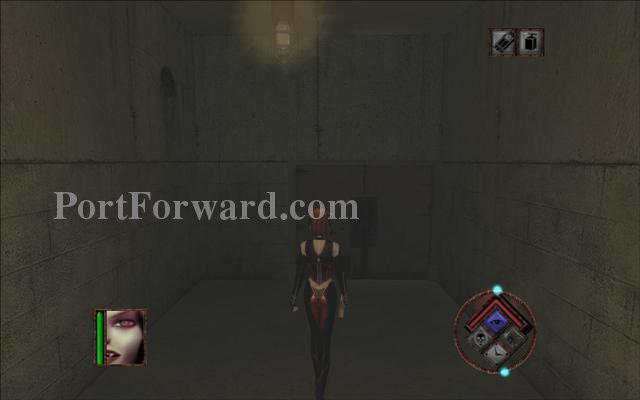
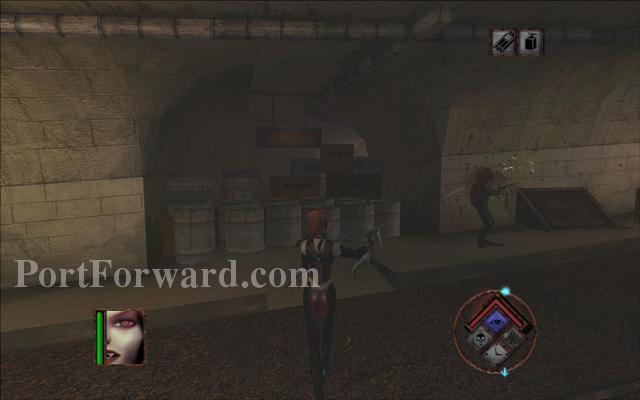
Enter the double doors and prepare for your next target.
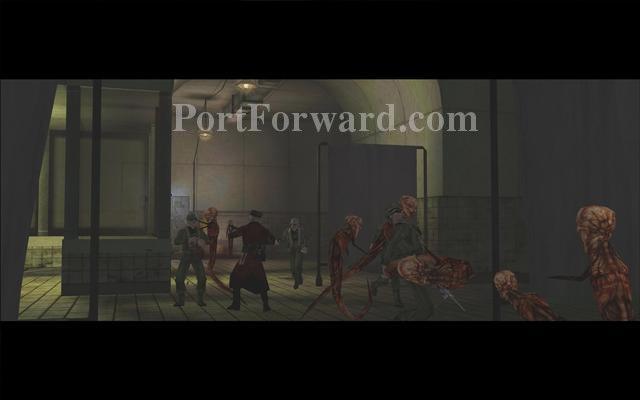
He will be surrounded by daemites.
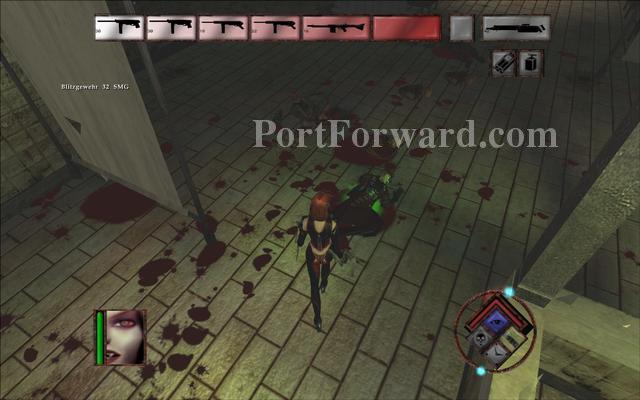
Get the detonator from his body after you kill him.
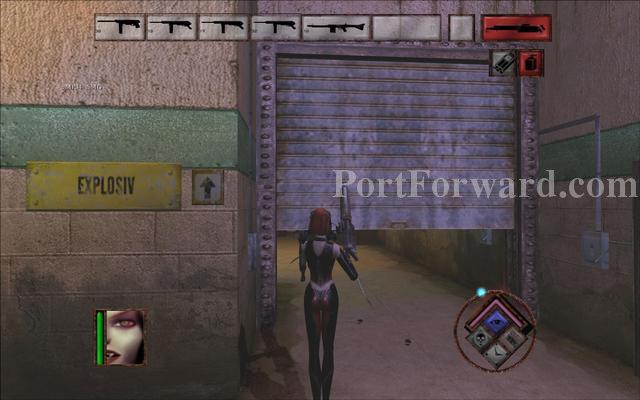
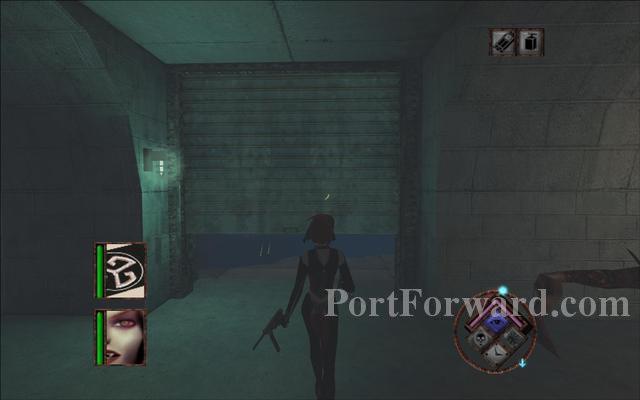
Time to find the explosives. Follow the 'explosiv' sign.
Pass a moving gate with a sign.
Pass a second gate.
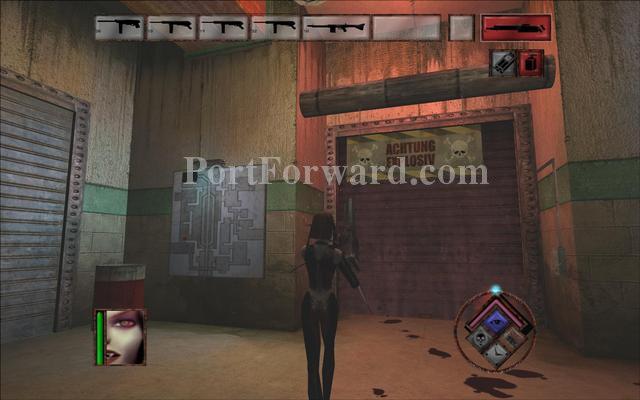
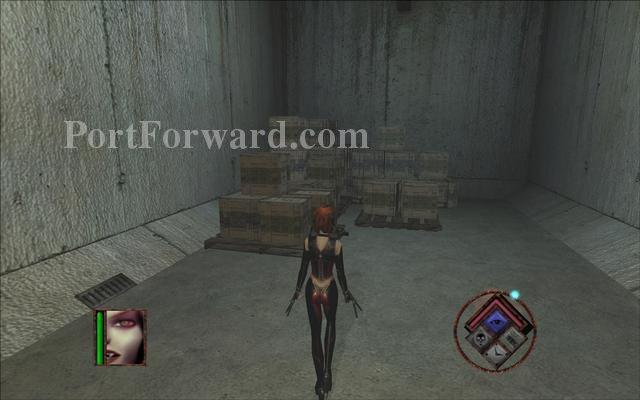
When you pass the third gate you will find the explosives.
You will find them next to a pack of boxes.
Get back to the starting area and approach the collapsed tunnel on the left.
Run away when the explosives are set.
Go through the newly created passage.
Proceed forward.
Hit the switch to go deeper.
BloodRayne Walkthrough Act 2 - Argentina: Deeper
Jump over the hole.
Proceed down the mine.
A cutscene will play. You need to find a detonator and explosives again.
Go through the tunnel on the left.
Destroy the barricades to enter this pump station.
When the gate opens you will find a target.
Jump over the crevice to find your target.
Get the detonator when you kill him.
Go in the next room and hit the controls to start the first set of pumps. This will drain the flooded mine you need to enter by half.
Backtrack to the main corridor you were in and proceed down. Open a gate and go through there.

Keep going forward.
You will end up in a cave like area. Beware the soldier that shoots rockets from the building on your left. You can ignore him for now if you want and just go to your right.
Jump through the windows.
Enter the gate beyound the bars.
You will end up below two other buildings in a cave. Jump on top of the building on your left.
Fall down inside the building through a crack on the roof.
Enter the small doors.
You will encounter Kommando again for a round two. This time the daemite controls him so he won't be using any flashbangs. If you are lucky you can shoot the daemite with guns and headshot him to kill him instantly.
Go through the gate on your left after you kill Kommando.
Pick up the explosives from the storage.
Backtrack and use a gate to exit the building.
An explosion will open a shortcut for you on the left. Go through there to get back faster to the tunnel you need to blow up.
Backtrack through the long corridor you came in before.
Get back through corridor on the left.

Then turn around and go through corridor on the right.
Set up the explosives here.

Run back. You have to backtrack to the start of the of the tunnels to activate one more pump.
Enter the pump room through a blocked tunnel.
Go through the gate.
A red sign will show you the way to the pump.
Hit the red machine to start the second pump.

Go back to the tunnel you blew up now that it is drained from water.
Jump up here.
Jumping in water is not advisable. Run near the ledge on the right to reach the other side.
Hit the switch to go even deeper.
Hit this eye thing to open the next gate.
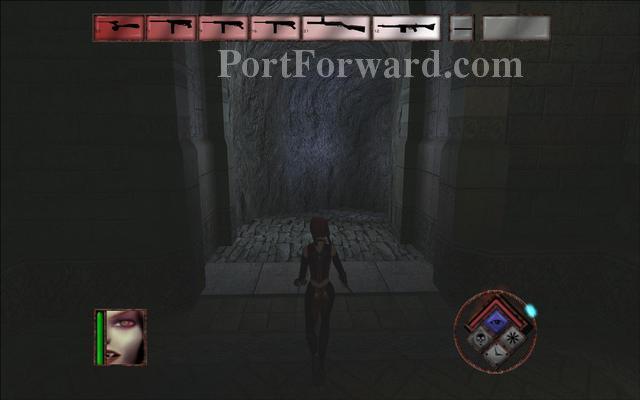
BloodRayne Walkthrough Act 2 - Argentina: The Temple
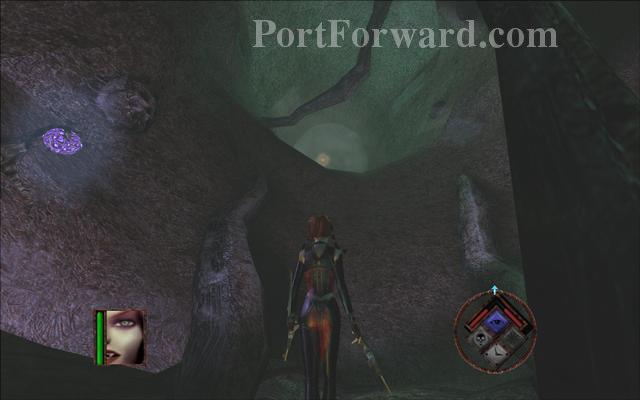
You will find yourself in the daemite tunnels. Go forward.

Get down the stairs.
Go through the round passage.
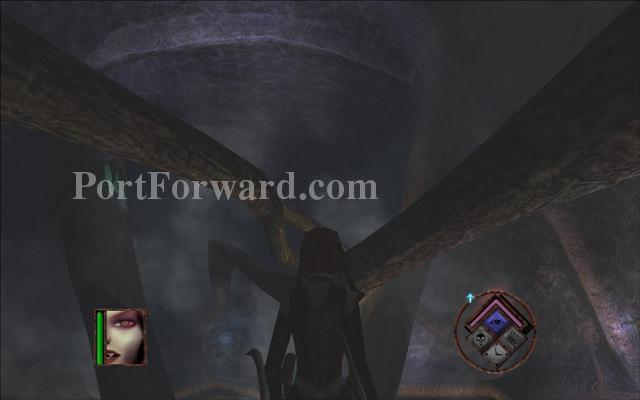
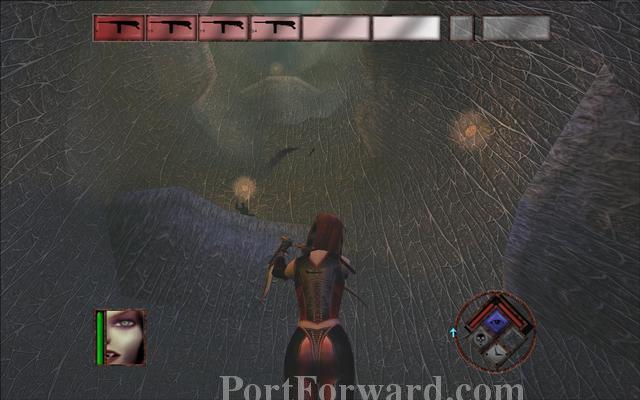
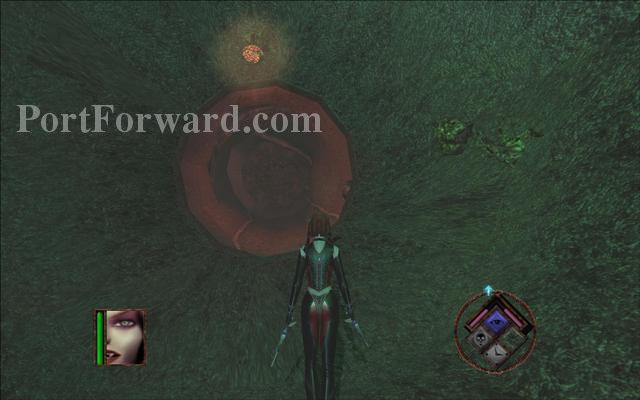
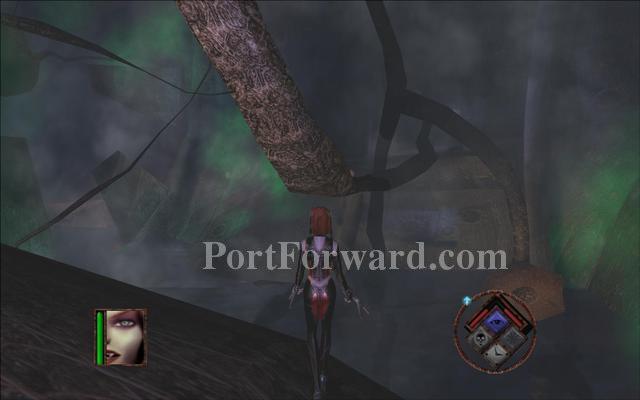
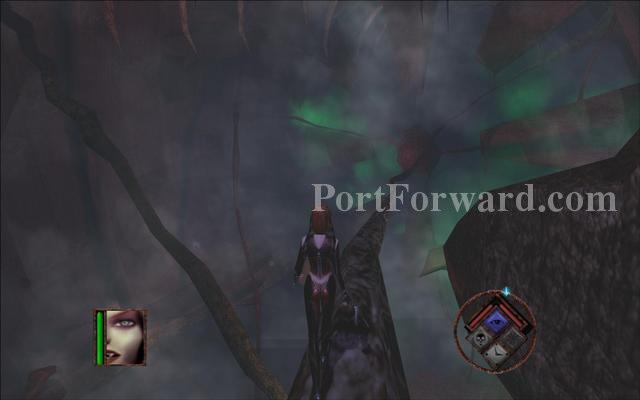
Move forward and jump on the branch looking path.
Rayne will balance herself on the branch. Just press forward to go up the branch.
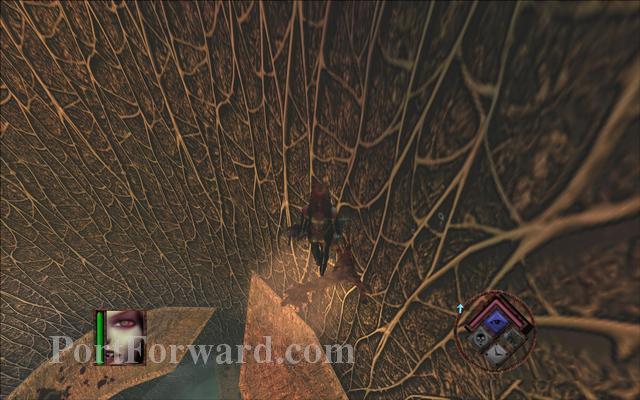
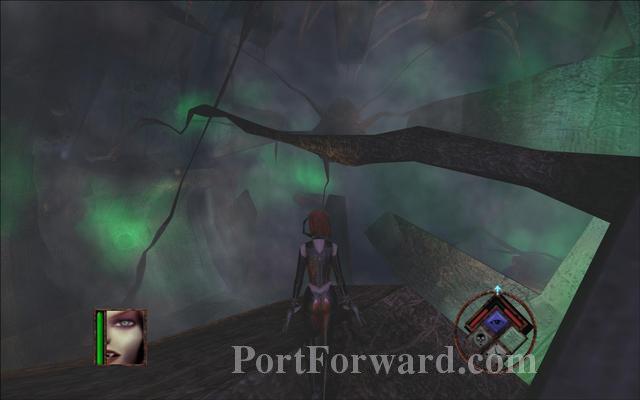
Keep jumping up the branches.

When you reach the top you need to jump across to the 'tree' with teeth and hit the eye above it to open the passage.
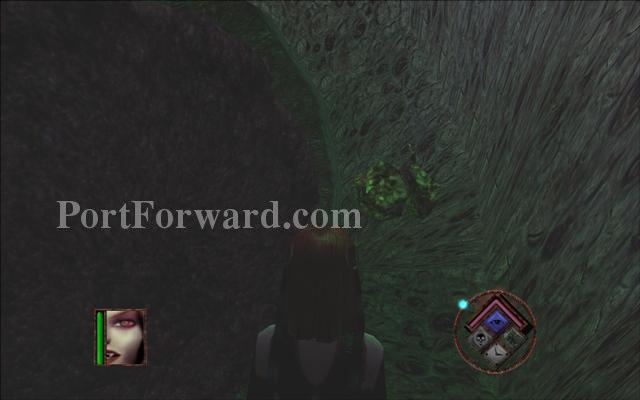
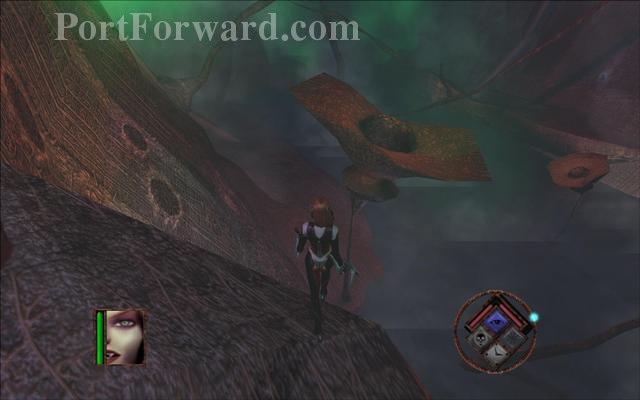
When you drop down the tree tunnel hit another eye to open the hole to the next area.
BloodRayne Walkthrough Act 2 - Argentina: Temple Internal
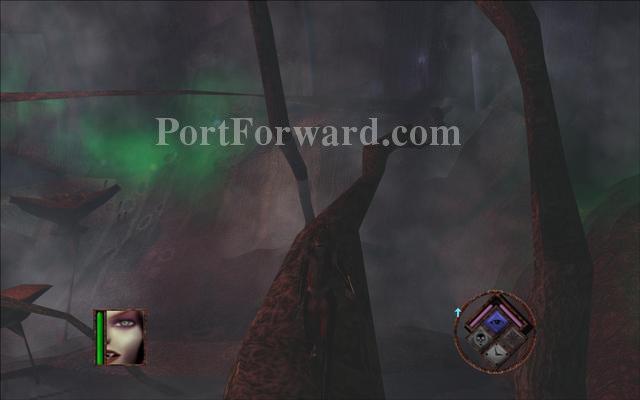
The ground is flooded. Hug the wall and run to your left until you find a passage above you.
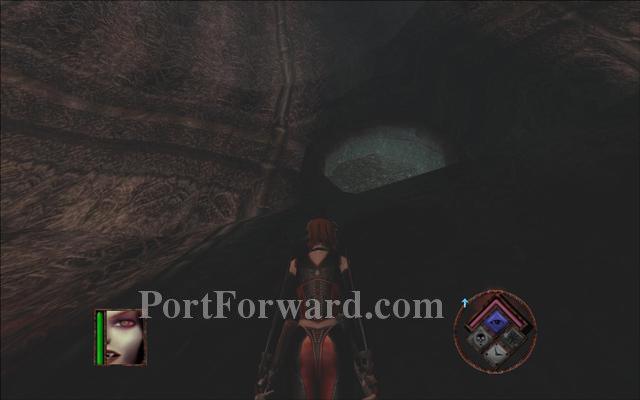
Jump up this hole.
Kill some daemites and jump to the platform in front of you.
Jump up another platform above you.

Jump to another tunnel that goes upwards.
Get on the guarded platform.
Get on top of this branch and keep going up from there.
Find a branch that goes upwards.
Jump to the ledge to find a tunnel.
Jump down the hole after the tunnel.
Hit the green eye at the end to proceed to next level.
BloodRayne Walkthrough Act 2 - Argentina: Temple Guardians
In this area don't drop down immediately. Run around until you see a ledge you can jump on.
Hit the green eye on top.
This will unlock the gate at the base of the big 'tree'.
Drop down to the ground and enter the now opened hole. There will be a guardian inside. You don't need to kill him but he can become annoying if you fail to jump up the ledges properly.
When you go inside the guardian infested tree look up and start jumping on the ledges.
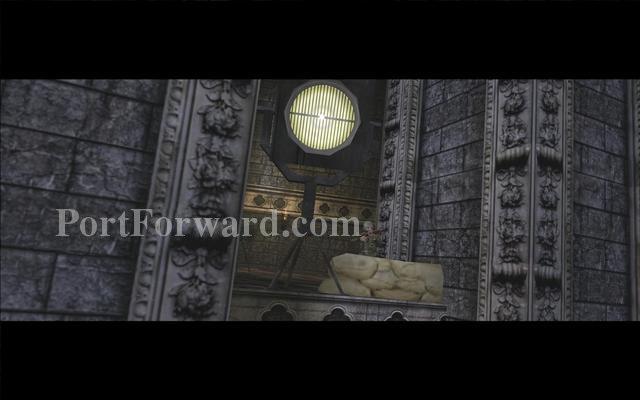
If you cannot reach an upper ledge you might have to jump on top of a lamp to get to higher ground.
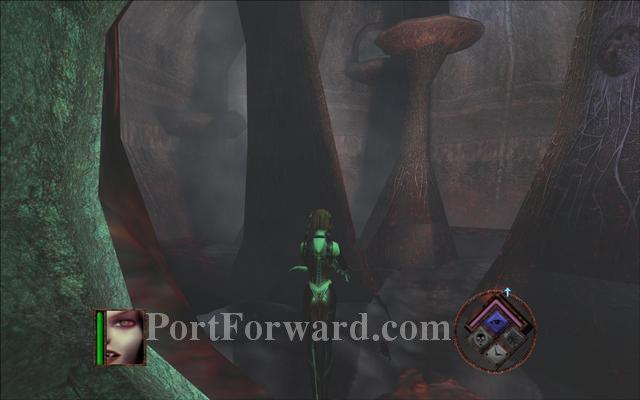
When you get to the top a cutscene will play. A big mushroom thing is above you. Prepare for a fight.
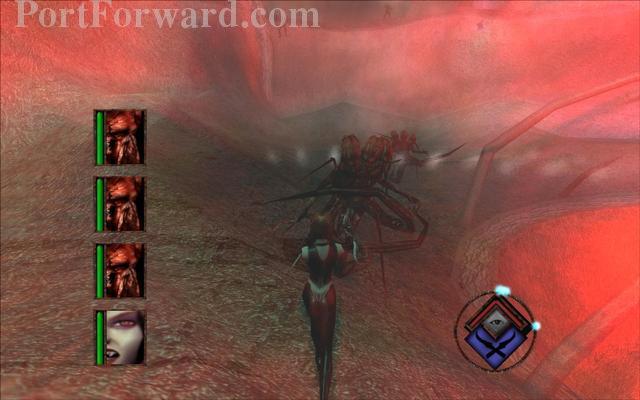
The three guardians you need to kill are here. Use your blood rage and circle around them until they are dead.
When you kill the guardians the mushroom will lower itself.

Get up to a higher ground.

Use a branch to get even higher.
When you reach the top jump across on the mushroom.
Run up towards the tunnel.
Hit the green eye to enter the next map.
BloodRayne Walkthrough Act 2 - Argentina: Daemite Chamber
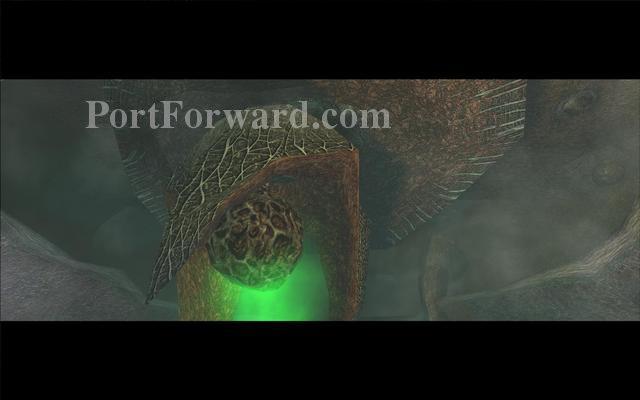
This area has only some lesser daemites to worry about. You have to reach the heart at the center to find the artifact you were looking for.
Use the branch in front to get across the water.
Jump on top of this branch to get back to the other side and closer to your objective.
Jumping on top of the flowers will spawn more daemites. Jump down the ground and go to your left.
A branch will be lower enough to jump onto. Follow it up.
Afterwards jump on the very thin looking branch and just walk forward. It will lead you to the heart.
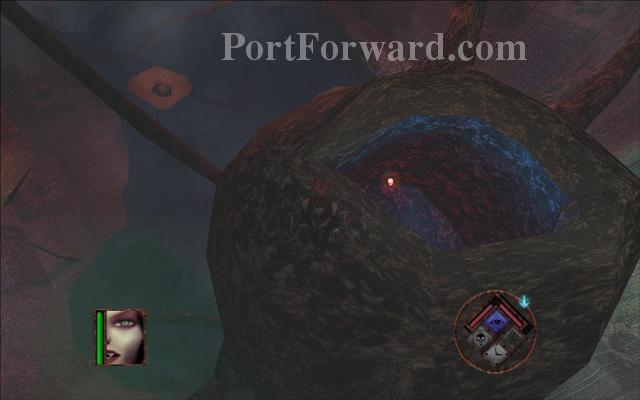
Jump on top of the heart and get down the hole.
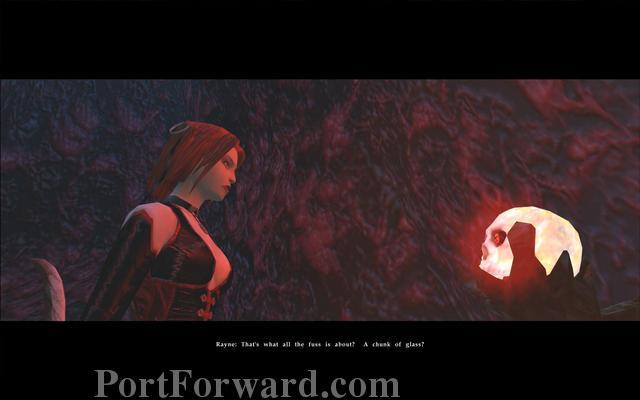
Rayne finds a crystal skull. It holds the eye of Beliar. You can use it to enter a 'sniper mode' by pressing 2.

The nazis make a tunnel to the daemite chamber and intend to blow everything up.

Climb the branch next to the heart and jump from it to another lower branch that will get you close enough to the hole the nazis made. It can be a tricky jump.
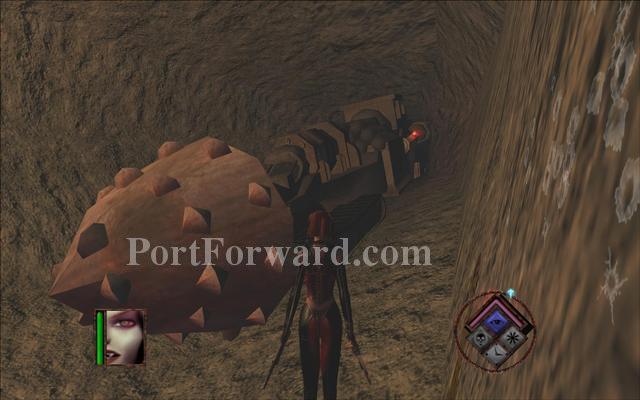
Hit the red lever to send the drilling machine and the explosives down the daemite chamber.
BloodRayne Walkthrough Act 2 - Argentina: Dante's Inferno
The explosives set up a chain reaction. You need to outrun the flames.

Keep running forward and don't stop for anything. The nazis you see on your way are harmless.
Go through the tunnel on you right after the forklift.
Approach the halftrack.
Run past a caged halftrack.
Keep going right.
At the end you will see a halftrack.
When you reach a dead end jump on top of the halftrack to gain some height and then just jump upwards the mine shaft.
BloodRayne Walkthrough Act 2 - Argentina: Walls of Jericho
When you exit the mine shaft enter a door in front of you.
Go right and enter another door.

You will encounter another special target. He will tell you about Beliar's origin.
Use your blood rage to kill this guy. Just keep circling around him and hit him in the back. Don't allow him to turn around and hit you because he hits hard.
Jump on the second floor to find a door to exit.
Follow the corridor.
Reach the end of the corridor to end the map.
The nazis are packing their bags on submarines. Rayne will hide in one crate and hitch a ride.
BloodRayne Walkthrough Act 3 - Germany: Emden U-Boat Station
Rayne arrives in Germany. When she breaks out of her crate she finds her next orders. She will have to get a new list with targets from a nazi commander. Watch the following cgi cutscene.
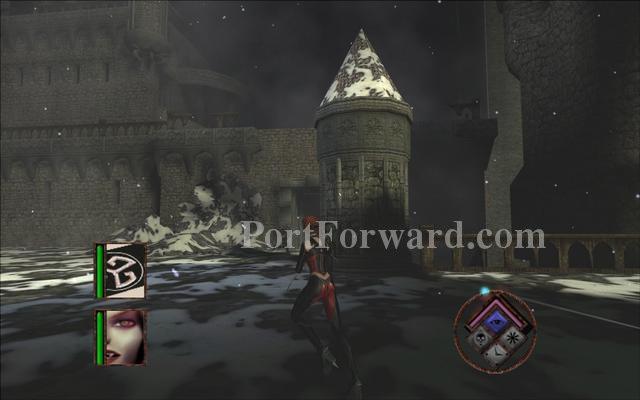
BloodRayne Walkthrough Act 3 - Germany: Red Summit

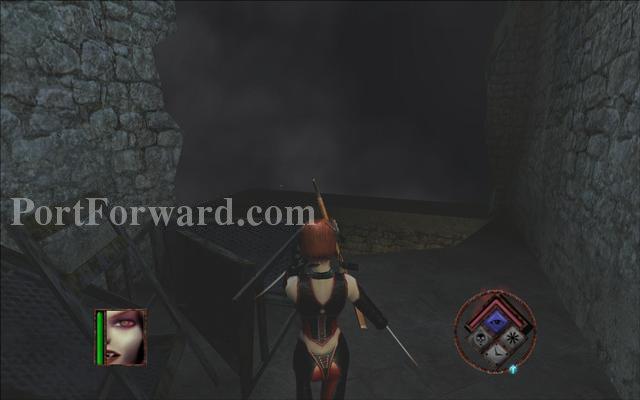
Rayne arrives at an old german castle on the back of a halftrack.
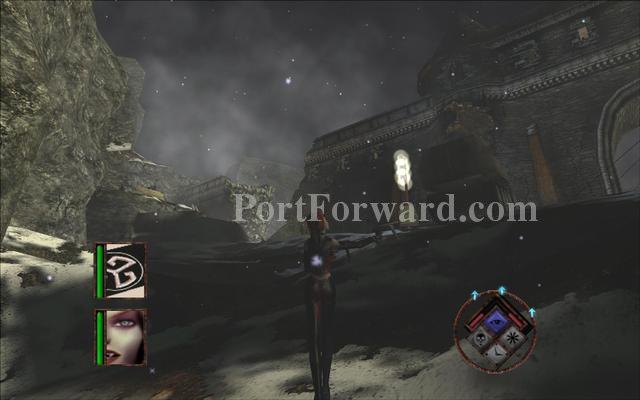
Go to your left to find your first target in this area.
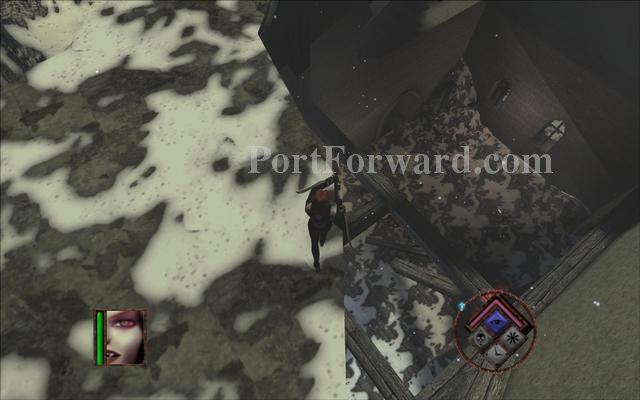
Jump up the cliff and you will see the officer in red.
The nazis with jetpacks can be taken down with the harpoon. Don't stand around them when they die because their jetpacks will explode shortly after.
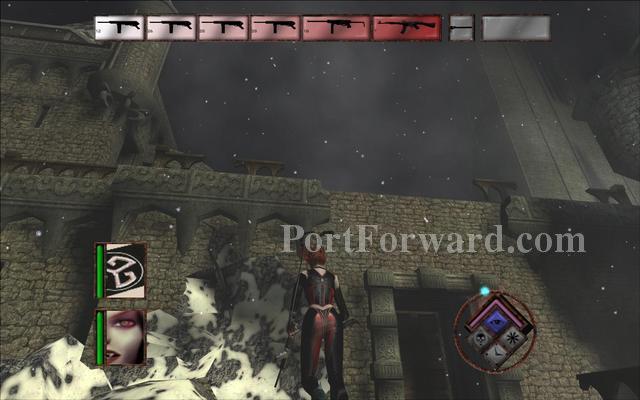
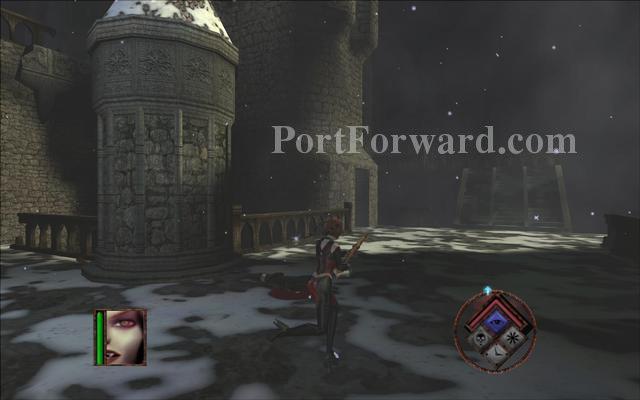
Continue beyound the first castle wall.
To find your second target go to the north west side of the map and cross a bridge.
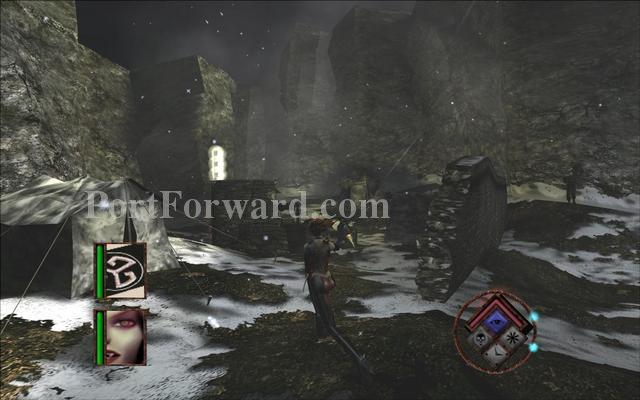
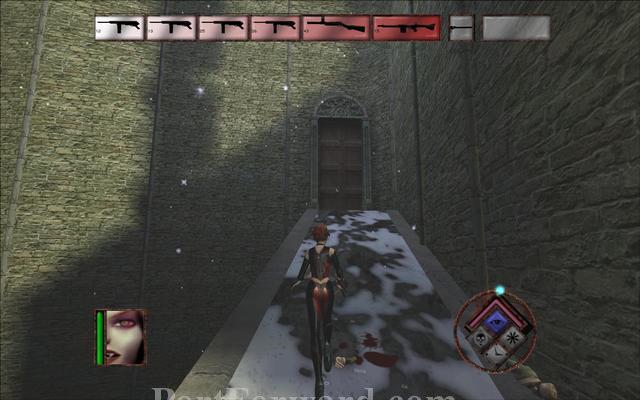
The second target is next to a tent and a well.
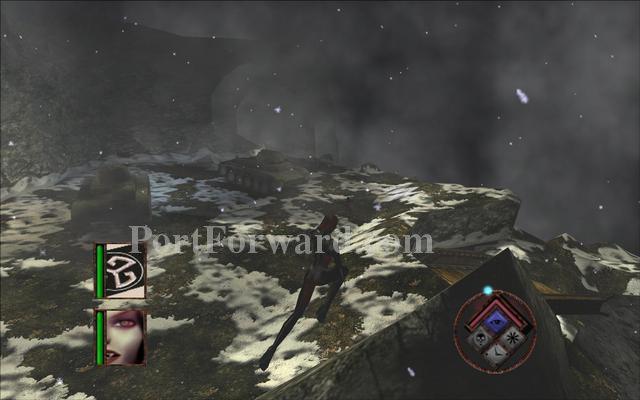
The third and last target for this area is next to the tanks in the north east.
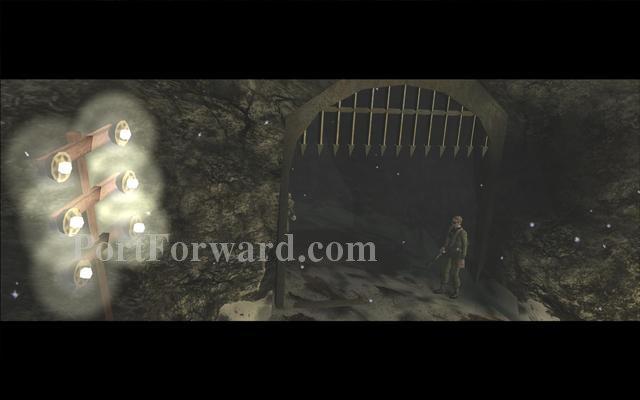
When you kill your last target some more nazis will arrive through a gate that opens behind the parked tanks. Get to the next map through there.
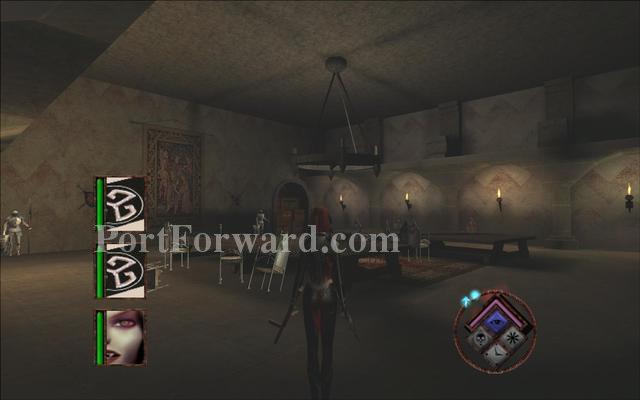
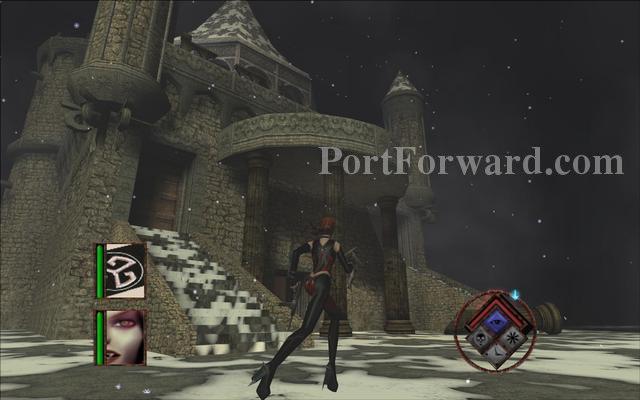
BloodRayne Walkthrough Act 3 - Germany: Old Gaustadt
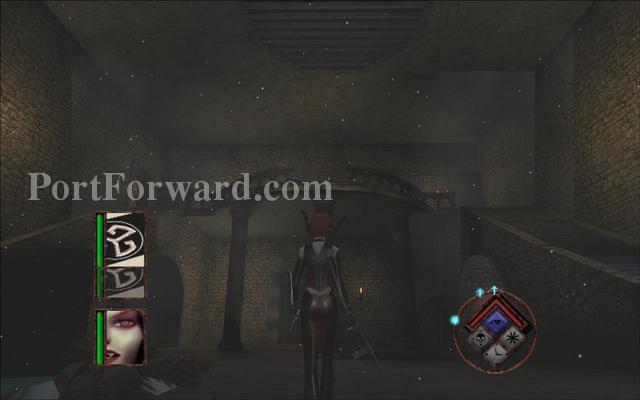
Three targets are in this area. Go to your left.
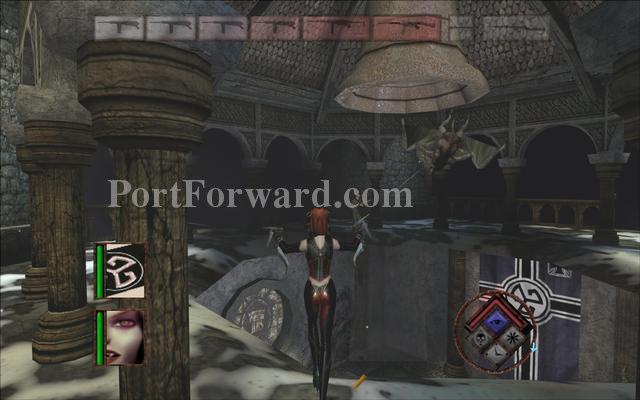
Pass the archway.
A cutscene will play. One of your targets is kidnapped by an ancient vampire.

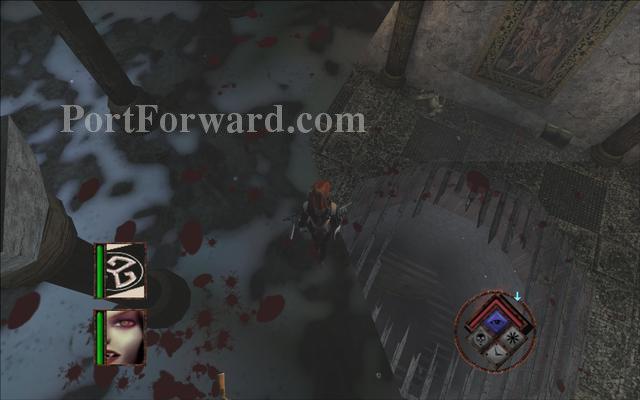
Proceed through the stable and go up the stairs.
When you go up the stairs go to your right.
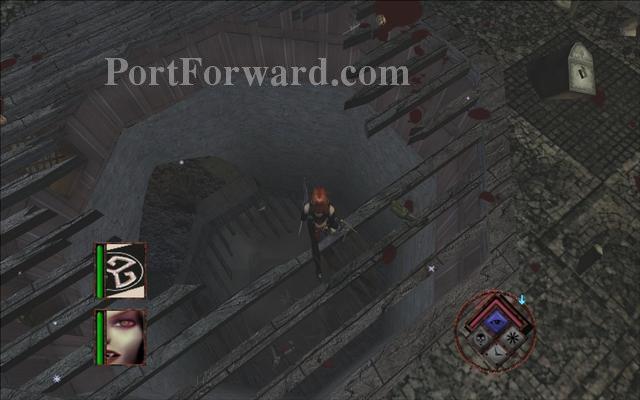
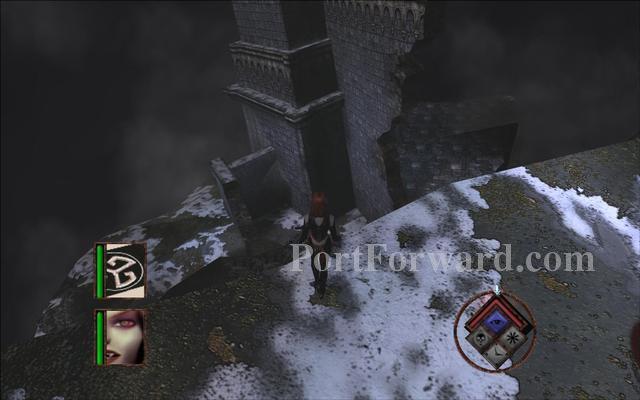
Approach the wall with locked door that is next to a destroyed part of the floor.
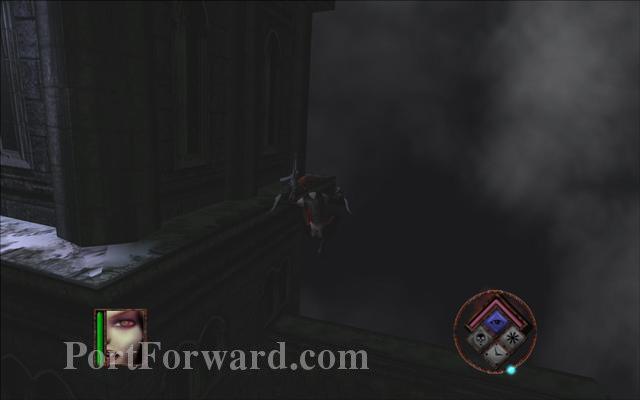
Jump on top of the door frame to gain height.

Then jump to your left to enter the castle.
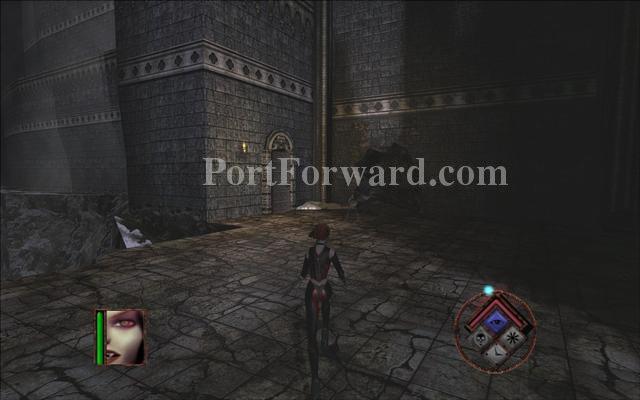
Go down the stairs.
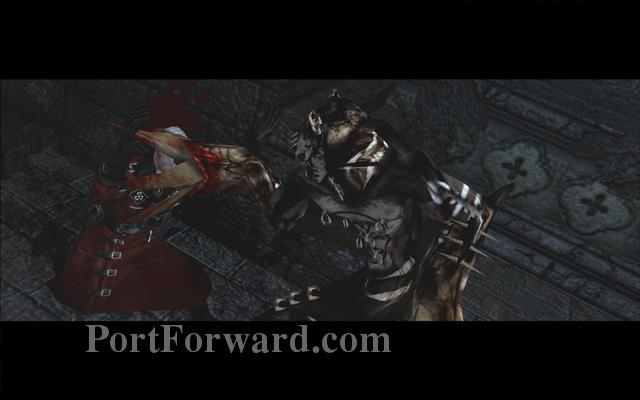
Some vampires will be fighting nazis here. Go through the door on the right.
After a few corridors go up the stairs.
Enter the large doors on the left.
Proceed to the end of the hall and destroy the crates to make a way into the next corridor.
You will find your next target fighting some vampires.

Afterwards go up the stairs to exit this part of the castle.
Approach the fallen rocks next to the castle wall.
Jump up here.
Jump on the balcony.
Some nazis and vampires are in the belltower. Shoot the giant bell to bring it down.
Jump on the lower level to proceed inside. Be careful not to fall to the lowest level because you will have to walk around the entire map to get here again.
Enter through the destroyed wall.
Use your spinkick on this wall a few times until you make an entrance.
Proceed down the corridor.
You will find your next target hiding in a room.
Afterwards a door to the next map will open. Some nazi backup will arrive from there.
Exit this part of the castle.
To get back to the upper part of the castle jump on top of some wooden framework.
Proceed to the right and up the stairs.
Enter the large door to get to the next map.
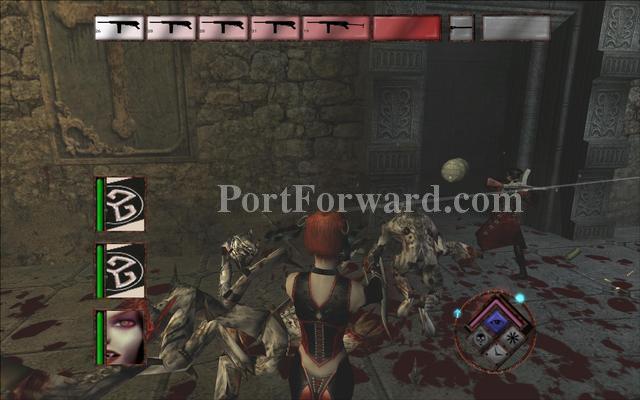
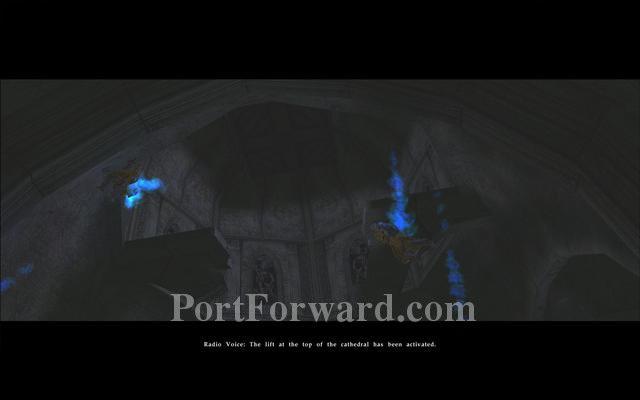
BloodRayne Walkthrough Act 3 - Germany: Unholy Mecha
Rayne will get into a nazi superpanzer mech.

You will have to fight other mechs to proceed.

Get down the corridor to meet 3 mechs.
Attack them while they are distracted. Keep your distance so you can dodge their rockets in time. Shoot them with everything you have and don't allow them to crowd you.
Once the 3 mechs are down your target will arrive behind you. He has more health but doesn't have any other special abilities.
Once you destroy his mech walk towards the end of the cathedral to exit your mech.
Some jetpackers will attack.

Once you deal with the jetpack troops go up the stairs on the left.
Jump across the chasm.
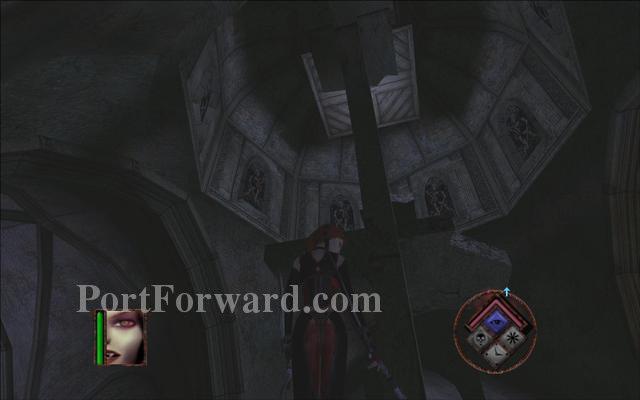
Look up and jump on the debris.
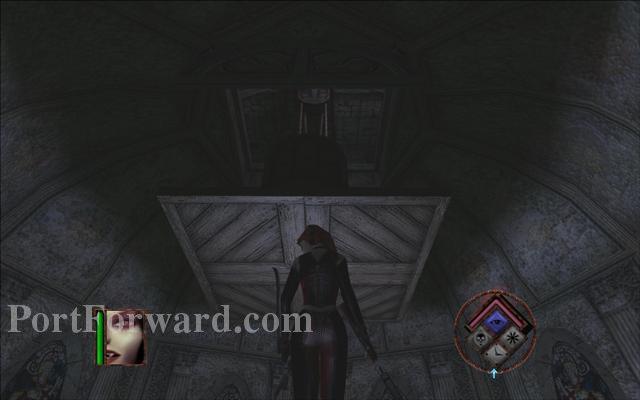
Jump over the elevator platform to proceed.

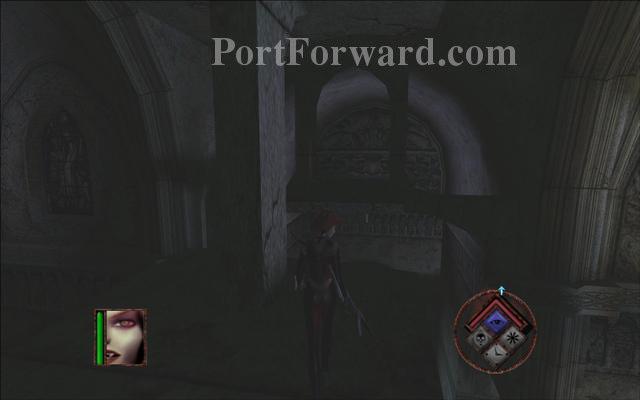
Continue up the stairs.

Some nazis and vampires are making a mess.
Continue towards the debris at the end of the tunnel to go to the next map.
BloodRayne Walkthrough Act 3 - Germany: Teachers and Traitors
Seems like Mynce is working with the nazis. Time to chase her down.
Go down the stairs and clean out any nazis.
Kill the nazis on the other side of the chasm.
Proceed through the opened gate.
Rayne meets Mynce. You can fight her here but Mynce will run up the stairs. Do as much damage as you can.
When you reach the top of the stairs you can defeat Mynce.
Proceed through the hole once Mynce is defeated..
BloodRayne Walkthrough Act 3 - Germany: Nightfall
A nazi officer is trapped inside the castle. You will have to find a way to get to him.
Proceed through the doorways.
Get up the stairs to exit.
When you exit turn around and look above you. You can jump inside through a window.
Get up the stairs.
Go through the doorway on the left.
Hit the lever at the center of the dome.
Get down the stairs.

Hit another lever to open the grate on the floor. The nazi officer is all yours.

When you kill your first target go outside and proceed to where a vampire is hanging.
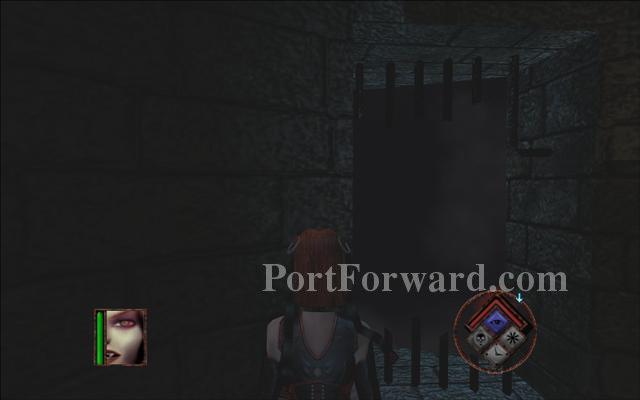
To reach your next target you need to jump over the chasm and go to the part of the castle that is under you.
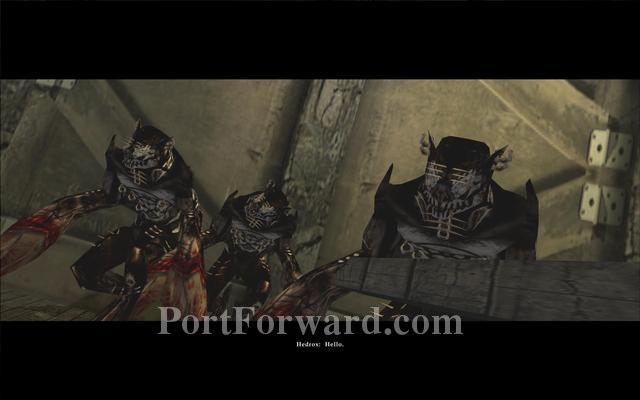
When you go down you will see your target getting killed by Hedrox the ancient vampire.
Hedrox is looking for a way to use the heart of Beliar for himself.
Afterwards the nazis will call in for a bombardment.
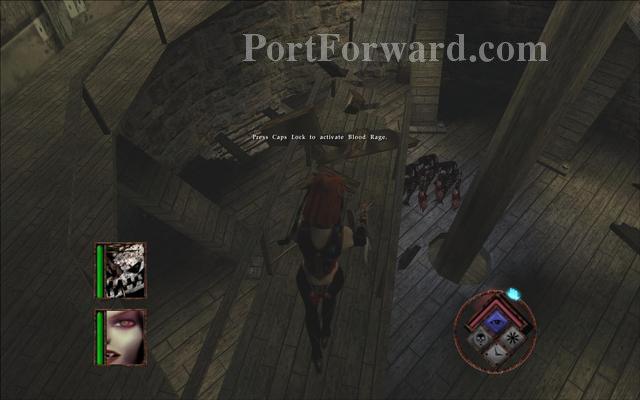
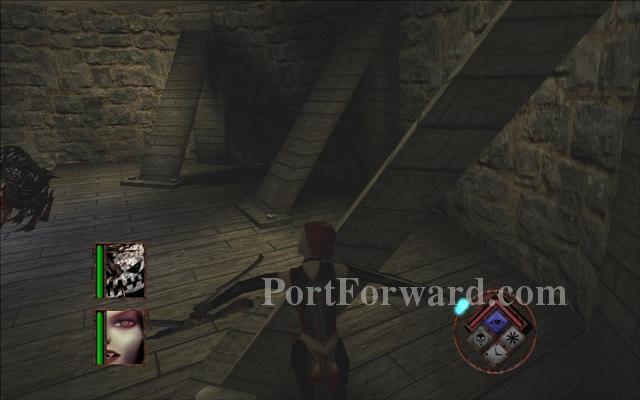
Jump up the castle walls to get back to the upper part of the map.
Run to the left side to reach the door from the cutscene and go to the next map.
BloodRayne Walkthrough Act 3 - Germany: Courtyard
The nazis are having a big fight with the vampires here.
Jump to the left side and go up the wall to go around the nazis' barricades.
Proceed towards the end through the left side.
You can kill some nazis that are behind the sandbags on the balcony. Otherwisde spinkick the wooden doors to enter.

Once inside destroy another set of doors.
Go up some stairs.

Keep going up.
You will find your next target hiding in the bedroom.
When you kill your target the nazis' call for a bombardment. They will destroy part of a wall where you need to go.
Backtrack to the ouside and reach the opening.
Jump through the window to proceed to the next level.
BloodRayne Walkthrough Act 3 - Germany: The Windmill
Rayne meets Hedrox once again. Hedrox wants to find the secret of the relic and will try to kill Rayne for it.
The easiet way to defeat Hedrox is not to fight but to run. If you cut him he will regrow more copies of himself.
You need to destroy the supporting beams to collapse the floors. You can lure Hedrox into destroying the beams for you as well.
Once enough floors are destroyed most clones of Hedrox will burn in the water.

Hedrox decides to run. Follow him.
BloodRayne Walkthrough Act 3 - Germany: The Bridge
This entire area is mined so forget about using any flat ground. Jump on top of any buildings or vehicles to proceed.
Jump on top of the church.
The barricaded troops can be hard to reach but you can snipe them from the church with your sniping ability. Don't stand in one place for too long because they can hit you with the rocket launchers eventually.
To reach the barricades once you kill the nazis jump from the church on top of the tank.
Then onto the car.
Pick up a rocket launcher from the nazis. You will need it.
Get up the stairs.
A mech will appear. Shoot it down with your launcher. If you run away and use your sniping ability he won't be able to shoot back.
Run down the bridge.
Jurgen Wulf attacks you and blows up the bridge behind you. You will have to run towards the end of the bridge before it's destroyed.
Once you kill the last officer in red uniform enter the door to go to the next map.
BloodRayne Walkthrough Act 3 - Germany: Doppleganger
Two nazis are fighting off a horde of vampires by themselves.
Run to your right to enter the inner chamber.
The twin nazis share a bond. If you hit one of them the other one takes damage. To kill them faster just focus on only one of them and they will both die.
Depending on who you kill first there are two different cutscenes that can play.
Jump on the rope ladder someone threw down.
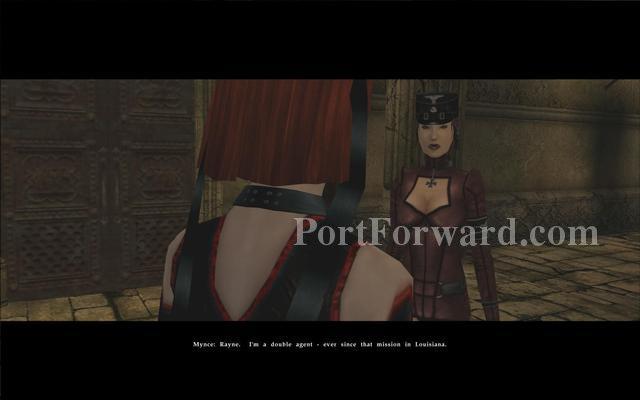
Mynce has been a double agent the whole time. She will help you defeat Jurgen Wulf at the end.

Follow Mynce up the stairs.
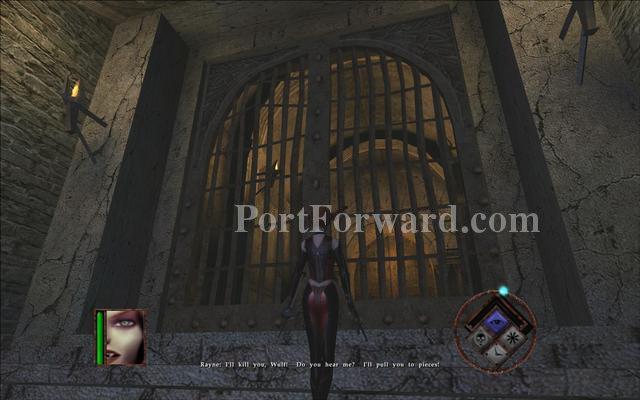
Mynce gets killed by Wulf. Rayne vows revenge. Spinkick the large gate several times to destroy it after Wulf runs away.
Approach the big gate to end the map.
BloodRayne Walkthrough Act 3 - Germany: Of Wulfs and Demons
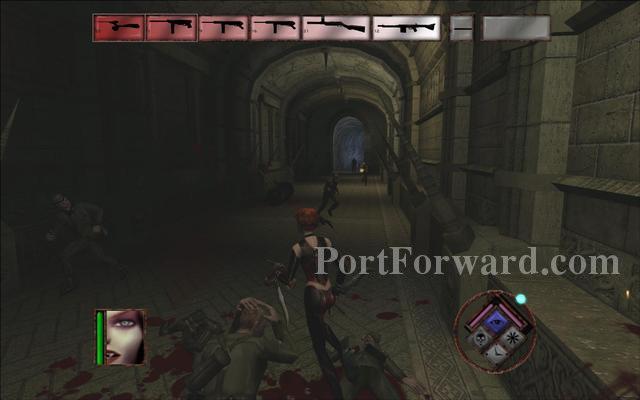
Kill the nazis in this corridor without using any guns. You will need those for later.
Go down the corridor.
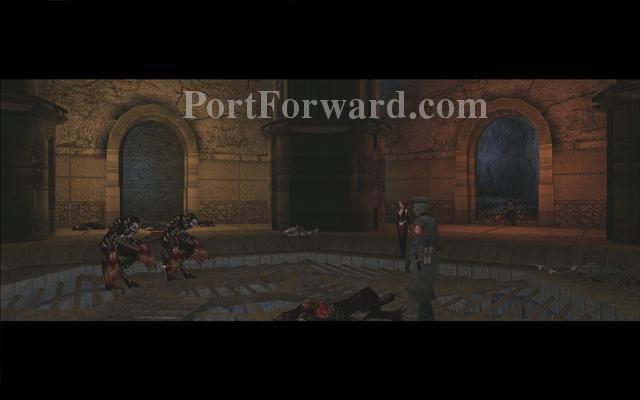
The bad guys are having a meeting.
Beliar is reborn from the body of Hedrox. You will have to fight both Beliar and Jurgen Wolf at the same time here. But you need to kill Beliar first.
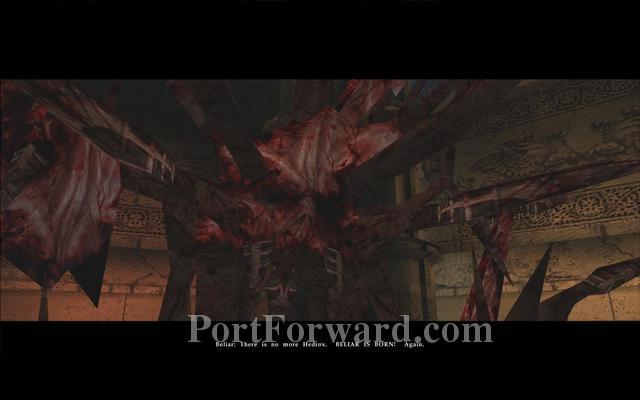
Beliar will grow larger with time until he kills you.
You need to use your sniping ablity to shoot him in the heart. That is the only way to hurt him.
Run around and look for more weapons from dead nazis. The second floor has more weapons. If you run out of weapons you can get more from Jurgen Wulf. He sometimes drops weapons around the path he runs.
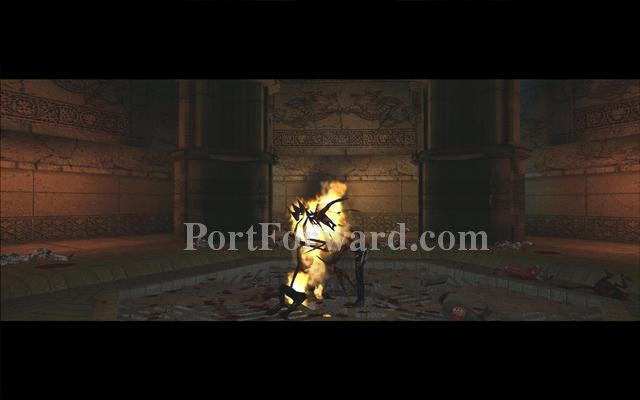
Once you kill Beliar it's time to kill Wulf. He runs fast but you can try and block his way.
Depending on who you kill first the cutscene at the end will be slightly different.

You have completed BloodRayne.


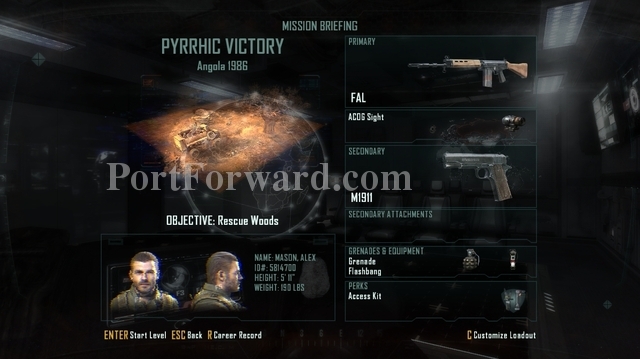 Call of Duty Black Ops 2 Walkthrough Mission #1 - Pyrrhic Victory
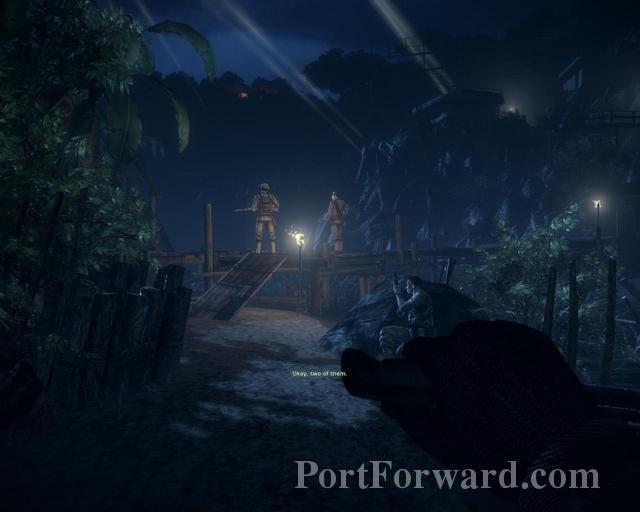 Battlefield: Bad Company 2 Walkthrough Prologue - Operation Aurora
 2006 FIFA World Cup Germany Game Guide & Walkthrough
 Call of Duty Black Ops Walkthrough Mission 1 - Operation 40
 Batman: Arkham Origins - Cold, Cold Heart DLC Walkthrough Wayne Mansion