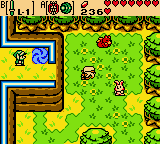
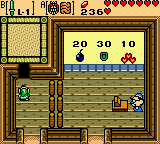
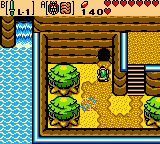
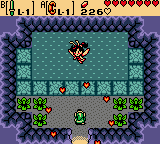
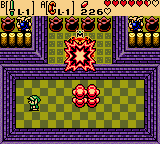
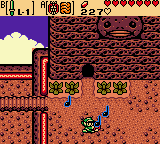
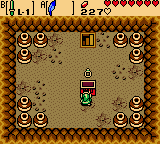
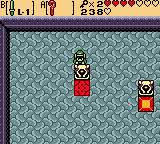
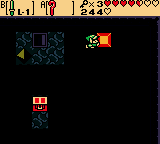
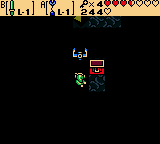
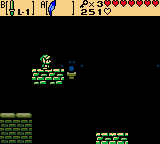
Head down one screen and swipe the Gale Seeds from the tree to stock up, then use one and warp to Lynna City. Walk up two and left two screens and speak with the man on the right. In exchange for the Cheesy Mustache, he will tell Link a Funny Joke. Head back right one and up one screen and enter Bipin and Blossom’s House. Speak with Blossom, who will ask what Link thinks she should do to help her baby sleep. Select either “Sing” or “Play”, then exit the house.
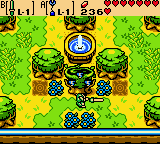

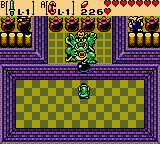
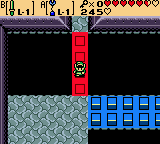
Head right and up one screen each, entering the Maku Tree’s area, then continue right one screen out of the opening in the upper-right. Play the Tune of Echoes to activate the time portal and enter it, sending Link to the past.
 ~ Past ~
Walk down, left, and down two screens. There are two withered trees in this screen setting side-by-side. Stand on the upper-left side of the tree on the left and play the Tune of Currents to warp to the present.

 ~ Present ~
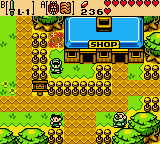
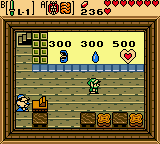
Link will emerge within the fenced-in portion of the Lynna City Shop. Enter the shop from the left entrance here. Head through the shop until you reach the downstairs area, where the L-2 Ring Box, a Gasha Seed, and Piece of Heart #6 can be purchased. Exit the shop when finished and enter the portal to return to the past.
 ~ Past ~
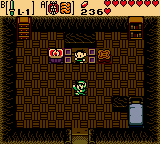
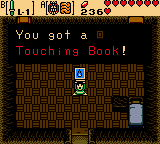
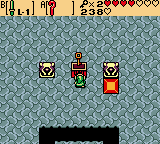
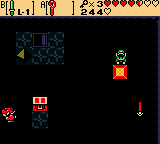
Head up a screen and left two screens to find a small house. Enter the building the and lights will go off. You can speak to the young boy in the house to find that he is suffering from depression. Link can tell him the ‘Funny Joke’ and it will make him laugh. In return for telling the joke, Dekadin will give Link the Touching Book. Exit the house.
Now that Link has the Touching Book, the next time he bumps into Maple, he will trade the Touching Book in exchange for the Magic Oar. While we can get this item right this moment, as well as the next item in the trading sequence, we cannot progress and get the main reward just yet. We will complete the trading sequence in Chapter 7.
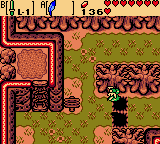
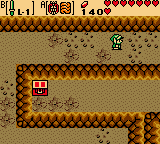
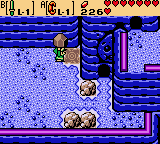
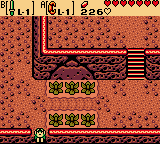
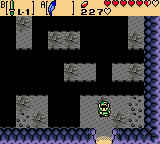
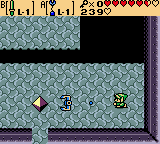
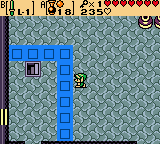
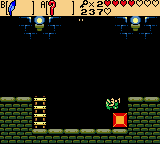
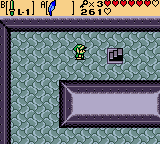
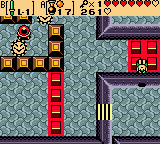
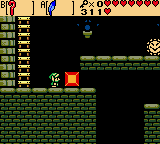
Head right two, up one, and right one screen to exit Lynna Village, then continue up one screen, jump over the pits and right one screen, then up one and left one screen. Equip the Switch Hook and hit the diamond stone on the far side of the pits, transferring Link to the left side, and head left one screen. The lower-left bush here hides a Soil Patch underneath. Now, stand to the right of the bushes and play the Song of Currents to warp to the present.
 ~ Present ~
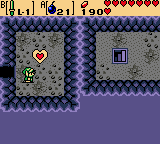
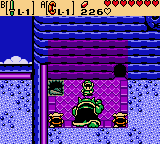
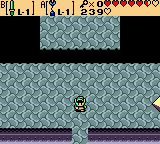
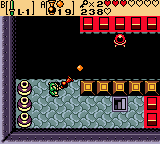
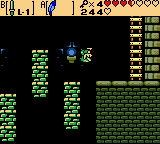
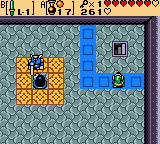
The cave which lies before Link is actually Rolling Ridge, home of the Goron race in Labrynna. Once in the present, enter Rolling Ridge and head along the path, eventually taking Link right one screen at the top of the room. Head up the staircase at the lower-right portion of the cave which leads to a blue-colored cave area above.
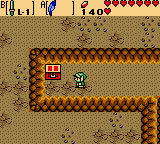
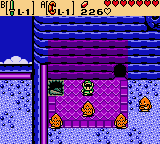
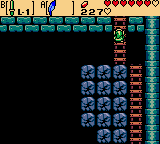
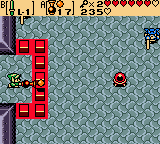
Head left one screen and continue walking along the upper side of the cave. Link will eventually come to some steps that lead to another staircase. Head up the steps but bypass this staircase for now. Instead, continue along the lower path, heading right one screen, where a staircase leading down can be found. Take this staircase down to the previous level, though now on a higher ledge, and head along it left one screen. Open the chest here to obtain 50 Rupees, then head back right one screen and re-enter the staircase to the upper level.
Walk back left one screen and head up the staircase Link previously passed up in this room. After resurfacing, climb the steps and make your way to the northeast corner of the room. Use a bomb to blowup the cracked wall to the right and inside, you will find Piece of Heart #7. Walk back left a screen and exit the cave to the south to reach the top of Rolling Ridge.
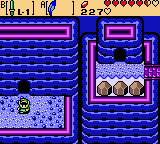
Walk up the steps to the left and head down the staircase here back inside the mountain. Step on the button below to connect a bridge across the gap, then head across the bridge to the right side of the cave and take the staircase down to the lower level. Walk down along the ledge and open the chest here to obtain 30 Rupees, then backtrack up the staircase, across the bridge and out of the cave.
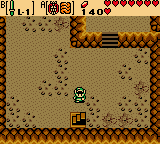
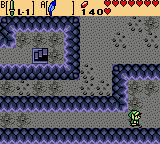
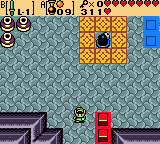
Go right three screens and lift the boulder next to the cave entrance on the right, uncovering an unactive time portal underneath. The cave which lies next to the portal has a Great Fairy Fountain inside if needed. Play the Tune of Echoes and activate the time portal, then use it to travel back in time.

 ~ Past ~
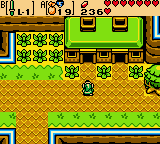
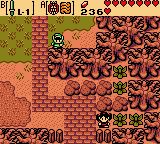
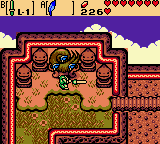
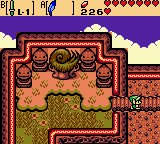
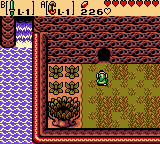
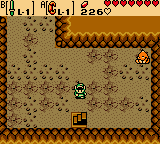
Head back left three screens, then climb the stairs on the left and continue up one screen. Swipe the Pegasus Seeds down from the tree, adding a fifth special seed to Link’s inventory. When using a Pegasus Seed, Link’s speed will double which can allow him to jump greater distances while using the Roc’s Feather. This Pegasus Tree is also only in the past of Rolling Ridge, as this area is occupied by four Goron statues in the present.
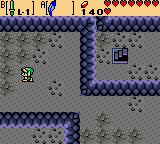
Head across the bridge right one screen. While standing somewhere in front of the cave, play the Tune of Currents to return to the present.
 ~ Present ~
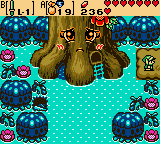
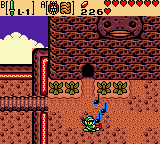
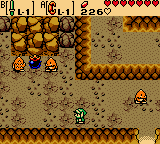
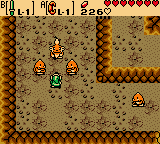
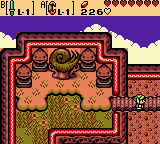
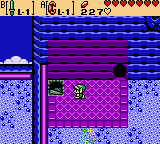
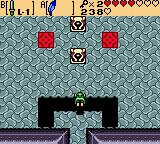
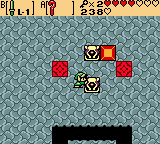
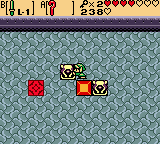
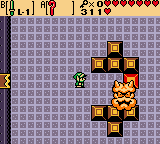
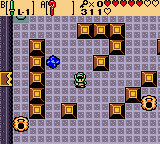
The purple castle here is the Great Moblin’s Keep, an area that apparently only recently appeared in Rolling Ridge. Head inside and use a Pegasus Seed to increase Link’s speed so that he can make it around the path and to the staircase before the floor disappears below him. Keep heading down the sets of stairs until reaching the lowest level, where the Moblin King is located. After a few words, the Moblin King’s helper Moblins on each side of him will begin throwing bombs at Link. The Moblin King himself will throw larger bombs that take a few seconds to detonate. Lift these larger bombs using the Power Bracelet and throw them back at the Moblin King at the right time to have them explode on him. After hitting him with about six bombs, the Moblin King will be defeated and the Keep will crumble to the ground.
Link will be transported outside of where the Moblin’s Keep was and the Great Moblin will retreat. Gorons will come to thank Link for his deed in getting rid of the Moblin crew and reward him with a Bomb Flower. The Maku Tree will inform Link that he has suddenly appeared in Goron legend as having saved the race in a time of peril. Enter the time portal to be sent to the past.
 ~ Past ~
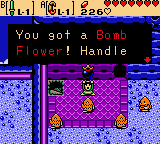
Head down one screen, then jump off the break in the ledge at the bottom of the screen to fall down one screen back to the entrance of Rolling Ridge. Head left one screen and enter the mountain, then walk over towards the two Gorons attempting to break down a huge rock pile. One will notice Link’s bomb flower and ask for it to break the rocks and free the Elder. Choose to give him the Bomb Flower and, when the Elder is free, he will thank Link by giving him the Crown Key!
Continue around the path behind the Elder, walking up the steps onto the ledge, then continue right one screen. Jump off the ledge at the end of it and head up the staircase. Follow the path left one screen and climb the steps at the end of the path to the ledge. Continue to follow the path and head up the staircase at the end, then walk down and exit the cave to the top of Rolling Ridge.
Walk up the steps on the left and head up one screen, then head right across the bridge one screen. Play the Tune of Currents to return to the present.
 ~ Present ~
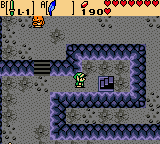
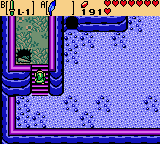
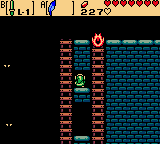
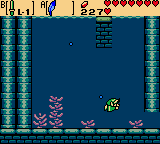
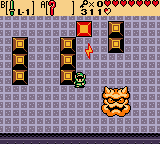
Head down the stairwell next to the cave opening into an underground 2-D area. The first room has fire shooting from two pipes with ladders going up each side of them. Head up the ladders, trying to avoid contact with the flames, then head up the ladder on the right. Use the Roc’s Feather to jump onto the first green moving platform, then hop off on the lone piece of ledge before getting on the upper green platform. Once it rides up, walk to the right and climb the ladder. Link will resurface in a room filled with vases containing Hearts and Bombs and a chest. Open the chest to obtain a Magical Ring!
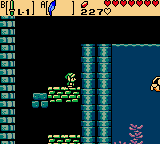
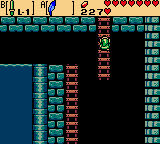
Head back down the staircase into the water-filled cave and swim towards the lower-right section of the screen. Take the narrow passage right one screen, then swim up and head right. Jump from the ledge to the ladder leading out of the cave and head up it. Many cracked rocks will be blocking a ladder on the right. Use bombs to blow away the rocks and head up the ladders to exit the cave back to the top of Rolling Ridge.
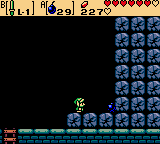
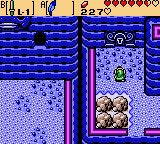
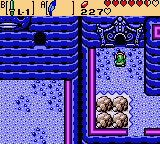
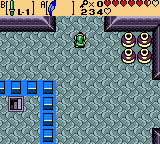
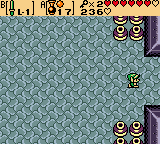
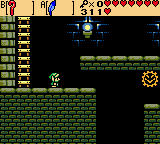
Jump off the ledge where Link exits and head left one screen. Enter the cave here, where few areas of solid floor are surrounded by a mass of bottomless pits. Equip the Roc’s Feather and Pegasus Seeds and use a seed to get Link’s speed up, then long-jump to the area of solid ground to the north. From there, head right one screen and walk to the bottom of the screen where four bushes are present. Swipe down the bushes to obtain some Pegasus Seeds and use one, then jump to the platforms on the right. Take the exit out of the cave and back to outside of Rolling Ridge.
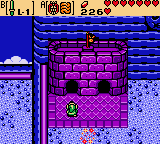
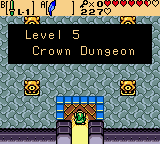
Head left one screen and walk up to the locked structure in the northern wall. With the Crown Key, the rest of the structure will rise from the ground and be revealed as the entrance to the Crown Dungeon. When ready, enter the fifth dungeon on Link’s quest.
~First Floor~
Link enters the dungeon in room 1F-F3. Head up one screen to 1F-E3, where three Moblins guard a locked doorway on the northern wall. Once they are defeated, head up one screen to 1F-D3, then continue left two screens to 1F-D1.
Head up one screen to room 1F-C1. Defeat all the Moblins in this room and a staircase will appear at the top of the room. Head down it to the basement level.
~Basement First Floor~
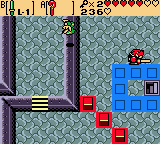
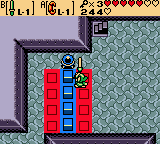
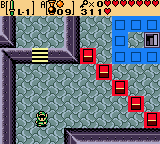
Jump over the gap towards the bottom of the room and equip the Switch Hook. Use it to switch places with the diamond stone so that it is now on the other side of the gap. Jump back across and head towards the right side of the room where there is a button. Switch to the diamond stone again, bringing it closer to the switch and eventually laying it on top of the switch. The door on the lower wall will open, so head through to room B1F-D1.
Ignore the chest for now as it is blocked in by blue pillars, but head up the staircase next to it to the first floor again, room D1.
~First Floor~
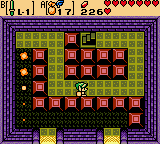
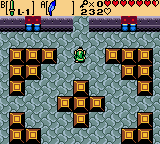
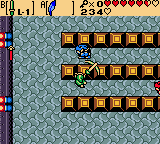
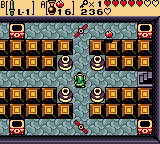
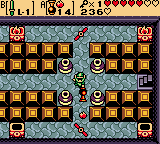
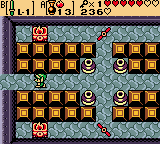
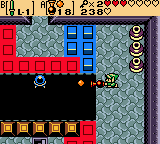
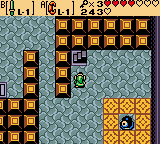
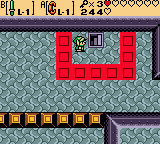
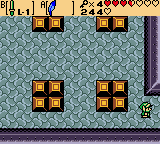
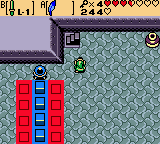
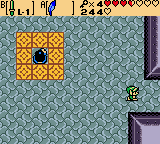
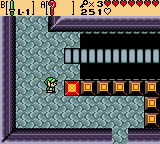
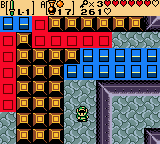
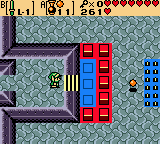
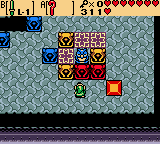
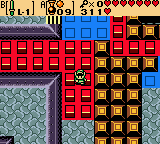
Head down two screens to room 1F-F1. Swipe the blue switch so that it turns red, lowering the blue pillars and rising the red ones, then head right one screen to 1F-F2. Stand beside the top statue and shoot the Seed Shooter at the lowerleft statue. The seed should bounce from one statue to the next, causing each of their “pupils” to appear when hit and move fast enough so all should be showing at once. When done correctly, open the chest that appears on the tile in the center to obtain a Small Key.
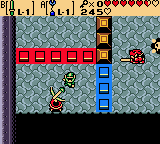
Head back left one screen to 1F-F1 and strike the red switch to lower the red pillars, but shoot the switch again after passing by the pillars to turn it back blue, raising the red pillars. Continue up one screen and cross the bridge of blue pillars to the right side, then head up another screen to 1F-D1. Take the staircase on the left back to the basement level, where Link can now access that chest from before. Open the chest to obtain a Small Key, then head back up the staircase to the first floor.
~First Floor~
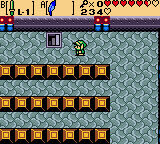
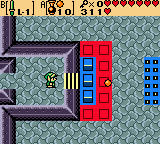
Walk right two screens to 1F-D3 and shoot the red switch with the Seed Shooter, turning it blue and lowering the red pillars. Swipe the switch again to re-lower the blue pillars and head right one screen along the lower path where the blue pillars are now lowered, then continue right another and down one screen along the ledge to 1F-E5. Head down the steps at the end of the path and go down one screen to 1F-F5. Head right one screen to room 1F-F6 and open the chest at the top of the room to obtain the Dungeon Map. Now, head back left one screen to 1F-F5 and unlock the door on the left side of the room. Head through to 1F-F4 and take the staircase in this room down to the basement level.
~Basement First Floor~
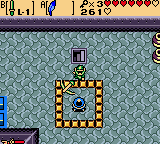
Equip the Seed Shooter with Ember Seeds. Whenever the rotating levers in this room slant towards one of the torches, shoot them with an Ember Seed to have it bounce off and light the torch. Once all torches are lit, the doorway on the left will be open, so head through to room B1F-F3.
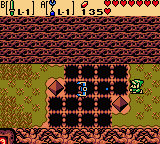
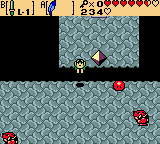
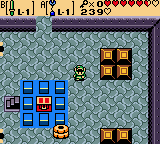
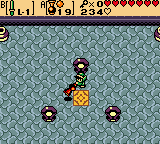
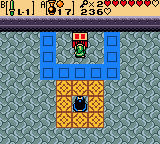
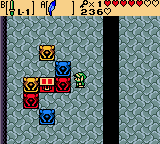
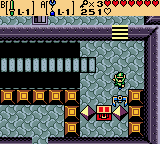
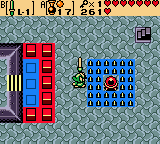
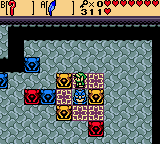
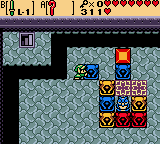
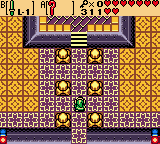
The button in this room reveals a pattern which must be matched by the statues on the left, across the pit, to solve the puzzle. On the left side of the room, push the blue statue in the left row “right” once and “down” twice, then push the yellow statue that was above it “down”. Now, on the rightmost row, push the yellow statue “right” and “up” once each, then “left” twice. Push the red statue “right” once, then the blue one above it “up”. Lastly, push the red statue “up” and “left” once each to have a chest appear on the tile in the center of the statues. Open the chest to obtain the Cane of Somaria! With it, Link can create one block that stays until another is created or until Link leaves the current room. Head back right one screen and take the stairs to the first floor, room F4.
~First Floor~
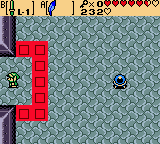
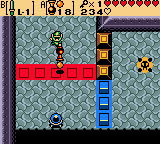
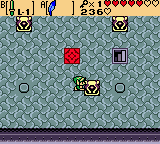
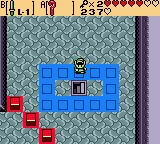
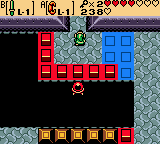
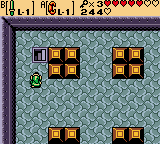
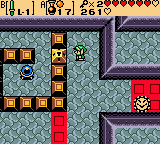
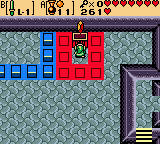
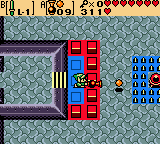
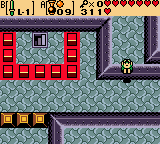
Push each statue in the room onto three of the four buttons, then use the Cane of Somaria to place a block on the last button. A chest will appear in the center of the room, so open it to obtain a Small Key.
Head right one and up one screen. Climb the steps, then jump off the ledge towards the right and head down the staircase to B1F-E5.
~Basement First Floor~
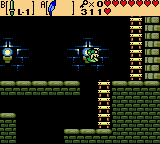
Walk to the left side of the room and descend the staircase to a dungeon area below. Head right, falling towards the lower part of the room and eventually coming to a high ledge. Create a block with the Cane of Somaria and jump from it onto the ledge with the Roc’s Feather, then continue right one screen. Do the same for the next high ledge while avoiding the Sparky creeping in this room and climb the ladder to exit the dungeon area at B1F-D6.
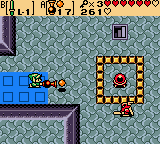
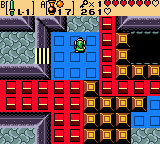
Stand on the left side of the room and shoot the red switch with a seed to turn it blue. With the red pillars lowered, head counter-clockwise along the path. Shoot the switch again to lower the blue pillars and head up one screen to B1F-C6.
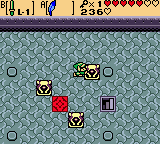
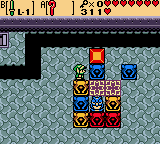
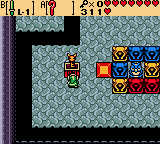
Jump across the gap and walk up to the statues. When one statue is pushed, the other moves in the same direction. To have both positioned on each red tile, use the Cane of Somaria to place a block next to one so it doesn’t move when the other is pushed. Once both statues are in place, a chest will appear between them containing a Small Key. Grab the key and head back down one screen to B1F-D6.
Shoot the switch again to lower the blue pillars and head back towards the staircase at the bottom. Before entering the staircase, hit the switch again so it turns red, raising the red pillars, then head back down the staircase to the dungeon area. Head back through the dungeon area and out of the left side, resurfacing in B1F-E5. Leave this room via the staircase on the right side back to the first floor.
~First Floor~
Head up one and left two screens to 1F-D3. Strike the red switch to raise the blue pillars and head back right one screen along the uppermost path to 1F-D3. Walk down the staircase within the wall of red pillars to the basement floor.

~Basement First Floor~
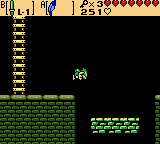
Hit the blue switch on the left to get passed the blue pillars, then swipe it again to get passed the red ones and head left one screen along the path to B1F-D3. Take the staircase in the upper-left corner of this room to a dungeon area below. Use the Roc’s Feather to jump across the moving platforms on the right and climb the ladder on the other side to emerge in room B1F-E2.
The Moblins in this room will give away much of where the invisible paths lie. Create a block using the Cane of Somaria and push it into the darkness, allowing Link to check for a hidden floor before actually stepping there. As an alternate method, one much easier but takes a bit of chance, is to use the Switch Hook to switch places with one of the Moblins when they take a path close to the chest below. Once Link reaches the chest, open it to obtain a Small Key. Switch with the diamond stone near the staircase and head back down into the dungeon area.

Cross the green platforms heading left and take the ladder out of the dungeon area into room B1F-D3. Continue right one screen along the path at the bottom of the room and swipe the switch to get by the red and blue pillars. Make sure the red blocks are lowered and then take the staircase back up to the first floor, room D4.
~First Floor~
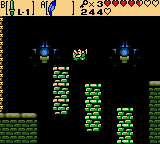
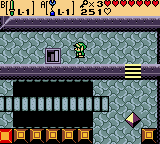
Head right two screens to 1F-D6 and use a Pegasus Seed and the Roc’s Feather to jump over the large gaps in this room towards the right side. Head through the locked door right one screen to 1F-D7, where Link faces the dungeon’s mini-boss.

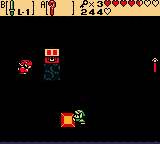
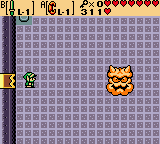
* Mini-Boss: Smasher *
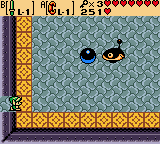
Smasher will hop around the room, either attempting to grab the ball that appears or running after Link in an attempt to throw the ball at him. When the opportunity comes, pick the ball up using the Power Bracelet and throw it back at Smasher to damage him. The ball will disappear after a few seconds, so avoid Smasher’s attacks but stay close enough to grab the ball when it lands. After about six hits, Smasher will fall and a new path will open on the northern wall. Head through it to 1F-C7.

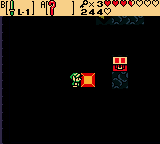
Use the Cane of Somaria to create a block on top of the button in this room. A bridge to the right side will connect, so walk across towards a chest in the lower-right corner. Switch places with one of the diamond stones to access the chest containing this dungeon’s Compass. Switch again with a diamond stone and climb the steps above, then enter the staircase on the left to a dungeon area below.
Jump across the moving platforms and head right one screen, then exit the dungeon area via the ladder at the bottom-right corner. Link will emerge in the basement level, room B5.
~Basement First Floor~
The Darknuts and Moblins in this room can be avoided. Head up the opposite staircase at the top of the room to be back on the first floor again, now in the “tip of the crown” on the map.
~First Floor~
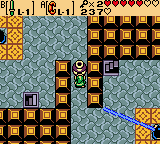
Swipe the blue switch to have the blue pillars lowered, then stand on top of them and shoot the switch again with the Seed Shooter to have the pillars rise. Walk along the pillars left one screen, then hop off them and continue down one screen to 1F-C4.
Unlock the block on the left and head through the path up and left one screen each to 1F-C2. Unlock the locked block in this room and strike the blue switch, causing the red pillars to rise. Walk up the steps at the bottom of this room onto the ledge, then jump off the ledge and land on the risen red pillars. Walk along them right and up one screen each to 1F-A4, then enter the staircase in the upper-right side of the room to B1F-A4.
~Basement First Floor~
Strike the red switch, then stand on the lowered red pillars and shoot it again with the Seed Shooter to lower the blue ones. Head up the now unblocked steps and shoot the switch again to raise the blue pillars, then go through the locked door on the left to room B1F-A3.
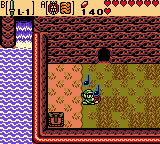
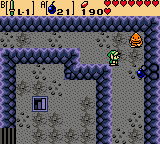
Hop off the ledge and open the chest to obtain 50 Rupees, then walk back up the steps and right one screen to B1F-A4 again. Shoot the switch, turning it red and raising the red pillars, then head back left one screen to B1F-A3. Walk down the staircase on the left side of the room to a dungeon area below.

Use the Cane of Somaria to create a block so Link can access the ledge in the center of the room and head across to the right side. Head up the ladder to resurface in room B1F-B2.

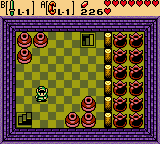
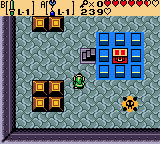
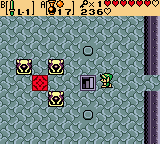
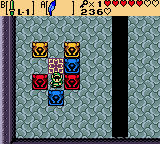
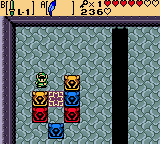
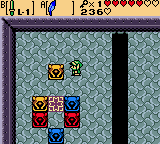
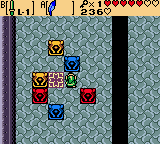
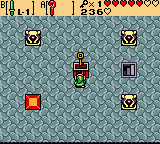
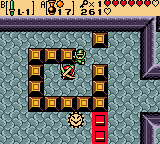
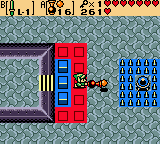
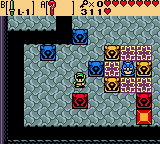
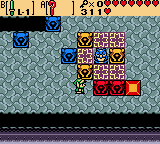
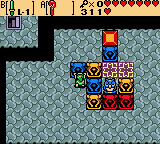
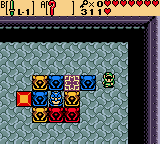
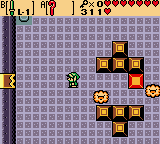
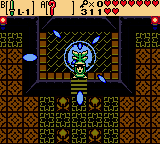
Similar to the puzzle before, pushing one statue in this room moves all other statues of the same color. The key is to get all statues surrounding the blue owl in the center. To do this, start by pushing the topmost yellow statue “left” three times. Create a block with the Cane of Somaria under the red statue on the right, then push the red one on the left “down” twice. Create a block again on the same red statue as before, only this time on its right side, then push the left red statue “right” three times. Push one of the red statues “up” now, setting both in-place, then head over to the blue statues. Push the farthest blue statue on the left “right” three times, then place a block above the blue statue on the right and push the left one “up” once and “right” twice. Finally, push the left blue statue “down” once, run over to the already-placed blue statue on the left and create a block next to it, then push the last blue statue “left”. A chest will appear on the left containing the Boss Key, so grab it and head back down the staircase to the dungeon area.
Head back through the underground area, left one screen, then climb the ladder up and out to B1F-A3. Walk right one screen to B1F-A4 and shoot the red switch with a seed to drop the red pillars. Swipe the switch again when passing to turn it back red and head up the staircase in the upper-right side of the corner to the first floor.

~First Floor~
Head down one screen to 1F-B4. Climb the steps on the left and hop off the ledge onto the raised red pillars below. Walk along them down one screen to 1F-C4. Head up the steps on the far right side of the room and follow the ledge down one screen. Jump off the ledge and walk left a screen.
Head right, passed the lowered blue pillars, right two screens and then down two more to 1F-F5. Walk right one more screen to 1F-F6, then unlock the boss’ door on the right wall to 1F-F7, the lair of the dungeon’s boss.
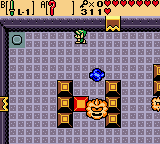
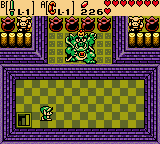
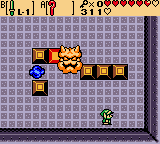
** Dungeon Boss: Smog **
Smog will break down into smaller versions of itself and plant an arrangement of blocks for them to circle in the room. The goal here is to make the smaller pieces run into each other so Smog returns to its original size, opening him up for a few slashes from Link’s sword. To do this, use the Cane of Somaria to place a block so the smaller Smogs ride on them and into each other. If the Smogs get too out of order and become impossible to make connect, a button in the upper-left corner of the room can be stepped on to restart the arrangement.
In the first arrangement, place a block with the Cane of Somaria either below the top set of four blocks or above the bottom set. In the second, place a block in between one of the two rows of three blocks to join the first two, then place one on the right side to have the middle-sized Smog come into contact with the third on the far right. In the third arrangement, place a block on the inside of either horizontal row of three blocks. When the Mini-Smog crosses it, place another block close to the middle two blocks so he rides across it to the middle blocks, then do the same for the opposide side. In the final arrangement, simply use the blocks created by the Cane of Somaria to bring each small Smog towards the middle until they all connect. Slash Smog three final times to defeat him.

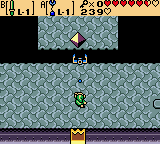
Grab the Heart Container from the center of the room and head up one screen. Walk up the steps to the altar above to obtain the fifth Essence of Time, the Sacred Soil!

After clearing the dungeon, the Maku Tree will mention still hearing an Essence echoing from Rolling Ridge before revealing someone has come to her. Seeing as how visitors of the Maku Tree have been anything but helpful as of late, Link will have to address this matter first and foremost in Chapter 6 of the Oracle of Ages walkthrough…


 Assassin’s Creed IV – General Cheats and Easter Eggs Guide
 Skyward Sword Walkthorugh – Fire Sanctuary –
  Skyward Sword Walkthrough – Eldin Volcano –
  Guide: How to Become a Pokémon Battle Tournament Master
 Batman: Arkham Origins – Costume / Skin Guide