

In Photoshop, filters are individual algorithms (e.g. behind-the-scenes calculations) that alter the appearance of an image. For example, a simple filter might blur a selected region while an advanced filter could make a photograph look like a hand-drawn sketch.
There are thousands of third-party filters that you can find on the Web and install into Photoshop as plugins, but Photoshop itself comes with a few dozen filters of its own — and these are more than enough for amateurs and hobbyists. Here’s a quick guide to what they do.
Note: I’m personally using Photoshop CS6, but many of these are interchangeable with Photoshop CC. Some are even applicable to the mobile version of Photoshop, but not all of them.
The Blur category contains some of the most-used filters in Photoshop. The general idea of a blur is to soften the image, but each particular filter uses a different softening approach.

Finds the average color value within a selection, then fills the entire selection with that color.
Averages the pixels next to hard lines and defined edges, effectively smoothing the transition and reducing noise.
Same effect as Blur except stronger.

Every pixel is softened by the average color of its neighboring pixels. The larger the blur radius, the stronger the effect.

A quick blur that uses a weighted color average of all pixels in the selection. The resulting effect is similar to looking at the original image through a hazy but translucent screen. Used in our soft focus effect tutorial.
Replicates the depth-of-field effect that one gets when using a camera. Some objects stay in focus while others are blurred out, as if at a distance. (Learn more about depth of field.)

Blurs in a particular direction at a given intensity. Think of it as taking a photo with a long exposure time.

Blurs in a circular direction, either in Spin mode (as if the image were spun around a given point) or in Zoom mode (as if the image were rushing at you).
Blurs according to a custom shape. Several custom shape presets are available out of the box.

Blends similar pixels together according to a given threshold, often creating a pastel effect that flattens the image. The larger the threshold, the flatter the image.
Blends pixels together but avoids edges. Great for smoothing an object’s appearance without losing its shape or definition.
The Distort category contains filters that provide a reshaping effect to the image. These take the actual image and “move” the pixels around without any kind of blending or blurring.
Shifts the pixels according to a displacement map, which is a special kind of image that dictates the movement of each pixel

Squeezes the outside of an image towards the center of the image. Can be used negatively to expand the image away from the center, too.

Converts the positions of pixels from rectangular coordinates to polar coordinates, which makes the image look like it’s being reflected off a metal sphere.

Alters the selection so that it looks like it’s rippling along the surface of a body of water.
A more advanced version of the Ripple filter that provides greater control.

Distorts the image along a hand-drawn curve.
Makes the selection look as if it’s bulging out of the screen in a spherical shape.
Spins the selection around its center, but more intensely towards the center and less intensely as distance from center increases.
Distorts a selection radially around its center, but using a zigzag pattern instead of straight circles.
In image processing, noise refers to pixels that have incongruous color values — and in many cases, this means colors that are randomly distributed. Think of it as the child of television static and a kaleidoscope.

Creates pixels of random color at random locations across the image. Pixel distribution can be Uniform (strictly random) or Gaussian (according to a bell curve).
Removes noise by blurring the image everywhere except where edges are detected. Edges include any areas that have significant changes in color.
Reduces noise across an image by finding areas with dissimilar pixels and adjusting them to be more similar.

Looks for pixels of similar brightness within the selection area, discards pixels that are too dissimilar, then applies the median brightness.
Preserves edges while reducing noise across an image.
Filters in the Pixelate category take groups of pixels and turn their colors all the same, effectively turning them into one bigger pixel. The different filters take different approaches to determining which pixel groupings should be combined.

Replicates the halftone effect by converting the image into a series of dots of varying sizes. Dot size is proportional to the brightness of that area of the image.

Combines pixels in areas to form a pattern of large single-colored polygons, imitating a crystallization effect.

Groups similar-colored pixels together while retaining the general shape and form of the image.

Takes every pixel in the selection, multiplies it four times, takes the average color value, then offsets it from the original pixel position. The result is something similar to a double-vision effect.

Roughens up the image according to one of several patterns that you choose. Black and white are used in grayscale images while saturated colors are used in color images.

Groups similar-colored pixels together into square blocks. Each block becomes one color that represents all of the pixels that were joined to form that block.

Fills the image with the current background color, then recreates the image using dots all over — but not enough to fill up the whole canvas. The result resembles a pointillist painting.
Unlike the filters above, Render filters generate entirely new effects from scratch that are independent from the image itself. These randomly generated images are great when you need a starting point for a particular kind of visual effect.

Creates a cloud-like pattern using the current foreground and background colors. Used in our tutorial on adding clouds to a cloudless photo.
Does the same thing as the Clouds filter, but follows up by applying the resulting cloud pattern to the current selection using the Difference blending mode.

Creates a fibers-woven-together pattern using the current foreground and background colors.

Creates a circular lens flare effect that simulates what happens when a light is shined into a camera lens.
Transforms the image as if different kinds of lights were shined on it. Comes with 17 different presets, but you can also create your own.
The Sharpen category is the opposite of the Blur category. When an image is sharpened, pixels of similar color are altered to improve contrast, which reduces the look of softness.
Improves clarity by reducing blur and increasing contrast.
Same effect as Sharpen except stronger.
Detects edges, which are areas in the image where the color changes significantly, and sharpens them by increasing contrast. Non-edges are left untouched.
Similar to Sharpen Edges, except it also provides variables that you can adjust for more precise control over the contrast adjustment of edges.
More advanced algorithm for sharpening that grants you more control by letting you adjust the different variables involved.
Filters are a foundational component of Photoshop, and learning what each one does is a significant step towards Photoshop mastery. Without any filter knowledge or experience, your Photoshop skillset is more limited than you might think, so don’t be afraid to scroll up and study them again.
Next, you should check out these essential Photoshop tips & tricks to see if there are any that you happened to skip. Don’t miss our idiot’s guide to Photoshop (part one, part two, part three, and part four). Lastly, we recommend these free online lectures for Photoshop.
How many of these filters are new to you? Are there any third-party filters that you’d recommend? Share with us in the comments below!
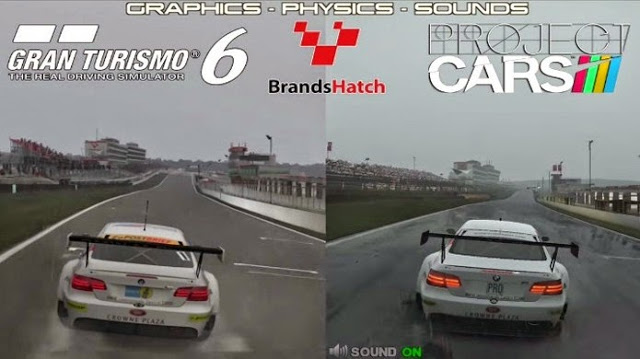 Project CARS vs Gran Turismo 6 video comparison
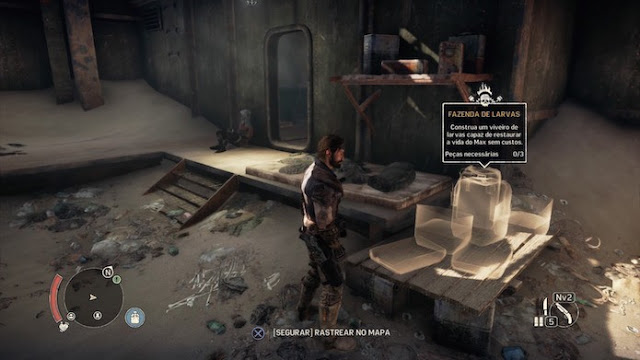 Mad Max: Upgrade / enhance Max Ability, Strength
 Sleeping Dogs Secrets: Health Shrines, Jade Statues, Lockboxes & Security Cameras
 How to Complete GTA 5 Online Series A Funding Heist : Steal Meth
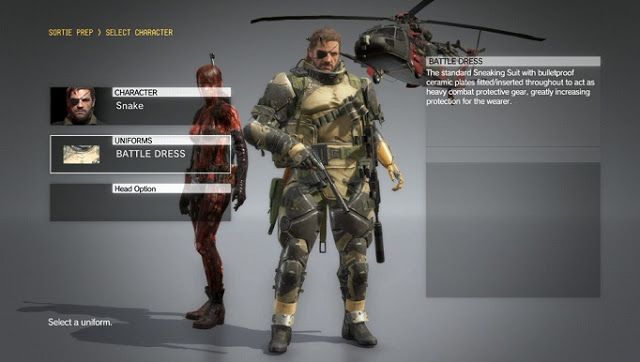 MGS 5 - The Phantom Pain: Unlock Snake Outfits / Costumes