Mission 14: Last Dance
Mundus’ spawn is a real pain in the ass. His first attack will be a wave of energy that you will have to hop over. It looks like a physical attack, but he’s just pounding the ground. Jump over this attack and stay behind the shoulder to the right. Here you will see an angel lift marker. Use the marker and hit Mundus’ spawn about three times. Be careful because he will take a swing at you while you are in the air.
After Mundus’ spawn’s life is about a third gone, he will open a third eye on his head. Use angel lift to pull yourself to this eye and slice it up. Again, you will probably only get about two or three hits before the spawn will swipe at you in the air. Once his life is about halfway gone, Mundus’ spawn will teleport, after which he will always do his shockwave attack.
Once Mundus’ spawn’s life is fully depleted, he will fall to the ground and Lilith will be vulnerable. Use the demon pull to yank her from the spawn’s stomach and attack her with Rebellion. After about a third of third of her life is gone, the spawn will get back up and swallow her back inside his stomach.
The room will turn a dark blue and the spawn’s attack pattern will change. Now, instead of having free access to the angel lift on the its side, you will have to use demon pull to reveal the angel lift marker. Aside from that, attacking the spawn is pretty much the same. However, the spawn will have a new attack where instead of shooting out one shockwave, it will shoot our four. When it does this double jump the first and second, then single jump the third and fourth. Once the spawn’s life is depleted, again pull Lilith out and hit her a few times.
The third stage of the spawn is similar to the second. Just keep pulling yourself up and attacking in the air. Avoid the spawn swiping at you in the air. When the beast goes down, pull Lilith out and finish her off.
Mission 15: The Trade
So the trade goes to hell because of Virgil’s itchy trigger finger and now Dante’s gotta save everyone. Dante will point out the obvious and you will have to move the crate so Virgil’s car doesn’t smash into it. These are timed events so move fast. Run up the broken black top and angel lift onto the car. Now jump/angel boost on to the crate perpendicular to the one you are trying to move. Use demon pull to move the crate.
Virgil will instantly need your help again. This first gap is a doozie, so double jump/angel boost and be ready to use angel lift to pull yourself to the car. Once on top of the car, double jump/angel boost onto the crates. Here you will have to do the stomp maneuver with Eryx three times to know the crates out of the way.
Once that is done, ange lift twice, then angel boost toward the third angel lift, use it, then a fourth one, and finally you’ll land on a stack of crates. Angel lift off the crates, angel boost, then angel lift again to reach the blacktop.
Virgil is one crappy driver. Before you can help him, you’ll have to deal with two stygian and a ravager. Finish them off, then double jump/angel boost over the gap to reach Virgil’s car. Demon pull the propeller to clear the way.
After a cutscene you will find yourself on top of semi, trailing Virgil. As the ground beneath the semi gives away, angel lift to get yourself to get off of the semi, then angel lift again, and angel boost/angel lift twice to reach solid ground. Once you’re there you’ll see Virgil is again trying to wreck his car. Demon pull the bus closer to you, then double jump/angel boost on top. Run to the end of the bus and double jump/angel boost to the piece of road to your far right. Here, you will face three stygian. Skip Osiris and just use Rebellion to kill them quicker. Now, double jump/angel boost to the train tracks and use the brawler move to clear the air for Virgil. After this the mission is done.


 The Easiest Way to Transfer Data to a Samsung Galaxy
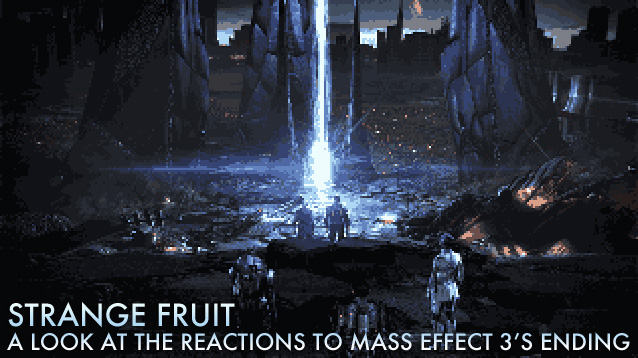 Strange Fruit: A Look at the Reactions to Mass Effect 3’s Ending
 DiRT Rally (PC) early access review
 Donkey Kong Country: Tropical Freeze Review: A Retro Return
 Warframe guide to fix Windows version, Camera rotation, Freeze, Crash, Update or signup failed & connection issues