The Cat School Witcher gear is pretty nifty set of armor to have on you once you’ve hit level 15. The level recommendation for this scavenger hunt quest is level 17, but if you’re familiar with the combat system and Sign usage in The Witcher 3, you can tackle it as early as level 15.
To unlock this quest, head over to Est Tayiar, which is on the eastern side of Velen. There, you’ll find the Cat School notes hidden in the ruins. You’ll also visit this area during one of the secondary quests for Radovid so you can grab it then. You’ll also find your first gear diagram for the Feline Silver Sword there.
Next, you’ll want to fast travel to Castle Drahim. Use the Aard Sign to break through the castle doors and head straight down to the basement. There’s quite a bit of loot to be had here, so take your time to clean the area out and be on the lookout for two items pertinent to the scavenger hunt. The first is the gear diagram for the Feline Steel Sword, and the second is a journal that gives you your next location. Read it, and it will reveal that there’s another gear diagram to be found in the wreck of the Flying Stag.
At the wreck of the Flying Stag, simply look out for the hole in the ship and head down to find the gear diagram for the Feline Crossbow and the Mage’s Notes. The quest item will reveal the final location you have to explore in order to get the good stuff: the Cat School armor set.
If you thought the scavenger hunt’s been pretty easy so far, it’s about to get a little more challenging. After reading the Mage’s Notes, fast travel back to Novigrad and head to the northern part of your map. You’ll be looking out for the fast travel marker Elector’s Square.
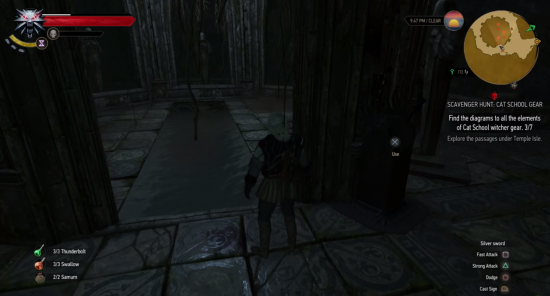
Now this is where things get a little tricky. You’ll want to avoid looking for safe spots to dive into the water – there are none. Instead, look behind the houses lying along the coast for a well hidden path that leads straight to Temple Isle. Follow the path and you’ll soon find yourself at the cave entrance. You’ll have to use the Eye to dispel an illusion in order to enter the cave.
Once inside the cave, you’ll find a golem lying in wait. You can either choose to dispatch him or simply run to the right side of the room where you can use Aard to blast through a weak wall. Go through the tunnel found on the right side of the room, follow the linear path all the way through, and take care of the Wraith hiding there. Be sure to pick up the Invoice For A Golem before heading back the way you came.
From the room with the golem, head to the left hand side to find a second tunnel. Follow this tunnel and it’ll lead you to a square-shaped room filled with a few statues and levers. You’ll have to solve a very simple puzzle here. Simply fiddle with all the levers until you get all the statues facing the center of the room. Once you’ve done that, the floor in the middle will open up. Dive in, take care of the three Drowners with your crossbow, and go all the way down to collect the Key To The Laboratory. You’re now ready to open up the final area and collect the rest of the gear diagrams.
Head back to the room with the golem, go all the way straight and use the Key you just found on the locked door. Be sure to save your game before going through the door as there’s a rather challenging fight waiting ahead. There’s a possessed witcher waiting for you in the next room, and I recommend using the Quen Sign in this fight. Simply parry his attacks, dodge accordingly, and strike whenever you see an opening. Quen should help protect you from some of the damage if he happens to land a hit on you.
After you’ve defeated him, loot his body and claim the rest of your reward: the gear diagrams for the Feline Trousers, Feline Boots, Feline Armor, and Feline Gauntlets. Congratulations! You’ve just unlocked one of the coolest looking armor sets in The Witcher 3! Well, for the early part of the game, at least…
For more information regarding The Witcher 3: Wild Hunt, be sure to check out our ever expanding wiki.


 Mission 1 - Osiris: Halo 5 Guardians Guide
 Spectrobes - Nintendo DS Video Game Cheat Codes
 Fallout 4: Unlock Cait as Companion, romance guide
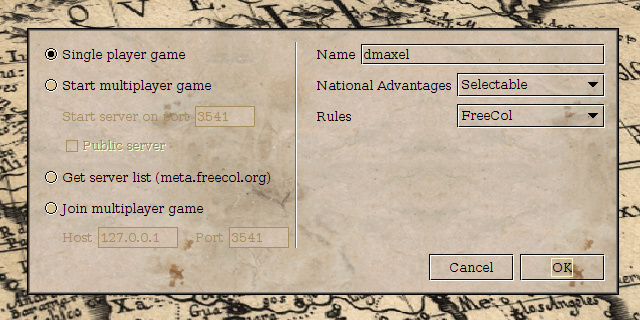 FreeCol Is A Cross-Platform Game Akin To Civilization But With A Twist
 Doom Multiplayer: System Specs, Closed Alpha at a glance