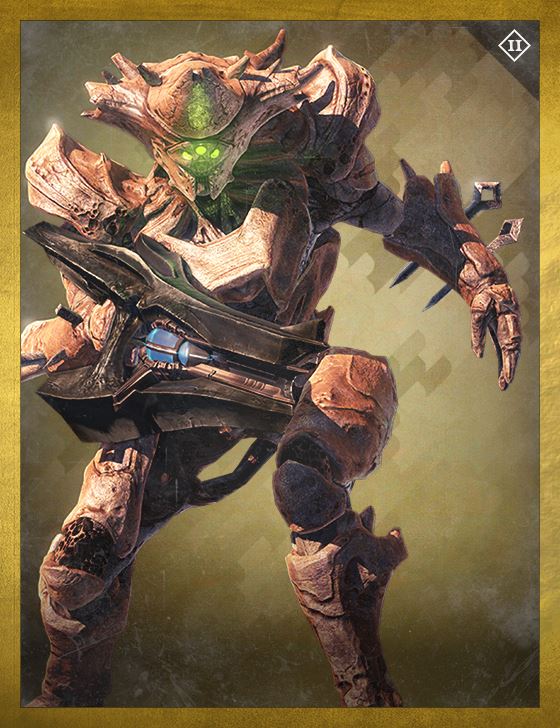
The Wretched Knight can be one of the easier bosses in the Prison of Elders if you approach him with the right strategy and setup. For one, the Wretched Knight doesn’t have a shield. This makes him significantly easier to face than Valuus Taruug, who not only has one, but continuously changes its damage type throughout the battle.
When selecting weapons, no boss shield means that you don’t need to be as wary of what type of damage is applied. But that doesn’t mean that you should ignore elemental damage entirely. This is a Hive boss fight which means that void damage weapons are the least useful. For this particular Hive fight, there are also no enemies with arc shields.
In fact, the only enemies with elemental shields are the chosen wizards with solar shields. If you have a Gjallahorn, which is a boon to any battle, it is particularly useful for inflicting damage upon the Wretched Knight while the wolf pack rounds simultaneously pop the wizards’ solar shields. The Abyss Defiant is also effective for dealing with the wizards in this fight as it blinds them in addition to dealing solar damage.
If you have any other Crota’s End weapons which do extra damage to Hive enemies as well as any other weapons which inflict solar damage, then you’ll want to bring them into the fight. Vex Mythoclast and Vision of Confluence are two good ones to consider. The Wretched Knight is an easy headshot, so high powered sniper rifles such as Icebreaker will work well, too. For armor, any piece that provides the perks of faster revives or increased orbs will be a valuable addition to this battle. Equip your gear and you’ll be ready to face the Wretched Knight.
Upon entering the arena, you’ll notice that the Wretched Knight stands in the center of the room guarded by ogres, wizards, acolytes, and thrall. At all times, you must maintain an awareness of these additional enemies, as they will continuously respawn until battle is finished.
While you will absolutely need to fight these enemies in order to survive throughout the battle, your primary strategy should be to deal heavy damage on the Wretched Knight as quickly as you possibly can. This does not need to be a long battle. The Wretched Knight is a mere pest that must be crushed beneath your heel as you continue along your path to triumphing over the Prison of Elders and becoming legendary.
The first threat you’ll want to deal with is the powerful and deadly ogres. The best way to handle them in this fight is essentially to avoid them, so find yourself some cover. If you walk around the perimeter of the map, you will notice that a layer of rocks surrounds the center area. Hiding behind these rocks is a great way to stay out of sight of the ogres. You may also notice that the terrain on the perimeter slopes. Use this to your advantage. Some attacks can be avoided entirely by stepping backwards out of range. Just remember to keep an eye out for acolytes and thralls and headshot them quickly when they appear.
It will be difficult for the ogres to maneuver fast enough to flank you from the sides, but they won’t ignore you forever. Make sure that when they do begin to close in on you, their health is low enough so that you can destroy them quickly. The wizards are a little bit trickier to deal with. If you have three people in your fireteam, it would be wise to assign one player the responsibility of wizard duty. Abyss Defiant is the perfect weapon for this player, but if you don’t have it, just make sure you’re using something that inflicts solar damage.
One you’re comfortable dealing with the additional enemies, you’re ready to start directing your firepower towards slaying the Wretched Knight.
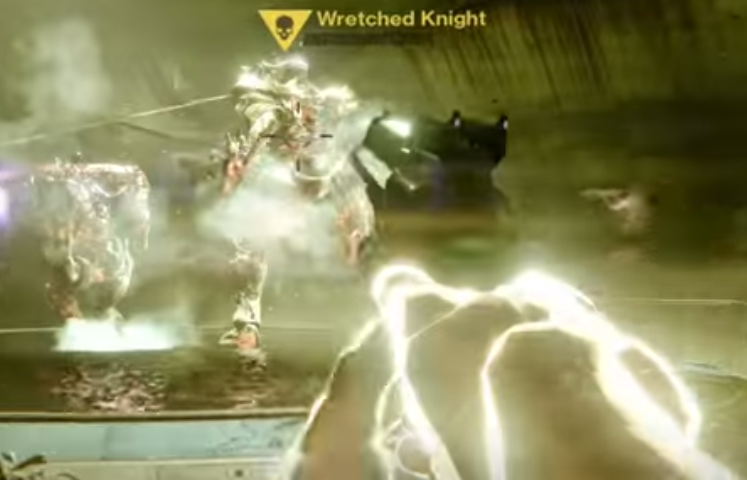
Once you’ve gotten the additional enemies under control, all that’s left to do is decimate the Wretched Knight. Keep one person in your fireteam on lookout duty so that a surprise ambush doesn’t end the round prematurely. Then take out your heavy weapons and start blasting away.
If you are a Titan on your team, switch over to the Defender class. Now is the perfect time to activate Ward of Dawn with Weapons of Light. If your Titan has it, Helm of Saint-14 is the perfect exotic for enhancing your bubble shield in this fight.
If you are a Hunter on your team, switch over to the Gunslinger class to inflict maximum damage on the Wretched Knight. If you’re following the strategy and taking cover, your teammates shouldn’t be dying too much, so the Bladedancer’s invisibility isn’t as valuable in this fight. Plus, it will help that the grenades will inflict solar damage.
If you are a Warlock on your team, switch over to the Sunsinger class. If you’re unfortunate enough to face an entire fireteam wipeout, your Warlock can return from the dead to keep the mission going. The solar damage grenades will also help in this fight. If your character has either the Sunbreakers or the Heart of the Praxic Fire, bring it. Either item will greatly increase the amount of mayhem you can create with your grenades.
If you brought your Gjallahorn, now is the time to use it. An effective strategy is to have one player inflict sniper headshots on the Wretched Knight while the other two players switch off between keeping lookout for enemies and blasting the Wretched Knight with rockets. Continue this repeatedly until the Wretched Knight is nothing but a pile of ash that lies before you.
But don’t get too excited just yet, Guardian. There’s still one more round left before you’ve completed the Prison of Elders. For the last challenge, check out our guide on How to Beat Valus Trau’ug.
How did you fare against the Wretched Knight? Share your thoughts in the comments. And, be sure to check out our Destiny House of Wolves Wiki Guide for more tips & tricks.


 Mad Max: unlock new cars, Death Run, vehicle locations
 Uncharted 4: A Thiefs End for PlayStation 4 - review
 94% video game - Solution (Android / iOS)
 Grey Goo (PC) General Faction Strategy Tips
 Yakuza 4 Trophies List