
Trials is back in a big way with Evolution, and with twice the amount gamerscore to dish out than in its previous incarnation. These collectibles (or creepy-ass squirrels) are mostly hidden in creative ways. You’ll have lots of fun unlocking the first few, then you’ll start to relish the challenge, then eventually your pets will start cowering in fear as you scream in frustration over the last few. Well, we documented our own struggles for all to see in the hopes that you might have an easier time. Below you’ll find videos (5 squirrels per), screens, and text detailing how to find each and every squirrel. Good luck!
PSA: Do not take your Trials-induced frustration out on any real-life squirrels.
Above: Squirrels 1-5
Squirrel #1 (D License Test)

This one is tough to miss. Just wait a moment after crossing the finish line and the squirrel (among many other things) will drop down on you.
Squirrel #2 (Fuel for the Flames: Sunset Stripped)

As soon as the race begins, reverse into the fence. This will set off a small firework in front of you, and drop a secret ramp near the halfway point of the race. Proceed without crashing or using a checkpoint, and you’ll shoot up this secret ramp to find your squirrel.
Squirrel #3 (Fuel for the Flames: Strike)

Just after the second checkpoint, there will be a short gap to jump across. You’ll want to fall down here instead, making sure you’re coming out of some kind of improvised flip when you hit street level (or you’ll crash). Drive through the door and up the loop ramps to reach the squirrel.
Squirrel #4 (Fuel for the Flames: Cliff
Jumper)

Right near the start of the race, instead of leaping from the rocky ramp, hit the brakes hard and just barely drop down. You want to land so that you can roll backwards down the slope seen below.
Squirrel #5 (Terminal Velocity: Rock
Steady)

Just like squirrel #1, simply get to the end of this race and wait until the squirrel unlocks.
Above: Squirrels 6-10
Squirrel #6 (Terminal Velocity: Sewage
Plant)

As soon as you hit the fifth checkpoint (just after the three consecutive pipes), return to it. Reverse to the very top of the wooden ramp behind you, hit the gas, and lean forward. Just as you are launching from the ramp in front of you, bailout with Y. If you’ve timed it correctly, you’ll land in a secret room containing a squirrel. If you’re having trouble getting enough speed or getting the timing just right with the Scorpion, wait until you unlock the Phoenix, which has the fastest acceleration in the game.
Squirrel #7 (Terminal Velocity: Suspense)

As soon as you get to the pendulum, stop. Do not continue forward onto the next ramp you see. Instead, wait for the platform to swing back, then just before it reaches to top of its rightward swing hit the gas and launch up into a secret area. See the video for the exact timing.
Squirrel #8 (Terminal Velocity: Titan
Graveyard)

Just after you fly through the cages, you’ll fall from a long pier onto a stone path below (which also contains a checkpoint). Instead of continuing off the ramp ahead, reverse, drop down, and continue reversing until you get your squirrel.
Squirrel #9 (Terminal Velocity: Meltdown)

At the start of the race, reverse into the flames. Now on fire, you need to complete the race without any faults or stopping long enough to explode. Don’t be too concerned with going for gold here— just get to the end!
Squirrel #10 (Collateral Damage:
Archipelago)

You only need to do five of any kind of flip without faulting and a squirrel will appear on the back of your bike. These flips can be done at any time during the level, and do not necessarily have to be carried out in the same psychotic manner as you see in the video (we were feeling extra masochistic during our recording session).
Above: Squirrels 11-15
Squirrel #11 (Collateral Damage: Mind
Bender)

You’ll eventually reach a giant cube of water. Bailout when you hit the center of that cube. If you’ve timed it right, you’ll fly high into the air. Use the left stick to guide your character up and to the left to reach a secret area containing a squirrel.
Squirrel #12 (Collateral Damage: Harbor
Havoc)
 Once you
land on the steel shipping containers, start taking it very slow. You’ll notice
that the blue container (third one) just before the checkpoint has its doors
open. Drop down and reverse into this container to find squirrel #12.
Once you
land on the steel shipping containers, start taking it very slow. You’ll notice
that the blue container (third one) just before the checkpoint has its doors
open. Drop down and reverse into this container to find squirrel #12.
Squirrel #13 (Collateral Damage: Power
Plant)

When you reach the elevator, wait for it to reach the top then reverse. Continue backwards until you fall off the roof’s edge.
Squirrel #14 (Collateral Damage: Swamp
Fever)

There’s a checkpoint just after the second spiked ball right in front of a large upward slope. You have to speed up that slope and bailout in such a way to launch yourself high over the uppermost platform and as far right as possible. Make sure that you bailout just as your bike leaves the ramp, and that you use the left stick to control the flight path of your body. The slope and the timing can be extremely tricky, so thankfully the checkpoint puts you right in front of the jump.
Squirrel #15 (Cutting Edge: Physics
Factory)

At the start of the race, make sure to get as much speed off of that long catwalk that rises up (before it drops down) and try to make a clean launch all the way over to the bouncy grate. If you’re having trouble making the distance, just ensure that your back tire is in contact with the catwalk for as long as possible. Before you land on the bouncy grate, hold down the brake button. Continue holding the button until you reverse off the grate and down a newly opened path. Squirrel!
Above: Squirrels 16-20
Squirrel #16 (Cutting Edge: Around the
Ranch)

This squirrel is at the very end of the track. At the final checkpoint, leap from the yellow ramp, but not at full throttle. You don’t want to cross the finish line. Instead, you want to land just before it, and reverse until this squirrel unlocks.
Squirrel #17 (Cutting Edge: RedLynx
Moto-Jam)

As soon as the race begins, you’ll see a pyramid of logs in front of you. The trick is to touch the top log with your front tire (in order to set off the green fireworks) without actually riding over the pyramid. If you can do this, simply reverse beyond the starting line until you find your squirrel.
Squirrel #18 (Cutting Edge: Lab Rat)

At checkpoint #6, you’ll notice the path takes you through a puddle which lies just underneath a faucet. Stop underneath this faucet and enter the Konami code (up, up, down, down, left, right, left, right, a, x, a, x) and you shall have your squirrel.
Squirrel #19 (Death Valley: Under Construction)

As you climb a series of I-beams, you’ll notice one near the top of the structure fall down as you get near it. When you see this, reverse carefully (use sporadic braking to control your speed) until you land on the ground in the spot pictured above. The squirrel should then appear.
Squirrel #20 (Death Valley: Bridge of
Trials)

Near the end of the race, look for a hanging handhold just above one of the steeper plank ramps (pictured above). Bailout and hold Y to be carried over to a raft holding the last squirrel.

 Monster Hunter 4 Ultimate (3DS) Seregios: tactics in the fight
 Top 25 Holy Shit Gaming Glitches of All Time
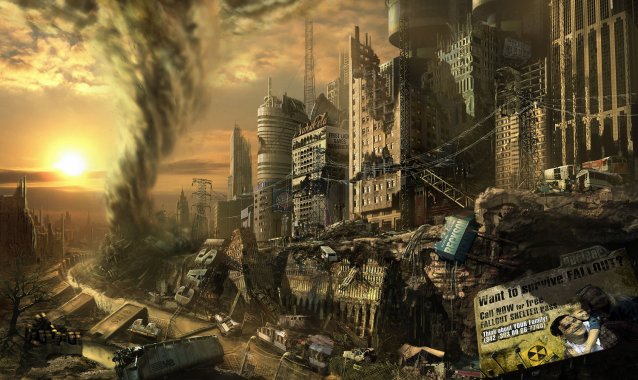 Fallout 4 at QuakeCon? Dont Count On It
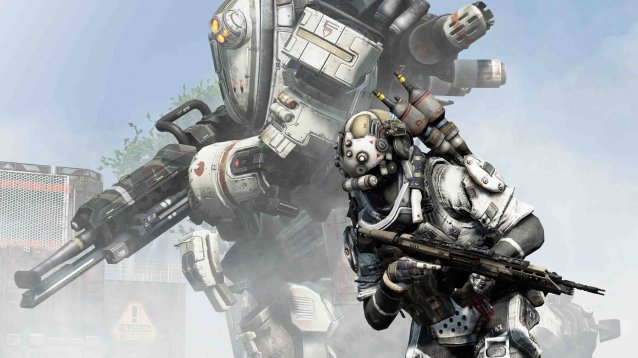 Titanfall Glitches Guide
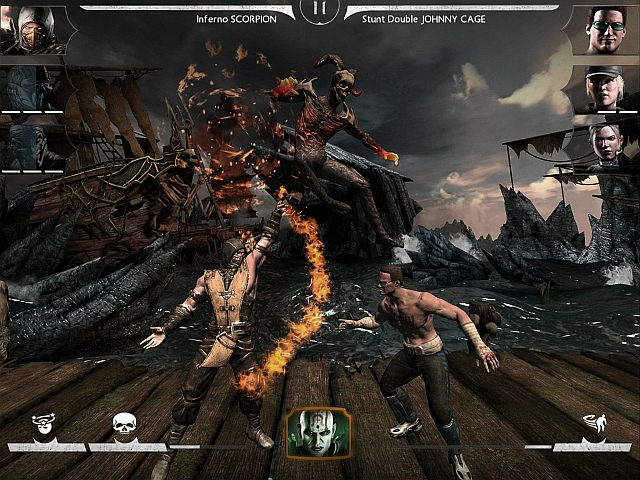 Is Mortal Kombat X on iOS Worth Downloading?