Created, coded, and hand-drawn by one man, Dust is something of an indie revelation, and we’re here to get you through this hack and slash action-RPG alive with a full walkthrough. In Elysian, you play as a swordsman named Dust as he defends a village from evil oppressive forces. Also, everyone is a cute animal creature, but don’t let that stop you from enjoying this unique action game with dozens of side-quests and hundreds of enemies to kill. Slice your way through the evil hordes with Game Front as your guide below.
For even more Dust: An Elysian Tail information, check out the full list of achievements. Or, find more extras on the cheats page.
Difficulty: Normal
I advise learning how to use the parry move early on. It’s definitely one of the most useful abilities.
Chapter 5: Dust to Dust
Prologue
In the very beginning of the game, walk all the way to the left to collect a key.
Ability:Break through the wall, continue forwards. Collect Dash.
Go down and to the left to collect a note and use the first key to open the treasure chest.
Ability: Continue to the right, collect Dust Storm.
Keep going right, instead of going up, go right and collect a second note and break through the wall to get another key.
Go back and go up, go down and to the left to open the chest.
Go downwards and to the right. Past a tent and some enemies is another breakable wall with two keys behind it.
Continue downwards towards the village.
Ability: Aerial Dust Storm
Continue right. There is a key above the ledge before heading down.
There is a chest right in front of the explosive wall.
After visiting the store, continue downwards to the right. Pick the bomb fruit and bring it back to the explosive wall to get another key.
Pick another fruit to explode the wall and continue.
Defeat the enemies before picking the next bomb fruit, which is on a ten second timer. Defeat the enemies, then use your Dust Storm ability to bring the bomb fruit down to the exploding wall.
Use four keys to unlock a friend, giving you a 5% health bonus.
After talking to the villager, move on to the next stage. After the save point, use parry liberally to defeat the minor bosses. You need to time it right, otherwise it’s going to take a lot of button mashing to defeat them.
Chapter 1: Destiny
Aurora Village
Walk through the village, many of them have quests. There is a treasure chest in the mine.
Continue to the right again, there is another chest above on the wooden supports.
After accepting the Mayor’s quest, travel east into Abadis Forest.
Abadis Forest
Heading down and to the right will take you to a camp area, after which is another chest. Otherwise, continue onwards.
Going all the way to the right will take you to another key. You can use the fruit bombs as weapons in combat when using the Dust Storm ability.
Going down to the left and then right will take you to a save point.
After you leave the caverns, you will start to fight slime monsters. Don’t jump over these guys, just stay on the ground when fighting them.
Avoid getting hit by the slime monsters in the next stage, just run past them as they try to hit you from below.
There is a treasure chest in the stage two after the next save point.
After going up past the camp, there is a note in front of another store.
Continue left, you should find another treasure key.
After defeating the flying enemies, use Dust Storm to get one of the bomb fruits to follow you. Wait till you observe the fire, then take the bomb fruit up to the explosive wall.
There is another note after the exploding wall. Go up, and in the next stage break the two breakable walls to let the water down on the fire, and collect the key.
Denham Village
To defeat Fuse, use your dash ability to get close to him. Don’t forget to equip one of your healing items.
After defeating Fuse, there is a treasure key right above the entrance to the next stage, and a note before the save point.
In this stage, you can go down to the challenge room (Cirelian Trail #1) instead of continuing onwards if you so choose. You will then return to Aurora Village.
When you return to Aurora Village, make sure to talk to the villagers. You may have completed some quests for them, and they will additionally update their quests.
Geehan’s Farm
I chose to help Geehan find his watch. When you go down to the cavern, use Dust Storm to move bomb fruits behind walls to the exploding walls.
When you reach the bottom of the cavern, use a bomb fruit to explode an exploding floor. Then, use Dust Storm to guide a bomb fruit all the way around the cavern to the exploding wall so you can reach the watch.
Return to Mayor Bram, then speak to Ginger. After the monsters attack, head to the left, then down into the mine.
Once heading into the mine, you can either go down Cirelian Trail #2 by heading to the left, or continue onwards to the right to head deeper into the mine.
Chapter 2: Darkness
Cirromon Caverns
Continue further into the caverns. In the middle of the stage is a save point, then a treasure chest down and to the right.
In the next stage, go to the far left, then down to pick a bomb fruit. Then go back and to the right and you can use the bomb fruit to break the exploding wall. Do this again for the next exploding wall at the very bottom of the stage.
There are two treasure chests in this stage. After saving, both treasure chests are on the left of the stage, one in the middle, and one on the bottom.
Head back up, then continue to the left to move to the next stage.
Follow the mysterious creature. I went up and to the left. There will be a save point at these stages. Eventually you will catch up to the creature.
Next, you’re going to go through a forest of bubbles that will poison you. Simply wait for the latest drop of poison, then dash through it.
Head downwards and to the left to move to the next set of stages.
Save the small creature. Defeat one monster at a time, making use of parry.
Mudpot
Go throughout the village again and talk to the different villagers for new sidequests. Blop will give you a resonance gem that you can use to explore the “basement.”
Going North of the village, you can find a key on a ledge in the left side of the stage.
Below the village is the basement. With the resonance gem, just walk up to the wall and it will open for you.
Once you’re in the basement, avoid the spikes.
Ability:Crouch slide. Once you’ve gone two stages into the basement, find the crouch slide ability by going to the very bottom first, then going around the stage to the ability.
Once you’ve gained crouch slide, go back to the previous room. If you have four keys you can unlock a new friend. On the left of the room crouch slide the first tunnel, then go up, then keep going right, then drop down, go left when it splits off, then go right.
Go back another stage, and then once you reach another tunnel whe you can crouch slide, there will be Blop’s hitting stick.
Return to Mudpot. Then return to Blop with his hitting stick. Crouch slide past Blop to fight trolls.
On the far left of the stage, use the timebomb fruit to explode the exploding wall which will allow you to continue to the left.
continue further into the cavern, avoid the falling rocks. There is a key at the far left of the bottom stage.
When you reach another save point, there will be a treasure chest at the end of an obstacle course of falling rocks. If you op to get the chest, you will need to go through the course again.
Go further down into the cavern. If you go right, there will be more treasure, but to fight the next boss, go left and meet “The Lady.”
To defeat Lady Tethys, you cannot use Fidget’s abilities. Use parry and avoid her “bubble” strikes. Don’t forget to take the new projectile ability that Lady Tethys gives you.
Chapter 3: Love
The Sorrowing Meadow
Keep defeating enemies as you progress further into the level. There will be a small mini boss with “knife hands.” Simply use a combo of Fidget’s fire column moves as well as parry.
The same stage, there will be an obvious treasure chest just sitting out in the open. It is filled with the bee enemies. But, to the left of the chest is a breakable wall that has 3 keys behind it.
You’ll come to a stage where you’ll need a blue resonance gem to access treasure. If you haven’t already, you can obtain this by going to the blacksmith at Archer’s pass, which has no bosses and is straightforward. Just make sure you use Fidget’s projectiles to hit the blombs.
Once obtaining the green resonance gem from Old Cora, go to the bottom of the stage to use the gem and go down to the cavern. Once you drop down, there’s a point where you can slide either left or right. Go right to get two treasure keys.
At the next stage, there is a new monster that generates other monsters and is unhittable. You’ll have to use a lot of Fidget’s projectiles combined with Dust Storm to defeat this monster, otherwise it’ll keep spawning others.
Bardel Mansion
As soon as you enter the mansion, head right and pick up the note behind the breakable wall.
Avoid the monster and break the barriers, using dash to avoid the monster’s attacks.
Ability:Once you pass the monster, there is a new ability, vine grab.
Leave the mansion, then head left to teleport back to the beginning of the cavern area.
After the next save point, you can either head right, or down. I decided to head down. Destroy the first breakable wall, then use the bomb fruit to destroy the exploding wall. Crouch slide underneath, then use the bomb fruit to detonate the second exploding wall.
Next, you need to use the bomb fruit that’s on the far left to detonate the exploding walls on the right. Do this twice, but be quick about it. Dust Storm can pull bomb fruits that aren’t even on the screen.
In the next stage, kill the bees before dropping down. Once you drop down, you will fight a big group of zombies. If you take the air lift on the left side of the cavern there is a room with a key in it behind a breakable wall.
Once you defeat the group, climb up the wall on the right and break the breakable walls to the right. Once you reach the bottom, pull the bomb fruit through the crouch slide tunnel, then climb back up the wall. Use Dust Storm to pull the bomb fruit up, climb the second wall, then explode the exploding wall.
There is another floating, unhittable enemy in the next stage. Use dust storm with fidget’s projectiles to hit it.
At the next stage, I chose to go down instead of continuing to the right. This is optional. Skip the mansion if you don’t want the treasure. You’ll eventually come to a point where some obstacles (spikey walls) will be in your way. Either dash or crouch slide around them.
When you get to a save point, go back up, and use hold Y and head to the right to use Dust’s flying ability to get a key.
Drop down and defeat the enemies, then head to the right, carrying the bomb fruits with you. Use the first to get to a treasure chest, and the second to get access to a store and another key.
Use the bomb fruit to explode the wall and expose a cave that you can enter at the very bottom of the stage.
Nanoth Mansion
Start heading to the right immediately, as you’ll be chased by the same monster in Bardel Mansion. You’ll eventually enter a room with no exit. Go back to the left, then back to the right to discover a note and a newly opened door.
Crouch slide to leave the closed room, then defeat the enemies. Two treasure chests behind an explodable wall are on the right side of the mansion.
Leave the mansion and return the way you came from, getting treasure chests on the way back up if you haven’t already. Return to where the stage splits (with a save point and head right.
There is a new monster with sickles for hands. Use parry and Fidget’s projectiles to defeat him, although he isn’t nearly as tough as the floating monsters that generate other monsters.
Continue right until you get past a troll to Samachua Mansion.
Samachua Mansion
There is a note to the left of the entrance once you’re inside the mansion. Keep heading to the right and breaking through walls when you need to, you’ll come to a door that has a brooch behind it. Leave the mansion. On your way out, use a bomb fruit once you pass a vine wall to destroy a wall at the bottom and get access to 3 keys there.
Return above the save point where it heads to the right. Cirelian Trail #5 is in the stage to the right of it.
To continue on the chapter, return to the save point with Cora, and climb up the vine walls. Avoid the spikes, and continue throughout the next stage.
Go all through all the stages to the left, then up to get to the next mansion. When you reach the mansion, keep heading left through a false wall to a treasure chest.
Dorimo Mansion
This last mansion is really quick. Just keep breaking through the exploding walls and go up to get the last item. You’ll have to fight a couple of the floating enemies on the way out. The last stage right befor leaving, there is a part in the middle of a vine wall where you can jump to the left and walk all the way to a treasure chest. You have to fight a sickle monster to get past, first.
Fight your way back to Cora.
Boss Fight: Kane
Now’s your chance to fight the annoying ghost that’s been following you around. I used a lot of Dust’s flying attack with, as usual, Fidget’s projectiles (I find the electric one the most useful). They should be enough to get the job done. When Kane gets weak, he’ll start spawning the zombie monsters
Go back to the beginning of the level and talk with Augustin to move on to the mountain.
Chapter 4: Revelation
Blackmoor Mountains
Keep going left until you encounter the platforms that break away. There is a treasure chest underneath these. Beware of the new enemies, they’re much stronger than the ones you’ve been fighting.
When you go up a stage, return with double jump to the right so you can get two treasure keys.
Ability:Continue on until you’ve reached a stage with a minor boss to get the Double Jump ability.
Return back to where the stage originally splits off (and the cliff is too high so you need to get Double Jump), to go upwards.
Back at the stage which splits off, there’s a point when you’re going up and to the left and there is an opening going left. Go down and left and there should be two treasure chests there.
When you get to a stage with falling icicles, drop down on the third and last plastform to get a cooler for a sidequest.
After Fidget suggests to start an avalanche, head through the mountain to break the walls supporting the snow. When you get to a part with moving platforms, stay on the platform to get a key.
Keep heading to the left and you’ll have to fight a troll that attacks pretty quickly. Avoid his quick strikes. There’s a treasure chest underneath the platforms spawning on the left.
When you get to more platforms that head into the next stage, jump to the right because the platform will otherwise take you right into some spikes on the ceiling.
Keep heading right and in the next stage, there is a save point and three minibosses. Just use Fidget’s projectiles to defeat them.
The stage after the minibosses, head up to get to a treasure chest and a bomb fruit which you can use destroy the wall and move on.
Head back to the opening of the mountain, then head up to a save point and then left. Watch out for the avalanche! If you go down and to the right of the avalanche’s path (obviously when it’s not falling), there is a key.
Run up the slope to avoid the first avalanche. Hide in the overpass, then jump back up and onto a ledge to avoid the next avalanche.
At the beginning of the next stage, let the first avalanche pass. Then, run all the way into the left in the cave to fight the enemies. There is a key to the left of the crouch slide but you have to go back through the avalanches if you get it.
Otherwise, go back up where the avalanches are falling down to get to the next stage. Keep heading to the left, then fall down through more disappearing platforms to reach a store and a key. Otherwise, head up.
Avoid the avalanches, then ride the moving platforms to a treasure chest. There are spikes on the ceiling again so don’t run into these.
Climb up the vine wall to keep going up, then run against the blizzard, fighting enemies. Eventually you’ll get to some moving platforms going up and down. Take the first one to the second, then jump to the third, and the entrance to the save point is at about the middle of the cliff face.
Defeat the three soldiers first then go into the village. Combine attacks with Fidget’s projectiles.
Zeplich village
Leave the village after all of the cut scenes.
Chapter 5: Dust to Dust
Moonblood Camp
Go all the way to the right and find the fallen sentry. Defeat the invisible enemies. They’re spottable by the slight flickers in their camouflage.
Enter the camp and go below it and then all the way to the left. Use Fidget’s electric projectiles to turn on the generator at the very top of the platforms.
Then, go all the way to the right and top to find the pump. Use Fidget’s fire projectile with Dust Storm to destroy the roots and turn the pump back on.
Return to the elder, then go back to where you found the missing sentry to regroup with the other soldiers.
Ability:Find a way to explode the wall. Go down below, if you crouch slide to the left you’ll find two treasure chests. Continue downwards until you get to the air boost ability. Go back the way you came and follow the air boosts up till you can go all the way around and use the bomb fruit to detonate the wall.
Lead the charge and make your way to the front of the attack. Watch out for a floating plane that shoots down at you and the soldiers that you fight against use parry often.
You’ll fight multiple plane enemies. Use flying attacks to damage them. Keep fighting through the groups of enemies.
Everdawn Basin
Keep fighting your way through the enemies. The toughest ones are the “armored trolls” that are tough to defeat. Use a combo of melee attacks and projectiles and keep your distance.
Eventually you’ll make your way to a part where you have to go underground. When you get to an airlift part, go only half way and there is a treasure chest in the middle of the right cliff wall.
Keep heading further into the camp. When you get to another part where you need to use an airlift, there is a treasure chest at the bottom of the shaft to the left. After you get the chest, take the lift and destroy the artillery cannons.
The third artillery gun you fight, notice that there is are some breakaway platforms above an airlift. Take the lift all the way up and fall down on the artillery and the soldiers that are around it.
The rest of the level before the boss fight is straightforward and repetitive–just groups. Just keep fighting through the groups of enemies and use bomb fruits to break through walls where necessary.
General Gaius Boss Fight
Before starting this fight, make sure you have lots of healing items and items that fix silence and poison. You’ll need them because General Gaius comes back to life multiple times.
The first time you defeat him, he’ll just use melee attacks. Kill the two soldiers before you take him on. I like to use the electric projectile to stun him temporarily, then come in for some melee combos. Watch out for his lunge attack which does close to 800 damage.
The second time you fight him he’ll combine a spell which shoots out three purple “bombs.” These are explosive, avoid them because they silence and poison you. He’ll also get reinforcements with soldiers and bombing planes.
The third time you fight him it’ll only be the two of you, but you’re fighting on rocks above lava. I mostly evaded him and used a lot of Fidget’s projecties. Most of all, I avoided the three purple bombs.


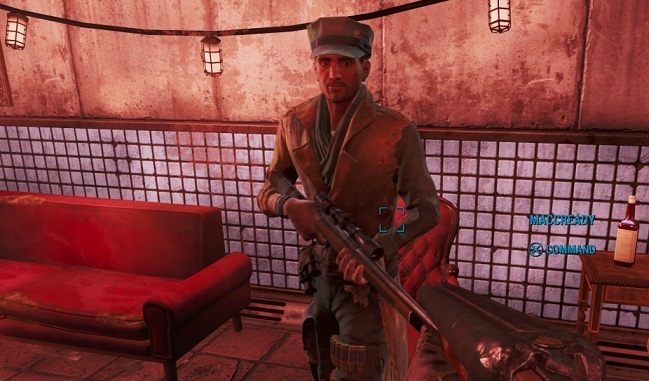 Fallout 4: recruit MacCready as a companion
 Tales of Graces F Guide
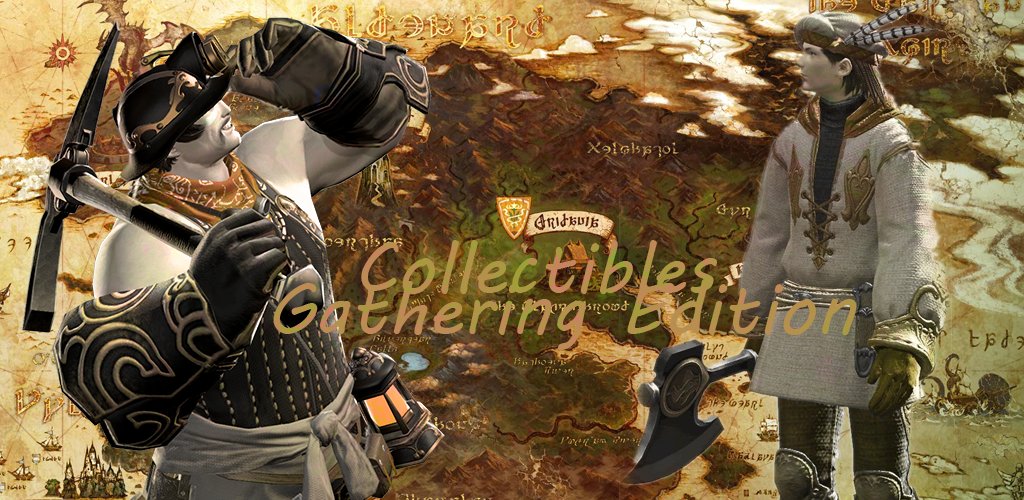 FF14: The Collectibles Guide – Gathering Edition
 Metal Gear Rising: Revengeance Wiki .
 Call of Duty: Black Ops 3 Achievement Guide