

Become a legendary pirate in Assassin’s Creed 4: Black Flag with our complete stealth walkthrough, helping our hero Kenway navigate every mission like a stealth master.
Taking place before AC3′s trek through revolutionary America, Black Flag sticks players into the golden age of piracy. Learn how to use your pirate ship and how to pull of those tricky assassinations with the privateers of Game Front.
Plunder our list of Assassin’s Creed 4 cheats to find extras, secrets, unlockables, and whatever booty we can uncover on Ubisoft’s blockbuster series. Or check out our AC4: Black Flag preview to see what’s fresh in this fourth entry.
Check back soon for the latest updates.

Prologue
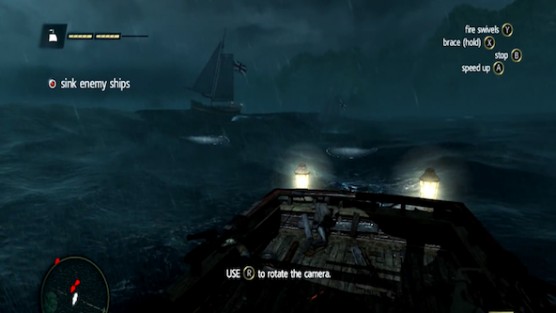
Make your way towards the back of the ship to take the wheel and shift the cannons’ targeting strip to the left to launch an attack against the first ship that passes in front of you.
Rotate the camera around to locate other ships approaching from behind you and wait for them to pass alongside your boat, then aim high to blow apart the enemy masts and sink their vessels.
Use the mini-map to anticipate the last and largest approaching enemy ships, then open fire on its broadside before they can get within range to cause damage and destroy the boat to activate a cut scene.
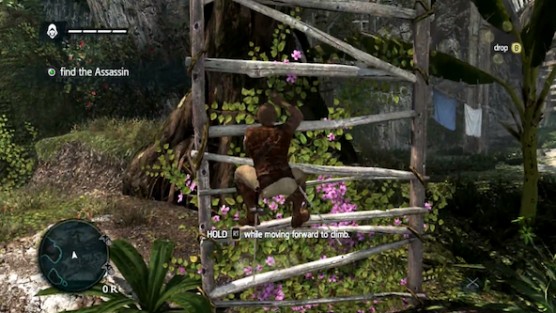
Swim towards the current objective marker to reach shore and activate another cut scene, then chase after the assassin by following the sandy trail in front of you and cross the next series of bridges to climb the flower trestle at the end.
Proceed up and over the wooden structures obstacles to reach the small bridge at the top and swing across the vine ahead to climb the tower on the other side, then ascend to the very top to walk out onto the protruding pole and Synchronize.
Dive off the end of the pole to land in the pile of leaves below, then sprint towards the assassin you see in the distance ahead by crossing the various logs and wood structures provided.
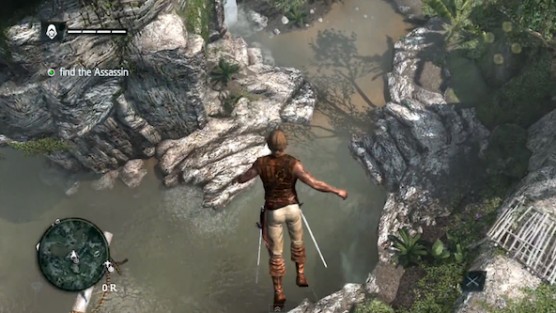
Climb the trestle against the wall ahead to reach the village above and move up the ramp in front of you to dive into the river below, then swim in the same direction that the assassin was heading to see him fire at you from the other side of the waterfall.
Continue pursuit of the assassin by free-running directly behind him to cross the series of obstacles he uses ahead and catch up at the hot springs to immediately strike the enemy several times with your sword until he drops to the ground.
Walk to the end of the branch hanging above the waterfall ahead to Synchornize and dive into the pool below to approach the cluster of red icons on your mini-map.
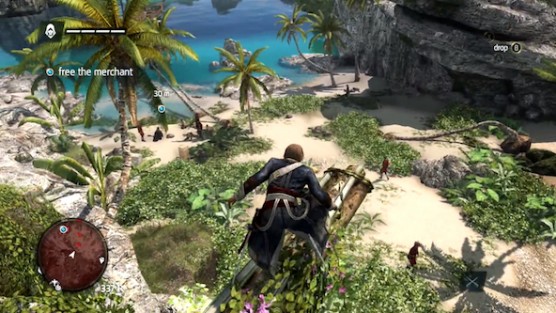
Stand at the end of the log overlooking the group of enemies below to track their movements until they are all in one spot by the beach, then drop to the patch of white stone beneath you on the left and either enter the nearby vegetation to take the guards out quietly or attack them all at once by fending off multiple strikes from all sides with counter-maneuvers.
Approach the merchant laying on the ground to activate a cut scene, then commandeer the ship to sail it out of the bay by steering it towards the current green objective marker and navigating between the various rock or sand formations in your way.
Make turns as early as possible to avoid crashing the ship and slow it down whenever you are forced to steer around a sharp corner, then finish navigating the winding waterway to exit the bay and complete this mission.

Memory 01: Lively Havana
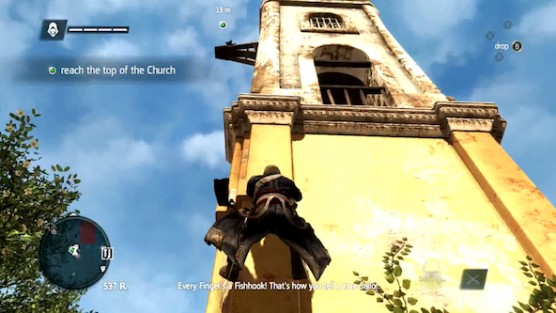
After taking the tour of Abstergo Entertainment and re-entering the Animus, follow Stede to pick up a pair of swords and climb to the top of the church across from the general store to Synchronize.
Dive into the hay below to approach the next red objective marker and sprint after the pickpocket by following his exact route to tackle him when you eventually catch up, then loot the body and make your way to Stede’s location to activate the next cut scene.
Take out the surrounding enemies using combo strikes and counter attacks, then drop a smoke bomb to disorient the soldiers in front of you and sprint through them to immediately climb up onto the first building towards the left.
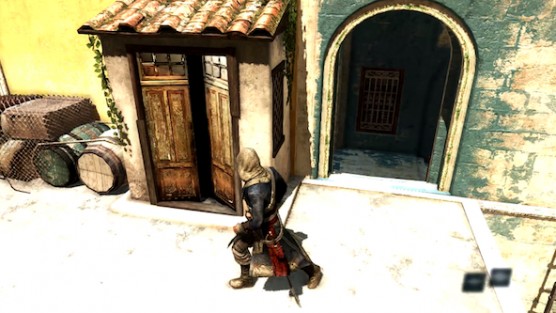
Free-run across the rooftops to escape from the guards in pursuit and search for either a hay pile or set of partially open doors to hide inside of them until the danger is gone to complete this mission.

Memory 02: …And My Sugar
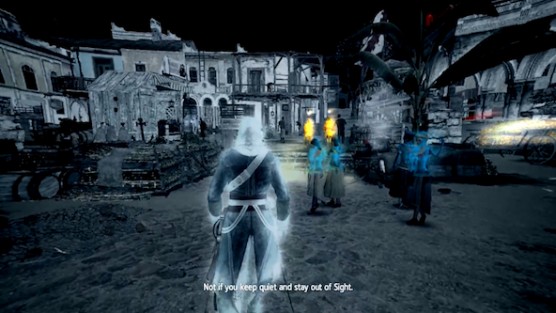
After speaking with Stede, activate Eagle Vision to keep the targets in sight and follow them slowly at a distance.
Duck behind any of the surrounding obstacles on the road whenever the men turn around to avoid being seen by them and maintain pursuit in this manner until they turn down a guarded alleyway.
Hire the dancers across from the alley to distract the guards and continue trailing the indicated guards by using your Eagle Vision, then sprint after them across the city to keep the targets in sight and eavesdrop on their next conversation.
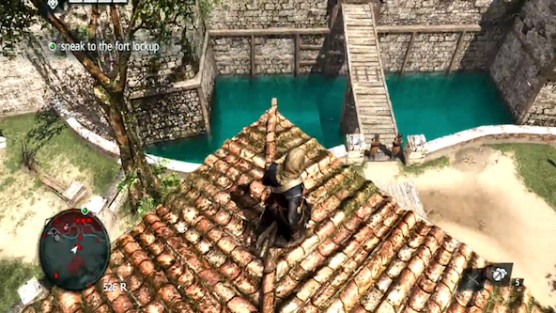
Take the nearby group of dancers with you to continue following the men and stay at a close distance behind them to hear their conversation, then approach the wooden stage and wait for the Captain to walk away towards the left before tailing him.
Use the dancers to distract the guards outside of the next building the Captain enters and follow him inside by moving slowly to stay silent, then pick his pocket to steal the key and climb the nearby ladder on the wall to escape unseen.
Head towards the green objective marker on your map to arrive at the bridge leading into the fort lockup and use dancers to lure the guards away once again.
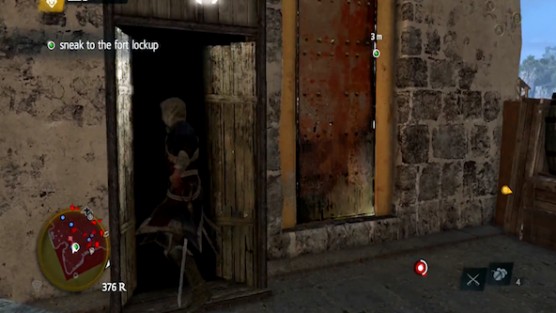
Enter the fort to hide within the first patch of vegetation on the right and transfer to the nearby hay pile as the group of guards moves away, then eliminate the solider that approaches your location with a silent kill and climb the staircase in the corner to climb up onto the next rooftop above.
Kick any approaching soldiers off the rooftop and drop over the left side of it to hide inside the cabinet below, then wait for the coast to be clear and open the door beside you to activate a short cut scene.
Head towards the next green objective marker to meet back up with Stede and complete this mission.

Memory 03: Mr. Walpole, I Presume?
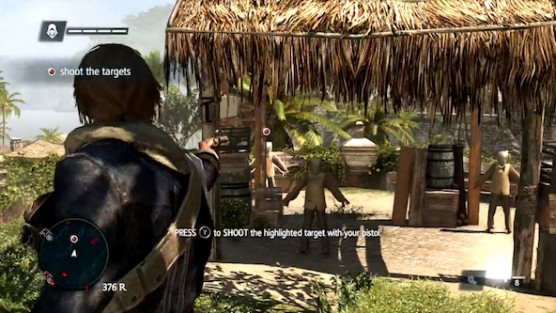
Make your way up to the terrace of the Governor’s Mansion to activate a cut scene, then zoom in on the line of dummies in front of you to score headshots on each of them one at a time and walk towards the right to hit the last target hidden behind the post.
Speak with your hosts to activate another cut scene and equip the Two Blades, then follow them into the next training area and assassinate the marked dummy above at close-range.
Approach the marked dummy standing in front of the cart to enter the hay and execute a stealthy assassination, then move towards the dummy near the group of working men and blend in with the crowd to perform another assassination.
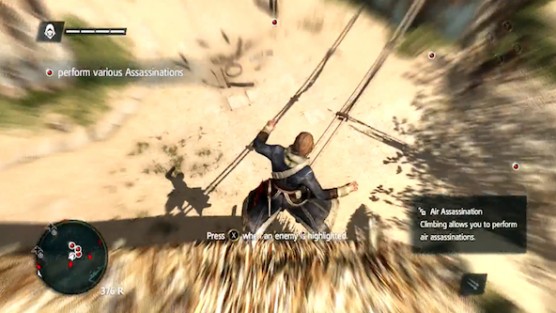
Climb onto a rooftop directly above one of the dummies to look down on it and execute an air assassination, then perform a running strike on another one and follow your hosts to activate a cut scene.
Afterwards, pick the pockets of all three of your hosts and watch the next cut scene play out to complete this mission.

Memory 04: A Man They Call Sage
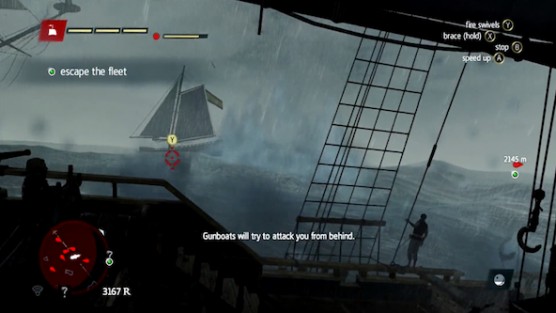
As soon as the Templars are ambushed, pull your pistol to aim it at the nearest hooded enemy and take him out with a single shot.
Use running blade attacks and your pistol to defend the Templars from the hooded enemies, then continue through the streets and sprint between groups of multiple opponents to defeat them with combination sword strikes.
Following the next cut scene, chase after the Sage by sprinting in the direction of the onscreen “catch” icon and climb up onto the first available rooftop ahead to maintain pursuit of the target.
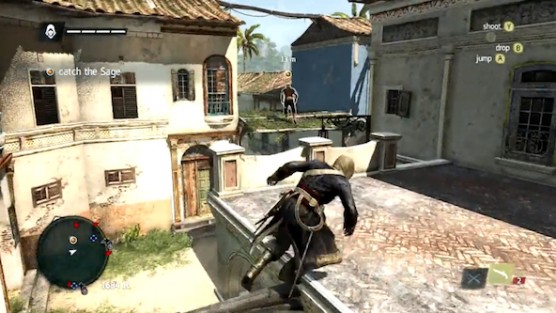
Drop into the next available courtyard between the buildings to continue chasing the Sage and follow his exact path to maneuver around or above the various obstacles throughout the city.
Once you catch up with the Sage, attack him unarmed with various combo punches until he drops to the ground to complete this mission.

Memory 05: Claiming What’s Due
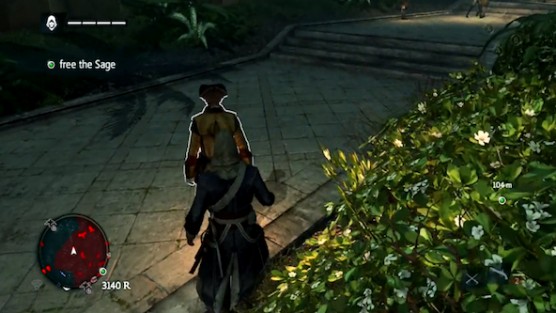
Approach the current objective marker to locate the warden and hide in the surrounding vegetation to call him over by whistling, then take his key by force and proceed up the next set of steps ahead.
Use the surrounding vegetation to follow the stone walkway around unseen and eliminate the nearby guards from behind whenever possible.
You can also clear out multiple groups of guards at once with combination sword strikes and counter attacks, then climb to the top of the next darkened staircase above on the right and eliminate another cluster of enemies.
Pass through the nearby doorway to enter the courtyard area and sprint left in the direction of the current objective marker to vault over the next wall.
Eliminate the next enemy ahead to open the indicated door on the right and complete this mission.

Memory 06: The Treasure Fleet

After freeing yourself from the shackles, head towards the objective marker ahead and stay within the shadows to eliminate the next pair of enemies from behind.
Move left towards the lit-doorway to stay hidden behind the shelf beside you and whistle to lure the next guard around the corner over for a quick assassination, then continue towards the current objective marker to eliminate another pair of enemies and reach the indicated table to collect your gear.
Climb the ladder to reach the upper deck and equip your blades or swords to eliminate the enemies you encounter ahead, then use silent assassination kills from behind whenever possible by using the surrounding crates as cover.
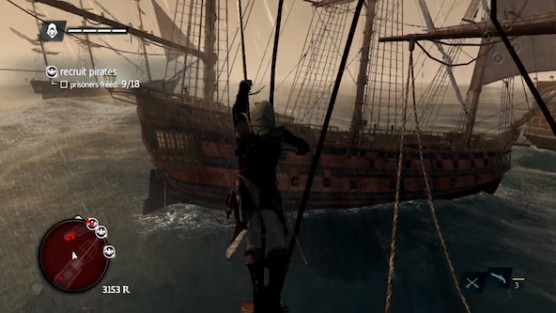
Reach the opposite end of the ship to free the pirates that have been tied-up and approach the ropes in the corner to swing over to the next deck across from you.
Use combination sword strikes and counter attacks to clear the deck, then free another group of pirates and climb to the tip of the bow to jump down onto the back of the next ship below.
Continue transferring between the ships until 18-23 prisoners have been freed, then approach the red objective marker that appears to assassinate the indicated captain and take the wheel to steal the vessel he was occupying.

Watch the mini-map to locate the surrounding enemy ships and target them for destruction with the cannons, then drop fire barrels in your wake to escape from the pursuing fleet and steer straight forward into the oncoming rogue waves to avoid taking damage.
Continue navigating in the direction of the current green objective marker, unless you are forced to temporarily veer away from water spouts that block the path, to activate the next cut scene and complete the mission.

Memory 01 & 02: This Tyro Captain / Now Hiring
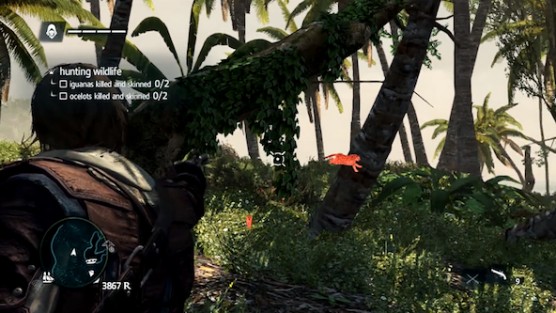
Sail towards the current objective marker in the distance ahead to reach Abaco Island and dive off the ship to swim to shore, then use your pistol to shoot the local wildlife and collect the required number of skins from both species.
Pause the simulation to create a new pistol holster and health upgrade under the crafting option on the left, then return to the ship to speak with Adewale and sail in the direction of the next objective marker to reach Nassau.
Travel to the indicated bar to meet back up with Adewale and activate a cut scene, then search the town to recruit the required number of pirates by saving the ones under attack from red coats.
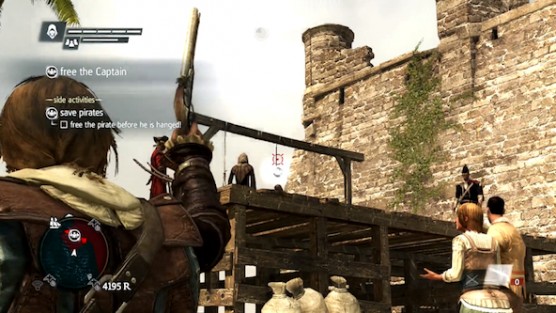
Sprint towards the stone fort at the top of the hill to locate the gallows and shoot the rope above the man about to be hanged to save him, then defeat the redcoats that approach and climb onto the stage to free the Captain.
Make your way back to the tavern to activate another cut scene and complete this mission.

Memory 03 & 04: Prizes and Plunder / Raise the Black Flag
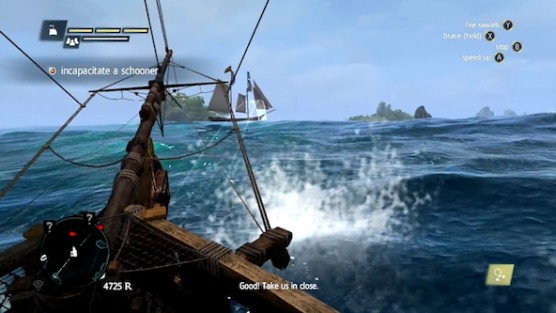
Speak with Thatch and Merry on the beach to return to your ship, then use the spyglass to spot the schooner in the distance ahead and sail alongside it to sink the tiny boat with cannon fire.
Sink the next boat ahead on the right as it passes in front of you by firing towards the front of the smaller ship, then use your map to steer towards the remaining vessels in the area and bring them down as well at close-range.
Use chained cannonballs to hit the masts of a schooner and inflict slow damage to the smaller boat until its on fire, then move your ship in close and take control of the swivel gun on the railing beside the wheel to clear out the enemy crew.
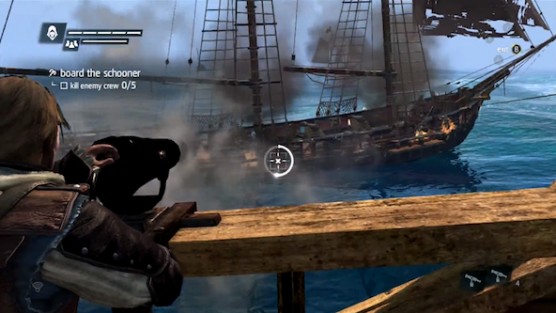
Swing across to the deck of the disabled schooner to defeat the surrounding sailors and activate a short cut scene, then steer your ship towards another enemy schooner and loot its cargo in the same manner and to meet the indicated quota.
Once you’ve plundered enough ships, sail towards the next objective marker to reach Salt Key and navigate through the inlet to reach the indicated pier.
Dive into the water to climb onto the pier, then approach the merchant to upgrade the Jackdraw’s hull armor and return to the ship to sail back out onto the open seas.
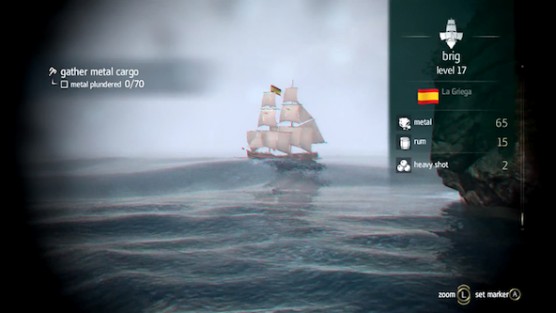
Use your spyglass to locate a brig in the distance loaded with substantial amounts of metal, then steer towards the targeted vessel to being pursuit and launch cannonballs at any of the fire barrels left behind in its wake to avoid taking damage.
Disable and board the brigs in the same manner you did before until the required amount of metal has been plundered, then return to Salt Ket to speak with the local officer on the beach and purchase broadside cannons from the captain’s cabin of the Jackdraw to complete this mission.

Memory 05: Sugarcane and Its Yield
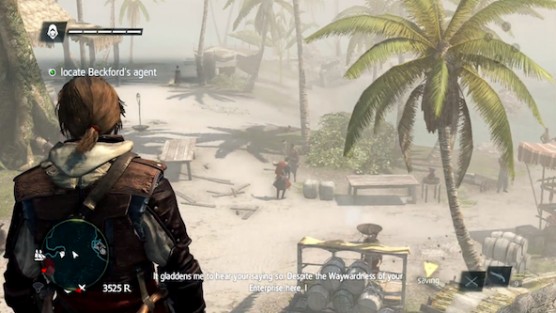
Sail towards the current objective marker to reach Andreas Island and swim to shore to speak with Kidd, then follow him to scale to the top of the nearest rock formation and locate Beckford’s agent in the camp below before activating Eagle Vision to keep him in sight.
Drop into the camp below to tail the agent from a safe distance and sprint between the surrounding patches of vegetation as a means of cover to remain unseen as you follow him, then free-run towards the next green objective marker that appears and reach the wheel of the Jackdraw before time expires.
Steer the Jackdraw towards the orange objective marker to pursue the indicated ship slowly from a safe distance and use the mini-map to navigate around the other enemy vessel’s yellow fields of vision, then continue following the agent to eventually dock at Cat Island.
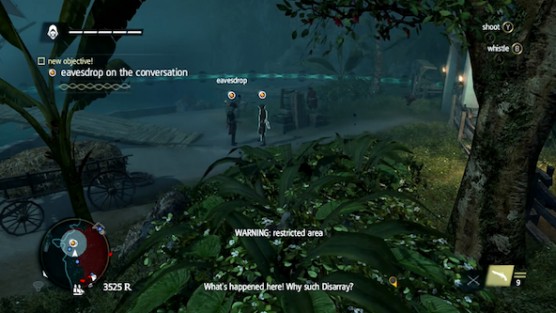
Sprint along the shore in the direction of the green objective marker to reach the agent’s location and hide in the nearby vegetation to eavesdrop on his conversation, then follow him by moving through the tall grass alongside the dirt path and continue using this method of stealth to reach the warehouse unseen.
Head back down the previous path to make a right at the alarm bell and activate Eagle Vision to locate the key-holder on the hill above by the symbol over his head, then sneak up behind him to pickpocket the key and enter the warehouse through the front door to complete this mission.

Memory 06: Proper Defenses
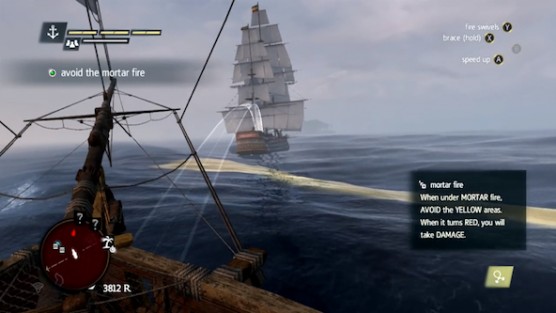
Sail towards the current objective marker to reach Salt Lagoon and speak with the men at the campfire to start the next mission, then sail in the direction of the green map icon that appears to locate the El Arca Del Maestro with your spyglass.
Keep a safe distance from the galleon as you tail it to remain undetected and sneak up behind the larger ship until it starts firing mortars, then navigate around the yellow circles that appear in the water to avoid taking damage.
Stay close enough behind the galleon to hit it with a volley of cannonballs, but remain far enough away to steer around or slow down in front of the oncoming mortar fire.
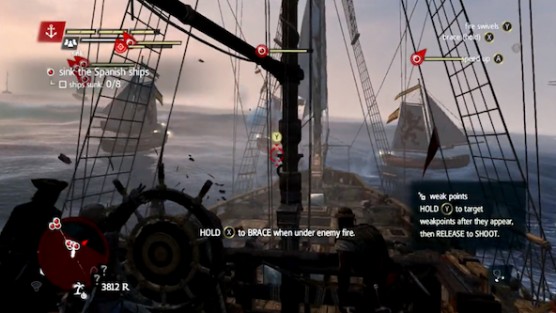
Navigate towards the fleet of spanish ships that appears next and start firing on them from long range to sink the smaller boats as quickly as possible, then sail closer to the enemy vessels to ram into them if necessary for critical damage.
Use chained cannonballs to take out the masts and finish destroying the entire fleet of spanish ships to complete this mission.

Memory 07: A Single Madman
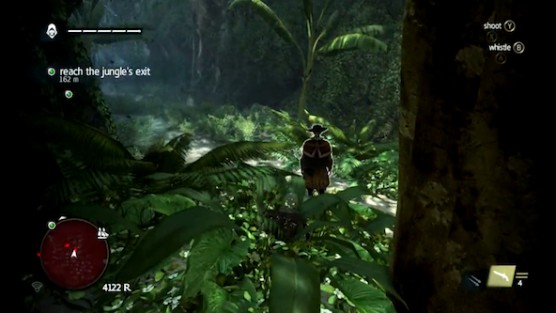
Sail towards the current objective marker to activate a cut scene, then dive off the ship to reach the white ruins on shore and climb to the top of them to proceed towards the green map marker ahead.
Follow the jungle trail around to take out the guards by hiding in the surrounding vegetation and walk across low-hanging tree branches or trunks to track enemies from above until they split up for more efficient kills.
Continue towards the current objective marker by removing the guards along the jungle trail until you reach the campsite occupied by a larger group of soldiers, then move through the vegetation on the left side of the path at all times to sneak past them and reach the town at the end.
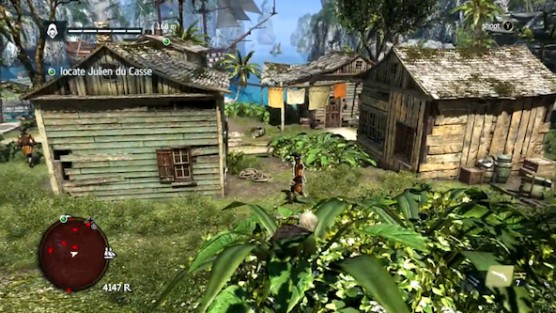
Take out the soldier in the first building ahead on the right and continue moving towards the right to eliminate the next enemy patrolling below, then proceed forward between the two rows of houses and take out the guards by the barrel supply area.
Approach the barrels beneath the overhang to ignite one of them and take cover quickly to escape the impending explosion unseen, then wait for the soldiers to investigate and enter the water to swim towards the indicated ship.
Swim stealthily alongside the dock to wait for the next guard to walk by above and climb up behind him to execute a takedown, then activate Eagle Vision to spot Julien du Casse’s location on the ship before climbing onboard and kill him during the sword fight that ensues to complete this mission.

Memory 01 & 02: This Old Cove / Nothing is True
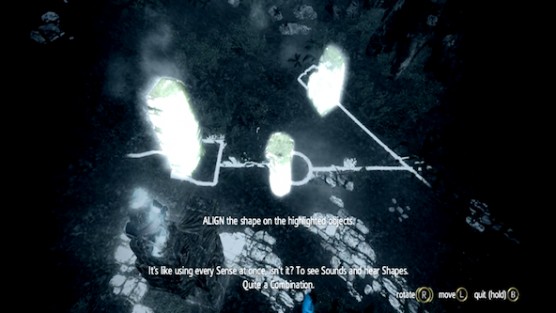
Speak with James Kidd to start the next mission and activate Eagle Vision before climbing on top of the stone column in front of you, then rotate the symbols on the ground so that they line up to the three pillars below and dig up the treasure.
Follow Kidd to activate a cut scene, then meet up with him again at the docks to complete the first mission and sail towards the next objective marker to start the second one.
Proceed towards James Kidd’s location to encounter the large group of enemies patrolling the beach and travel between the surrounding patches of vegetation to track their movements while remaining undetected, then make your way further inland by hiding along the left side of the jungle path above and pass through the next two objective markers ahead once the coast is clear.
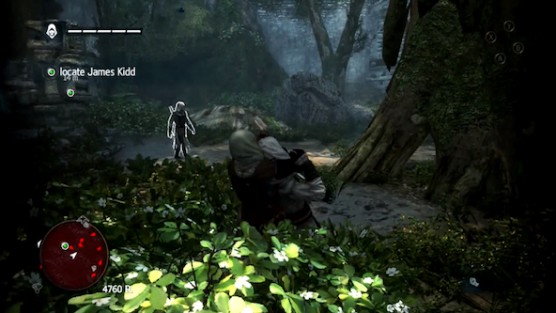
Continue following the trail to enter the next enemy-occupied territory below and stick to the vegetation on the left to climb the stone steps in the corner, then descend the other side of the stairs and use the available cover to eliminate the surrounding guards.
Proceed through the next objective marker to reach the hostile area at the end of the trail and climb the steps on the left to ascend the stone wall at the top, then quickly take cover in the vegetation on the right and use stealth kills to remove the three enemies in front of you.
Take out the enemies patrolling the cliffs from behind to continue through the jungle unseen and speak with James Kidd in front of the temple door to complete this mission.

Memory 03: The Sage’s Buried Secret
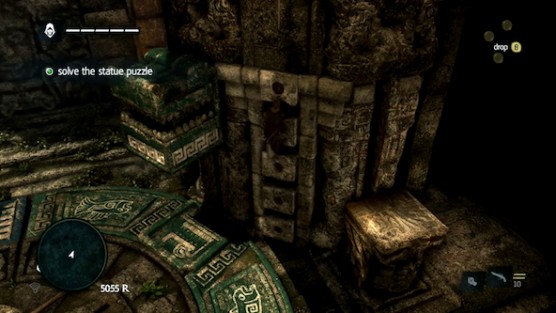
Follow James Kidd through the temple by free-running directly in his path until a bridge collapses between you, then climb across the wall on your left to reach the other side of the gap and jump to the red door mechanism to proceed into the next room ahead.
Continue tailing James to swim through the underwater tunnel and surface in the next cave area to climb up the stone wall ahead, then ascend the next staircase to approach the wheel at the top and start the Statue Puzzle.
Rotate the levers to position the blue statue directly beneath the green one and climb the five hole on the left to pull down the mechanism beside them, then turn the wheel again to position the crocodile symbol beneath the green statue and lower the block on top of it to remove the door’s first layer.
Raise the blue statue into the green one’s previous position to turn the wheel and lower it onto the corresponding color symbol, then repeat the same action with the red statue to solve the puzzle and complete this mission.

Memory 04: Overrun and Outnumbered
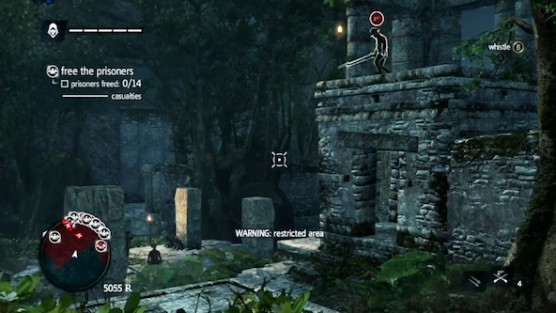
Use the blowpipe to take out the first guard and stay within the vegetation to follow James towards the enemies below on the left, then incapacitate them as week by starting with the one patrolling the ruins above on the right.
Move closer the three columns below to take out the remaining enemies in quick succession before the first one you knocked out awakens, then make a right at the pillars to eliminate the nearest soldiers from behind.
Turn back around to ascend into the temple directly behind the columns and free the first prisoner inside before every guard in the near vicinity wakes up, then look out through the front entrance to spot more prisoners below and exit through the left doorway to unite them without being detected.
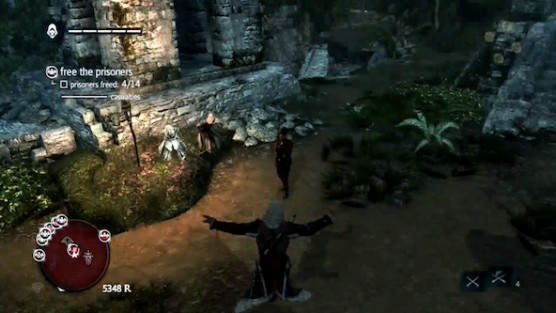
Hide in the vegetation on the left to ambush the soldier at the top of the steps in the corner ahead and make your way up them to free another prisoner, then drop into the next clearing below where two men are being held and eliminate the single guard to untie them.
Climb the steps behind you to enter a ruin with three columns inside and use the vegetation to ambush the next enemy who emerges from the next doorway ahead, then free the prisoner on the other side and return to the previous clearing to head left across the stone path on the cliff ledge.
Descend the wooden ramp at the end of the ledge to hit the next guard with a blow dart and enter the vegetation at the bottom to quickly put down the nearest soldier in front of you, then turn around to incapacitate the enemy by the campfire before freeing his hostage and approach the circle of pillars in the area below without being detected to eliminate another threat from behind.
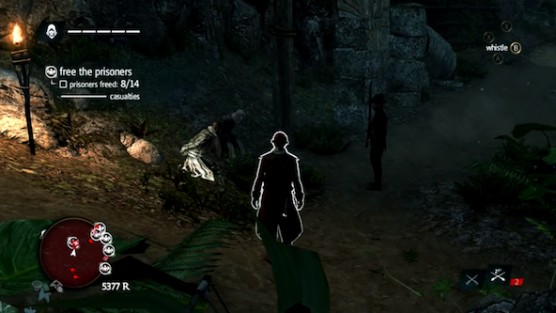
Look towards the bottom of the steps behind you to locate a pair of prisoners by a torch and enter the vegetation below to free them by first removing the guards, then follow the jungle trail to eliminate the next enemy on the right and back away from the wooden tower directly above to hit the soldier in the nest with your blow pipe.
Ascend the to the top of the tower to unit the next prisoner before dropping back to the ground below and continue traveling to the hostage locations marked on your map without being undetected by staying within the vegetation or hitting enemies in quick succession with the blow pipe, then finish freeing the fourteenth one to complete this mission.

Memory 01: The Forts
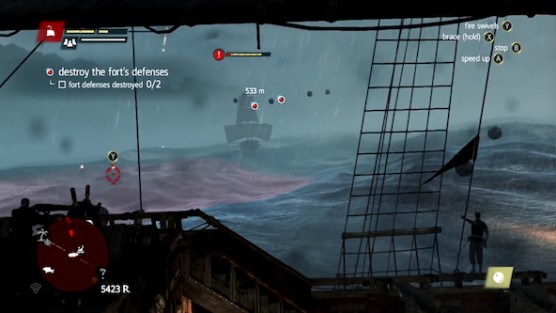
Board your ship to Fast Travel to the current objective marker within Nassau and activate a cut scene, then upgrade the Jackdraw its weapons and armor before sailing towards the next yellow icon that appears to start the mission.
Following the next cut scene, sail in the direction of the two red icons in the distance ahead to advance on the forts and steer straight towards the first oncoming enemy ship to pelt its mast or bow with chained cannonballs.
Make a sharp turn to navigate alongside the opposing vessel, while also watching the water for mortar indicators, then continue breaking the ship down with cannon fire and maintain a constant speed to pass by without taking much damage.
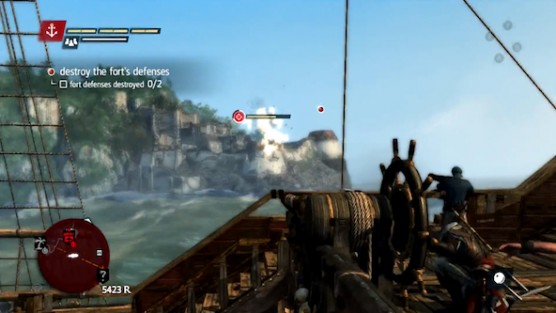
Pull away from the enemy ship at top speed to put some distance between it, then make a sharp u-turn to advance on the vessel again and wear it down with long-range cannon fire.
Once you’ve sunk or finished plundering the enemy ships, sail back towards the forts to get within the furthest possible firing-range of them and maintain a consistent speed to stay ahead of the mortars.
Navigate your ship past the left side of the forts and slow down to open fire on the cone-shaped tower at the front, then steer directly towards the target to wear it down at close-range until it’s destroyed.
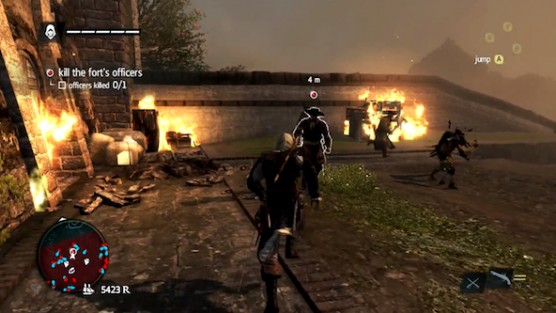
Sail around the front of the island to destroy the other tower at close-range and swim to shore to ascend the ramps leading towards the stop of the structure, then climb up the wall beside the fire to reach the courtyard above and drop into it to eliminate the surrounding enemies.
Ascend the collapsed section of roof in the corner to kill the officer on the other side of the doorway ahead and climb up the wall beside the door on the left, then eliminate the next group of enemies at the top and enter the war room to complete this mission.

Memory 02: Traveling Salesman
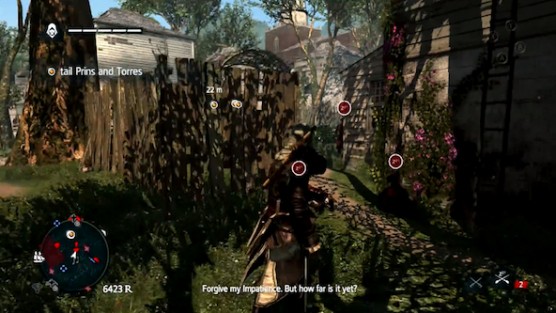
Sail towards the current objective marker to reach Kingston and speak with your shipmate to start the mission, then activate Eagle Vision to locate the targets and trail behind them until the pass between a pair of soldiers.
Wait for the targets to gain some distance from you before tackling the guards and continue following them by using the cover provided along the next town road, then trail the men until the path is blocked by three more soldiers and take them out in quick succession with your blow pipe.
Continue following Prins and Torres by eliminating the guards in your way with the blow pipe and by hiding within vegetation for ambush attacks, then eavesdrop on the conversation by using the surrounding buildings as cover and hire dancers to distract the soldiers between the opening the wall ahead.
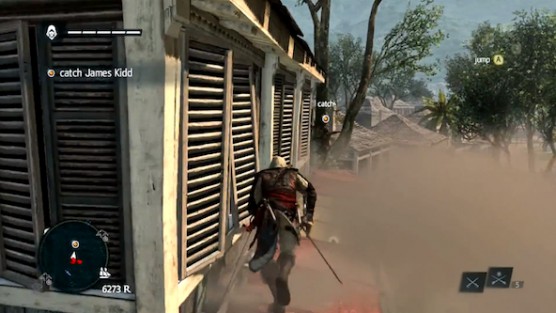
Finish eavesdropping at the top of the hill to activate the next cut scene, then defeat the squadron of guards in front of you to chase after James Kidd by free-running across the rooftops and tackle him to complete this mission.

Memory 03: Unmanned
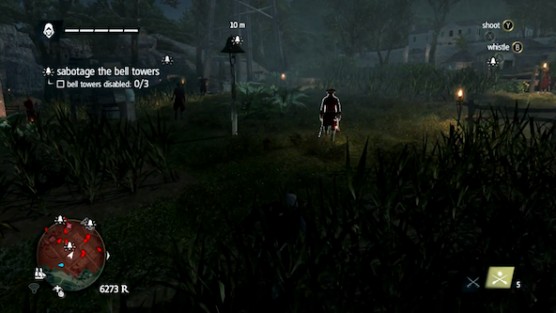
Speak with James Kidd on top of the windmill to start the mission, then perch on the wooden ledge at the opposite side of the roof to synchronize and dive into the hay below to enter the restricted area ahead by traveling between the vegetation patches.
Move through the tall grass to approach the first bell tower unseen and ambush the nearest guard on the road to sabotage it without getting caught, then continue using the vegetation and blow pipe to reach the second bell tower safely.
Use whistles to bait the soldiers into being ambushed from your hiding spots and target the enemies in the guard towers above with the blow pipe to clear as many of them from the surrounding area as possible before sabotaging the second bell tower.
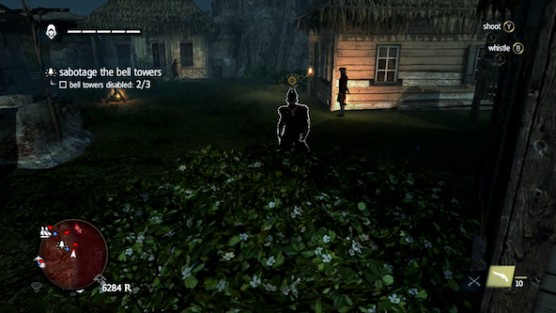
Travel to the third bell tower in the same covert manner as before to sabotage it and meet back up with James Kidd to activate a cut scene, then proceed through the front gates to immediately hide in the vegetation and use an ambush attack to eliminate the nearest soldier.
Move around to the left side of the house to eliminate the first pair of guards at the same time with a running hidden blade attack from behind, then defeat the second pair of guards in a sword fight and shoot the soldier patrolling the roof above to climb the ladder against the wall.
Approach the back end of the roof to dive into the hay below and activate Eagle Vision to locate Laurens Prins in the nearby gazebo, then use the surrounding vegetation to move in close and score a head shot with your pistol to complete this mission.

Memory 01: Diving for Medicines
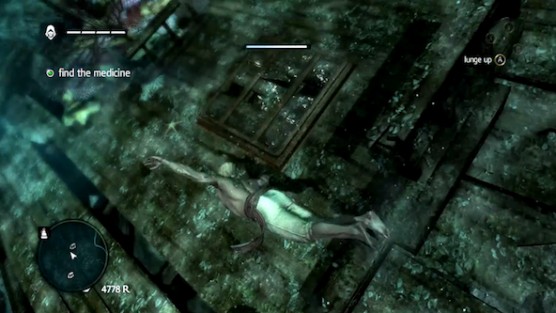
Sail towards the current objective marker on the open seas to reach Nassau and activate a cut scene, then follow Blackbeard through town to receive your next task and return to the Jackdraw or visit the harbormaster to purchase a diving bell.
Travel towards the next objective marker to rendezvous with Blackbeard’s ship and activate a cut scene, then sail to the nearby dive site to lower the diving bell into the water and swim out of the capsule to move into the background.
Open the hatch on the deck of the ship embedded at an angle in the left sea wall near the jellyfish and collect the medicine from the treasure chest below, then exit through the underwater tunnel adjacent to the hull and surface on the other side to get a breath of air.
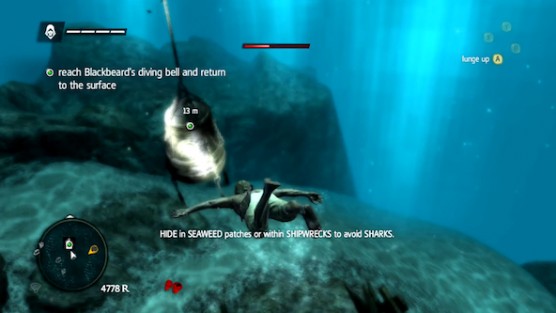
Proceed through the next tunnel below to get sucked into the current and navigate around the rocks to return to open water, then head towards the green map marker to locate the diving bell again and swim high above the sharks to avoid them completely before veering straight back down to enter the capsule.
Raise the diving bell to return to the surface and complete this mission.

Memory 02: Devil’s Advocate
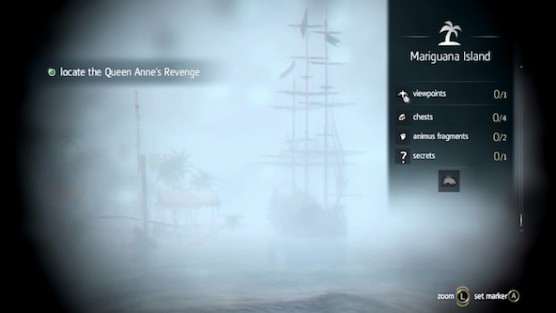
Travel towards the current objective marker to start the next mission and sail in the direction of the green icon to chase after the Queen Anne’s Revenge until the marker disappears.
Circle around the edge of the map’s green zone to approach Mariguana Island and use your spyglass to zoom in on the target vessel anchored beside the pier, then meet back up with Blackbeard to enter the massive sword fight and stay close to him as a means of protection while eliminating the surrounding enemies.
Use pushing maneuvers to avoid being surrounded or to temporarily remove lesser opponents so you can focus on the stronger ones, then finish clearing the area to return to your ship and sail towards the current objective marker to locate the Man o’ War.
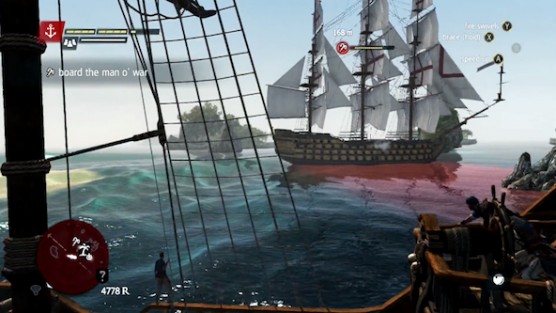
Open fire on the enemy ship from a safe distance to draw it out onto the open seas and wait for it to slow down for combat, then circle around the vessel in a wide berth to wear it down with cannonballs and maintain a consistent speed to stay ahead of the mortars.
Brace for fire each time the Man o ‘War launches cannonballs your way to soften some of the damage taken, then finish incapacitating the ship to the point of near-destruction and board the enemy vessel after the next cut scene.
Charge towards the captain as soon as you board the Man o’ War and defeat him in a sword fight to complete this mission.

Memory 03: The Siege of Charles-Towne
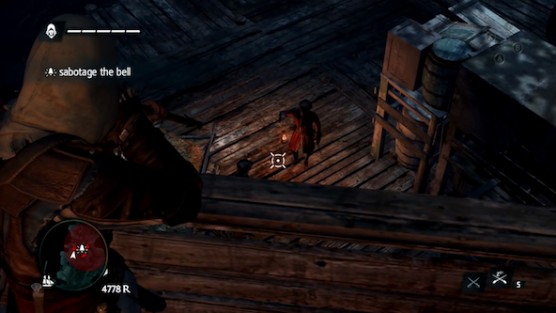
Sail to the current objective marker to start the next mission, then keep a safe distance as you tail the gunboat ahead to reach the docking point on the right and jump over the side of the ship to free-run towards the indicated bell tower.
Climb to the wooden balcony above and hit the nearest guard beneath you with a sleep dart, then drop into the area below to defeat the remaining enemies in a sword fight and sabotage the bell tower to board the Jackdraw again as it sails by.
Continue following the gunboat to reach the next docking point and jump off the ship to approach the orange objective marker from a safe distance, then sprint across the wooden walkway on the right to climb the wall at the end and head right again at the top to keep up with the rowboat.
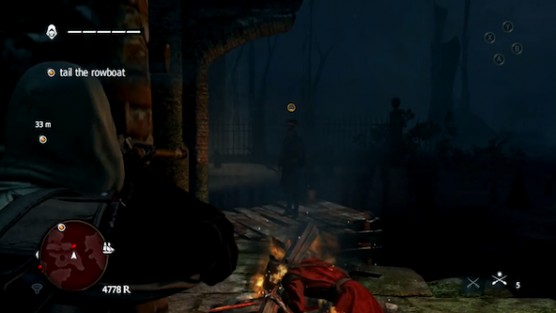
Free-run to the next island across from you to ambush the first enemy on the right from behind and take out the second one with a blow dart before sabotaging the nearby bell tower, then climb the rubble in the direction of the row boat to look down on it at the top and jump between the ruins ahead to reach the church.
Perch above the pair of men by the campfire inside the church to drop down on them for a double assassination and take cover beside the entrance on the left to watch the rowboat sail away outside, then ambush the next enemy that approaches and continue tailing the target to reach another campfire.
Watch as one of the men around the campfire is taken by a gator, then hit the remaining enemies with sleep darts to sabotage the nearby bell tower and continue free-running in the direction of the rowboat to eavesdrop on the conversation.
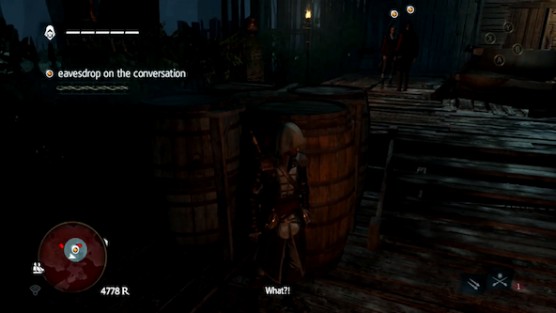
Use the surrounding structures and barrels to keep up with conversation without being detected, then finish eavesdropping to sprint past the soldiers ahead and follow the red objective marker to chase the captain through the shanty town.
Slide beneath the wooden debris that collapses in front of you to maintain pursuit of the captain and continue free-running to by-pass the wall at the end of the road by climbing up the pile of crates to the left of it, then cross the water below to sprint past the large group of soldiers ahead and close-in on your target.
Evade the next group of soldiers by passing through the structure to the left of them and tackle the captain to complete this mission.

<
Memory 01: We Demand a Parlay
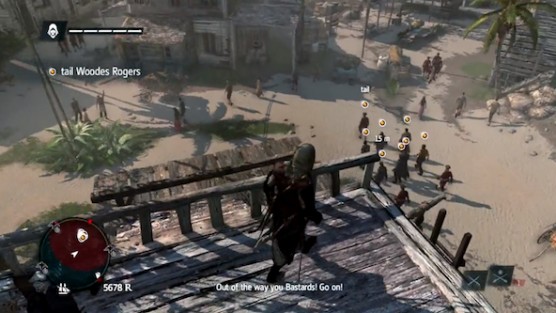
After starting the mission, tail Woodes Rogers without being detected by running across the rooftops that look down on him and eliminate the soldiers patrolling the upper levels with a quick sleep dart or blade attack from behind.
Continue following your targets to reach the fort at the top of the hill and remain within a patch of nearby vegetation to watch the scene play out until everyone goes inside, then sprint towards the front doors to assassinate the pair of soldiers guarding it and head right to eliminate the enemy patrolling the road from behind.
Climb the shorter tower beside the dirt road to execute a ledge takedown on the enemy above and look up towards the top corner of the fort on the left to hit the next guard with a pistol shot, then aim the gun towards the British flag to kill the two closest soldiers in the area.
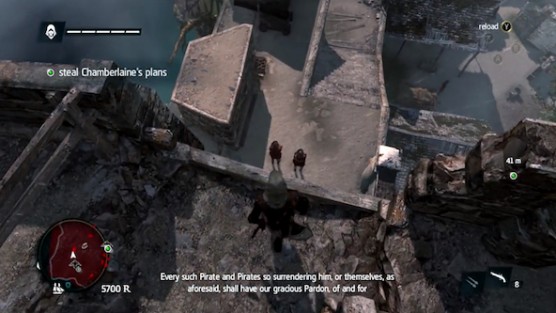
Sprint down past the flag to assassinate the remaining enemies on the ground and look towards the top of the stone wall to remove the last threat with your pistol, then approach the back corner of the fort to free-run across the next line of trees and drop onto the soldier at the end.
Turn the next corner to move forward along the side of the fort and navigate the various obstacles to climb the stone wall at the end, then approach the open window above to perform a ledge takedown and exit through the opposite side of the room to jump between the beams outside.
Ascend the wall beside you to execute another ledge takedown and climb on top of the fort to quickly eliminate the other nearby enemy, then approach the next hole in the wall to drop onto the soldiers below and sprint towards the flag ahead to ambush another guard.
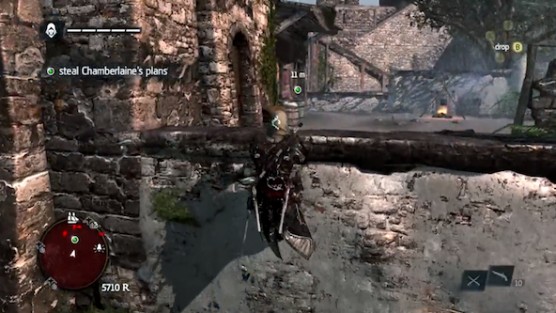
Turn the next corner and make your way around the top of the fort’s walls by using assassination tactics to remove any nearby threat silently, then jump to the wooden platform occupied by a guard that looks down on the green loot icon kill him quickly before dropping to the ground below.
Move around behind the building you were just on to eliminate the enemy carrying an axe, then approach the loot to activate a cut scene and complete this mission.

Memory 02: The Gunpowder Plot
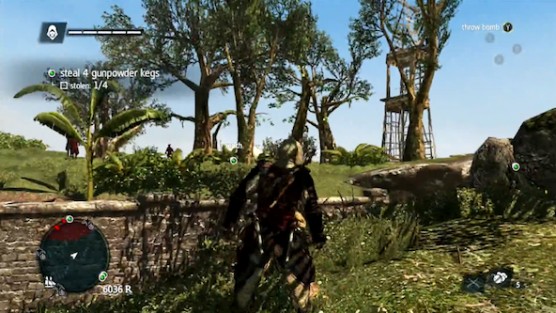
After starting the mission, approach the closest green map marker ahead to fight your way into the underground tunnel beneath the house and clear the catacombs with assassination tactics so you can steal it.
Proceed through the tunnel ahead to eliminate the pair of soldiers at the end and make your way towards the furthest keg on the opposite side of the island next to the tall rickety watch tower, then sprint over to the enemies on the far left to defeat them in a sword fight and approach the nearby campsite unseen by using the vegetation as cover.
Wait for the soldiers around the campfire to split up before assassinating them one-by-one and steal the second gunpowder keg from the tent, then escape from the area before you are discovered and head towards the next closest objective marker to locate the keg beneath the supply overhang.
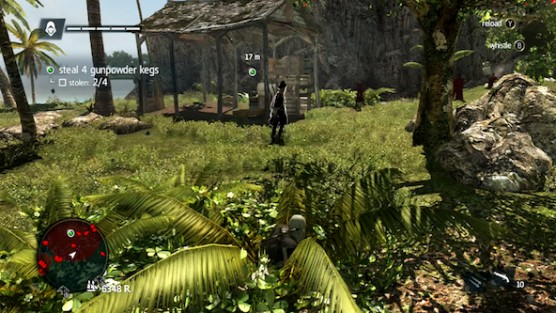
Use the crops in front of the overhang to enter it from the right undetected and steal the third barrel, then head towards the remaining objective marker to locate the final keg beneath another overhang and remove the nearby guards with the help of running assassinations before stealing the gunpowder to complete this mission.

Memory 03: Commodore Eighty-Sixed
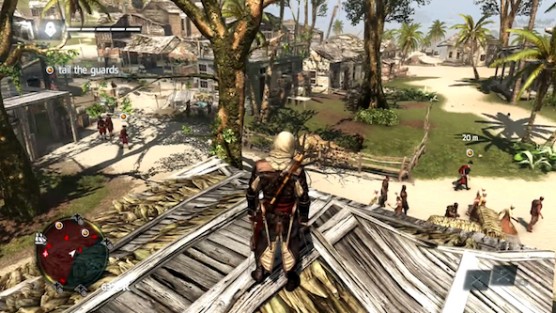
After starting the mission, activate Eagle Vision to keep the targets in sight as you follow them from a safe distance and hire the next available group of dancers to distract the soldiers waiting up the road ahead.
Continue tailing the guards without being detected by running across the upper levels of the buildings that surround them and use sleep darts to deal with enemies occupying the rooftops, then keep a constant line of sight on the targets below until you are forced to vegetation as cover.
Follow the targets into the next campsite below and assassinate the first enemy on the left to enter the water undetected, then swim stealthily alongside the indicated guards until you are forced back onto land.
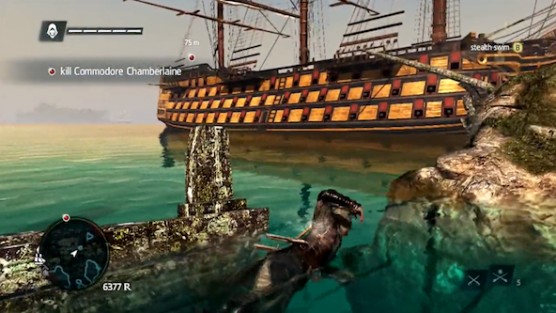
Move towards the British flag at the top of the hill to hide within the vegetation near the tents and sneak around past the men left behind to chase after Commodore Chamberlaine, then board his ship to defeat him in a sword fight and complete this mission.

Memory 04: The Fireship
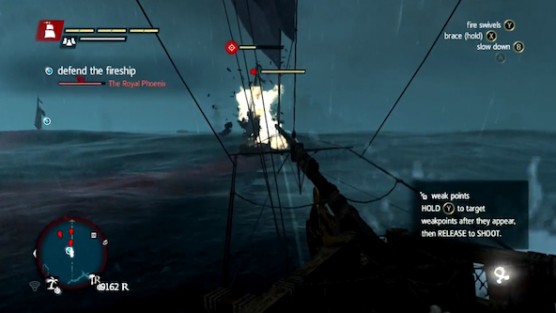
After starting the mission, sail directly behind the Fireship until it slows down for you to pass alongside the ship and target the enemies ahead for destruction.
Veer to the left of the enemy fleet to continue hitting the opposing vessels from the side and circle around behind them or ram into the smaller boats to finish destroying as many as possible before regrouping with the Fireship.
Continue protecting the Fireship until it’s set to explode, then sail through the current green objective marker to escape the blast radius and encounter the blockade.
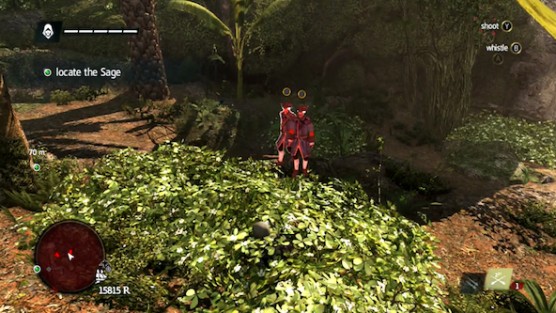
Sail full speed towards the next green map marker by navigating around the incoming mortar fire and ignore any enemy vessel that isn’t located directly ahead, then brace for each attack to reduce damage as you pass by each threat and escape the blockade to complete this mission.

Memory 01: Do Not Go Gently…
Sail towards the current objective marker to start the mission, then activate Eagle Vision to keep the stranger in sight as you tail him and remain at a safe distance to track his movements without being seen.
Take cover amongst the surrounding crowd whenever the stranger turns around and follow him uphill to hide within the patch of vegetation furthest to the left at the top, then eavesdrop on the next conversation by using all available hiding spots along the way and assassinate any guard that could raise the alarm.
Continue using the series of cover points available alongside the conversation in motion to finish eavesdropping and assassinate the soldier left behind, then jump through the gap in the balcony’s railing to drop to the ground below and return to the Jackdraw by running across the rooftops ahead.
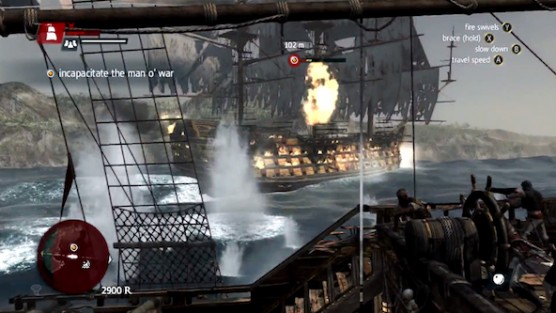
Chase after the Man o’ War to pelt it with mortars from a safe distance and keep your ship on the move to avoid any return fire, then finish off the enemy vessel at close-range by circling around behind it and eliminate the soldiers onboard in a sword fight to activate the next cut scene.
Afterwards, return to the Jackdaw to take the wheel again and sail out of restricted waters without stopping to complete this mission.

Memory 02: Vainglorious Bastards
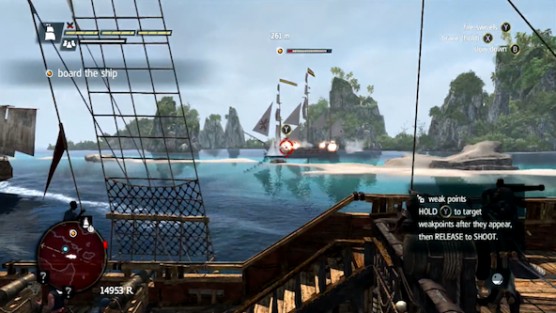
Sail towards the current objective marker to start the mission on the open seas and navigate your ship in the direction of the green map icon until it disappears, then steer between the next two rock formations before looking through the spyglass and locate the Royal African Co. Ship in the distance ahead by the red lions painted on its sails.
Approach the indicated vessel to witness the attack that occurs next and chase after the slave ship by moving alongside it on the left, then fire cannonballs into the hull repeatedly until Vane’s boat is incapacitated and approach it at close-range to carry out a rescue.
Veer your ship off towards the right to put some distance between you and the naval fort on shore, then wear down the indicated vessel until you are able to swing on board and clear the deck to complete this mission.

Memory 03: Marooned
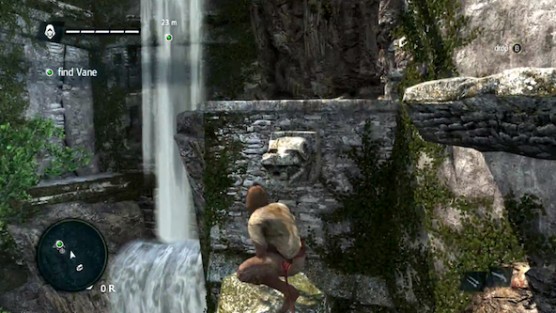
Travel through the series of green map markers to fend off the pouncing jaguars along the way and locate Vane at the top of the ruins, then climb on top of the structure next to the right-side waterfall and jump to the bizarre animal head sculpture in the corner to clear the gap on the left.
Ascend the next stone wall to reach the ledge above and jump the gap in front of the waterfall ahead, then climb the adjacent wall to reach the top of the ruins and approach Vane’s previous location to synchronize before diving into the pool below.
Head towards the green map marker by crossing through the jungle’s river and transfer between the tree branches above to avoid the gators, then approach Vane’s next location at close-range by transferring between the ruins in the water as a means of cover.
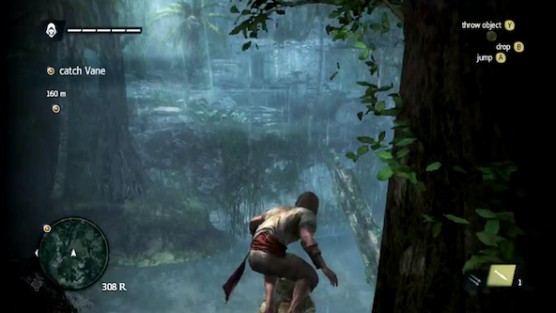
Make your way up the dirt trail to the left of the stone wall closest to Vane and free-run towards the next map icon that appears by traveling between the trees above until a bomb explodes in front of you, then move across the outermost ruins to the left of the enemy’s location and drop to the ground upon reaching the last structure.
Continue towards the map icon to locate Vane at the temple and sprint between the series of ruins on the ground in front of him to proceed forward down the river on the right.
Pass through the open doorways in the far left corner ahead to turn around and approach the area behind the top of the temple, then climb up to Vane to eliminate him with a running attack and complete this mission.

Memory 01: Imagine My Surprise
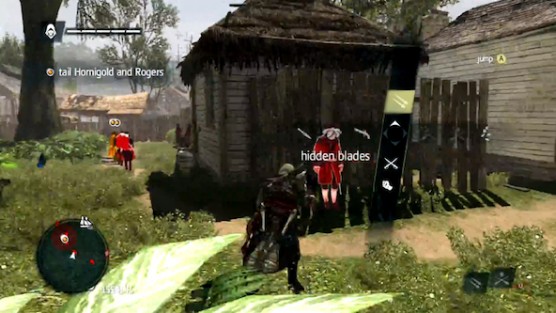
Fast Travel to the current objective marker at Kingston and speak with Ade to start the mission, then approach the next green map icon to move between the vegetation cover within the restricted area and locate the targets with the help of Eagle Vision by looking for the figures high-lighted in yellow near a clothesline.
Follow the pair of men to reach the next line of guards on the road and sprint across the grassy ledge above them on the left to pass by unseen, then continue tailing the targets safely by eliminating any other soldier in danger of raising the alarm with your blow pipe or a silent assassination.
Tail Hornigold and Rogers to eavesdrop on their next conversation, then charge through the first pair of guards they leave behind and follow the indicated group of men towards the building on the left to hide in the vegetation across from the entrance.
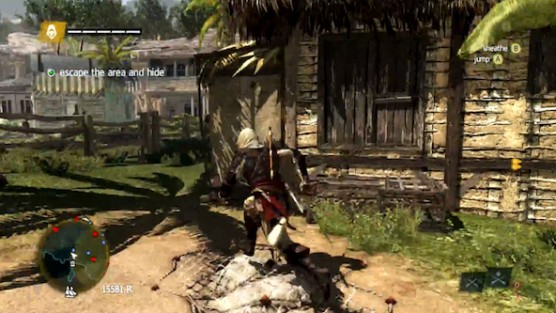
Ambush the two nearby guards to climb up into the exposed corridor on the left side of the structure and sprint forward to eliminate the soldier at the end, then continue eavesdropping on the conversation by ascending to the roof of the next building the men enter and walk towards the back to finish listening.
Following the next cut scene, sprint between the pair of soldiers ahead to make a right along the water’s edge outside and continue running in that direction until you can dive inside the tarped enclosure behind a beach-adjacent hut with netted sandbags on the ground in front of the left entrance to complete this mission.

Memory 02: Trust is Earned

Sail towards the current objective marker to start the mission and steer towards the left side of the island in front of you to encounter the fleet of enemy ships, then slow your speed to remain at a safe distance as they approach and target the first ones you see for multiple mortar attacks.
Navigate forward alongside the oncoming enemy vessels to destroy them at close-range and slow down to hit the larger ships that require more damage before sinking, then retreat from the remaining targets to eventually make a u-turn and attack them again head-on to finish the job.
After sinking all five ships and sailing towards the next green objective marker, swim to shore to head towards Sage’s location as shown on the mini-map and hide in the first patch of vegetation on the next enemy-occupied trail.
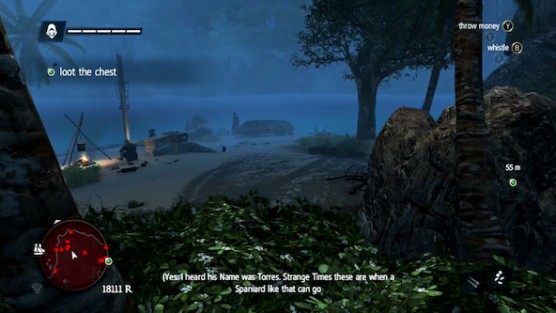
Wait for a pair of guards to approach the right side of the vegetation and eliminate them with a double assassination before proceeding forward, then defeat the next two soldiers approaching from above in a sword fight and use the large stump ahead on the right to climb up onto the branches of the tree in the corner.
Walk to the end of the branch that extends in front of the wooden wall and jump across the horizontal pole to drop into the campsite below, then speak with Sage to activate a short cut scene.
Afterwards, travel towards the green map icon by using whatever vegetation you can to execute stealth takedowns along the way and defeat the guard carrying an axe by the next door.
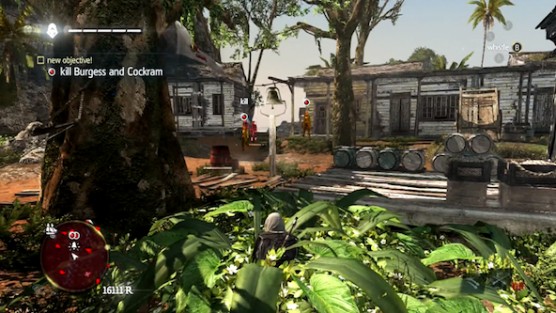
Move between cover points to remain undetected and assassinate nearby guards as you continue towards the indicated location, then ambush the guard by the exit to leave the camp without being seen and eliminate the next soldier below as well before activating Eagle Vision to find the targets by one of the town’s bell towers.
Defeat Burgess and Cockram in a sword fight to activate a cut scene, then approach Sage’s location on the beach nearby to complete this mission.

Memory 01: Black Bart’s Gamble
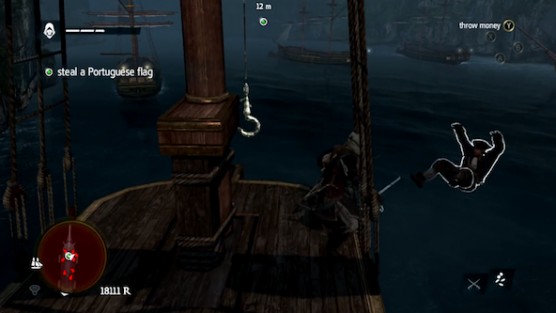
Sail towards the current objective marker to start the mission, then head towards the next green map icon until it turns into several red ones and navigate the narrow channel the runs through the island.
Spin the wheel sharply at a reduced speed to take the turns along the waterway without collision and approach the first enemy ship you encounter slowly from the left, then dive over the railing to swim stealthily towards the target and circle around to the opposite side of its hull.
Climb up the netting attached to the mast at the back of the ship and look towards the opposite crow’s nest to hit the lookout with a sleep dart, then advance quickly on the guard directly above you to push him off the platform before he can react.

Lower the flag at the top of the mast to activate a cut scene, then return to the Jackdaw to continue sailing forward through the waterway and navigate directly between the next four enemy vessels without stopping so as to avoid detection.
After passing through the first wave of enemy ships without drawing attention, use your spyglass to identify the next large vessel unloading something ahead and dive into the water to approach the men on the right-side shore.
Approach the far right side of the shore to hide in the first available patch of vegetation and move stealthily through the palm tree area behind the pirates camping on the beach, then assassinate any guards searching for you in the foliage and continue moving forward to cross the rock ledge that extends into the water.
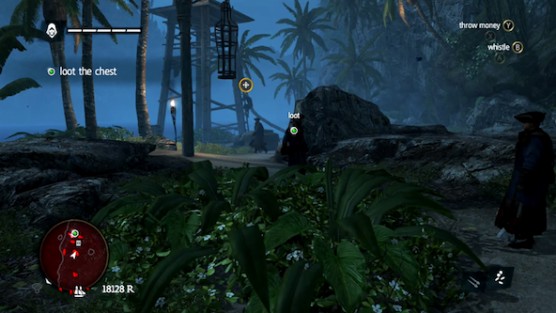
Hug the rock wall to enter the vegetation around the corner and look towards the guard tower in the next enemy-occupied area, then ambush the first enemy that walks by in front of you and sprint towards the pair of soldiers ahead on the right to hide in the plants behind them.
Assassinate the two closest guards and wait for the soldier to descend from the guard tower on the left, then sprint towards the campfire to defeat the surrounding enemies in a sword fight and loot the indicated chest before returning to the Jackdaw.
Sail towards the orange marker to navigate between the next two rocks in the water and keep your distance from the surrounding ships to avoid detection, then navigate around the left side of the third rock ahead to locate the galleon and dive over the railing to swim in the direction of the lookouts on the right.
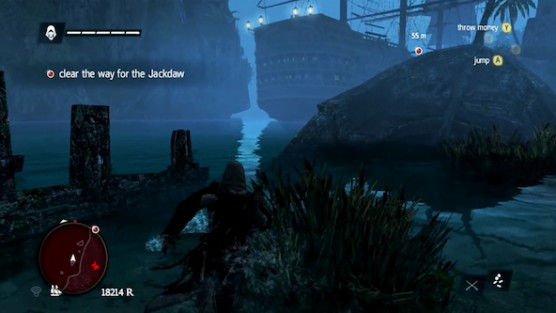
Swim around to the right side of the guard tower on shore to hide in the available vegetation and hit one of the men around the campfire with a berserk dart to cause a distraction, then climb the tower to assassinate the soldiers at the top and return to the ground below to disable the next alarm bell ahead.
Re-enter the water to swim towards the next red objective marker and climb onto the partially-sunken shipwreck ahead on the right to free-run up to the tip of the bow, then jump to the cliff above to hide in the vegetation directly beneath the indicated guard tower and wait for the soldiers by the campfire to turn their backs to you before climbing up the ladder.
Assassinate the lookout at the top of the guard tower to swing on the ropes ahead and land on the deck of the galleon below to activate a cut scene, then turn the ship sideways in front of the enemy fleet ahead to blast them apart with continuous cannon fire and sail towards the green map icon without stopping.
Use the flagship’s impressive arsenal to quickly remove additional enemy vessels blocking the route ahead or pursuing you from behind and proceed towards the current objective marker until the mission is complete.

Memory 02: Murder and Mayhem
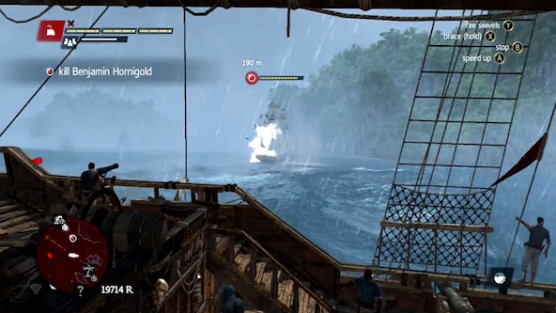
After starting the mission, sail towards the green objective marker to reach the island surrounded by enemy vessels and circle the area to inspect each vessel with your spyglass until you locate the HMS Benjamin.
Advance towards the Benjamin from an angle that will chase the enemy ship closer to the island’s shore as a means of narrowing down its escape routes, then pelt the vessel continuously with cannon fire until the next cut scene activates.
Swim to shore in the direction of the red objective marker and duck into the vegetation on land to assassinate the nearest enemy within your line of sight, then use whistle detractions to bait any guard near the next body of water into being ambushed as well.
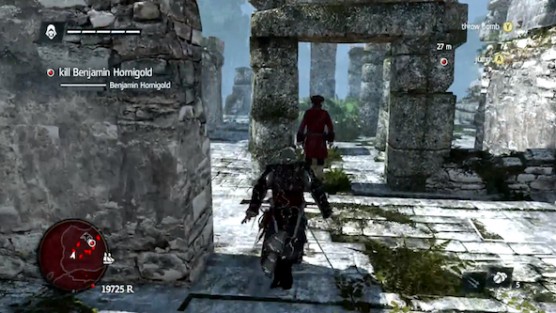
Approach the left side of the indicated island to locate a boulder against the opposite wall surrounded by ivy and climb on top of it to reach the ledge above, then immediately sprint towards the guards on your right to assassinate them quickly and turn the next corner to jump the gap ahead.
Proceed around the stone path you’re on to eliminate the next guard from behind and continue moving in the direction of the red objective marker to take out the soldiers at the top of the steps on your left, then walk across the palm tree in the corner to reach the ruins where Benjamin Hornigold is located.
Take cover at the first wall in front of you to track the group of enemies on the other side and assassinate the one who approaches your location next, then eliminate the second guard ahead from behind and immediately duck into vegetation between the columns.
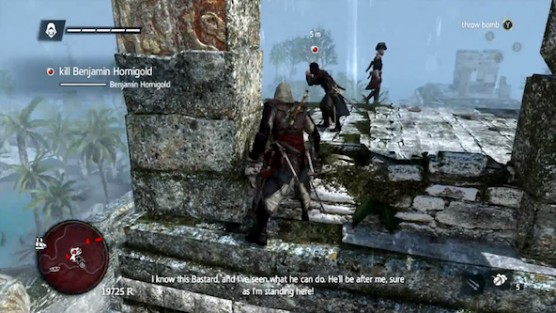
Assassinate the next closest guard once the coast is clear and move around behind the ruins to reach the stone ledge above, then climb on top of the wall to the left of the temple’s entrance and continue your ascent to reach the target’s location.
Jump towards Benjamin Hornigold to quickly execute a mid-air assassination and complete this mission.

Memory 03: The Observatory
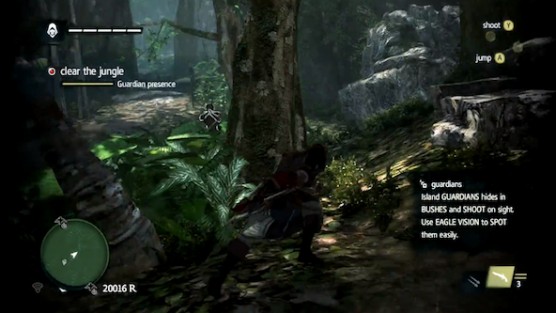
Fast Travel to Long Bay to activate the cut scene on shore, then proceed forward up the jungle path in front of you to follow it around beneath several bodies hung from the trees above and encounter the first guardian ahead.
Chase after the guardian by jumping off the top of the ridge and immediately sprint towards the first tree in front of you on the right to dodge the enemy’s oncoming blow darts, then move around behind the trunk to flank him and use Eagle Vision to locate the next threat up the path ahead.
Use the surrounding vegetation to assassinate the enemy ahead on the right at close-range and finish clearing this zone by activating Eagle Vision again to hunt down the other guardian located by the jungle’s river, then proceed past the left side of the next waterfall to duck into the available foliage and follow it along the rock wall to spot a new threat in the area below.
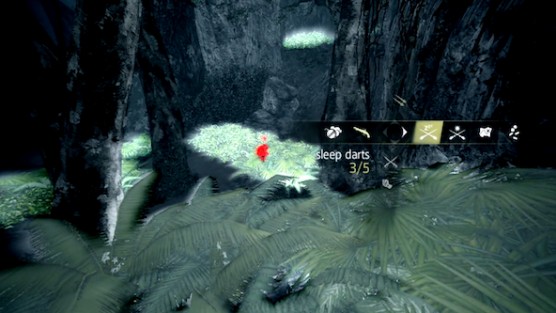
Hit the guardian below with a sleep dart to jump down to his location unseen and keep Eagle Vision active to take out the next enemy you spot above in the same manner, then turn around to assassinate another nearby threat and immediately duck into the surrounding vegetation before taking any damage.
Locate the guardian hiding within the same field of vegetation as you are and fire a berserk dart to send him running off into the jaws of an alligator, then follow the river around to cross over it using a fallen tree trunk and activate Eagle Vision to find the enemies in the surrounding area.
Use berserk darts to drive the enemies on the ground into the water as gators swim by and take out the guardian patrolling the trees above with a well-aimed pistol shot, then head towards the next green objective marker to reach a fishing village and move through the cave entrance on the right.
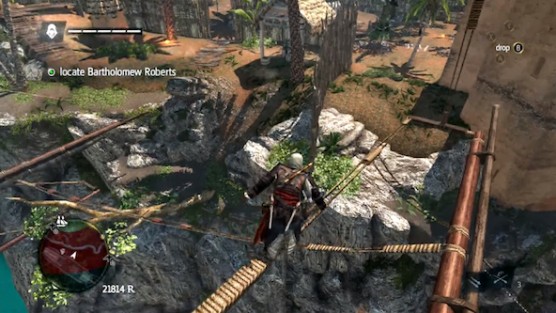
Eliminate the first enemy sitting on the edge of the cliff ahead and hit the pair of guardians near the campfire across from you with sleep darts to kill them at close-range afterwards, then look down towards the water to take him out with your pistol from a safe-distance.
Look forward into the cave ahead from the previous campfire to spot the next patrol in the distance and wait for him to starting walking along the bridge towards the left, then sprint past him to swing across the two poles at the end of the ledge and duck into the vegetation on the other side.
Track the previous patrol as he crosses back over the bridge to hit him with a sleep dart before reaching the other side, then assassinate the next enemy ahead as he walks away and pass through the vegetation in the corner to locate another campsite.
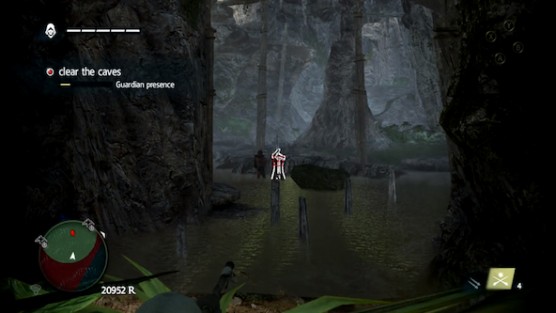
Hit the enemy above on the left with a sleep dart before silently killing the man sitting by the campfire and use the mini-map to start traveling in the direction of the next closest threat, then hit this guardian with a running-assassination before he can react and proceed back into the open cave area ahead.
Shoot the closest enemy you see below with a sleep dart to jump down beside him and look towards the water to knock out both guardians ahead with the same weapon, then proceed towards the green objective marker to enter the last jungle and eliminate the first two hostiles before reaching the ruins at the end.
Dive into the pile of dead branches ahead on the left before activating Eagle Vision to start tracking the enemies’ movements and hit the nearest patrol on the ground with a sleep dart, then climb onto the ledge above to your left to eliminate another guardian and jump towards the next one hiding in the vegetation below to perform the final assassination.
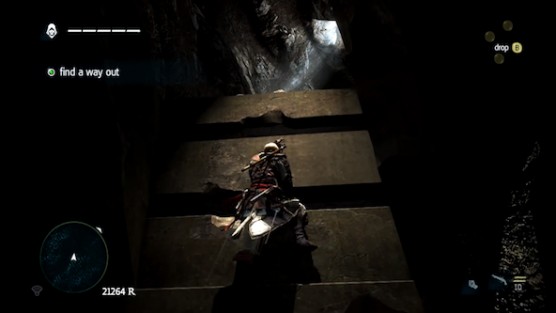
Follow Roberts through the secret passage to travel deeper into the ancient temple and place the chest in front of the gold idol to activate a security measure, then finish watching the holograms to get knocked into the water below and climb onto the nearest ledge to start your ascent back up to the observatory’s main room.
Make your way up the block pile beneath one of the torches you see above to transfer onto the next ledge to your left and approach the back right corner to start climbing towards the right across the top of the adjacent wall, then stop at the opposite end to perform a back eject and proceed forward by clearing the gap ahead.
Jump to the row of wooden panels lit up with sunlight to proceed through the next cave tunnel above and drop into the water below on the other side, then approach the large group of men on shore to lose the fight and complete this mission.

Memory 01: To Suffer Without Dying
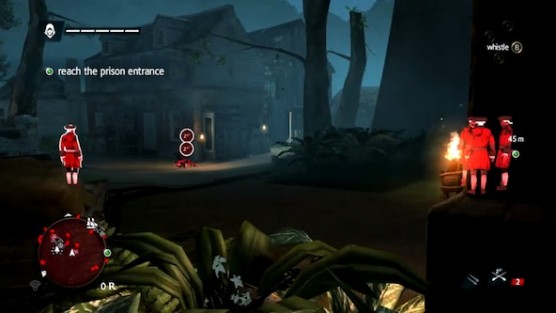
Rattle your cage repeatedly until the guards below are taken out to activate a cut scene, then climb the steps ahead to enter the vegetation on the right at the top and use Eagle Vision to track the surrounding guards.
Assassinate the first guard in front of you on the left when no one is looking and head towards the right through the vegetation to eliminate the other soldier nearby in the same manner, then eliminate the third enemy by the hay cart to hide in the vicinity of the well ahead and ambush another hostile with the help of a whistle distraction.
Enter the vegetation past the alarm bell on the left to eliminate another guard who’s eventually by himself and proceed towards the British flag ahead undetected to stop behind the soldiers around it, then make a left to hide in the foliage down the next road and use it to continue assassinating enemies along the way.

Dive into the hay cart past the left side of the next alarm bell ahead to eliminate the nearby soldier and enter the line of vegetation to the right of the guard wall across from you, then follow it around to reach the darkened corridor up front and use berserker darts to create a distraction that allows enough time for an undetected entrance.
Pass through the darkened corridor to enter the next shadowy area on the left and approach the prison entrance to assassinate the guards outside, then open the indicated door to reach the jail cell area and take cover at the right corner ahead to eliminate an approaching soldier.
Activate Eagle Vision to track the three guards in the room below and take the one on the left out first after the group splits up, then sprint towards the other two nearby to perform a running assassination on both and hide at the corner of the next tunnel to eliminate another approaching enemy.
Proceed forward to assassinate the pair of guards on the left from behind and hit the rest of the soldiers ahead with sleeping darts to reach Mary’s cell, then lead her towards the green objective marker to eventually escape the prison and drop the body so you can reach the shore as quickly as possible to complete this mission.

Memory 02: Everything is Permitted
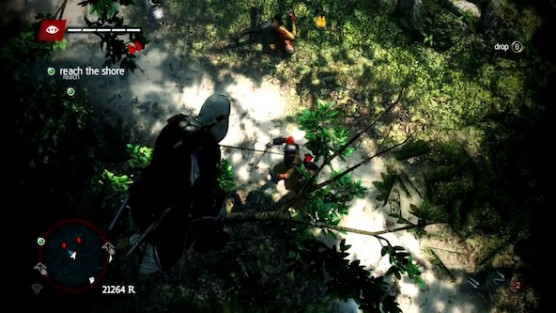
Fast Travel to Tulum to start the mission, then follow Ah Tabai to acquire the rope dart and head towards the next green objective marker to defeat the enemies along the way with your new weapon.
Free-run across the next series of tree branches to perch above the enemy patrol below and drop smoke bombs before yanking them off the ground with the rope dart, then continue towards the objective marker to reach the shore and use more smoke to help you defeat 20 soldiers.
Swim towards the red objective marker that appears to circle around behind the ship, then climb on board to defeat the captain in a sword fight and complete this mission.

Memory 01: A Governor No Longer
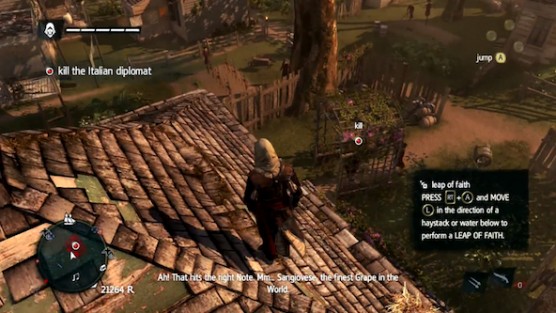
Fast Travel to Kingston to start the mission, then proceed to the green objective marker to activate Eagle Vision and look for the figure high-lighted in yellow by the fish merchant to locate the Italian Diplomat.
Tail the diplomat from a safe-distance by using the building corners as cover and by walking across the available rooftops or tree branches to look down on him from above.
Follow the target until he stops beneath a flower trellis in one of the larger back garden areas, then climb onto rooftop within this piece of property to eliminate the nearby guard and assassinate the diplomat from behind to steal his clothes.
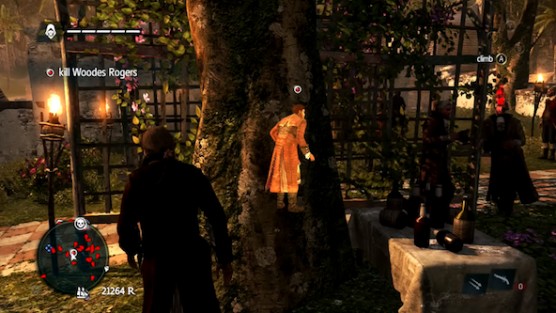
Head towards the next green map icon to reach the party and use Eagle Vision to mark your target in yellow, then approach the flower trellis on the left to stand behind the tree in front of it and wait for Rogers to pass through.
Follow Rogers without being seen as he enters the fenced-in walkway that surrounds the house and eliminate him from behind before reaching the next corner, then sprint off the property without stopping to hide by free-running across the rooftops above and reach the Assassin’s bureau to complete this mission.

Memory 02: Royal Misfortune

Sail towards the current objective marker to start the mission, then swim to shore to approach the path leading uphill on the left and take out the guards in front of it with sleep darts.
Use the surrounding vegetation or hay carts to pass through the village undetected and reach the opposite side of the island to re-enter the water, then swim towards the Royal Fortune on the left to climb up the ship’s center mast and walk across to the adjacent cliff town.
Move between the various cover points to search the area within the green zone on the map and eliminate any guards you can along the way, then activate Eagle Vision to locate figure high-lighted in yellow and chase Bartholomew Roberts back onto his ship.
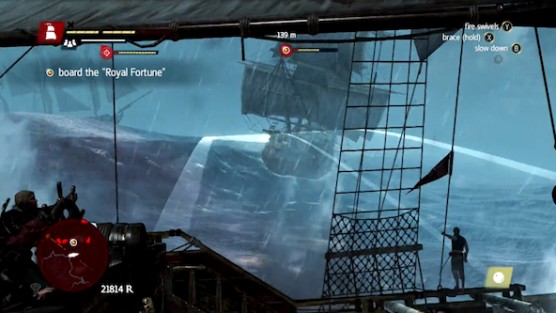
Dive off the cliff as the Jackdaw approaches to take the wheel and sail after the Royal Fortune to make a sudden right turn in front of the rock slide it creates, then circle around the obstruction to get behind the enemy ship again and get within range to start firing your cannons or mortars.
Chase the enemy vessel through the narrow waterway by shooting the fire barrels dropped in front of you and return to the open seas to encounter additional Spanish ships ahead, then ignore them to continue firing on the Royal Fortune by making a wide right turn that loops back towards the target and start hitting it broadside.
Maintain a safe distance to eventually draw the Royal Fortune into sailing straight towards you and start circling around it immediately, while ignoring the other threats, to finish wearing the target ship down at close-range, then swing aboard to defeat Bartholomew Roberts in a sword fight and complete this mission.

Memory 03: Tainted Blood
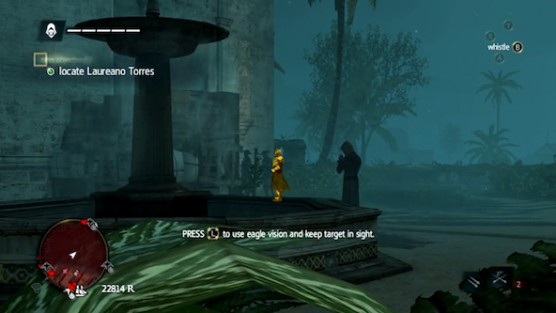
Fast Travel to Havana to start the mission, then stick to the rooftops to reach the next green objective marker and search the indicated area on your map with the help of Eagle Vision to locate Laureano Torres by the fountain in front of the enormous stone church.
Transfer between the tops of the buildings to trail Torres undetected from above and use sleep darts to shoot any guards patrolling the nearby roofs by first finding them in the distance with Eagle Vision, then continue following the target below to reach the castle and wait for the doors to close behind him.
Make your way onto the docks on the right side of the castle to reach the ship anchored next to it and hit the guard in the crow’s nest towards the front with a sleep dart, then cross the width of the deck to reach the wooden staircase behind it and defeat the two nearby soldiers in a sword fight.
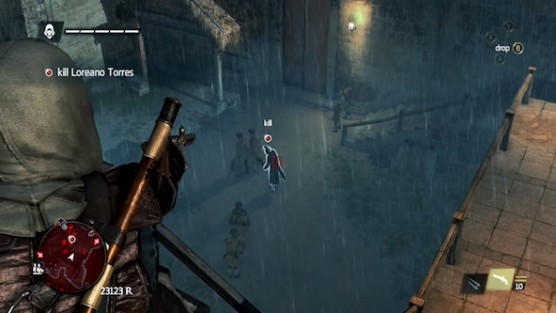
Enter the castle to assassinate the first guard in the room to the right and sprint up behind the men at the top of the nearby steps to eliminate them as well, then climb through the window around the corner to grab the wooden pole outside and use the protruding bricks above to reach the next pole ahead.
Ascend the green ledges above to reach the top of the castle and execute a running assassination on the next guard ahead before he can react, then look down into the courtyard to locate Loreano Torres again and shoot him from long-distance with your pistol to encounter El Tiburon.
Retreat into the open doorway towards the rear of the castle and use the rope dart to defeat the lesser enemies first, then pull your pistol to start shooting El Tiburon while ducking back into cover whenever he returns fire.
Defeat El Tiburon and sprint through the large groups of soldiers ahead without stopping to escape the castle, then free-run across the rooftops to become anonymous and return to the Assassin’s bureau to complete this mission.

Memory 04: Ever a Splinter
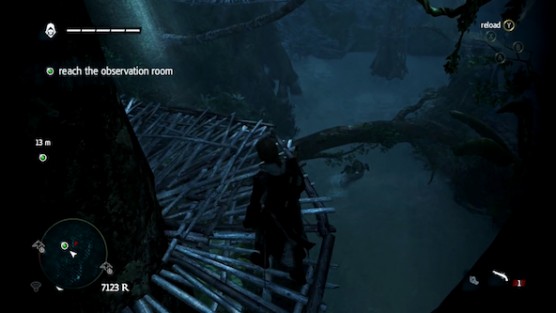
Sail towards the current objective marker to start the mission, then swim to shore to travel through the jungle in the direction of the next green map icon and spot the group of soldiers in the clearing below.
Head left to jump across the branches ahead and land in the stream below on the left to follow it forward , then continue in the direction of the green map icon and travel through the treetops again in the next area to reach the cave entrance by the burning village.
Follow the same route you used during “The Observatory” mission to pass through the secret entrance that leads to the observation room and witness the man being burned alive at the end of the corridor, then take cover at the previous corner and wait for the light trap to flash three more times
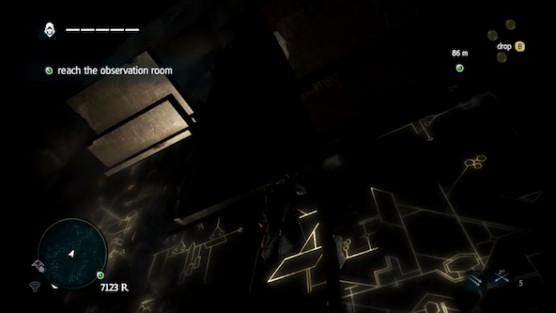
Sprint towards the exit to stop just as the light trap appears and disappears in front of you again, then continue forward to climb onto the series of shifting blocks ahead and stick to the left side to proceed over them quickly.
Turn right at the edge of the block closer to climb onto the bridge that continually passes by above and kill the next group of soldiers ahead in a sword fight or by pushing them into the darkness below, then ride the bridge all the way towards the left and jump to the glowing section of wall on the far right to ascend up it.
Make your way towards the left across the wall sections to reach the ledge above at the end and climb onto it to jump down to the next one below, then turn around to land on the last ledge ahead and ride it to the top to transfer onto the adjacent wooden beam.
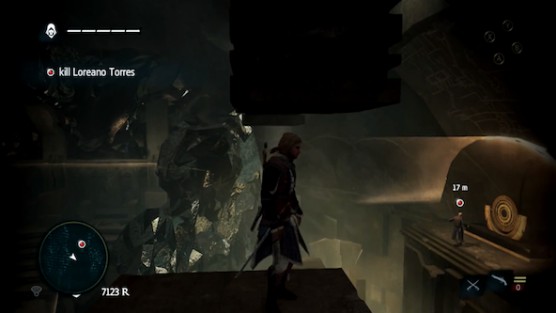
Jump to the next wooden beam on the left to reach the one beside it and grab the ledge in front of you to swing down through the observation room’s entrance, then sprint up the steps to assassinate the first pair of guards from behind and remain in this exact spot to continue fending off soldiers without walking into the light traps that repeatedly appear nearby.
Sprint past the light traps to reach the the shifting blocks ahead on the left and climb onto the last one near the opposite wall, then jump to grab the ledge that collapses in front of you and turn right to swing across the row of beams directly beneath the target.
Make your way up and across the glowing wall at the end by proceeding forward as soon as each light trap disappears, then launch yourself backwards to grab the next column you pass in front of and jump to the closest shifting block nearby to ascend on it.
-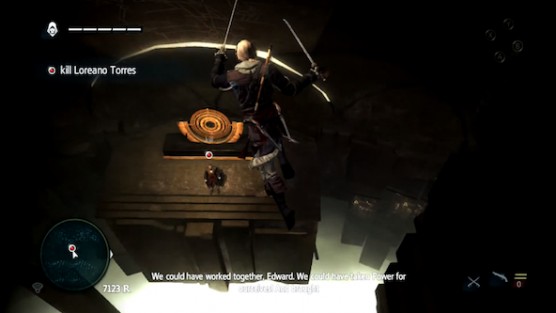
Grab the next ledge you see hanging from the ceiling above to move left around it and walk across the wooden beam on the other side, then look down towards the target and assassinate Torres by dropping down on him from above to complete the game.


 Dead Man's Party - The Witcher 3 DLC Hearts of Stone Guide
 How To Unlock Zombie Character For Call Of Duty: Advanced Warfare Multiplayer
 Beating a Dead Horse: Ubisoft and Assassins Creed Unity
 How To Unlock The Legend Achievement In Halo: The Master Chief Collection
 Ni No Kuni 2 Wiki – Everything you need to know about the game .