Aiden Pearce has plenty to do and see in Chicago. Help Aiden become the master
hacker he’s destined to be and complete all of the side missions in Watch
Dogs with this guide.
In the progression wheel, side missions have a light blue designation.
If you’re looking for a guide covering the campaign of Watch Dogs, please
refer to this guide:
Watch Dogs [Guide]
Watch Dogs – Side Missions [Guide]
Written by Dalton “HorrorSpooky” Cooper and Trade
Copyright 2014
The *ONLY* sites that have permission to use this guide are CheatMasters.com
and GameFAQs.com. IF YOU SEE THIS GUIDE ON ANY OTHER SITE, PLEASE INFORM ME, AS IT DOES NOT HAVE PERMISSION TO BE THERE!!!
Contact Information
E-mail: [email protected]
Legal Information
- – – – – – – – -
This may not be reproduced under any circumstances except for personal, private
use. It may not be placed on any web site or otherwise distributed publicly
without advance written permission. Use of this guide on any other web site or
as a part of any public display is strictly prohibited, and a violation of
copyright.
All trademarks and copyrights contained in this document are owned by their
respective trademark and copyright holders.
===================
=TABLE OF CONTENTS=
===================
1. Criminal Convoys
2. Crimes
3. Fixer Contracts
4. Gang Hideouts
- – - – - – - – - – - – - – - – - – - – - – - – - – - – - – - – - – - – - – - -
1. Criminal Convoys
- – - – - – - – - – - – - – - – - – - – - – - – - – - – - – - – - – - – - – - -
Represented by a wheel inside of a light blue icon, criminal convoys are
criminals that Aiden needs to intercept and stop.
To unlock more missions for Criminal Convoys, simply hack into civilians.
Walk around town with the profiler equipped and you’ll pick up these side
missions in the process of hacking into their phones and the like.
——————
CAUGHT IN THE LOOP
——————
There are two targets in big trucks. These guys won’t try to escape if you
ram into them, but rather, they will stop their trucks and try to kill you.
What you should do is ram into the two trucks with the targets in them, and
then get out of the car yourself.
Kill the rest of the enemies around the two targets, and then take the two
targets out with melee attacks one by one. Why it’s okay to kill all of the
other enemies but not the targets is beyond me, but oh well.
——–
DOWNTOWN
——–
Just a few cars to worry about in this convoy. Nothing hard.
——–
MADE MEN
——–
This one can be kind of frustrating. Smash head-first into the vehicle that
your target is in. Then drive a bit down the road once his cars is confirmed
to be immobilized. Get out of the car and then take cover on the side of the
car.
Kill the enemies around the target. Do NOT kill the target, or else you will
fail the mission. Once all the enemies around him are dead, rush him and
tackle him. Be careful because the enemy has a machinegun and is definitely
not afraid to use it.
————
MILITIA MILE
————
The path of these guys are leading them right to a steam pipe. If you have
that skill unlocked, then you can very easily just blow it up and then use
the chaos to take them out with ease.
————–
PARKER PURSUIT
————–
A simple mission. Simply ram him off the road. Then tackle him and kill the
rest of his goons with the grenade launcher.
———
THE BEAST
———
This mission is called “The Beast” because the truck that you have to deal
with is heavily armored. I recommend just killing the enemy inside by blasting
it with the grenade launcher. Then kill the rest of the enemies in the area.
———–
TOLL BRIDGE
———–
Get a car and then drive up the ramp. You have plenty of time to cut off
this convoy. They have armored trucks and more armor themselves. Smash into
the main truck, then drive down the street a bit. Get out, get behind cover
of your car, and then take out the rest of the enemies, except for the target
of course.
Sometimes you’ll have the opportunity to take down the target just by
disrupting his comms. If not, you’ll have to take him out the old fashioned
way, which is to run up and smack him a bit with Aiden’s wand.
To Top
- – - – - – - – - – - – - – - – - – - – - – - – - – - – - – - – - – - – - – - -
2. Crimes
- – - – - – - – - – - – - – - – - – - – - – - – - – - – - – - – - – - – - – - -
Dynamic events in Watch Dogs take the form of crimes that Aiden can pick up on
while moving through the city. Use the d-pad to start these missions, and
then tail the criminal. When the criminal activity starts, you’ll have to
take them down.
There’s an infinite amount of these missions in the game, but you only have to
complete 20 of them in order to get 100% completion and all of the rewards
and the achievement attached to these missions.
To Top
- – - – - – - – - – - – - – - – - – - – - – - – - – - – - – - – - – - – - – - -
3. Fixer Contracts
- – - – - – - – - – - – - – - – - – - – - – - – - – - – - – - – - – - – - – - -
Fixer contracts are represented by a steering wheel icon on the map. Fixer
contracts come in a few different flavors, and there are 40 total. Here the
missions are in an alphabetical order, but the type of fixer contract each
mission is, is noted.
The one thing that all of these missions have in common is that they are
based on vehicular gameplay. If you are having troubles, use skill points to
upgrade your driving abilities.
Before moving on to the missions themselves, these are the types of different
fixer contracts and what type of objectives you can expect from them.
Decoy – In these missions, you have to use the designated vehicles to distract
the cops by coming into their ctOS radar. You don’t want them to find you
completely, but if they do start chasing you, just keep going from checkpoint
to checkpoint. If the cops are on you by the end of it, you have to lose them.
Getaway – Escape from the police for one reason or another, and then evade
their ctOS scans.
Interception – Stop enemies from escaping and then take them down.
Transporter – A client will hire you to collect a series of vehicles. Find
the first one, drop it off, then rush to the next one. Keep doing this until
all of the vehicles that the client wants has been delivered to them.
———
DECEPTION
———
TYPE: Decoy
This one requires you to use a bike. Don’t worry about going super fast because
if Aiden gets flung off the bike, it’s more or less game over at that point.
There are 24 checkpoints to drive through in this one.
——–
DERAILED
——–
TYPE: Interception
Upon arriving at the target, he will try to flee in his truck. Just around
the corner, you should have the opportunity to neutralize him. Get out of your
car as he gets out of his truck, and then take him down with a quick melee
attack.
———–
GHOST TRAIL
———–
TYPE: Decoy
This Decoy mission lets you use a car, and there are only 14 checkpoints to
go through. It’s very easy to complete this mission without ever having to
worry about the cops becoming an issue.
————-
HARD SHOULDER
————-
TYPE: Interception
This enemy is in a big red truck, and so it is harder to wreck his vehicle
than usual. Not only that, but his friends will spot you and start chasing
after you as soon as the chase is on.
Utilize your hacking abilities to destroy their cars along the way, and look
for opportunities to neutralize him, as ramming him until his truck is
totaled will take a long time.
Once he’s out of his car, chase him down and take him out with a melee attack
to complete the mission. There’s no need to escape from or kill the rest of
the gang members either.
——————
INDUSTRY STANDARDS
——————
TYPE: Transporter
The first vehicle is a truck. You need to deliver all of the vehicles with
minimal damage, or else you’ll fail the mission. Keep an eye on the timer, as
you have 1:25 to deliver the first vehicle.
Rush to the second vehicle after the first one has been delivered. The timer
will keep on going even before you’ve entered the second vehicle. The second
vehicle is a motorcycle, so you can make up for the lost time easily as you
don’t have to swerve around vehicles or slow down nearly as much as you did in
the truck.
The third vehicle is located close to where you drop off the bike. It’s just a
regular car. Deliver it and the mission is completed.
———
MISGUIDED
———
TYPE: Decoy
You get a nice, fast car for this one. 19 checkpoints are all you have to
drive through, and the ending of this mission is quite amusing.
————-
MUSCLE MEMORY
————-
TYPE: Transporter
This one is very straight-forward until the third car. The third car is when
things get a lot tougher. First of all, you need to open the shutter that the
car is pointed at. Then you’re going to want to just go straight for the
yellow objective marker. Go across the bridge, go through the next closed
shutter, and then continue.
You’ll be able to cut through to the yellow objective marker as you near it
by going down a very short flight of steps and crossing over on the sidewalk.
————-
NUMBER CRUNCH
————-
TYPE: Interception
Drive to the target and then follow him as you download the code from him. You
need to remain close enough for the download to go through. At around the 70%
downloaded point, his buddies will show up and make this a little bit more
difficult.
Once the download is complete, do the usual ramming off the road and knocking
out of the target.
————–
PICKUP AND RUN
————–
TYPE: Getaway
Go to the truck and get inside. The gang members will then try to swarm you.
Drive out of there and escape from them. Now maneuver your way throughout the
streets to continue to avoid their detection while you make your way to the
drop off point. Park the truck in the designated garage and then exit the
vehicle.
—-
RAID
—-
TYPE: Decoy
21 checkpoints. There are a couple of ramps you need to hit as well in order
to get over some bodies of water. It’s virtually impossible to keep the cops
off you in this one, so be prepared. However, you don’t have to escape from
them at the end of the mission to complete it, so that makes it easier.
———-
ROGUE DATA
———-
TYPE: Interception
Get close to the target and download the data. More enemies will show up at
the 50% mark and start coming after you. Take out the car and driver after
you have downloaded the data successfully.
——————
SHOWROOM CONDITION
——————
TYPE: Getaway
Go to the showroom. Get in the car, and then smash it through the glass
window. You’ll now have a level three police chase after you. Evade them and
then take the car to the drop off spot. There will be a ctOS scan at this
time, so you’ll need to be quick or use jammers on your way to the drop spot.
———-
THE HUNTER
———-
TYPE: Interception
Drive to the location of the enemy’s car. They’ll start to drive away, so
ram them off the road. They don’t have a weapon, so just chase them down and
tackle them to the ground.
To Top
- – - – - – - – - – - – - – - – - – - – - – - – - – - – - – - – - – - – - – - -
4. Gang Hideouts
- – - – - – - – - – - – - – - – - – - – - – - – - – - – - – - – - – - – - – - -
On the map, gang hideouts are represented by a light blue icon with a fist in
the center. To unlock gang hideouts, simply profile people in the area and
you will learn the location of the hideouts in this manner.
The missions are listed in alphabetical order. If you are trying to find a
specific mission, use the Ctrl+F function to help find the mission that you
are looking for.
—————
BURNING BRIDGES
—————
Located in Pawnee, this gang hideout is one of the tougher ones. You have to
locate three separate targets all on an in-construction bridge that is very
difficult to navigate.
Upon arriving at the scene, get behind cover and use the cameras to bounce
around the first half of the bridge. The first half of the bridge has three
enemies on it. One by the hood of a car, a sniper on the raised platform, and
then the target, who walks back and forth between the inside of a shipping
container and a pile of wood.
Focus on the target until he is marked. Then use the last camera on the first
half of the bridge to look straight down. The next target is walking there,
down below. Get him marked so you don’t accidentally kill him later, and
then back out.
Go to the enemy near the hood of the car. Take him out quietly. Shoot the
sniper in the head with a silenced weapon, then take out the first target
with a melee attack. Drop straight off the bridge into the water below. Climb
out, take out the second target with a melee strike, then take the lift up.
Take cover at the concrete platform that is being held by the crane. Then
use the crane to move over to the second half of the bridge. Kill the Elite
guards here (the ones with the helmets on), and then take out the target,
who will be the only one that isn’t dressed like a soldier. Easy enough to
spot.
At that point, either leave the area or kill all the other gang members.
———-
NO PARKING
———-
Located in a parking garage, just enter on the first floor and slowly work
your way to the top. The target is on the third floor and easily accessible.
————
THE LOW ROAD
————
The target is located in the middle. What I did was simply shoot the first
guard in the back of the head, then when everyone was distracted and looking
at his dead body, I just walked right up and knocked out the guard. Then all
you have to do is leave the site for an easy job well done.
———-
UNION DUES
———-
This gang target is locating in a construction yard. He’s easy enough to get
to, and is wearing a typical construction worker’s uniform. You can kill
everyone else, but make sure you take him out with a melee attack. Then kill
everyone or leave like always.
To Top

 Pokémon Rumble World (3DS) beginners guide
 Magic Duels - Origins: all Planeswalker Cards at a glance
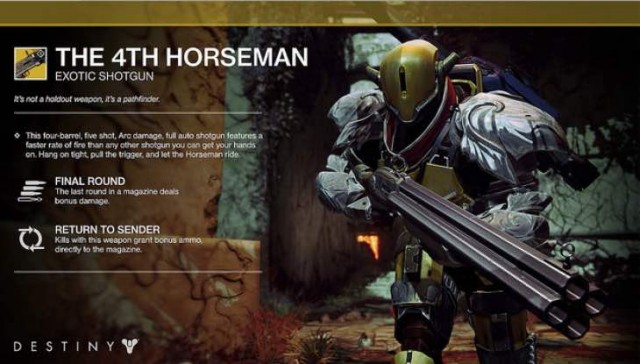 How to get Destiny The Dark Below DLC, The 4th Horseman Exotic Shotgun For PlayStation
 Speakers For PC Gaming: What To Know Before You Buy
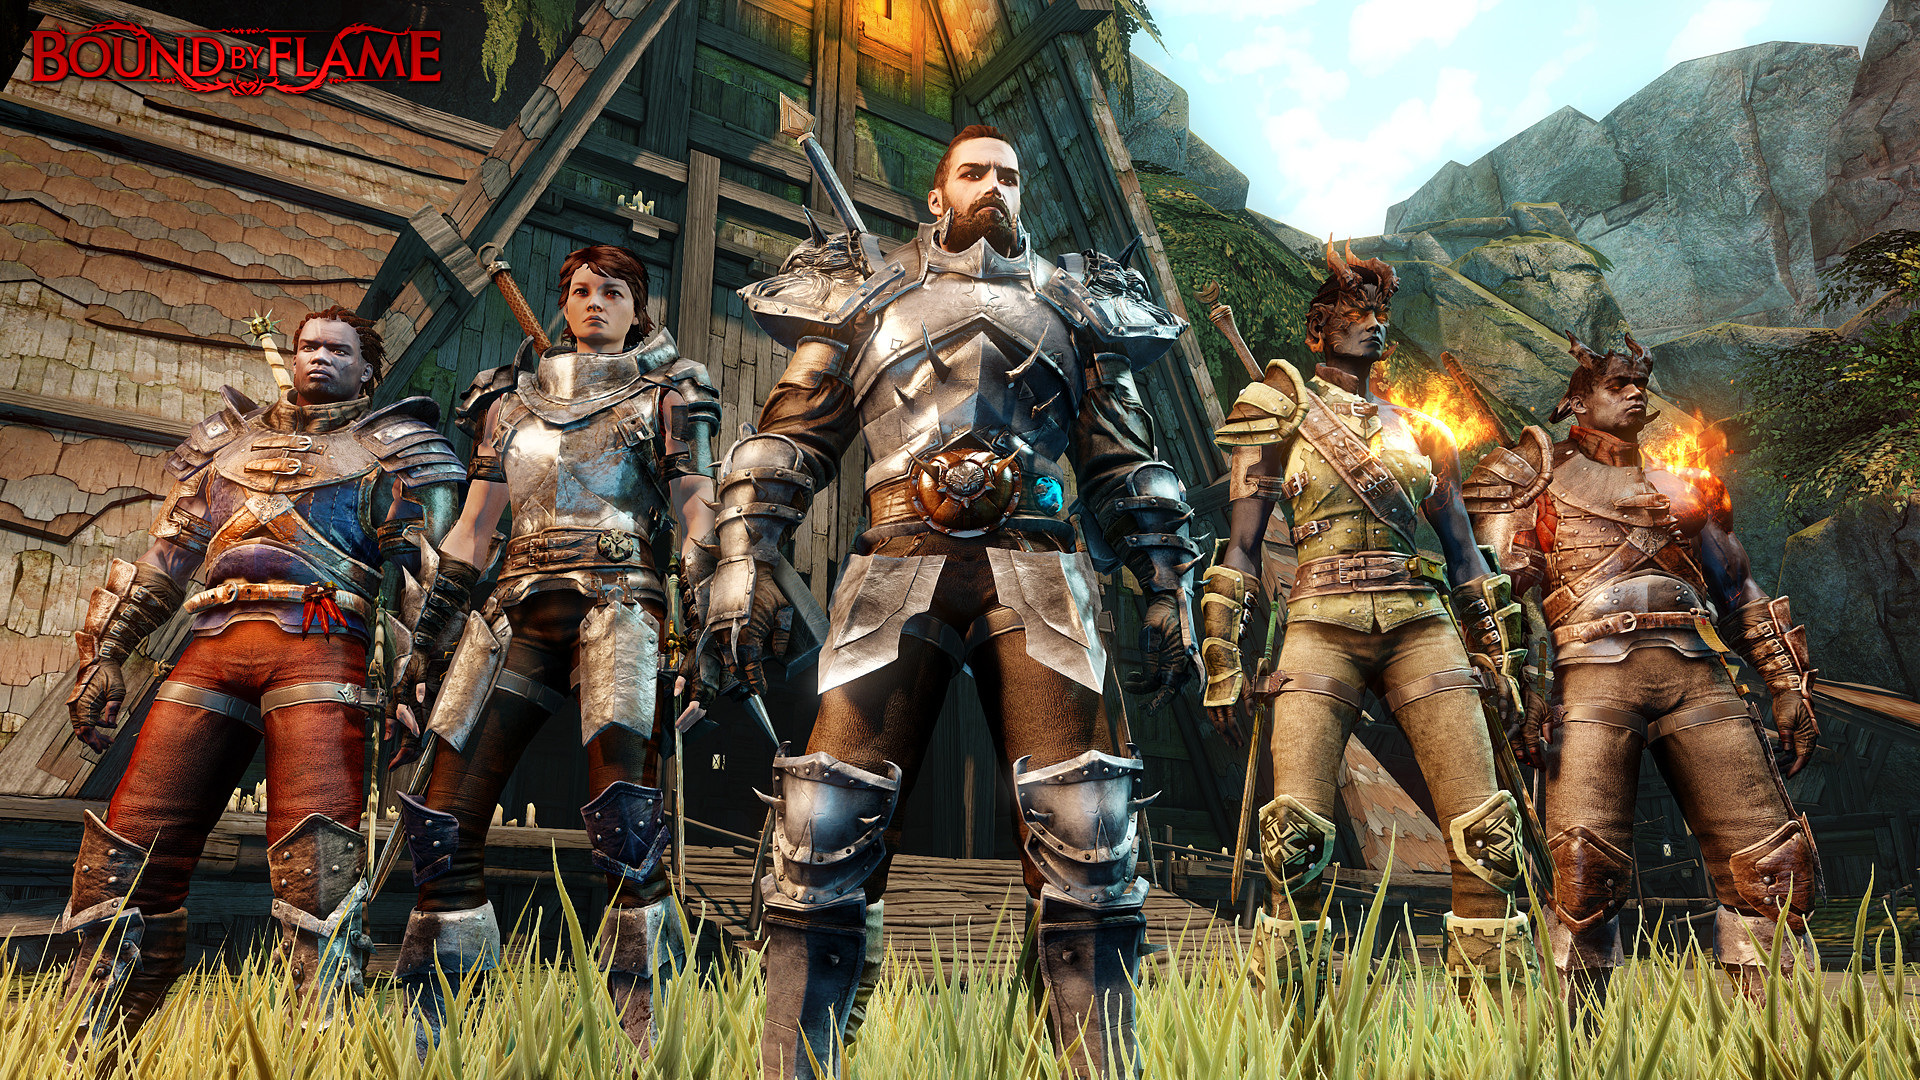 Bound by Flame Review: A Side-Quest for the RPG Genre