

This guide for Dark Souls 2: Crown of the Old Iron King is continued from Part 1.
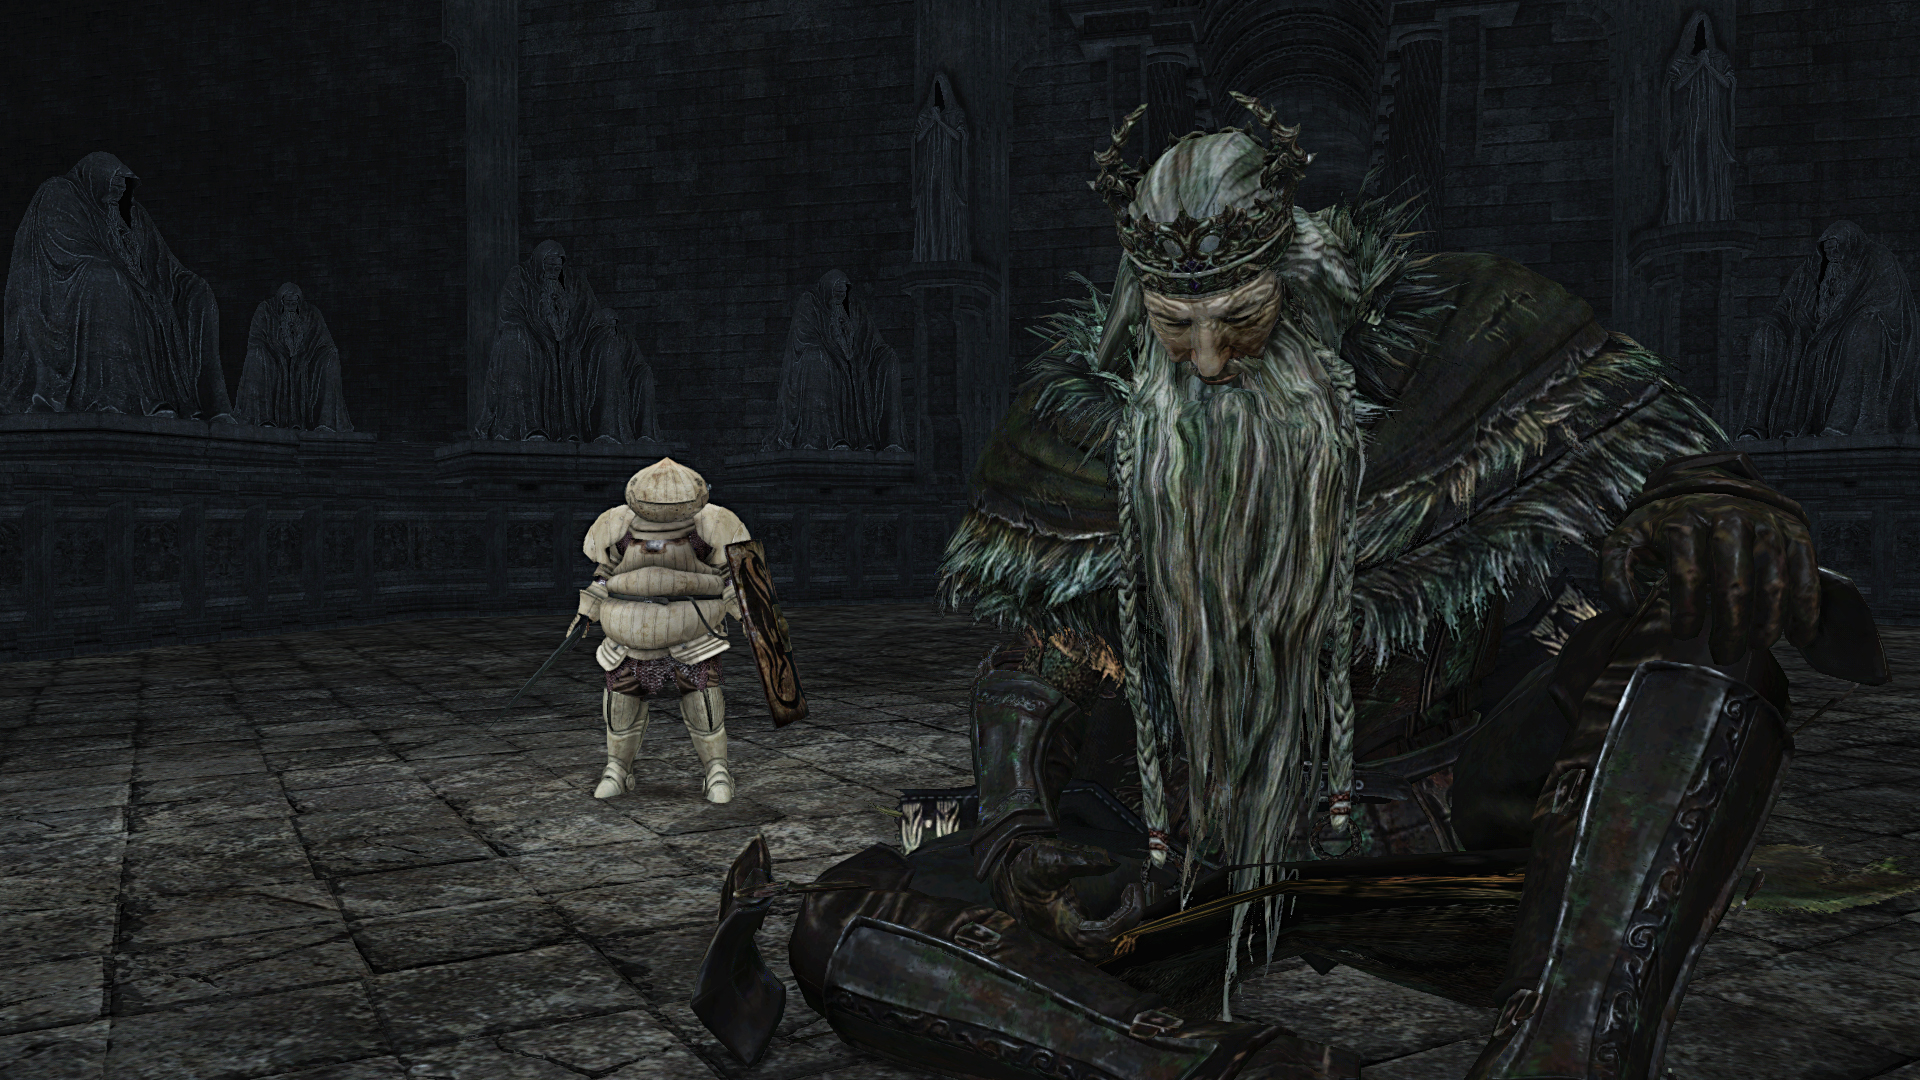
Continue through the hallway into the large room ahead to battle an Alonne Knight. Before you climb up the stairs ahead, make sure to use ranged attacks to take out the Demon Frogs in the alcoves that line the room. If you do not have any ranged attacks, the passages to either side of the room will lead you around and behind the frogs so you can kill them with a few swift melee attacks. Collect the items in the middle which include five Smooth and Silky Stones, three Human Effigies, and a Skeptics Spice.
Next take the passage to the left as soon as you go up the stairs. Continue into the passage to find a Rusted Coin close to the end. Two more Alonne Knights will attack you from the room ahead, which also features more Demon Frogs in the room lining alcoves. Continue down the next hallway and circle back to the first room.
Now head right to engage another Alonne Knight, making sure to clear any remaining Demon frogs from the alcoves. Head down the passage to take out an Alonne Knight that waits at the end. If you don’t kill him, he will rush out and attack you.
The passage should lead you back to the main room. Continue through the room to engage yet another Alonne Knight. There is also another passage to the left just before the hallway at the end of the room. This path will lead you around and behind the Demon Frog that block your way directly ahead. Take out the Frog and drop down through the hole to the level below you.
Continue down this hallway and into the next open area. Five more Alonne Knights are positioned in this room, and if you move too far into it, all of them will attack you at once. Take your time and move slowly through the room so you aren’t ambushed by enemies. Towards the end of the room you will find three Repair Powders and five Radiant Lifegames. Collect these items then go down the stairs on the far right side of the room.
Hang a right at the intersection to find a Twinblade +7 in the corner ahead. Drop into the room ahead and use your ranged attacks to take down the Demon Frog to the right.
There is also another hallway in the far right corner, where an Alonne Knight awaits. This leads you around to the back of the Demon Frog. There is also a path in the far left corner that is guarded by two Alonne Knights. Take this path and head up the stairs to the left to go back up to the main room.
Continue to the left, and down the hallway at the end. Go down the stairs to find a mist-filled door at the end, which will lead you into the boss arena to fight Sir Alonne.
Completion Reward: Soul of Sir Alonne
There are two ways which you can engage Sir Alonne. You can fight him up close, with melee attacks while continuously strafing, or you can attack him from a distance and simply dodge his ranged attacks. If you fight him up close, you can strafe either direction to avoid most of his attacks. However, he will sometimes use a single lunging attack, as well as a combination consisting of two or three attacks. You’ll need to pay close attention to his attack animations to determine his next move, then attack him during the brief pause afterwards.
Sir Alonne doesn’t like to fight at close range, so he will try to jump back and away from you during the battle. When he does this, you should be prepared for a long-range lunge attack. This can easily be dodged with good timing, and you generally will have enough time after dodging to attack a time or two (depending on your weapon’s speed).
You can also use a shield to block Sir Alonne’s attacks, but it isn’t recommended. All of his attacks will inflict bleeding damage, so if you block too many of them in rapid succession, you’ll eventually take damage. Blocking his attacks also takes a considerable amount of stamina unless it is one of his combination attacks. Blocking all three parts of his combination attacks will leave you with very little stamina remaining to counterattack.
Occasionally the boss will use a projectile attack from a distance. This attack is fairly fast, but he does charge up a little before using it. If you’re ready for it, you can easily dodge to the left or right to avoid it. It’s even easier if you start moving left or right as soon as he begins charging it, then roll in the direction you’re moving as soon as you see the projectile coming.
From a distant position you simply have to worry about the projectile attacks as well as Sir Alonne’s various lunging attacks. Just wait for the dash that precedes the lune and then roll left or right towards him, so that you can easily come out of your roll and attack him while he recovers. It is also to dodge backwards here, but the timing is a bit stricter and therefore should only be used if you are very confident in your skills.
Sir Alonne will also use a jumping attack at times, which is a bit faster and harder to dodge than the others. As soon as you see him jump into the air, you’ll need to dodge to the left or right, but don’t hesitate or you will take damage from this attack.
Once he is defeated, head through the hallway in the far right corner to find a room with a throne. Examine the throne to obtain a Smelter Wedge and complete the memory.
Go back to the room where you used the Scorching Iron Scepter, this time taking the lift to the right. Once you reach the lower level, run across the room to the hallway on the other side.
At the end of this hall are two flaming statues, with a number of explosive barrel enemies on either side. If you can’t target any of the enemies from your position run into the area to get their attention, then quickly retreat back into the hallway and wait until you can target at least one of them with a ranged attack. You should be able to defeat them all simply by hitting one of them.
A Giant Club Demon emerges from the field of soot ahead. Careful as there are two more hidden in the soot, so carefully move forward so you only have to fight one at a time. Once you’ve taken all three down, pick up the items in the soot to obtain a Skeptic’s Spice, two Wilted Dusk Herbs, two Titanite Chunks, a Tower Key, five Charcoal Pine Resin, two Twinkling Titanite, and two Human Effigies. Once you have the Tower Key go to section 3A to find out where you can use it in areas that you’ve already been through.
Now head back down the hall and into the large circular room. If you want to head directly to the Fume Knight boss, jump to section 2B. If you would like to head to the side area and take on the optional Smelter Demon boss, skip ahead to 2C for a walkthrough of the iron passage. If you wish to continue in this area for now, then head back up to the room where you used the Scorching Iron Scepter and open the door behind the Minotaur head.
Use ranged attacks to take down the enemy at the bottom of the stairs, and then use an item that reduces or curses curse (such as Divine Blessing), before heading down the stairs. Once you get to the hallway below you’ll enter an area that is filled with curse coming from an Ashen Idol located on the lower level.
At the bottom of the stairs and Invader and an Axe Demon wait. Step into the hallway, then immediately head back up the stairs until you get one of them to follow you so that you can’t fight them one on one. If you go down the left hallways you’ll find a chest in the room to the left that holds three Old Radiant Lifegems, and to the right another red invader enemy awaits with no items.
If you continue down the next set of the stairs, another Axe Demon comes into view, with a second demon further down the hallway to the right. Two Possessed Armors also wait down the hallway to the left with five Large Titanite Shards at the end of the hall. There is also a door on the left if you go down the left hallway, inside this room another Ashen Idol stands. Destroying it with a Smelter Wedge gives you a Soul of Nadalia, Bride of Ash and removes the curse effect from the area.
Down the hallway to the right there is another room on the right. Inside is a chest with a Fire Snake Pyromancy spell. Take the spell and all of the items in the area before proceeding to 2B to fight the main boss, 2C to reach the Iron Passage and Smelter Demon side boss, or continue down to 3A to go back for more items accessible only with the Tower Key and the active lifts.
Head back to the Foyer bonfire in Blume Tower, and take the lift straight ahead to the area below. Head to the far side and take the second lift down even lower. As this lift lowers, turn around to see two different paths. Run and jump as the lift approaches the uppermost path. In the room ahead you’ll find a chest in the corner that holds a Strength Ring (increases your strength). Use your ranged attacks to take out any enemies you may see through the large hole in the floor before dropping down.
Continue to take down the remaining enemies after dropping through the large hole, once you’ve cleared this room use your ranged attacks to once again take out any enemies in the room below that you can see through the holes in the floor. There aren’t a massive amount of enemies, but there are quite a few Axe Demons, including two with flaming axes that can inflict more damage than normal. Once you’ve cleared the enemies you can, drop down to the next level and repeat the same actions.
As you drop from level to level you’ll find a Partizan +6 weapon on the sixt level just below the bottom floor. From the floor with the weapon, you should see three enemies below, two Axe Demons (one with flaming axes) and one Giant Club Demon. You can take them out from your current position of safety using your ranged attacks. Once they’ve been defeated, drop down into the next room. Be aware that this drop will cause a significant amount of damage.
Once you reach the bottom floor, pull the level near the door to open it. There are two Axe Demons, and two Possessed Armor enemies ahead, one of which remains dormant on the ground until you get close to it. You cannot kill the Possessed Armors until you’ve destroyed the Ashen Idols below.
Run pass all four enemies, and down the stairs on the far side of this area. Careful as you approach the firs Possessed Armor as it will wake up and attack with a huge range in an attempt to knock you off the path and to your death. The second Possessed Armor uses a similar attack once it is off the ground and reach to fight, but you should be long past if by the time that happens.
Just before the stairs there is a path to the right that leads to a chest with a Sorcery Clutch Ring (increases magic attack) inside. Don’t worry about the chest until you’ve destroyed the Ashen Idols and have killed the enemies in the area. In the room ahead, go up the stairs and onto the lift to lower it down to the level below. Once you reach the bottom, step onto the lift again to send it back to the top. This is an important maneuver because if you die, the position of the lift does not reset.
Head up the stairs before you, entering an area with four Ashen Idols (one of each side). As you approach each idol, a Giant Club Demon emerges from the soot and attacks you. You cannot kill either demon until at least two of the Ashen Idols are destroyed.
There is also a mist-filled door ahead which leads to the boss battle against the Fume Knight, but if you leave the Ashen Idols untouched, they heal the boss if he gets close to them. Destroy as many as you possibly can before heading into the mist, and entering the boss fight arena.
Completion Reward: Soul of the Fume Knight
Approach the sword in the ground near the middle of the arena to being the battle. During the first phase of the fight the Fume Knight will use a light rapier-like sword and an ultra greatsword. Stay close to him and strafe around him to the right to avoid a good amount of his greatsword attacks. These require a considerable amount of stamina to block compared to the rapier attacks. Usually the Fume Knight will attack twice with the rapier before attacking once or twice with the greatsword. There is a considerable windup before he swing the greatsword, so if you watch his movements carefully you will know when he is about to swing.
There are also times when he will simply swing the greatsword. This attack comes from the opposite side and can even hit you if you’re strafing to the right. This attack consumes a large amount of stamina to block, and the Fume Knight will not hesitate to attack you two or three times with this same move in a row. Do your best to roll and avoid these attacks.
If you back away from him the Fume Knight will use either a lunging attack with the rapier or a massive swinging attack with the greatsword. Both attacks are considerably harmful, with considerable reach so don’t relax just because you’ve put a little distance between you and him. If any of the Ashen Idols were left untouched before you entered the battle, do not let the Fume Knight near them or his wounds will be healed.
After a short while in the battle the Fume Knight powers up. When this happens the rapier vanishes and his ultra greatsword becomes engulfed with magic. From this point until the end of the battle all of his sword attacks will also inflict magic damage.
Continue to stay close to him, strafing around him to the right. However, if you were blocking his attacks before, it is far more important that you dodge them now. All of his attacks have a lengthy startup animation and are very easy to see coming, so roll to avoid them and you should be able to finish the fight without dying.
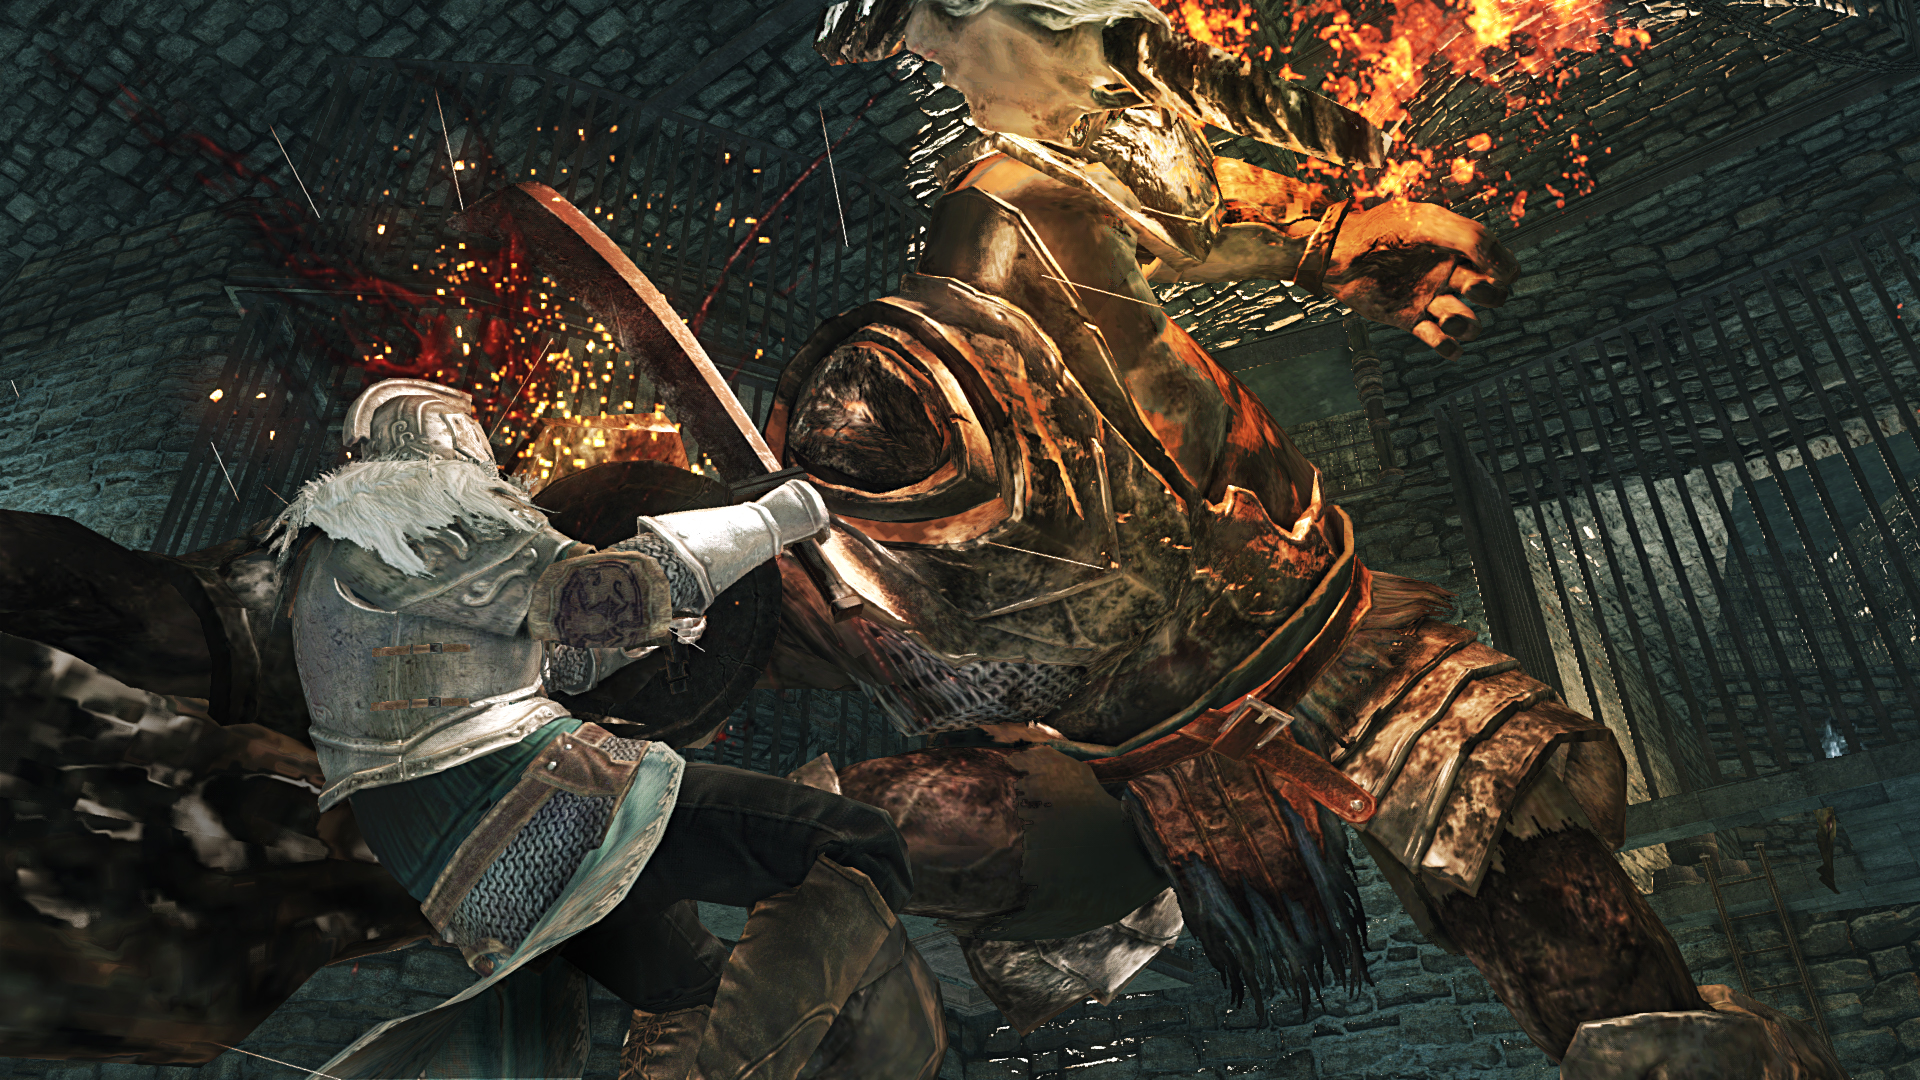
If the Fume Knight plunges his sword into the ground you have two options left. The following attack is a 360 degree spell that sends fireballs rolling along the ground in every direction. If you opt to stay close to him, you must roll with extremely precise timing to avoid the fireballs. If you decide to play it safe and move away, then you have given yourself more room to avoid them, but it can still be difficult if you aren’t paying close attention to the Fume Knight. If you’re hit with even one fireball it will inflict tremendous damage.
Between fireball attacks continue to strafe around the boss attacking when you’re able to. He takes a decent amount of damage if you’re geared up enough, and shouldn’t take too many attacks to defeat. This battle is more about avoiding his magic greatsword attacks than attacking. If you can do that, there isn’t much else to worry about.
With the Fume Knight defeated you’ve completed this boss battle and beaten the Crown of the Old King DLC. However, there’s still plenty of stuff waiting for you to collect, as well as the Iron Passage side area.
Teleport back up to the Upper Floor bonfire in Blume Tower, heading towards the gate area (not the small stairs), and around the corner to the right. This should lead you down stairs. Once you reach the circular room, head right, from here you can take the lift to three different destinations. To find a Simpleton’s Ring (makes wearer invisible while rolling), head down route 3B. If you’re just after some addition loot, like Titanite Shards and Flame Butterflies, follow route 3C. You can also get another chest with a Pilgrim’s Spontoon weapon by following route 3D.
Take the lift to the doorway above, it doesn’t stop there so you’ll need to jump off as the lift is moving. Head around the corner, down the stairs and into the room with a chest on one end. Take down the two Possessed Armors, and pick up the Radiant Life Gem sitting under the flaming statue if you want it. Then head to the opposite side and through the door to go back out onto the balcony to find the Simpleton’s Ring on the far right.
Use the lift to cross the small gap and reach the path on the other side of the lift. Now open the door at the end on the right to find a room with several doors, a chest with a Life ring +3, and a Giant Club Demon guarding it all. This demon is currently invincible, meaning you can’t kill him as he constantly regains his health.
Behind the third door (moving from the left) is an Ashen Idol. Wait until the demon moves away from that door, then quickly open it and use a Smelter Wedge to take down the idol and obtain a Soul of Nadalia, Bride of Ash. With the idol down the demon is no longer invincible.
Take out the Giant Club Demon and then you’re free to loot the rest of the area. There is nothing behind the first door, but the second door hides a Broadsword +7, ten Titanite Shards, and one Petrified Something. The last door on the right hides five Flame Butterflies behind it. Don’t forget to loot the chest for the Life Ring +3.
Take the lift down to its lowest level. Once the lift stops, carefully walk onto the narrow ledge and follow it to the alcove it leads to. Collect the Pilgrim’s Spontoon from the chest in the alcove then carefully make your way back to the lift.
Head back to the Throne Floor bonfire in Blume Tower. Climb up the stairs toward the location of the first Ashen Idol, then around the corner and down the next flight of stairs. Once you reach the room ahead, turn right and hop onto the lift at the end of the ledge. Take the lift to the top to find a Baneful Bird Ring in the corner, on the railing. This ring reduces the amount of stamina loss when blocking with a shield.
From the large circular room just before the Foyer bonfire, use the Tower Key to unlock a door on the far side near the lift that moves up. Head down the long flight of stairs ahead of you, then twist right at the bottom to find two Twilight Herbs. Take the lift on the other side of the platform to reach the lower level and head through the tunnel to enter the Iron Passage.
Iron Passage
Light the bonfire ahead of you, and drop down into the room below. Using the two markings on the ground will allow you to summon helpers to fight your way up to the Smelter Demon. Continue through the hallway and into the next room. The corridor ahead is lined with occupied cells on either side, as well as a gate at the end. There is a level in the center of the room that will open the gate, but it also opens the cells. This part of the world is timed, as the gate will close after a short time. If you pull the level in the middle of the room and run straight to the gate, you can make it into the next room ahead. If you want to use this route then please jump ahead to section 4A.
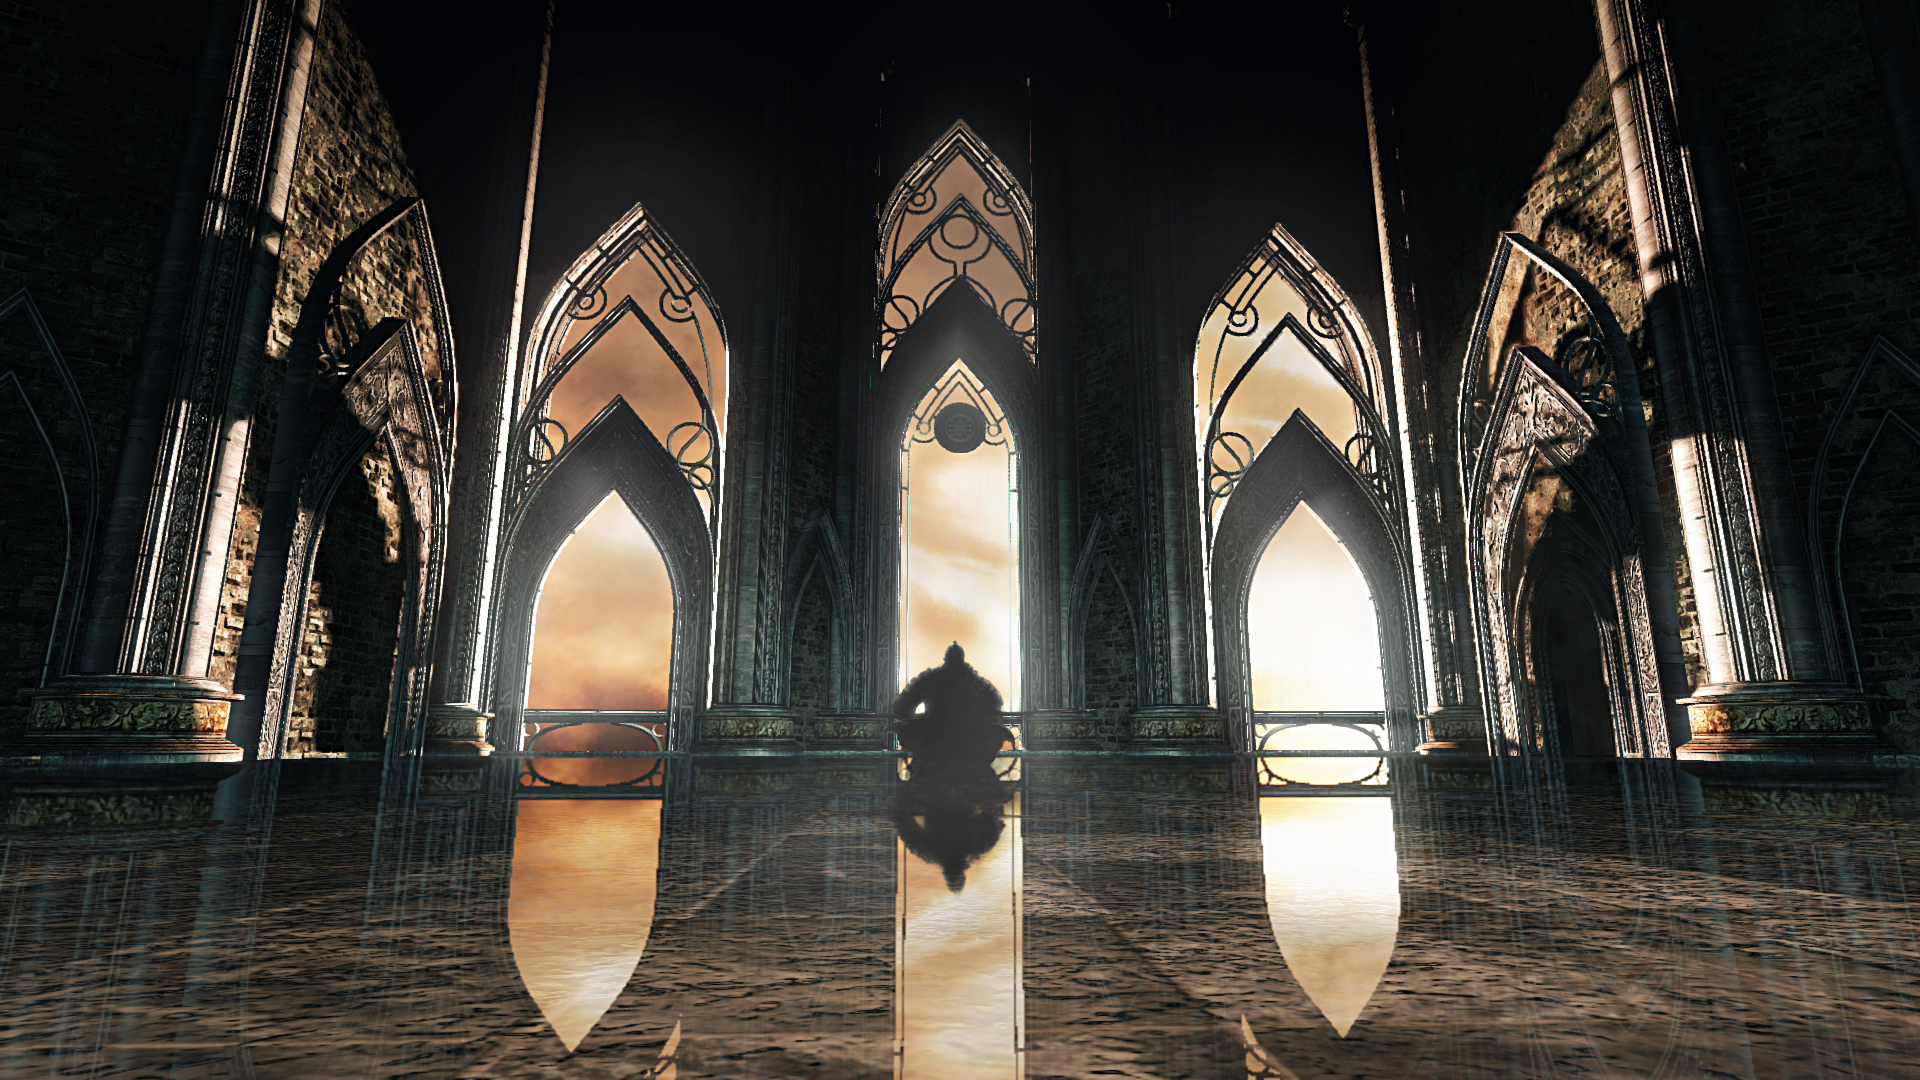
Pull the level in the middle of the next room, this activates a fireball trap just ahead and unlocks the cells of four Axe Demons. Dodge to the side to avoid the fireball trap, and wait for two of the Axe Demons to move towards you and attack. Defeat them, then finish off the rest of the enemies in the last two cells. You can find seven Large Titanite Shards in the third cell on the right.
Collect the items, then head back into the room with the lever and continue on through the side passage there. Drop into the room below to engage multiple Axe Demons and two Hollow Mages. The Mages will attack you from an elevated area that you can’t yet reach, so use your ranged attacks to defeat them.
With the room now clear, drop down into the small alcove at the end, but not completely down to the next corridor. An Axe Demon waits for you below, use your ranged attacks to down him, then drop down into the corridor. Ahead of you a room with three Axe Demons, two Possessed Armors, a Fume Sorcerer, and a Hollow Mage await. Every ranged enemies is position on an elevated platform, which means you’ll need to use your ranged attacks to clear the area.
One of the Axe Demons is clearly visible from the entrance, but the second stands right of the entrance, and the third and final Axe Demons is at the far end of the room. All of the ranged enemies are positioned along the ride side of the room, so if you wish to rush through, you’ll only need to take the Axe Demon down. Be careful when rushing, as the Hollow Mage may slow you down. You can still make it to the end without much fuss, but it is best to go ahead and take the Hollow Mage down as well, just to be safe.
The next room holds two Giant Club Demons with flames from their bodies (one of the invaders is red), several Axe Demons, two Hollow Mages, and a Possessed Armor.
Drop into the room at the end before the gate closes, then attack the Hollow Mage inside. He will use relatively slow magic attacks, so you should have time to get in several of your own attacks between spells. Once you’ve killed the Hollow Mage, look down the passageway to the left of the fireball trap. You will see two Mages as well as several Axe Demons in the room ahead. They can’t reach your current position, so you can easily dispatch those using ranged attacks without fear of being counterattacked.
With the enemies cleared, head into the room (do not drop into the lower area), and find two Crimson Water on the far left side. Collect the items, then head back into the room with the fireball trap and through the passage on the opposite side.
A Fume Sorcerer will appear in the corner of the room as you enter it. Quickly dispatch of it, before once more being faced with two different paths. When you pull the lever in the room, the cells and gate down the next corridor will open, but you’ll have to immediately make a run for the gate if you want to make it through before it closes. If you choose to take this path, please move ahead to section 4B.
If you head through the side passage you’ll end up on the bottom floor of the next room, but on a raised ledge with two Possessed Armors waiting just ahead. A Hollow Mage is positioned on the upper platform, as well as two Axe Demons on the ground floor. The in the corner a third Axe Demons blocks on of the exits into the last room located in the far left corner.
Take out the Possessed Armors, and head for the exit straight ahead of you and just to the right. You’ll find two Wilted Dusk Herbs on the ground here. This exit is only accessible from the raised ledge, so if you drop down to the ground you will have to use the exit blocked by the third Axe Demon in the corner. I doesn’t matter which exit you take, as both lead to the same location in the final room before the Smelter Demon.
The final room is filled with several enemies. One Possessed Armor stands on the ledge above, along with two Giant Club Demons. There are also two Hollow Mages on the ground floor. The Giant Club Demons guard the mist-filled door to the boss fight, and if you still have your helpers with you, you can use them to distract the enemies as you make a run for the door. Be careful though, and wait for the Hollow Mages to use their gravity spells, otherwise you’ll be stuck moving slow between two angry Giant Club Demons. You can also find a Dried root on the floor near the closest Hollow Mage, but it isn’t really an item you have to pick up.
Pull the lever, then immediately make a run for the gate at the end of the corridor just ahead. Drop into the room below, and fight the Hollow Mage that is waiting down the hallway to the left. You can bypass this room, as it isn’t important. Two Possessed Armors and two Axe Demons await down below, but there isn’t anything for you in the upper room that you have access to. Instead, continue down the path to the right.
Twist around the corner, but do not enter the room ahead. Looking ahead you will find one Possessed Armor on the same height level that you are on. Take it down from the corridor, using the wall as cover from its ranged counterattacks. The area below holds two Giant Club Demons with flames emitting from their bodies (one is a red invader) and two Hollow Mages. You can take them all out from the higher ground using your ranged attacks, but beware, the Hollow mages will use ranged attacks to counterattack, so be ready to dodge to the side.
There are two items located at the end of the path, one holds three Cracked Red Eye Orbs, and the other holds three old Growth Balms. Collect the items then drop into the area below to find a Dried Root on the far side (opposite of the mist-filled door). With everything collected, head into the mist-filled doorway to begin the battle against the Smelter Demon.
Completion Rewards: Smelter Demon Soul
This isn’t the first time you’ve faced off against the Smelter Demon. When you originally played through the Iron Keep you battled him there as well. Since the new DLC extends from the Iron Keep it really only makes sense that you’d run into him somewhere along the way once more.
Luckily, his attacks haven’t changed at all, and he fights exactly as he did the first time. The main different though, is that this time he is covered in magic instead of flames, and has a considerable more amount of heath than before. It’s a smart idea to go ahead and equip armor and a shield (if you like using one) that have high defense. Magic damage is unavoidable through the fight, even if you plan on attacking from a significant distance, so a shield with 100 percent physical damage reduction isn’t going to protect you from taking damage when you block some of the Demon’s attacks.
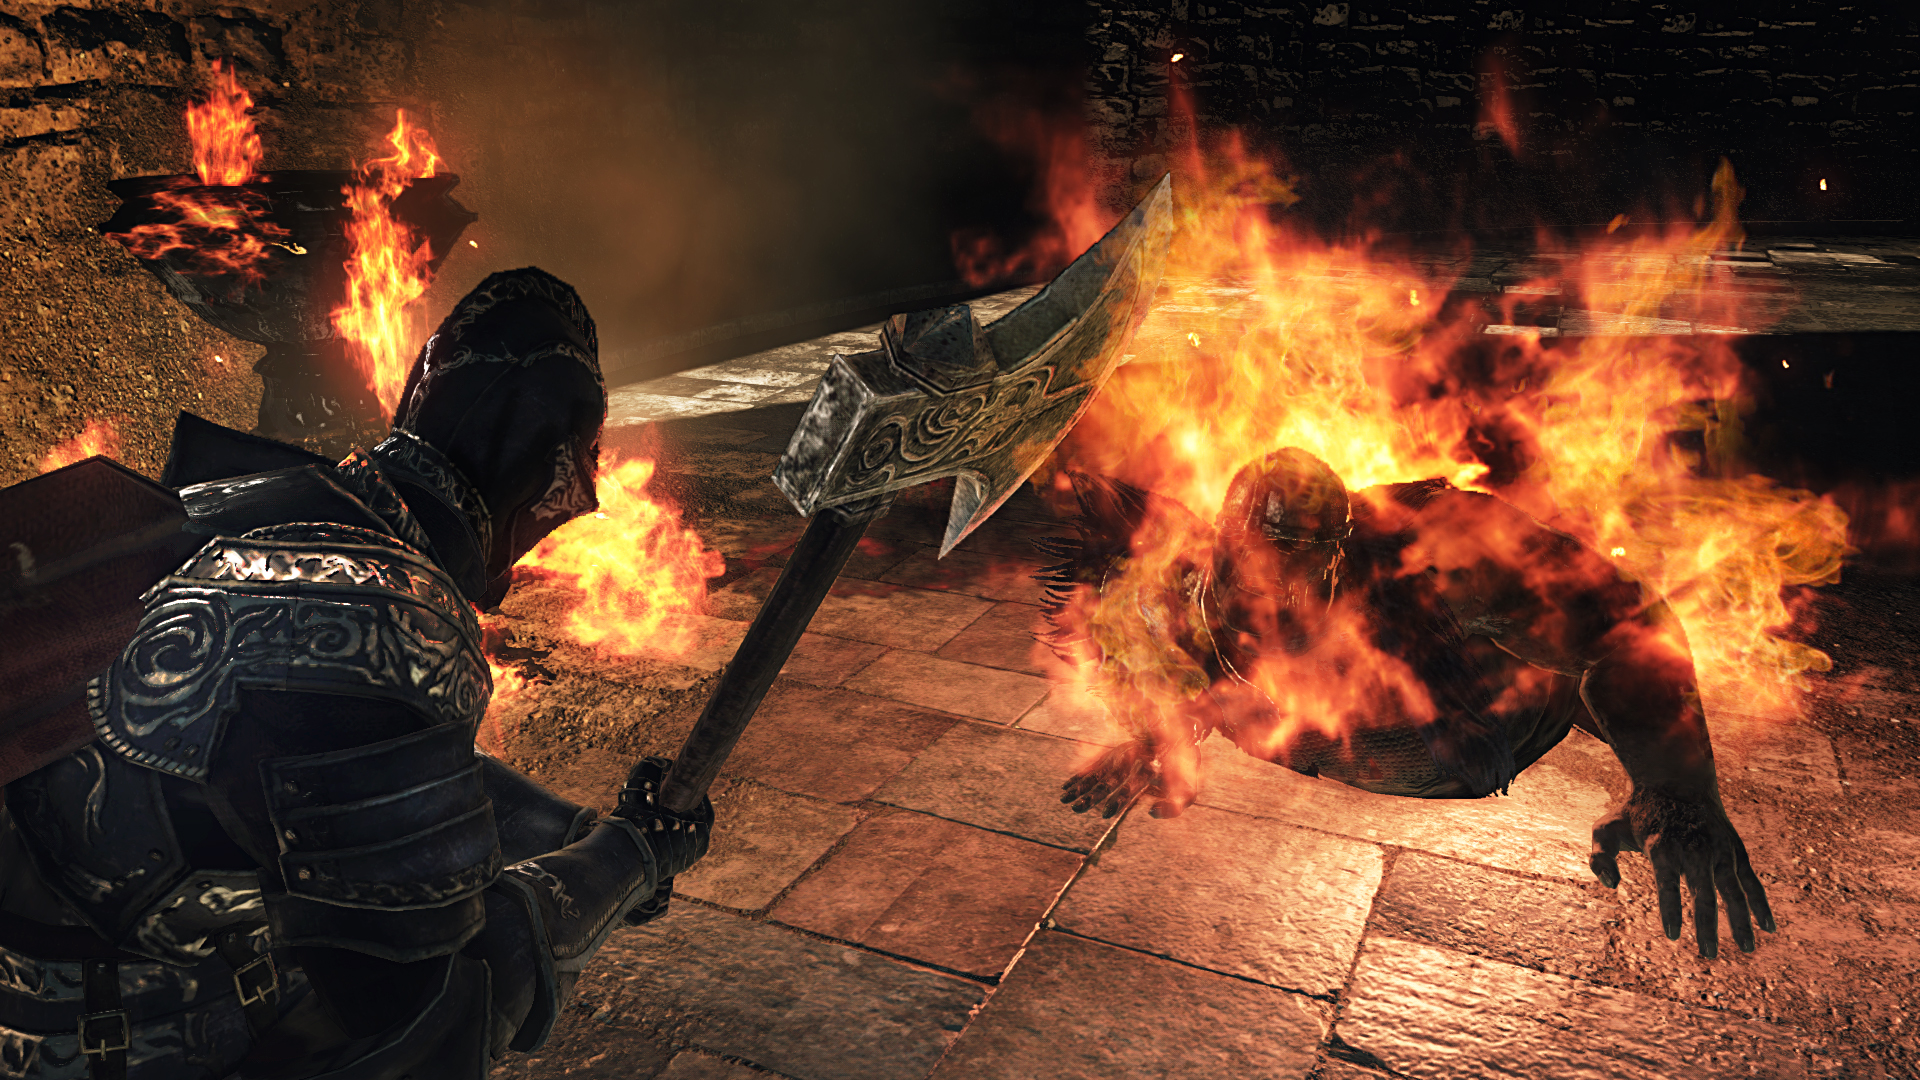
If you summoned your helpers just after the bonfire (which we hope you did), they can essentially tank the Demon while you attack it from behind or using your ranged attacks. The helpers in this game aren’t the smartest, and therefore aren’t super useful. This means they will most likely die before you can kill the Smelter Demon, even if they entered the boss arena with full health, so make use of them while you can.
Early on in the fight, the Demon will stop attacking and bend over slightly. When this happens, move away quickly as he is powering up the magic in his torso. When the power charge is complete, a burst of magic damages everything within a short radius of the boss. Make sure you’ve gotten clear of the blast radius or at least have a shield up that absorbs a good amount of magic damage.
After his initial power charge, anytime you get too close to the Demon, you will start to take magic damage in the small doses. Shortly after the power charge, the Smelter Demon will plunge his sword into his torso, and give it the same effect of magic damage as well. After this happens, any attack you block from the sword will deal magic damage against you. Once again, if you don’t have a shield that absorbs magic damage, you will take a good amount of damage even if you block the attack.
The Demons difficulty lies solely in the amount of heath the Smelter Demon now has. It will take a little time to slowly chip away at his health bar, and with his charged up magic abilities, you’ll inevitably be taking some damage throughout the fight. The key is to simply inflict as much damage as possible while your two helpers are alive to distract him.
If you use ranged attacks that are inflicting less than 200 damage, when one of the helpers perishes, move in for close range melee attacks. If you can’t inflict at least 200 damage per hit, more than likely the boss will still have at least 40% of his health left when both of your helpers have perished. At this point dodging will become vital, and you’ll need to roll away from his attacks as often as possible so that you have time to get in as many attacks as you can before he readies up again.
The Smelter Demon fights with a standard two swing combination. This ends with a more powerful third attack in the form of a grounded or jumping strike. Occasionally through the fight, after the jumping strike the Demon will pause in a kneeling animation. This indicates that he is about to use another burst of magic, and means that you should move out of range immediately. Once the Demon is charged up, the magic bursts has a great deal more range, so keep this in mind as the fight progresses.
Using a pretty standard melee attack build with a Greatbow and Greatarrows, we attacked the Demon from a distance until the first helper perished. At this point we moved in and used two handed attacks (inflicting a little over 200 points of damage with each attack). By the time the second helper perished the Smelter Demon had only roughly 10% health remaining. Just a few dodged attacks later and the battle ceased.
With the Smelter Demon defeated, head through the cave on the far side to find a Pharros Mask to the left of the lift. Collect the item, then use the lift to move up to the floor above. Exit the lift, and drop onto the floor below, then take the very next lift up until you reach Blume Tower once more.



 3 Unusual Ways Gamification Is Changing Your Life Today
 4 Of The Most Hardcore Racing Simulators You Can Play On PC Right Now
 How I Met My (Disappointing) Dream Games
 Top 6 Mobile Video Game Ports for iOS and Android
 Outland Walkthrough