Blizzard has released the second single-player expansion to Hearthstone: Heroes of Warcraft. Blackrock Mountain puts you in the middle of an epic war between the dragon Nefarian and the Fire Lord Ragnaros. You can collect all of the new cards by finishing it on Normal as well as completing all of the Class challenges. To really show off, though, you'll need to finish each boss on Heroic, where they're overpowered and totally unbalanced. That's where we come in.
After plumbing the depths of Blackrock Mountain, we've found what works. With a little creative deck management, and some luck, you can finish each of the bosses and earn yourself a special Heroic Blackrock Mountain card back and the bragging rights that come with it.
Your first part of the journey will see you facing Coren Direbrew, Dark Iron Arena, and Emperor Thaurissan. Keep in mind that if you're struggling with these bosses on Normal, the same strategies should apply.
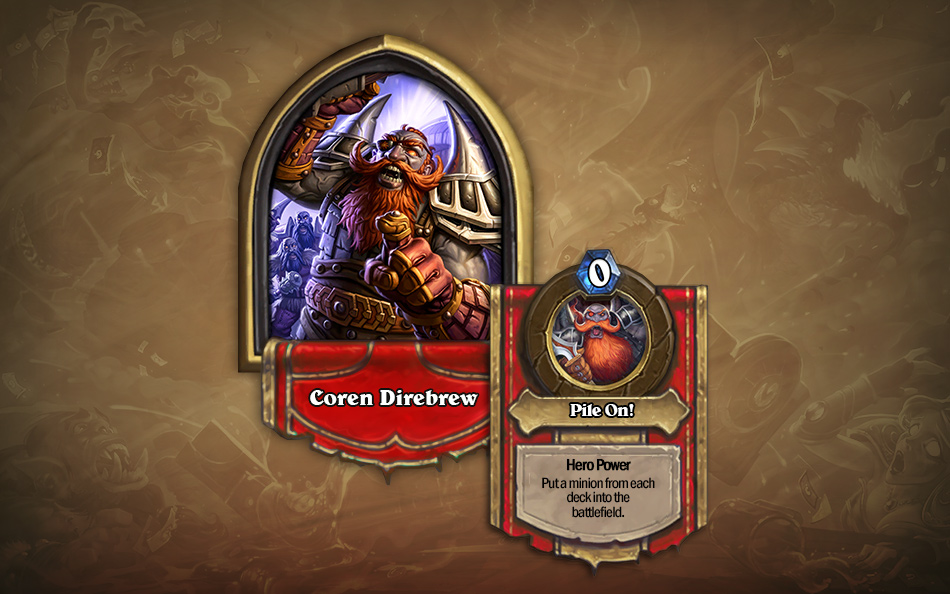
Normal: 0 Mana - Put a minion from each deck into the battlefield
Heroic: 0 Mana - Put two minions from your deck and one from your opponent's onto the battlefield
Coren Direbrew is modeled after a wild bar brawl at the Dwarven bar, the Grim Guzzler. And as you might imagine, being a stranger, the odds are stacked against you. Coren Direbrew's Heroic power assures you're always outnumbered. However, the fight can be really fun if you properly take advantage of his power. Since he'll constantly be summoning your minions at no cost to you, you don't need to worry about a smooth mana curve. Just fill your deck with big minions and he'll bring them out for you.
On Heroic mode, you'll be looking specifically for minions that can make two-for-one trades. Those include ones that have high health or attack like Boulderfist Ogre, Force-Tank MAX, and various Giants, along with Legendaries like Ragnaros the Firelord, Sneed's Old Shredder, and Deathwing. Including Sylvanis assures you can steal one of Coren's minions, and a Ravenholt Assassin or two keeps your own safe so you can pick your own targets. Piloted Sky Golem isn't as big as some others, but given his Deathrattle effect of a random four-mana minion, he'll always leave something behind. Plus, you might want to consider a few Taunts like Sunwalker or Sludge Belcher, which can at least make an annoying roadblock while you wait for a bigger play.
We found Paladin the easiest to defeat Coren with, mostly because Tirion Fordring is among the best class-specific minions for this task. Plus, if you slip a Redemption or two in your deck, you'll have a low-cost way to get back one of the big threats you put out. This could also work well with the Priest's new Resurrect spell.
Recommended Class: Paladin
Recommended Cards: Sneed's Old Shredder, Sunwalker, Tirion Fordring, Redemption
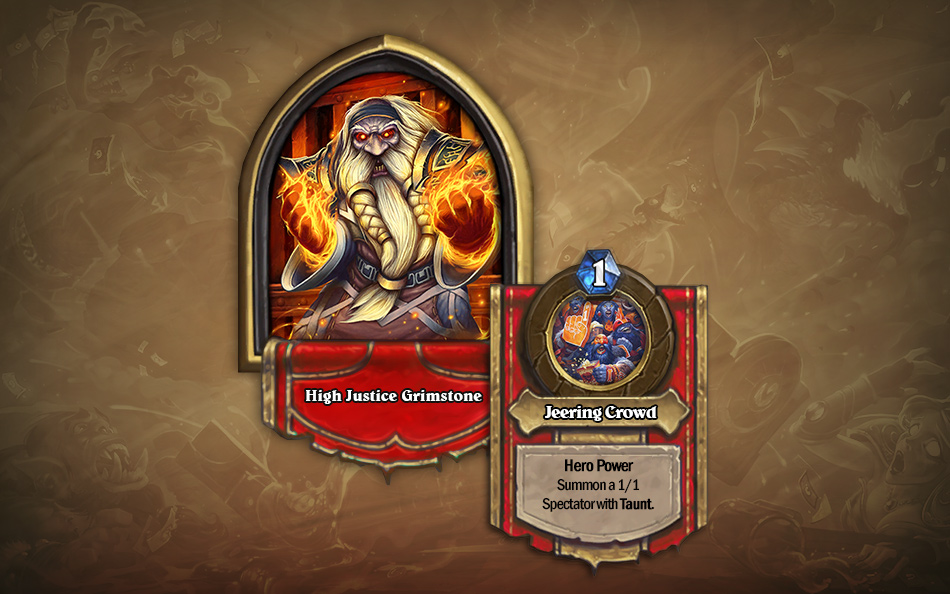
Normal: 1 Mana - Summon a 1/1 Spectator with Taunt
Heroic: 1 Mana - Summon a 1/1 Spectator with Taunt
Grimstone's Hero Power is identical across both difficulties, but Heroic is much harder. In both modes he relies entirely on Legendary minions, but he starts the match with 3 mana crystals in Heroic. That gives him a huge advantage, because he'll be able to put out big threats faster than you have access to anything remotely comparable.
Coincidentally, a deck that recently gained popularity works well against him with almost no editing whatsoever. The most recent form of a Freeze/Mill Mage is fantastic against Grimstone, because it's all about neutralizing threats by freezing them and relying on the Mage's board removal tools. Make sure you include Deathlords, along with cloning spells like Duplicate and Echo of Medivh, which will force more of his minions to hit the board so you can freeze them too. If you have even a little bit of board presence, he'll often drop Deathwing and shed several of his own cards. If you successfully stall for long enough, he'll end up with no minions and a nearly empty hand, and it will be much easier for you to answer what few remaining threats he has left.
That said, this strategy requires some precision to your draw order, so it may take a few tries to do it correctly. Try to resist the impulse to put out Taunts if you don't have the tools to copy them. The never-ending stream of Legendary minions will make short work of them, so you really need to make sure you have an engine to replicate and keep playing them.
Recommended Class: Mage
Recommended Cards: Deathlord, Doomsayer, Frost Nova, Flamestrike
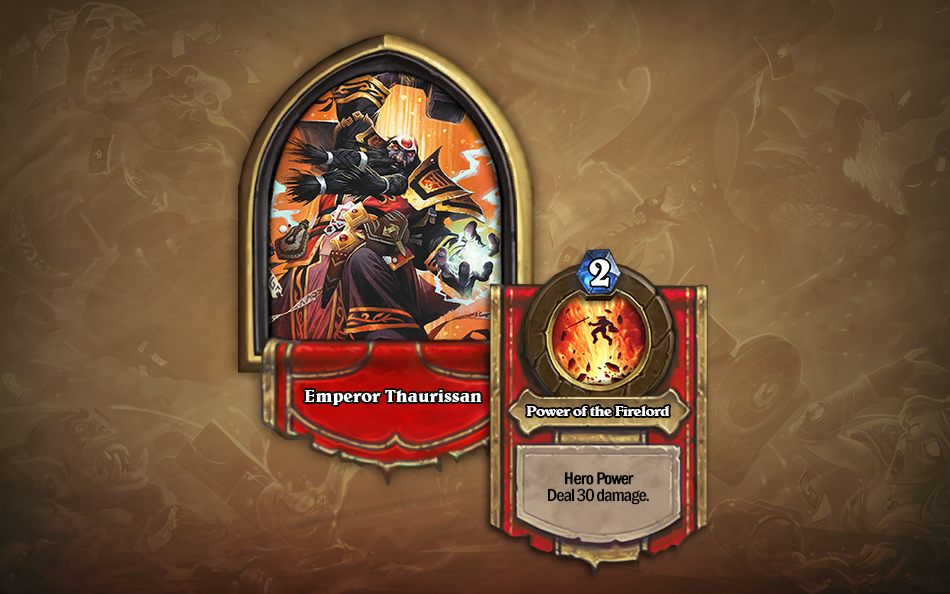
Normal: 1 Mana - Deal 30 damage
Heroic: 1 Mana - Deal 30 damage
You might notice Thaurissan's Hero Power is essentially an "Instant Win" button. This battle comes with a twist, in that he starts with his beloved wife Moira on his side of the board. Her own card text prevents him from using his Hero Power, so you have to keep her alive. On Normal she's a 1/3 minion, so this essentially just means leaving her alone and making sure not to play Taunts or area-of-effect spells. Her low damage can be ignored easily. On Heroic, however, she's a 3/1 instead, making her much more vulnerable and dangerous.
Moira will go for your face every turn, and the three damage will add up quickly. Not only that, but Thaurissan has a tendency to play cards like Unstable Ghoul and Abomination that can kill Moira easily. To avoid this, it's best to play Priest, for several reasons. If you include a Crazed Alchemist, you can make Moira a much more harmless 1/3, and then use the Priest's power to heal up any injuries she sustains. Priest also has the best tools for buffing her life with cards like Power Word: Shield, while most other classes that have buff spells will buff her attack as well. Finally, Priest has the most Silence and removal tools, like its 0 Mana Silence and the Pain and Death cards that eliminate threats without triggering Deathrattle effects. Be sure to include Shadow Madness and Cabal Shadow Priest to turn his own threats against him, either temporarily or permanently.
One final note. Tempting as it may be to use your Cabal Shadow Priest to steal Moira away from Thaurissan, it's really best to leave her on her own side of the board. Once she's on yours, he disregards her safety much more readily. He still won't have any minions attack directly into her, but he'll think nothing of a Flamestrike or errant Abomination attack that will kill her just the same. If that happens it's game over. If you keep her on her own side of the board, it's much easier to control the damage that comes to her.
Recommended Class: Priest
Recommended Cards: Power Word: Shield, Crazed Alchemist, Shadow Madness,

 Love, Emotions, and the Power of Presentation
 Now you know where Tetris Blocks come from
 The Talos Principle Walkthrough
 How to complete Funk of Titans Achievements, Complete List
 Latest Watch Dogs Info and Gameplay