Chapter 15: An Evil Within
Chapter start will place you outside Beacon Mental Hospital once more. Make your way inside and then push on until you are forced to climb down a ladder to continue.
The hallways ahead are tricky to navigate, but since there is really only one “right” direction, forward movement will eventually lead you where the game wants you to go. Feel free to do any exploring and looting until you locate and try to follow Leslie. Continue through the hallways until you find the right place. There are several dead ends in this area, but it doesn’t hurt to explore them for loot and supplies.
The right place isn’t that right at all, and once you head through a corridor full of prison gates you’ll find a spiral staircase. Continue up and through the first closed door you find. Grab any loot here before heading back through the second locked too and to the elevator that will progress the chapter.
After a short cut scene head inside after Leslie and pay a quick visit to the first door on the left. This will give you a chance to use any Green Gel you’ve collected, which isn’t a bad idea considering what is coming next.
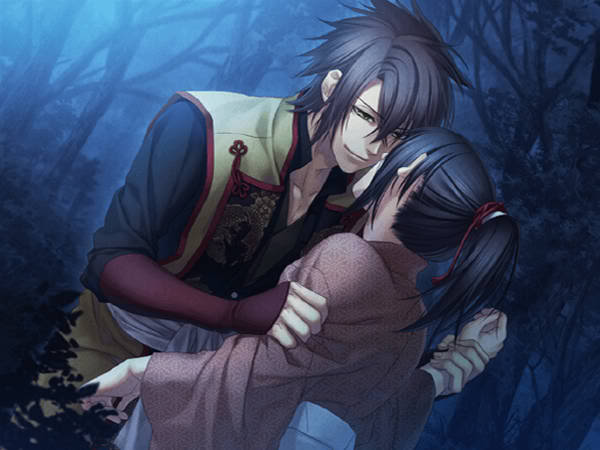
Following a scripted event and a short cut scene Detective Sebastian Castellanos will find himself in the middle of a courtyard, surrounding by dangerous creatures and some creepy giant eyeballs.
The easiest way to thin the crowd is to make use of the ladders on the right side of the level. Your enemies will have to climb up after you, which will create a bottleneck of sorts, allowing you to more consistently control the flow of evil coming for your face.
Tip: You’re assaulted by several clusters of enemies in this area, and nothing makes quicker work of these clusters than a well-placed Grenade. Throw it at the feet of your foes to kill and disable them, then run in and drop a Match to make sure they don’t get back up.
After taking out a large amount of enemies you’ll be forced to face off in one of the chapter’s several boss fights. This time you’re pitted against the Sadist. You remember him right? That guy who had you upside down back in Chapter 1.
Now that we’re reacquainted it’s time to pepper this jerk with as much firepower as we can. Don’t be afraid to whip out the Harpoon Bolt here, there really isn’t that many places to use it, and it does do quite a bit of damage.
With all his nonsense taken care of it’s on to more of the same. This time the first if much easier, although the brain-like territory had our skin crawling just as much. Try using your Sniper Rifle to take out any masked uglies above you, then loot their bodies and kick in the double wooden doors.
Pressing on will lead to another boss fight, this time against The Keeper and what appears to be his twin brother. Seriously though, how many times can we kill this guy before he finally just gives up?
That question aside it’s time to take these Boxheads out. The first part of any battle where the odds aren’t in your favor is to split enemies up. We found that this was easily accomplished by manipulating the gates around the side of the room. Basically let one pass under the gate then lock the other one out so you can face-off in a some-what fair fight.
Tip: Don’t bother wasting your ammo on headshots as The Keeper, as his skull is surrounded by a massive box, probably the spawn of his nickname Boxhead. Instead aim for the body and hit him with Sniper Rifle rounds, Shotgun shells, and even any Explosive Bolts you might have just laying around.
After the battle is over, and the Keeper twins are down you’ll need to head through the door that seems to magically appear after their demise. Take a moment to gather any Green Gel, then move forward into a maze of pillars.
The key to this area is patience. You will need to move forward without stepping into any of the spotlights and this is done best by taking your time and studying any predetermined movements of the light. Just move along as carefully as you can and if you get spotted you’ll end up having to do it all again. Once you reach the end you’ll be chased by a giant lawnmower-like device and all you can really do at this point is run for your life to find yourself back outside the hospital.
Head back into the hospital and board the elevator. Once the ride is over you’ll find yourself at the stem of Ruvik’s device and this will trigger an extended cut scene. Once the scene ends you’ll be thrust into the final boss fight of the entire game. It’s time to take this Ruvik guy out once and for all.
The first part of the fight is all about running forward and dodging the giant claws of the creature Ruvik has transformed into. Stick to the sides as much as possible, running in the only direction you can until a scripted event plops you behind the controls of a Humvee turret.
Now that you’re ready to take the fight to him, aim at his hands for the first part, then switch to his brain once the red target vanishes. When Ruvik grows tired of your adventures a scripted event will toss you aside like a ragdoll and once you regain control you’ll have found a Rocket Launcher. This guy should seriously check his surroundings before making you fight him.
Take aim at Ruvik’s head and deliver the RPG rounds until this red target vanishes as well. This is your cut for the kill shot, and doing so will interrupt your battle for another cut scene. Once this once ends use your Handgun to shoot Ruvik in the face and bring this entire series of twists and turns to a bloody end.
Congratulations on surviving the horrors of The Evil Within. Enjoy the ending cut scene and have fun getting to sleep tonight.


 Top 5 Video Game Bananas
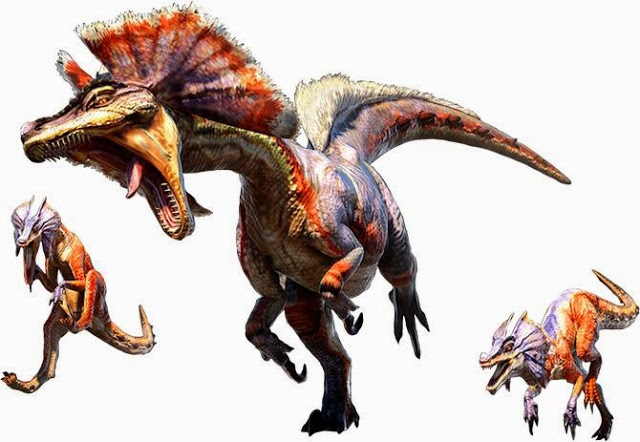 MH4U (3DS) Monster guide, tactics
 Starbound : A beginners Guide
 Pandora Buys Rdio, Google Answers Questions, the $10 Android... [Digest]
 How to fix PS4 Bloodborne Game install incomplete. Cannot load save data Error and Saves File Issues after Patch 2.50