
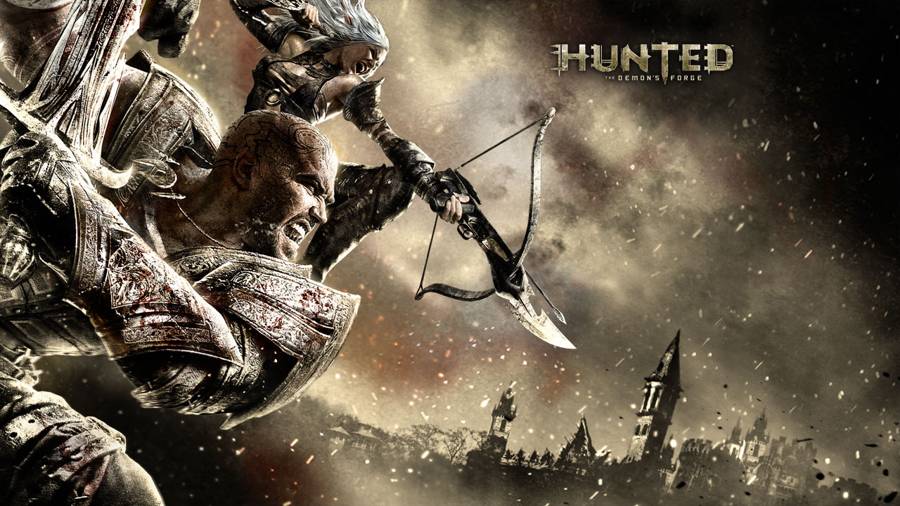
In chapter 1 of Hunted The Demons Forge you will start to find prisoners. This guide will help you find the locations of each one in chapter 1. Some of them are right in front of you and hard to miss while others are hidden so pay attention. Let’s get to it.
I am doing these as I go so I may miss a couple. I just want them up fast so people can’t get them as they go.
The first prisoner you need to free in chapter 1 will actually be easy to find. As you approach him it will give you a tip about freeing prisoners. Look up and you will see him hanging by a rope. Shoot the rope to free him and he will give you some information. That’s the first location for the prisoners. There is also a weapon rack and some gold back there. Grab it before you go.
The next prisoner in chapter 1 is right after you can upgrade yourself. The girl will say something about starting a bar room brawl as well. You should see him and he will be begging for you to help him. Shoot him down. Another prisoner location down. Nothing really here time to move on.
The next prisoner in chapter 1 is right after the part where you jump onto a wooden thing and it falls. Head down the path towards the lights and tents. Turn around and you should see a door with a sign hanging above it. Shoot the rope to open the door. Once inside you should see have the prisoner location. Keep going for a treasure chest.
The next prisoner in chapter 1 of Hunted The Demons Forge will be after one of them comments about how the dog got killed and whether they should feel sorry or be thankful. You will have to fight your way through some enemies. Quite a few actually. After that go to the pond or fountain. I’m not sure what it is its just a square with water in it. From there head left and you will see and entrance to a giant barn. Take cover on the cart and hop over it. Then take cover on the other cart and hop over it as well. Keep going to the back and you will find the next prisoner location. Some treasure and a nice shield here as well.
The next prisoner in chapter 1 of Hunted The Demons Forge is after you do the azure light part and make it back outside. They will say that must be the keep. Keep walking up and a cut scene will happen and some enemies will bust out of a barn. Kill them but don’t go that way. Instead go the other way and you should see a shield resting up against a wall. Go to that shield and you should see the prisoner and his location. Check around four health potions and weapon racks if you want them.
That will end the Hunted The Demons Forge Chapter 1 prisoner location guide. Know of one I missed? Let me know in the comments and I’ll put it in and give you credit. See you in the next chapter.
Check out and like our Facebook page and follow us on Twitter.
