
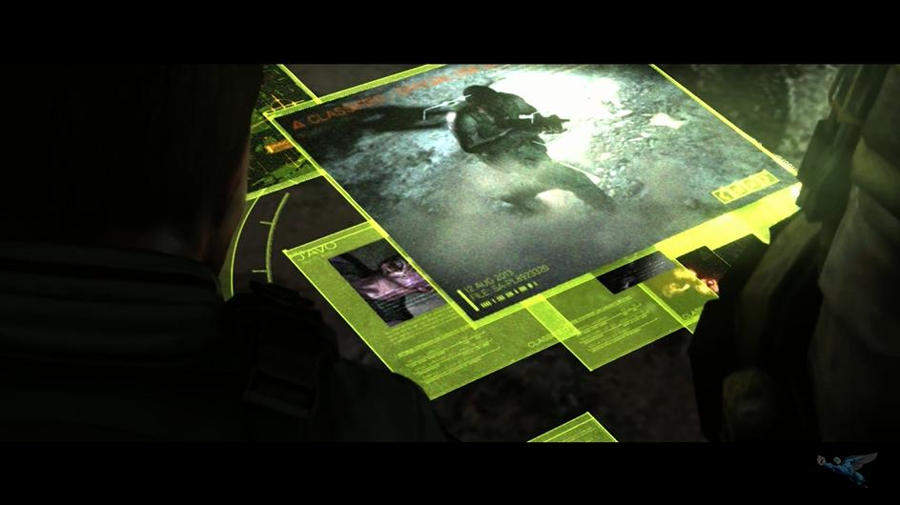
Resident Evil 6 has had a lot to prove with gamers. Racoon City left a bad taste in all of our mouths but Resident Evil 6 marks a brand new start. These Resident Evil 6 Chapter guides will go over all of the different Resident Evil 6 Collectibles, Pick-Ups, Large Skill Tokens as well as all of the Serpent Emblem locations in Resident Evil 6. This Chris Chapter 2 Resident Evil 6 Guide will go over the second chapter of Chris’s Campaign. We also have a video guide available for those of you who would like to watch a Resident Evil 6 playthrough that will be posted bellow and on our YouTube page. Lets Get Started!
This chapter opens up with Chris and Piers talking to a group of soldiers in an Eastern Europe town. After a speech to the boys the whole BSAA team will move out in heavy trucks. Shortly into the drive an RPG will knock out the front truck of the convoy and you will be put out into the streets.
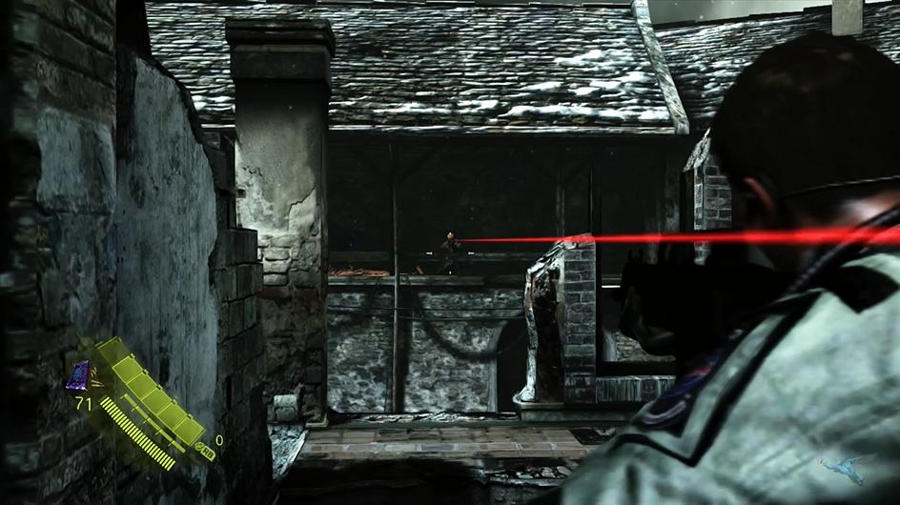
Take cover on the left side of the road. There are a lot of J’avo over here but at least you are away from the snipers and gun fire that is out in the streets. Make your way through the left side taking out J’avo along the way. Anytime you see a red line make sure you take the time to kill the J’avo with the sniper rifles. If you can pick off enemies in turrets you will also have a lot easier time.
Keep making your way towards the bridge and then some enemies with RPG’s will pop out. Kill them first and then work on the rest of the J’avo. They will mutate a lot more than in the first chapter so be careful. Mutating enemies are invulnerable so don’t waste ammo. Also the J’avo that mutate with the shield arm are MUCH easier to take care of if you get on their back side. Move up using the truck and cover points until you make it to the bridge.
Move up the stairs. There will be a wall that you can take cover on to kill the J’avo in the room in front of you. There are some item boxes with ammo in that same room. Collect what you can and then move over to the bridge were there is a partner door. As soon as you both hit the partner door a large Ogroman J’avo will come into focus.
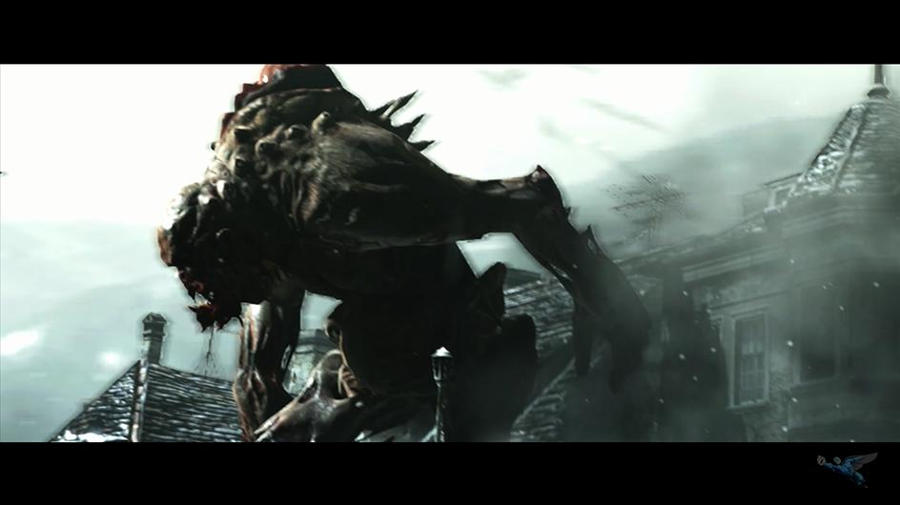
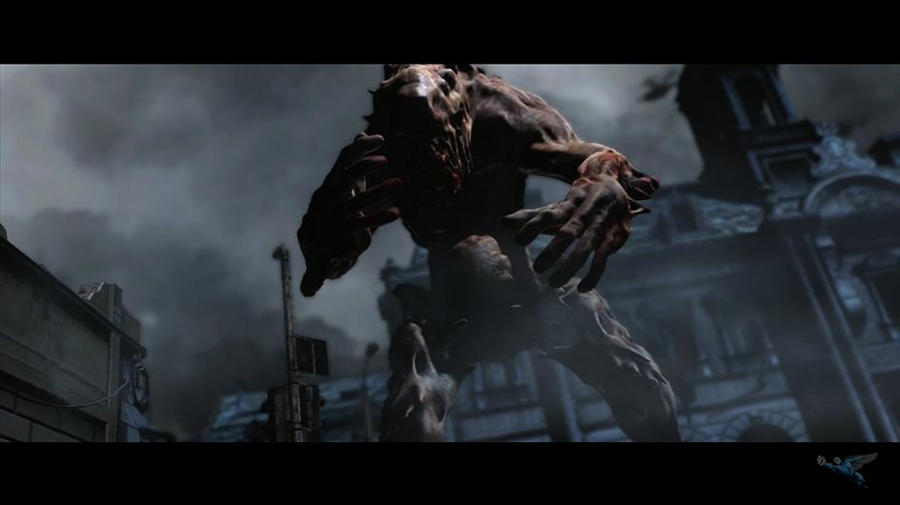
The Ogroman Boss Fight has two parts. On the Bridge and also on the streets. The boss has 2 major weak points. The throbbing red area on the back and it’s face. Shoot these spots as much as possible. When the Ogroman stumbles stop shooting for a second or two not to waste ammo and then continue to shoot it in the red throbbing area in the back. If it is close to a ledge when it stumbles sometimes you can press the fire button to climb on and preform a special move with quick time events.
The Ogroman will throw a car and push you into the streets. If you are playing Co-op with another person it is best to pick both sides of the streets to climb up on walkways to hit the Ogroman in the weak spot. If you are playing by yourself only go to the ladder that leads to the inside of the building. There is a lot more cover and enemies will have to come to you. Giving you the much needed ammo to take out the boss. Keep firing at the weak spots. Eventually after enough hits the carvery will show up and force the Ogoroman to leave the area.
After the boss runs away you will be dropped into the streets with a bunch of J’avo. Stay in the side rooms or behind the tank to cover your tracks. There are a bunch of enemies in the buildings through the ally but if you stick by the tank you won’t have to take care of to many of them.
The ally will open up into a larger street area. Look for the snipers and take them out as quickly as you can. Take care the rest of the J’avo that show up but try to hold on to your ammo because there are a ton of enemies ahead. There are some item boxes were the snipers were that you can reach by going up a ladder. Clear out the area and move on with Fin blowing up a small fence.

This train yard area is somewhat of a gauntlet for the enemies. Immediately take out the RPG J’avo because they are the most deadly. There is a Serpent Emblem in the back of this room at the farthest point away from Fin. You can stick by Fin after grabbing the Emblem to protect him and give yourself some cover.
There is a couple of waves of enemies. Always look out for RPG guys first. It doesn’t take very many rockets to put you down. If you get overwhelmed on the main ground there is a ladder in the back. If you go up there you can break some item crates for more ammo. After the timer runs out your character will automatically move on to the next area when Fin’s charges actually explode.
For most of the bridge section of this chapter you will spend time away from your partner. Moving in from the cut scene there will be some item boxes that can be broken. One of Chris’s men is downed on the bridge. Head over to the waypoint and press the partner action button. This will throw Piers over to the other side for a sniper mission.
Moving forward you will have to climb up some falling cement? I don’t know why they chose to put this in the game but it is there. Head right down the middle and tap the action button pretty frantically. Once the car blows up make your way to the left where Fin is. He will pull you up from the falling street.
Now that you are up on the bridge Fin will tend to the wounded soldier. Head towards the red marker (spoiler it’s a tank). Look out for mutated J’avo that will pull you out from behind cover. Eventually Piers will tell you that he can take out the tank if you can get it to move forward a little bit. Take out all of the enemies you can and poke out behind cover to get the tank to move forward. Piers will eventually take the shot and allow you to move forward. Note: Piers in this section can grab a Serpent Emblem. Check the rafters under the bridge.
After the tank blows up you can go up a ladder on the left side. Smash some ammo crates and head to the top side of the bridge to meet up with Piers. You have to kick down the ladder before Piers can move up to join you. The ladder is on the left side of the bridge by an item box. Once Piers comes up head back to where you came from and push over the trash receptacle.
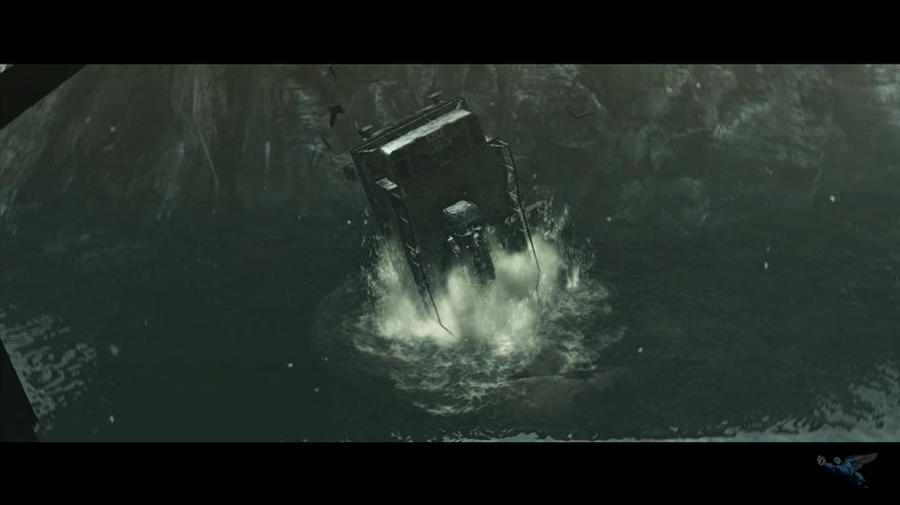
A cut scene will trigger and a tank will be slowly making its way towards you. Fin needs time to set a charge. Bunker down and shoot all of the enemies that will start flooding your way. You may need to leave your cover to grab some ammo. Just make sure to head back quickly and you will be fine. Fin will get the charges set up and blow it in a cut scene to trigger the next movement forward in the campaign.
You will be opened up to a large area in front of a city building. You have a couple of goals here that need to be achieved. The first is to take down the anti air turrets that are shooting at BSAA reinforcements. Follow the prompted directions to head to the respected turrets. Fin will need a lot of time to set charges at each spot. Find a way to hunker down and take down enemies as they flow towards you.
There are two separate Ogroman fights in this area. I don’t know if the first one necessarily needs to be taken care of. For me when I was roaming around the area the Ogroman killed itself on one of the electrical lines. If this doesn’t happen for you all you have to do is shoot it in the weak spots, the face and the back red throbbing area.
The second Ogroman is a little bit tougher. You will come to a section were the big bad J’avo will have you cornered in a small area. Use the tunnels around this area to get around to different areas. Shoot the Ogroman in the face to get it to stagger. If you run out of ammo don’t worry, your partners and other BSAA members will shoot it enough to get it to stagger. When it does finally stagger, jump on it by pulling the fire button. This will trigger a QTE were you have to move the thumb stick in a circle. I know the prompt looks like a back and forth motion, but believe me, circles are a TON easier to complete the QTE on time. Once you complete the QTE sucsessfully the BSAA will drop bombs on the remaining Ogroman. If you have any troubles with the Ogroman Boss Battle, just check out the YouTube video above and you should be able to see exactly how to kill the Orogman in Resident Evil 6 .
Although I want to make a Jack Black/Tenacious D reference here I will refrain. After killing the Ogromans in the city streets Chris will let Jake and partner leave in a helicopter. You will continue into City Hall with your soldiers. The first room is covered with men that are covered in a green cocoon like substance. Fin will eventually head upstairs and tell you to follow him. Before doing that though make sure you check the hallway that has an opening right next to the stairs. This small hallway has the third Serpent Emblem hanging on the wall just above head height on the wall hanging next to a picture.
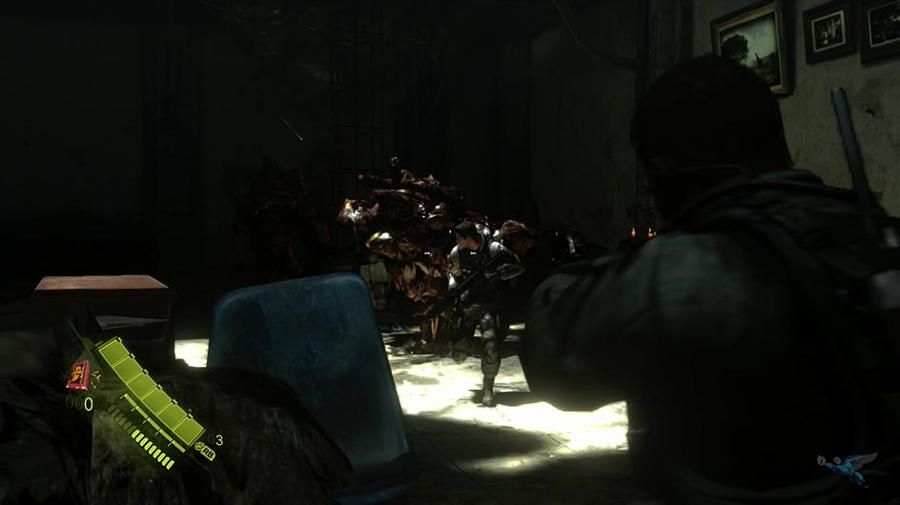
Opening the partner door you will be in a hallway. Moving through the hallway you will see Ada around a corner. A J’avo will pop out of a side room that has an item box and a shotgun in it. Grab the shotgun, it will be useful in the next room or two. Move around and pick up more ammo and you will come to a room with more cocooned people.
When you drop down the cocoons will hatch into big, heavy scaled J’avo’s called Napads. These Napads are hard to take out with brute force. If you have grenades they will work extremely well. If you have a shotgun those work pretty good to blow off the protective casing of these enemies. Once the protective cases are taken off you can hit the red fleshy parts with an assault rifle to down them quickly. Each Napad will drop a 1,500 skill point token so make sure to pick those up.
Finishing off the Napads will allow you to move into the next room. Smash the item crates in a room to your left to pick up some more ammo. Continue through the hallway until you reach a door. Opening up the door will lead to a room full of J’avo. Take them out one by one. After clearing the room head to the partner door.
The partner door will open a cut scene where you find Ada. She will act like a worker for City Hall that has been taken hostage. Fin will be instructed to gaurd here and your next job is to escape city hall. Move to the partner door to progress forward.
A bunch of Napads will be attacking BSAA men. Move upstairs and there will be a hidden door that Ada can open. Run past the Napads and hit the partner door to be back in the original Napad room. A couple of new J’avo called Strelats will spawm. They can be taken out with a melee if you have some flash grenades left. If not just take your time and stay in cover. They are annoying when they run around, but do not cause much damage. Each one drops some significant point tokens so try to take them out on a level were you can grab them.
The next door will open up with some item boxes and a ledge to jump down. There will be a couple more Strelats in this area as well as a Napad. You can either take them out and pick up the skill points or move along the edges and on top of boxes to avoid them. Make your way out of the warehouse area and that will trigger a cut scene and the end of the chapter which has a horrifying cut scene.
That will end our Resident Evil 6 Chris Chapter 2 Guide. We will be guiding the full game so make sure to check out Gamers Heroes often. We will be linking all of our guides together soon in this area so check back shortly and we will have the links to guide you through the whole game! If you need more guidance in the Chapter 2 Serpent Emblem locations you can check out our guide here.


 . Plays, 22nd September 2014
 L.A. Noire House Of Sticks Guide
 Lost Planet 3 Thermal Posts (T-Posts) Locations Guide
 VideoGamer Plays, May 9th 2015
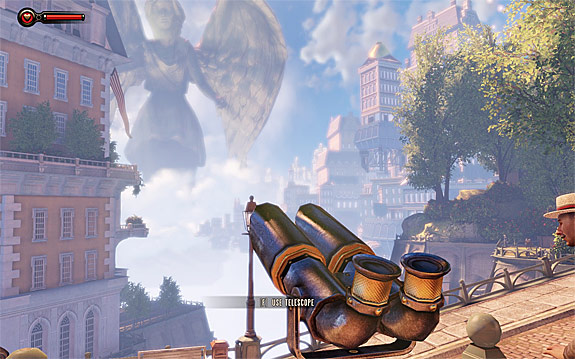 BioShock Infinite Guide - Telescope & Kinetoscope Locations (Sightseer Achievement / Trophy)