Before you begin, we'd advise that you complete as many of these quests as you can prior to progressing the main quest line forward. Once you leave an area, or move from one act to another, you stand the chance of failing a quest simply due to the fact you can no longer complete it. This can see that you miss out on some very cool plot twists, as well as weapons, armor and experience that you'll need if you plan to see this journey through to the end.
Head to the Tretegor Gate fast travel point to find Rostan Muggs wandering about nearby. Speak with him and agree to recover the papers to begin this quest. Make your way across the bridge and to the east, then activate your Witcher Senses to find a puddle on the ground. Follow the scent to the southeast until you reach the Seven Cats Inn.
Head inside and speak with Gred and either play a game of Gwent and win to get the papers, or use Axii level one to persuade him. You can also demand the papers and start a fist fight, but there's no need for that. With the papers in-hand, head back to speak with Muggs. You can ask for more money but you won't get it. After the conversation the quest concludes.
The Witcher 3: The Beast of White Orchard
The Witcher 3: White Orchard - Missing in Action
The Witcher 3: Velen - Bloody Baron, Family Matters
The Witcher 3: Ciri's Room, Fake Papers
The Witcher 3: Novigrad - Broken Flowers, Get Junior
The Witcher 3: Skellige - The King is Dead, Nameless
The Witcher 3: The Battle of Kaer Morhen
The Witcher 3: Bald Mountain, Imlerith Battle
Head to Hierarch Square in Novigrad, and examine the Notice Board near the Kingfisher Inn. Find the contract entitled “Monster in The Bits” to begin this quest. Make your way southeast of the Southern Gate and speak with the guard there. Go south to reach the hut, then examine the area around the door with your Witcher Senses to find footprints. Head inside to find blood, then examine the corpse in the corner.
Go outside to the rowboat and follow the tracks northeast, then swim across the river to the waterwheel. Climb up on the platform by the river to find more prints, then head up the dock and into the building ahead. Make your way to the upper floor and kill the demon attacking the other Witcher, then speak with Lambert.
Head to the supervisor's building and kill the guards after some dialogue. Speak with Lambert again then head back to the Seven Cats Inn. After a lengthy conversation you must decide if you want to be nice and avoid a fight, or make some rude remarks and engage in a small battle.
Continue on to Kaer Trolde on Ard Skellig, then take a boat southeast to Faroe and head to Ringvald village to the west. Head through the village and take the southeast path to Trottheim village and speak with one of the dagrs at the entrance. If you tell them you didn't know Hammond was a god-fearing man, you will have to face off against quite a few enemies. If you wish to avoid the fight, tell them that you'll be back.
Follow the path or head to the beach just east of the shrine. Follow the main path, making quick work of the enemies that attack along the way until you reach Hammond. After some dialogue you'll have to fight him and the guards around him. Examine Hammond's corpse to find a letter, then head back to Novigrad.
Make your way to the Nowhere Inn in the Southern Gate area and speak with Lambert inside. After the conversation head up to Hierarch Square and down the stairs to meet with Lambert again. Decide if you wish to kill Karadin or not. If you kill him, Lambert is pleased. If you don't kill him, Lambert won't be happy. The end result is the same as the quest concludes.
Between the Southern and Tretogor Gates in Novigrad there are three elves about to fight one other man. If you interfere you can fight and kill the elves to earn a few crowns, or you can allow them to continue harassing the man and earn nothing for your troubles. Either way, the quest concludes after you make your decision.
Complete the main quest, Count Reuven’s Treasure and the secondary quest, A Matter of Life and Death to gain access to this quest. Once those tasks are complete, leave Novigrad and return to any of the city gates to begin this quest. Speak with the guards as you attempt to enter the city and you'll gain a pass that allows you to enter whenever you please. After a cut-scene the quest concludes.
Starting Location: Glory Gate (Novigrad) Associated Main Quest: None Reward: Experience Points, Runestones
Head to the Glory Gate fast travel point and into the Farcorners area. There are two witch hunters trying to capture Remi, which you'll see as you approach his front door. Help Remi defeat the witch hunters, but do not allow Remi to die if you wish to receive a reward. Once the witch hunters are defeated the quest concludes.
Complete the main quest, The Play's the Thing and rescue Dandelion to gain access to this quest. Head back to the Rosemary and Thyme to see a short cut-scene. Agree to help Dandelion to begin this quest. Head across the canal to the bridge that leads into The Butcher's Yard Theater. Find Irina's room in the brick building and ask for a dull sword.
Make your way north to the Gildorf area and into the courtyard to the south of the market. Mediate until sundown, then speak with Dandelion. You can make some choices here about helping Dandelion and reading the card or improvising, but it all leads to the same outcome. You'll have to fight against Dandelion, but don't take it seriously. Just let him hit you and swing enough times to make it look real without actually hurting him too much.
Go back to the Rosemary and Thyme and meditate until morning. Head inside where you'll have to make another decision. While your choice here doesn't have much of an impact, if you wish to please Dandelion choose a theatrical look. Head southwest to find Dandelion, then use your Witcher Senses to find a key under the bucket.
Head inside and once again you'll have a decision to make. Choose the second option to start a fight or the first option to avoid one. Either way, head to the next objective then over to Rautlec's place just northwest of the Golden Sturgeon. Make your way north to cross the canal, then northwest to the entrance. Head inside and fight off the two bandits to get the information you need.
The next destination is to the far east where you'll find Rautlec once more. You have another choice to make. You can choose to race, but if you lose you'll have to pay 275 crowns. You can just pay off the debt of 200 crowns, or you can choose to do nothing. The best course of action is to win the race, but your choice here doesn't have a significant impact either way.
Head back to the Rosemary and Thyme for a cut-scene the finishes this quest and begins the secondary quest, Carnal Sins.
Complete the secondary quest, Cabaret to make this quest available. When Dandelion asks for help, agree with him to begin the quest. Head to the Kingfisher Inn and look around the side entrance for the sewer grate. Go down into the sewers and take down the Drowners and Water Hags in this area. Continue down the stairs to the balcony and follow Joachim up the next flight of stairs and the ladder just beyond.
Once you're inside the mortuary activate your Witcher Senses and examine the bodies. You're specifically looking for the dwarf in the northeast area. Start the autopsy on the head, torso, hands, legs and genitals. After a cut-scene and a few decisions that don't have a direct impact on the quest, speak with Joachim before you leave to discuss Nathaniel.
Head over to the Bits District and explore the area to find Eustace. During the dialogue you can use Axii Delusion Sign Magic if you have it at level three. If not, you'll have to bride Eustace with 200 crowns to get information. Make your way back to the main road and continue onward to Tretogor Gate. Turn to the west and knock on the large door, then question the person who answers.
Activate your Witcher Senses and look around for bloodstains, a bonfire of statues, a sermon and a workshop door. Read the sermon then speak with Gus and search inside the workshop (if he didn't open the door already) for more bloodstains and an overturned chair. Speak with Gus once again, then head deeper into the Bits, close to the city wall.
Follow the lady in this area who shows you some leg, then pry the Concerned Citizen's Sermon off the wall. Activate your Witcher Senses once more to find blood on the ground, a footprint, formaldehyde and a brazier. Make an attempt to leave, only to be stopped and forced to fight. Make quick work of your assailants to see another cut-scene.
At some point you will be stopped by a guard. When this happens head back to the mortuary and speak with Hubert. Examine the body, then head over to the Vegelberg Estate near the Wheat Fields fast travel point. Talk to the guard, then Ingrid and follow her to Patricia's room. Once you reach the room you must chase down the assailant.
Head across the room, down the stairs and outside. Take down the dogs and guards that attack, then make your way toward the stairs for another cut-scene. Go back to the bedroom and search the corpse for a note, then head to the western docks back in Novigrad to reach Crippled Kate's brothel.
Go inside and ask around, then head upstairs to the top floor and make your way into the bedroom. Speak with Nathaniel and make a choice during the timed response. Your dialogue at this point doesn't matter, but after he says he's not the killer you have to make a choice that has some consequence.
If you state that he almost convinced you, you'll have to battle Nathaniel, then untie the woman. Going this route completes the quest, but you won't actually solve the murder. Luckily you can still remedy that. If you stumble upon another murder in the future, read the note on the body and you'll be able to complete the final portion of this quest.
If you tell Nathaniel to mind his manners, or you ask him who left the letter it leads to more dialogue instead of a fight. If you have Axii Delusion level three you can free the woman without harming Nathaniel. If not, you'll still end up having to kill him. Oh well!
Head deeper into the Novigrad Docks District and through the side door to the left of the gate. Speak with Hubert inside and tell him whatever you desire. No matter which dialogue option you select, he turns into a monster that must be killed. With the monster defeat head back to Vilmerius Hospital and speak with Dandelion to complete the quest properly.
Complete the main quest, The Play's the Thing and the secondary quest, Carnal Sins for this quest to become available. Head toward the Rosemary and Thyme to encounter an argument between Zoltan and a group of unsavory folk. Zoltan informs you that he needs to find three rare Gwent cards and asks for your help. Agree to help him in order to start this quest.
Head over to Zed's shop, which is located southwest of your present location. Go up the stairs here to the locked door to hear something going on inside. Make your way back down the stairs, then climb the nearby ladder and use the ledge to reach the roof.
Go inside using the attic door and drop down into the bedroom below. Examine the body here then head downstairs and make quick work of the bandits below. Inspect Ringo's corpse (one of the bandits) to find the Isengrim Faolitarra Gwent card and the keys to his house. Look around the room and collect any loot you see. Examine the mark under the stairs, then use Aard Sign Magic to clear away the false wall. Open the chest just beyond to find a ledger, then head back to Zoltan and speak with him.
Head to the Golden Sturgeon just west of the Town Square to find Ravik inside. You have a choice to make here. You can play a game of Gwent and if you win Ravik won't die. If you refuse to play, Ravik dies instantly. Either way you must kill the bandits after Ravik's fate is decided. Search the corpse for the John Natalis Gwent card if Ravik dies, or simply speak to him to obtain the item if he survives.
Make your way to the southwest corner of the Town Square to Caesar's house. Speak with Zoltan here then make a series of dialogue choices that do not impact the quest. Once Zoltan gives you the cue, head upstairs and use your Witcher Senses to search the room at the top.
Find all of the items highlighted in red, including the drawer which holds a key. Move over to the bookcase on the right and use the key to find a hidden door. Head through the door wand up more stairs. Loot the area at the top and grab the Jade figurine on the cabinet, as well as the Fringilla Gwent card on the display case ahead and to the left.
Go back down the stairs and speak with Zoltan. When some bad guys crash the party you can choose to help out or simply leave. Your decision does not impact the outcome of the quest. Speak with Zoltan once more and tell him about the Jade figurine to begin the secondary quest, The Soldier Statuette.
Head to the next waypoint marked on the map. Follow Duke when he runs through the door and up the ladders. If you can catch him before he hits the sewers you can deal with him then and there. If not, turn right as you continue the chase then down five ladders to reach the entrance to the sewers. Head inside the sewer, but you can't engage Duke just yet. Instead, head right and take out the Drowners ahead. Use Aard Sign Magic on the wall to the northwest then continue into the room ahead.
Meet with Zoltan one more time and determine if you want to keep the cards or share the reward. Either way the quest ends once you make a decision.
Head to the Gate of Hierarch in Novigrad, then go north to the bridge and activate your Witcher Senses to find a scent that leads to a corpse. Examine the body to find a key then activate your Witcher Senses again to follow the dead man's footprints around the corner. Head into the building here to find three bandits. If you want the biggest possible reward, do not give the bandits the key. You'll still get a reward, but it won't be as large. If you don't hand over the key you'll have to kill all three bandits, then use the key to open the chest on the north side of the room to find your reward and conclude the quest.
Starting Location: Hierarch Square (Novigrad) Associated Main Quest: Blindingly Obvious Reward: Experience Points
Head to Hierarch Square in Novigrad at midnight. Speak with the guards here and either take them out by force or convince them to leave. After another cut scene the quest concludes.
Head to the center of the lower city in Novigrad. Your destination is east of Hierarch Square where a preacher is throwing out some choice insults. Speak to the preacher to begin this quest. If you do anything other than ignore the preacher, you'll earn experience points. However, doing this triggers another cut scene a bit later in this same area. Several bandits will ask for your weapons. Whether you give them up or not, you'll have to fight the bandits to conclude the quest. If you gave up your weapons you can loot the bodies to get them back.
Head back to Hierarch Square in Novigrad and make your way to the building near the northwest corner of the area. Move around to the south side of the building, then go north through the archway and up the stairs to enter through one of the windows. Agree to Cleaver's demands to continue the quest.
Depending on where you're at in the main quest, Get Junior, you'll have backup from the dwarves at the arena, the casino, or not at all. Head to the area marked on your map and if the dwarves are available tell them to come with you. Once you reach your destinations you can either talk or fight. After you decision is made, check back in with Clever before heading to the second location, then again once everything is done. This concludes the quest.
Starting Location: Novigrad Associated Main Quest: Get Junior Reward: Experience Points
After you free Rico from the casino during the main quest, Get Junior, you can begin this quest. Head across Novigrad to the marked location on your map in Putrid Grove. You'll have to face off against quite a few enemies that will attack along the way. Take them down as they attack and continue toward your destination. Knock on the door and speak with the guard to head inside. Talk to Francis to complete the quest.
Head to Hierarch Square in Novigrad to find the Book of Scrolls shop on the north side of the area. Speak with Marcus inside, then go upstairs and look for the bookcase near the second flight of stairs to find the book you're looking for. Read the letter you find inside the book to complete the quest.
Make your way to Hierarch Square to find Hattori's shop which is the exclamation point on your map. Just before you enter, this quest begins. Speak with Hattori then head over to the docks just west of your present location. Meditate until it's dark outside to meet with Hattori again, then head west along the wharf and turn south until you reach the stone courtyard.
Your choices during the next conversation do not have any significant impact on the outcome of the quest. During the conversation you're ambushed. Kill five of the enemies that attack but make sure Hattori remains safe, then head through the door t the east and use Aard Sign Magic to clear away the crates that block your path.
Head back to Hattori's shop and knock on the door. Make your way to the Golden Sturgeon west of the Ubbizi Townhouse. The man you seek is outside. Approach him, then win the fight that follows. Speak with Sukrus then head northwest toward the water and board the ship to the left. Talk to the merchant here and convince him to pay his debt if you have Axii Delusion level three. If you don't have Axii Delusion high enough use Aard or Igni Sign Magic to destroy the nearby mead. This causes two thugs to attack that need to be taken down.
Once you've handled your business with the merchant, head back to the Golden Sturgeon and speak with Sukrus at his table. Make your way back to Hattori's shop and speak with him, then head outside and talk to Sukrus again. Meditate until it's dark again, then go back to the Golden Sturgeon to speak with Sukrus once more.
Head up to the warehouse and speak with the dwarf. If you have Axii Delusion level three you can get in without a hassle. If not, you'll have to pay 200 crowns to get inside. Activate your Witcher Senses and search the crates inside, then head back out.
Take down the five enemies that attack at this point then head back to Hattori's shop and speak with him again. Wait at least three more days, then return to Hattori's shop one last time to complete the quest and claim your reward.
There are two instances in Novigrad in which an elf is getting harassed by some bandits. The first incident takes place north of Portside Gate, near the junction that's close to the stall. A female elf is being harassed by bandits. You can offer to help the bandits or the elf, but either way the elf won't be happy with your decision.
The second encounter occurs southeast of Tretogor Gate with a male elf. You won't witness this incident unless you've already encountered the female elf, so it's important to proceed in the correct order. Help the elf by killing the men that are about to attack him, then speak with the elf to complete the quest.
Head just south of the Gate of Hierarch to find three bandits harassing a merchant. Interrupt the harassment and kill the bandits to end this quest favorably. If you choose to ignore the incident you will not get the reward. You can either fight the bandits or use level two Axii Delusion to end the situation without violence. Once you're done with the bandits, speak with the merchant to receive the reward and complete the quest.
If you were romantically involved with Triss during the secondary quest, Now or Never, and Yennefer during the secondary quest, Last Wish, this quest becomes available after completing the main quest, Final Preparations.
After speaking with Ciri there's a cut scene with Yennefer and Triss. Make your way to the Kingfisher Inn on the other side of Novigrad and speak to the innkeeper inside. Ask to trade and spend 60 crowns on a bottle of his finest wine. If you buy the wrong wine the objective will not update, so make sure it's one of the wines that costs about 60 crowns.
With the wine in-hand, head up the first flight of stairs and knock on the door to the north for another interesting cut scene. After some dialogue with Dandelion in the morning, the quest concludes.
Look behind the Golden Sturgeon in Novigrad to speak with Nidas. Agree to help him in order to begin this quest. Head to Ard Skellig and dock on the west side of the main island at Arinbjorn. There are three islands here with a crumbling bridge partially connecting them. You need to reach the lighthouse at the northern tip of this area, which is on the northern side of the bridge to the south.
Once you arrive there's a bit of dialogue, then follow Nidas to the north and then toward the beach. Head into the highlighted area marked on your map and dive underwater. Activate your Witcher Senses to find and loot the oyster you're looking for. Quickly head back to Nidas to find several Drowners and a Siren attacking him. You must protect him at all costs. If Nidas dies you fail the quest!
Kill the enemies and speak with Nidas, then head back to the Golden Sturgeon. Speak with Nidas one last time to complete the quest and earn your reward.
Complete the main quest, Get Junior, and the secondary quest, Now or Never, to gain access to this quest. When you get a call to meet Dijkstra, make your way to the Passiflora, northeast of St. Gregory’s Bridge. Head to the private chamber and speak with Marquise Serenity and Dijkstra. Agree to help Dijkstra, then head south into Velen to reach the Border Post fast travel point on Halver Isle.
Find the Redanian guard patrolling the area and speak with him for another cut scene. Head south across the river as you move toward the battlefields. You may be attacked by some wolves along the way, but make quick work of them and continue toward the next waypoint on your map. When you reach the small, green wagon, activate your Witcher Senses and examine the area to find signs of a fight, a boot, and a trail.
Follow the trail of shoes until you reach a wagon trail with a Rock Troll waiting for you just ahead. Speak with the Rock Troll then head over to the mining quarry nearby and search the area. The entrance is near a wooden scaffold. Head inside and loot the cavern as you make your way inward to find two more trolls and an old friend.
You can choose the first dialogue option every time to engage in combat against the two trolls here and the one you met outside. If you don't wish to fight, select the second dialogue option every time to trick the trolls into allowing you to leave with your friend. After another cut scene and a trek back to the wagon, the quest comes to an end.
There are a slew of drunkards hanging around outside the Golden Sturgeon. Occasionally they will ask you from money. When this happens you must either give them coin or you'll have to defeat them in battle. They aren't difficult to take down, but if you do happen to drop your controller or keyboard and lose, you'll be out some of your hard-earned money.
Walk down the cobblestone streets of Silverton in northwest Novigrad. Here you'll find a halfling promising the deal of a lifetime. Speak with him until the witch hunters appear and he runs for cover. When you speak with the witch hunters tell them the halfling left his soup on the burner if you wish to continue with the quest.
Activate your Witcher Senses and examine the ground where the halfling was previously standing. Follow the scent down the street to find the halfling again. Speak with him once again to browse his shop and complete the quest.
Wander around the docks of Novigrad until you see a hooded man yelling at a woman. Speak with the woman and you'll have the option to use Axii Delusion level two as well as a number of other dialogue choices. Unfortunately, it doesn't matter what you choose to say because the man leaves and the woman is not happy with the situation. After the conversation, the quest comes to an end.
Head to Crippled Kate's brothel and speak with the woman standing outside. Offer to assist her in this time of need in order to begin the quest. As you head inside there are a number of dialogue options that lead to different outcomes. You can use Axii Delusion level two to end the proceedings rather quickly, offer to settle this man to man to engage in a fist fight with one of the people inside, or take the most challenging outcome and threaten the group with a taste your wrath to start a fist fight with three people at once.
If you happened to kill the ice giant during the secondary quest, The Lord of Undvik, you can boast about your prowess in battle and avoid a fight completely. No matter what you choose, speak with the woman again once everything is said and done. You'll receive your reward and the quest will come to an end.
Head to the south docks in Novigrad, then make your way to the west side to find a wooden winch crane by the warehouses. Three bandits are having a not-so-friendly conversation with another man here. Take out the three bandits before they can do any harm, then speak with the man and follow him along the docks. Stay behind the man until you see another wooden winch crane and four more bandits. Quickly dispatch of the bandits, making sure the man isn't hurt in the process. If the man dies at any point the quest fails, so make sure to pay close attention to his health.
Continue to follow the man until four more thugs attack. Make quick work of the bandits then follow the man once more. At the end of the docks the man stops to have a conversation with two other businessmen. During the conversation you'll have to back the man up by replying with, "Right" or go against him with a reply of, "Wrong." If you side with him, the man lives. If you side against him, he dies. Either way you get the same reward for your troubles.
Head to the Hardborside District and down the alley near the Unmarked Portside Warehouse. A dwarf and a human are engage in verbal fisticuffs here. Meanwhile a guard asks if you'll take care of a monster that causing the dispute. Agree to rid the world of this beast to begin the quest.
Take the wooden steps into the warehouse and defeat the Nekker within. Examine the warehouse to find some dwarven footprints near a cage, then head outside and speak with the guard again. You can choose to rat on the dwarf or cover for him. Either way the quest comes to an end.
Make your way to the Notice Board in Gildorf Square, then ask to check out the store owner's wares nearby. He should tell you about some artifacts that belonged to a mage. Using 20 crowns, buy the Lizard Figurine and Jade Figurine. The Jade Figurine is actually used to begin the secondary quest, The Nobleman Statuette, but you may as well pick it up while you're here.
Head to Aeramas' Abandoned Manor and climb up into the ruins of the house to find a magic circle on the floor. Examine the circle to open a portal (make sure you have the figurines in your inventory), then head through the portal to an underground area.
Make your way to the far side of the room to find a staircase. Move quickly because the smell here is overwhelming and can be lethal. Climb the stairs and continue through the next portal. Make your way down the steps on the other side as you approach a lake. Swim to the north, diving underwater to reach the opposite side. Climb up the rocks and continue toward the laboratory, killing a Foglet as you proceed.
Activate your Witcher Senses and search the lab to find some notes, another figurine, a cow (in the corner) and a dead body. Head northwest through the cheese to reach an archway, then pick up the statue on the desk ahead. Use this statue to open another portal to reach your final destination.
There's a barrier ahead that is preventing access to the treasures within. Search around to the right and use Igni Magic to activate the switch here. There's another switch on the opposite side that is hidden behind an illusion (dispelled with the Eye of Nehaleni you picked up in Velen long ago). With both switches activated you can loot the treasure beyond the barrier in the chest and the sword on the statue.
Head through the archway behind the steps and activate it with the figurine from the chest. You're now back on the surface as the quest comes to an end.
Complete the main quest, Broken Flowers, then wait at least one full day after meeting Rosa var Attre before this quest becomes available. Use the St. Gregory’s Bridge fast travel point to reach the Var Attre residence again. Speak with the Guard Captain, then head east to the Tretegor Gate sign post by the river to find Rosa.
Speak with Rosa, then follow her to the bridge. You'll have to fight her, but the fight won't last very long. Activate your Witcher Senses to find Rosa's footprints and follow them to the Seven Cats Inn. Head inside to find Rosa being harassed. You can fight the two ruffians, pay them 50 crowns to leave, or use Axii Delusion level two to make them leave. Speak to Rosa one last time to complete the quest.
Northeast of the Kingfisher Inn in an area known as The Bits, there are two potential bandits doing something to the ground. When they leave, activate your Witcher Senses and examine the area where they were meddling. Pick up the note here, then head south to the next location marked on your map, which is Crippled Kate's.
Find the red brick street and activate your Witcher Senses once more to find another loose brick in the corner. There's another note and a chest key to be found here. Collect the items, then head north to the Gildorf District and into the main square. There's a sewer grate near the Notice Board here. Drop down into the sewer, then head northeast until you reach a blocked off tunnel and two bodies. Open the chest nearby and collect the loot to complete the quest.
If a crying child stops you while exploring The Bits area of Novigrad in the area northeast of Hierarch Square, follow him as he runs off. It doesn't take long for four bandits to mount an ambush. Make quick work of them to complete this quest.


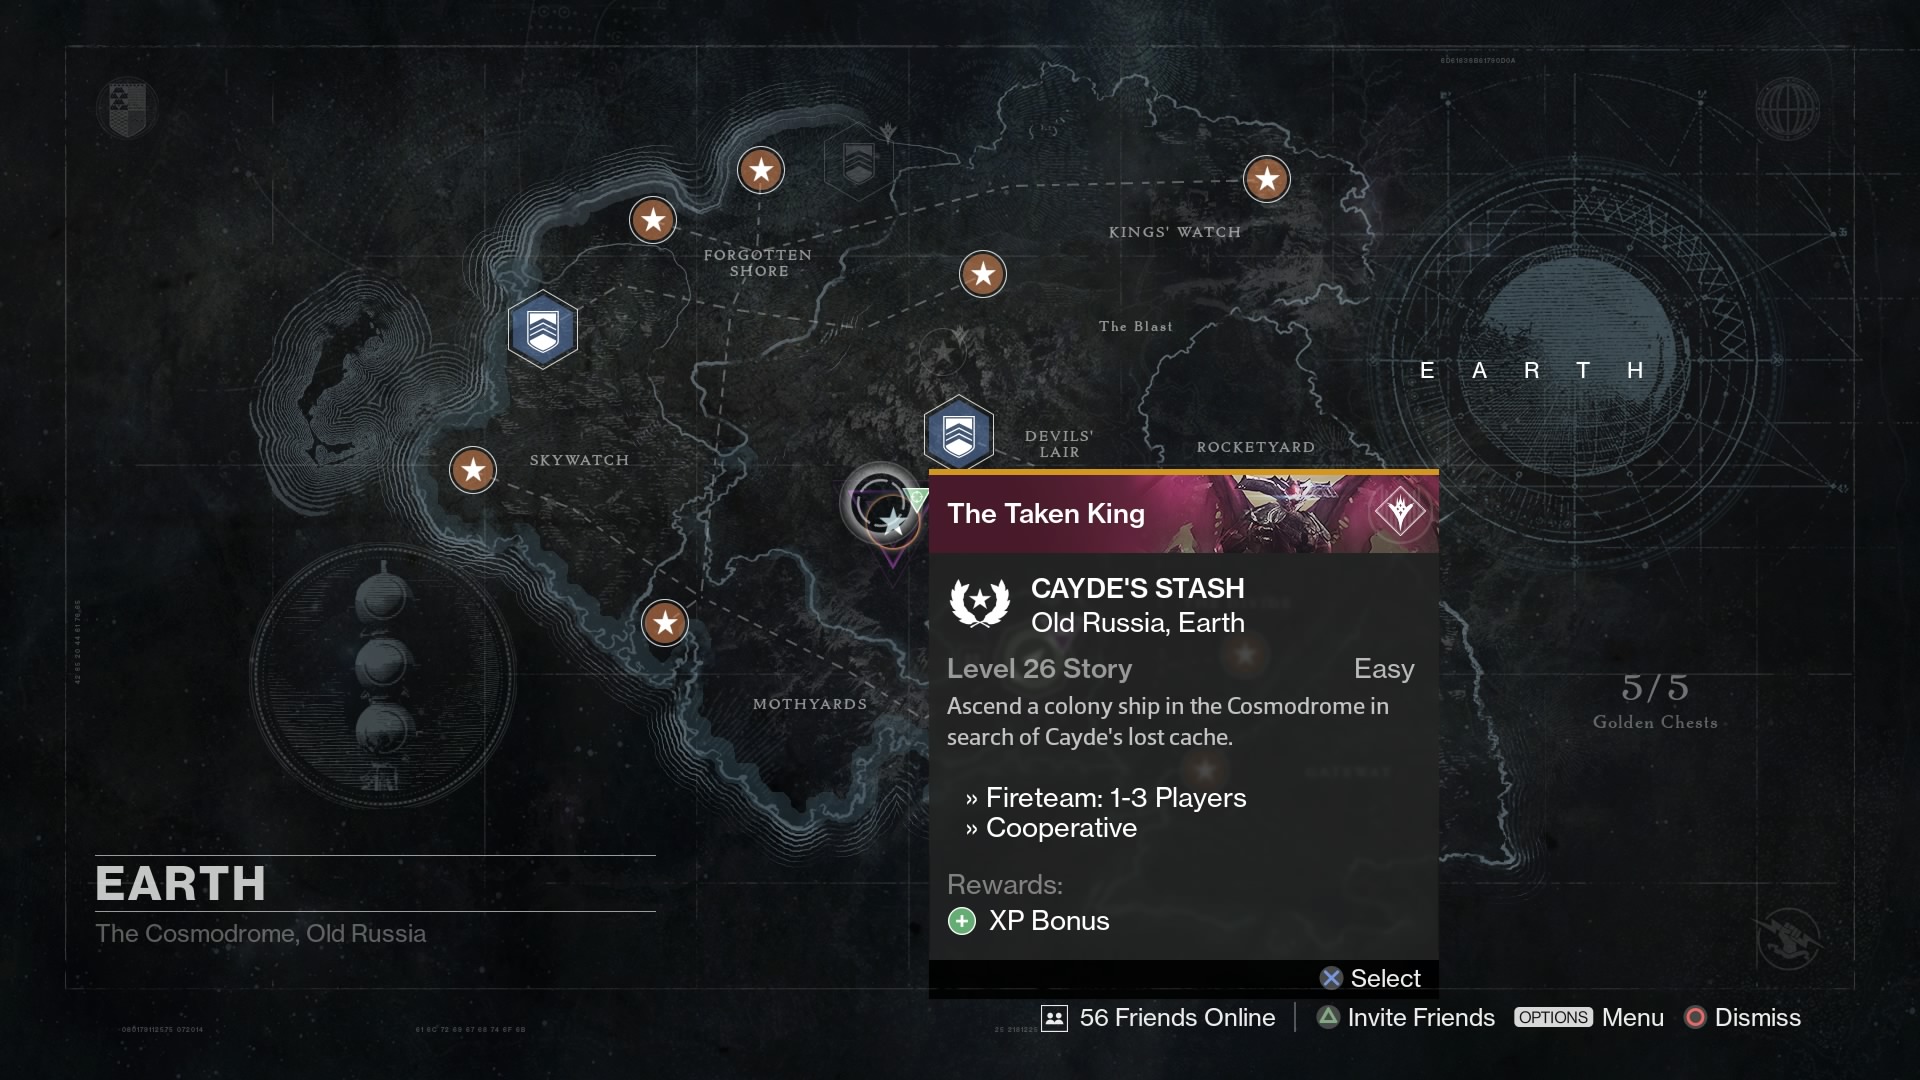 The Taken King quest walkthrough – Step 3: Clyde’s Stash
 Destiny guide: how to beat Atheon and Templar in the Vault of Glass
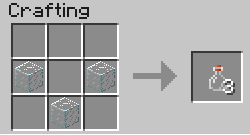 How to make glass bottles in Minecraft for the PC
 Watch Dogs: Dressed in Peels – Raul Lionzo, exit prison, escape police
 Watch Dogs: Brandon Docks ctOS Control Center – sniper rifle, hack server