You’ll spawn in at the Mausoleum, and your objective will be to Board the Cabal Ship. This is done by running toward the waypoint that should appear in the distance. You’re likely to see some opposition as you go, so feel free to clear a path and warm up those rifles.
As you continue to follow the waypoints onto the ship and through its hallways, you’ll come to an area called the Dantalion Exodus VI. Your objective will update to Find the Siege Team, which you should read partly as “Kill everything that moves.”
As you move through the area and slay your foes, you’ll eventually bump into the Goliath Tank, and your objective will update appropriately, asking you to Destroy the Tank. Stick the balconies above the tank, dealing critical damage to each of its four legs. When one leg starts to burn, focus your fire on one that is still up and running. When all four legs are destroyed the tank will fall.
Destiny: Fallen Saber Strike
Destiny: Echo Chamber Strike
Destiny: Sunless Cell Strike
With the Goliath Tank down your objective will update and ask you to Reach the Command Deck. You’ll have to backtrack from where you fought the tank, and if you’re having trouble finding the way, we would advise that you bring up your Ghost and let Nolan North guide you. This will bring you to an area with some Taken enemies. Deal with them, and then continue to fight your way through the ship, following the waypoints if you get lost.
You’ll eventually arrive at the Narthex, which is a round room with a large structure in the center. You’ll have to deploy your Ghost along the opposite side of the structure from where you entered the area, and that will kick off the final boss fight against the Shield Brothers.
The first brother to enter the arena will be Valus Mau’ual, and he’s a real treat. His biggest weapon is his size and aggression, as this fool like to run at you and obliterate you with melee attacks. It goes without saying that you’ll want to stay as far away as you can, and note that his critical hit point is his big Cabal head. There will be adds to deal with at various points, and once his health is low enough Valus Mau’ual will leave the arena.
The second brother, Valus Tlu’urn, isn’t quite as aggressive as the first boss, and you can actually walk right up next to him and be relatively safe. This guy likes to lob rockets at your position, and you can see where they’re landing by the indicators on the floor. If he’s focused on you, plan to move non-stop, as he will continue to fire without pause until he dies, or someone on your Fireteam becomes his primary target. He also has a dome (Ward of Dawn-like) that he tosses up to defend against your attacks. Wait for it to lower, or just run inside of it and pick a fight with your sword. Oh, and as always, watch out for the adds.
After lowering the health of Valus Tlu’urn, his brother, Valus Mau’ual, will join him. This is a hectic part of the fight, and if you have three characters with new super abilities, now is the time to use them. Have your Hunter - Nightstalker use their Shadowshot to tie one (or both) of the brothers down, and then let the Sunbreaker and Stormcaller move in for the kill. It shouldn’t take a lot of damage to finish them off, and when you do you’ll want to ensure that you’re looting the room of any engrams or drops that you can fill your pockets with.
If you plan to continue exploring The Taken King, we suggest that you visit our Destiny: The Taken King Walkthrough and Guide.


 Destiny: the complete Venus guide
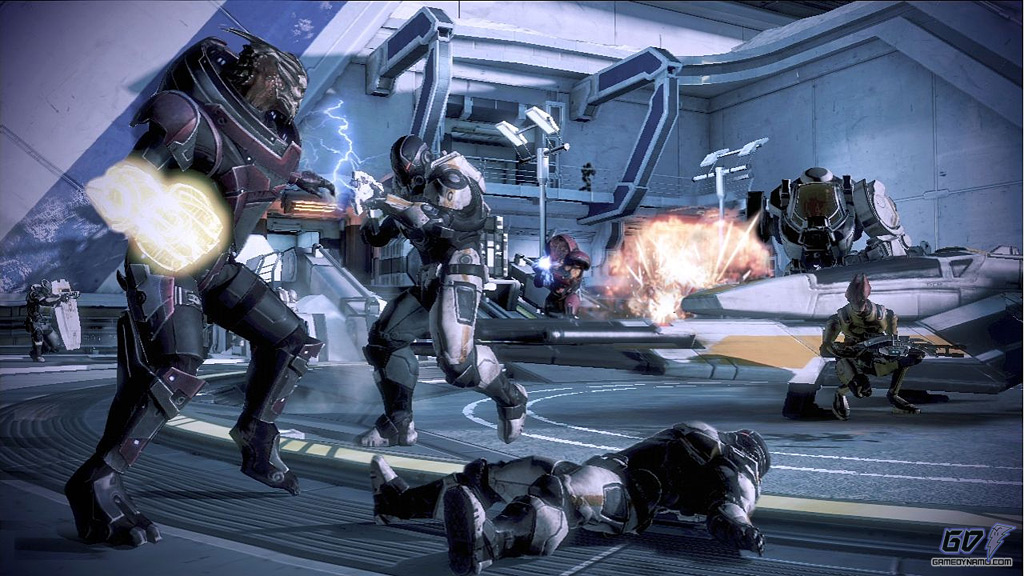 Mass Effect 3 Multiplayer Guide: Classes, Games, Opponents, Unlockables, etc.
 Watch Dogs: Missing Persons Investigations – Finger Paint Killer
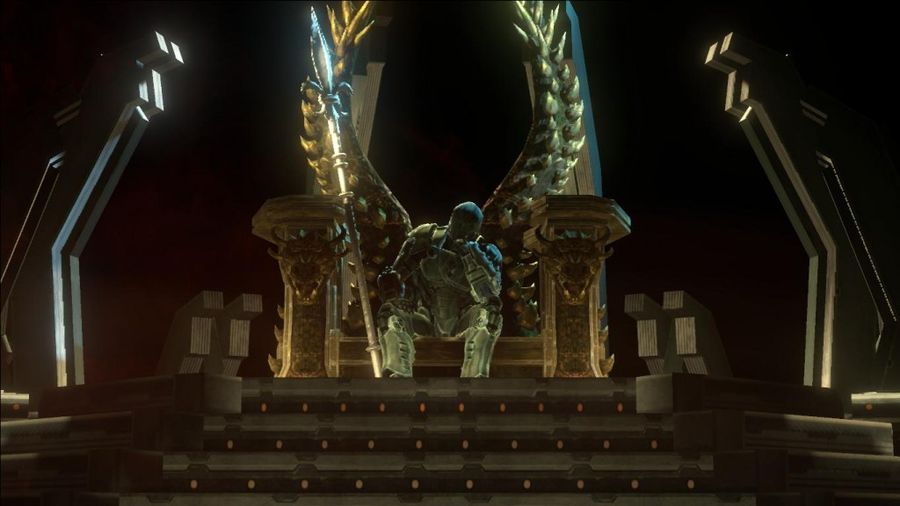 Saints Row IV Guide - Matt Miller Loyalty Mission Guide
 What The Hell Is Splinter Cell Now?