
Destiny’s second Strike mission, The Summoning Pits, is considerably more difficult than The Devil’s Lair. The skills you learned during the battles leading up to and including Sepiks Prime will serve you well, but enough levels under your belt and some decent equipment will serve you even better.
The Summoning Pits is a level 12 Strike mission which takes place across several areas on the Moon. You will have visited nearly all of these if you’ve played through the Moon story missions, and I hope you have, because a little knowledge goes a long way.
The final battle of this Strike is a doozy, and you’ll do really well if you can co-ordinate with your team to chain supers together. One of you takes down a group of enemies, then the others collect the orbs of light and set of their supers – that’ll clear the nastiest knot of foes, and give you plenty of breathing time to recharge and start the cycle again.
Your enemy throughout the Strike is the Hive – no Fallen to interfere today. Solar weapons work best against the Hive, so if you’ve got a choice of elements, bear that in mind; having a Hunter Gunslinger along can be a big help. There are a lot of swarms in this battle, so consider bringing along a shotgun as your secondary weapon. A good heavy weapon will be a huge help, too.
If you struggle in this Strike you have a couple of options. You can come back at a higher level; you can work on finding better gear; or you can try optimising your build. By level 12, you ought to have a few uncommon or even rare weapons and armour pieces, and a few different choices of subclass perks. Can you find any synergies between them that will turn you into a rapid, powerful sniper, or a grenade spamming machine, for example? Finding and exploiting perks that work together is the key to heavy damage and decent survivability.
The Strike beings at the edge of the Hellmouth and winds down through the Hive lair. You should be familiar with the enemies here; until you reach room where you found the sword of Crota, it’s business as usual, except for a Wizard lurking in the first gallery.
When you reach the sword room you enter a Darkness zone. Make sure everyone’s ready for a wave battle and deploy your Ghost.
The first wave begins with a rush of Thralls, and includes Acolytes and cursed Thralls as well as a few Knights. With your back to the doorway your Ghost is opening, this wave enters via a doorway on the left, at the top of the stairs. Generally, a good strategy here is to have two Guardians on the balcony and one at the bottom of the stairs, and put the enemy in a deadly crossfire as they spawn into the room. There will be several spawns.
The next wave comes from the right hand side of the room, from a door on the lower floor. One guardian at the top of the nearby stairs and two on opposite sides of the room with a view of the door with get good results. If you’re not quick enough moving to the other side of the arena, enemies will quickly rush in both directions to flank and and converge on you. You can buy yourself some breathing room by leaping between balconies, which befuddles them, but watch out for Wizards, who are not so easily confused. There will be more Knights this round.
The third round is heavy on Knights but the real threat is a major Wizard, Mormu Xol Spawn. Check out his Grimoire card sometime, he seems like a fun guy. Treat him like any Wizard; watch out for his attempts to escape when you drop his shields; if the three of you fan out and flank him, you ought to have no trouble – just be sure you’ve dropped or evaded the Knights, as Mormu tends to stick close to them if he can. Clever.
The radar can get a bit confused in this section. You want to head left after you enter the Circle of Bones and push on in the same direction when possible; look for the two major Hallowed Knights and take the door way near them.
The next time you meet resistance it will include an ogre, so be ready. If everybody lobs a grenade at him and his friends immediately, he’ll go down quick, and still give you plenty of time to recharge before the final boss. It won’t be long before you reach the boss, so take a breath and make sure you’re ready – weapons loaded, abilities charged, nose blown.
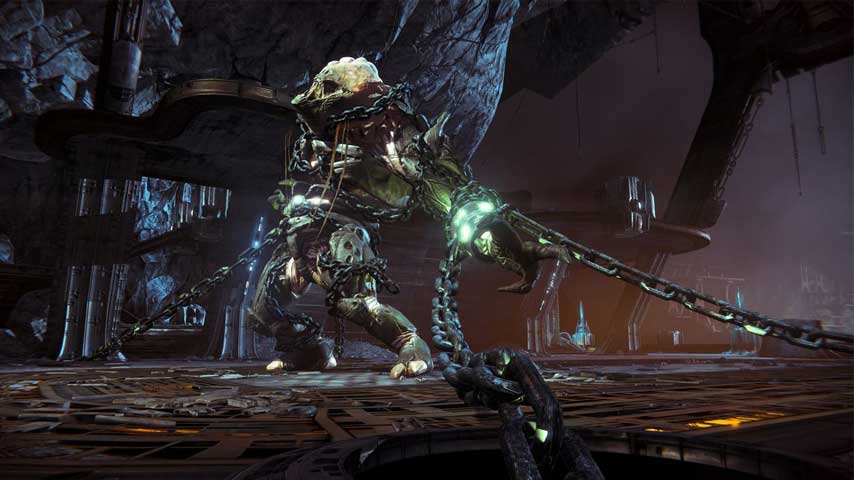
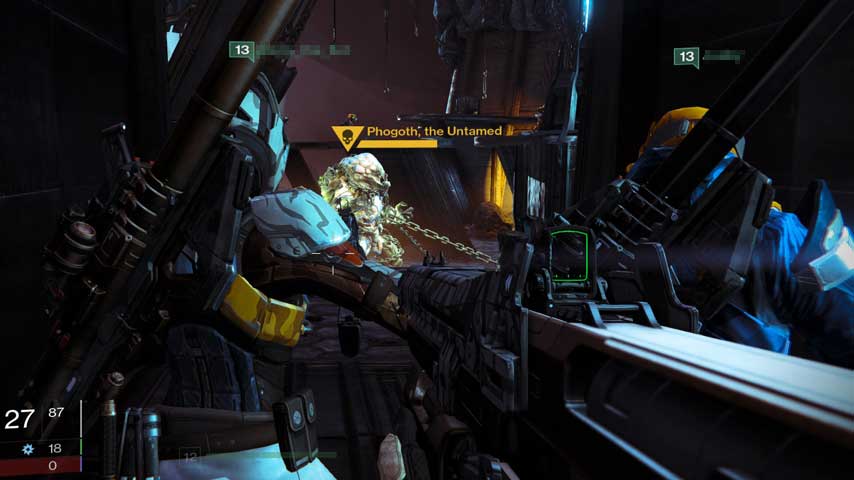
Phogoth the Untamed is an ultra Ogre, so you know what to expect: face lasers. Phogoth’s weak point is a pale glowing area on his chest or stomach, so just plug away at that and you’ll get there eventually. Do not go down around his feet; his area of effect ground pound will really, really hurt.
The battle against Phogoth takes place in a large arena. Don’t start firing as soon as the door opens; take the time to fan out a little onto nearby balconies, or you’ll soon find yourself pinned down by minions and slaughtered. Phogoth himself is no threat at the start of the battle, as he’s chained up and won’t break free until you’ve damaged him a bit, so clear out as many minions as you can and get cosy.
You want your fireteam spread out far enough away that each Guardian has enough room to move to evade attacks, and so that attacks on one don’t hit the next as well – but you should remain in easy reach, so you can revive each other or help with minion spawns.
One set up that has worked really well for me is this: orient yourself looking straight out from the entrance at Phogoth. One sniper-friendly Guardian hops up on the highest balcony on the left, at about 11 o’clock; this Guardian has the furthest to travel from the door. Another Guardian positions themselves at the far edge of the balcony you start on, at about ten o’clock. The third Guardian remains fairly close to the entrance, wandering between the door and about nine o’clock. The primary task of the 11 o’clock Guardian is to keep an eye out for minions and alert the other to where they spawn. The other two Guardians focus on Phogoth, taking turns to draw his fire and attention while the other gets plenty of damage in.
When minions spawn, things change. Whichever Guardian is most threatened simply battles to stay alive. One of the others – usually the closest, but you’ll have to call out if the middle fellow is in trouble – runs to their aid. The third Guardian keeps Phogoth’s attention with a cat and mouse game.
Minions include Wizards, Knights, Acolytes and Thralls, and getting rid of them quickly is essential; they never stop spawning. Precision is enormously important as headshots will take foes down much more quickly. I consider it a better tactic to use grenades, heavy weapons and supers on minions rather than Phogoth – who isn’t going anywhere and isn’t too hard to evade. This is especially true as you’ll generate orbs of light and get ammo drops from killing minions.
When Phogoth dies – or even before, if you’re feeling really cocky – don’t forget to pick up Gold Chest #5. It’s on the lower platform at the far end of the arena, between the two staircases.
Head over to our Destiny guide for more tips and info.


