

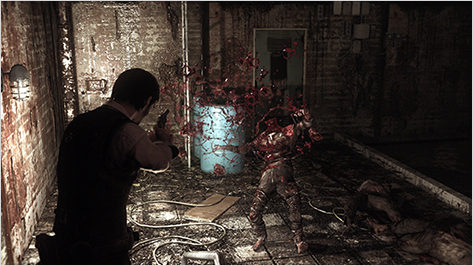
In this chapter we’ll guide you to each objective. Again, the areas are quite linear but you’ll have to keep an eye out for ammo, matches and other loot as you go.
Climb down the ladder and you’ll find the Mansion Basement Note. Loot the area and continue down and under a type of tripwire trap. Once you go through the large double doors you’ll be in a dark room. When the lights come on there’s a giant blade circling the room and if you stand up straight it will take your head clean off. You’ll need to keep crouched for the time being.
Head to the right-hand side of the room and you’ll find another area where it’s safe to stand up. There are a few enemies here, but head down the ladder until you find the Battery Pack on a desk.
Go back to the first floor and deal with any enemies, looting side rooms for gear. You’ll find the place to put the Battery Pack in one of the side rooms, then head back out into the room with the rotating blade. Keep low, and head towards the hallway ahead and the doors will shut behind you.
You’ll climb down another ladder, where you can loot a few more rooms, until you reach a door with a lever. Pull it and you’ll see you need another Battery Pack.
You’ll need to work your way through this maze, using traps to your advantage. Dismantle them for the parts, but lure enemies towards you and shoot the explosives with a bullet from the handgun. You’ll eventually find the Battery Pack, then keep moving until you find what looks like a giant wood chipper. Crawl under the filing cabinets and you’ll find the place for the Battery Pack.
You’ve powered up the door that was closed earlier, but you’ve also powered up a lot of traps so now you need to be super careful. On your way back you need to kill enemies with the shotgun and use Explosive Bolts on the two mini-bosses. Each of these will spill 3000 Green Gel so it’s worth killing them rather than fleeing.
When you get to the iron gate use the crank to open it, then pull the lever and go through a door up ahead. Pull the lever and go down the halls until you trigger a scripted event, then go through the double doors to the chainlink fence.
It’s here you’ll find Laura, the spider-woman from earlier in the game. You cannot kill her, so don’t waste bullets, just concentrate on disrupting her while you try and find an escape route.
Go down the stairs and the path will be blocked, but pull the lever which will open the iron gates close by. Crawl under them, then keep moving until the next cutscene plays out.
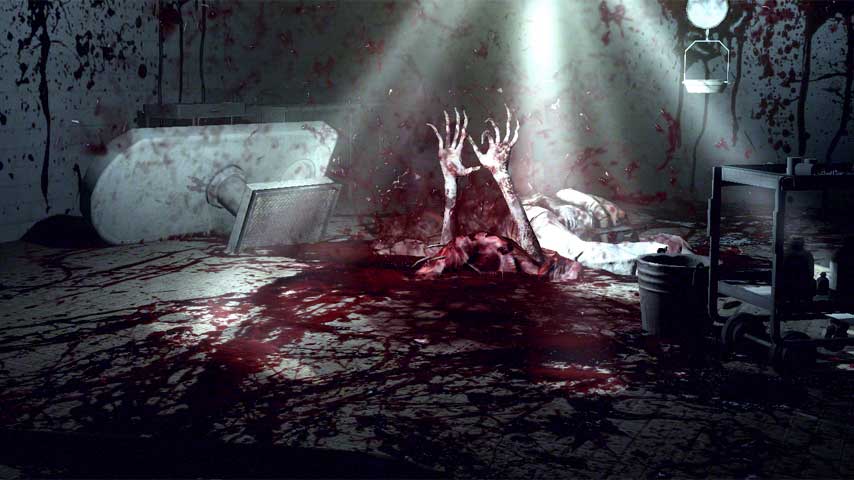
In the next area are pipes – shoot the valves to let fire gush out of them and burn your enemies. You can ignite Laura again here, and you’ll need to pull the lever when your path is blocked by fire. Climb the ladder to continue. As Laura follows again, set her on fire by shooting overhead pipes and pull the lever to stop more fire blocking your path.
When you turn right into a short corridor, shoot the lever overhead to get into the next area. Again, use the pipes to set her on fire and look out for another lever that will let you into the next area. Get into the elevator and you’re trigger another cutscene.
You are now back in Ruvik’s mansion. Go to the main room on the first floor and down the corridor until the next cutscene plays out.
After the long cutscene, loot the area and head through the car park until you come across the boss fight. It’s tricky, and you need to make the most of all the explosives you have – at the same time keep well away from it.
Alternatively you can use the sniper rifle to shoot him a couple of times and when he begins to sprint at you run around the corner to the room at the side, picking up the sniper rifle ammo. When it reaches in shoot it with the shotgun or any explosives.
When it staggers back, run to the next side room and repeat the strategy. He’ll be damaged enough now that you can use the sniper rifle to shoot into the gaping maw from the cover of a car.
Once it’s dead, grab any loot you can as you run for the elevator and complete the chapter.
Back to The Evil Within guide


 Steam Series - Melody's Escape
 Heads
Heads Jamins Honourable Mention of 2010
 Finding The Vivaldi Bank In The Witcher 3
 The Elder Scrolls V: Skyrim Console Cheat Codes / Commands for PC Version