

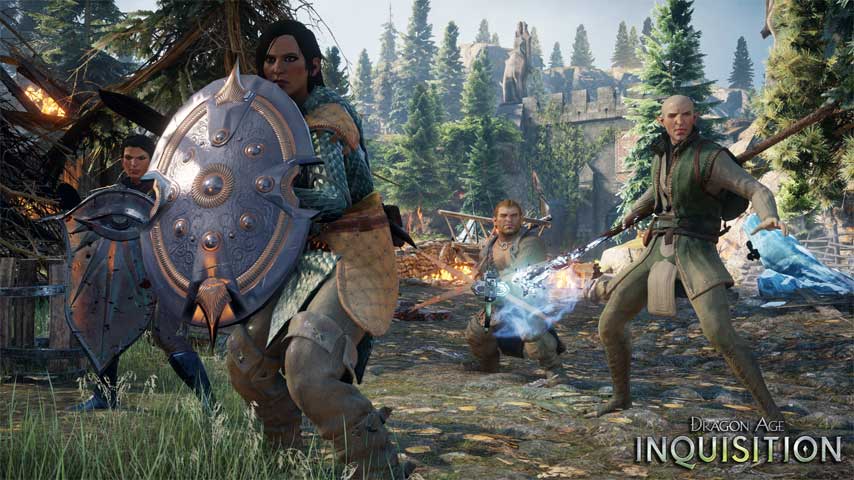
Make sure your power level is at least 1 (you can pick run through some side-quests if need be), then visit the war room, highlight the Ferelden side and select the location that is named after the quest.
Make your way to the gate to trigger a cutscene, then fend off 3 waves of enemies, after which the northern trebuchet will fire. Now head to the next map marker, mopping up the enemies around the southern trebuchet. Reach the trebuchet and start turning the gear. Obviously, you’ll want to cast barrier spells while you’re doing this so you can get it fully turned asap, triggering another cutscene, and ending the battle.
Make your way to the map marker, back towards the gate. You’ll encounter an NPC trying to open a door, so help them out by destroying the obstacles here so that they can enter. Refresh your supplier if need be outside of the building, then carry on to the gate to trigger a cutscene.
Fight your way through to the chantry, heading along the path to the far left to rescue Seggrit, who is trapped inside the first building along here, by bashing the door down and inspecting him. Grab the loot from in here before resuming your battle towards the chantry. When you get to the chantry, pop around to the right to find the last lot of enemies and save the villagers. Enter the chantry to trigger a cutscene.
Go towards the main gate, and just before you reach it, pop down the pathway to the left to reach the trebuchet, preparing to fight your way through once more. When you get to the trebuchet, you need to turn the gear again, but be warned that the process will take longer this time around, and the enemies will be a tad more intense. The enemies will appear in waves, each one stronger than the last, and they will continue to assault you until the gear is turned, so decide your strategy in advance. When the gear is fully turned, it will trigger a cutscene.
You will have unlocked the Mark of the Rift ability at this point. Follow the path to the next marker on the map at a painfully slow stroll until you trigger another cutscene and are deposited at Skyhold.
Go through the undercroft door, marked on your map, take a peek at the journal on the left, then talk to Harritt to discover all of the various fancy things you can do here, like craft and upgrade armour and weapons. Make your way to the main hall and enter the first door on the right. Continue on through 2 more doors to find Josephine. Have a quick chinwag, then go on through the next door and to the end of the hall to locate the war room. Before moving on with the story mission, find the Forgotten Boy side quest. If you let Cole stay, he’ll come aboard, adding a Rogue class to your party.
The main story progression quests will offer you 2 choices at this stage and you will need a power level of 8 or 30, depending on which one you choose to do. Once again, side-quests are your friend, so build up your power level if necessary before moving on. Once you hit 8, go to the war room, highlight the Ferelden region and then the Find the Warden area in the centre of the map to travel to Crestwood. You’ll trigger a cutscene, after which you should talk to the Inquisition Officer, then head towards the marker on your map.
You’ll be set upon by various enemies on the way, and after the first attack, talk to the Grey Warden. Proceed onwards and you’ll come across the Still Waters side-quest. Save the villagers that are under attack, then go on through the main gate.
Before you initiate the quest, enter the first house on the left to find Gauld and start the Naturalist side-quest. Exit the house and pop up the stairs around the corner to find the marker for the Still Waters side-quest.
Enter the house to find and talk to the mayor, then make your way south towards the next marker for the Still Waters quest. At the keep, target the gate to gain entry, kill the enemies inside, make your way up the steps, down the hall and into the courtyard. Take out the enemies here, head upstairs, through the door around the corner to the left, and on through the next door.
Cross to the other side of this area, through the door on the right and pilfer what you need from the supply crate. Head upstairs where you’ll be ambushed a few times, but be particularly wary when the Highwayman Chief puts in an appearance.
This guy is very nearly up there with boss-level toughness; he’s immune to physical effects, packs a hefty wallop and is vulnerable to lightning, so barrier spells and lightning spells will make things so a lot smoother in this encounter. After you’ve felled him, push forward to the waypoint. Pop the Inquisition flag on the flagpole to gain control of the keep, establishing an outpost.
Best the game with the rest of our Dragon Age Inquisition guide and walkthrough.



 Guide: Tackling FIFA 16s Sliders System
 How To Unlock Mission 45 in Metal Gear Solid 5
 Star Wars: The Old Republic Crafting Guide
 Defiance: First Impressions
 Dark Souls Ceaseless Dischard Guide