

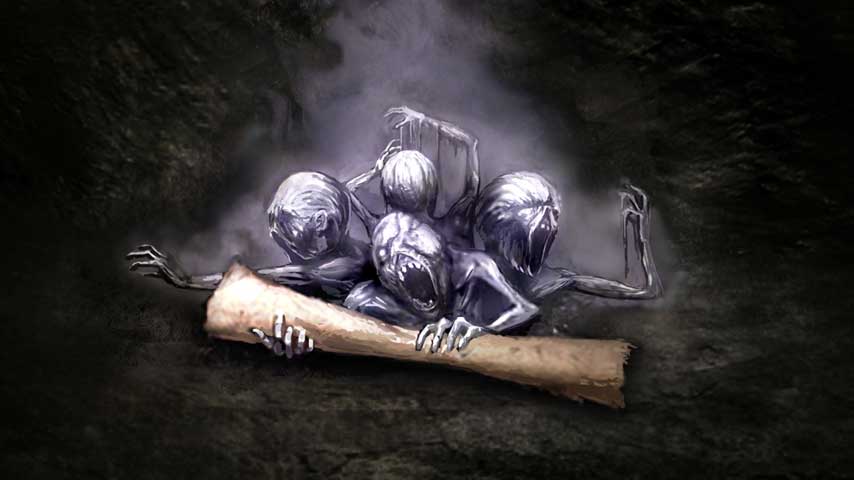
Bloodborne’s next challenge is to explore an area full of very nasty beasts and not so nasty old women. You probably took a breather at Hunter’s Dream after defeating Vicar Amelia, so head back now to the Grand Cathedral lantern.
Go down the stairs and battle two Gravekeepers. When they’re dead, head right to find a path leading to a Bloodshot Eyeball – you’ll want this for Chalice Dungeons later. Keep going down more stairs at the end of this path until you spot another corpse with three Bold Hunter’s Marks.
If you pass through the cave you’ll reach a clearing where there are a lot of enemies, possibly including a Soot Monster. These nasty foes are tougher than other beasts you’ve encountered so far, and unfortunately their appearance and numbers depend on how many times you’ve been here and what you’ve done before you arrive, so you’ll have to brave them out yourself. Be cautious.
The easiest path we found through this area is to head forward first just far enough to aggro the first Demon Hound. Kill him, then move clockwise around the border to take out another Demon Hound and a Henchman. Move back in an anti-clockwise direction and advance cautiously along the path, looking for lone Henchmen, of which there are about three. Don’t go near the pth leading out of here yet; circle back around from either direction till you see the knot of four Henchmen. They’re very deadly in a bunch like this, so try various angles till you can sneak in with only one aggroing, off him, and roll away. Wait till they calm down and repeat. You can then collect all the items in the area – nine Bone Marrow Ash, two Thick Coldblood and four Pebbles. On the far side of the area, near the path leading out, are some Quicksilver Bullets, but also two Demon Hounds, one last Henchman and maybe even a Soot Monster if you win the bad luck lottery.
The path goes direct to the gate and next Lantern. You never have to come here again!
Look up “charnel” in the dictionary if you’ve never encountered this word before. There’s a whole exciting world of rotting corpses to discover. This area’s lantern is just ahead, at the bottom of the path, and you have nothing to worry about trotting down there.
Once you’ve lit the lantern, continue down the hill to your left, where you should spot six Crazed Hags – they’re not a problem alone but they attack very quickly, and as ever don’t let yourself get mobbed. Make sure you take down all of them, including the two hiding on the stairs and over on the right, and then smash up the cart to score a Bloodshot Eyeball.
Head on into the area on the right to collect two Twin Blood Stone Shards, then go up the narrow wooden steps. There’s one of those lit windows here, but it’s not quest related. Move to the right to grab a Madman’s Knowledge. There’s a lever and lift ahead, but we cant use it right now, so backtrack to the first area and take the larger set of stairs.
The top of the stairs is guarded by a Crazed Hag and a Demon Hound who ambush you, along with a possible Soot Monster. Lure the Crazed Hag and Hound out and take them down before engaging the Soot Monster. As you move on, a Crazed Hag will lob Molotovs down at you from the ledge above, so time your movements carefully as you collect the Thick Coldblood and move into the upper ledge area.
You’ll find two Crazed Hags waiting for you, including the Molotov one. Head up the next flight of stairs, keeping an eye out for the Brute. Don’t push too far from the stairs, because there’s another Molotov-lobbing Hag in the area – lure the Brute to you by the stairs instead. Once he’s down, continue towards the locked gate just ahead of you, then turn around, carefully taking the path to the right, up the hill, watching out for Molotovs.
Fight the one Crazed Hag then walk to the ledge and look down; drop to collect two Twin Blood Stone Shards. Go back up the hill again and take the narrow path downwards. You’ll be ambushed by a Crazed Hag about half way down, and there’s a nasty trap waiting for you at the bottom.
Here’s the set up: five Crazed Crows at the bottom on the right, and a Soot Monster who may spawn when you get too close to the mob of Crazed Crows. The idea is that you’ll rush towards the easy kills, take a Soot Monster assault in the rear, and be mobbed by the Crows. Don’t give From Software the satisfaction; approach the crows cautiously and back right off as soon as the nastier foe arrives, taking it out alone.
When everything is down, look for four Pebbles off to one side, then take the lift: this will activate the lever at the bottom, so you can use it as a shortcut back here from now on. This is a really good time to return to Hunter’s Dream and purchase the Hand Lantern if you don’t have it already. Head back up to continue on.
Next: the path to the Witch of Hemwick.
Jump to: Page 1 Page 2

 Why Burnout 3: Takedown is still the greatest racing game of all time, 10 years on.
 Payday 2: General Weapons Guide
 . Plays, 13th June 2015
 Elder Scrolls V: How To Become A Werewolf
 Unreal Tournament 3 Tweak Guide