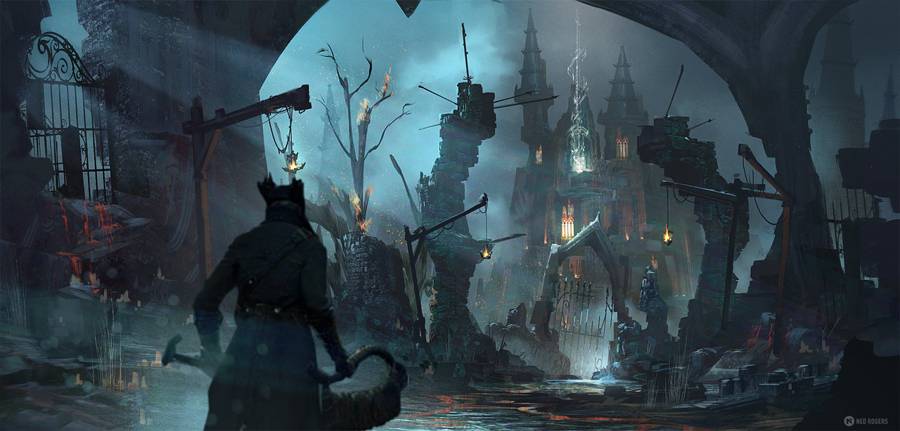
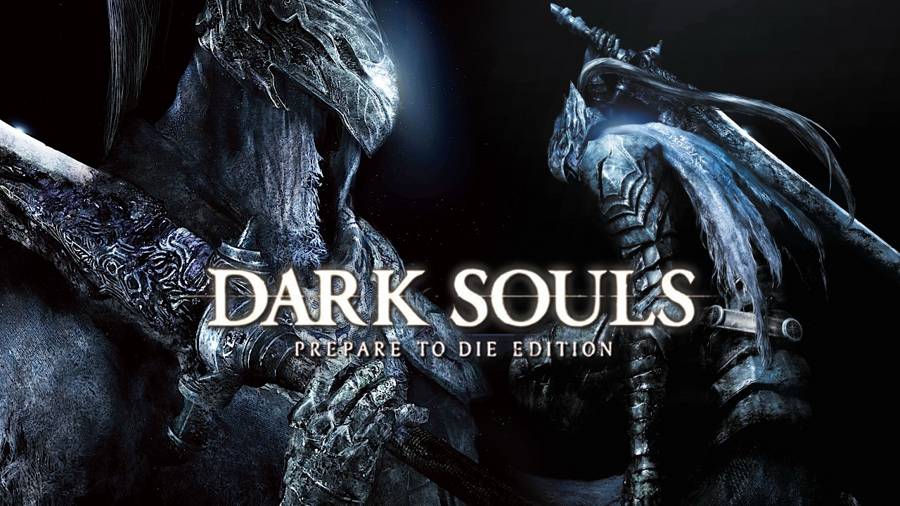
Dark Souls Boss Guide Part 8 – Demon Firesage, Centipede Demon, Bed of Chaos
Demon Firesage
I swear they love this particular demon. If you fought the Stray Demon and the Asylum Demon then you know the basics of this particular enemy. It only has two new attacks so keep on guard for them. You will find the two-handed style will help a lot Most of its attacks work inflicting physical or magical damage.
Playthrough 1
Its new attacks only have one safe area and that is behind it. Not too much has changed overall about the fight. The demon remains fairly slow making it easier to dodge the attacks and keeping in close will make the battle easier for you. Use much the same strategy you used against the Stray Demon to watch for attacks. Just remember that being in close has a good chance of provoking its Butt Slam attack. While easy to dodge it is best to release your lock on the Firesage to avoid having it be tracked when you are trying to back off.
If you are taking a ranged approach to this battle then you need to watch for its wind up for the Leaping Hammer Smash. While it is easy enough to avoid it covers a lot of distance. Do not back up, dodge to the left or right to avoid the attack.
New Game +
Keep on guard and dodge happy. You know the attacks. Go for physical and magic resistance if you want to cut down the damage. Keep in mind of those two attacks, the exploding swing and drive. Always aim to get behind it when it comes at you with these attacks.
Centipede Demon
Aim to hack off either its arm or tail. You will receive a ring for your efforts: the Orange Charred Ring. The area will make things more difficult for you as it is a large pool of lava. If you remember going against Quelaag then you will remember the damage lava can inflict (as if the area has not reminded you already). Take off an arm or tail as soon as you can and claim the ring so you will take reduced damage from the lava.
Playthrough 1
Immediately wait by the entrance. Dodge the punches that come at you. It will close the distance after a volley of these attacks. It is within striking range then you want to lay into it as best you can. This will reveal the true monster and give you the Orange Charred Ring. Equip the ring and quickly run for the center island. This is the largest area for you to use so take advantage of it. Now just dodge the attacks and counter attack when you have the opening.
New Game +
Again, hack off a limb to claim the ring. Equip the ring again and make for the center island. Use your improved skills and you will have something of an easier time for the fight.
Bed of Chaos
This will prove to be a different sort of battle for you. You must run down passages and inside them you will find the means to defeat the Bed of Chaos. You must head down the passages and destroy the glowing roots. Be wary of the floor itself, there are stable and unstable bits. Keep in mind that the floor around the roots will be stable.
Playthrough 1
Stay close to the wall on the left as soon as you can control your character. Close the gap to the root and destroy it. When you take out the root the Bed of Chaos will gain a flaming arm when you do. Destroy the second glowing root then it is time to close in and deal with the last bit of the Bed Of Chaos. While doing this attempt to keep out its attack range. Once you take out the second root it will again gain a new flaming arm. This is your cue to run back to where you started this battle.
The magic barrier that originally blocked you will now be gone. Move into the passageway and keep moving the floor will be crumbling so keep mobile. Keep an eye open for a path in front of you when you come to the pit. Close the distance between you and the Bed of Chaos's weak spot. This will provoke it to use its swing attacks. Dodge its attacks as it will create an opening you can use to reach its weak point.

 Best Local Co-Op (Hotseat) Games For PC
 The Walking Dead: 400 Days Walkthrough Guide
 Why WoWs new Free to Play model doesnt matter
 Tales Of Xillia Guide: Aladhi Seahaven Side Quest Guide
 Dark Souls 2 Walkthrough Part 12: Grave of Saints