Your dropship will place you at the top of a staircase. Several small waves of Husks will be there to greet you immediately. Pick them off, keeping them from heading up the stairs, using your squad for backup if one gets too close. After killing the Husks, head down for a cutscene. A rival clan of krogan will challenge Wreav (or Wrex – if you let Wrex live in the first Mass Effect, the rival clan leader will actually be Wreav, who is Wrex’s brother,) but Eve will intervene before the confrontation can turn violent. With a rousing speech and the backing of Commander Shepard, Eve will unite the two factions and you will be all ready to head out in the vehicles that will be waiting for you. You can also choose to come clean about the plot to foil the genophage covered in the last walkthrough here, or choose to keep your silence for now. There will be plenty of opportunities if you change your mind later. Also, keep in mind that if you want to increase your Renegade rating, but you do not want to actually condemn the krogan to infertility, you can choose to cover up the plan up to three times, earning Renegade points each time, without actually following through with the plan. When it comes time to make the final, decisive choice, it should be pretty clear.
Inside of the truck, Mordin and Wreav (or Wrex) will discuss the effects of the genophage further. Eve urges the belief that the krogan can work forward to become the prosperous, intelligent race they once were, casting their present state of ignorant violence behind them, but the krogan diplomat will not be so fond of the idea. He will stress revenge for the genophage, not galactic peace. If the galaxy can learn to live in fear of the krogan, he says, then there will not be need for any actual violence. Noticing the far-away look in your eyes (through your helmet, nonetheless) Eve will ask what is troubling you. This will be the second chance for you to admit Dalatrass’ plot to everyone.
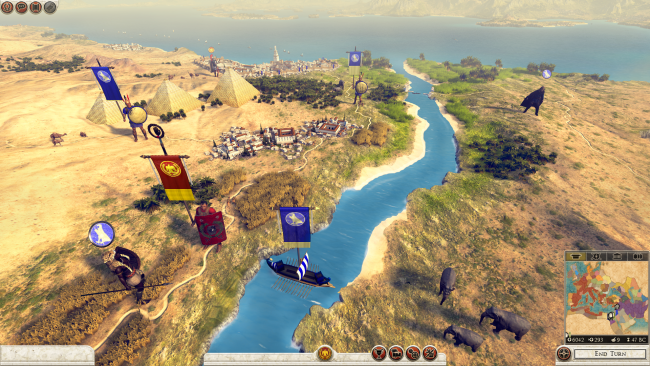
After you respond to Eve, the vehicle will come to a stop. Mordin and the krogan diplomat will send you out to investigate the cause for the stop. Shepard will leave the vehicle automatically, and you will find yourself in a small section of highway fenced in by the procession of escort vehicles. Search this area before you speak with the krogan on the far right of the area. You will be able to find the Shotgun Smart Choke Mod, the Pistol Magazine Mod, the Pistol Melee Stunner Mod, the Death Mask Helmet, and a med kit from next to the various vehicles parked in the road. Head to the opposite end of the highway and search next to the krogan leaning over the guard rail to find the Graal Spike Thrower Shotgun, which the guard will inform you he will need back after you use it, and a second med kit. The Spike Thrower can be very useful towards the end of this level, where you will face many Brutes, as it can be charged up for a more powerful blast. Equip it if you are fond of Shotguns and head to the right to speak with the guard and advance the story.
Turns out that the road ahead has been demolished, and the krogan are not sure if they will be able to pass over it. They will be looking for another way around. Shepard will radio the turian bombers and attempt to tell them to delay their attack. It will be too late, however, as the Reaper hovering over the Shroud will have already seen their approach. With a roar, the bombers will fly overhead and begin the assault. As you watch on, one of the turian bombers will be shot down by the Reaper’s laser and twist through the air to come barreling back at the highway. The envoy vehicles, seeing the approaching projectile, will take their chances with the highway and floor it over the rough patch without you. The ship will crash into the highway, tearing it apart. You will now need to find another way to the attack zone, where you will rendezvous with Mordin and the krogans.
Liara will point out a series of caverns receding into the right-hand wall. Jump over the gap between the highway and the wall and proceed into the caverns. When you walk into the pitch-black caverns, you will soon find that you can go one of two ways. Head to the left, into the chamber with the wall paintings of a giant worm-like creature. Examine the wall paintings to get some experience, then leave from the exit behind you and keep to the left. You will soon reach a ramp leading down into the ruins. Head down and turn left at the bottom of the ramp. This will place you into a smaller chamber with another of the worm paintings. Along the way, the ground will shake, and your squad will wonder at the cause of the tremors. No artillery could possibly shake the ground at such a depth. Of course, the krogans will radio you and inform you that the most likely cause of the tremors is the massive, worm-like Thresher Maw living beneath the surface of Tuchanka. The clamor of the Reaper invasion must have stirred it.
With this wonderful news in mind, examine the painting to hear some commentary from your squad. This particular Thresher Maw, it seems, is the largest of its species, having spawned all of the other Threshers who currently live under the surface of the planet. Leave the chamber and head left again. Head past another painting, examining it on the way, and head to the right. You will come across a dead Ravager lying in the path. Examine the corpse. Afterwards, leave the ruins via the stairs. You are finally back in the sunlight, but the battle for Tuchanka is just beginning.