Prototype 2 Walkthrough Part 1 – Meet Your Maker, Resurrection, The Strong Survive
Meet Your Maker
Start by following Alex Mercer forward, over the rubble. Drop down and continue on forward after Mercer. Keep going forward, even after the soldier is torn in half by the creature. Continue on around the next corner.
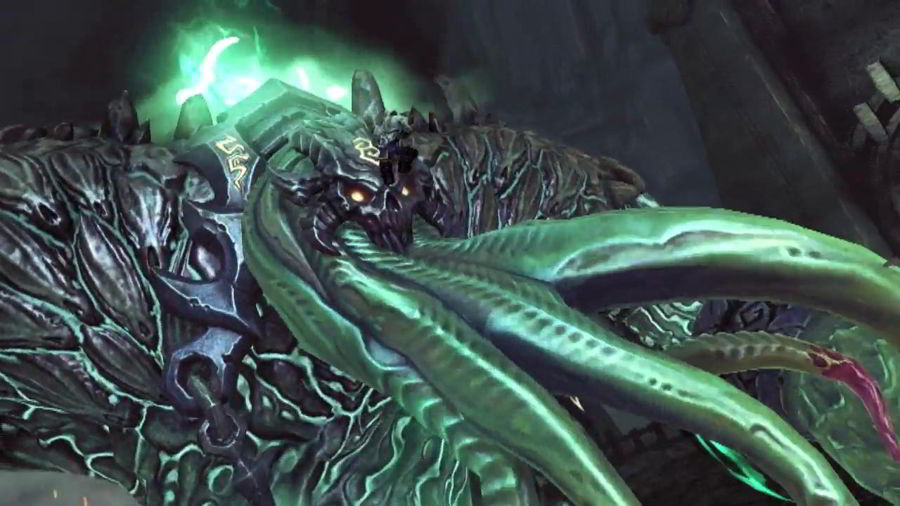
Here, a Blackwater Helicopter will appear and Mercer will drop kick his way into it. Unfortunately this means the Helicopter will come falling at Heller. Press forward and double tap “A”/“X” to dodge it. Just after that, Mercer makes a very brief appearance before a huge monster comes down. Time to learn how to run. Move away and pull down “RT”/ “R2” and just book it away from the creature to avoid dying. Heller will make it into a building where he is safe for a moment.
Enjoy the momentary respite. After that, a monster attacks Heller. Mash the attack button “X”/ “Square”. Just after that, Mercer makes a final appearance and infects Heller. Things get blurry for a while then come back into focus in a lab.
Resurrection
Gentek hass Heller. For now, it is time to learn about your new abilities and improved combat skills. Follow the attack prompts to press through the first group of zombies. After the first wave, 3 more waves are unleashed on Heller. A while, you are deemed incredibly dangerous and need to be burned. Just step into the flames, it is a little easier that way. Time to come back from the brink of death.
After a burst of flame, 2 guards will come into the chamber after Heller to ensure he is dead. Follow the prompts to hit, grab and consume the guard to restore some of your health. After that, start beating on the Infected and consuming them to restore it completely. Heller needs to be healthy as once he gets to full health, Riley turns up the heat again and roasts the room.
On the other side of the second burst, it is time to get out of there. Head to the center of the room and hit “B”/ “Circle” to grab the table. After that, aim and throw it at the control room with “LT” and “RT” (L2 and R2). A cutscene starts once you high jump through the opening into the control room.
The Strong Survive
With the stage set for Mercer and Heller, things jump forward a bit. After the cutscene, it is time to fight a small squad of soldiers. Start attacking, then Grab and Consume the Blackwater Commander. Sort through the new memories. Around all of this, the alert system of the game is explained. When Heller is violent, it can trigger the Alert status.
Immediately start running. Keep going until you break line of sight from the group that attacked you. Once achieved, follow the prompts to shift into the Soldier's form. If you want Heller to restore himself, first it is nessary to wait out the alert on the form.
Once you have shapeshifted, it is time to run up a building. Turn to the Northwest and find the marked Building. Heller needs to scale up it to get his bearings on where he is in the city. Make your way over there by any means needed but try to avoid triggering some alerts at least.
Once Heller makes it to the top of the building, he recognizes the neighorhood and wants to stop by his church. From the building you are on, Glide down to the Northeast (while airborne, pull “RT”/ “R2”). Approach the church to trigger a cutscene with Guerra explaining things.
Once Heller is outside again, Guerra is on the comm, explaining where to find 2 commanders. As Heller moves away from the church, the world will start to flash a bit. Start going to the North from the Church to approach your destination. Follow the Prompts on screen to learn about Air Dashing.
Once Heller arrives at the marked destination, he will unlock the Hunting ability. This ability marks the people you are actively seeking it. Time to Dash and Glide over to consume your target. Once Heller does and after he has experienced the memory, it is time to break out of alert. You can just take out the Gentek Soldiers to get out of this alert.
Once that is settled, hop off the building to the East, down into the parking lot below. Use your Hunting Sonar to track down the second commander. Use one wave, then it is time to get to Higher Ground, to the Southwest. Get there and send out another pulse. Follow the prompts to zero in on your second target. He is on the bridge to the East.
Head over there and follow the prompts to Dash, Jump and Glide over to him. Hone in the target and consume him. Be careful not to just kill the Commander with a gun or through melee. Once the target is consumed, dash and glide West to break line of sight and the alert.


 Minecraft Mod Examination: The Camping Mod
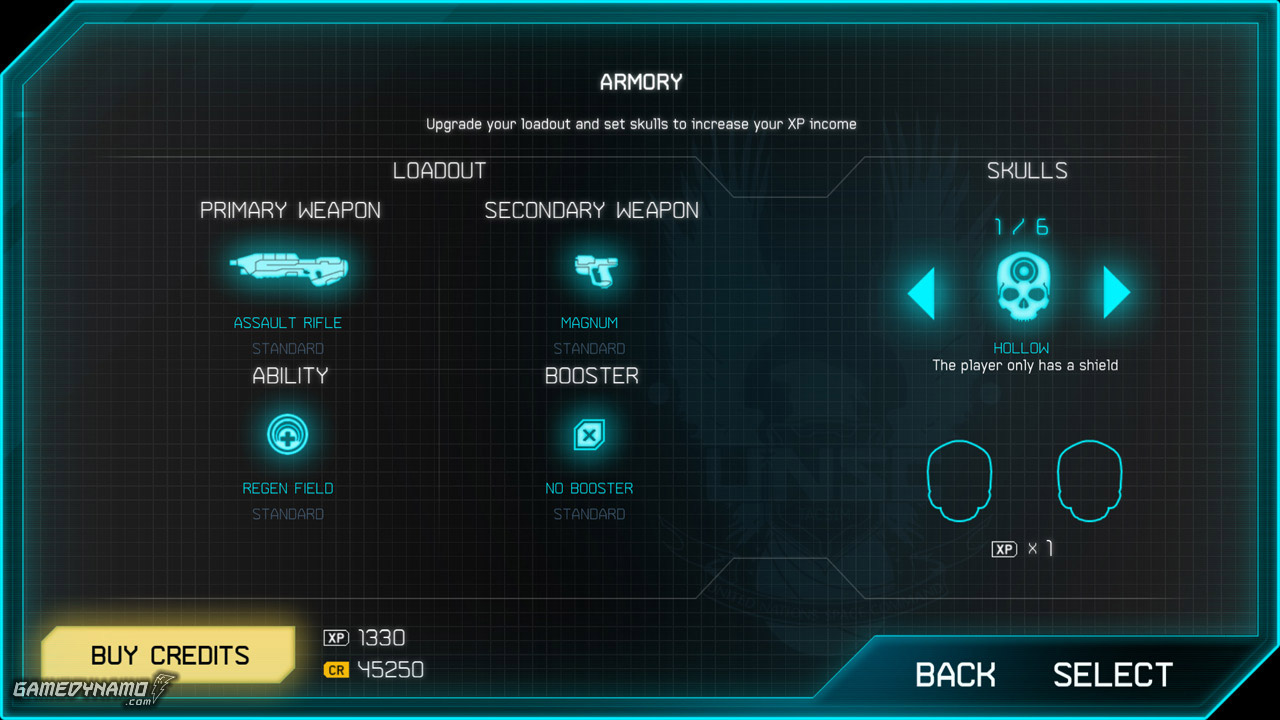 Halo: Spartan Assault - Gold Star Scores, Level Weapons and Skulls List
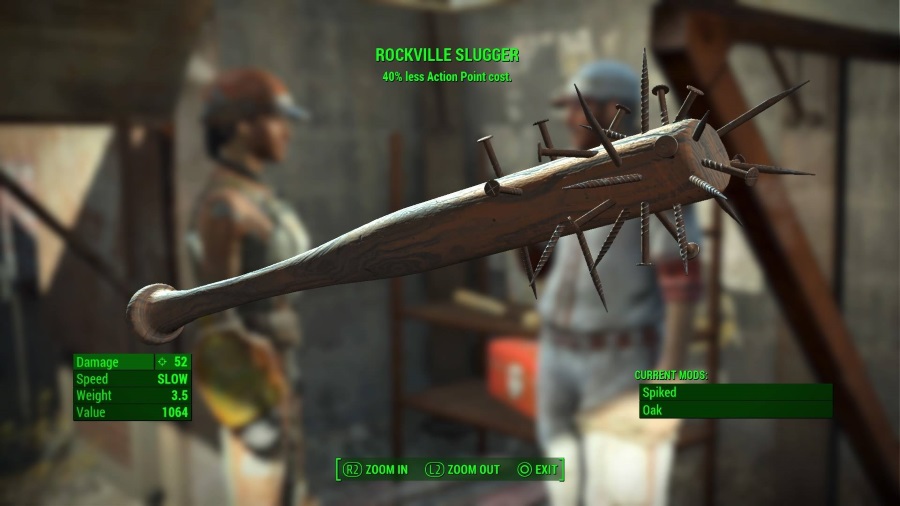 Fallout 4: where to find the most lethal weapons
 inFamous: Second Son – Chasing the Light, all photo locations
 10 FUN THINGS TO DO IN YANDERE SIMULATOR