Inversion Walkthrough Part 22 – Into the Depths, Part 2
At the other end, stand in the distortion you see nearby the barrels. This will recharge the Gravlink to half of its capacity, more than enough for some work. Fire a Low Gravity Burst at the barrels, grab one and throw it at the flashing wall to smash through it. Leo will point out there is nothing but fuel underneath. Pull out a gun and pop a round into it and the whole structure will collapse.
With the turret gone, you can head to where it was. Just go to the right and keep going that way. When you reach the Gravity Cells, there is a cutscene that runs. If you want to find a better Sniper Rifle, head over to the right from the gravity cells. You will find one sitting at the end of the platform.
Head over to the left and down the corridor there. Leo and Davis will find a wall they need to work together to scale. Davis will make it up but as he reaches down to pull up Leo the corridor will collapse around them. Leo has to find a different path to wherever they need to go. Just follow the corridor to its end to trigger another cutscene. Leo will approach the next section of platform and come face to face with a Behemoth … great.
Have Davis dash over to the turret in front of him and use it to immediately slice through the Behemoth. After that, focus on all the Lutadores that will be streaming in from the sides. Focus first on any that attack Leo. Be sure to also inflict a lot of damage to the area as well. After a few Lutadores, turn your attention to the scaffolding in the back right section of the platform. Next, get a few shots into the ladder more to the right of it. Follow that up with hitting all the cover that Leo will not be using (anything not close to you).
After taking all of them out, Leo will move to get the platform over to you. Turn your attention to protecting him immediately. A few Lutadores will climb up the fences nearby Leo while most will come from the ramp to the right of them or the nearby elevator. A few commanders will come from the far right-hand side of the area.
Once the platform makes it over to Davis, turn your attention to the one Leo is on, after you pull the lever. There are at least 4 Lutadore converts that will and attack Leo while he is lowering you down. Focus on them and it will be a cinch to reunite the pair.
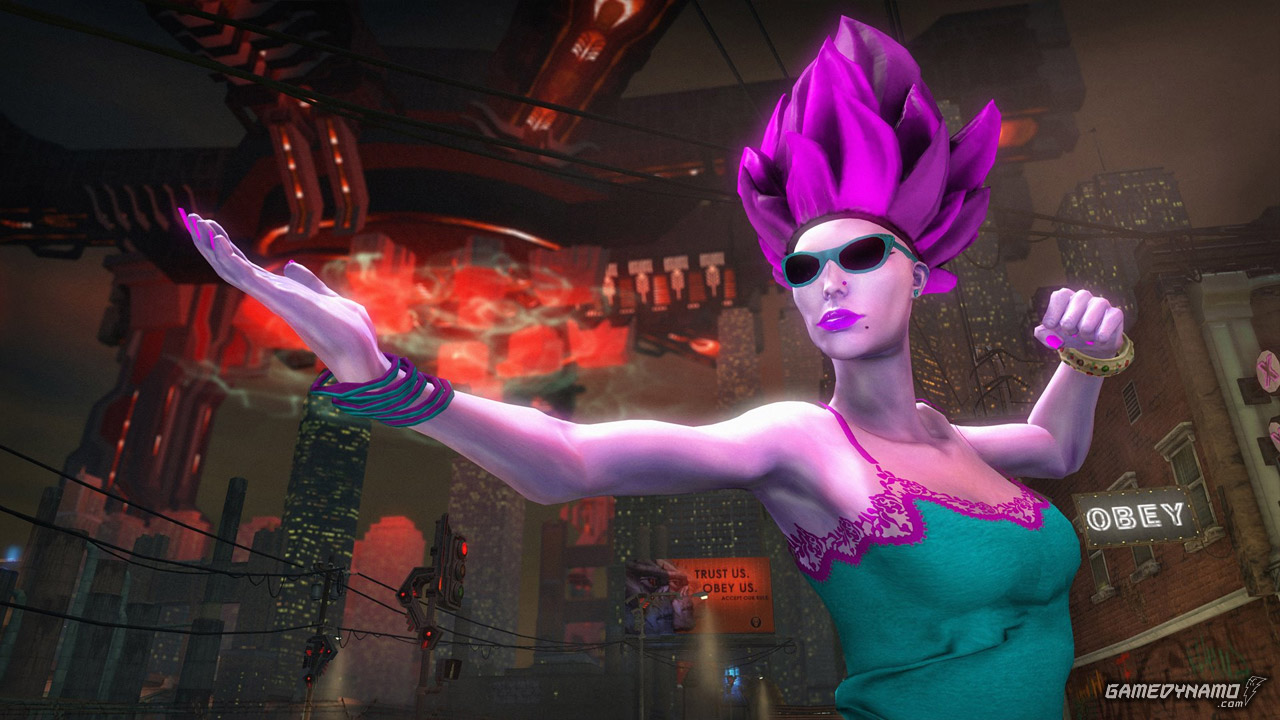
Slave Master
Apparently they are willing to send more than one of the Slave Masters at you. This time, they have suicide bombers to command as well. Look at the converts and immediately take out any with blinking lights on them. It will not end well for you if they get too close. After the initial pair, you can count on at least 1 bomber being in each subsequent wave. Just like last time, keep mobile and avoid getting stuck by the high gravity burst. They hurt you and it very easy for any Slaves to close the gap and kill you with just a few hits.
This time, the battle is different as you have High Gravity yourself. Use the armor when running around and you concerned for your health. After that, when the Slave Master drops his own shield, fire off a High Gravity burst at him.
Defeat the Slave Master then head straight into the Elevator.


 LEGO Marvel Super Heroes – Vehicles Guide
 What Were Playing January 22, 2012
 Online in Hardline: A week and change playing Battlefield
 How To Unlock The Broly And Bardock Saga In Dragon Ball Xenoverse
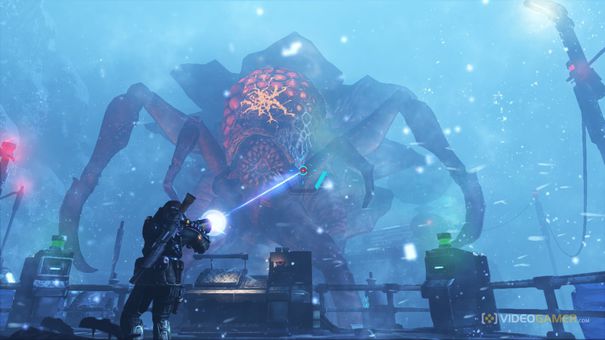 Lost Planet 3: A C