Inversion Walkthrough Part 34 – Reversion, Part 2
After Davis has made it to the end, quickly get onto the path that Kiltehr took below before another beam comes tearing through. Now just get to the bottom and grab onto the crate there. Now, continue forward in the Zero-G. You catch sight of Kiltehr and he has a number of Lutadores and a Securitybot turn their attention on you.
Favor the cover in the middle of the field as it does a better job of simply protecting you. Fire carefully and make good use of the debris that is floating around in this area. It will ensure that you can take down the Securitybot. You can still grab its drones and throw them at it.
Once it goes down, advance forward. There are more Lutadores waiting just around that next corner so restock on what ammo you can. Things are not going to get any easier honestly.
Around the next corner is another Securitybot. Focus first on grabbing its Flybots and throwing them at it. It reduces the overall number of things around that you need to worry about killing you. Keeping that to a minimum helps. It also has some Lutadore support so be ready for lots of fire coming at you. If this second Securitybot is posing a serious problem, then retreat back to where you just had your encounter with the Lutadore Force. This provides better cover and its missile barrage tends to hit a number more items on its way over to you.
After the Securitybot is finally down then continue on through. Just a few more platforms to kick off from and then the duo will close in on the room they figure Kiltehr has taken to hiding in.
He is in the engine room and has just created an Override Key for the system. Just what it relates to is unknown. Still, he is in control of the room. He expresses some regret that Leo and Davis have followed him this far but not too much. He does something and the central drive expands very rapidly.
Kiltehr
Kiltehr is not simple to take down. For once, the boss has 2 health bars. One is a shield And the other is his actual health. First, move forward to cover. This will stop him from gunning you down outright. The problem here is that he has an insanely powerful Gravlink and Energy weapon. He is fairly mobile as well.
For the first part of the fight, just focus on inflicting damage onto his shield. There is nothing else to do to Kiltehr for now. Keep plenty of cover between him and you as he can one-shot you with anything fired through his Gravlink.
The first time you manage to get the shield down by a quarter he will open up the engine and begin to recharge. This deploys a few Flybots as support for him while he is stationary and recharging. Listen to Leo and open fire on the core with your weapons. Grab any Flybots that cross your path and throw them into the core itself. It will pulse a few times and it is a lot safely to be farther away from it than it is to be close. As long as Kiltehr does not get a Full Recharge, which is easy to prevent, you are fine. Enough fire will stop the Recharge mode and press the fight forward.
After this bit, it continues much the same. He will start to use High and Low Gravity Burst on Leo and Davis. He will attempt to recharge twice more: the first time around two-thirds shield and just before the shield goes out. The biggest change is the second and third time feature a number more Flybots for you to throw at the core.
The best news is, the fight gets very easy now. Kiltehr was counting a lot on his shield to keep him alive. He will open fire recklessly on Leo and Davis. From your last position, just gun him down. He is not too tough.
The final cutscene runs and that is the end of the game. We learn a few things about what has happened. You have just beat “Inversion.” Be sure to wait around for the quick cutscene at the end of the credits as well.



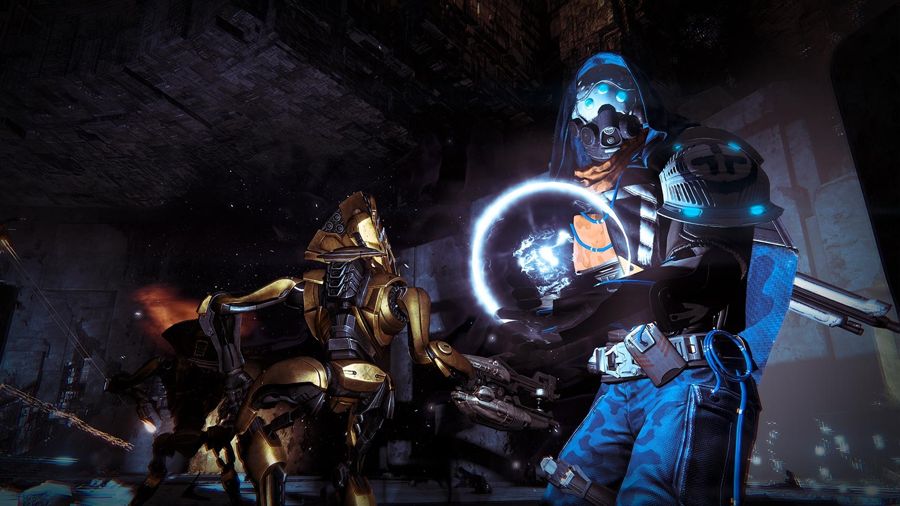 How To Unlock The New Subclass For The Hunter In Destiny: The Taken King
 Apple TV
 The Best Minecraft Skins
 Middle-earth Shadow Of Mordor Rune List
 A New Bar Is Set: Beer Pairing and Review for The Witcher 3: Wild Hunt