Tomb Raider Walkthrough Part 46 – Gone Missing (Shipwreck Beach: East to The Cliffside Bunker)
Tomb Raider Walkthrough Part 46 – Gone Missing (Shipwreck Beach: East to The Cliffside Bunker)
Starting over to the left-hand path climb up the planks, loot the body then move a little over to the left to find a Salvage Crate. Look out over the sea to the South to find the Final Mine in the Mine Sweeper Challenge. Shoot it to complete it. If you cannot get a clear shot from here head up to the next platform. This will ensure a clean shot. After that just work your way up to the top of the area. Once there just jump onto the Zipline and ride it across to the next part of the beach.
Take cover once you land so you can easily ambush the 2 Solarii who are talking. Take them out then turn to the North and jump to the ledge just across from you. There you will find the Eleventh GPS Cache of the area. Jump over to the Southeast and head into the pool of water. As you get to the end of it, passing the buoy, you will see the Twelfth GPS Cache. Grab it then kill off the 2 Solarii who appear. Now make your way back to where you landed. Jump up to where the first 2 Solarii were and head into the building with the markings on it. Pry your way in and look into the Relic Box that is on the desk through the first doorway (Shaped Jade headrest). After that go to the right and climb up the ladder to reach the next level. Go over to the left first to find a locker you can loot for some Salvage. After that turn to the right, jumping the gap, and climbing up the wall if needed.
Lara will duck into a passage and find a wall to scamper up on the other side. Head over to the right and blast down the barricaded doorway there to clear your exit for later. After that just go up the stairs some and into the next building on your path. Once inside, get the salvage then look on the desk to the left to find the Worn Wallet. Spin it around to get the additional information. Head around the room to find the XP Cache and then head go through the doorway to start toward the Tomb itself. Just get through the tunnel leading in and you can begin. Be sure to stop at the Camp if you need to upgrade anything or cash in on any skill points.
When you are done with the Flood Vault and back out on the ledge head over to the left and through the thin waterfall. On the far side of the bridge you, after the Waterfall turn to the right. Drop down to the ledge below and then jump for the post sticking out of the wall. Just after that you will find the final Cairn sitting only a little ways in from where you land. Head on back to where you came from and jump out onto the beam coming from the mast. Take it over to the platform where you will find a Post you can plant Rope on. Look across the way and you will find a craggy surface. Fire an arrow into it and make the Rope Bridge to cross.
On the far side of the Rope bridge go over to the left and into the shack that is standing there. Inside you will find the third Document (Hoshi: In Her Image). Head forward from here to get into the Cliffside Bunker and the next part of this mission.




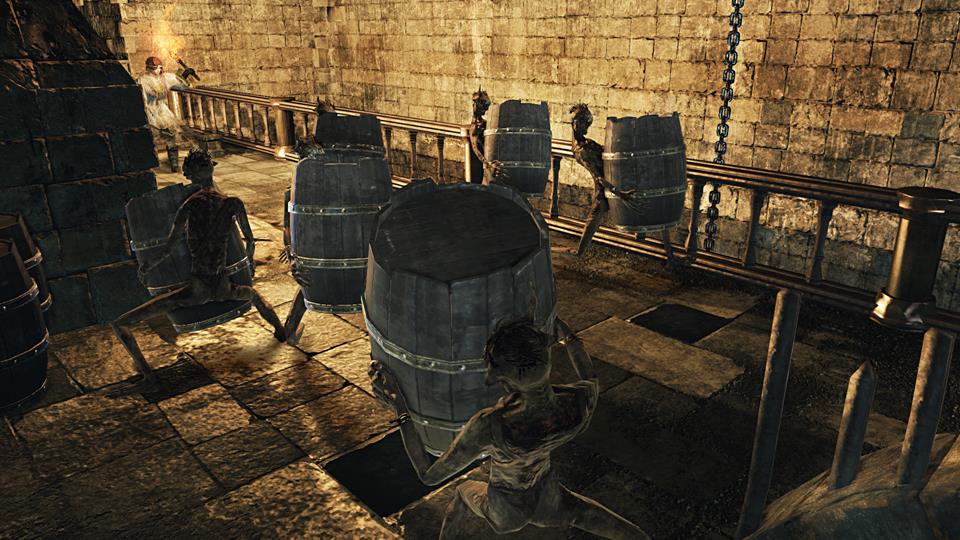 Dark Souls 2: Crown of the Old Iron King – Tower key secrets, Simpleton’s Ring, Flame Butterflies, Pilgrim’s Spontoon, Baneful Bird
 The Legend Of Zelda Skyward Sword Walkthrough Guide Collection
 . Plays July 26, 2013
 The Witcher 3: Funeral Pyres
 The expensive joy of PC gaming – The tale of my return, by Jamie Trinca, aged 30 and a bit