The hydralisk evolution mission is actually not relevant to the hydralisks in their default form- rather, it relates to their ability to transform into a new state. The initial section of the mission deals with the new potential form of hydralisk, the impaler. You will begin with a group of hydralisks with which you must attack the nearby impaler colonies left behind by the overmind. While this could be difficult, it is eased greatly by the slow attack rate of the impaler colonies and the fact that their attack targets a location, so that its travel time gives you plenty of space to move your hydralisks out of the way. Dance around the initial impaler colony in short hops and you should keep all your hydralisks. When Abathur informs you that you need more genetic data, move on to the pair of other impaler colonies- the same tactic applies here, but watch out for the staggered attacks- it’s easy to accidentally lose a hydralisk here to incaution. Once you have the necessary material, Abathur will alter the hydralisks, which you must then morph into impalers.
Moving the impalers north to the ridge over the Terran encampment, you will gain an additional pair of them from the spawn pods that destroy the rocks blocking off your target area. Plant the impalers on the ridge to have them destroy the forward camp. Once this is done, the rocks blocking the ramp to the Northeast will shatter, allowing you to move on. There is a second defense encampment before the Terran base, but both are simple to take out. Wait for the small wave of zerglings plus an overlord from the nearby Zerg base and use it as cover to move your impalers in, so they don’t get shot to death before they can burrow. Generally, it’s best to have them focus their attacks on a single target- when burrowed, they are indetectable and most units will flee when they are being attacked by something they can’t see, making your job a bit harder and longer if they aren’t killed before they move out of range.
For the second portion of the mission, move your free lurkers forwards carefully. Burrow each time Abathur tells you the feral zerg are attacking, and they will easily kill off the wild ones. Don’t worry so much about the enemy fleeing, as they will soon be instructed to move through the space your lurkers occupy, giving you plenty of chances to kill them off. Once you pass the second set of enemies, you will have reached the lurker den. Camp your lurkers in a ring around it close to its base and they will take out all or nearly all the enemies- occasionally a roach or two will flee, but that is easy to handle after both enemy waves are dead. The brood queen will arrive once the two waves are finished entirely, and Abathur will collect the extra data.
The choice between impalers and lurkers is fairly difficult, actually. Neither of them is affected by your choice of hydralisk modification, so you’re going to have to decide based on what they do. Impalers have slightly longer attack range and deal more than double damage to Armored targets, but their attack speed is noticeably slower and they only hit one target at a time. Lurkers have a faster attack that strikes everything in a line and deals not quite double damage to Light targets, but the range is shorter and they’re largely inefficient, if not ineffective, against Armored units- which is most of the heavy enemy units you’re going to see. If you intend to use your morphed hydralisks to defend your bases, then impalers are going to usually be your better option, acting as higher-mobility specialized anti-Armor sunken colonies. If you want your morphed hydralisks to protect your other field forces from mass assault, lurkers will provide you with a no-man’s-land that will keep them fairly safe.
As an added note, impalers tend to work better with swarm hosts.


 Civilization 5 hints and tips: combat strategy
 Destiny guide: Moon The Summoning Pits Strike guide
 Is Microsofts HoloLens another set of hollow promises?
 10 Tips to Rule Effectively in Tropico 4 - AlterGamer
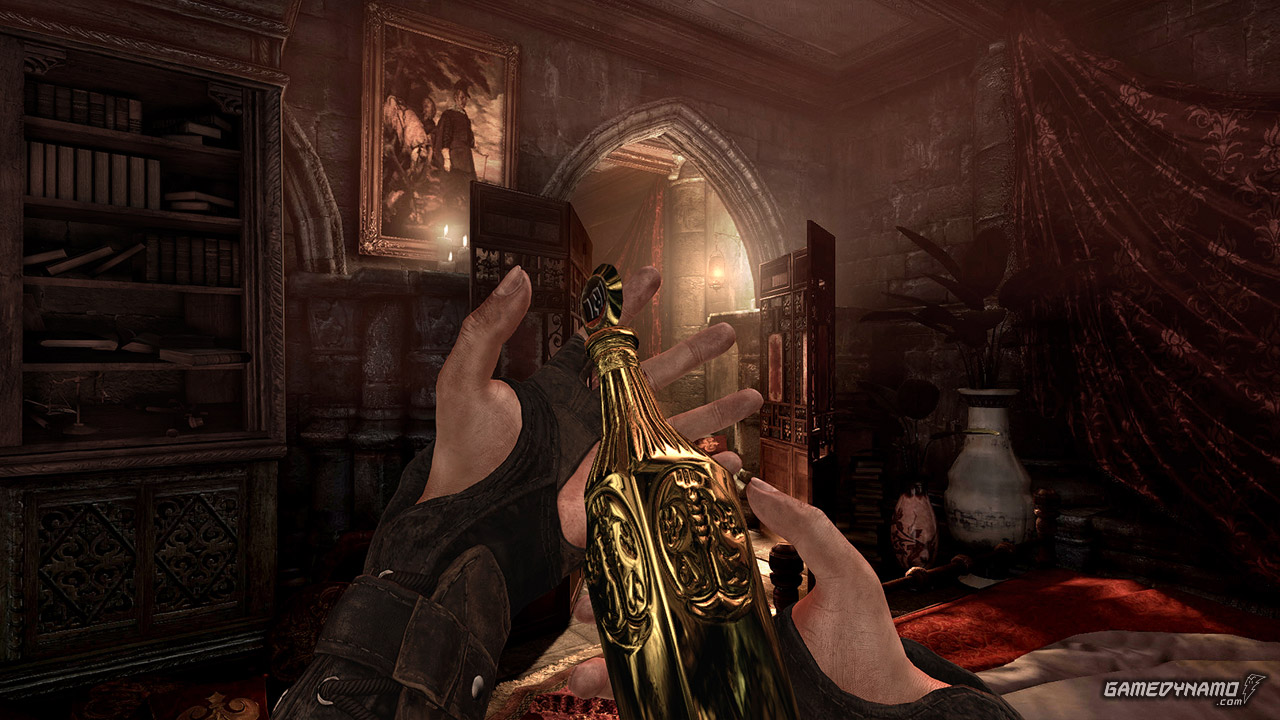 Thief – Unique Loot Guide