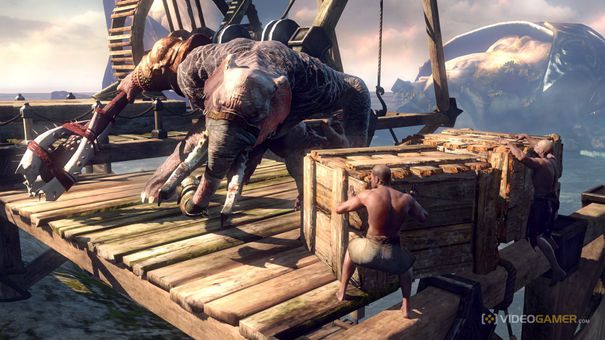
Dead Island: Riptide Walkthrough Part 29 – The Descent: The Tunnels (Entrance to Old Tunnels)
Head on down the stairs and through the door on the left. If you have the Liquid Fire Mod or any other Weapon Modification that uses fire, make one and pull it out here. This will ensure that you always have some light. There is going to be a lack of it in places. This means you can also use your flashlight or throw some flares. Still, there is not too much concern for the first part.
Start by going down the corridor to the dead end. Turn to the right and head on through the doorway. Go up the stairs and get to the landing above the water. Here you will find the controls for the lights. Hold the prompted button to attempt to power them up. They will run for a few moments then crap out. It is up to you to find the malfunction and deal with it.
Head on out of the control room and look to the right. You will see some pipes rising out of the water at an angle. Head for them and start climbing up them. At the top head through the door in front of you. On the other side you are in a corridor. Duck down to start through the slim passage in front of you. Your character will notice there are flares here (and a few other weapons) that they can grab. There are also Infected in the tunnel so there is even more to worry about. Just beyond there you will find an intersection with a few choices: forward, left or right
Head over to the left first. There are a few Walkers on the way for you to worry about but nothing overly challenging. The reason is down this passage you will find the Medieval Modification for your weaponry. After that return to the intersection.
This time you will want to go to the right. If you go forward it is simply the long way around to the far right-hand side with a lot more Zombies you would need to deal with. There is some good loot though so it is worth a thought. Regardless, head forward where you see the electrical cable sparking. In this room you will find that the fuse box is simply missing a fuse somehow. Head over to the right then go through the door on the left. If it was unlocked. Turn to the left and jump onto the low crates then onto the machinery and finally the platform. You can use that to get above the area you want to enter. From there, grab the few things you would want on this upper level then drop through the hole in the floor to get into the room you want to search. There is a Walker or two in the room so be sure to take them out before too long. After you get the fuse, which you almost immediately drop on, search around for supplies in the room you are in and in the smaller room to the left. Just duck through the opening and it will be long before you have a few more items to your name. Head back to the room with the fuse box and put the fuse in.
Time to go and investigate the one section that was ignored earlier. Head over to the right from the Fuse Box room and down the corridor. There are a few Walkers and an Infected so be on guard. Duck underneath the overhang and you will find a Thug waiting on the other side. You will also have a Walker to deal with. Kill them both then head to the right and over to the jammed door. You need to break on through it to get at what is on the other side. You have at least 4 Walkers waiting on the other side. Take them out. When you have, start searching around the 2 rooms. Head for the back room and go to the far left corner. There you will find the High Voltage Modification. Somewhere in this same room is another of Angela Guerra's recordings as well, but it can be hard to find.
Head for the marked door now. Just go over to the right from where you were and then break to the left. Go over to the door and open it. Head on down the ladder you find inside the room to continue.


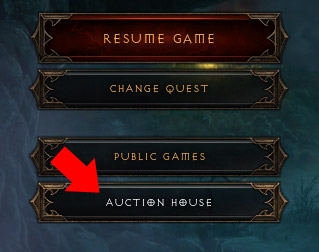 Diablo 3: How to Access the Auction House
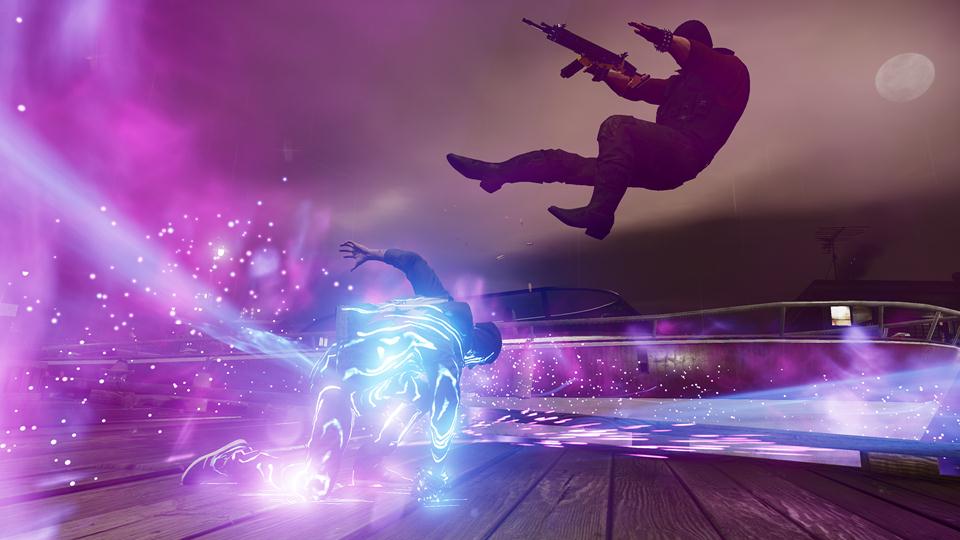 inFamous: Second Son – Catching Smoke, Sulfur Bomb, Cinder Missiles, Comet Drop
 Yo-Kai Watch Guide: Side Quest Guide
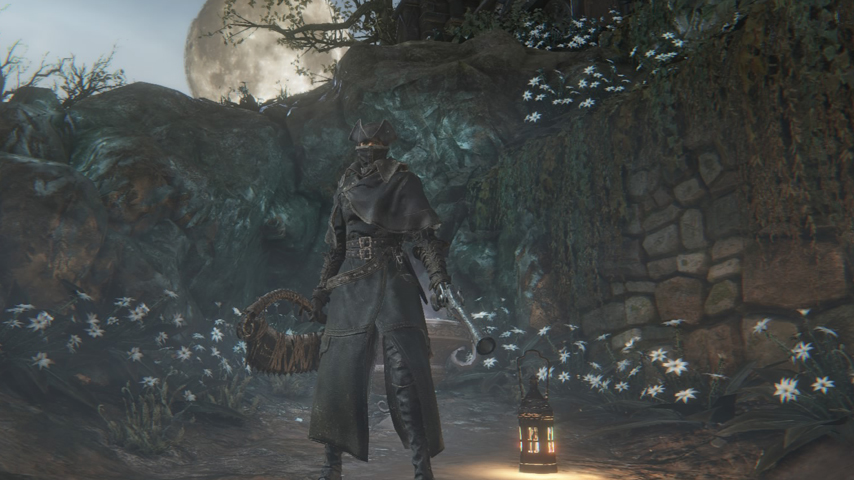 Bloodborne guide: how to level up your character
 You Can Unlock The Taken King Collector's Edition Emblem For Free Right Now