Heart of the Swarm Campaign- Skygeirr: Phantoms of the Void (Part 2)
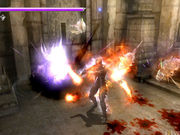
The Protoss forces near the first temple are fairly easy to take out, and once you do, you can move Alexei into place by the temple. While he is there and working to destroy the temple, he cannot be moved- but he can still use his abilities to support your troops. This becomes vital shortly, as Narud's Protoss release a Hybrid to attack him. Use his Corrosive Blast to weaken the thing so that your Zerg can kill it, and he will be done at the temple shortly afterwards.
Due south of the temple on a tiny peninsula, you can find a Xel'Naga crystal. Resembling a Protoss pylon, this stores some additional power for Narud and his troops, which you can take for Kerrigan by destroying the crystal. The crystal is thankfully lightly defended, and you're likely to only have to face zealots to take it out.
Due East of there, you can find the next Xel'Naga temple. This is defended with a similar force to the previous temple, so you should be able to roll in and take it out without any real difficulty. Again, a Protoss force will be launched against you (minor) and a Hybrid (major). These will also be followed by an additional attack group from this side, while another Protoss attack is mounted from the North side of the beam-contest area. By this point, though, you should have so much of an assault force put together that it's just going to be a matter of rolling from one location to another across the map while keeping your base carefully intact.
To the Northwest you can find a large Protoss base- if you have the time it can pay to take it out, as that will stem the incoming attack forces by reducing enemy resource intake and unit generation. It's a large and well-defended base, though, so don't get too concerned about it if you haven't got a lot of spare time or a very large assault group. Instead, head more of a due North direction to reach the nearest next temple, just below Narud's overlook. This one is protected by a pair of colossi as well as the guards you're likely used to facing by now, so make sure you've got enough heavy troops to handle the area attacks.


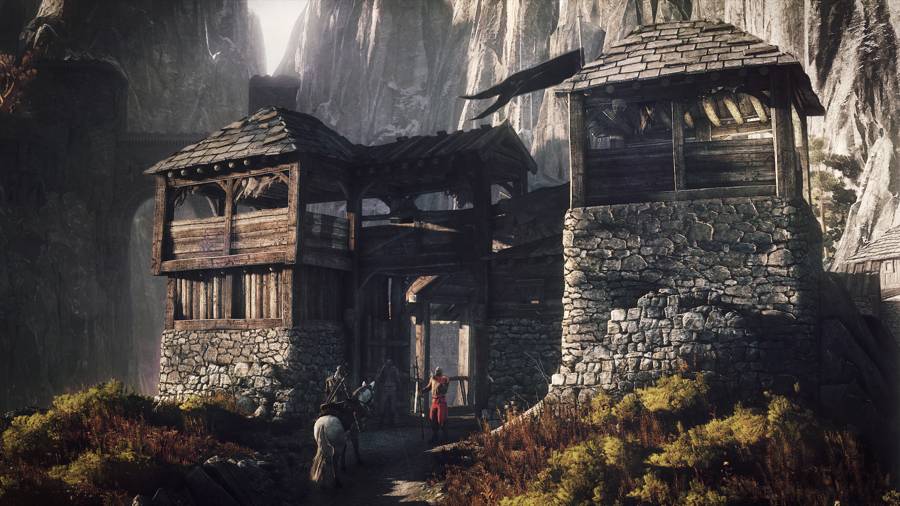 How To Fast Travel In The Witcher 3: Wild Hunt
 Minecraft Mod Examination: Natura
 Wargamings grand plans for the future of World of Tanks – and all eSports
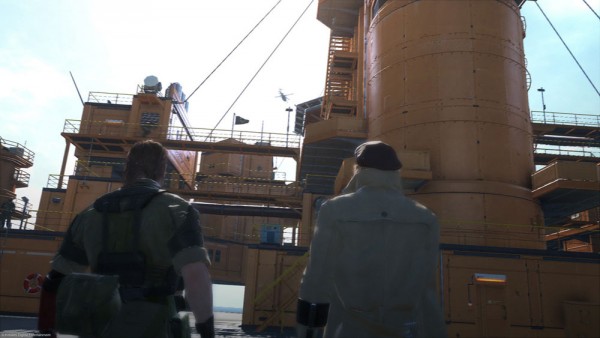 Metal Gear Solid 5: The Phantom Pain Episode 2 – [Flashback] Diamond Dogs
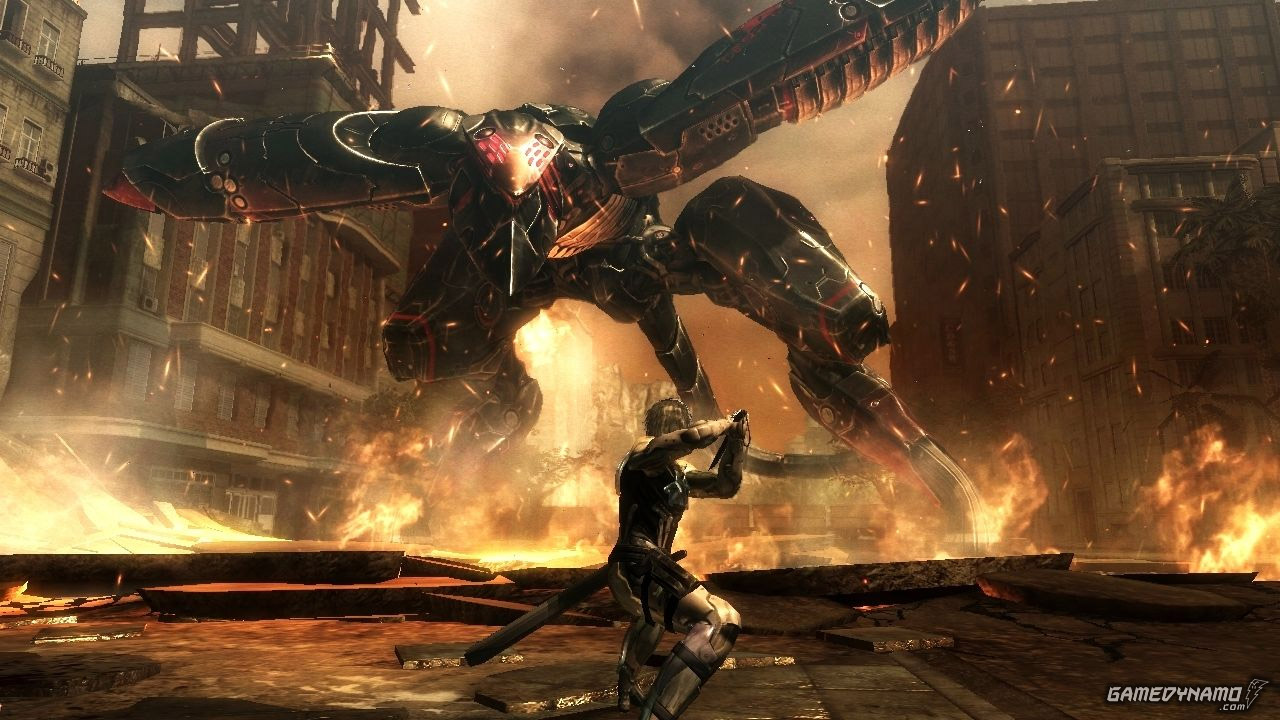 Metal Gear Solid Rising: Revengeance – Cheats, Secrets, and Unlockables