

Unlike most shooters, Rainbow Six: Siege, just like those in the series before it, relies on stringent tactics and team communication. Its “Team Death Match” isn’t a TDM mode in the traditional sense, instead pitting “Attackers” and “Defenders” against each other in a battle of strategy.
In most cases, yeah, you’ll win by eliminating the other team. However, often there are important objectives -- like a hostage -- that require elaborate planning before you go in guns blazing.
Siege’s competitive online component has three modes: Hostage, Secure Area, and Bomb. Here are some tips for each to help you snag victory.
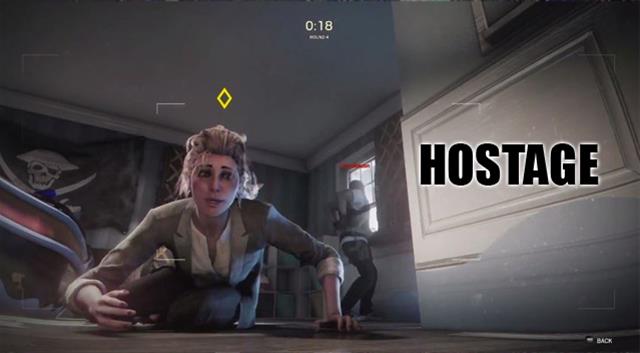
Objective
Attackers: The attacking team must locate and safely extract the hostage. Alternatively, they must eliminate the defending team. Attackers earn more points and XP by extracting the hostage. Attackers can win the match three ways: by failing to extract the hostage within the set time, by being eliminated by the defending team, or if the defending team accidentally kills the hostage.
Defenders: The defending team must protect the hostage and barricade the environment to stop the attackers from gaining access. Defenders will have a set period of time before the match starts to booby-trap and barricade the area. During this time, the attacking team will be able to investigate the area using remote drones on the ground, which defenders can track themselves and destroy. The defending team can win three ways: by keeping the hostage safe for the duration of the match, by eliminating the attacking team, or if the attacking team accidentally kills the hostage in crossfire.
Tips
Attackers
- First and foremost, it’s very important that you locate the hostage during the pre-match planning period. All team members should be scouting different areas of the map. Without a good understanding of the environment and where the hostage is, you risk going in blind and vulnerable to attack.
- Don’t storm the room where the hostage is being held. This all too often leads to the hostage being killed by crossfire. Don’t risk it. Also, it’s not necessary for any team member to come in with live grenades. You risk killing the hostage.
Ideal Team Structure
- Ash, FBI: Ash has a useful Breaching Rounds tool, which can blast through barricades and walls.
- Thatcher, SAS: Thatcher’s EMP grenade is great for disabling electronic booby traps set by the defenders. His stun grenade also comes in handy when infiltrating and extracting the hostage without having to exchange fire.
- Montagne, GIGN: Montagne packs a strong extendable shield. Although he won’t be able to hold a weapon, he can provide useful cover for teammates while moving into the area.
- Fuze, Spetznaz: Fuze’s cluster charge sends an explosive charge of grenades into the opposing room, which can confuse and disorientate the enemy.
- Twitch, GIGN: Twitch’s Shock Drone can be used to taser enemies that are hovering outside of the point of interest, allowing for quick and stealthy takedowns while they’re shocked.
Defenders
- You probably don't need more than two hostages in the room housing the hostage. During the planning stage, branch out a little and barricade other areas in an effort to trick the attackers.
- Use cameras frequently to track the locations of the attackers.
Ideal Team Structure
- Castle, FBI: Castle has a strong Armored Panel, which can withstand three direct attacks. It can only be placed in one location, with three deployable barricades at Castle's disposal.
- Mute, SAS: Mute's Signal Disruptor can be both a great deflector of electronic door breachers and drones as well as a great decoy to trick the enemy into thinking the hostage is closer than they actually are. Place the disruptor on walls and on barricades to protect the perimeter.
- Rook, GIGN: Rook's Armour Pack is a must-have for defenders who will undoubtedly attracted enemy fire at one point.
- Jager, GSG 9: Jager's Active Defense will protect the area from any grenades throw into the vicinity.
- Tachanka, Spetznaz: Tachanka's Mounted LMG is especially useful if your team chooses a set-up location without an entry point from the back. If you force the attackers to enter from a specific point, the LMG can stop them in their tracks pretty quickly.
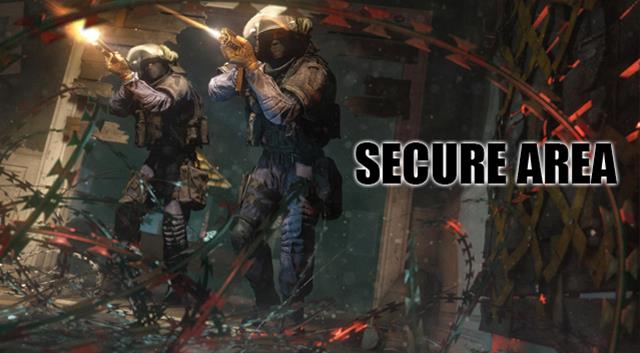
Objective
Attackers: Secure Area is a unique mode, as both teams play as the Attackers and Defenders. At the beginning on the match, Attackers must try to enter and secure an area housing a biohazard container. They can do this by either luring the defenders out of the area, or eliminating the team.
Defenders: Defenders must defend the prevent the attackers from entering the area. The timer will not reset so long as at least one defender is in the room.
Tips
Attackers
- Secure Area can be a brutal mode, because there's no objective to protect. Go in guns blazing and packing plenty of heat.
- Each member should have an explosive of some kind in their loadout.
- Pack a shotgun for close-range combat.
Ideal Team Structure
- Sledge, SAS: Sledge's Breaching Hammer can break through 20 wooden barricades quickly, so you can efficiently move through the rooms while making minimum noise in an effort to expose and surprise the enemy.
- Thermite, FBI: Thermite's exothermic charges are the most powerful explosives in the game. They can also break through Castle's armoured barricades with ease.
- Fuze, Spetsnaz: Fuze's Cluster Charge can confuse enemies and give you time to flank while the enemy tries to respond to the explosive attack.
- Montagne, GIGN: Montagne's Extendable Shield can cover teammates from the explosiveness of the battle.
- IQ, GSG 9: Any good defensive team will place explosives and other electronics, so IQ's Electronics Sensor is useful in this regard.
Defenders
- You want to always have at least two members in the room to ensure the Attackers can't easily start the countdown to win the match.
- Set up in corners with no entry point from behind. This will give you a vantage point over multiple angles.
Ideal Team Structure
- Pulse, FBI: Pulse's cardiac sensor can detect human heartbeat through walls, giving your team a heads-up on the locations of attackers.
- Smoke, SAS: Smoke's Remote Gas Grenade can stop an enemy in their tracks, releasing a deadly toxic gase that will kill anyone not wearing a gas mask
- Jager, GSG 9: Jager's active defence will protect your team from incoming explosive.
- Rook, GIGN: The armour pack is important for an explosive and combative mode like this.
- Tachanka, Spetznaz: The mounted LMG can protect the area from any oncoming enemy infiltration.
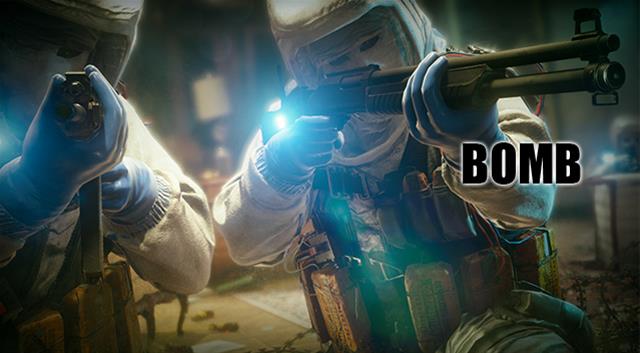
Objective
Attackers: Attackers must pick up the bomb defuser device, and disarm at least one of the two bombs located in the environment. They win by either disarming one of the bombs, or by eliminating the opposing team.
Defenders: Defenders select the locations of both bombs and must protect both from the attackers. If a defuser is placed on a bomb, the defending team will have a set number of time to deactivate the disarming before they lose the rounds.
Tips
Attackers
- The attackers can still win this round even if the whole team has been eliminated, pending any defuser is able to finish the job. It's important to place the defuser in an area that's hard to find, so that if you're in a situation where you can't protect it during the process, you still might snag the win.
Ideal Team Structure
- Sledge, SAS: Sledge's Breaching Hammer can break through 20 wooden barricades quickly, so you can efficiently move through the rooms while making minimum noise in an effort to expose and surprise the enemy.
- IQ, GSG 9: IQ's electronics detector can detect any electronic booby traps and devices planeted by the defenders.
- Thatcher, SAS: Thatcher's EMP grenade can disarm any electronics protecting the points of interest.
- Fuze, Spetsnaz: Fuze's cluster charge can make bursting into protected rooms a lot easier.
- Montagne, GIGN: The expendable shield can assist in slowly moving towards a bomb, or protecting someone planting the defuser.
Defenders
- Defenders can win the round by eliminating the attackers, so long as they haven't activated a defuser.
- Set the two bombs away from each other, preferably not in the same room.
- Booby-trap one room and set explosives around in, and protect the other bomb exclusively with team members. This might trick the attackers into going after the "easy", unmanned bomb, only to be met with a round of explosives.
Ideal Team Structure
- Bandit, GSG 9: Bandit's shock wire can electrify any metal objects, including barbed wire.
- Jager, GSG 9: Jager's active defense can protect defenders looking over the bomb.
- Tachanka, Spetznaz: A mounted LMG near a bomb will stop any incoming enemies from planting the defuser.
- Mute, SAS: Signal disruptors will make it harder for the enemy to collect intel and breach through walls.
- Rook, GIGN: The armour pack can assist in protecting defenders looking over the bomb.
Stay tuned for more Rainbow Six: Siege guides in the coming days.


 Torchlight 2: Cannoneer Engineer Build Guide
 Batman Arkham City Ra's Al Ghul Guide
 L.A. Noire Newspaper Locations
 Duke Nukem Forever: How To Kill Octaking
 The Cave Guide - The Island Guide - GamersHeroes