MMOHub’s Guide to the Godslayer, part 3
By Cody Hargreaves
Part Three: Patience and Discipline
And so it begins anew. That what I was thinking when I first defeated Po-Sha in the Kang Pagoda. If you haven’t yet defeated him, I urge you to do so at your earliest convenience, and to use our guide, found here, when you do. Po-Sha is the first boss encounter in Khitai, and in defeating him, I found that a familiar cycle had begun; that a new chapter was opened in my journey through Hyboria, and that many chapters lay ahead. I was eager to see those next chapters, as I’m sure you are too, so let get right to it.
MOUNT UP
But first, as promised last week, let take a brief look at the new mounts offered in Khitai, and how they are obtained. This isn’t so much a difficult task as it is one that will require a significant amount of patience, as all of the new mounts can only be obtained once you have reached rank 4 of their respective faction.
There are two new mounts in total; both are first obtained as cubs that must then be trained into either a mount, or an attacking companion. They are:
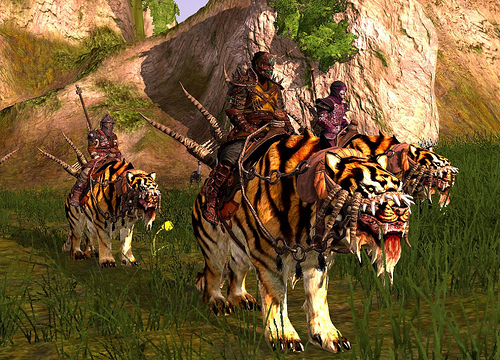
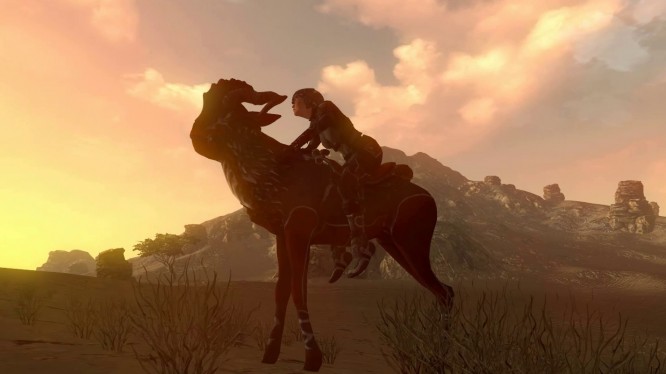
Tamarian Tiger: The Tamarian Tiger, seen above, is obtained by achieving rank 4 with the Tamarian Tigers and completing a series of quests. As a mount, the Tamarian Tiger can sprint short distances quickly, and stealth.
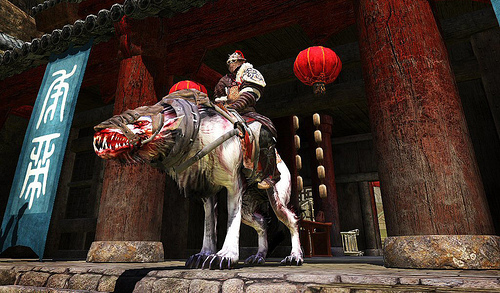
Wolf: The Wolf, seen below, is obtained by achieving rank 4 with the Wolves of the Steppes and completing a series of quests. As a mount, the Wolf can sprint long distances, reveal stealthed enemies, and dig up buried treasure.
In order to achieve rank 4 with your respective faction, you must raise your reputation with that faction by either killing members of an opposing faction, or by completing quests assigned to you by that faction. Should you choose to turn your cub into a mount, be warned that you must also purchase Advanced Riding Training (50g) and Eastern Riding Training (60g), and for the Tamarian Tiger specifically, a Riding Blanket (800 Acclaim Tokens and 30g). Also, a third mount is available, the Hyrkanian Horse, and can be obtained by reaching rank 4 with the Hyrkanian faction, which offers a horse mount with a much faster running speed than all other mounts, that can not be trained as a pet, and requires the same items to be purchased before it can be ridden. Now, on with the show.
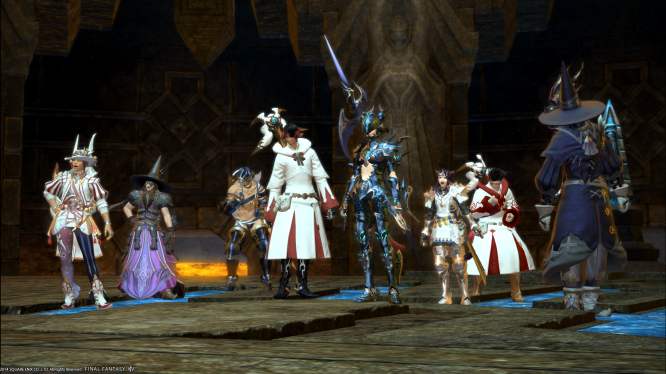
 THE WARMONK MONASTERY
Hidden deep within the mountains of the Northern Grasslands is the Warmonk Monastery, a three-part dungeon encounter, with three boss encounters, two of which we will cover here today. Be warned, these encounters are far more difficult, and require much more practice, training and in many cases, luck, than Po-Sha, and as always, these strategies are merely ones that my guild and I have found suit our style. Feel free to develop your own during your many attempts to topple these encounters. The monks of the Warmonk Monastery are not easily defeated.
Note: Be sure to have all particles turned on during these fights.
6-MAN DUNGEON — VORTEX OF THE STORM
BOSS ENCOUNTER: MONK OF AIR AND WATER
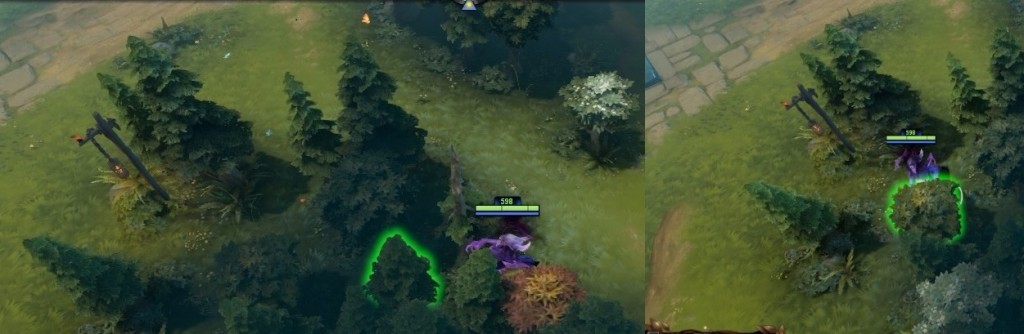
The Vortex of the Storm is a dungeon with only one hall, and too, only one enemy: the monk of Air and Water. Though do not be fooled, this enemy will take more than the right group to defeat. Of course, that not to say that the right group wouldn’t help your cause. It will, and it highly recommended that you have one. Two tanks. Two Healers. Two DPS. No exceptions, at least, for your first time. When you enter the hall of Air and Water, speak to the monk sitting in the middle of the room to begin the battle, and be sure that all members of your group are in the middle of the room with you. The entire battle will take place around a small pool of water that will grow larger as the battle continues, and any member that leaves the pool, or touches the water, will be killed almost immediately.
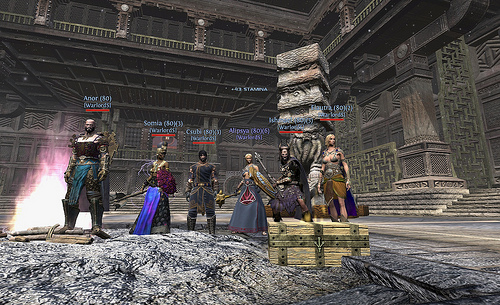
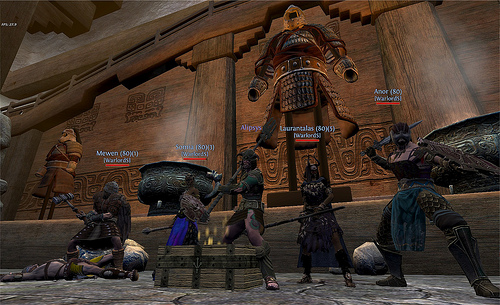 Note: Apologies for the terrible quality screenshots, and thanks to the WarlordS guild for posting them online. Resolution issues prevented me from obtaining my own.
If properly prepared, this fight is relatively easy; however, it does require that all members of your team know of the dangers and how to avoid them. To begin, have your main tank pull the boss to the centre of the room near the small pool where your remaining members are waiting. Allow him a few moments to gain aggro, then bring him down. Sounds simple, right? Well, there a little more to it than that. You see, throughout the fight, tornados will appear at random and circulate the pool. Black tornados will hurt you, a lot, and if you are hit by them too often, will likely cause your party to wipe. Blue tornados will teleport you to a ledge on the other side of the room, high above the battle, and alongside resetting your aggro, will force you to jump down into another pool of water and run back to the battle. Should you miss the pool, you die. Should you be the tank, and be teleported because you were hit by a tornado when you shouldn’t have been, your team will likely die, as the aggro will be transferred to your Healers or DPS, and they won’t survive the amazingly high hits this boss can dish out.
Fortunately, that about all there is to the Air and Water Monk. As mentioned earlier, the pool in the middle of the room, that you will be fighting around, will grow in size every time the Monk loses 10% of his health. This will make avoiding tornados incredibly difficult as the battle progresses, and will likely take several attempts to master. Stick in there though, as when the Monk reaches 10% health, he will vanish, and a chest with your well deserved rewards will appear on the far side of the room. Congratulations; you’re done. On to the Monk of Fire.
6-MAN DUNGEON — RELIQUARY OF FLAME
BOSS ENCOUNTER: MONK OF FIRE
Unlike the previous encounter, the Reliquary of Flame requires a small amount of work before the boss will appear. Like the previous encounter, ensure that you have the correct group makeup before you begin. Two tanks. Two Healers. Two DPS. When you enter, you will find yourself in a room with 2 doors, a balcony, and four bookshelves. To begin, situate your team on the balcony, then, have your tank attack one of the bookshelves, careful only to hit one of them at a time. This will summon two elite monks that you will need to kill in order to obtain the pieces of paper they drop, which, once you have collected six pages, you will use to light a fire in the main arena that will summon the Monk of Fire.
Once you have lit the fire in the centre of the room; prepare for battle. There are several steps involved in the battle, and one wrong move will likely cause it to end prematurely. First, have your team stand below the balcony, and kill the mobs that barge through the doors as quickly as possible. Several normal mobs will spawn first, followed by two elites, then the Monk of Fire. When he arrives, have the tank grab aggro and tank him on the pile of ash in the centre of the room with melee DPS in close, and Ranged DPS and Healers as far back as possible.
Now, listen closely. This part is important. The Monk of Fire will periodically place a debuff on two members in your group, which will turn them into what we like to call a ‘bomb’. Any players standing near a ‘bomb’ will quickly die. Therefore, it is imperative that your ranged DPS and Healers stand as far away from each other as possible, so as to avoid killing each other if they are turned into a bomb. Should your tanks or melee DPS be turned into a bomb, they must immediately run from the battle before killing the others.
At 75%, the Monk of Flame will become enraged, and light his fire at the centre of the room. At this point, your entire team must evacuate to one of the four pillars situated around the room, as shortly after he lights the fire, the floor of the room will explode killing anyone left standing on it. Once the floor has returned to normal, the Monk of Flame will go berserk, and will be protected from damage by a wreath of flame that will only disappear once the fire has been doused. To do this, your team must each run to the sandbags placed around the room, collect one, and run it back to the fire in the middle. Once the fire has been hit three times, it will go out, and the monk will re-engage the tank as normal. Rinse and repeat. Congratulations; you’re done.
NEXT WEEK(S) ON”
Having successfully defeated both the Monk of Air and Water, and the Monk of Flame, the way will now be open to Coppice of the Heart, the final encounter of the Warmonk Monastery. Next week (or better yet, in the next part), we’ll show you how to complete it. Stay tuned.
Copyright (c) 2010 – MMOGames.com


 Eorzean Evening Post: Play With Me... Please? .
 WoW Wednesday: Arthas Is Dead!? .
 Interview with Anook CEO and Founder David Hirtz .
 Beta Data: June 6, 2014 .
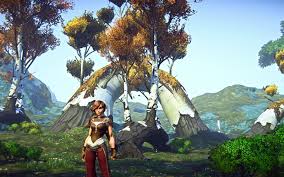 Airtime MMO Stream Schedule 12/8/14 – 12/14/14 .