Learning to play Eve Online (EVE) is widely considered to be one of the greatest challenges the gaming world has ever known. It’d be something like learning to use a computer for the first time, if that computer was designed to give access to an intergalactic network of more than 7500 solar systems, an economy and corporation exchange that rivals the complexity of our own, and around a hundred thousand veteran space pilots who, more or less, want nothing more than to kill you and steal your lootz.
Prefer watching to reading? Don’t worry, so do we. That’s why we created this handy video version. We’re cool like that.
You’ll need to learn to navigate a new operating system, pilot and fit a variety of different ships and equipment, plot a course spanning multiple solar systems, combat small pirate operations, complete missions for specific corporation agents and train hundreds of skills in the order that best suits your own personal goals. Oh, and you’ll have to set some personal goals.
It intimidating, to say the least, and that really only the first couple of hours. A sandbox MMORPG on its face, EVE is nothing like anything you’ve ever played before. It offers an unprecedented level of choice, and almost no sense of direction. You must forge your own path among the stars.
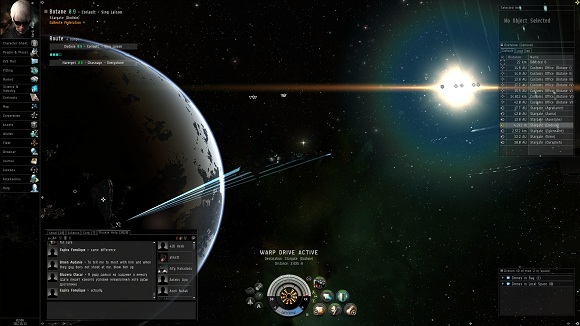 Eve Online – Fitting more shit into your HUD since ’03.
That where we come in, your friendly, intergalactic MMOGames Staff Writers. Over the coming months, we’re going to show you everything you’ll need to know to get started, get structured, and get on your own personal path to glory. From manufacturing to mining, piracy to planetary industry, we’ll have a guide that specifically designed to get the most out of your time in Eve Online.
Creating a Character
And it all begins with creating a character. The customisation options in EVE are as impressive as they are expansive, but you won’t need any help there; though, you may need help in selecting a federation. There are 4 playable federations in EVE – the Gallente, Caldari, Minmitar and Amaar – all boasting their own unique sense of style and combat proficiency.
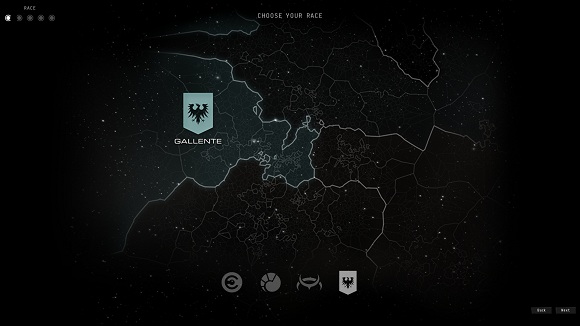 So many choices, so much time. And space. Lot’s of space. Spaaaaaace.
The key differences between these races, outside their lore and beliefs, are their choice of ships and weaponry and their federations location in space. However, as it possible to train in the use of any ships and weaponry you like, and less than difficult to navigate space, the impact this choice will have on your gameplay experience is limited at best. That said, here are some of the highlights of each of the federation ships, should you wish to be patriotic:
Amaar: Amaar ships use laser weaponry that boasts infinite ammo but drain your ship capacitor, and have considerably stronger armour than shields.
Caldari: Caldari ships begin with Hybrid Turrets, but quickly begin specialising in Missiles, Bombs and Rockets, with a strong focus on shield regeneration in lieu of armour.
Gallente: Gallente ships also begin with Hybrid Turrets, and tend to continue using them as their main focus is drones (small automated ships that fulfil a variety of roles). They use a combination of shields and armour for defence.
Minmitar: Minmitar ships use Projectile Weapons that are unique, in that they do not drain power from your ship when firing, offering many strategic advantages in combat. They have good armour and strong shields.
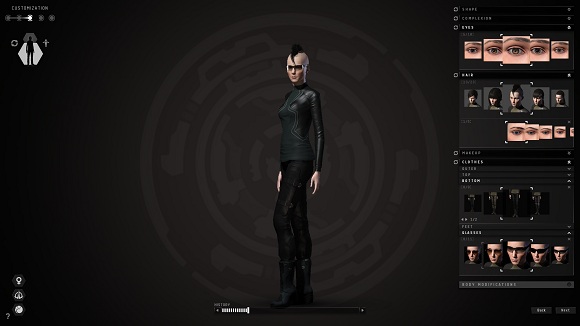 Mohawks are the new black. Incidentally, so is black.
After selecting your federation, you’ll be asked to select a bloodline. This decision also bears little impact on gameplay, outside determining the location at which you begin playing, and is best made with your own character style in mind.
Your Captain Quarters
After character creation you’ll begin playing EVE in your Captain Quarters where you’ll have your first chance to explore the various features offered in your lounge. These include:
Centre Display: The heart of the Eve Online Captain Quarters, this screen gives you access to the current events in New Eden; specifically, new players joining the game, players with high bounty warnings, new agent mission opportunities, ship information and even Incursion warnings.
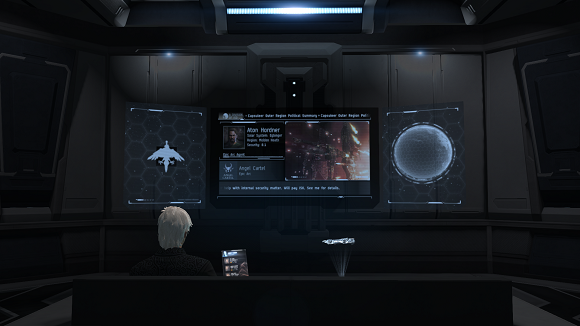 Apparently it’s possible to get YouTube on this thing. (No really, it is).
Corporation Display:
 This screen, found to the left of the Centre Display, will give you access to a list of recruiting corporations or information regarding your current corporation.
Planet Display: Located to the right of the Centre Display, this screen allows you to view all planets in the current solar system, and access a variety of information regarding harvestable resources available on these planets.
Agent Finder: Typically located in the ‘seating’ section of your captain Quarters, this device will allow you to view
all missions available to you, and can be filtered by corporation, faction, location and difficulty level.
Ship Display: Located both in the seating section and at the hanger access panel where your ship is stored, this panel allows you to enter your ship hanger, access your cargo hold, view and modify ship and drone fittings and view all other ships you have available, but not active.
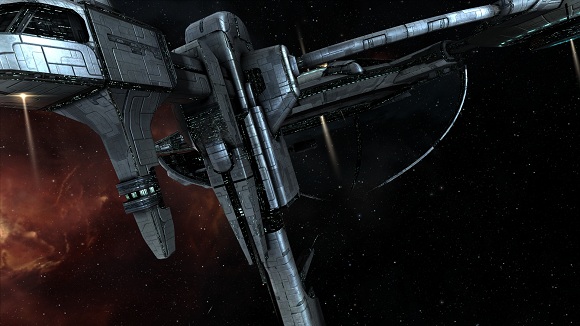 Your Captain’s Quarters from the outside. Not hugely relevant to this guide, but definitely awesome.
Mirror:
 Yes, your Captain Quarter also come with a mirror, which can be used to re-enter character customisation at any time.
Couch: For sitting and watching TV. Reacts similarly to the couch in your living room at home, assuming you have one. If you don’t, prepare for a a totally awesome experience.
These features make up the core of the Captain Quarters in EVE; however, as they can all be accessed via the HUD, it rare to find players who interact with them as you likely will during your first day. Additionally, it important to note that many of these features are considered advanced, especially at the beginning of the game. You won’t need to use them all immediately (in fact, many of you won’t need to use them at all – such is the beauty of EVE), but this list should help you find out what they do if you ever get curious. Or bored. Preferably both.
The Tutorial
Utilising a combination of text and voice, the Eve Online Tutorial will help you navigate some basic elements of the UI, and introduce you to some of the fundamental requirements of playing. That said, it barely scratches the surface of the complexity in EVE, and too, if you stop paying attention for even a moment, it can be difficult to figure out what you were supposed to be doing. Consider the following a quick-find guide to help you if you’re stuck; the actions you’ll need to take have been underlined for easier reading.
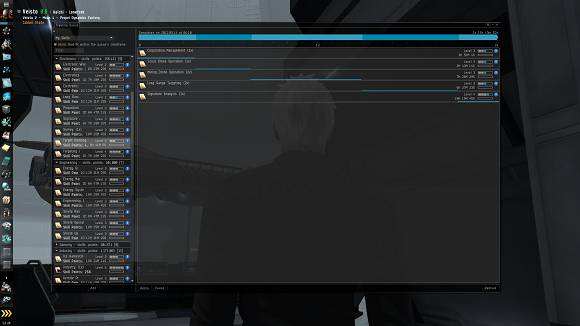 Little known fact: training every skill in Eve Online back-to-back would take approximately 28 years. Scared yet?
Skills:
 After learning to move your character, you’ll be introduced to skill training. Skills in EVE are trained in real time, and have a variety of different effects, such as unlocking previously inaccessible technology, or increasing your efficiency in using a specific ship or module. To train, you need to load a skill into your training queue, and wait until it finished. The tutorial will tell you as much. But there a little more to it than that, and the sooner you understand how this system works, the sooner you can manipulate it to your will.
The time it takes to train a skill is determined by two main factors; the skill training multiplier (e.g. x2), which simply adds that multiplier to the standard skill training time, and your attributes. We’ll go into more detail about attributes another day; all you really need to know now is that each attribute (Intelligence, Memory, Perception, Charisma and Willpower) governs a specific type of skill, and your affinity with that attribute will determine the time it takes to train skills governed by it. Oh, and there are 5 levels to each skill.
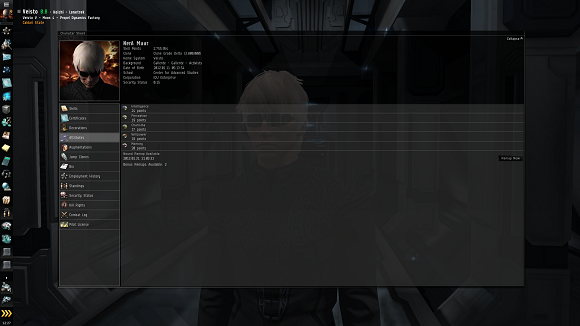 I’m only just now realising how useless this screen capture is.
So, if training Hull Upgrades to level 2 takes 12 minutes, but your attribute allocation lowers that to 8 minutes, and the x2 multiplier doubles that to 16 minutes, then training Hull Upgrades to from level 1 to 2 takes 16 minutes. Simple, right? Right.
Your First Ship: After learning how to load skills into your training queue, you’ll be asked to accept your first mission from an Agent. In this case, the Agent is Aura, the AI giving you the tutorial, but the process remains the same throughout the entire game.
Begin by accessing the ‘Agents’ tab on the left of the screen, double-clicking the Agent to begin a conversation, reading the mission details and clicking accept to begin. This particular mission will require that you undock from the station (which is achieved by clicking the icon in the lower left of the screen that looks like 3 yellow arrows), sending you floating out in a small pod into open space.
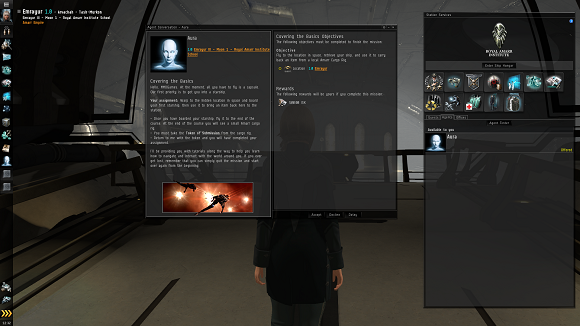 Hands up if you think Aura sounds hot. Keep ‘em up if you think she should read more of the mission text aloud.
From there, you’ll need to select a destination and activate your warp drive. There are multiple ways to achieve this, but the easiest method is to simply [right-click] anywhere in space, bringing up the contextual menu, and select your destination from the ‘Agent Missions’ section. Then simply select ‘Warp to Destination’ and enjoy the flight.
Once you’ve arrived you’ll need to activate a nearby acceleration gate by selecting it (either in the overview pane, or simply by selecting it on-screen in space). Then, you’ll need to board your ship in space. This is achieved by simply [right-clicking] the ship, selecting board, and then returning to the station to dock by using the contextual menu as before.
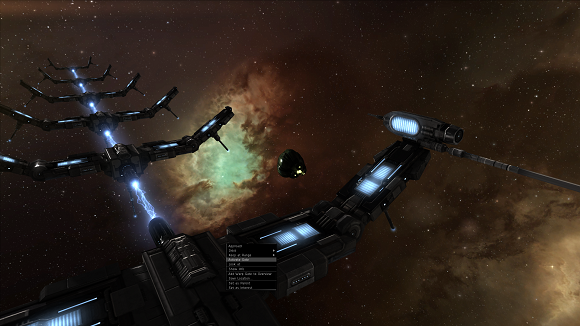 Right-Click, Activate Gate. SWOOOOOOSH.
Fitting Your Ship:
Your next mission will ask that you fly out to another location in space to destroy a fuel depot, and collect an item from a floating cargo hold. This mission is crucial, as it first teaches you how to fit a ship with modules, and then how to loot items in space, which are both frequent elements of EVE.
Fitting a ship is as simple as opening your fittings window [Ctrl-F] and dragging the module from your item bay to the fitting interface. This mission will give you a weapon turret and shield module; the weapon will allow you to attack other ships, and the Shield Booster I will help you to recover your shields.
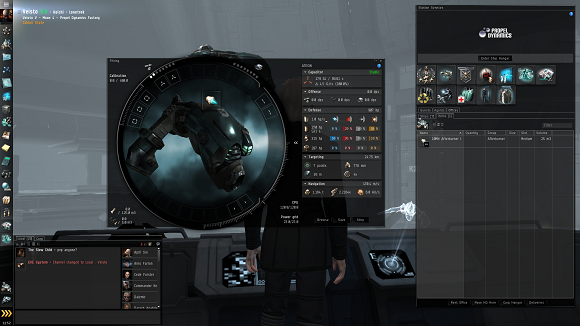 Drag. Drop. Enjoy. Life’s easier with CCP behind the wheel.
You won’t need to worry about balancing your capacitor, power grid or CPU requirements right now, but this is a great opportunity to take a look at how different modules increase and decrease different aspects of your ship.
Combat and Cargo:
With your ship ready, undock from the station, set your destination and warp to location, just as you did before. When you arrive at your destination, activate the acceleration gate, and follow the on-screen instructions, which will teach you how to lock to a target, and activate your weapons.
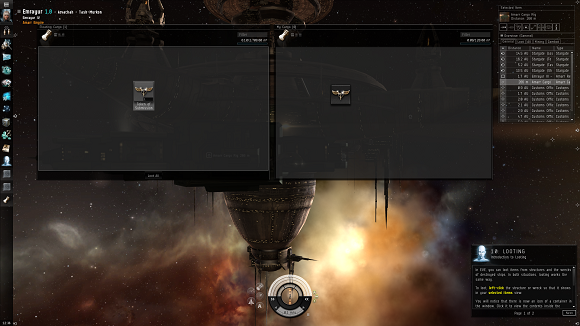 Notice the small set of buttons at the bottom centre of the screen. Open your cargo here; thank me later.
Next, you’ll be asked to loot a nearby cargo container. As with most of the in-space interaction in EVE, this can be achieved by selecting the container from the overview panel, [right-clicking] and selecting open cargo. Now for the tricky part: you also need to open your ship cargo [Ctrl-C], and then drag the item from the container to your ship. It simple enough, but again, if you don’t know what you’re doing, it easy to get lost.
Activating Jump Gates:
The next mission covers the final element of the EVE Basics; activating a jump gate and travelling to another solar system. You’ll be asked to jump through multiple systems, collect an item, and bring it back home. There are a few ways to easily achieve this goal, but the simplest method is to set your destination via the mission information panel.
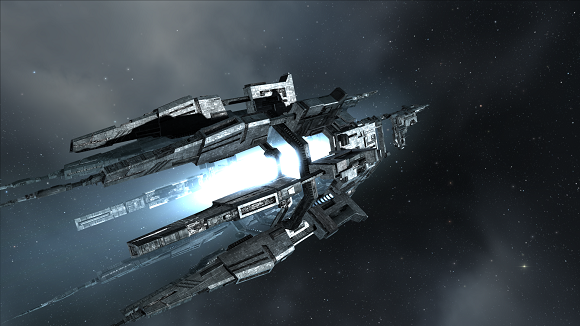 Stargates – AKA Intergalactic Slingshots.
To do this, simply [right-click] the highlighted text (look for ‘Pick-Up’ in the mission information panel) and select set destination. In the top left corner of your screen, you’ll now be able to see a waypoint navigation area, that will display your current location, your destination, and all of the solar systems you’ll need to jump through to get there.
Now, undock from the station and look at your overview pane. You’ll notice that one of the icons is yellow, indicating that this is the path to your selected destination; [right-click] it, and select jump. Rinse and repeat until you reach your destination, then come on home to complete the tutorial.
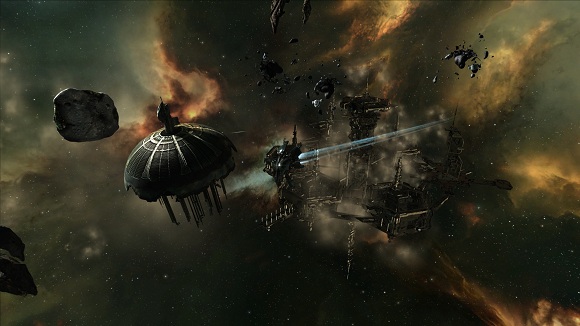 I’ve included this one because it’s rad. Questions?
Welcome to EVE
The final tutorial mission will direct you to a new station, and as it unlikely that you’ll ever need to return, it a good idea to take everything with you when you leave. Here, you’ll be introduced to 5 new Agents, each with their own set of missions that cover a different element of gameplay in EVE.
Click here to read part 2 – Career Agents
Click here to read part 3 – Choosing a Focus



 Eve Online – Fitting more shit into your HUD since ’03.

 Mohawks are the new black. Incidentally, so is black.

 Your Captain’s Quarters from the outside. Not hugely relevant to this guide, but definitely awesome.
 Little known fact: training every skill in Eve Online back-to-back would take approximately 28 years. Scared yet?
 I’m only just now realising how useless this screen capture is.
 Hands up if you think Aura sounds hot. Keep ‘em up if you think she should read more of the mission text aloud.
 Right-Click, Activate Gate. SWOOOOOOSH.
 Drag. Drop. Enjoy. Life’s easier with CCP behind the wheel.

 Stargates – AKA Intergalactic Slingshots.
 I’ve included this one because it’s rad. Questions?


 Throwback Tuesday: Oldest World of Warcraft Screenshots .
 Eorzean Evening Post: Am I Really That Grumpy? .
 Plants vs. Zombies 2: A Tip for Level 14 in Frostbite Caves
 World of Warships: More Than Just a Game .
 Plants vs. Zombies 2: How to Defeat Weasel Hoarders