

The Ascalonian Catacombs is the first dungeon encounter in Guild Wars 2, with Story Mode available at level 30, and Explorable Mode at level 35. Though it is the first, it is often considered to be more difficult than others, and shouldn’t be taken lightly.
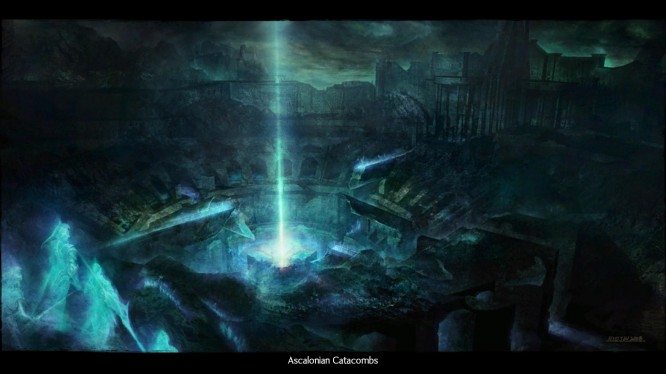
The Story Mode for the Ascalonian Catacombs is a great introduction to Guild Wars 2 Dungeon play, offering a wide variety of challenging boss encounters amidst a spattering of tricks, traps and often difficult trash encounters.
In order to move forward through the locked door ahead, you’ll need to open the door.This is achieved by opening the coffins around the room, one-by-one, and defeating the enemies that spawn from them until the Gate Guardian Napa appears.
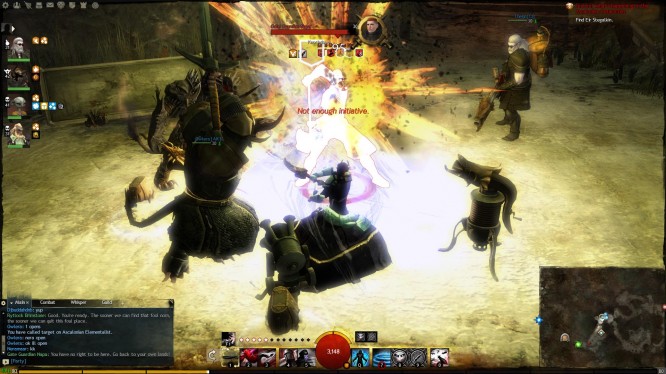
Napa is a Champion Spawn that should initiate your group for many of the encounters ahead; chiefly, teaching you the importance of avoiding damage from special attacks, watching to learn when those attacks occur, and generally tanking and spanking until the end. Killing Napa will complete the event and open the door.
Throughout Ascalonian Catacombs you’ll be required to combat regular groups of ‘trash mobs’, which in this case, take the form of ghosts representing some of the character classes in the game, such as the Elementalist, Necromancer, Ranger and Warrior.
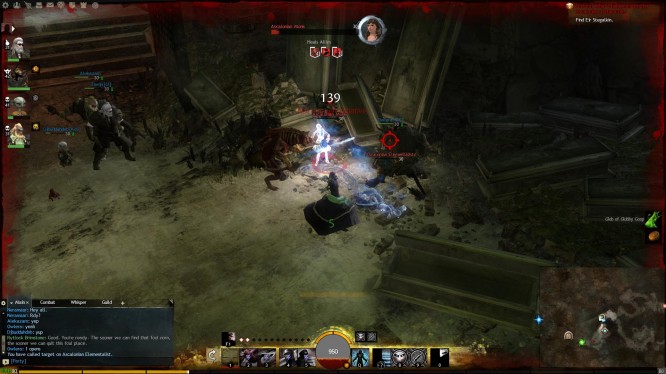
These should be targeted and focused down, preferably in an order that ensures that the ranged casters, such as the Elementalist and Necromancer, as they deal significant DPS.
This room, easily identified by the red circles littering the floor, is treacherous. These red circles will kill any player that touches them, as they trigger spike traps.
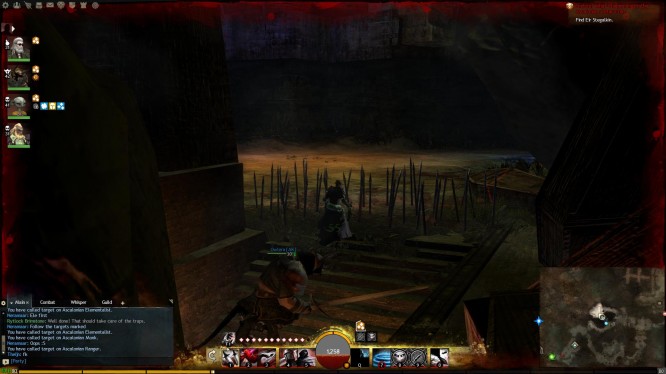
Once you group has made it inside the room, a Champion Ascalonian Captain will spawn. She can be easily defeated with typical DPS play; though, the nearby boulders can be used to interrupt her attacks and knock her down if required.
The following room, accessed by going back after defeating the Ascalonian Captain and going through the previously closed gate, is filled with Flame Gargoyles adorning the walls.
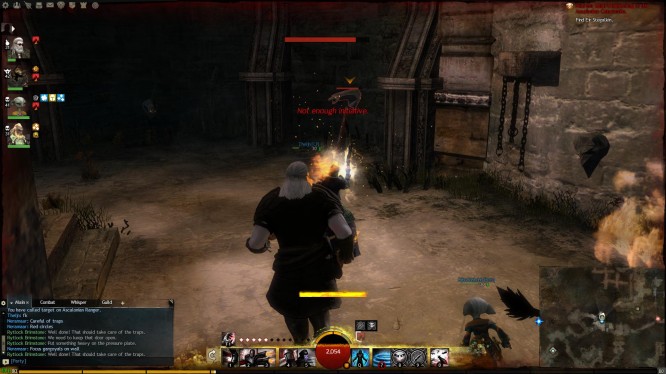
They shoot fireballs that cause knockback, and must be dealt with using ranged DPS immediately. They will appear again throughout the dungeon, and should always be identified, targeted and focused down immediately.
These spawn seemingly at random throughout the dungeon and can be easily defeated by focusing down the burrow quickly to prevent the spawning of additional gravelings.
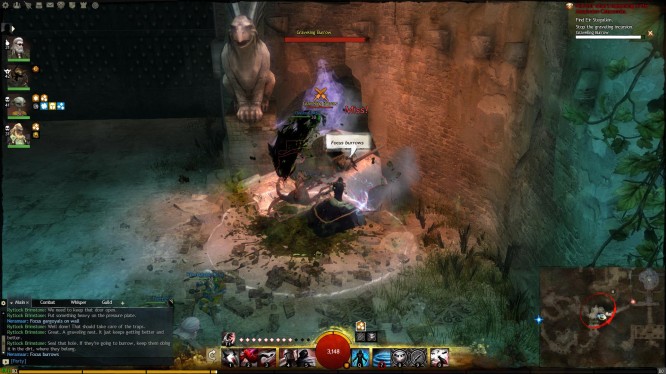
This fight begins with 6 or so non-elite trash spawns, and several more will emerge throughout the fight. They can be easily killed, and should be eliminated immediately.
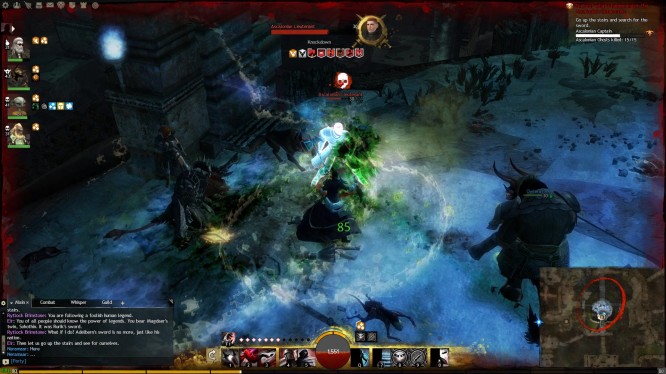
The Lieutenant himself shouldn’t pose much of an issue; he has several high DPS attacks that are easily avoided.
The first serious boss encounter in AC, Master Nente is a Ranger that summons wolfs to his side, and teleports around the arena during the fight. Begin by clearing the room of any trash spawns, then engage him accordingly.
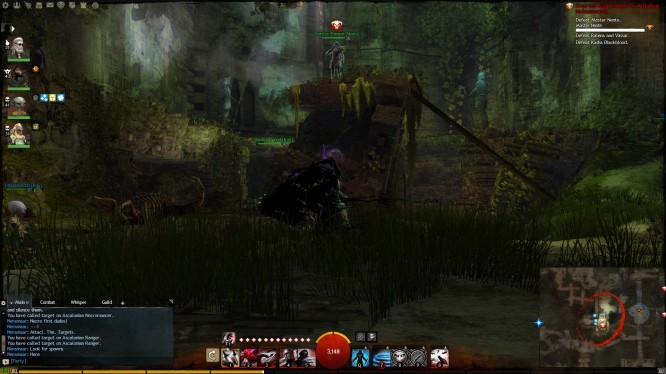
Be sure to focus down the wolf adds as they spawn to keep the overall DPS low on your group, and be careful of the confusion he applied when CCed, as this can quickly lead to death.
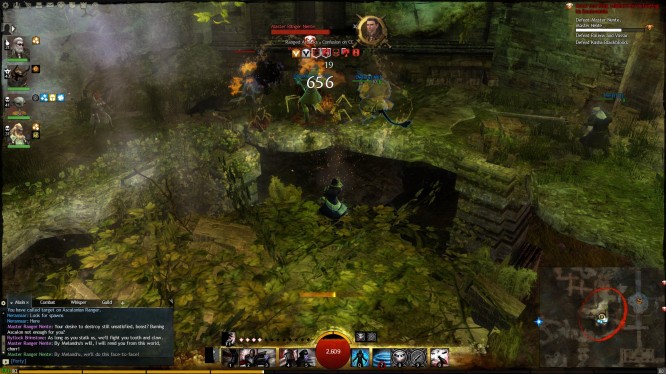
While there’s no real danger for melee in this fight, ranged is preferred due to the terrain. That said, feel free to switch when the moment suits for an easy, hassle-free fight.
The Lovers are a dual boss fight, one of the only in Guild Wars 2, that can be difficult to defeat for an underprepared group. They are most easily defeated by adhering to 2 important rules: first, you must keep them apart at all times, as they will heal each other when close together, and second, use boulders to knock them down, interrupt their attacks, and most importantly, to move them apart from each other.
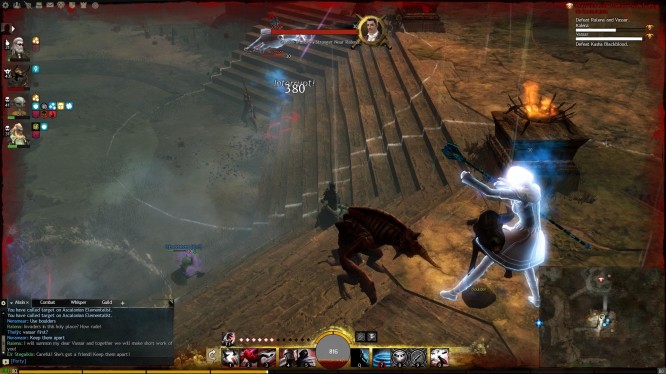
Generally, we’ve found it easier to focus on Vassar first, with 1 or 2 group members keeping Relana busy until he’s defeated, and then simply killing her afterward. It’s important to note that AoE attacks are frequent during this fight, so ranged DPS is recommended. This fight can be tough, but it’s easily manageable with good coordination.
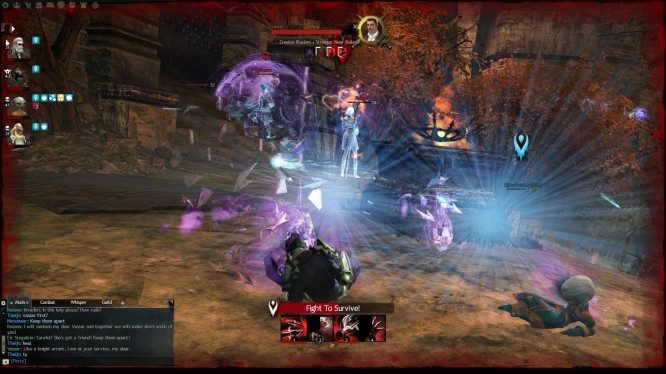
Kasha is a Necromancer, and should be treated as such. Which is to say, avoid her damage dealing attacks and kill her fast. She summons minions that should be focused and killed immediately, and creates poison circles on the floor that will kill you quickly if you don’t move.
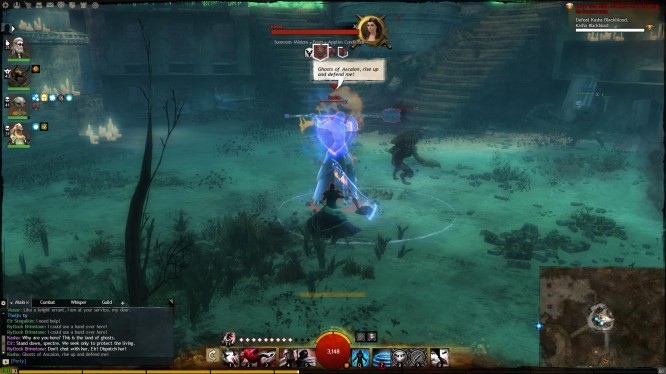
Cleanse conditions where possible and keep a steady stream of DPS on her to end this fight quickly.
The final boss encounter in AC, Adelbern is underwhelming in difficulty, providing a fairly basic Tank and Spank scenario. Of note, he summon Foefire circles on the floor that will kill you almost immediately, and regularly sucks your entire group to him, followed by a spree of deadly melee attacks. Evade backwards to avoid taking damage.
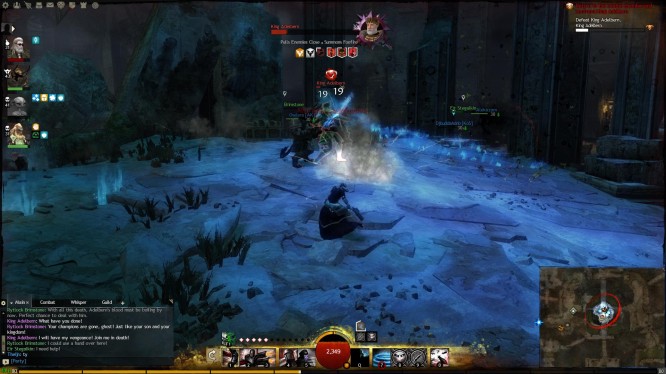
He is best fought using ranged DPS weapons, moving constantly and keeping a close eye on the floor for foefire.
Unlike most other dungeon paths, those offered in the Ascalonian Catacombs are not so varied in their design, and with the exception of some events and boss encounters, are mostly very similar. Throughout the following three paths there are Bonus Events that may spawn; the Spider Queen and Cave Troll. Both can be easily defeated by simply evading their most powerful attacks.
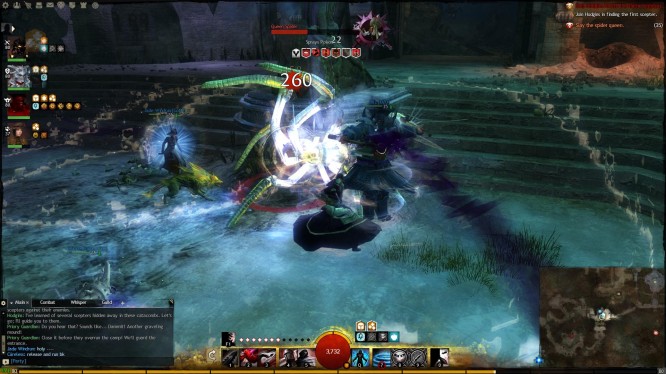
Each of the paths that follow begin the same, and have the chance to spawn these Bonus Events. They’re also all filled with deadly fire and spike traps that should always be avoided, and Flame Gargoyle’s hanging from the walls that should be targeted and killed first in all encounters. In all paths, you’ll also be required to fight Lieutenant Knoler.
A static encounter that appears in all 3 explorable paths after making your path selection, Lieutenant Knoler is located in Foefire’s Heart, blocking access to various areas of the dungeon.
Always spawning with 2 accompanying, random ghosts that should be targeted and killed immediately, Lieutenant Knoler can be a severely challenging encounter for the unprepared.
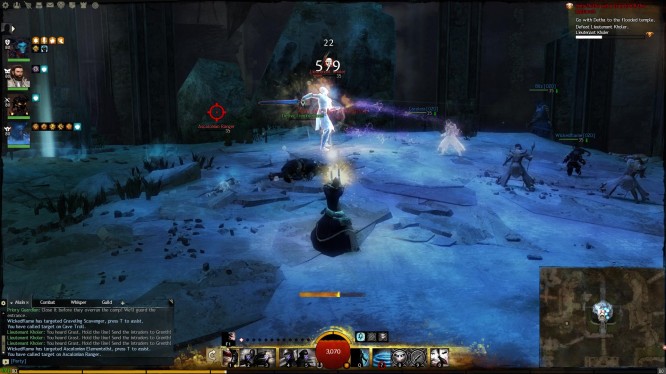
He will continuously bounce around your group attacking those he feels are a worthy target; though, the you should always keep your eye on him so as to watch for his slow, charge-up animation signalled by a green hue: after this animation, he will send our barbed roped to all party members, pulling them in close, immediately followed by a devastating spin attack that will kill all members caught in its wake.
Watching for this animation, and subsequently dodging the barbed rope attack that follows, is the key to victory in this encounter. Failure to dodge effectively will result in death, and generally, unhappy group members.
Each of the paths that follow have unique events, as listed below:
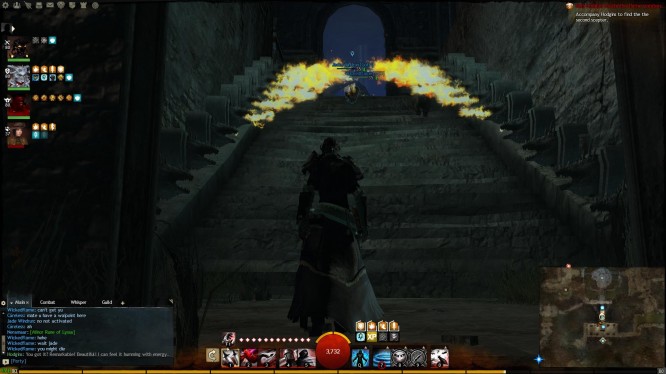
Toward the beginning of this path, you’ll be required to run through a short hallway lined with flame traps that can quickly wipe your entire group. Either use speed buffs and precise timing to run past the flames, evade rolling at the end to avoid damage, or simply run along the top of the traps.
Easily the most challenging area in this dungeon path, these burrows will spawn two at a time, and must be defeated quickly to prevent madd gravelings from overwhelming the group and killing Hodgins.
Though most gravelings can be dispatched without trouble, certain varieties, most especially the Scavengers, who will pounce at you and pin you down, killing you almost immediately.
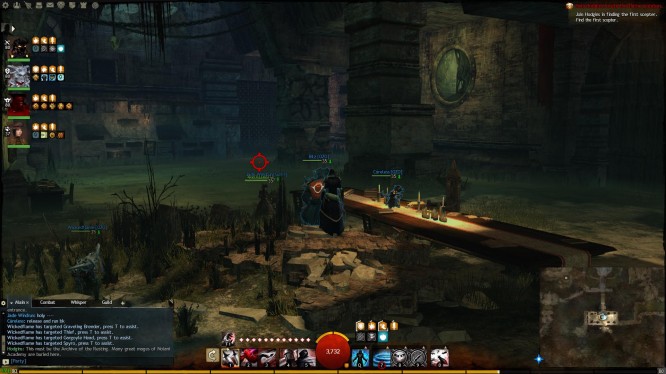
The best method we’ve discovered for completing this event is splitting into 3 groups of 2, 2, and 1 – each of the 2 groups should focus on burrows while the solo player kites and keeps enemies from attacking Hodgins. It’s a tough battle, moreso for some than others depending on their use of combo fields and group configuration.
After successfully locating the resting place of the scepter only to discover that it’s been stolen by the gravelings, you’re tasked with tracking them down and returning the broken pieces.
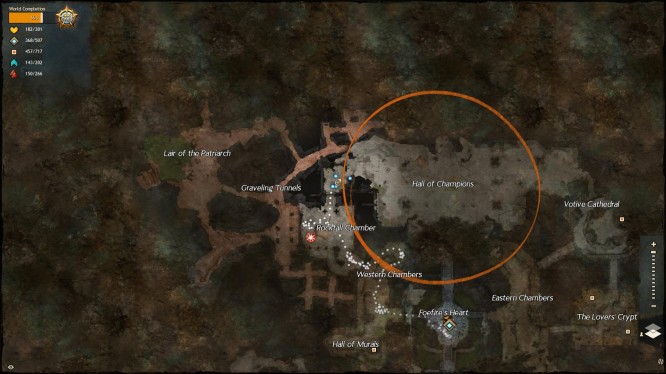
This is as simple as locating the marked area on your map and killing all graveling groups in the area. Be careful of scavengers again, and be sure to pull groups carefully, keeping a watchful eye on patrols.
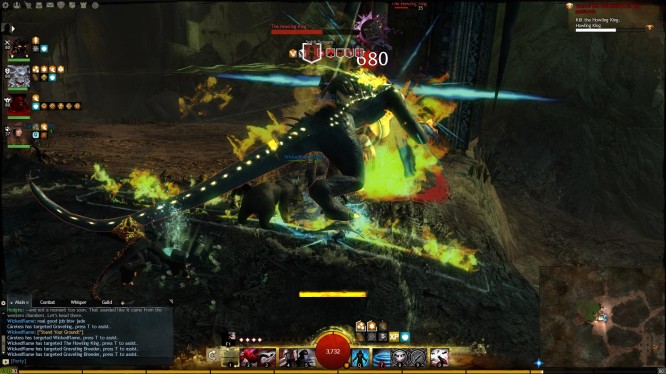
An altogether underwhelming fight, the Howling King can be easily defeated with a simple Tank n’ Spank approach; watch for when he borrows, and particularly when he emerges as this attack can inflict massive damage.
By far the most significant element in an otherwise straightforward path, this event requires significant group coordination to complete. When triggered, 2 Essence Collectors will begin gathering ghostly essence, and many graveling burrows will begin to spawn consecutively.
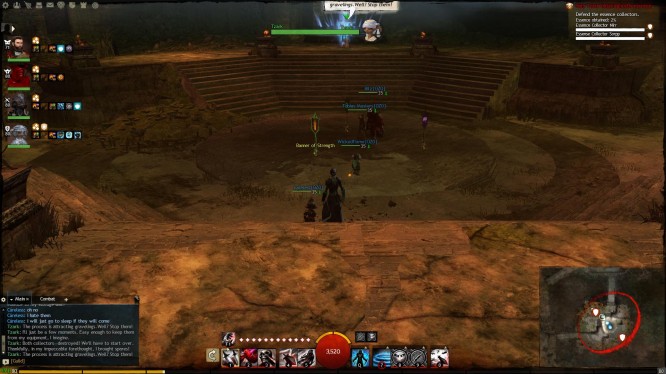
These burrows must be eliminated immediately, as having more than one alive on the field for too long will result in immediate failure. It’s best to have 1 or 2 members of your group kiting gravelings and keeping watch on the collectors while the remaining members call, target and focus down the burrows.
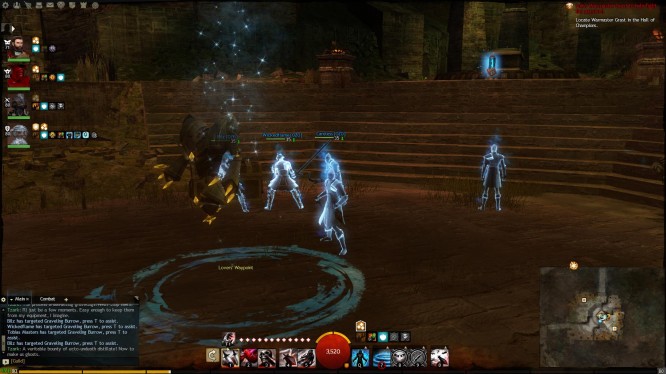
The Essence Collectors will heal nearby players; though, it’s important to note that only one collector is required to successfully complete the event, losing one too early will lengthen it significantly, as they both collect at the same rate. Try to keep 2 alive as long as possible, then heavily defend the remaining collector until the counter reaches 100%.
The only other part of this instance worthy of mention is the final boss encounter, Colossus Rumblus; however, as he’s not terribly difficult to defeat, and operates almost identically to The Howling King, there’s not a lot of strategy to discuss.
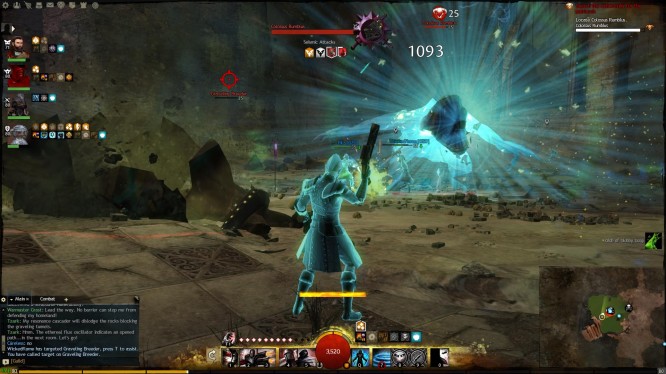
Clearing the room of gravelings before the fight can help immensely, though so long as your group can sustain the damage and avoid the burrow attacks, it should only be a matter of time before he falls.
Having successfully defeated Lieutenant Knoler as in the previous paths of AC, your most difficult encounter lay just ahead. Simply put, you’ll need to operate 5 chains that spring 5 spike traps in order to defeat multiple waves of gravelings. At first glance, this event can seem impossible.
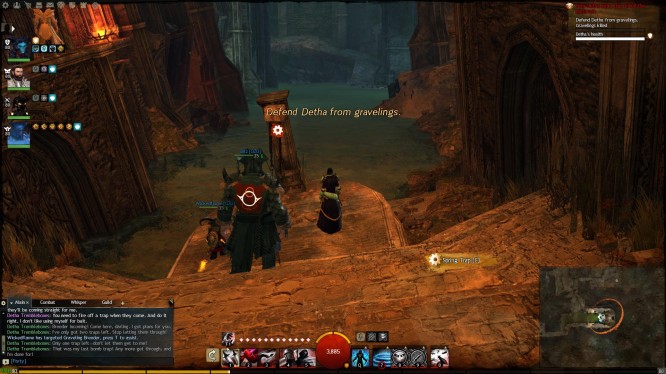
The trick is timing; some players recommend that you have 3 players manning the spike traps, and 2 farming the remaining gravelings, others recommend that everyone focus down the Champion Graveling Breeder while keeping an eye on the incoming gravelings and pulling the traps when appropriate.
Whichever strategy you use, simply remember that killing the Champion Breeder will successfully end the event, so the sooner that can be achieved, the better. Gravelings will continue to spawn in waves until he is defeated.
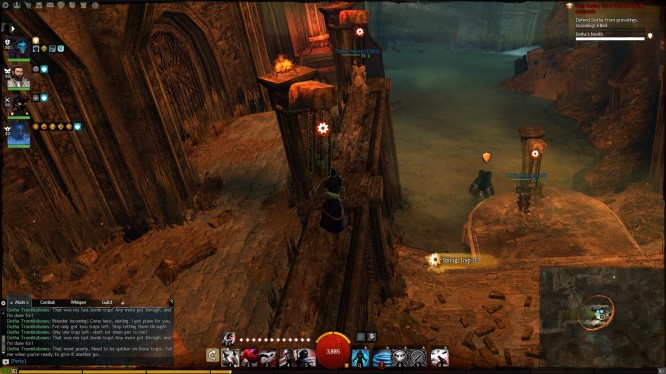
This is probably the most challenging part of Ascalonian Catacombs in its entirety; be prepared to repair your gear a lot.
This event requires that you defend Detha while she repairs the 3 Mortar Cannons in this room from waves of random ghost encounters. It can be easily defeated with group coordination; specifically, by identifying Rangers, Elementalists and Necromancers and dispatching them quickly.
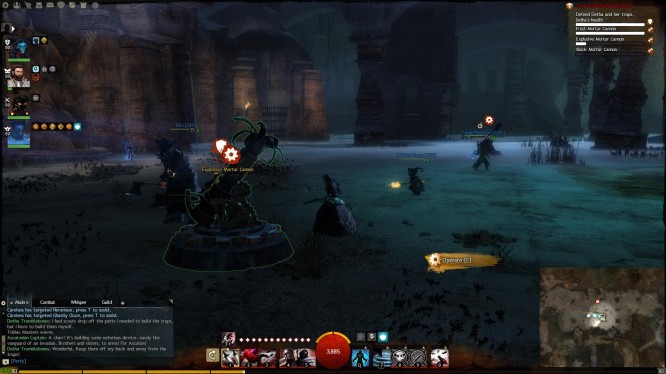
Once a mortar cannon has been repaired, Detha will move onto the next cannon, and the repaired cannon will be available for use; though, given their low DPS output, we found it best to ignore them until the boss encounter that follows.
Again, similar to the final boss encounters in the other 2 explorable paths, the Ghost Easter is a giant graveling offering few challenges. He summons ghostly oozes to his size that can be easily dispatched using the mortar cannons, which will also provide various debuffs such as cripple which can make this fight much easier.
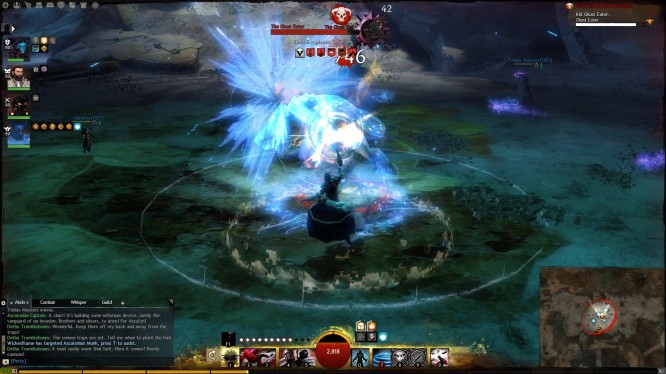
Elsewise, it’s really a simple matter of taking his damage, watching for his burrow attack and drilling him down with lots of ranged DPS.

 Star Trek Online Developer Interview .
 Plants vs. Zombies 2: Level 28 in Big Wave Beach
 The DOTA 2 ESL One, the Worm in the Big Apple .
 Angry Birds 2: How to Make Use of the Birds’ Abilities
 The Witcher 3 Wild Hunt Guide: How To Optimize And Improve Grass Quality On PC