It should be well known now that Rust is a dangerous place. Death can be met through a variety of ways, from starvation to radiation, a good animal mauling and plain old fashioned murder are the things that you need to be on the look out for, and actively avoiding. However, that’s all easier said than done, isn’t it? Yes, yes it is.
That’s why I’m here, to show you the ropes, offer a few hints and tips and to generally help you along. Will this guarantee your safety and give you the ability to become the future emperor of Rust Island? No, it probably wont, but it should help you make a good start. Now here is the Rust Survival Guide, ready to teach you the secrets of staying alive.
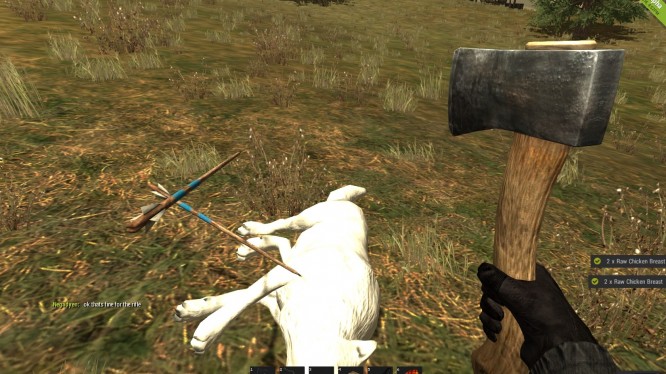
This screenshot doesn’t make me look good, does it?
The first thing you need to be aware of are the fundamentals.
Of course the major thing to know are the basic controls. These are the default settings, of course you can change them how you like, but here I’ll assume no changes have been made.
Movement: WASD
Use equipped item: LMB
Use equipped items alternate function (if applicable): RMB
Jump: Space
Crouch: Hold C or CTRL
Sprint: Hold shift
Inventory: Press Tab or I
Select equipped item from hotbar: Numbers 1 to 6
Interact: E
Rotate building piece: Mouse Scroll Wheel or Mouse Button 2
Exit Menu: Esc
Chat: T or Enter
Open Console: F1
Voice Chat/VOIP: Hold in V
Turn Music On/Off: Pg Up
Reload Equipped Weapon: R
Toggle Laser Sight: G
Toggle Flash Light: F
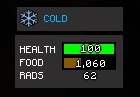
The bottom right of the screen shows you three things, your health, calories and rads.
Your health is represented by the upper, green, bar. When this goes down to zero, you die. Of course health can be recovered through a few ways, either by using a medkit, eating food or through resting by a fire while being well fed.
Calories are the second on the list, representing the amount of energy you have and your hunger level. Calories are gained through eating and drinking and are used up no matter what you do, of course doing more strenuous activities like sprinting or gathering resources uses more than simply standing still. When your calories drop to zero, you start to lose health as a result of starvation. However, you can effectively use your calories to heal, as mentioned before, by keeping them above five-hundred and then they allow you to heal your health, albeit slowly.
Finally you have the rads, used to measure the amount of radiation currently in your body. When the number of rads goes above five-hundred, you start to rapidly lose health as a result of radiation sickness. Rads can be lowered through certain foods and items found within the game, or they slowly deplete when outside of a radiation zone.
My first hit comes into play here. You’ve selected your server, you’ve launched the game. Is it dark, or is the sun setting? The easy way to find out is look around, the huge mountain is the northern point of the playable area, the ocean is to the south. Using that, look see where the sun is, if it’s in the west and setting either find a new server or just quit for about fifteen minutes, which is roughly how long night lasts. Why? Well night time is extremely hard, if not impossible to navigate in. You will be losing calories, possibly running into hostile wildlife or people and if you think that using the torch you start off with is a good idea, think again, it acts as a homing beacon to any murderous soul out there.
Before you get going, a few things can be done to make it that bit easier on you, the downside being it does make the game look worse. It’s worth doing to start with though, if only until you’re a little more confident. This is to turn off grass. Open the console (F1), type in “grass.on false” (without the quotation marks) and the grass will disappear, giving you a much clearer view of surroundings. When you’re confident and you want the game to look pretty again, open the console again and type in “grass.on true”.
While I’m on the console. If you want everybody to be au naturel (completely naked until they equip clothes), type in “censor.nudity false” and finally if you don’t start in a good location, simply type in “suicide”
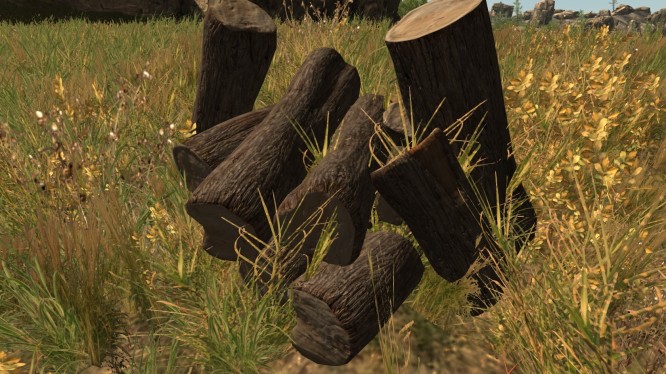
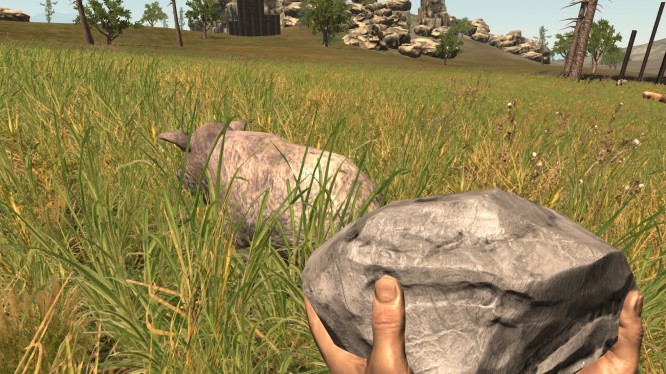
Okay, the first thing you want to do is gather some resources. These are found spread throughout the world, some locations offering more than others and some more of one type than other types, more on that later. Your first goal is always to get some wood. Equip your rock and go bash away at wood piles, which offer seven pieces of wood per hit with the rock. You can gather wood from trees, one per hit, but it is painfully slow going and never worth the time and effort expended.
At the same time you’re going around collecting wood, you need to keep an eye out for free-standing rocks. There are two types, one a white and silvery color which offers mostly rock and metal ore, and a second one with a yellow and gray look, giving mostly sulfur ore, then metal and stones.
Of course all of the resources in the world mean nothing if you’re going to starve to death. You’ve only got a rock so going after the wolves and bears is a big no, it leads to a quick mauling and death. Deer are a little too fast for your rock-wielding bottom but do you know what aren’t? Pigs! The trick is to run behind the pig, start the attack swing and then use sprint to quickly keep up while the swing comes down. Four or five hits later, the pig is dead and voila, you have chicken meat, ready to be cooked and then eaten.
As soon as you’ve gathered ten wood and five stone, open up the crafting menu (Press tab, click the crafting option), scroll down until you find Stone Hatchet and craft it. This hatchet will be your best friend for a while, until you’ve gathered metal and are able to make a proper hatchet, because gathering materials and food is so much easier. More is collected per hit and the hits are faster. This also means that chasing a pig for some valuable chicken meat is also easier.
Now just collect more resources while staying alive. It’s best to avoid wolves, although you could possibly take them down by constantly backing off while swinging at them as they chase you, it will end up costing you a lot of health and it simply isn’t worth the risk. Bears are an absolute no-go, they will take you down. Deer are still too fast for you to take them down. Another thing you are best off avoiding are other humans.
Now, it isn’t certain that everybody in the world of Rust are happy to rock, hatchet, arrow or shoot you to death for whatever meager supplies you may have gathered so far, I believe it’s just safer to assume that they are. In that case, if you see another person and you don’t think they can see you, hide behind a rock while keeping sight of them, and wait for them to pass – crouching (ctrl) makes this easier. If you think they can see you, it’s time to burn off those calories by sprinting (shift) away. They usually give up the chase after a minute.
Hopefully you’ve gathered a decent number of resources now, preferably 250 wood, 50 stone, 30 cloth and any level of food that will sustain you for now. Why this much? Well it isn’t essential to have gathered everything to get started by this point, but this is roughly what you will need for a solid base to build on. Now it’s time to find a good place to settle down. Not permanently, but it’s still got to be a place you are comfortable with because it will be your home for a while.
Take a look at this map created by a member of the community and pay attention to the red areas I’ve inexpertly highlighted (enlarge it by clicking it, to show everything):
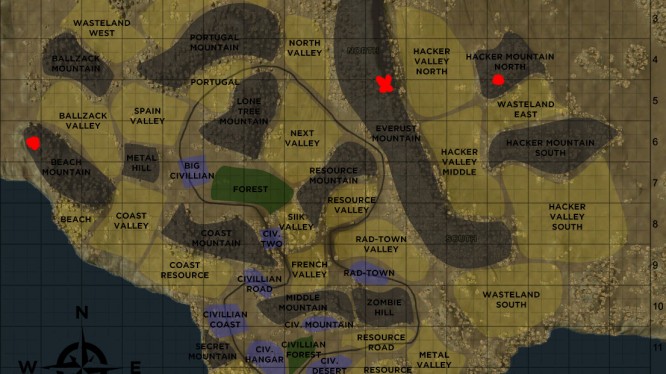
These are, in my experience so far, the safest places to start off and build up. Notice my focus on Hacker Valley – it has a strong combination of being both one of the richest places on the map for resources as well as being one of the least populated and explored. Of course this means that any server with experienced people will have somebody there, but it’s large, so there’s a chance you’ll be fine.
My favorite area is the place marked with a cross. Why? Because as well as being within thirty seconds of resources, it’s hard to get to. Indeed, all of the places I’ve selected, aside from the one at the top of the valley, are difficult to get to. Wood shelters, unlike houses, can be build on rocks and since it’s always a wood shelter you open with, it’s best to look for rocky ground that is hidden away, or hard to get up to. My favorite location requires a difficult jump to get to, so even if you know where it is, it can be trying.
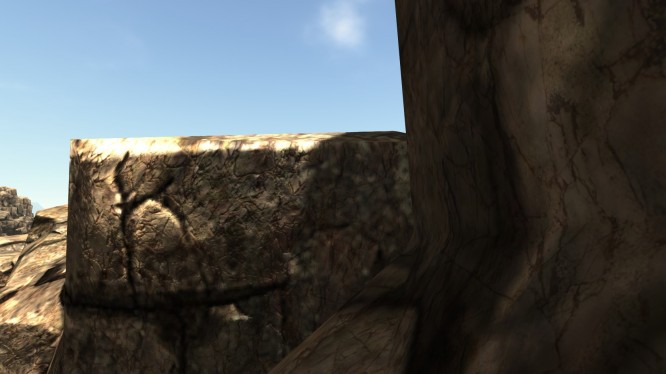
This is the jump to make. Not showing exactly where though, that’d be telling!
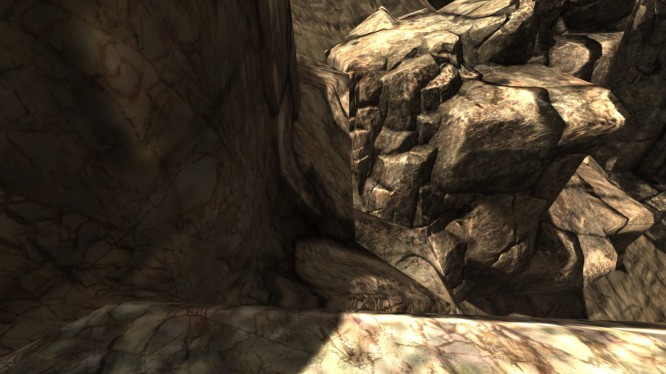
This is the view from above the jump
So hopefully you’ve now gathered a good number of wood and stone, got at least enough meat for you to cook, getting you through the night and next day or two, and also found a nice location to use as a launchpad for your future in Rust. Keep farming resources until either you’re getting close to starvation (say 200 or fewer calories left) or the sun is starting to set.
Now it’s time to go to your future safe zone and get ready to craft.
Your initial home will need you to craft seven different things. First there is the wood shelter (50 wood) and wood door (30 wood) that will act as the shell of your new home. Then, for the inside, you will need a furnace (15 stone, 20 wood and 15 low grade fuel), a workbench (8 stone and 50 wood), at least one storage box (30 wood), a camp fire (15 wood) and finally a sleeping bag (15 cloth).
Now you’ve crafted them, pop the wood shelter and door in your action bar, select the shelter and find a good place to put it down, then put the door on the front. Voila, you now have a home, of sorts.
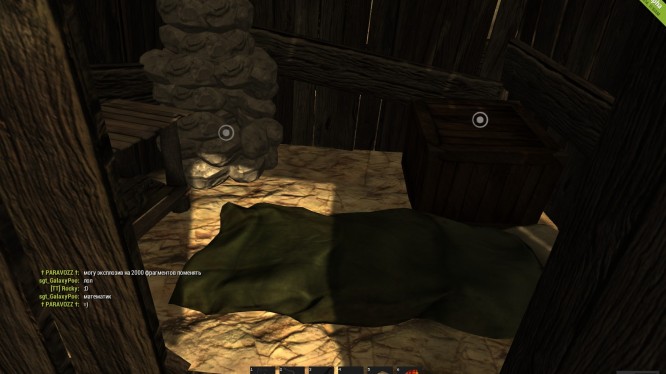
So then you need to furnish your home with the items I mentioned earlier. Why? Well the furnace lets you smelt ore into metal shards and pure sulfur. The workbench will be essential for the future, letting you craft more advanced items, including weapons and house components. A storage box is always useful because carrying around everything you gather will fill up your inventory way too quickly, that and when you die you lose everything, so having things kept safe is always good. Finally, the sleeping bag is your respawn point. When you die, and you will, you can click ‘respawn’ or ‘respawn at base’, respawning at base brings you back to your sleeping bag and can be used once every five minutes per bag.
Now you’ve settled in, you’ll want to start getting more serious. This is about where I’ll leave you with just a few tips on how to continue, because the survival side of things are in the bag, the only way you’ll die is either by being careless, being murdered by another person or jumping off of a mountain and turning yourself into a human pancake on the floor.
The best thing to move into first is by making yourself a hunting bow and a number of arrows, this will make gathering food so much easier, letting you kill deer without having to try catch up to them, but also wolves and bears without giving them a chance to get close and maul you to shreds.
Of course you don’t want to settle for the bow an arrows, which means you’ll eventually want to go for guns. There are basic guns you can create but the real weapons, and armor, comes from finding blueprints and then using it to learn what the blueprint is about. These are often found in the boxes that can be found in the radiation infested ruins, as well as from the mutant creatures found around those towns (these can be distinguished from the normal creatures because they are red, and they will chase you to the ends of the world).
As well as finding the blueprints around, you can learn how to craft an item yourself through simply finding the item and then using a research kit on it. Granted, research kits are even harder to find, but they do guarantee that you’ll learn what you want to learn.
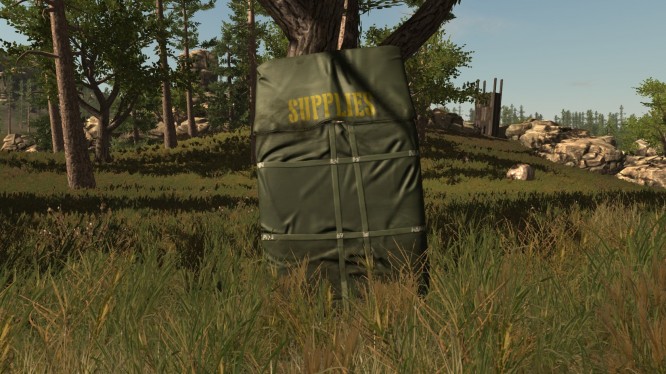
Aside from the ruins and mutants, the best place in the game to find the very best items comes with the supply drops. Every now and then, the frequency can be altered by the server admin, a plane will fly above the land and drop some supply drops. These supply drops will draw everybody within a decent area to them and you can guarantee a few deaths. This can actually be good for you, you can loot the bodies while the others are distracted or, if it’s the middle of the night and you have insomnia, the server may be nearly empty, giving you a free supply drop.
To end this off I’ll just give you a little list of the dos and don’ts that I’ve come across in my experience of Rust
Don’t build in the open, walk in the open or stay in the open. You are being watched, I promise you that. Possibly even by me.
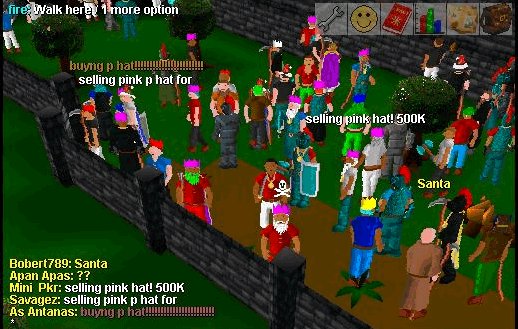
Don’t spend too much time near the road. It increases your chance of running into a person and even if you manage to escape and run away from them, it can lead into this:
Don’t ever run towards your house when trying to escape from somebody. Once somebody finds out where you live, you will get raided and lose everything.
Don’t ever use a torch. That light source is somehow seen for miles and will lead a gun-toting madman right to you. The same goes for a camp fire, build it in the middle or rocks, or inside your shelter, where the light wont travel far.
Do take risks. It keeps the game entertaining and risks generally offer more rewards when they pull off. The best risk to take is risking radiation sickness, stay in the towns hunting for loot until your close to 500, don’t worry about going a little over, it’ll drop.
Do check every box of abandoned houses, especially in the far off places. Houses lose parts over time, but there’s a chance nobody has looted it yet. I once ran across a house that gave me enough weaponry to last forever. I just skipped over the hard part in one fell swoop.
Do remove the grass using the console, mentioned earlier, when getting started. It looks lovely, but it’s a pain.
Do have a good time. Hopefully this guide will have helped you there.
If you’re looking for more games resembling Rust, may I suggest you take a look at this article about the top 5 online survival horror games!

 MOBA Monday: Halloween Events .
 Bel's Blog Bonanza - No Fly Zones and F2P .
 EverQuest 2: Following the Golden Path
 Haven’t We Been Here Before? - Things in Every MMORPG .
 Warlords of Draenor: Can it revitalize World of Warcraft? .