Panmorphia
By: LKMAD

Download
This is a complete step-by-step walkthrough guide with hints, tips, solutions and answers for the iOS and Android game Panmorphia by LKMAD. Feel free to ask for help in the comments section.
Walkthrough:
The navigation here is a bit tricky sometimes, so I’ll try to be as clear as possible when instructing where to tap to get to a screen. But if you notice any errors or confusing bits, please let me know. I’m also testing pagination with this walkthrough. Scroll down to the bottom of the page and select a page number! Let me know what you think of it.
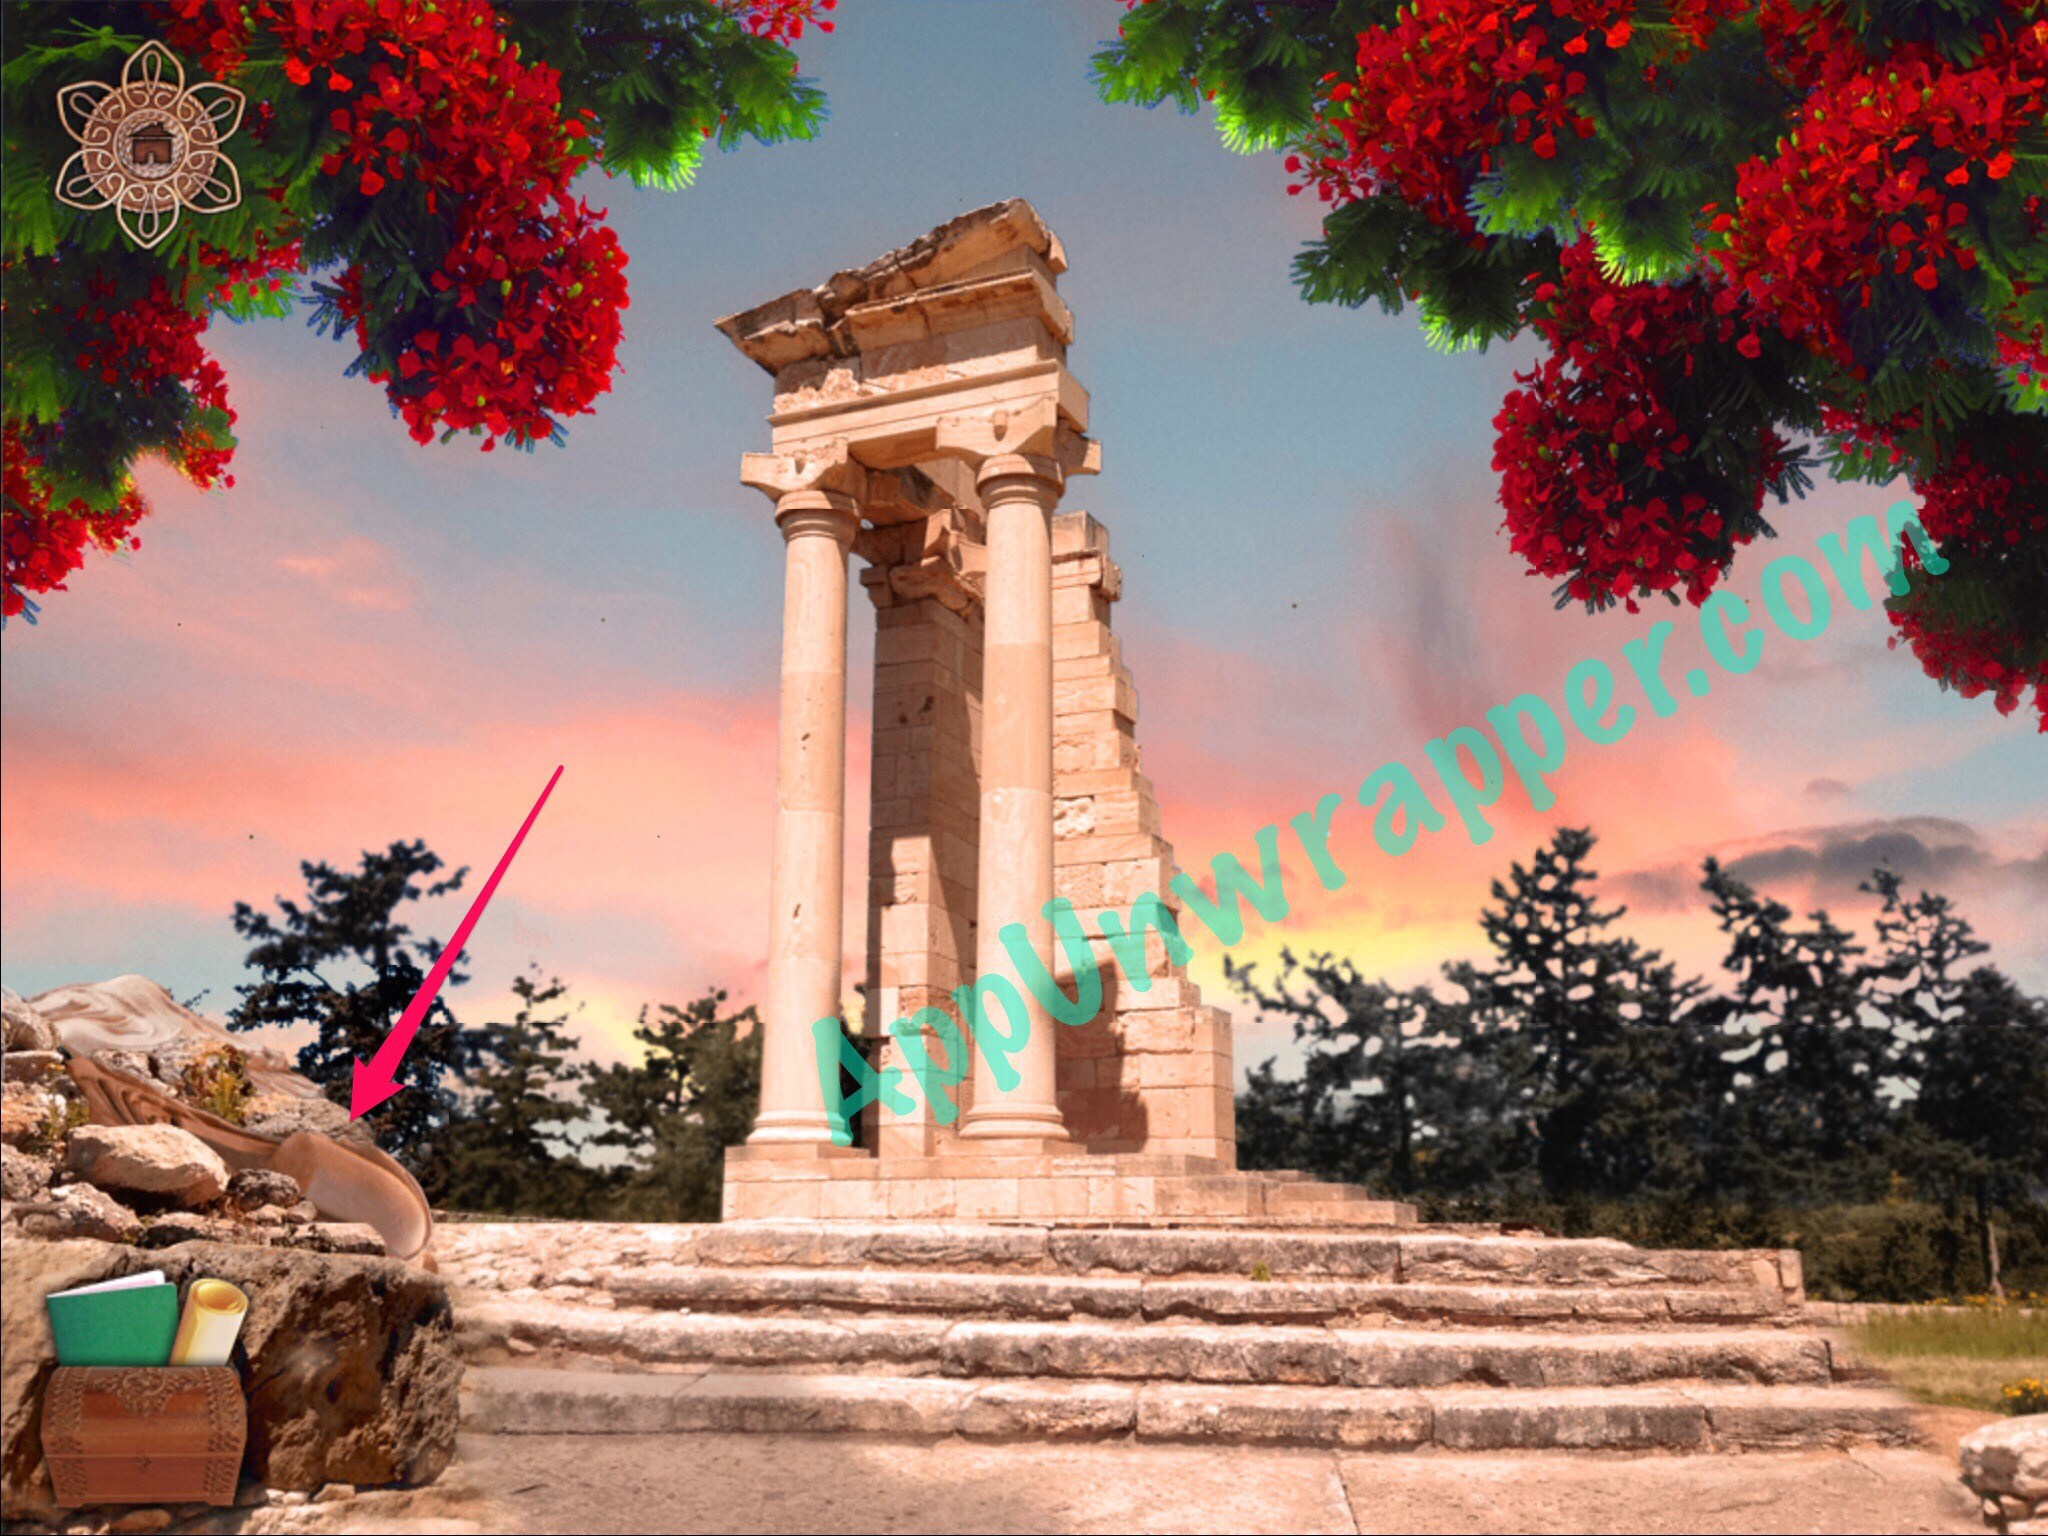
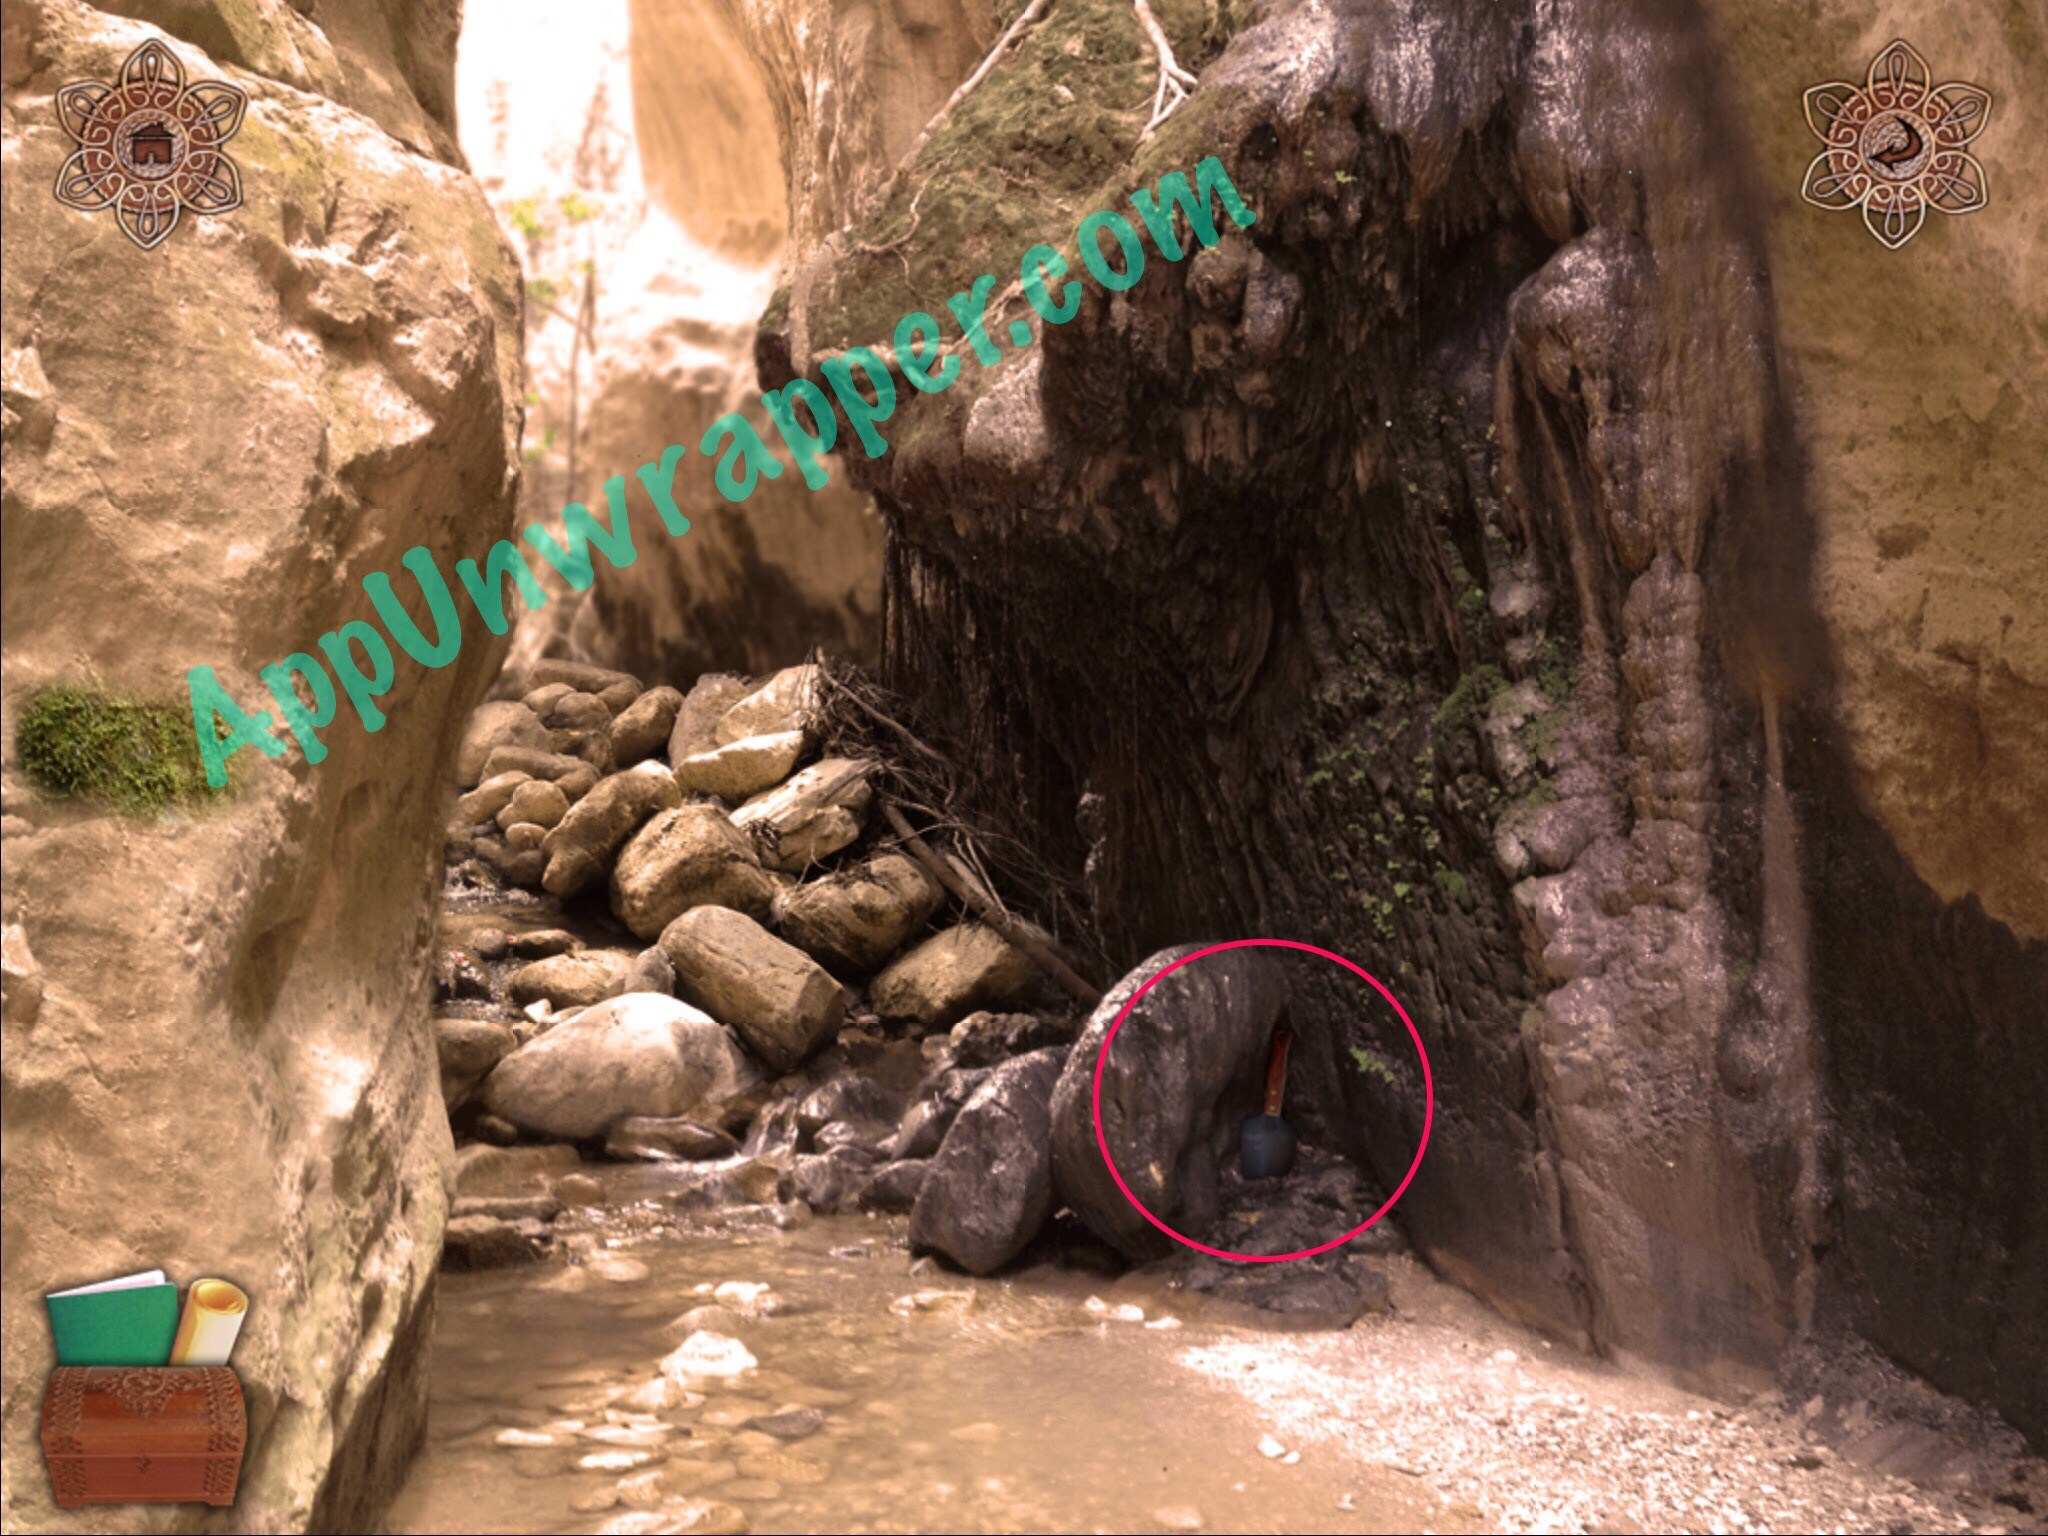
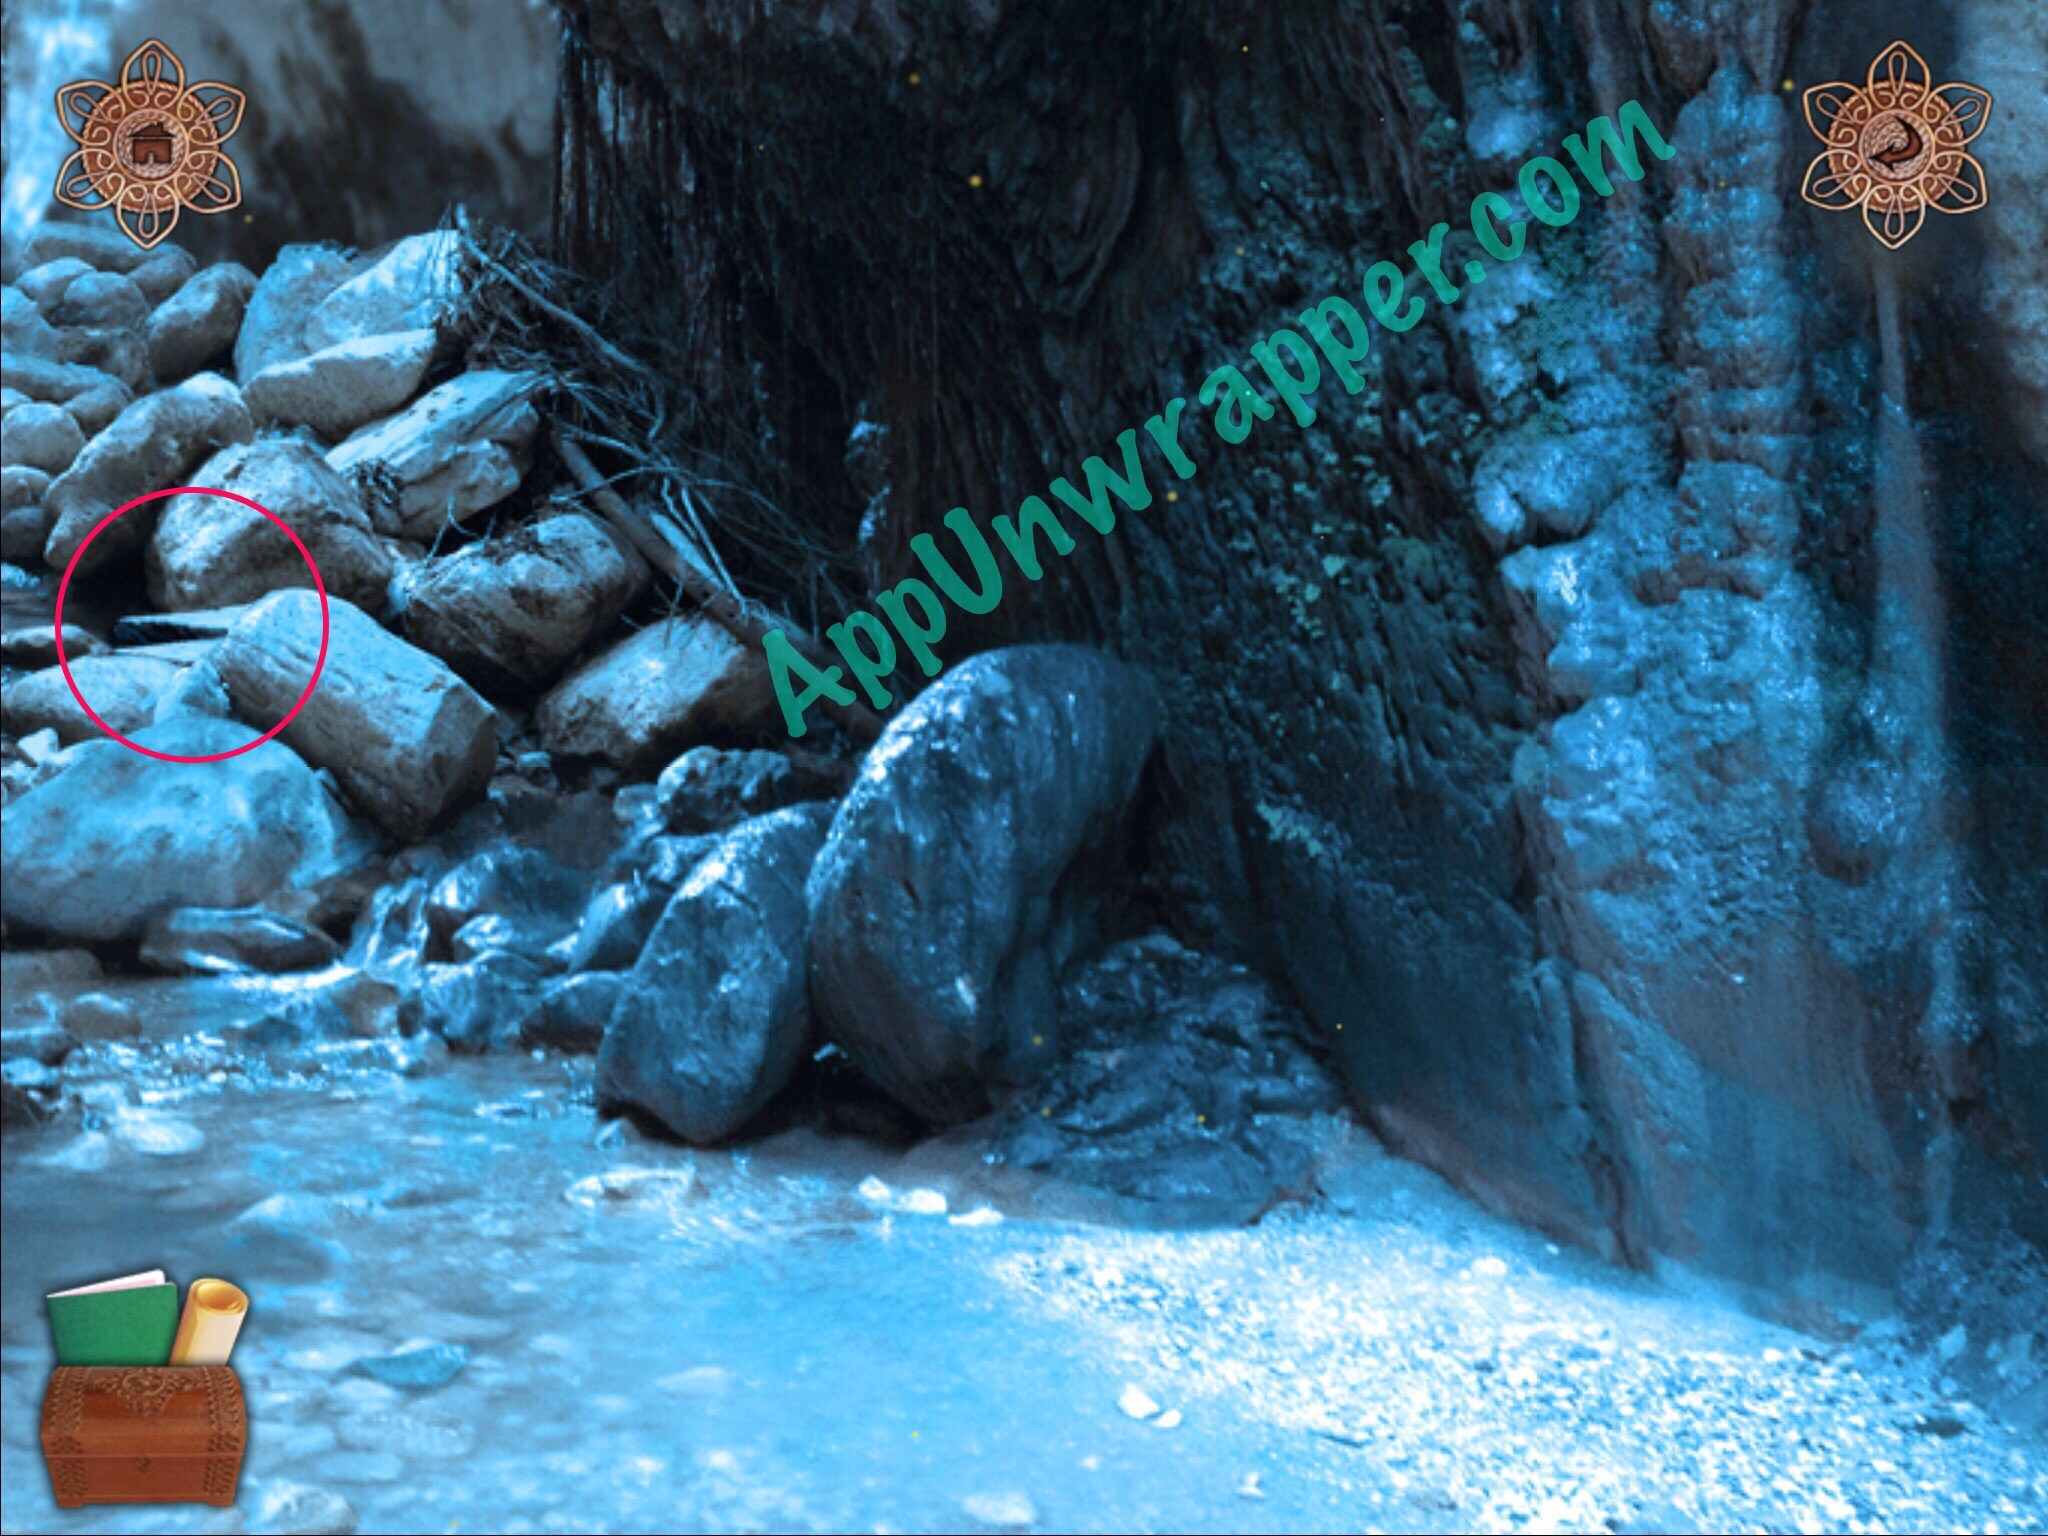
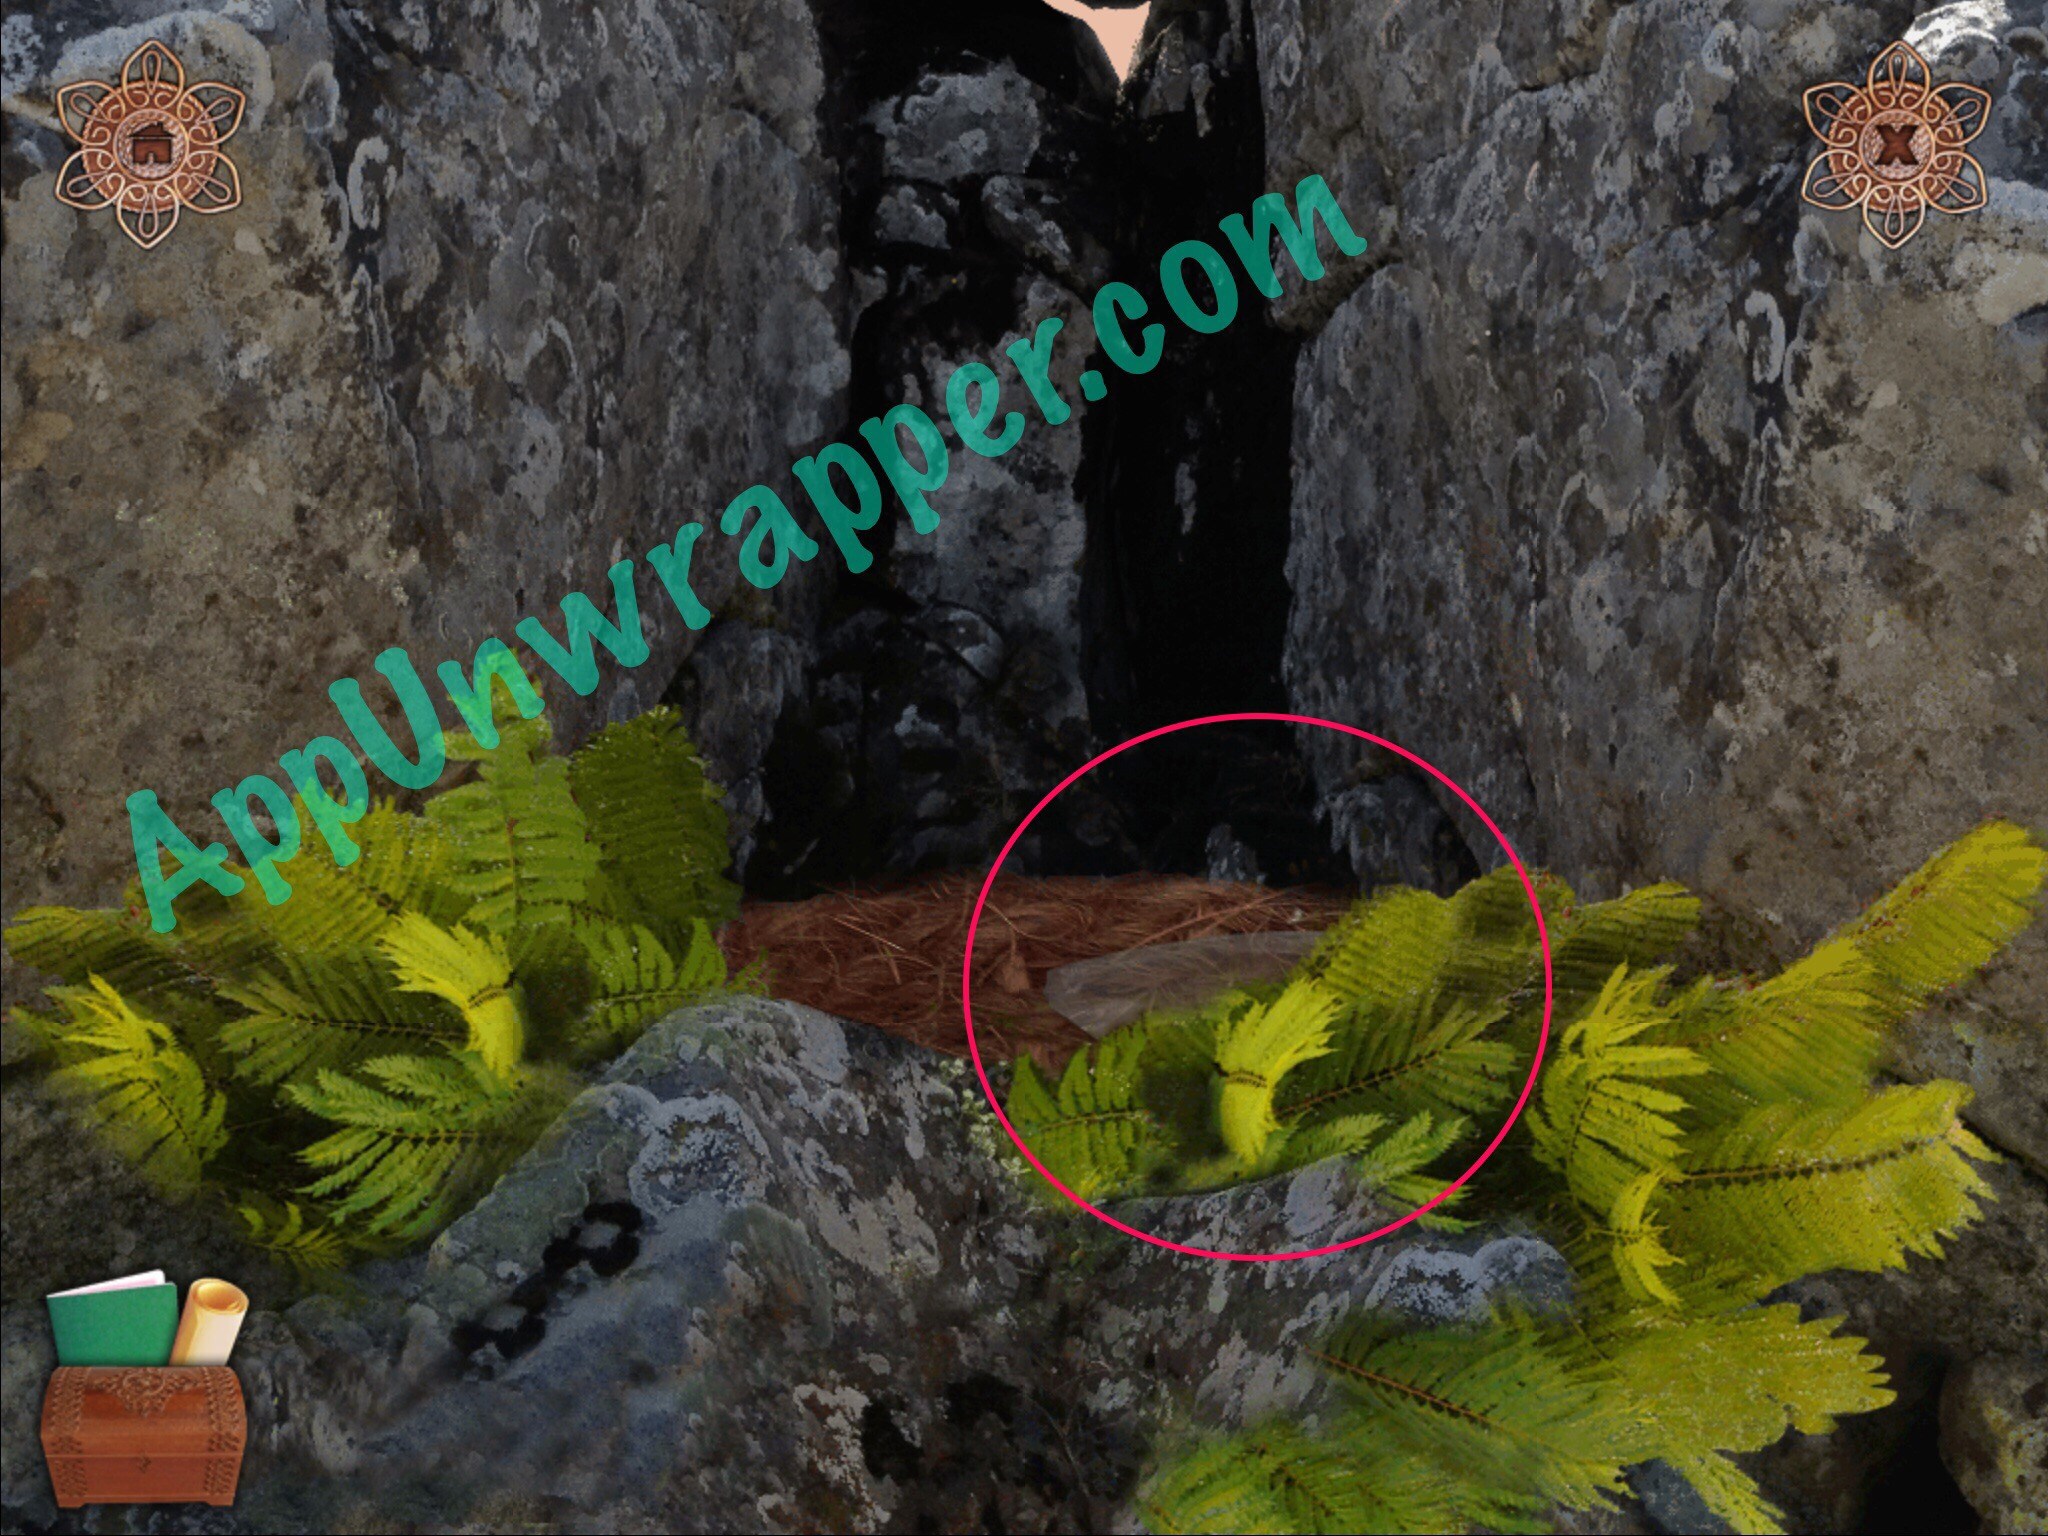
1. Pick up the medallion stuck between the rocks. Then pick up the notebook, map and box for storage.

You can also watch this video I made for the first part of my walkthrough here:
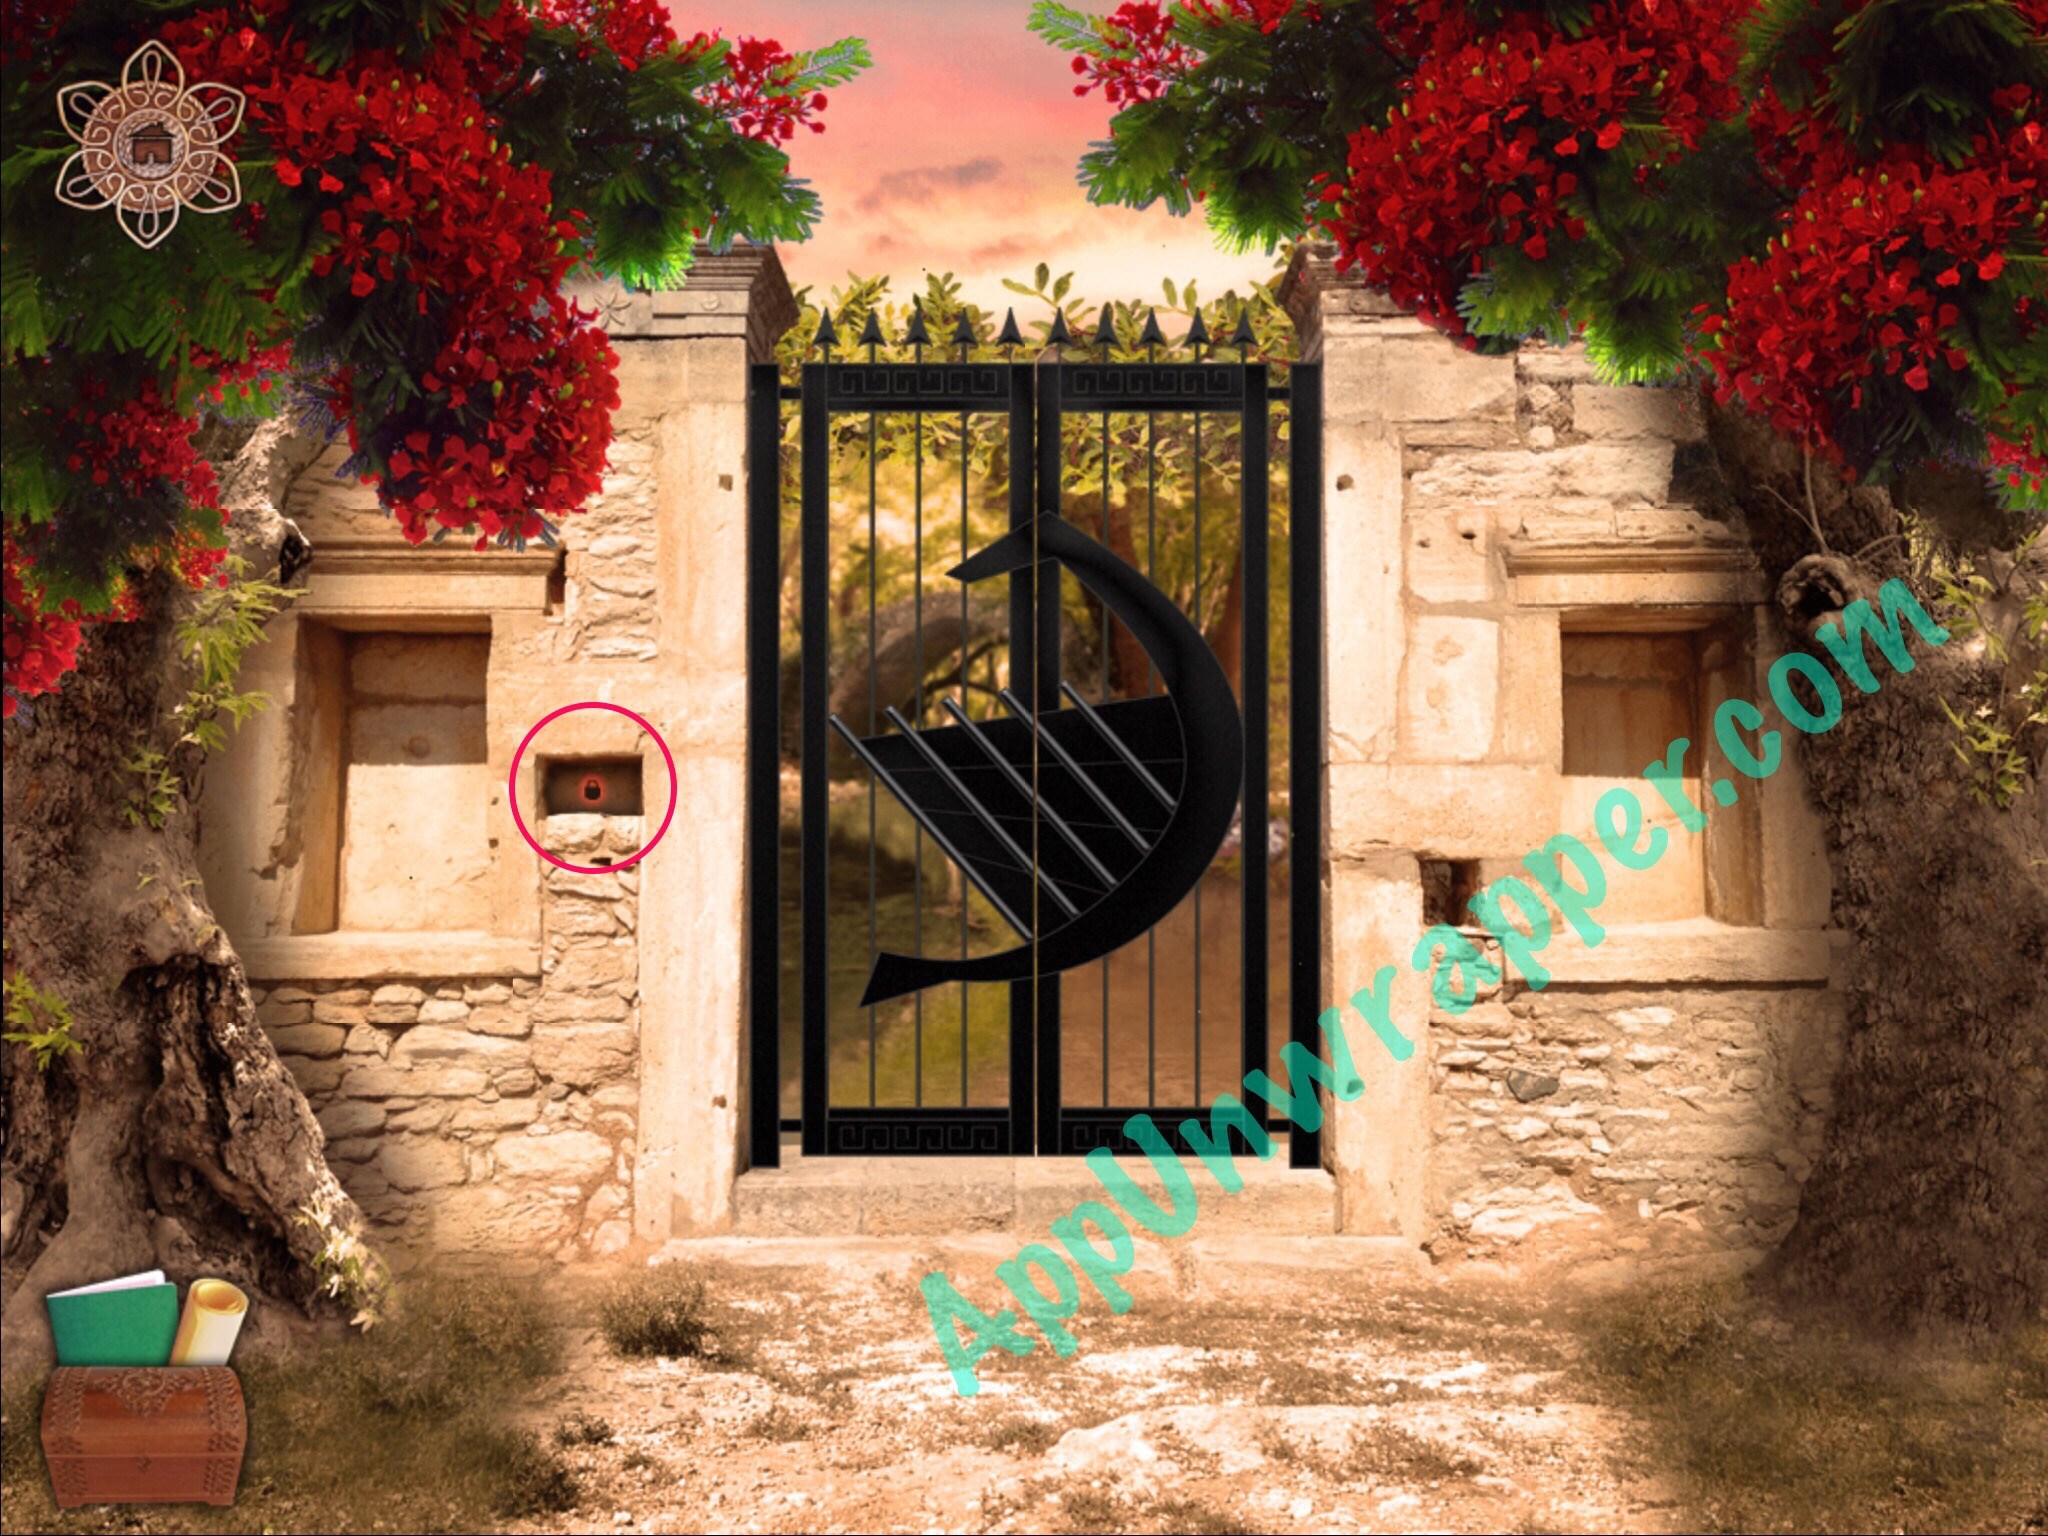
2. Tap the area on the ground close to the bottom of the screen so you move backwards to a locked gate. You can’t unlock it yet. But if you tap the left side of the screen, you’ll move left. Pick up the marble statue head from the ground. Then tap on the columns to move to another screen.


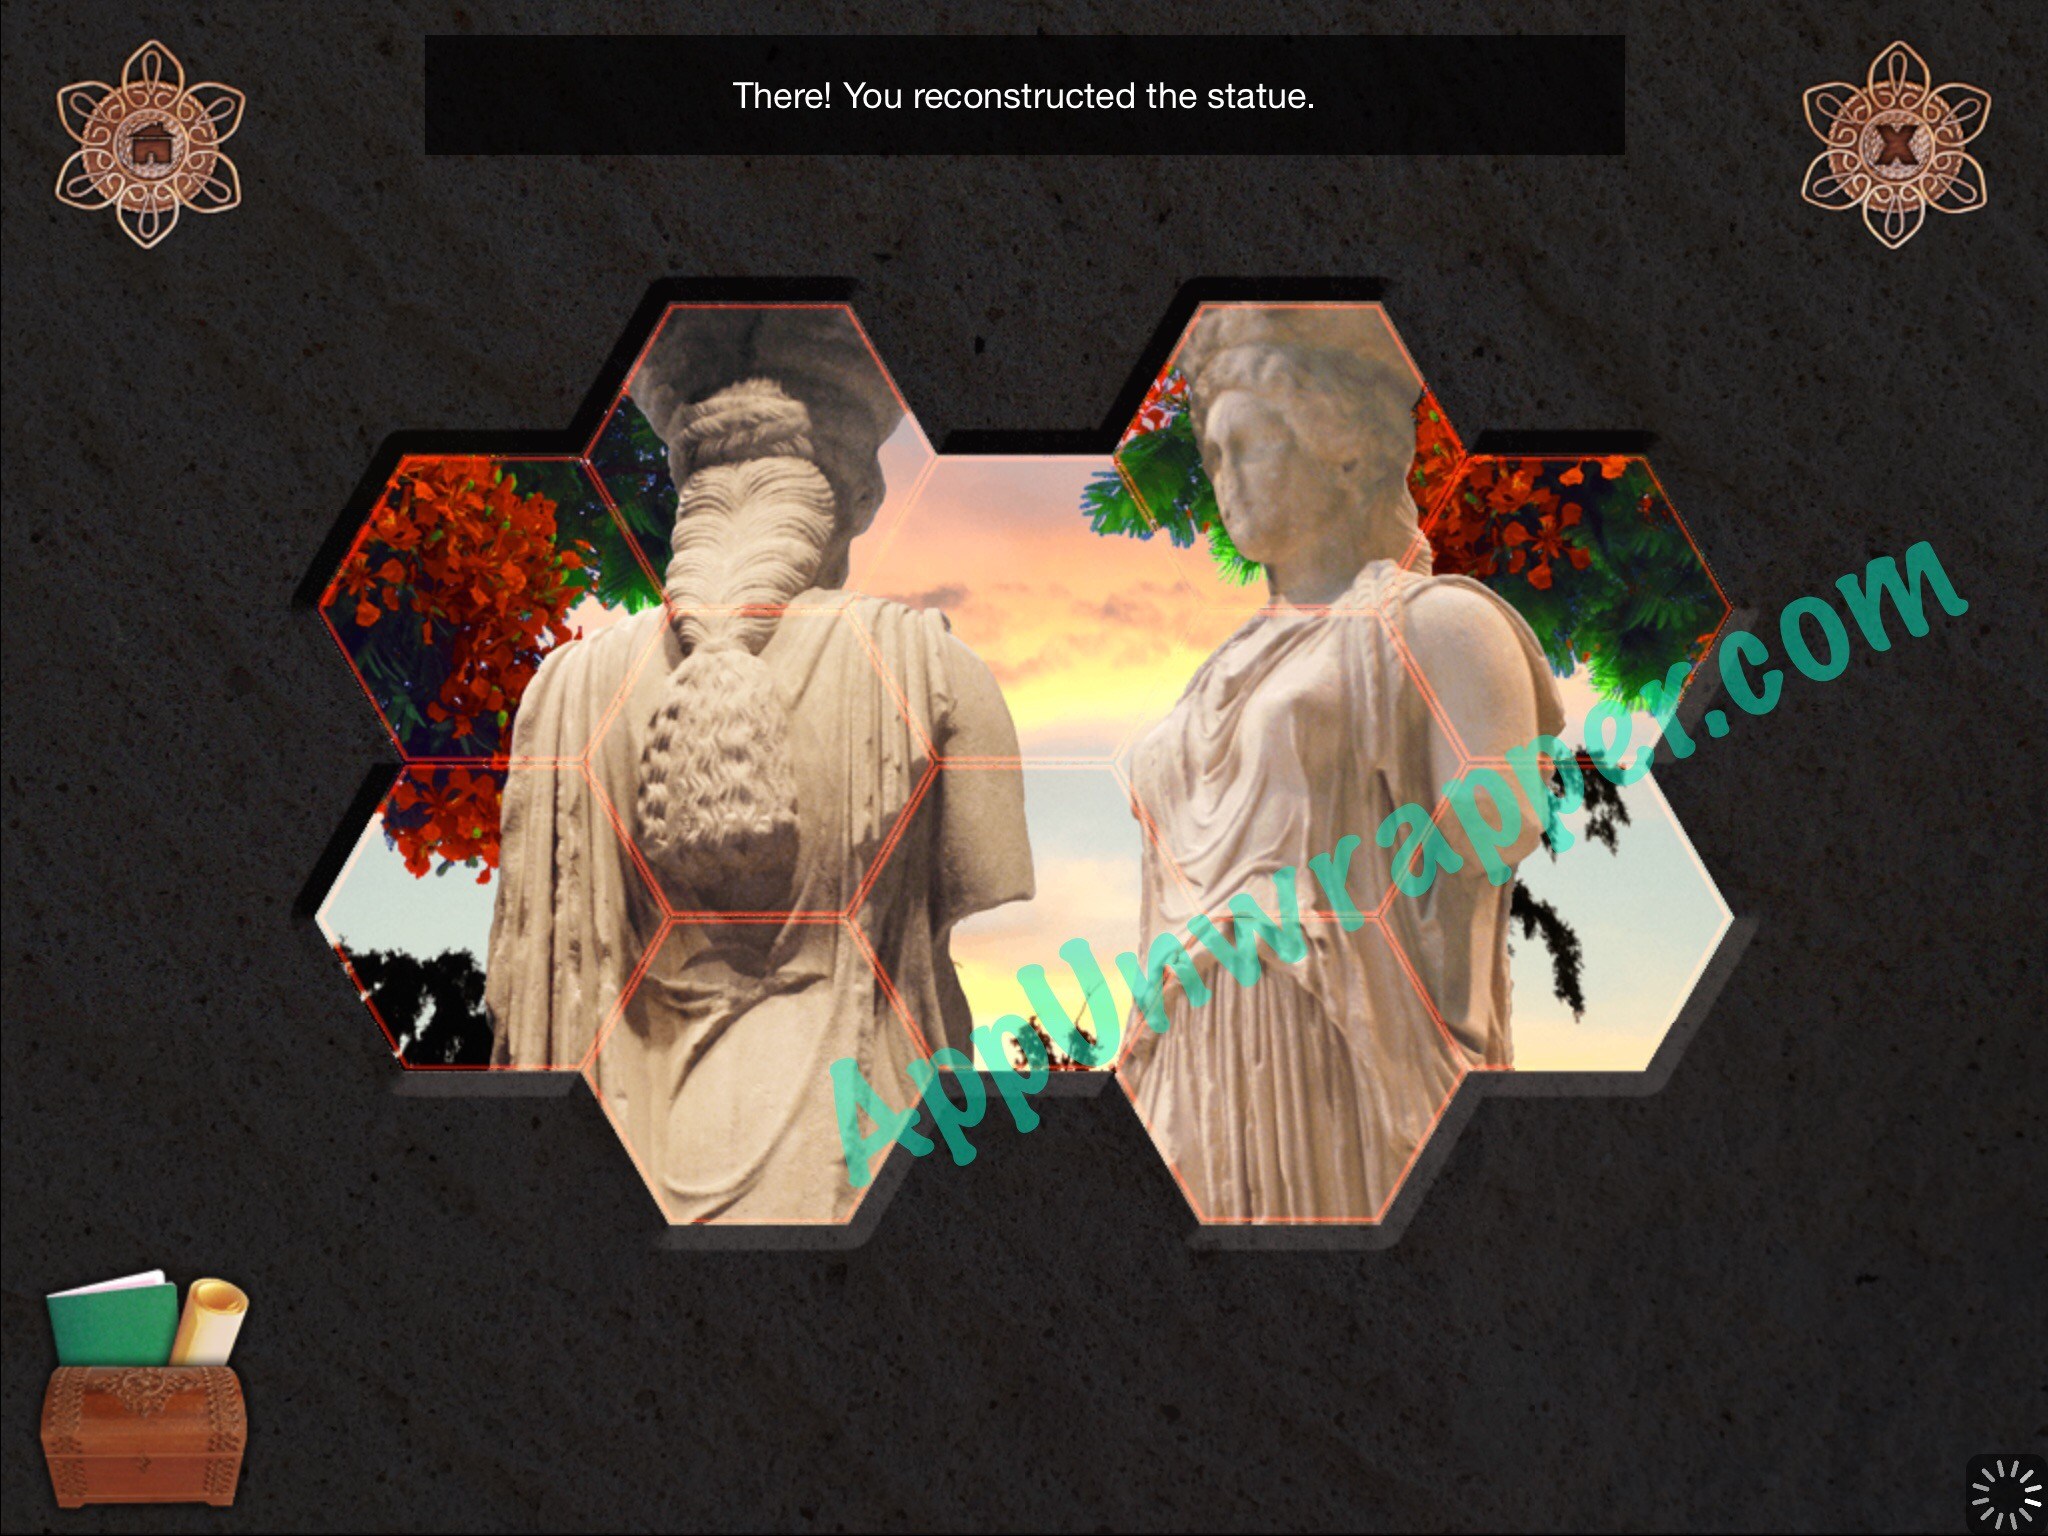
3. Here, place the marble head on the statue and solve the puzzle to get a stick.
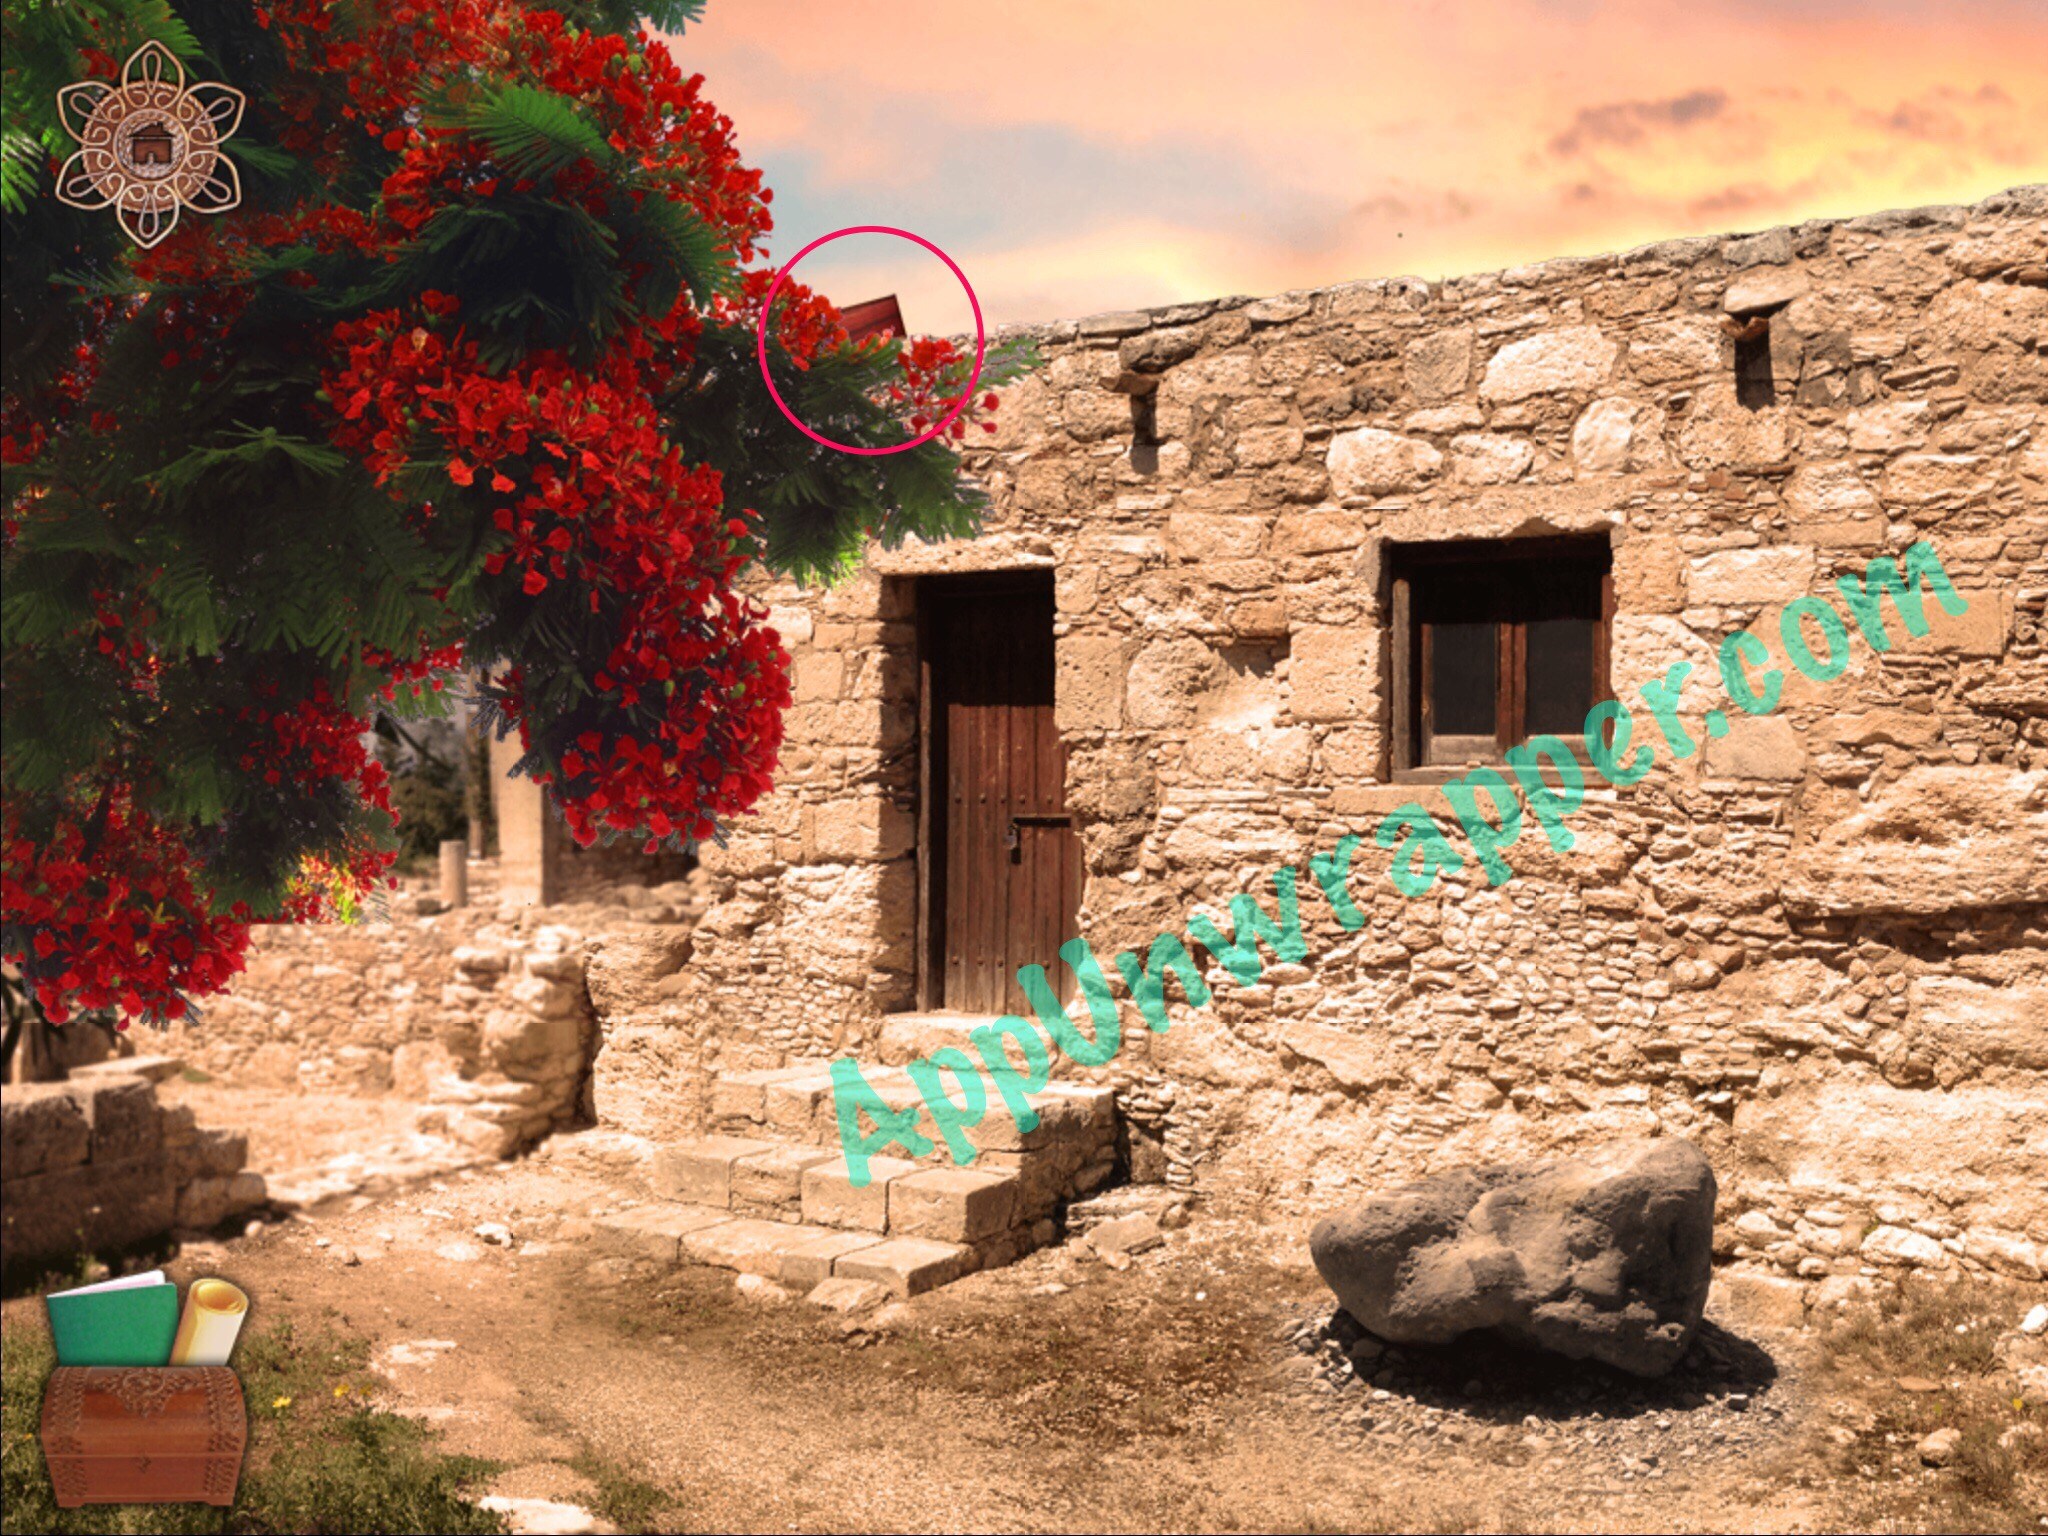
4. Go back to the gate and this time tap to the right of it. In this scene, use the stick to get the wooden piece from the tree. Also, note the sharpening stone. Tap the bottom of the screen to get to another scene. Here, pick up the wire brush.
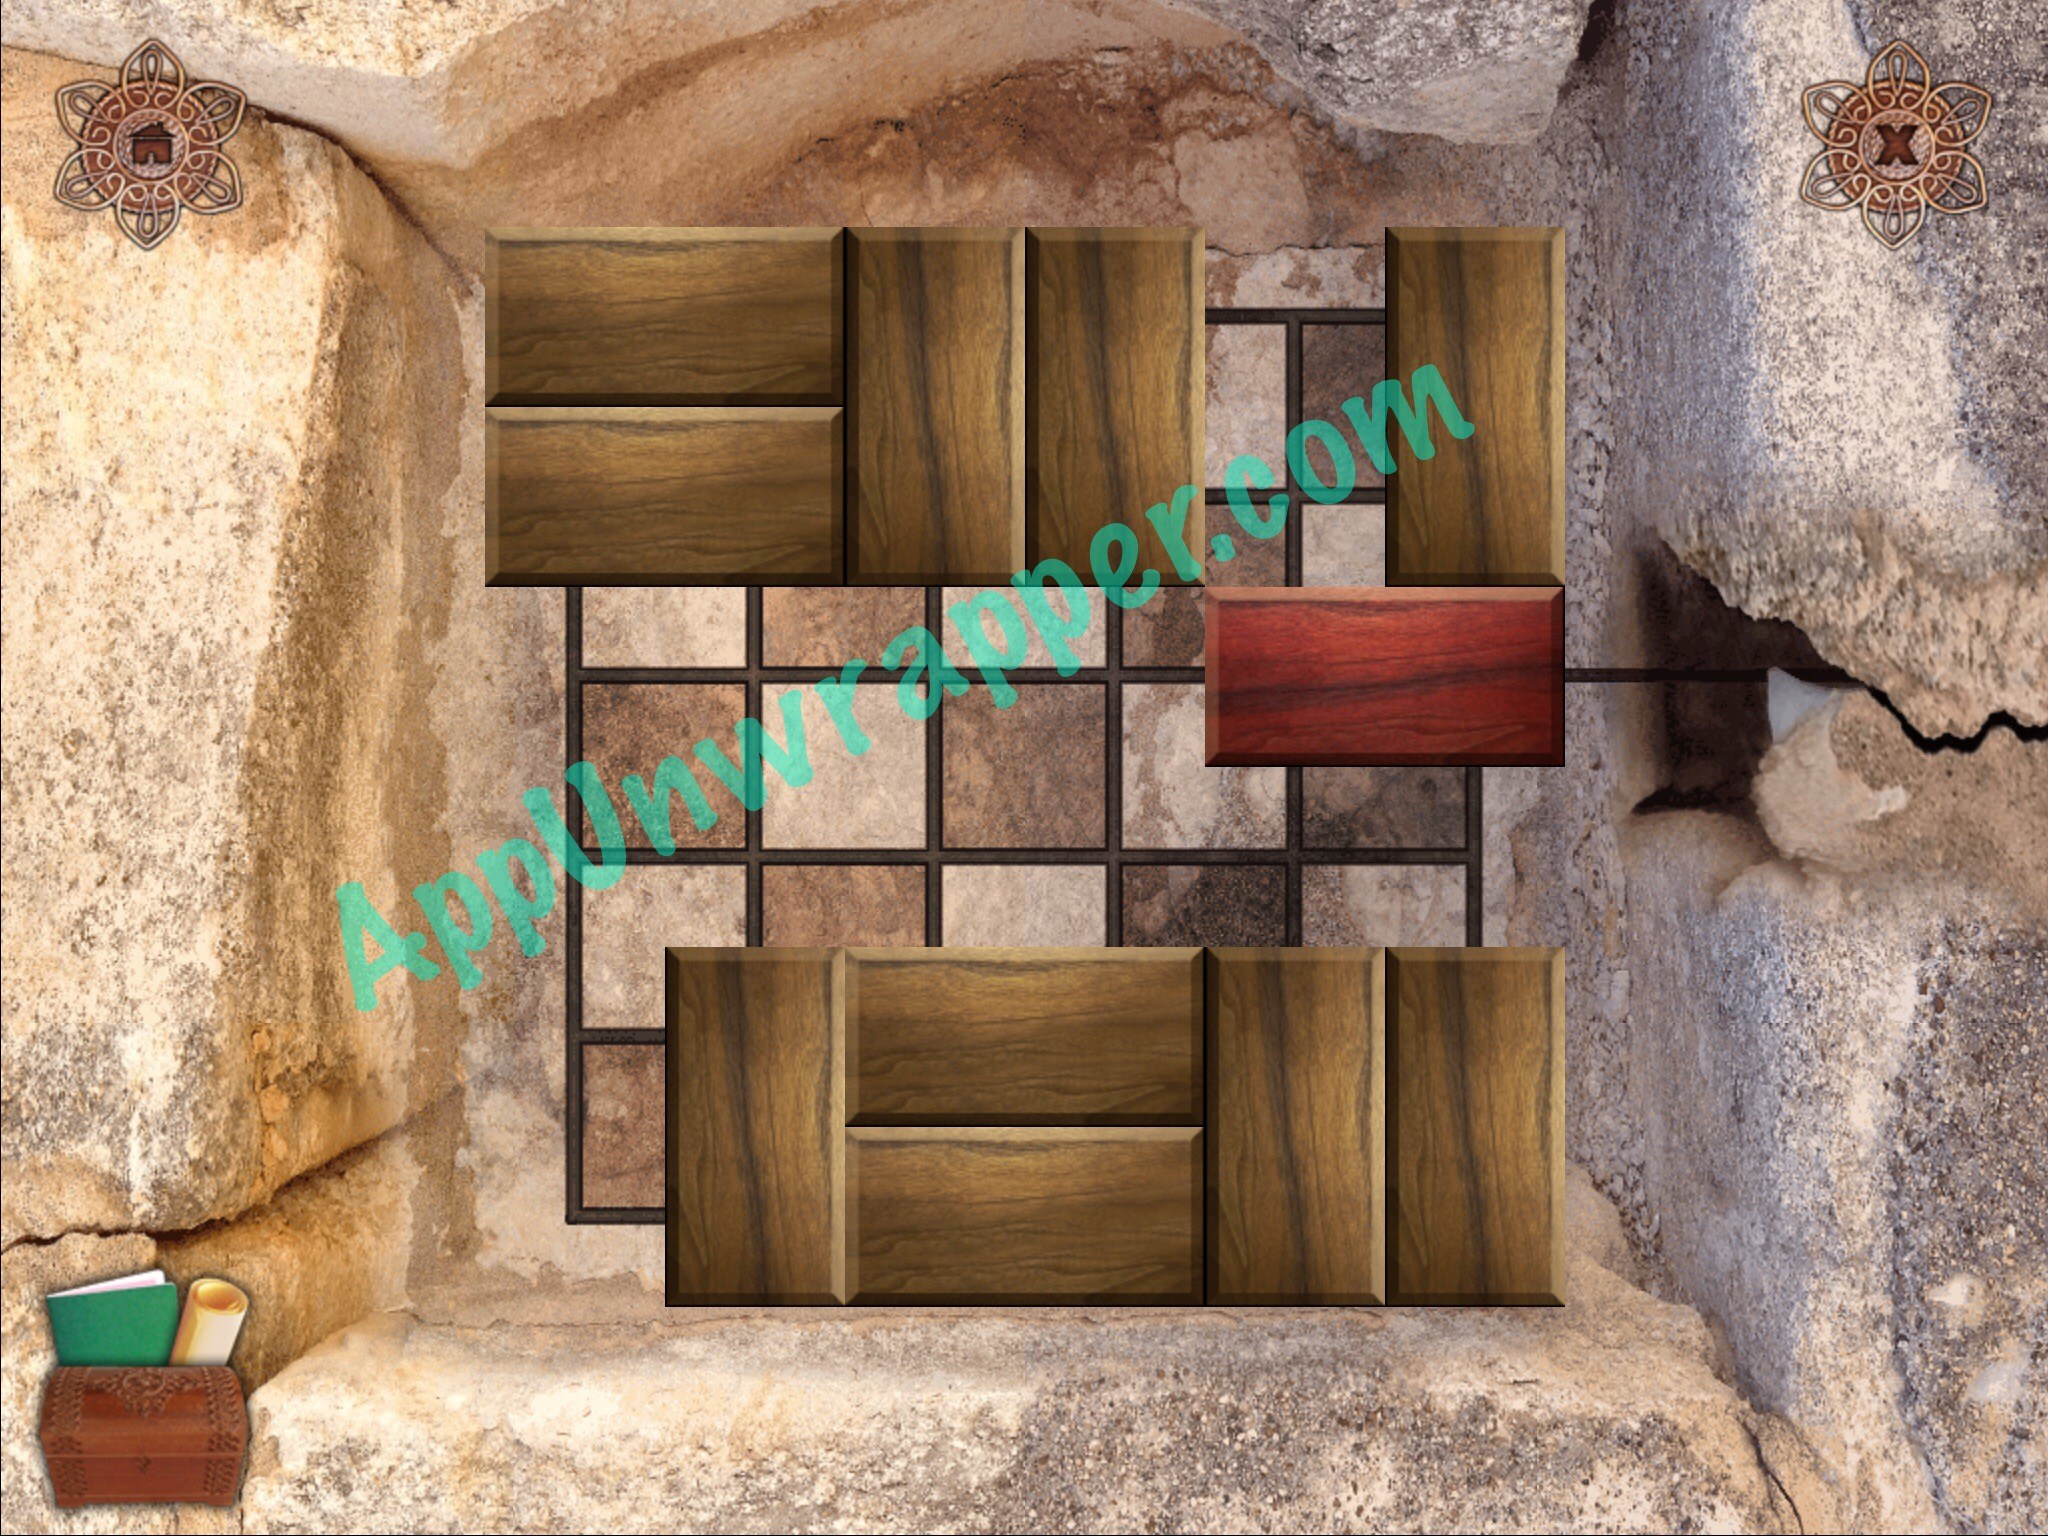
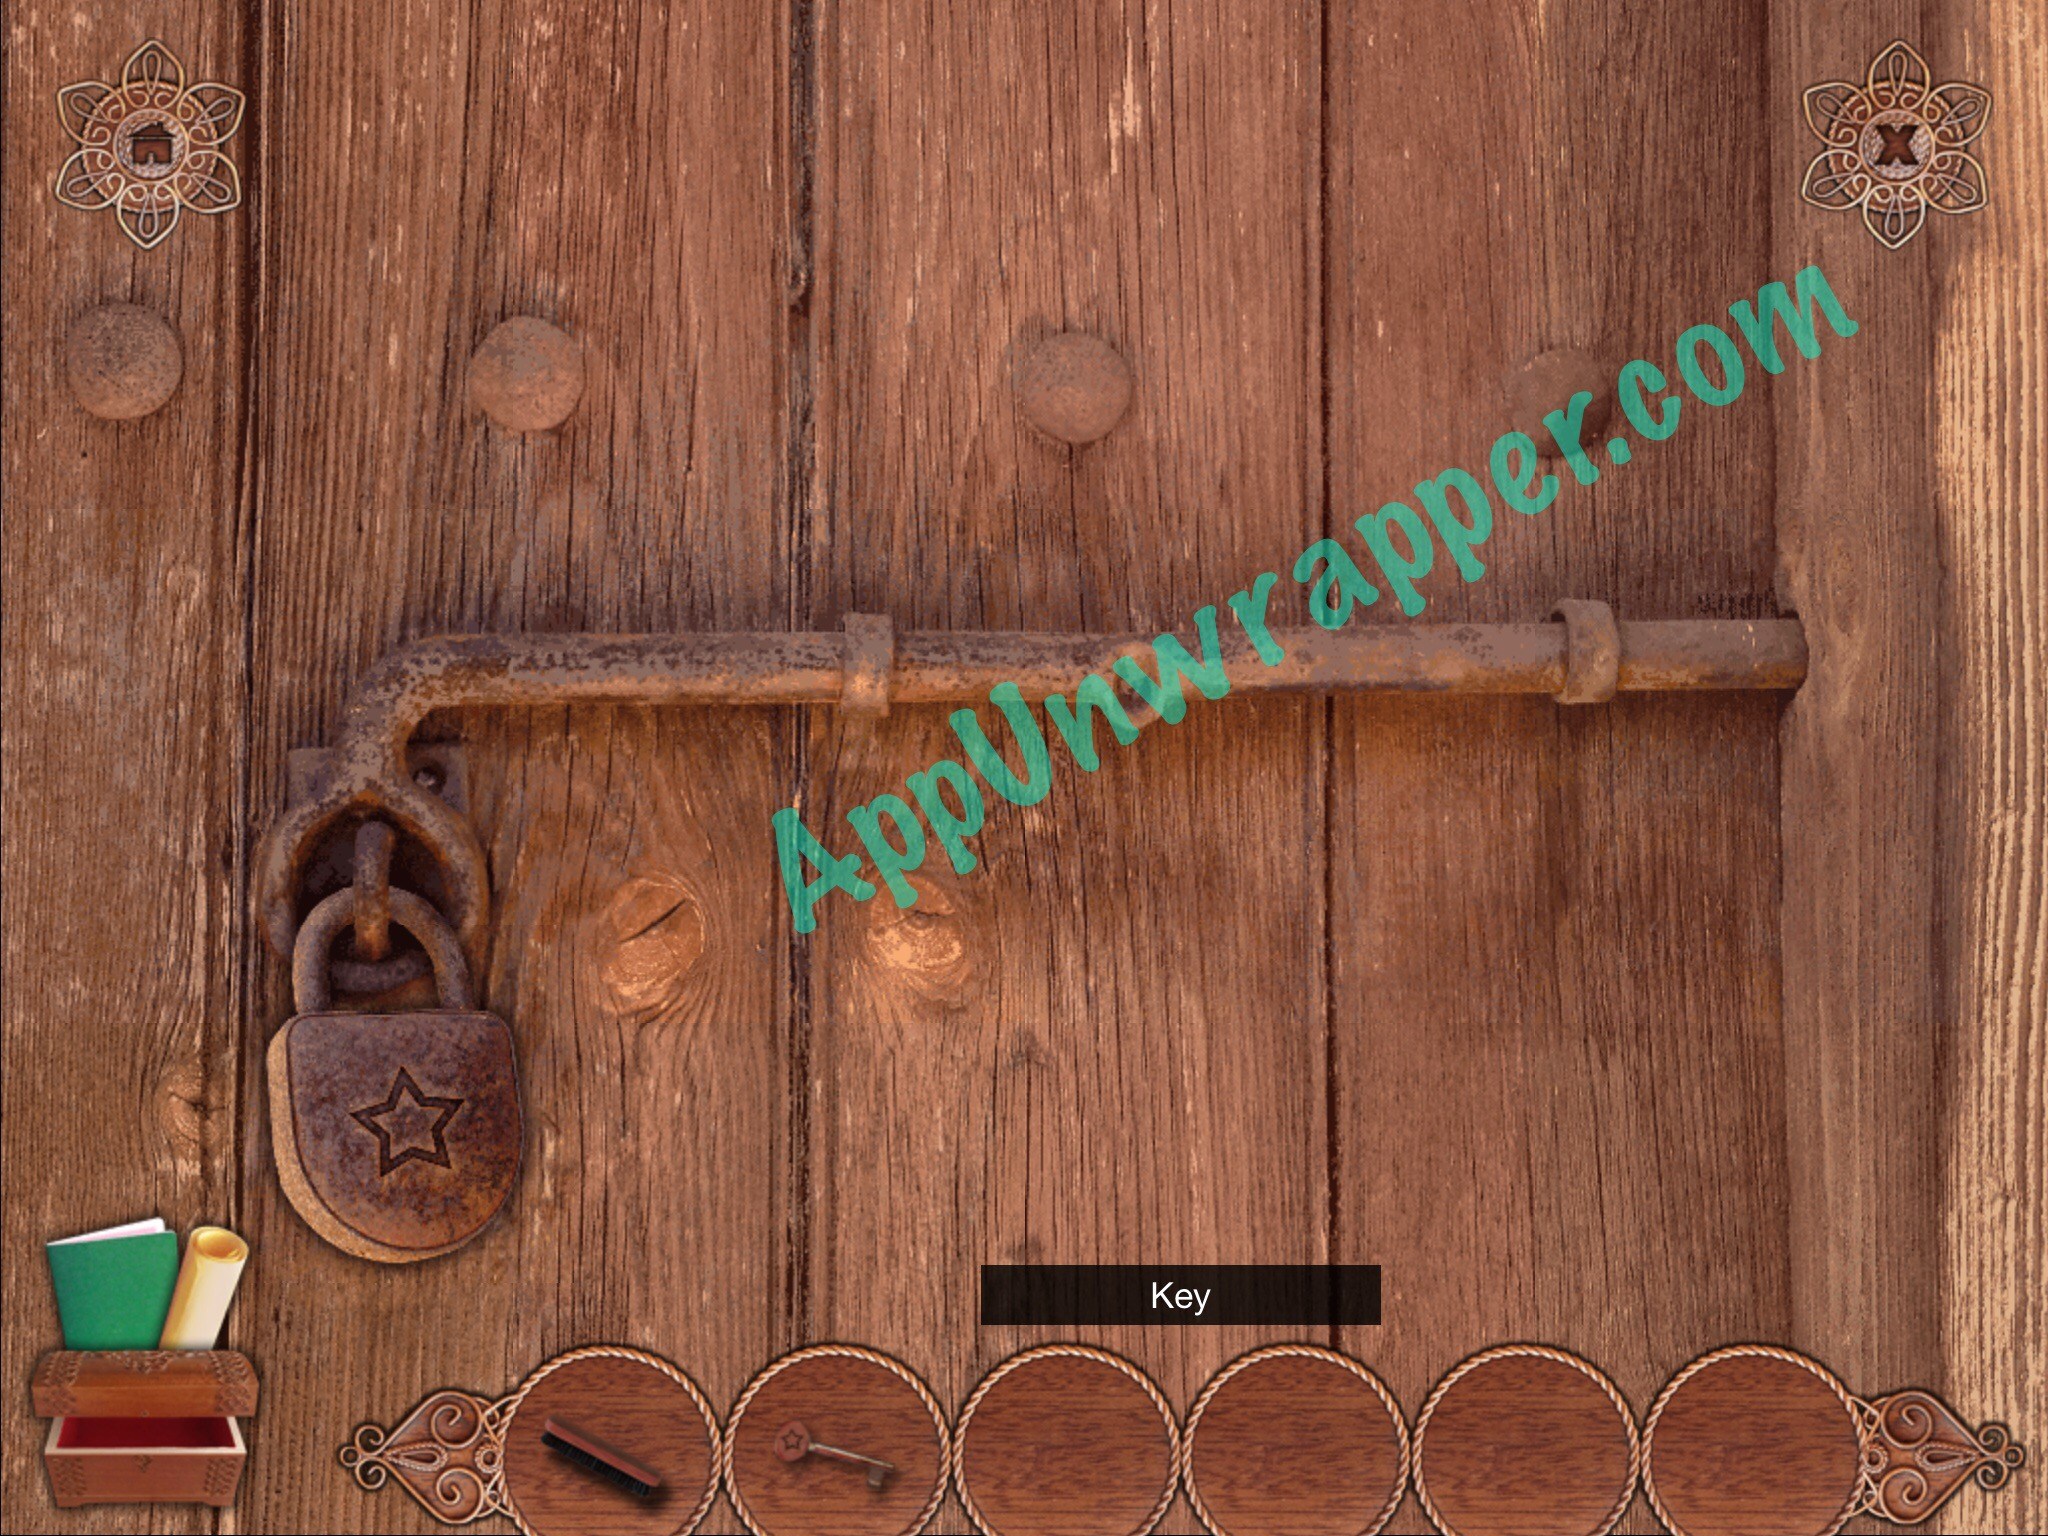
5. Go back to the gate and tap on the little lock to the left. Now add the wooden piece to the puzzle and slide the blocks around until there’s room to get the red one into the hole to the right. Slide it in to unlock the gate!
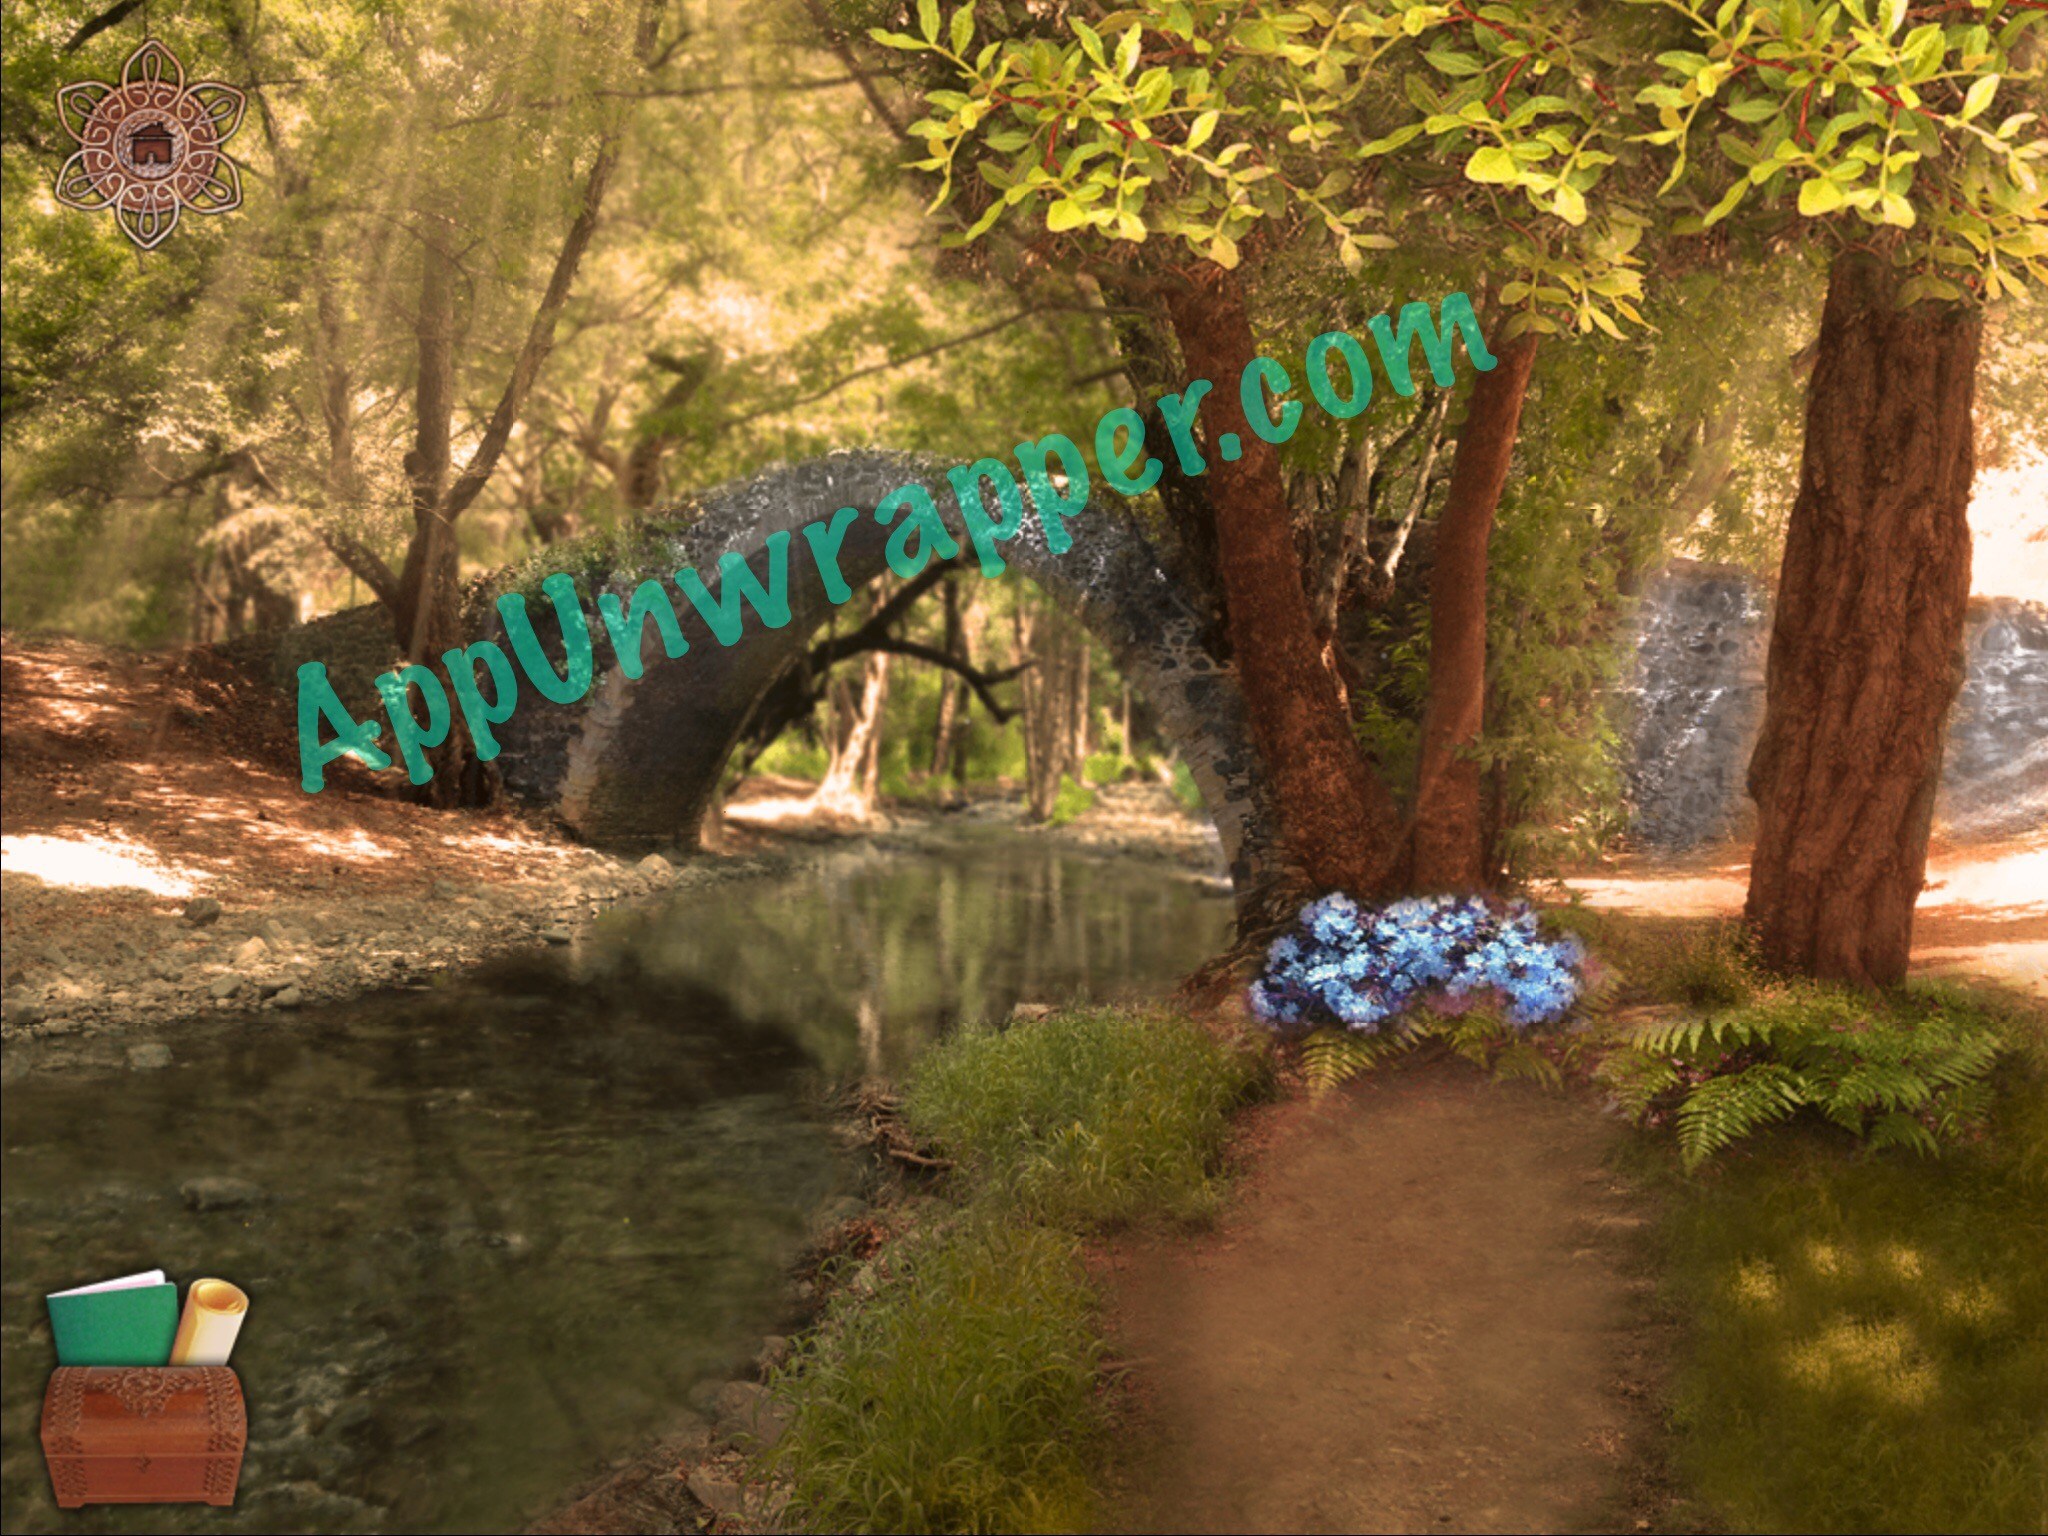
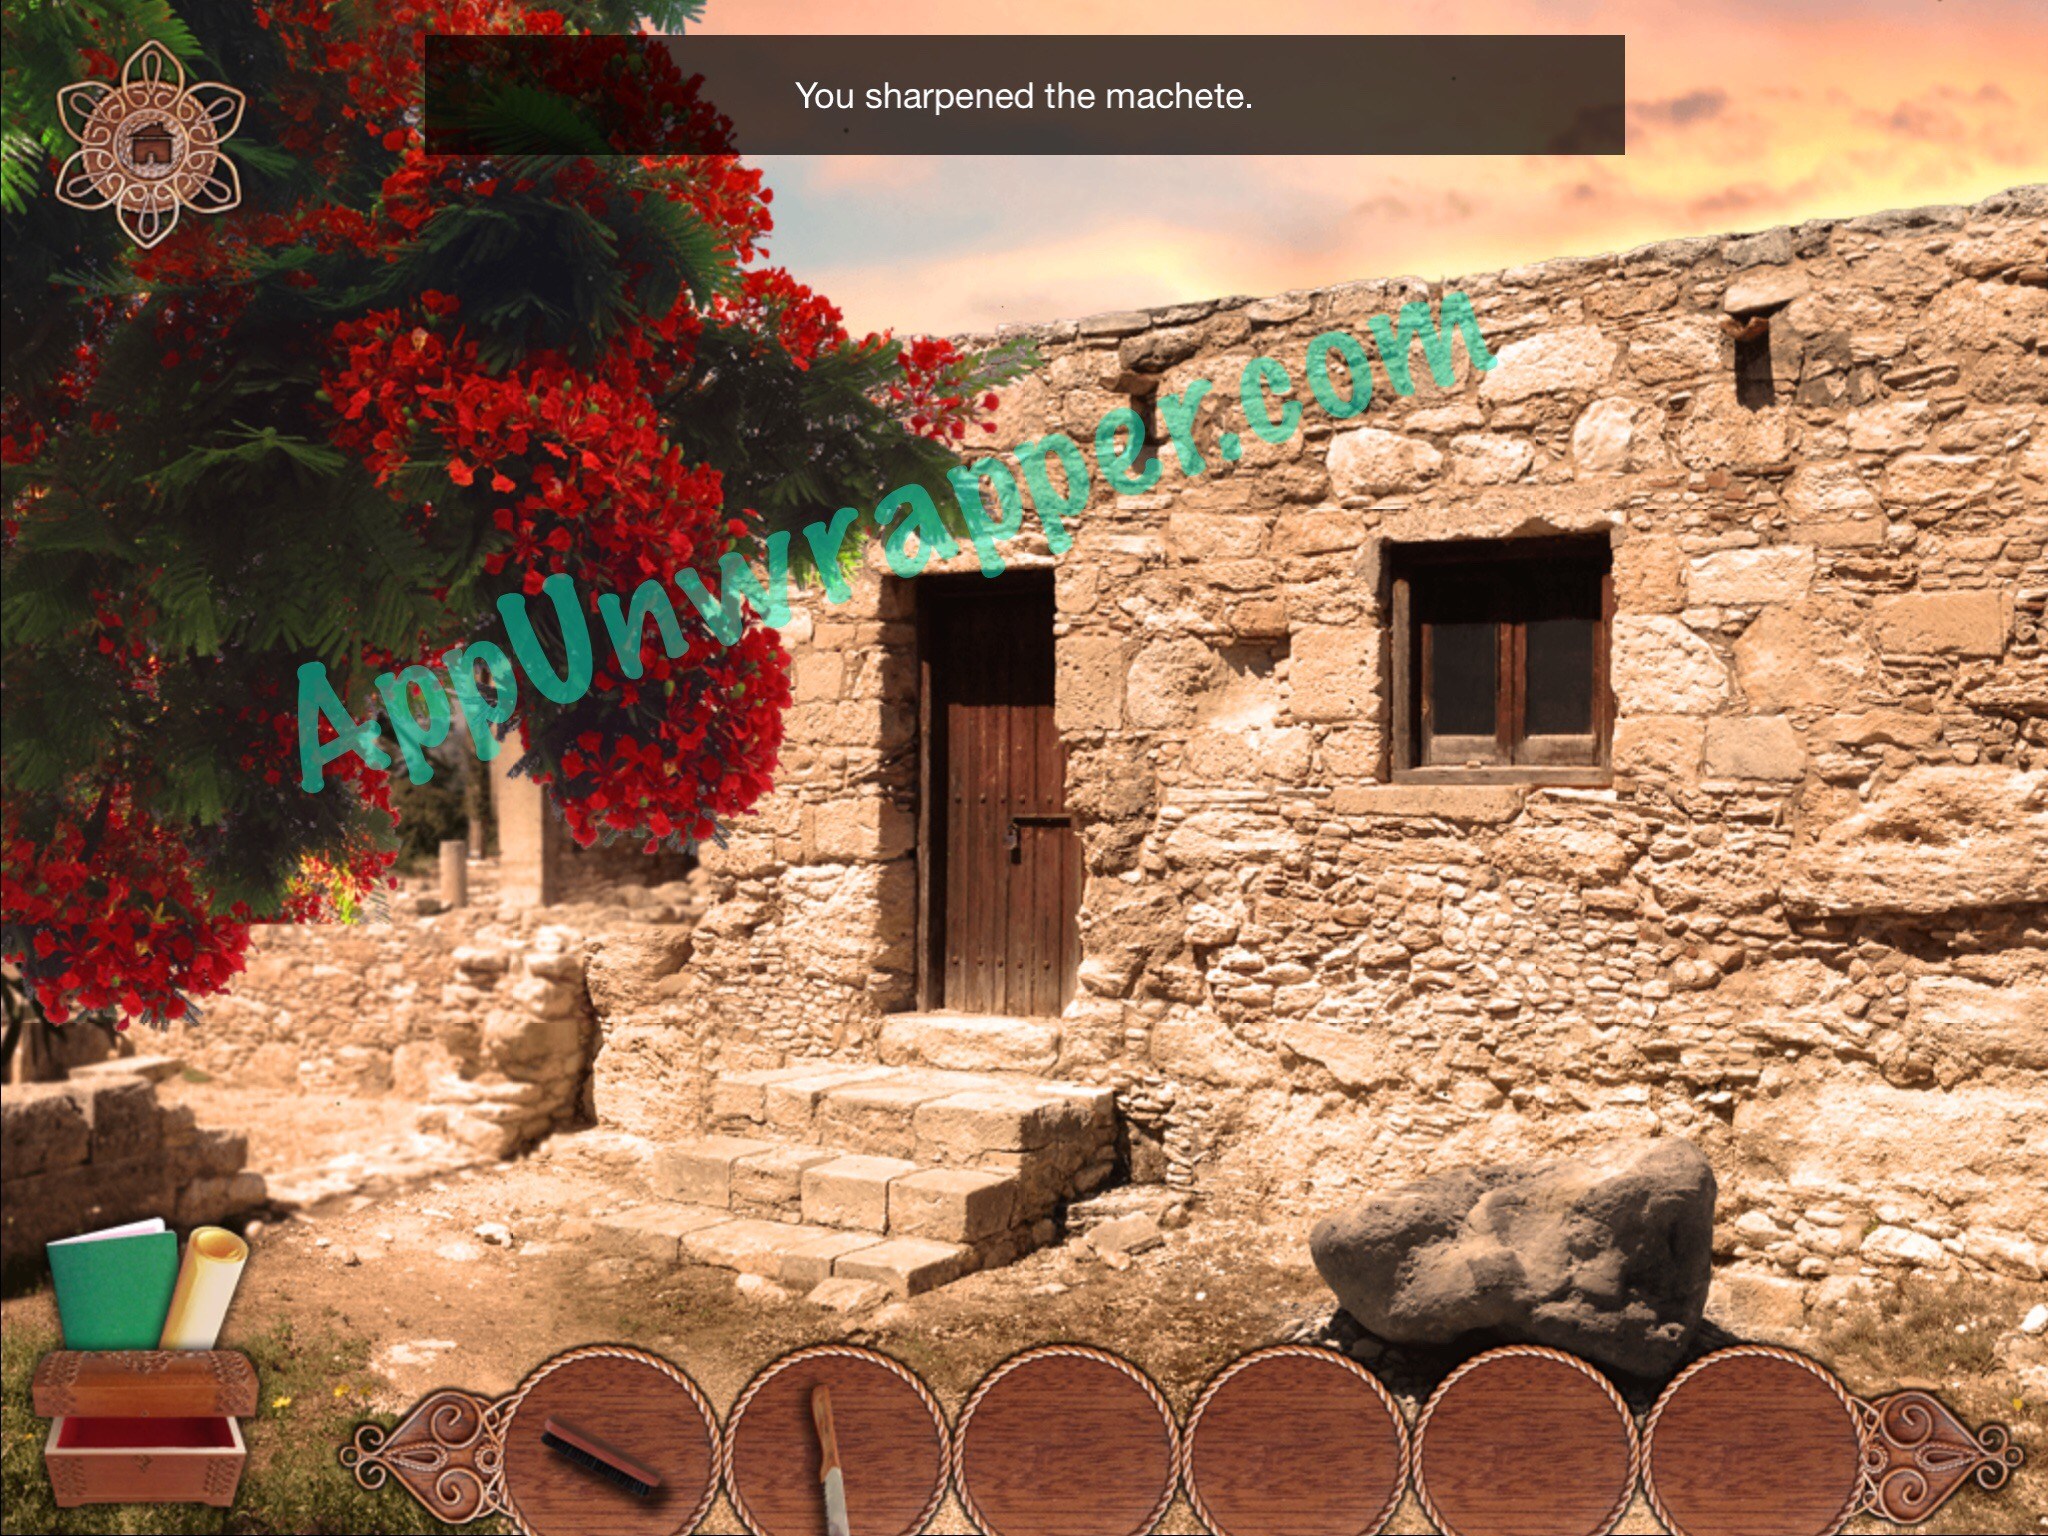
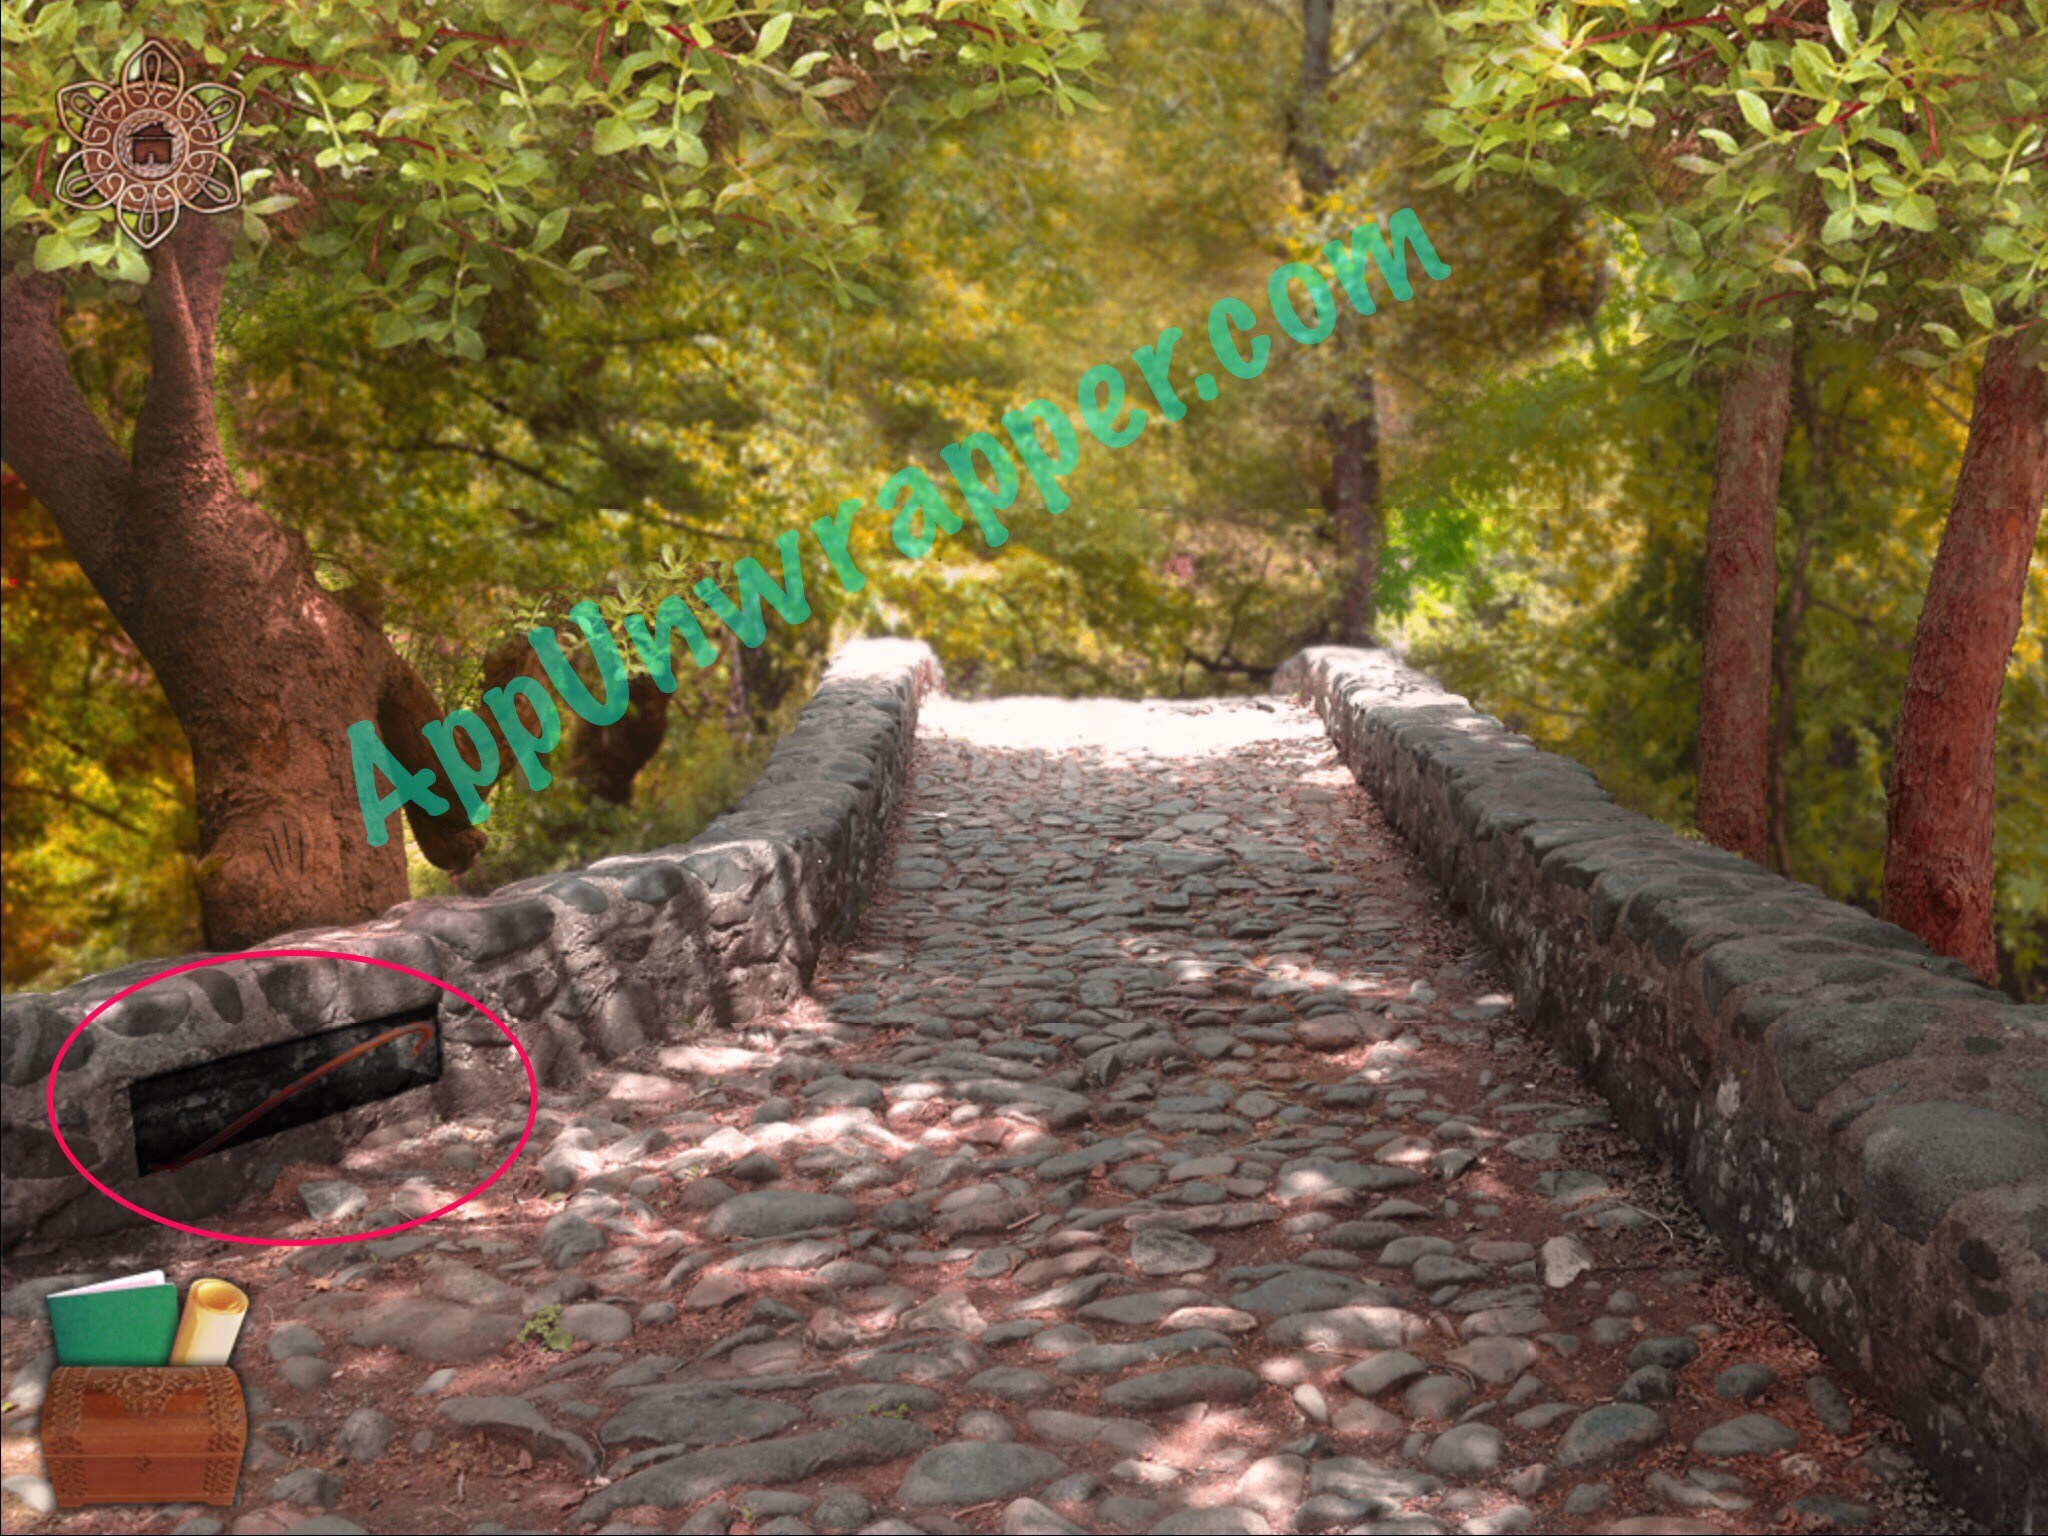
6. Go through the gate. Tap on the blue flowers and pick up the rusty machete. Then go back to the screen with the sharpening stone (whetstone) and use it to sharpen the machete. Then go back to through the gate and this time go past the blue flowers to the bridge. Use the machete to cut the brambles in your way and cross the bridge.
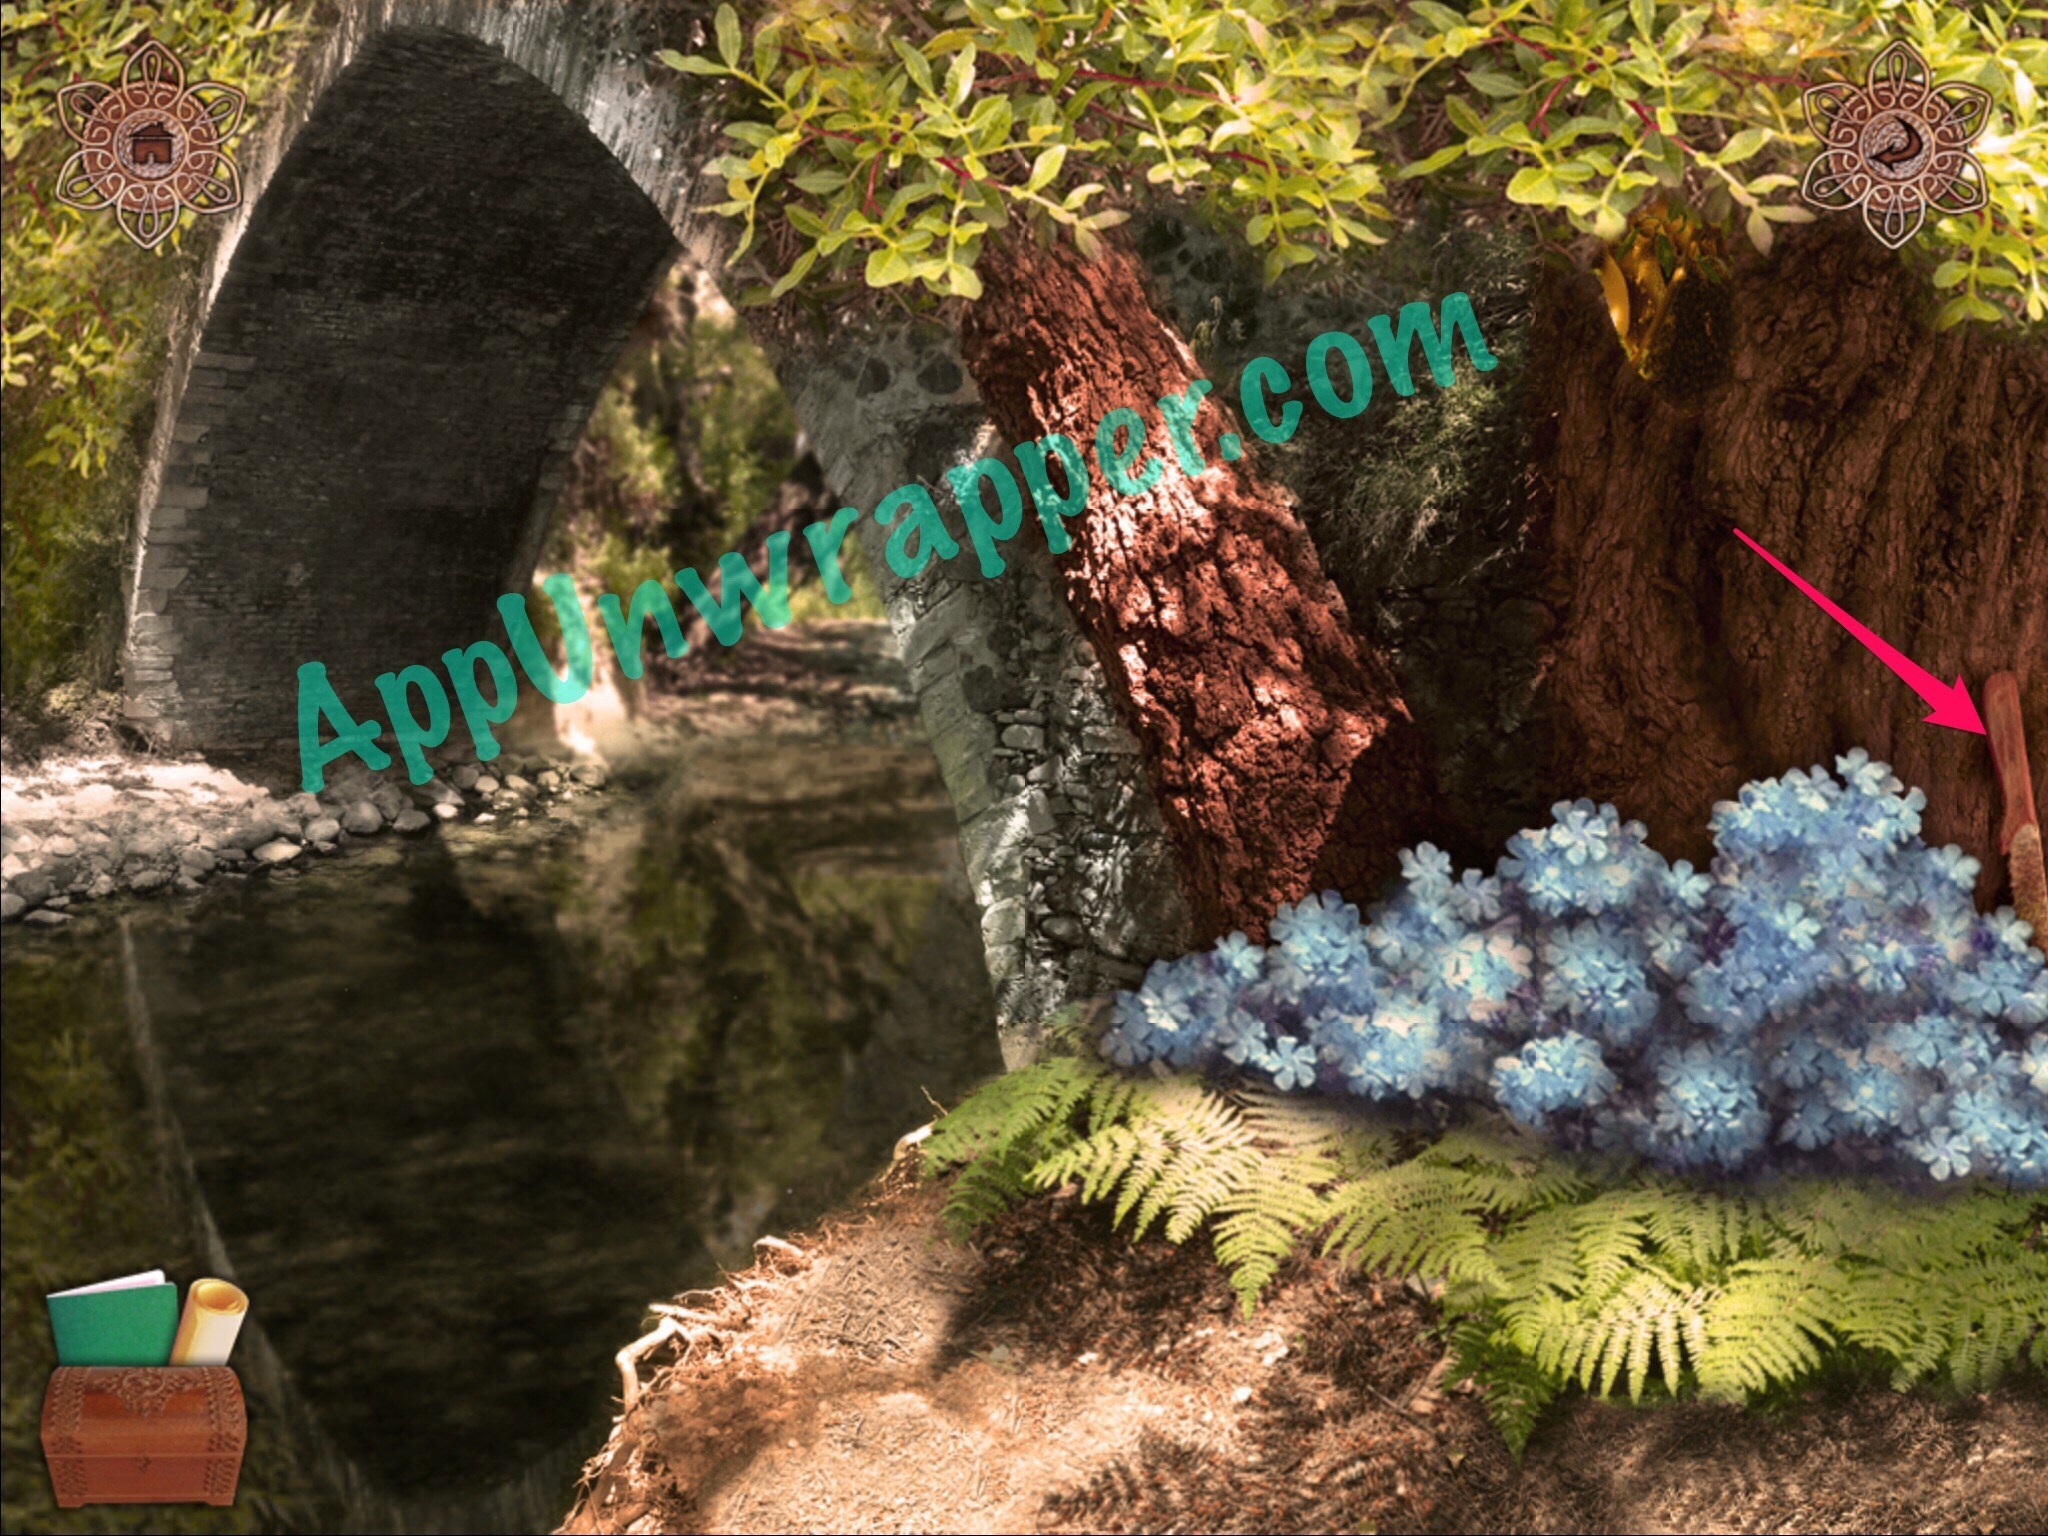
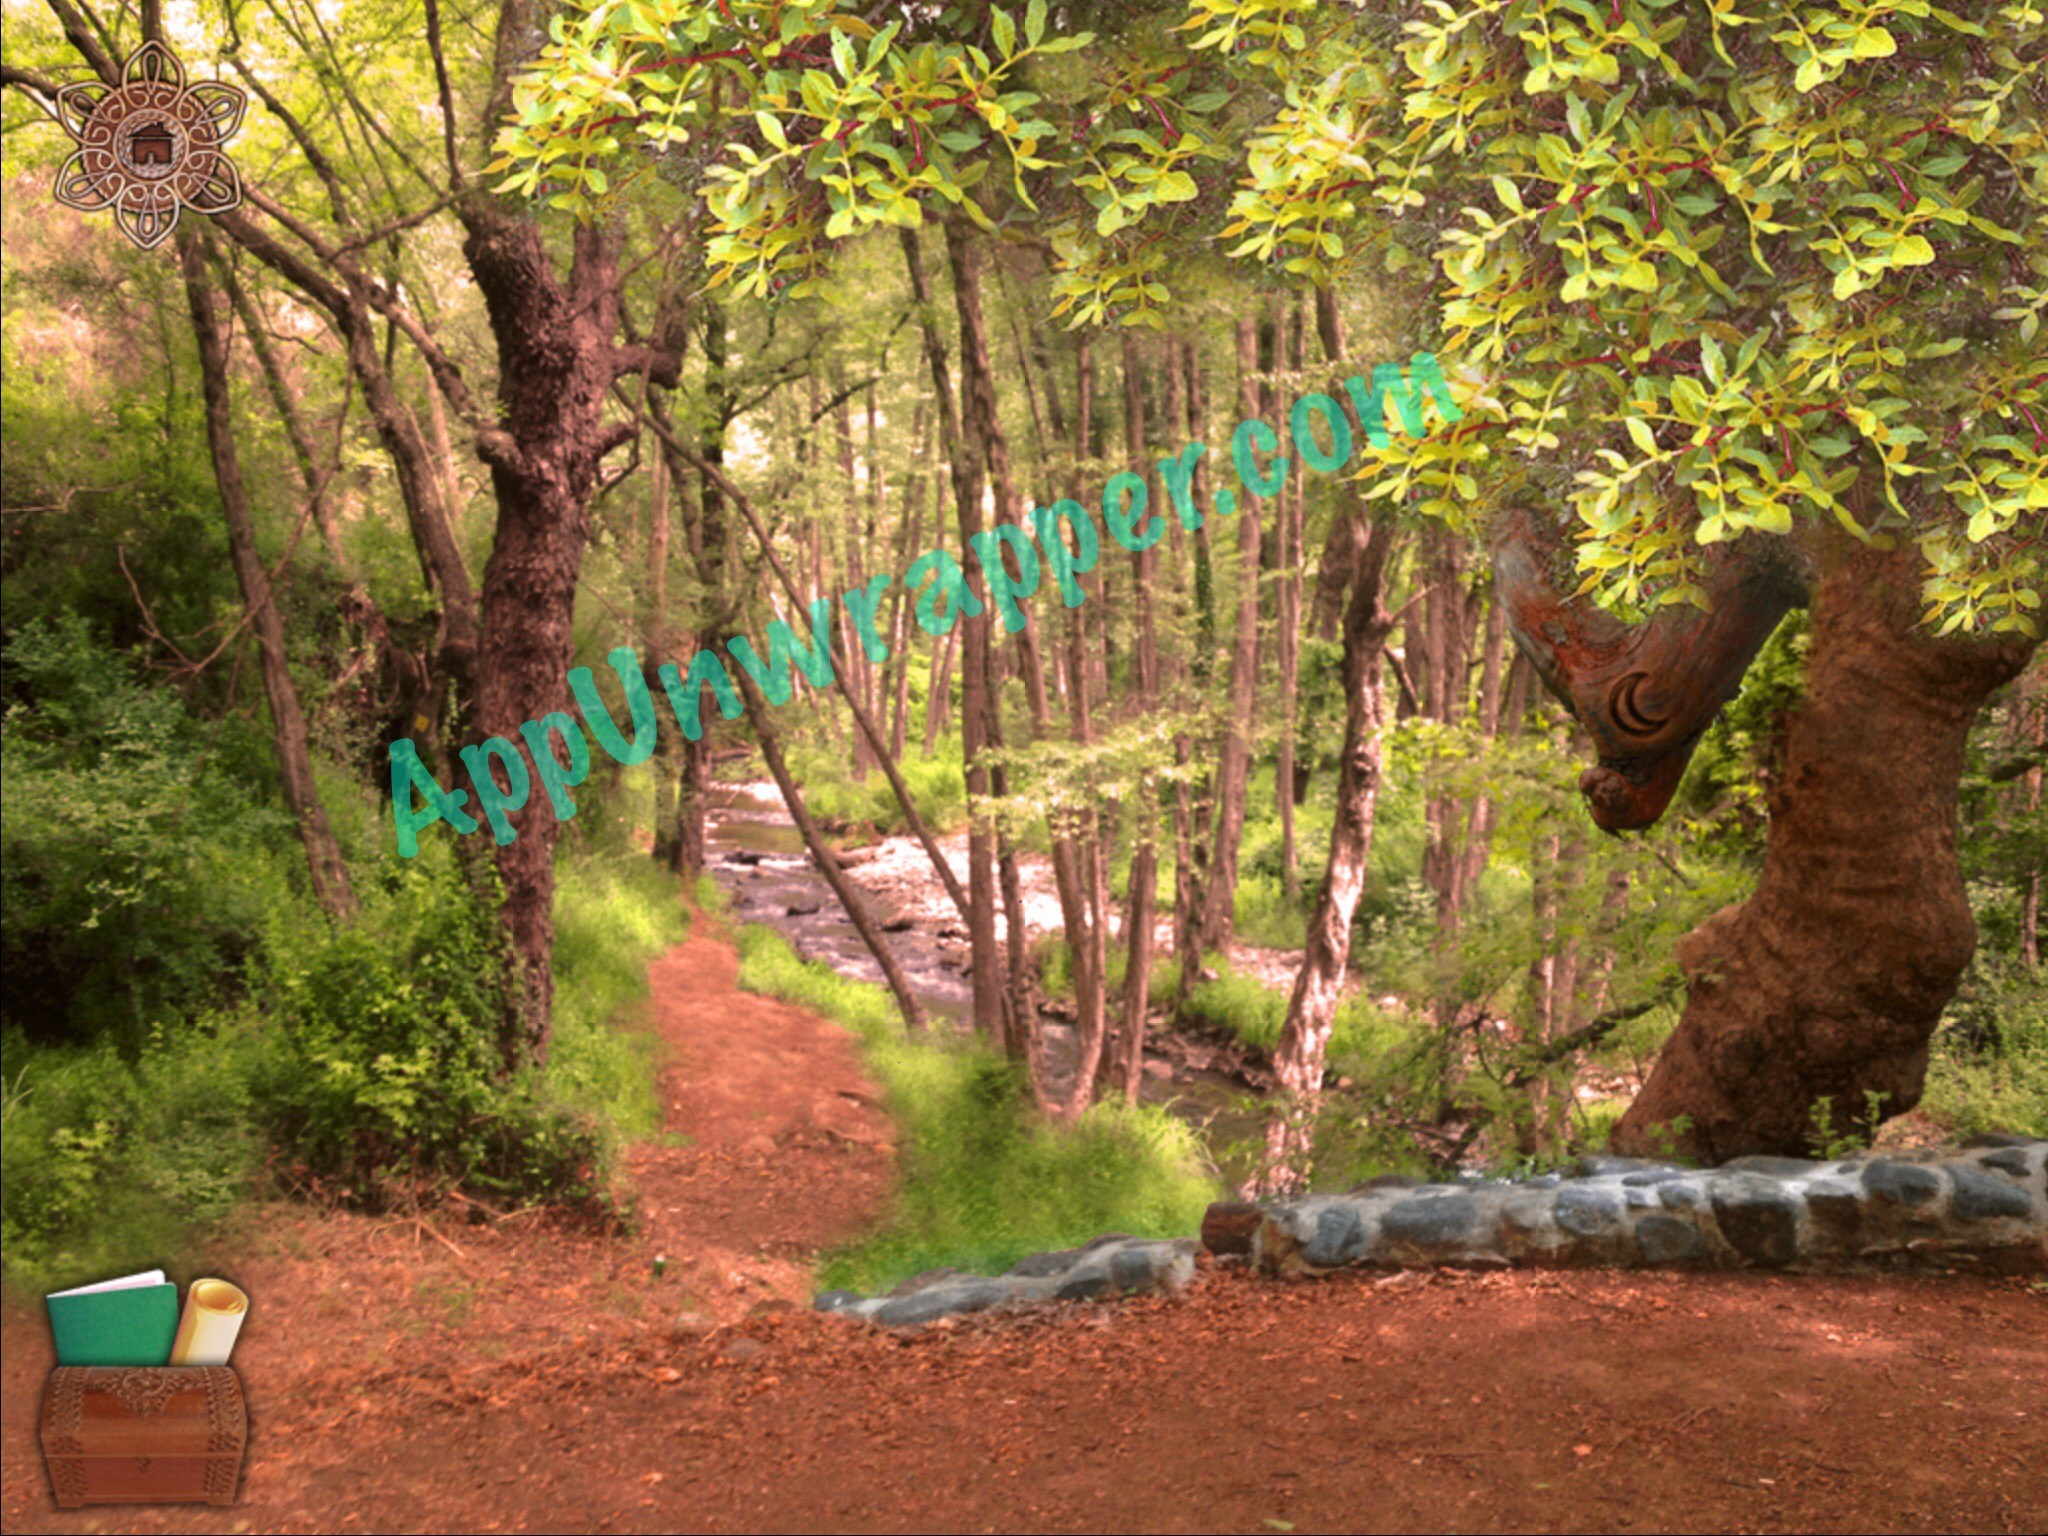
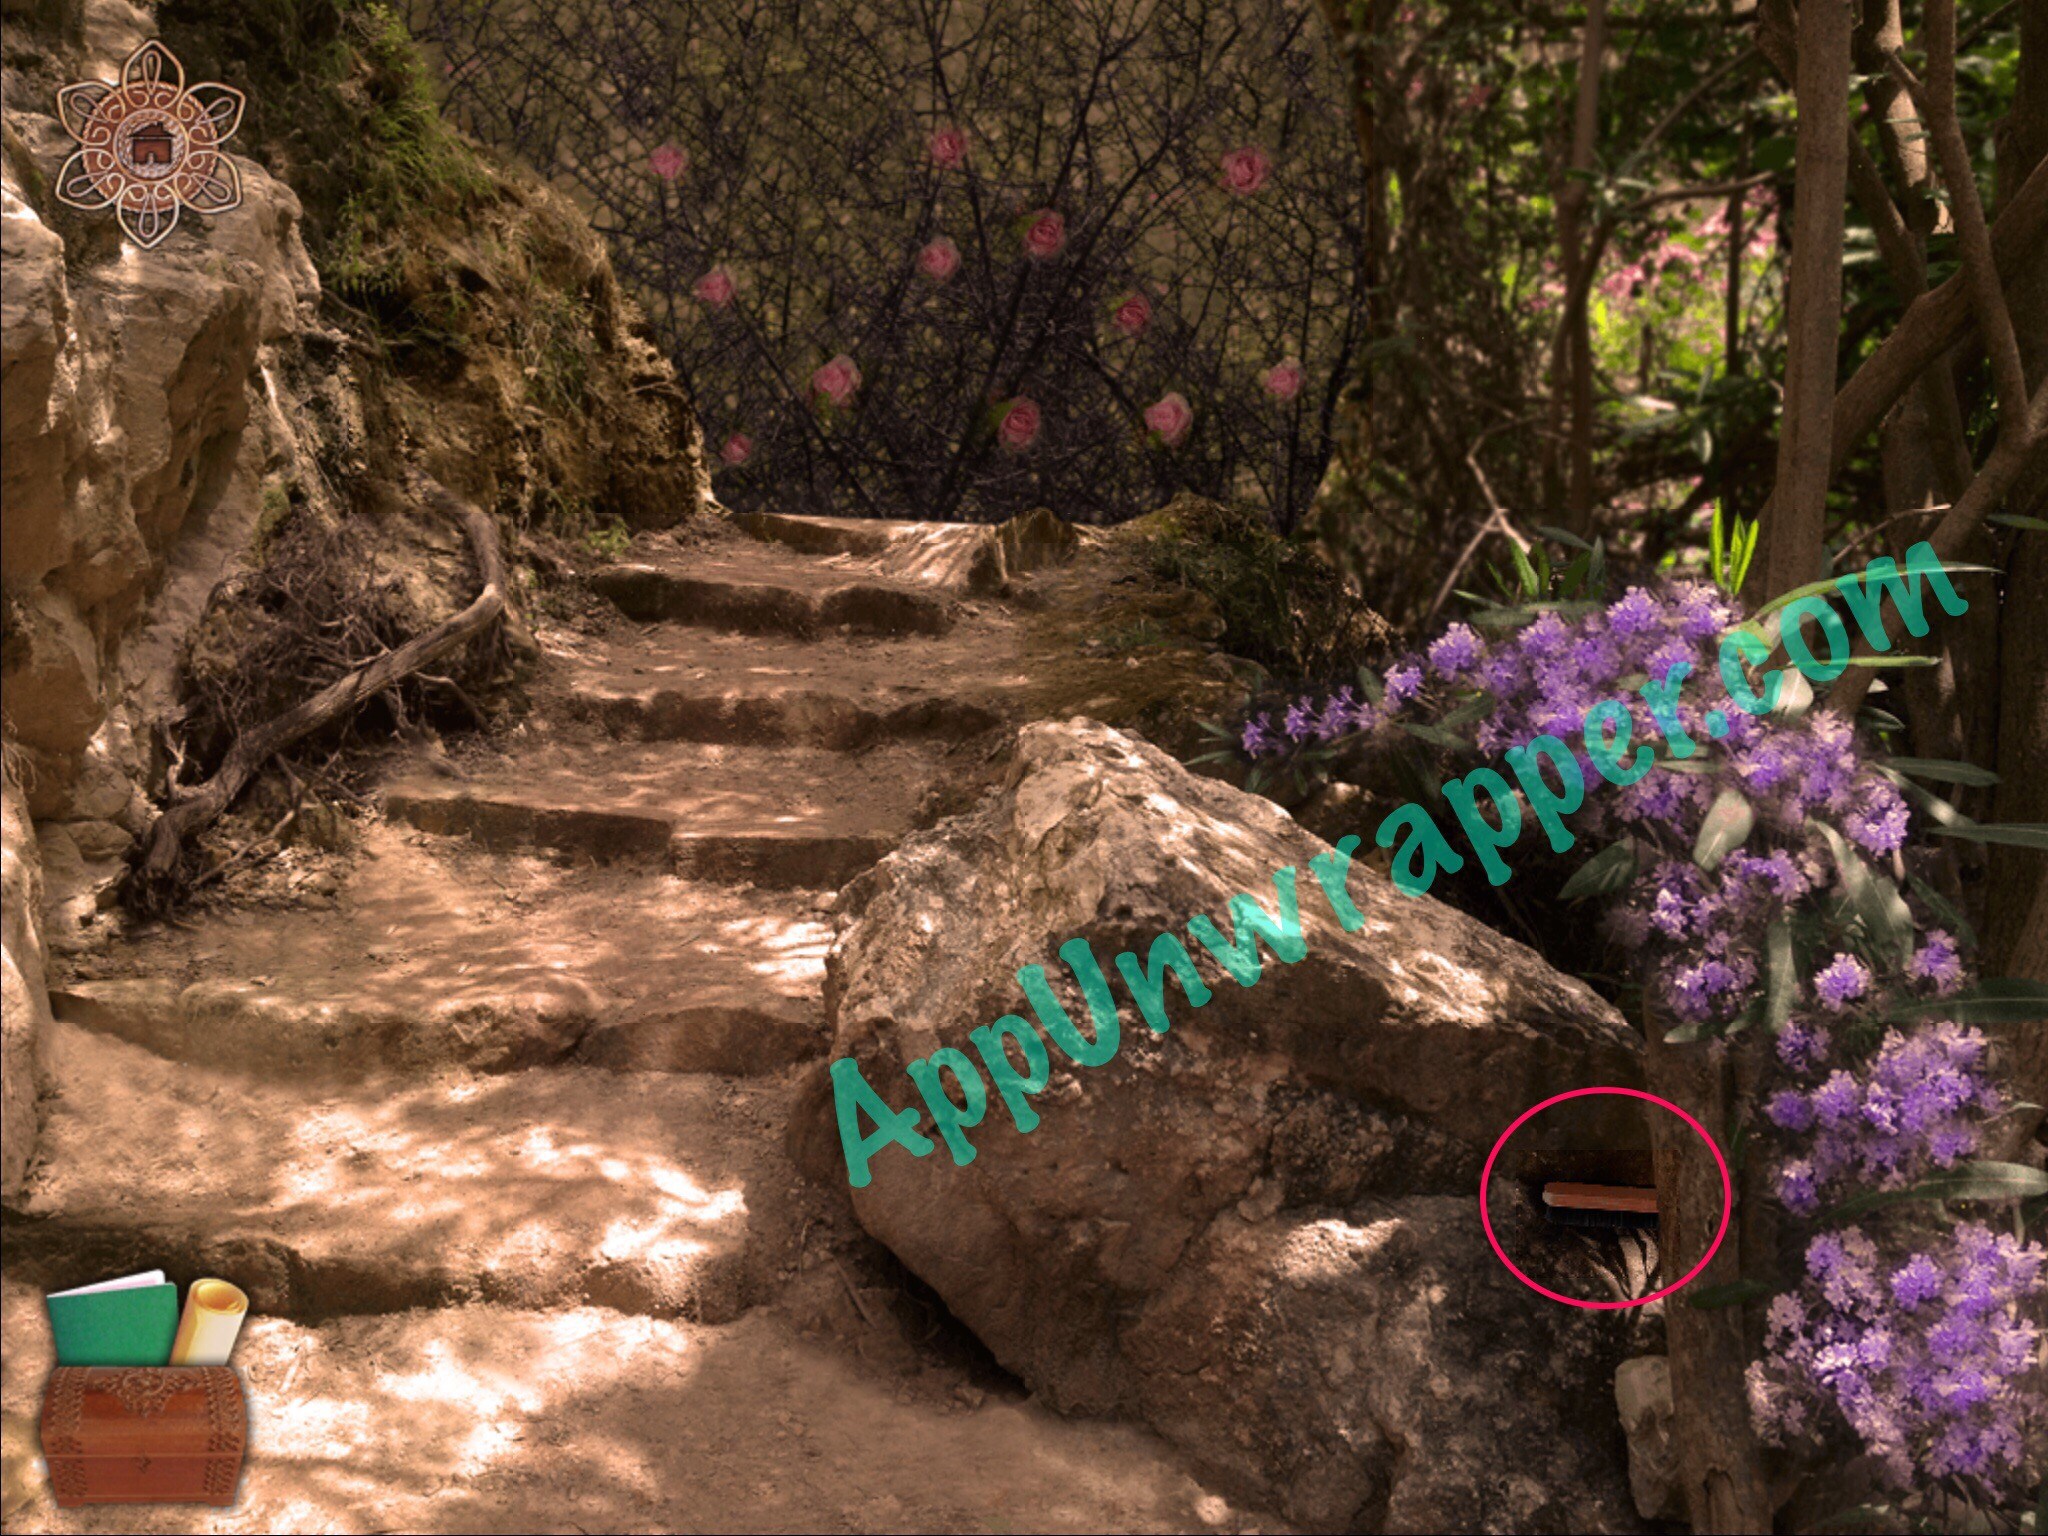
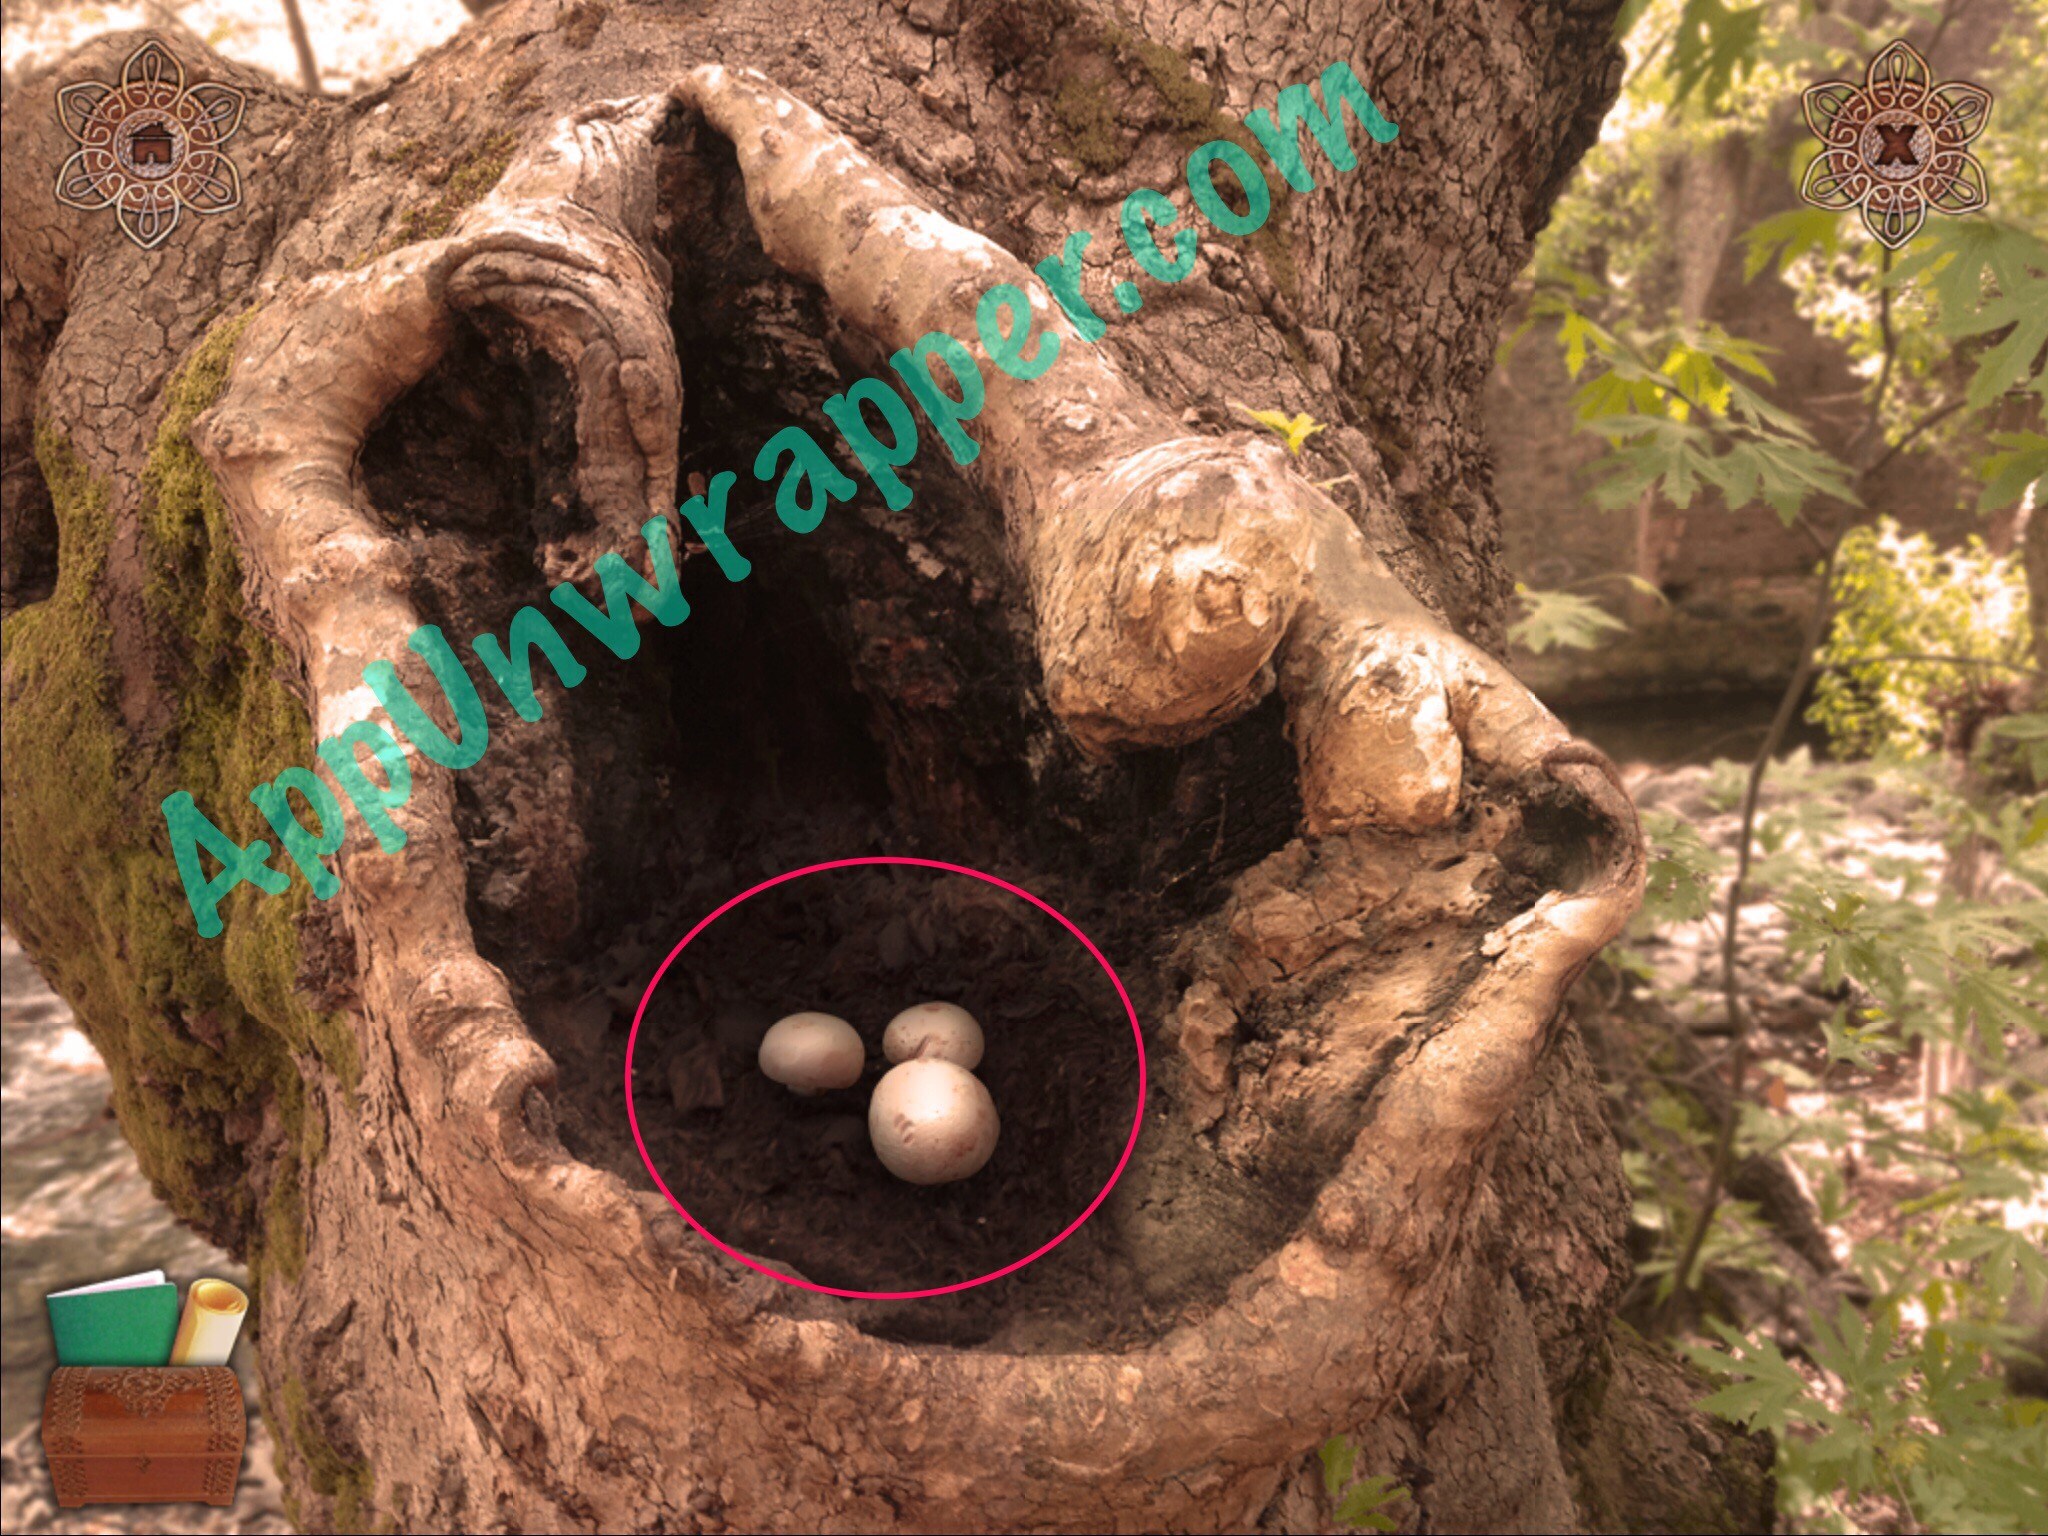
7. Tap the left side of the screen here to go to another scene. Pick up the star key. Also, use the wire brush on the moss to get a clue for your notebook. Go back a screen and tap straight ahead. Pick up the chisel, then tap to the right. Here, pick up the dried leaves and take the mushrooms from the hole in the tree. Then go back to the scene with the sharpening stone (whetstone) and use the key to unlock the door here.


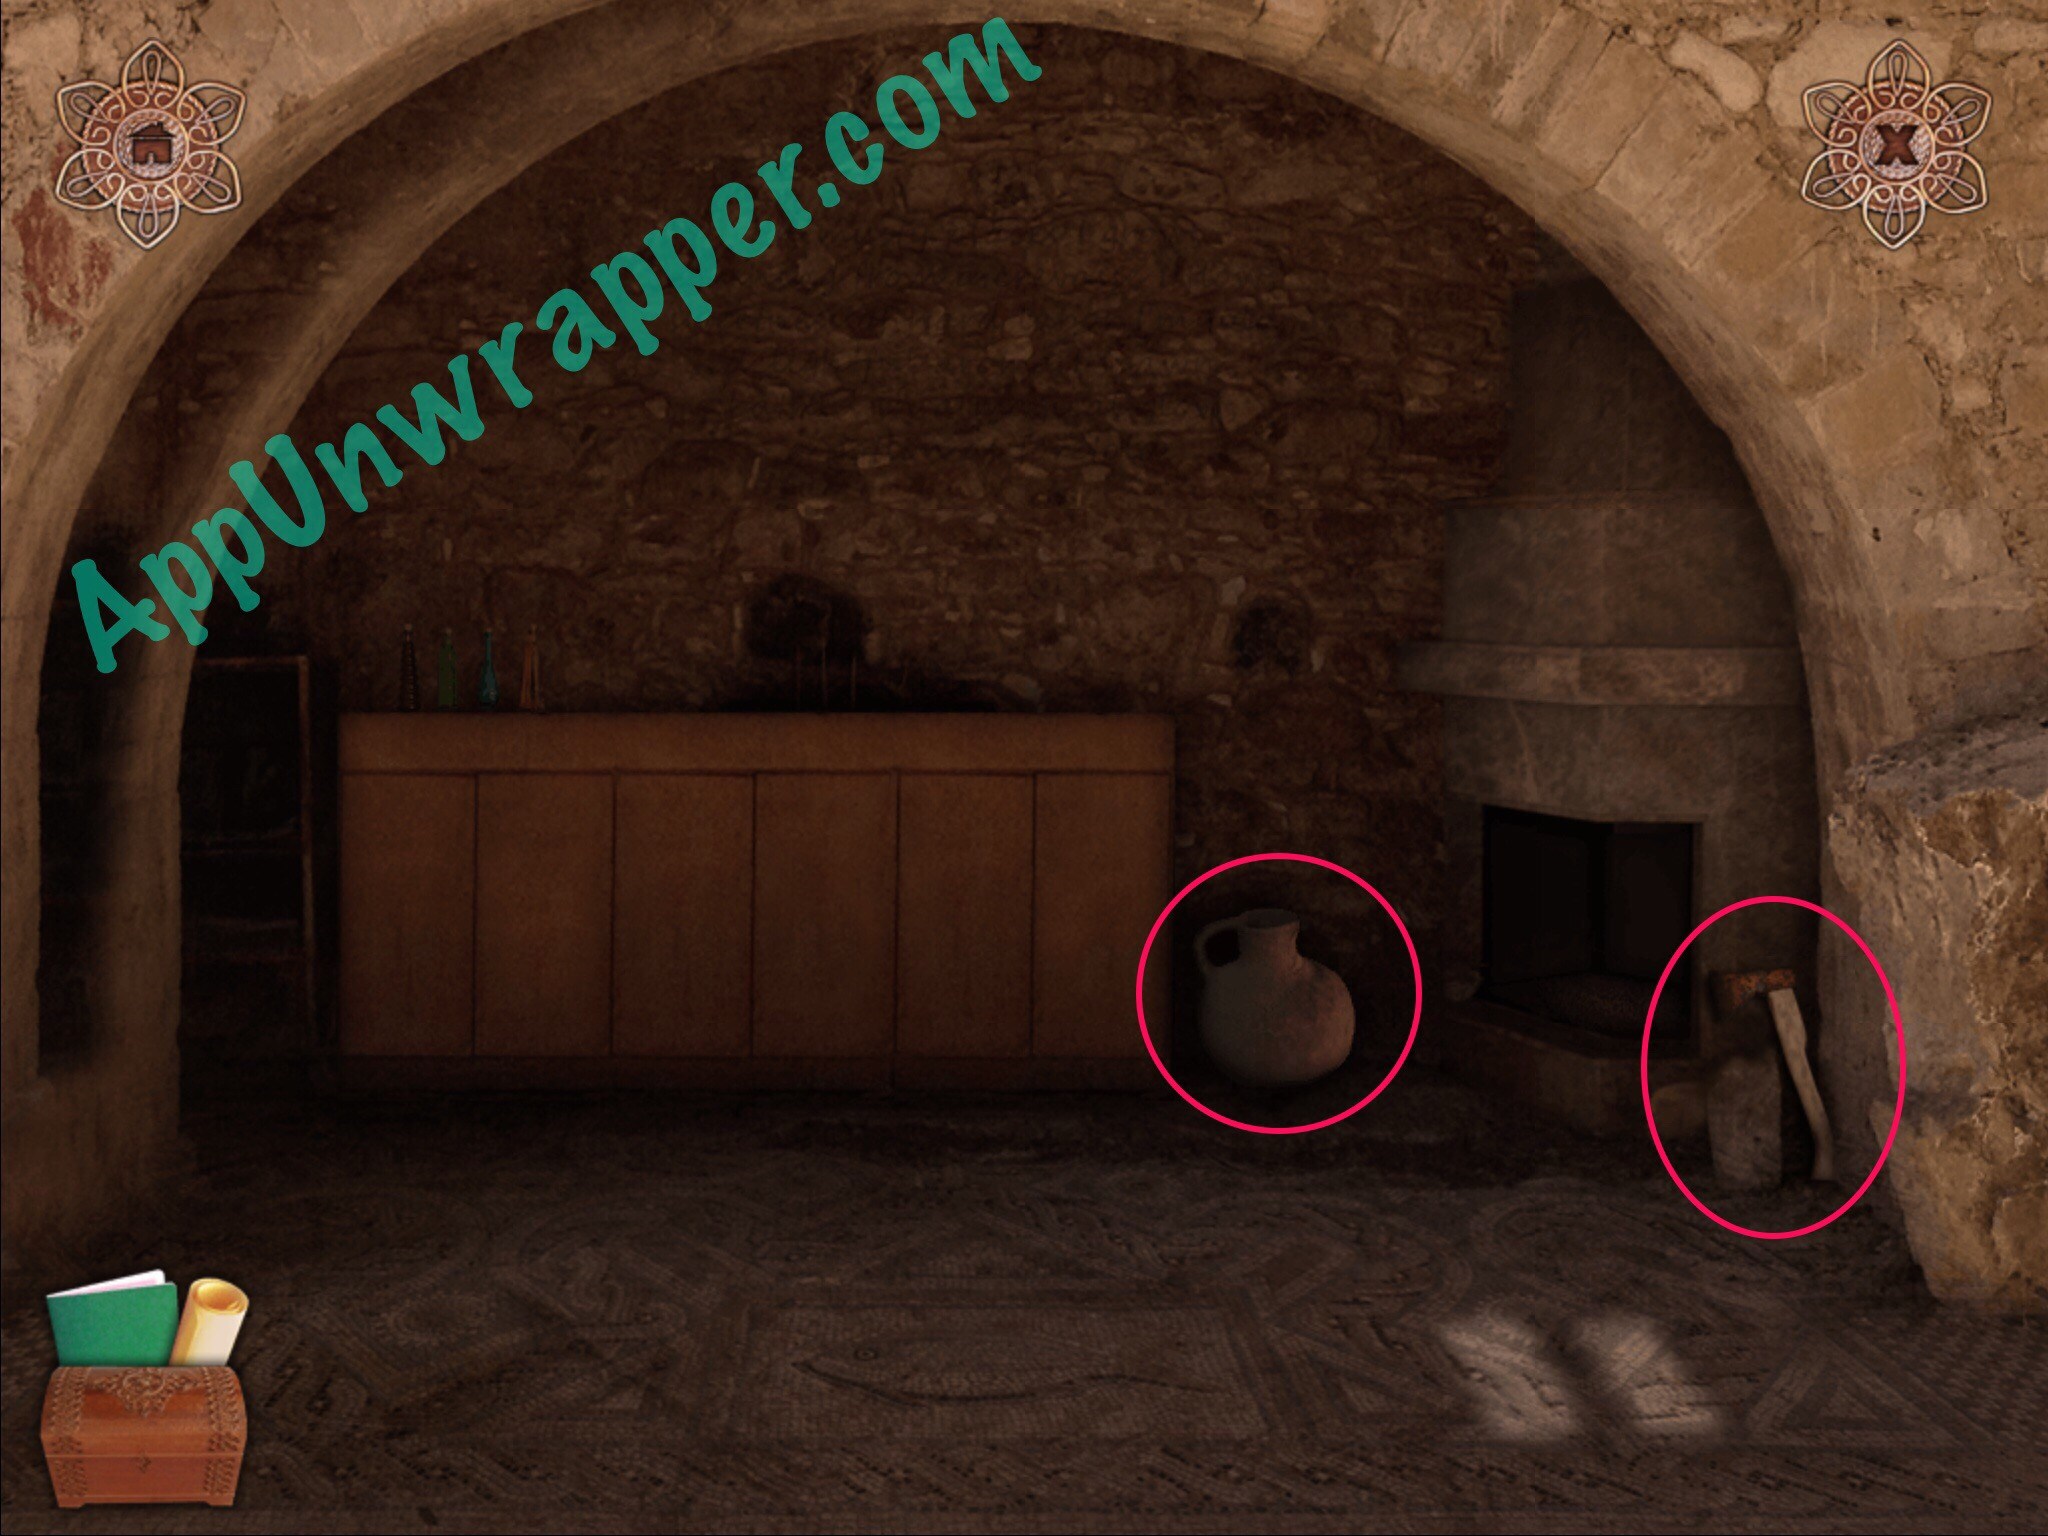
8. Go inside and pick up the amphora (jug?) and rusty axe. Also, take a look in the oven. There’s also some writing on the wall, but it’s too faded to see. We’ll come back to it.
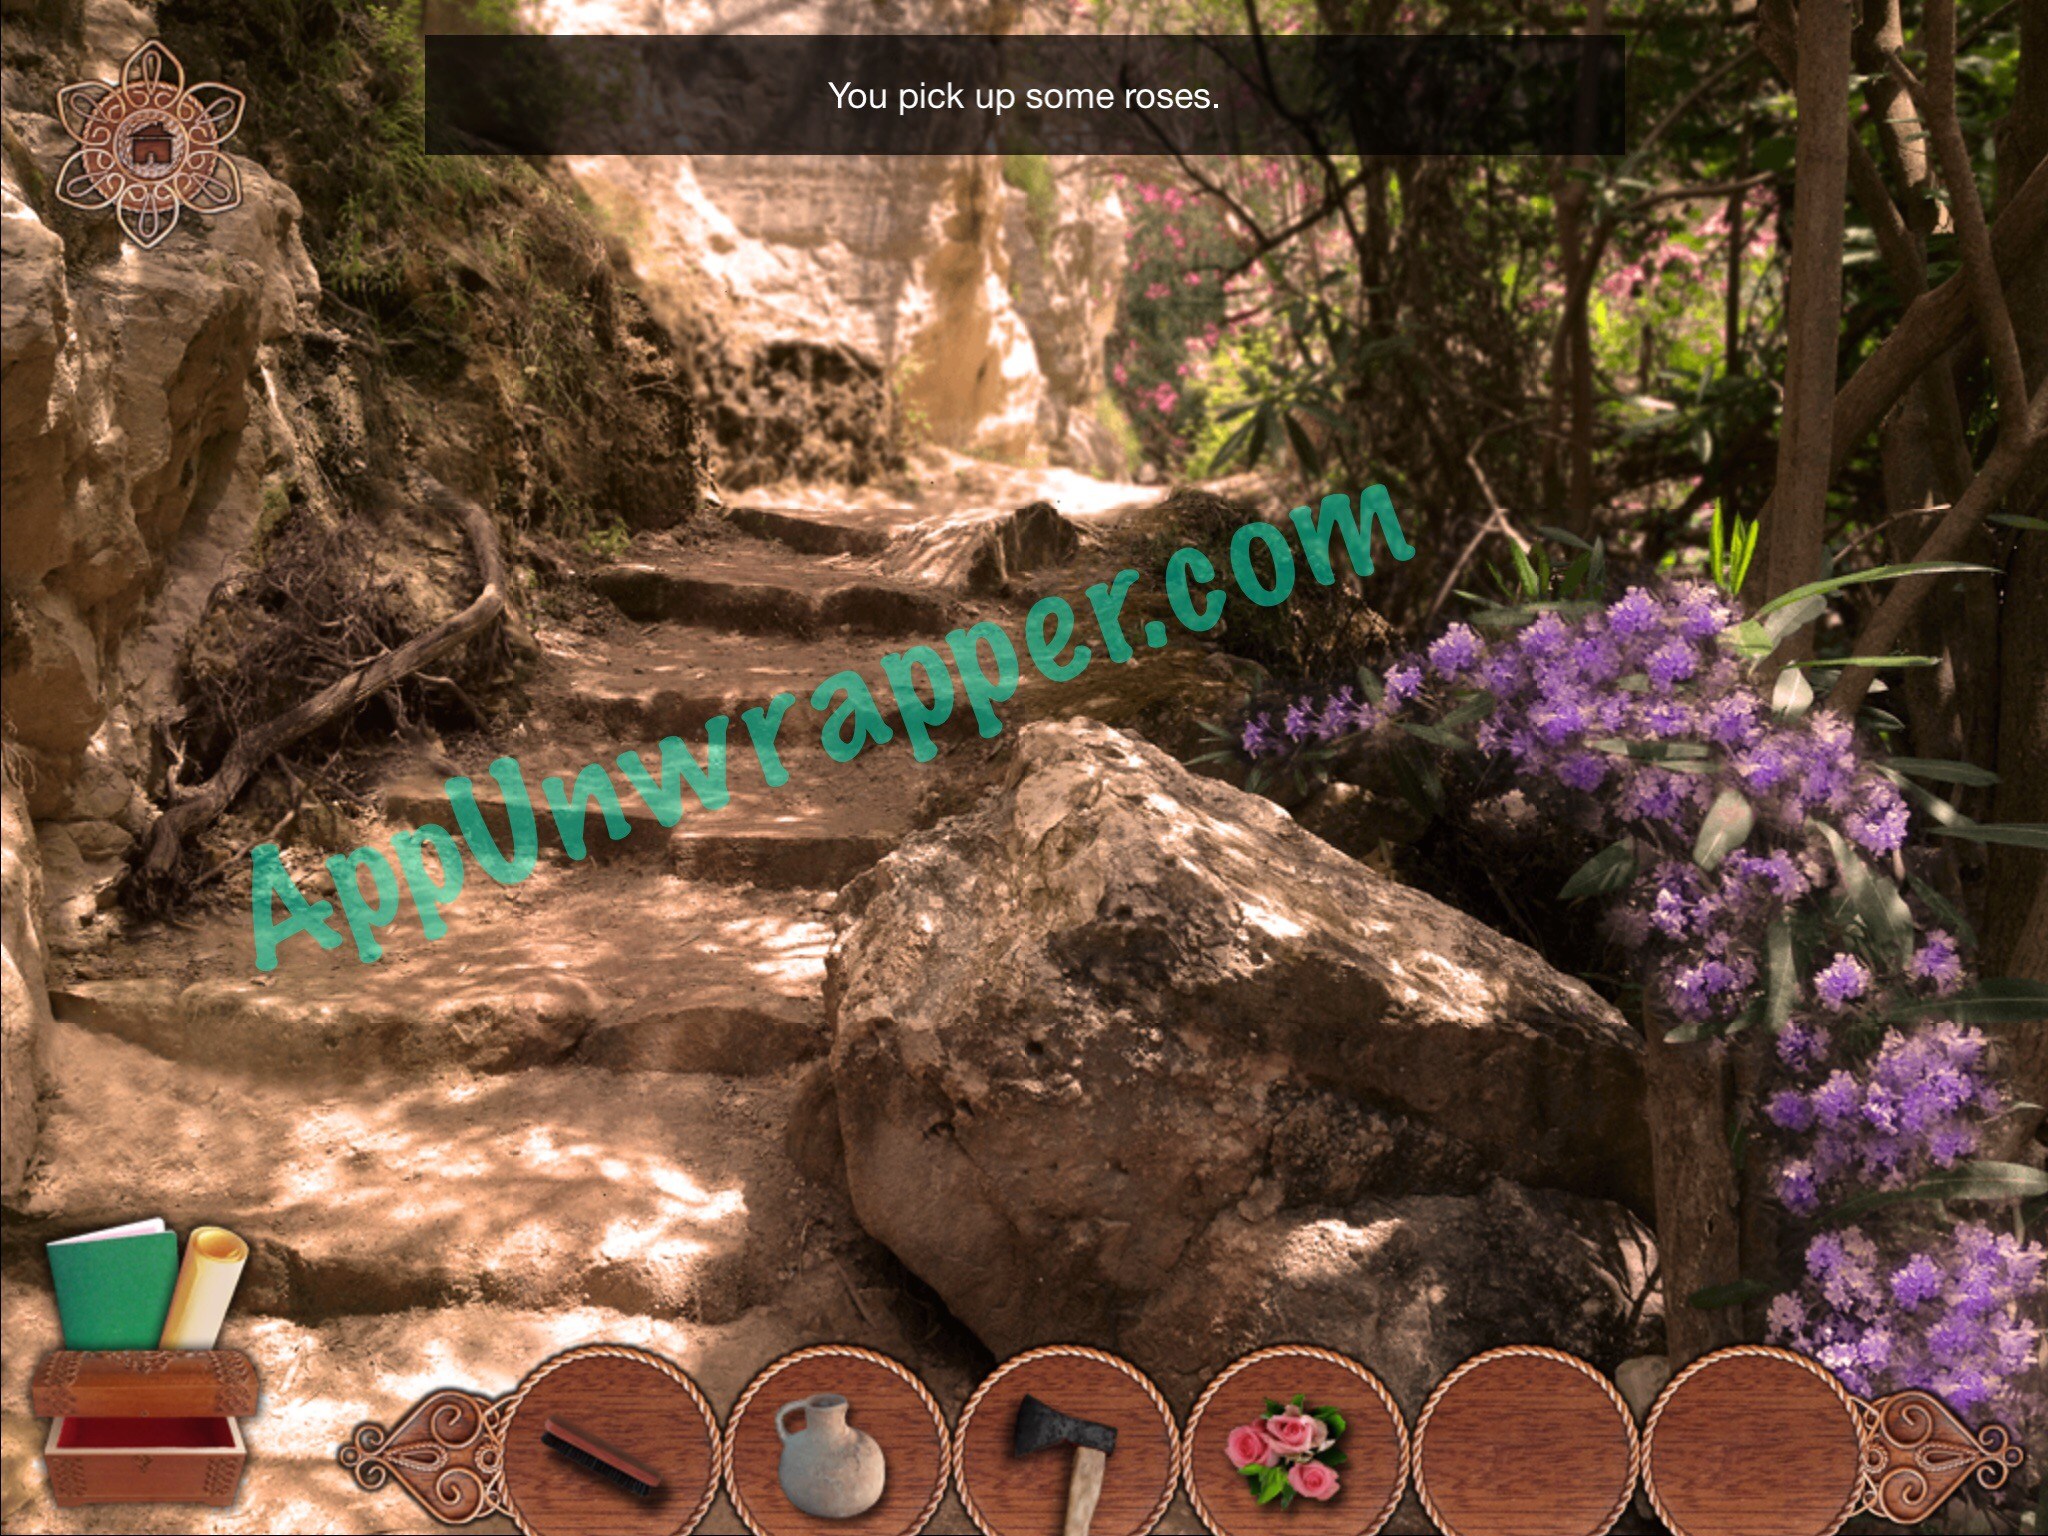
9. Go back out and sharpen the axe on the whetstone. Then go right to the scene with the purple flowers and the rose bush and use the axe to cut the rose bushes.
10. Continue on ahead. Pick up the matches. Then head right and continue straight ahead. Pick up the spade And use the wire brush on the moss to get a clue. Then go back to the “house.” Use the matches to light a fire in the oven and then light the dried leaves on fire. The whole place will get smoky and you’re forced to leave.


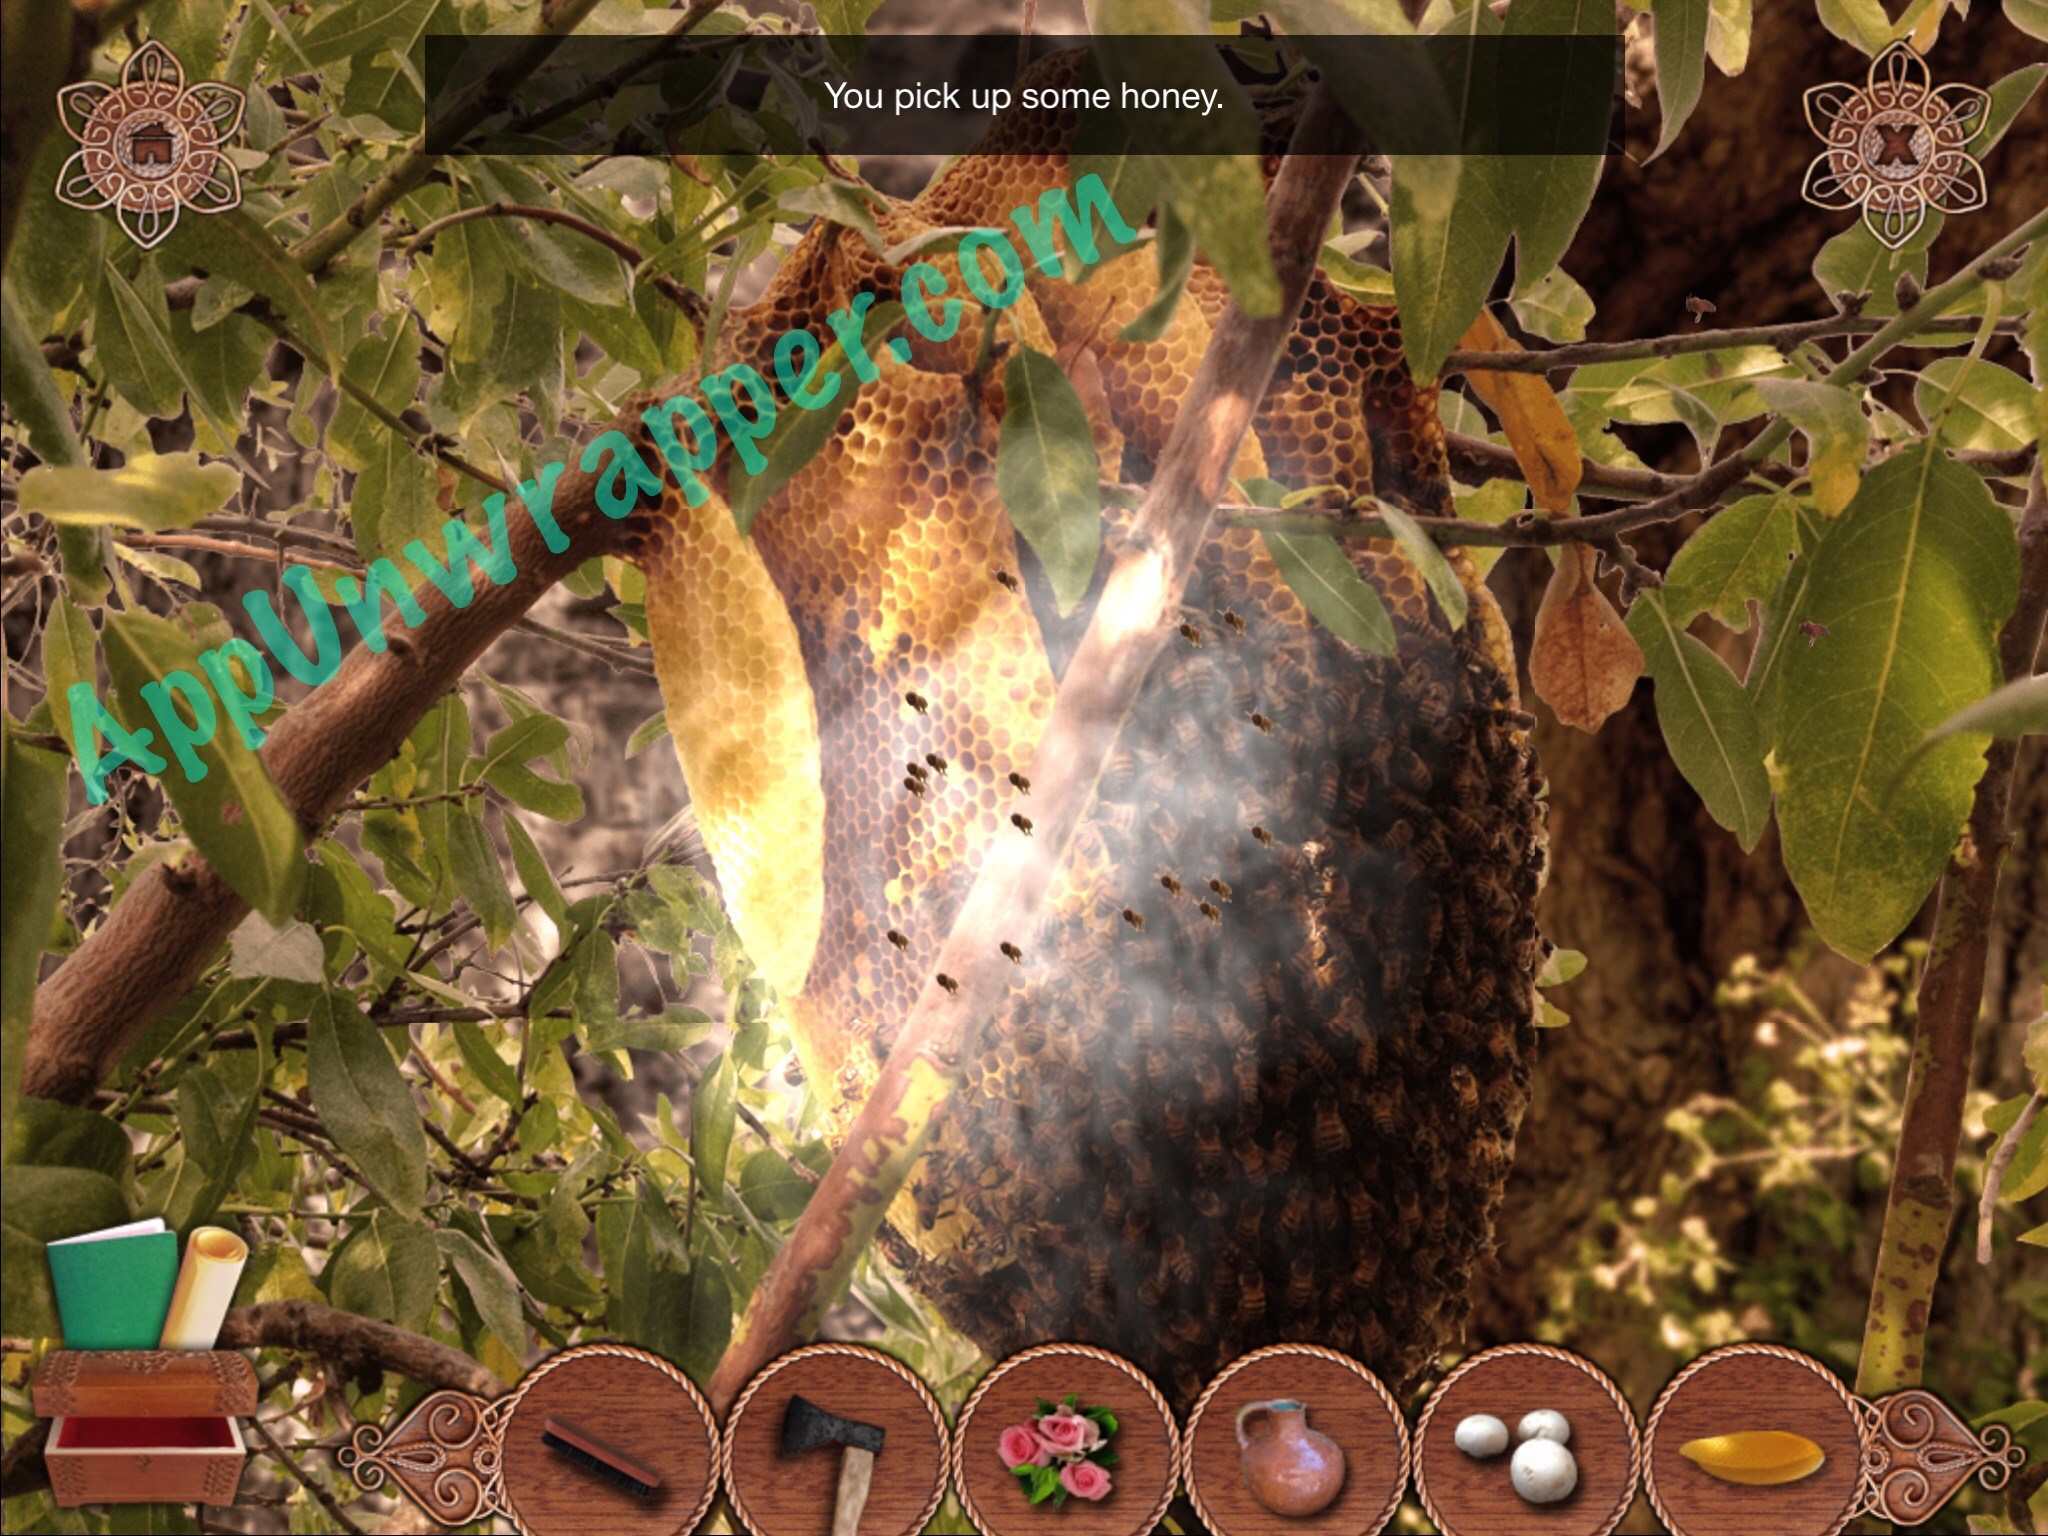
11. Go back to the screen with the blue flowers. Fill the amphora with water from the stream. Then tap on the honeycomb above the flowers to see a beehive. Use the smoky leaves on the beehive to get some honey.

12. Go back to the scene right past the bridge and use the axe to chop off the branch with the moon carving on it.

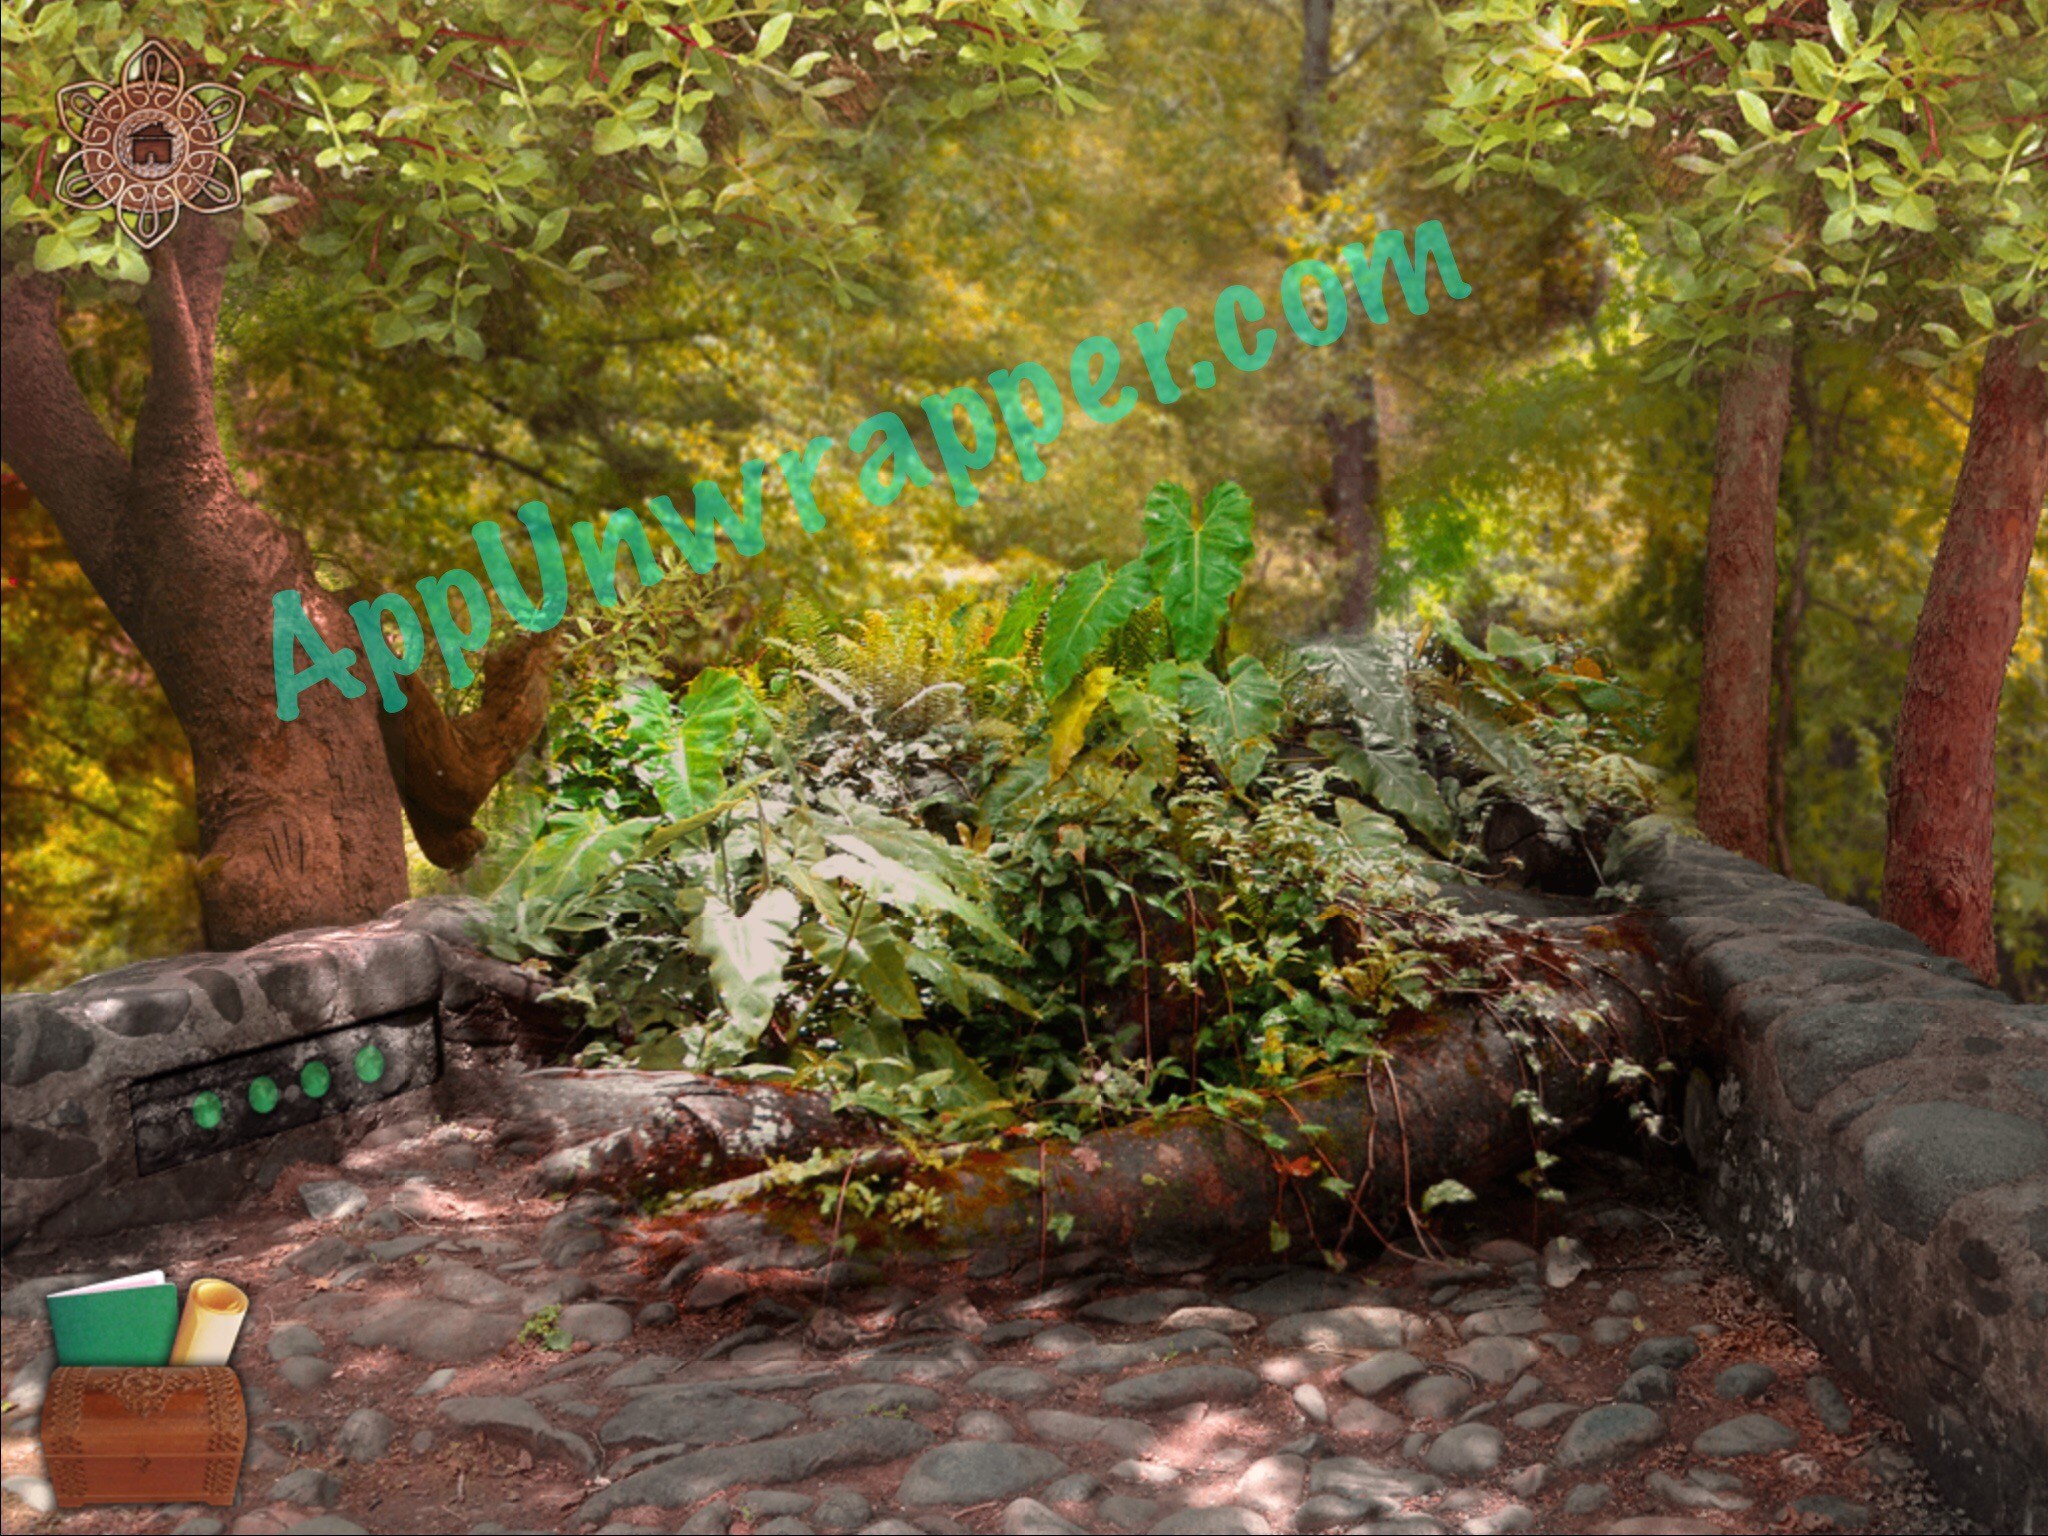
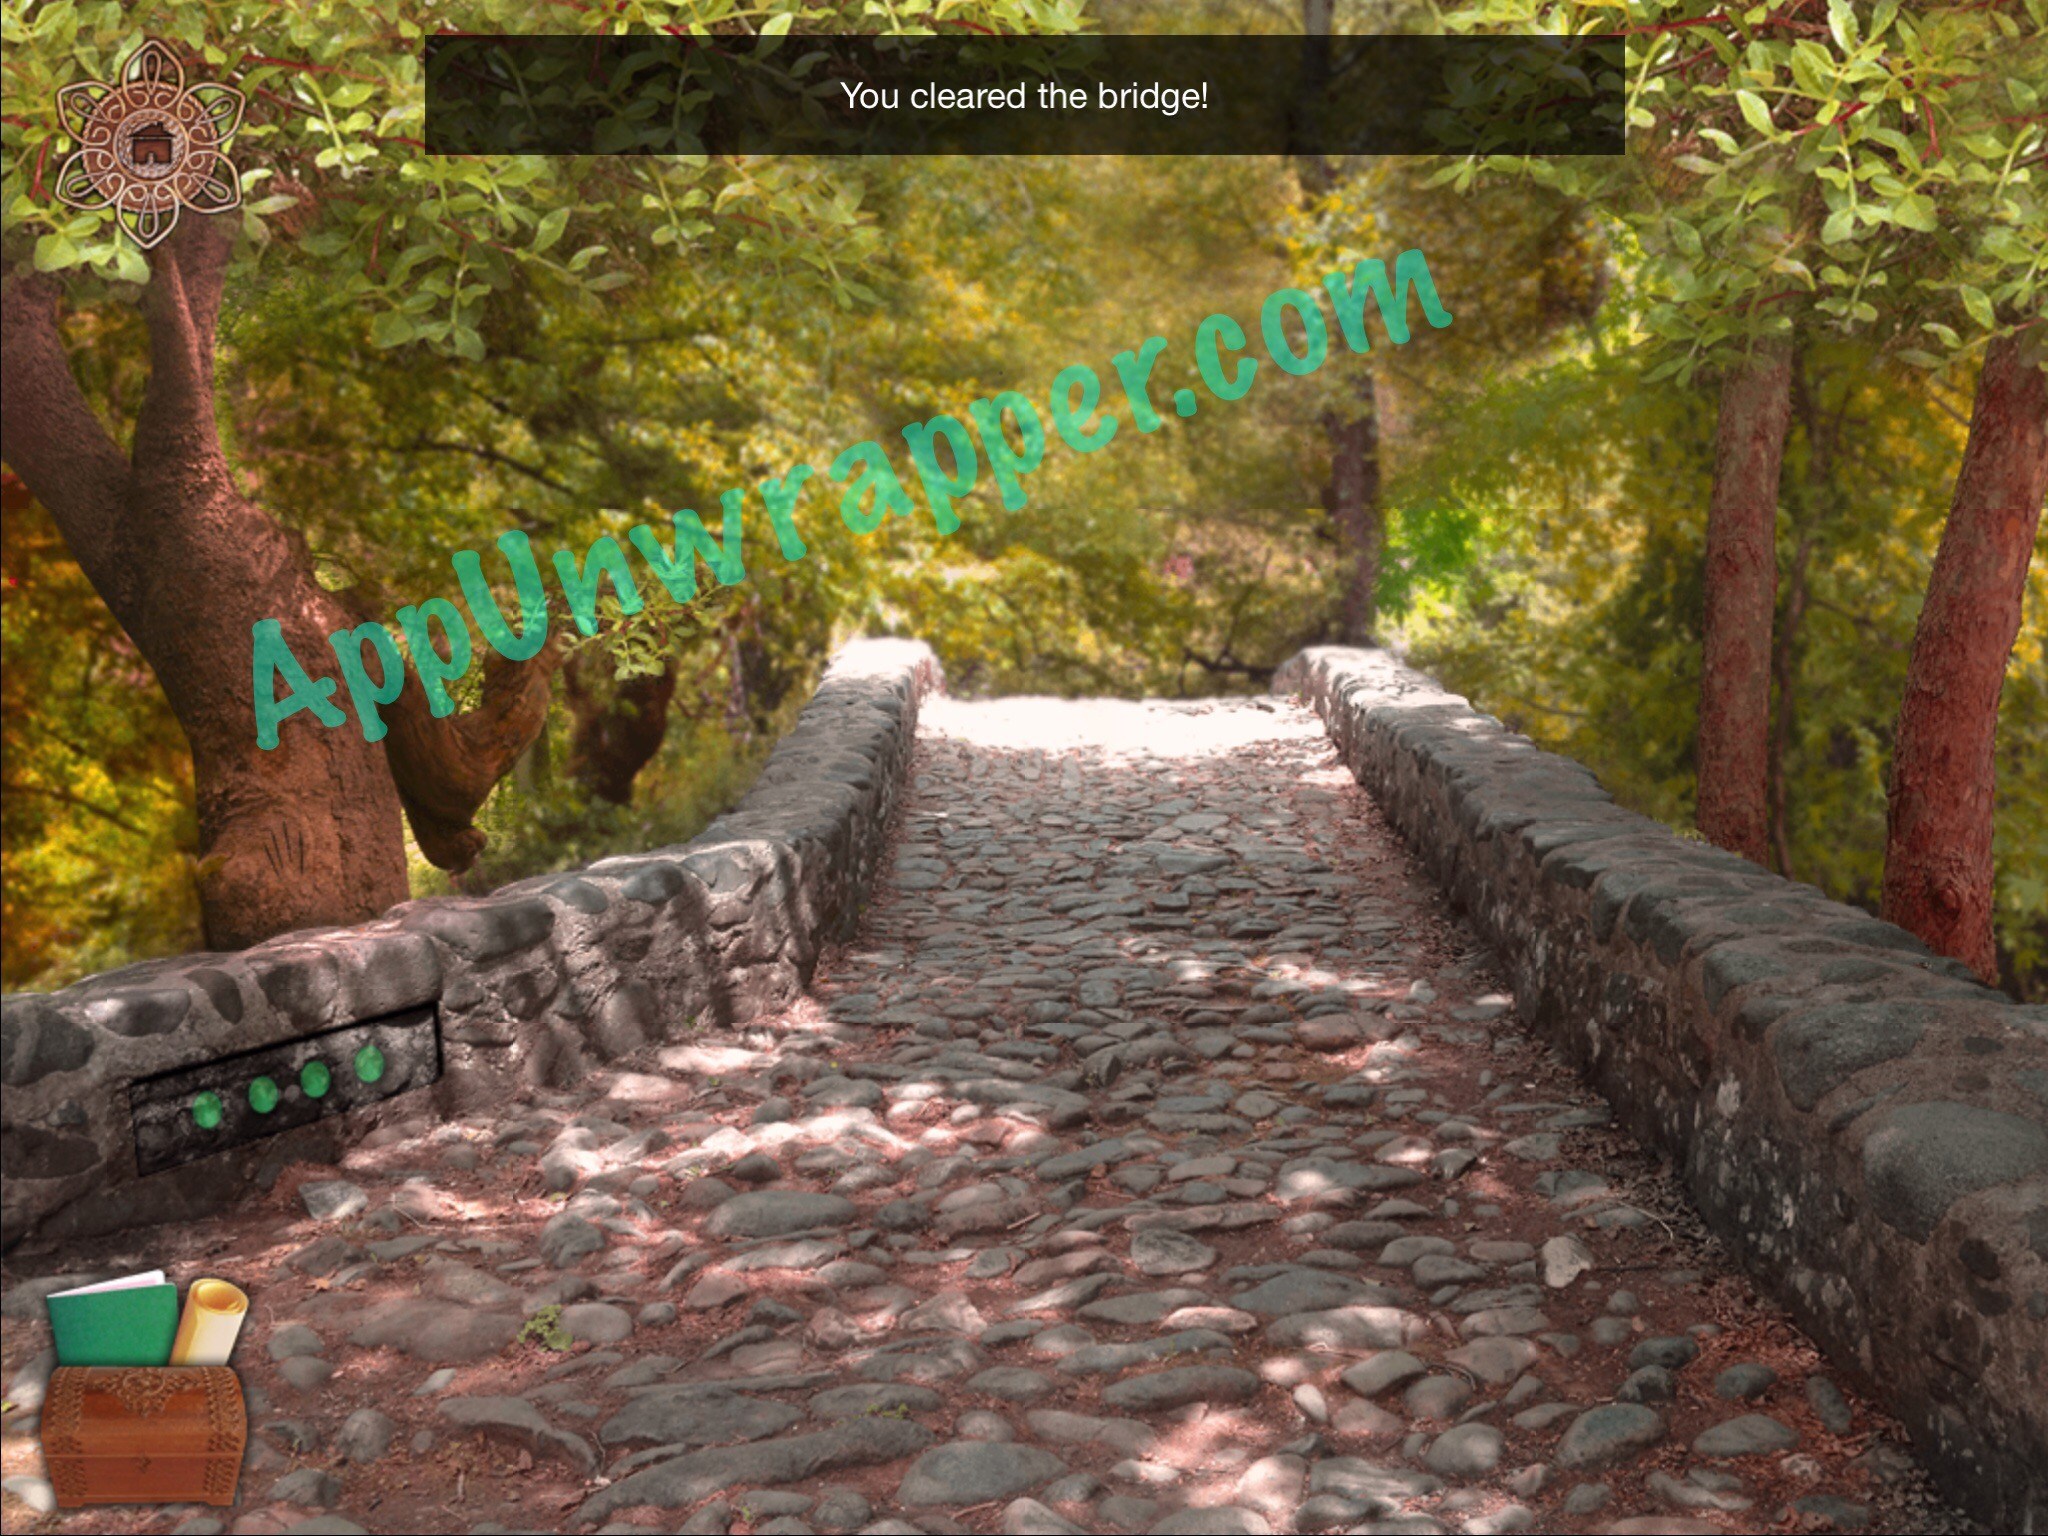
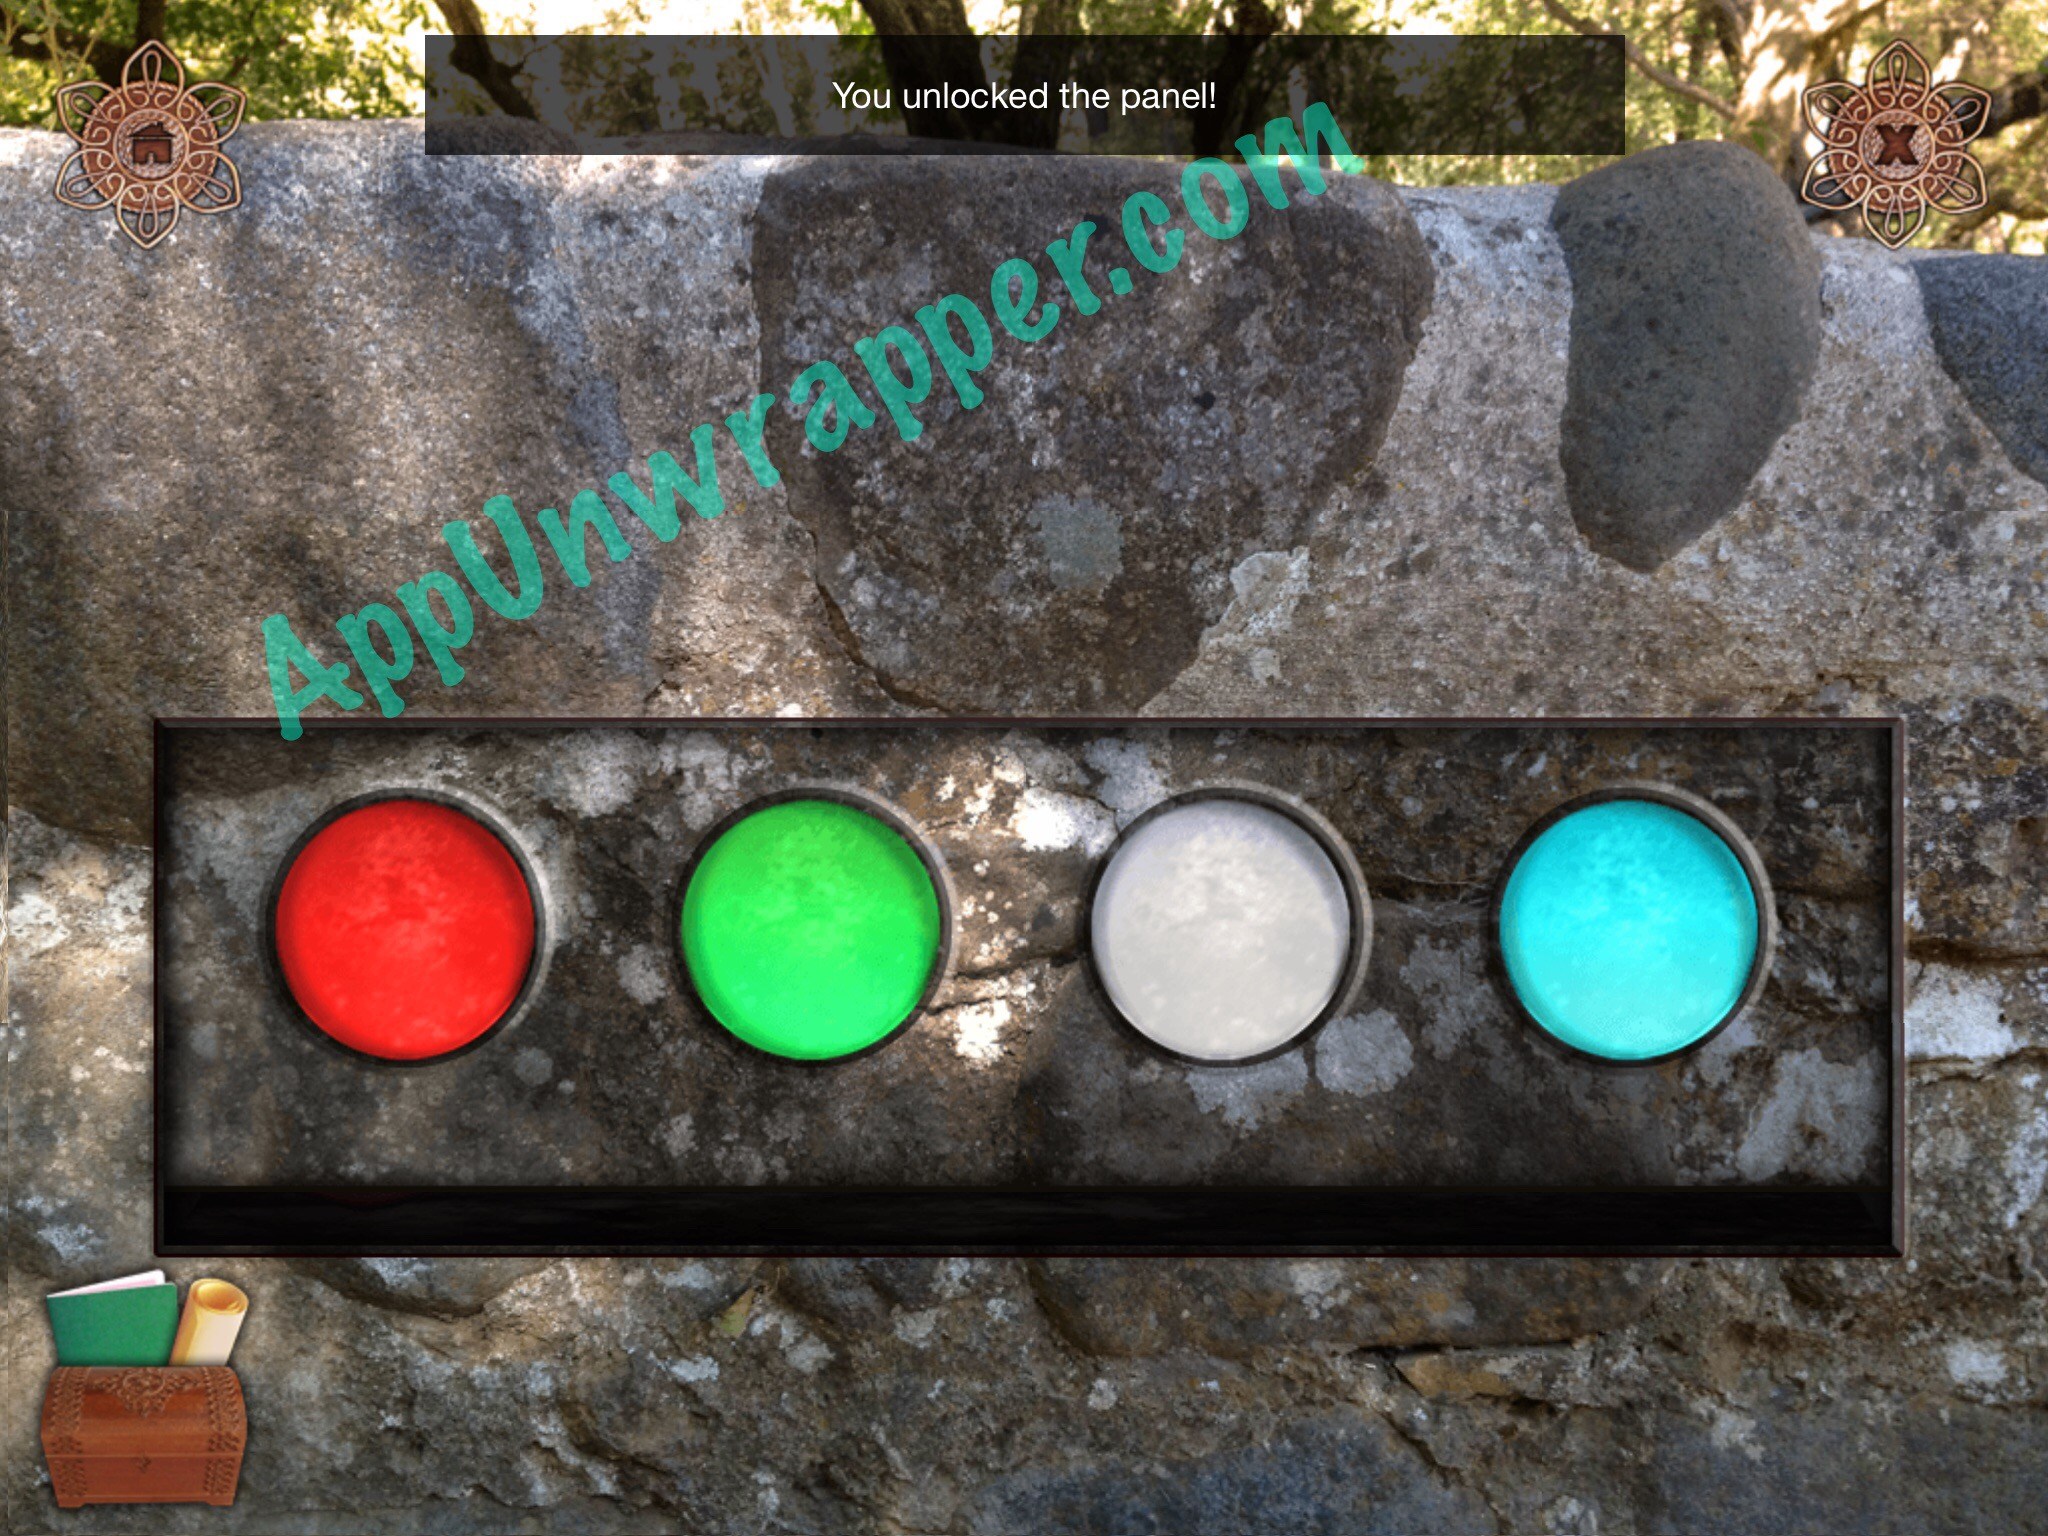
13. Go back to the bridge and tap on the four green lights. Solve the puzzle using the clues from your journal and take the crowbar.
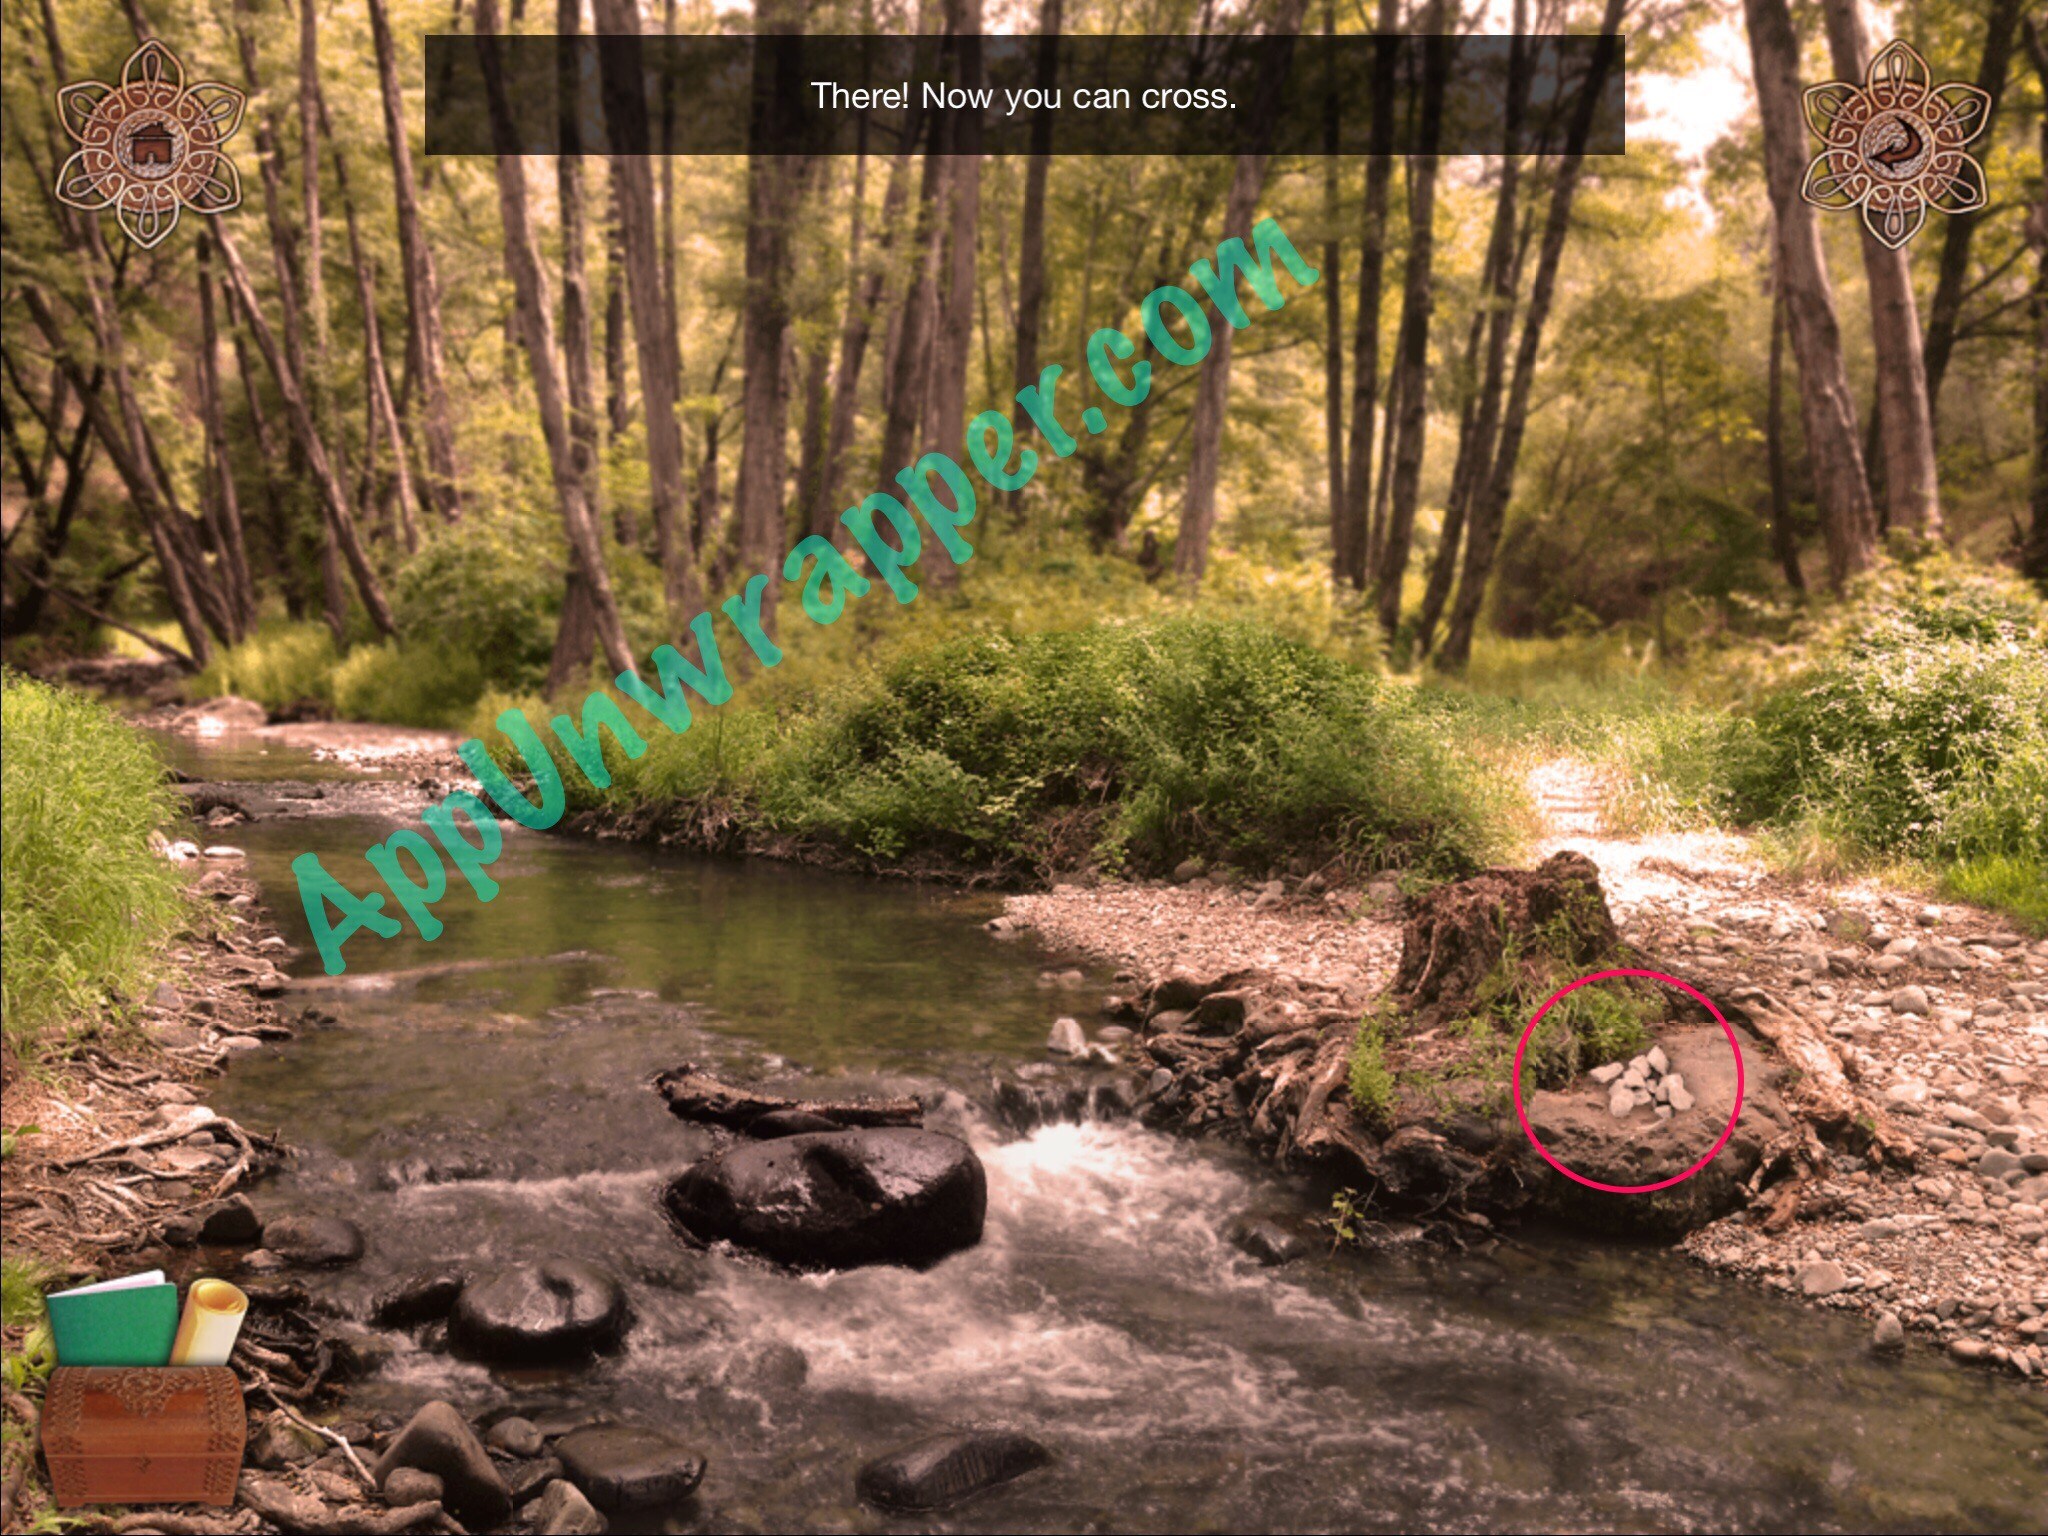
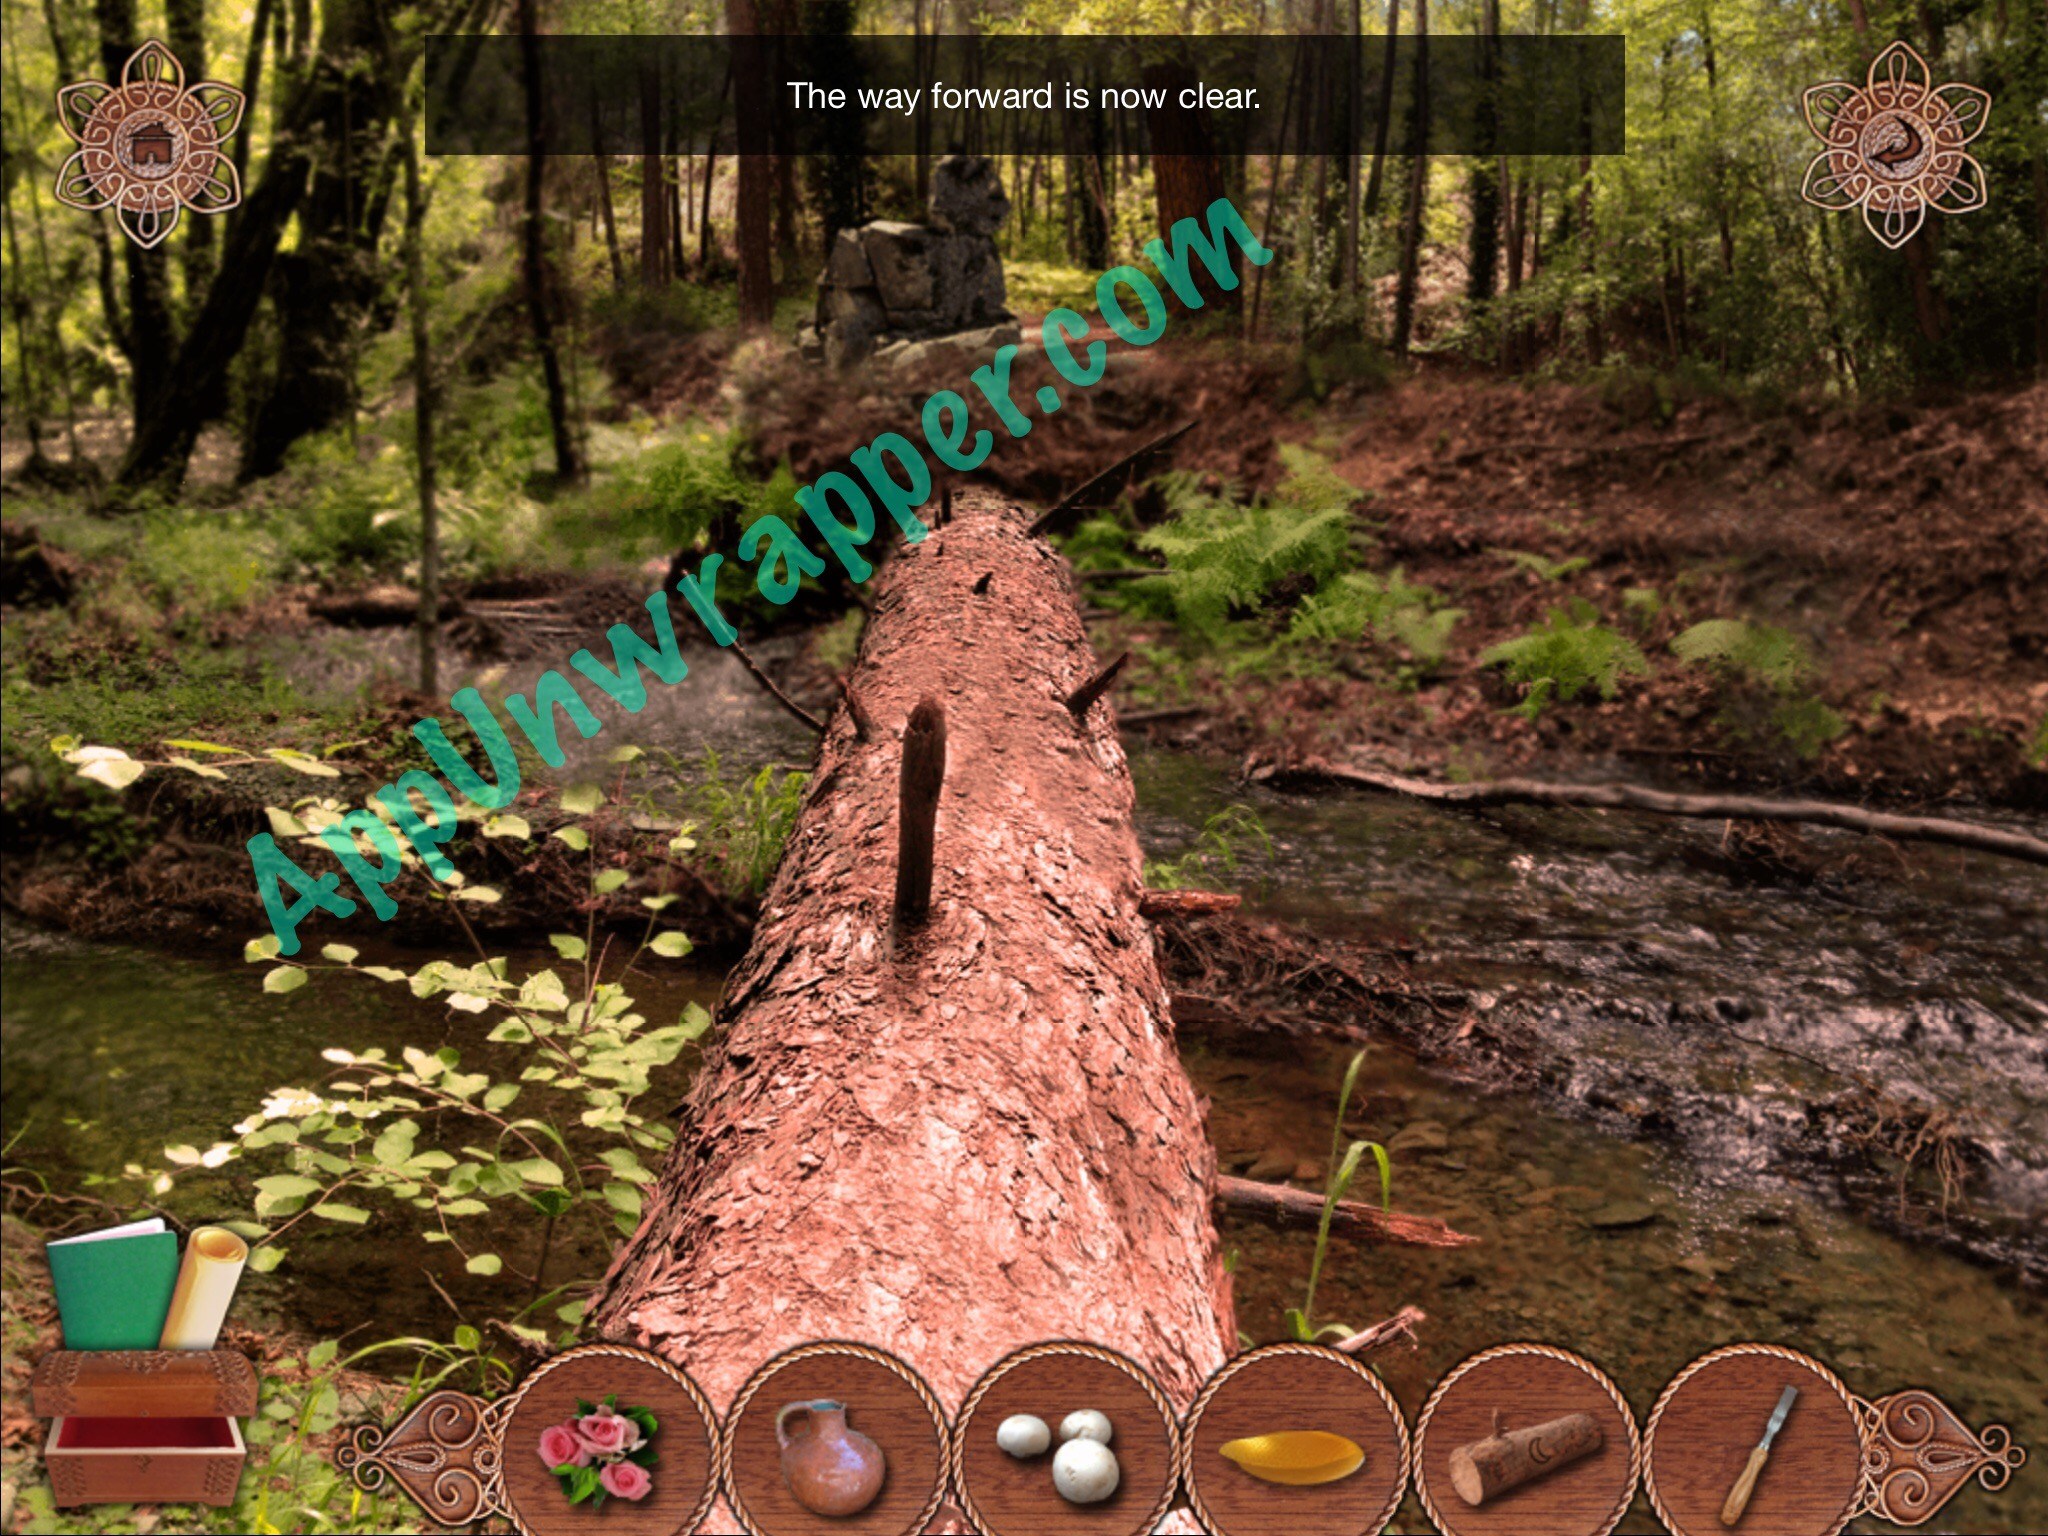
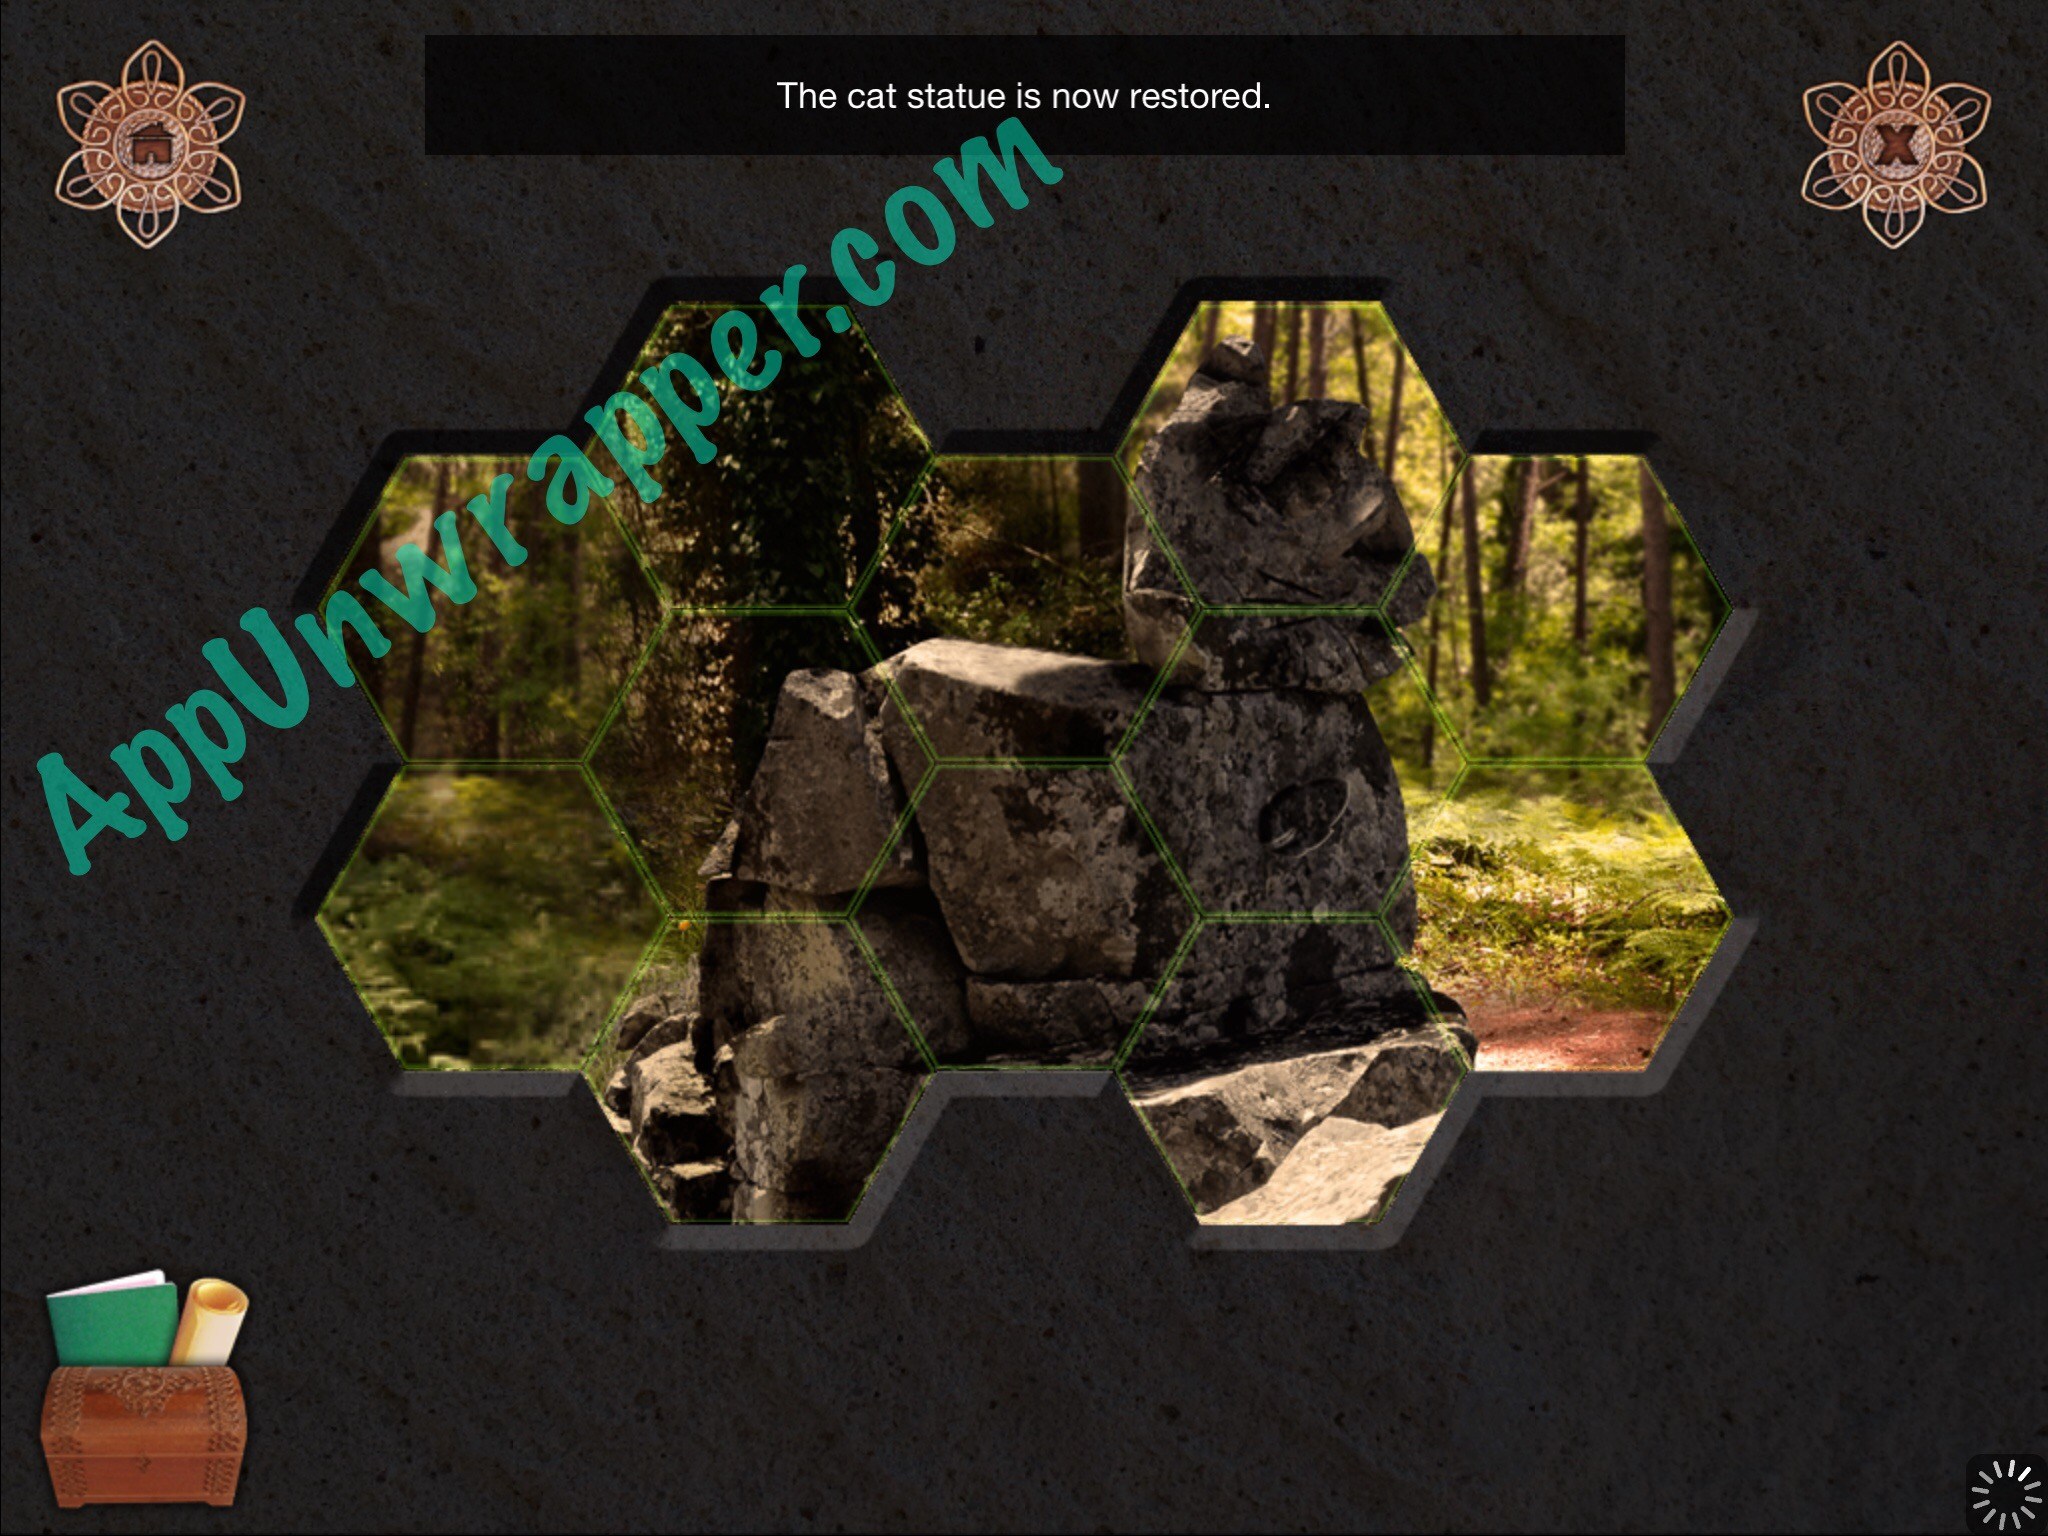
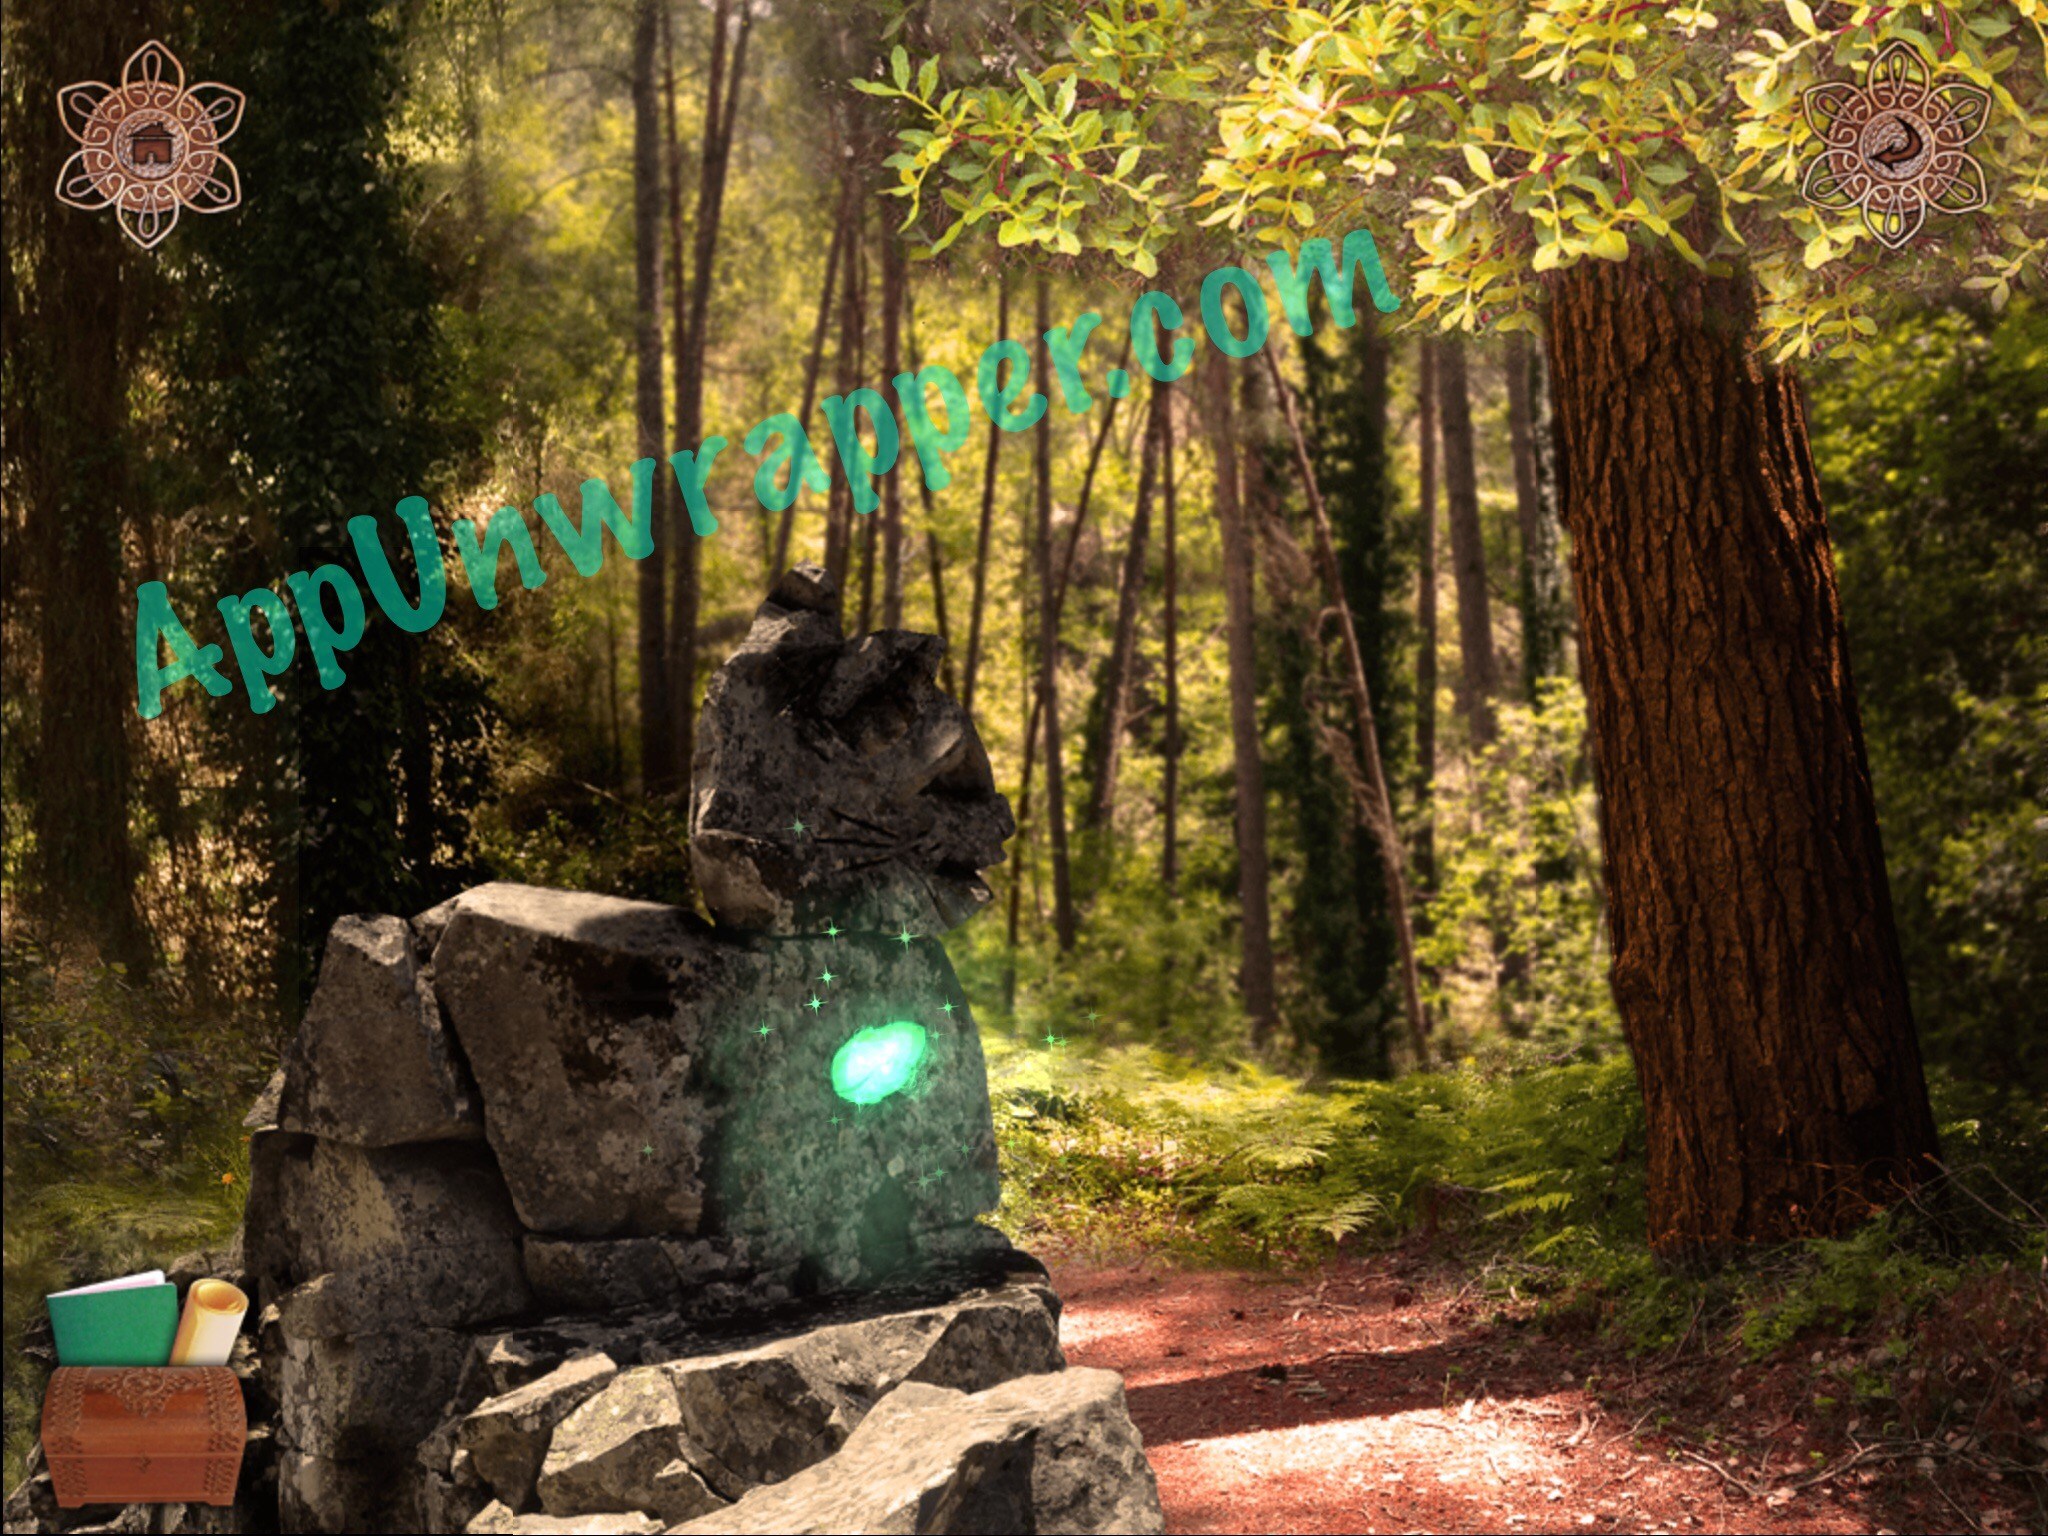
14. Go back to the screen where you found the chisel. Continue on ahead to find a rock stuck in the mud. Use the crowbar to move the rock so you can cross the river. Pick up the stones, then cross to the next scene and pick up the fire puzzle piece. Try to cross the fallen tree. You’ll need to use the axe to cut all the branches off. When you get to the other side, use the chisel on the unfinished sculpture and solve the puzzle to complete the cat statue.


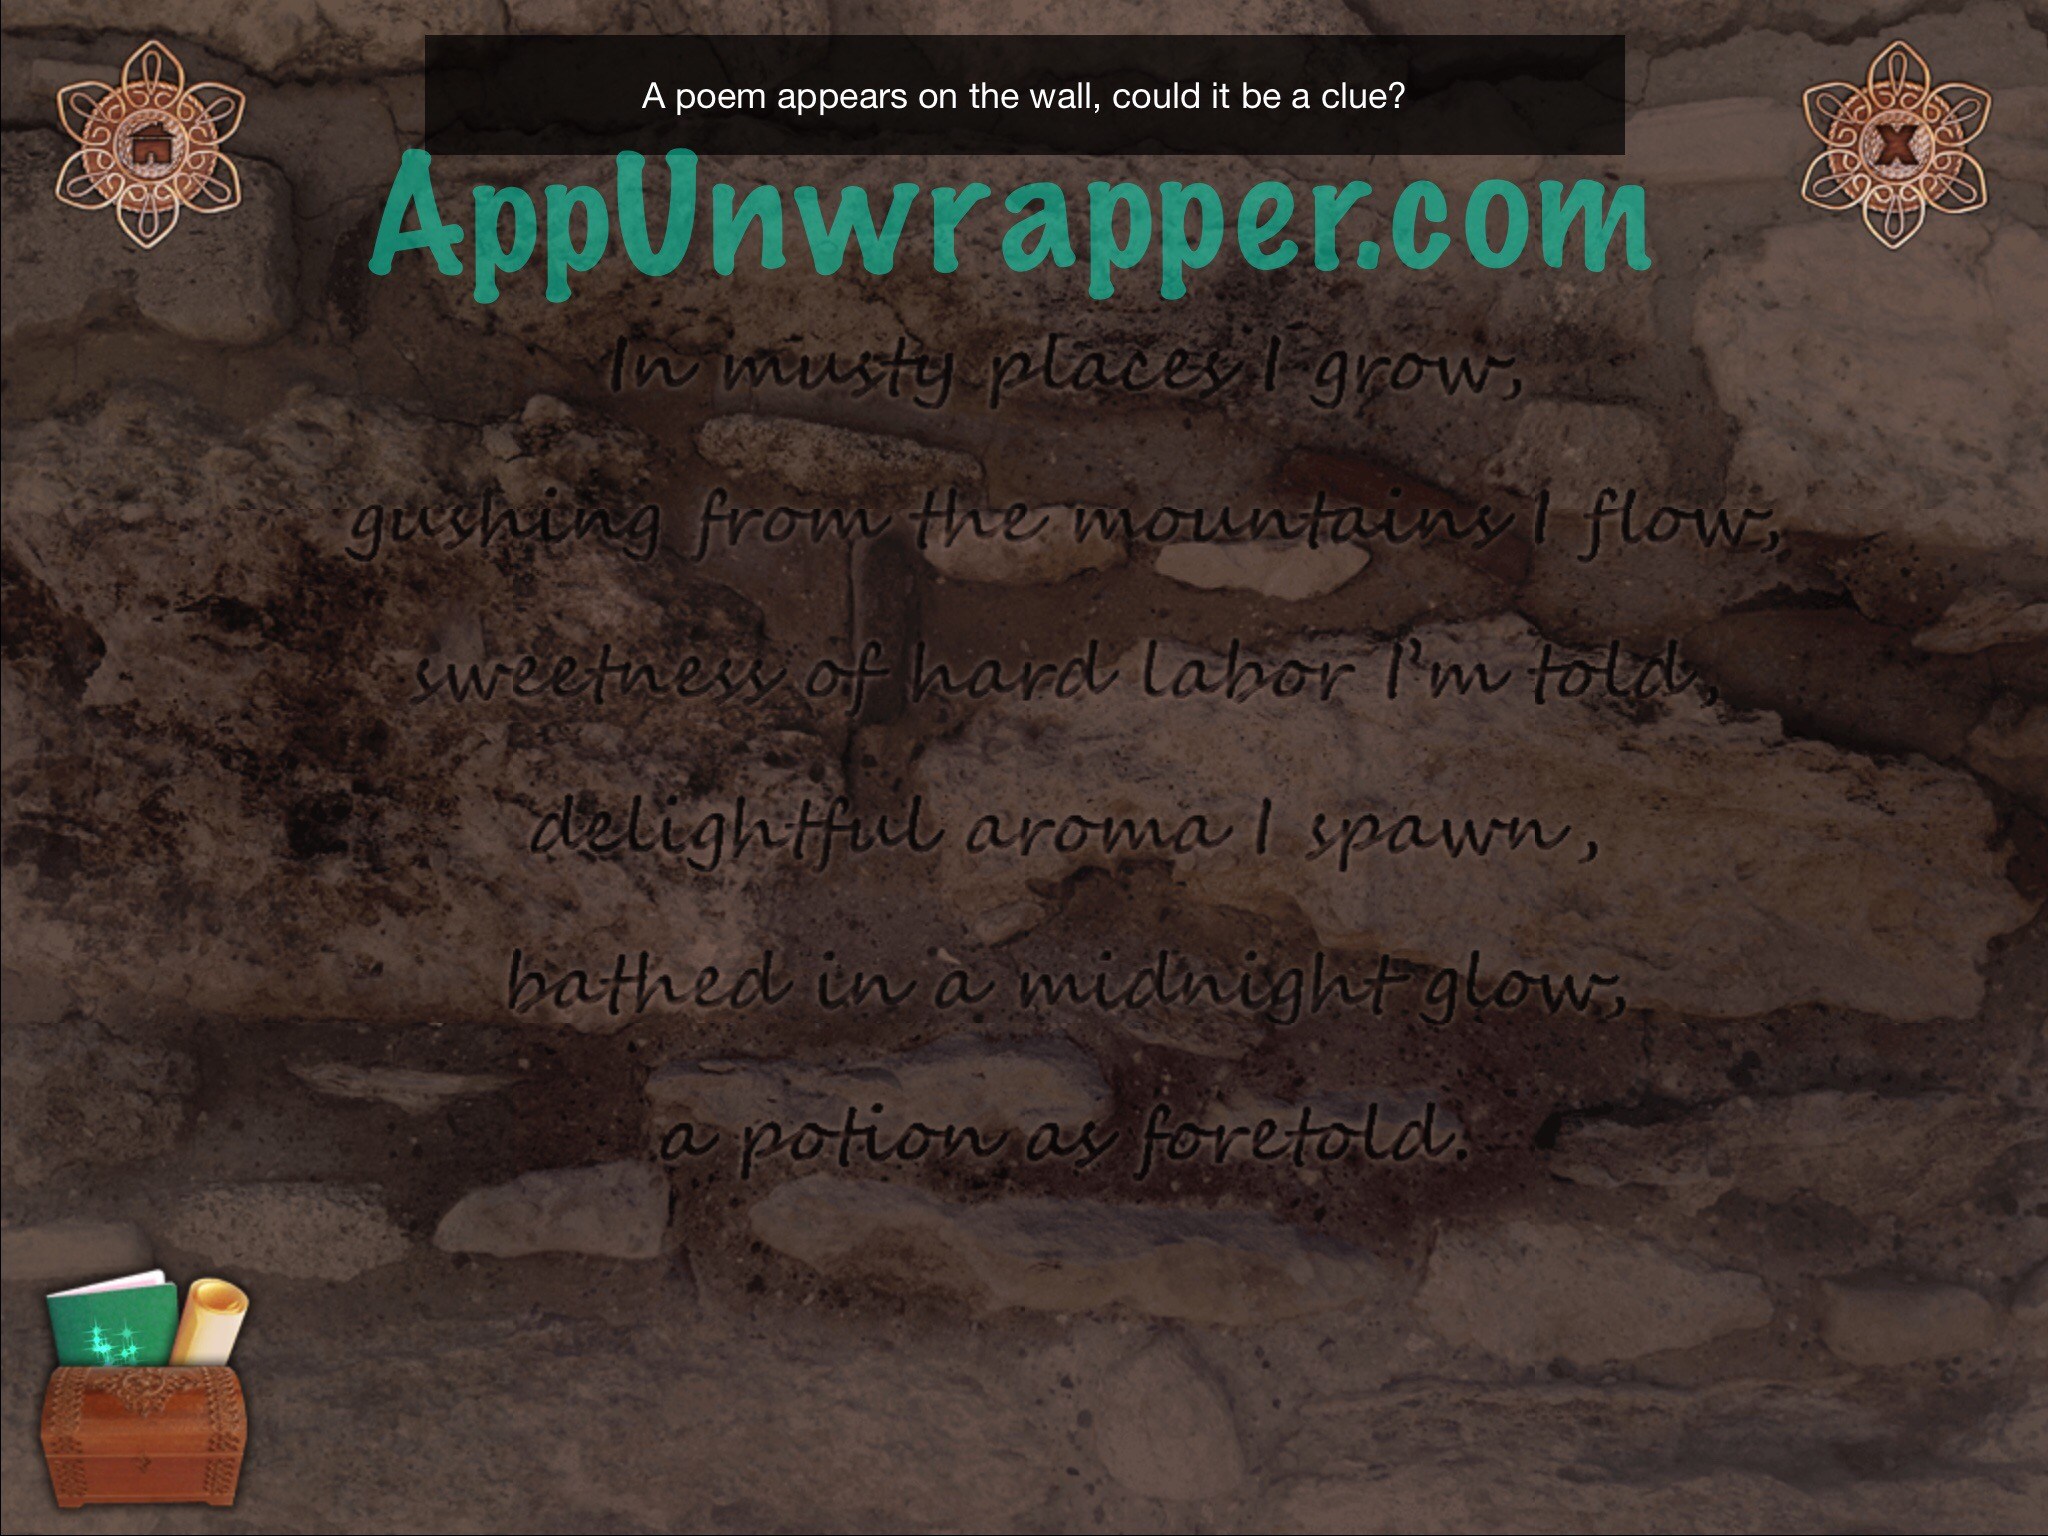
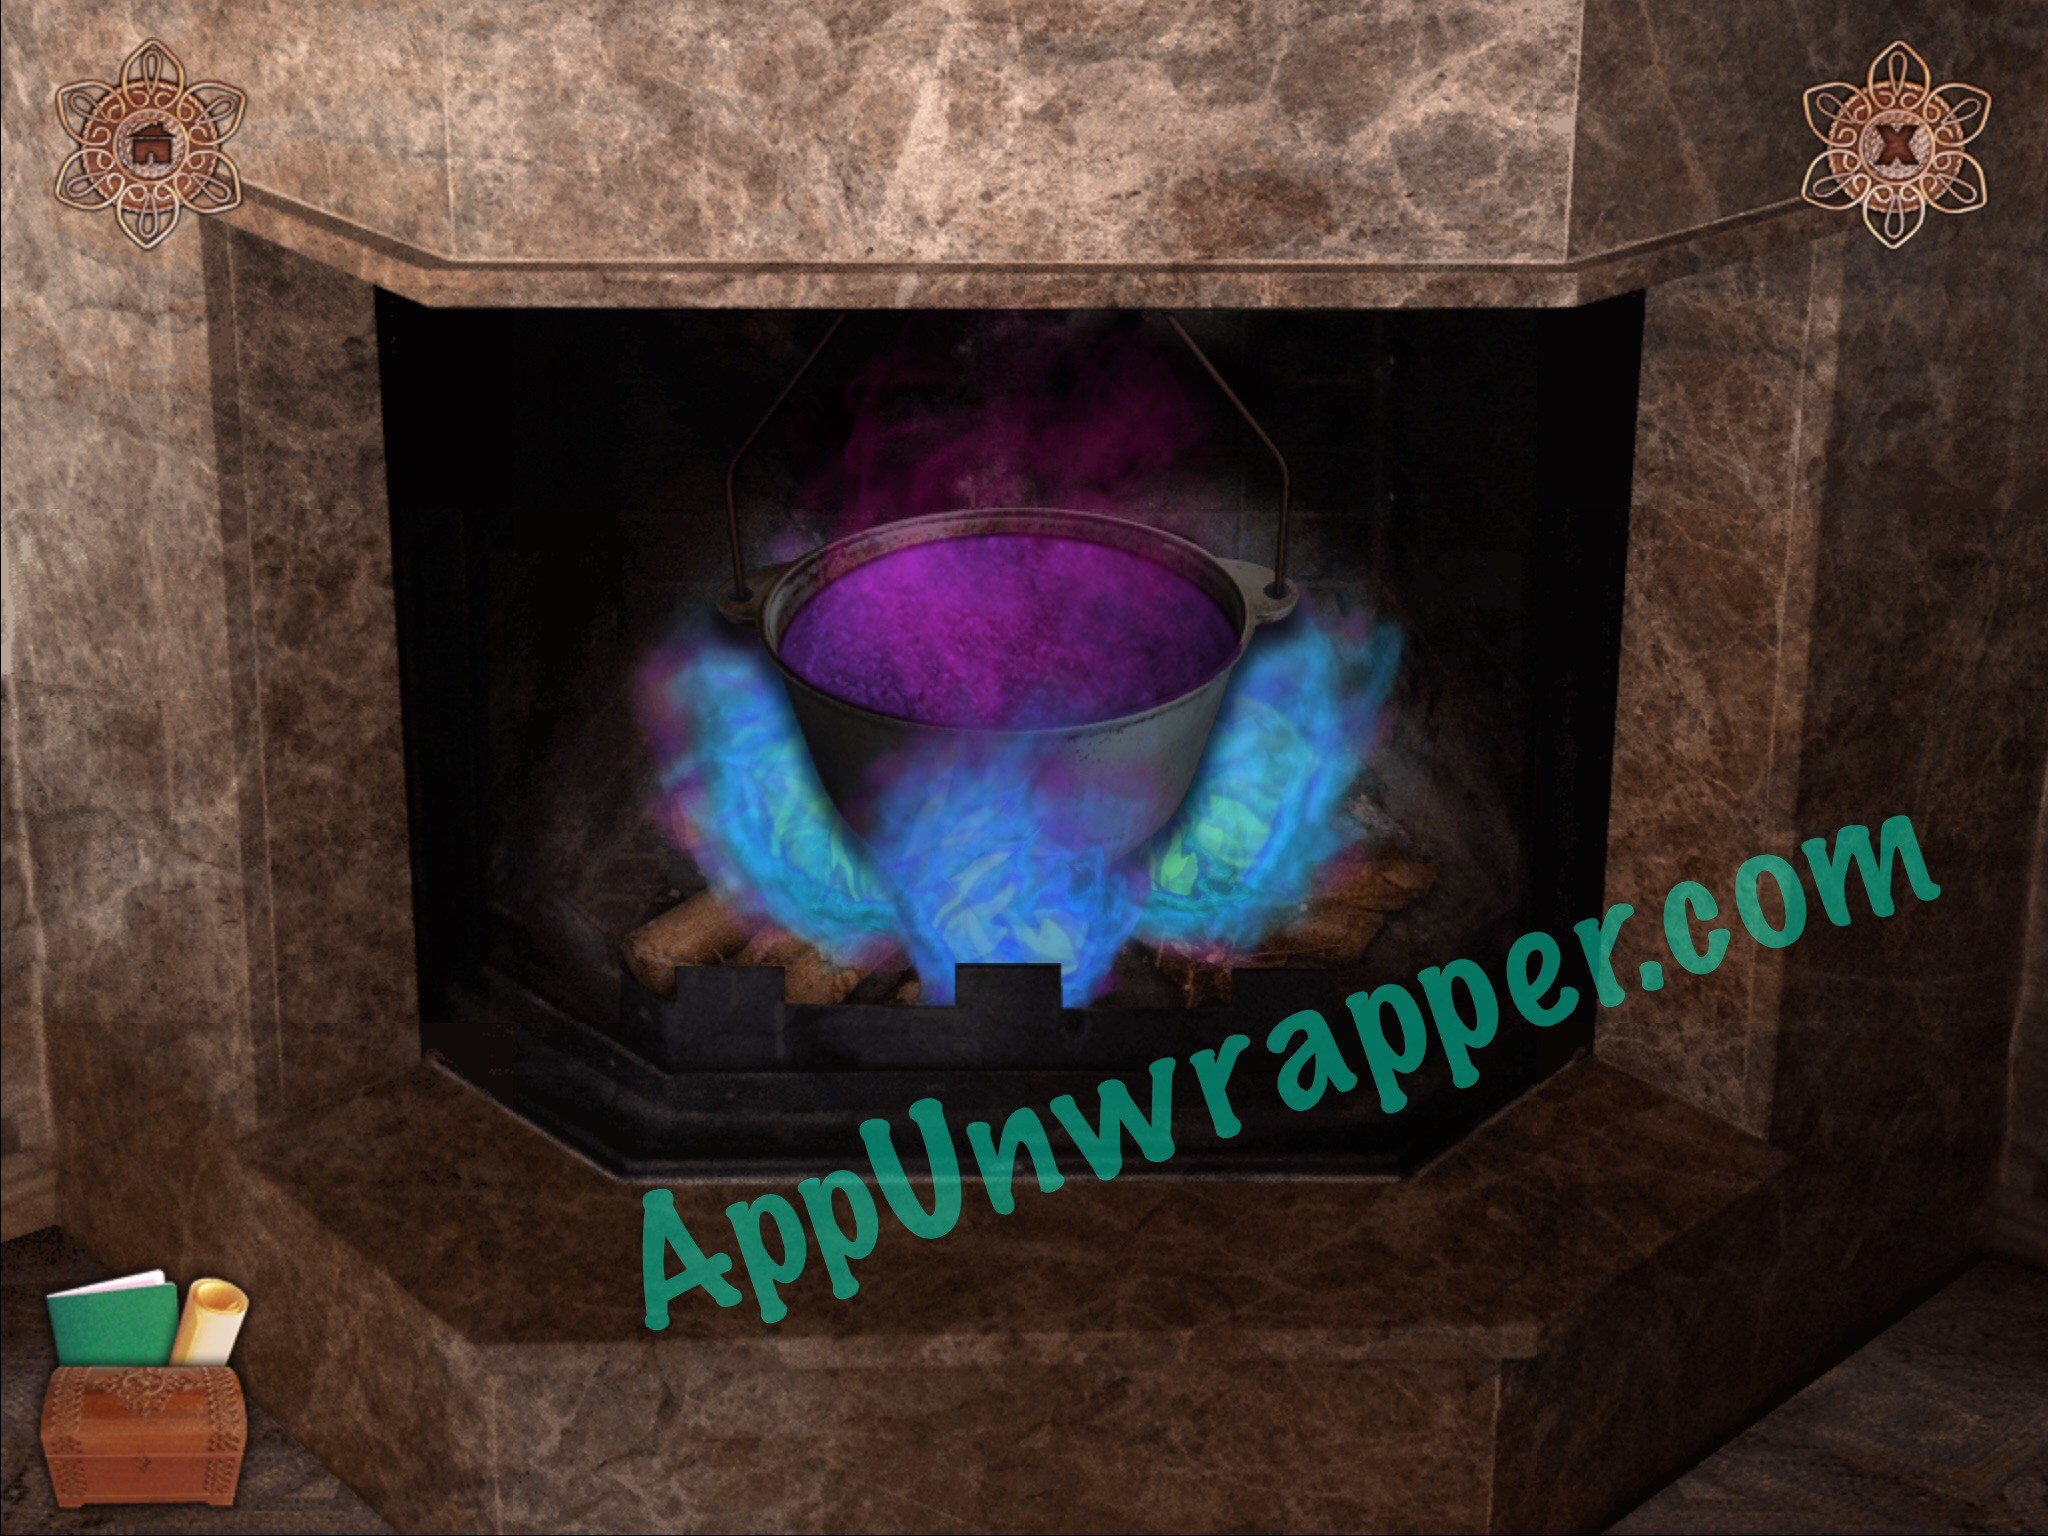
15. Go back to the house. Throw the stones at the window and the smoke will escape. Go inside. Look at the poem on the wall. The smoke made it more visible. It tells you how to make a potion, so let’s do it. Go to the fire and add the mushrooms, then the amphora of water, then the honey and the roses last. Add the log with the moon on it to the fire so the flames turn blue. The potion is ready! Fill the amphora with it.
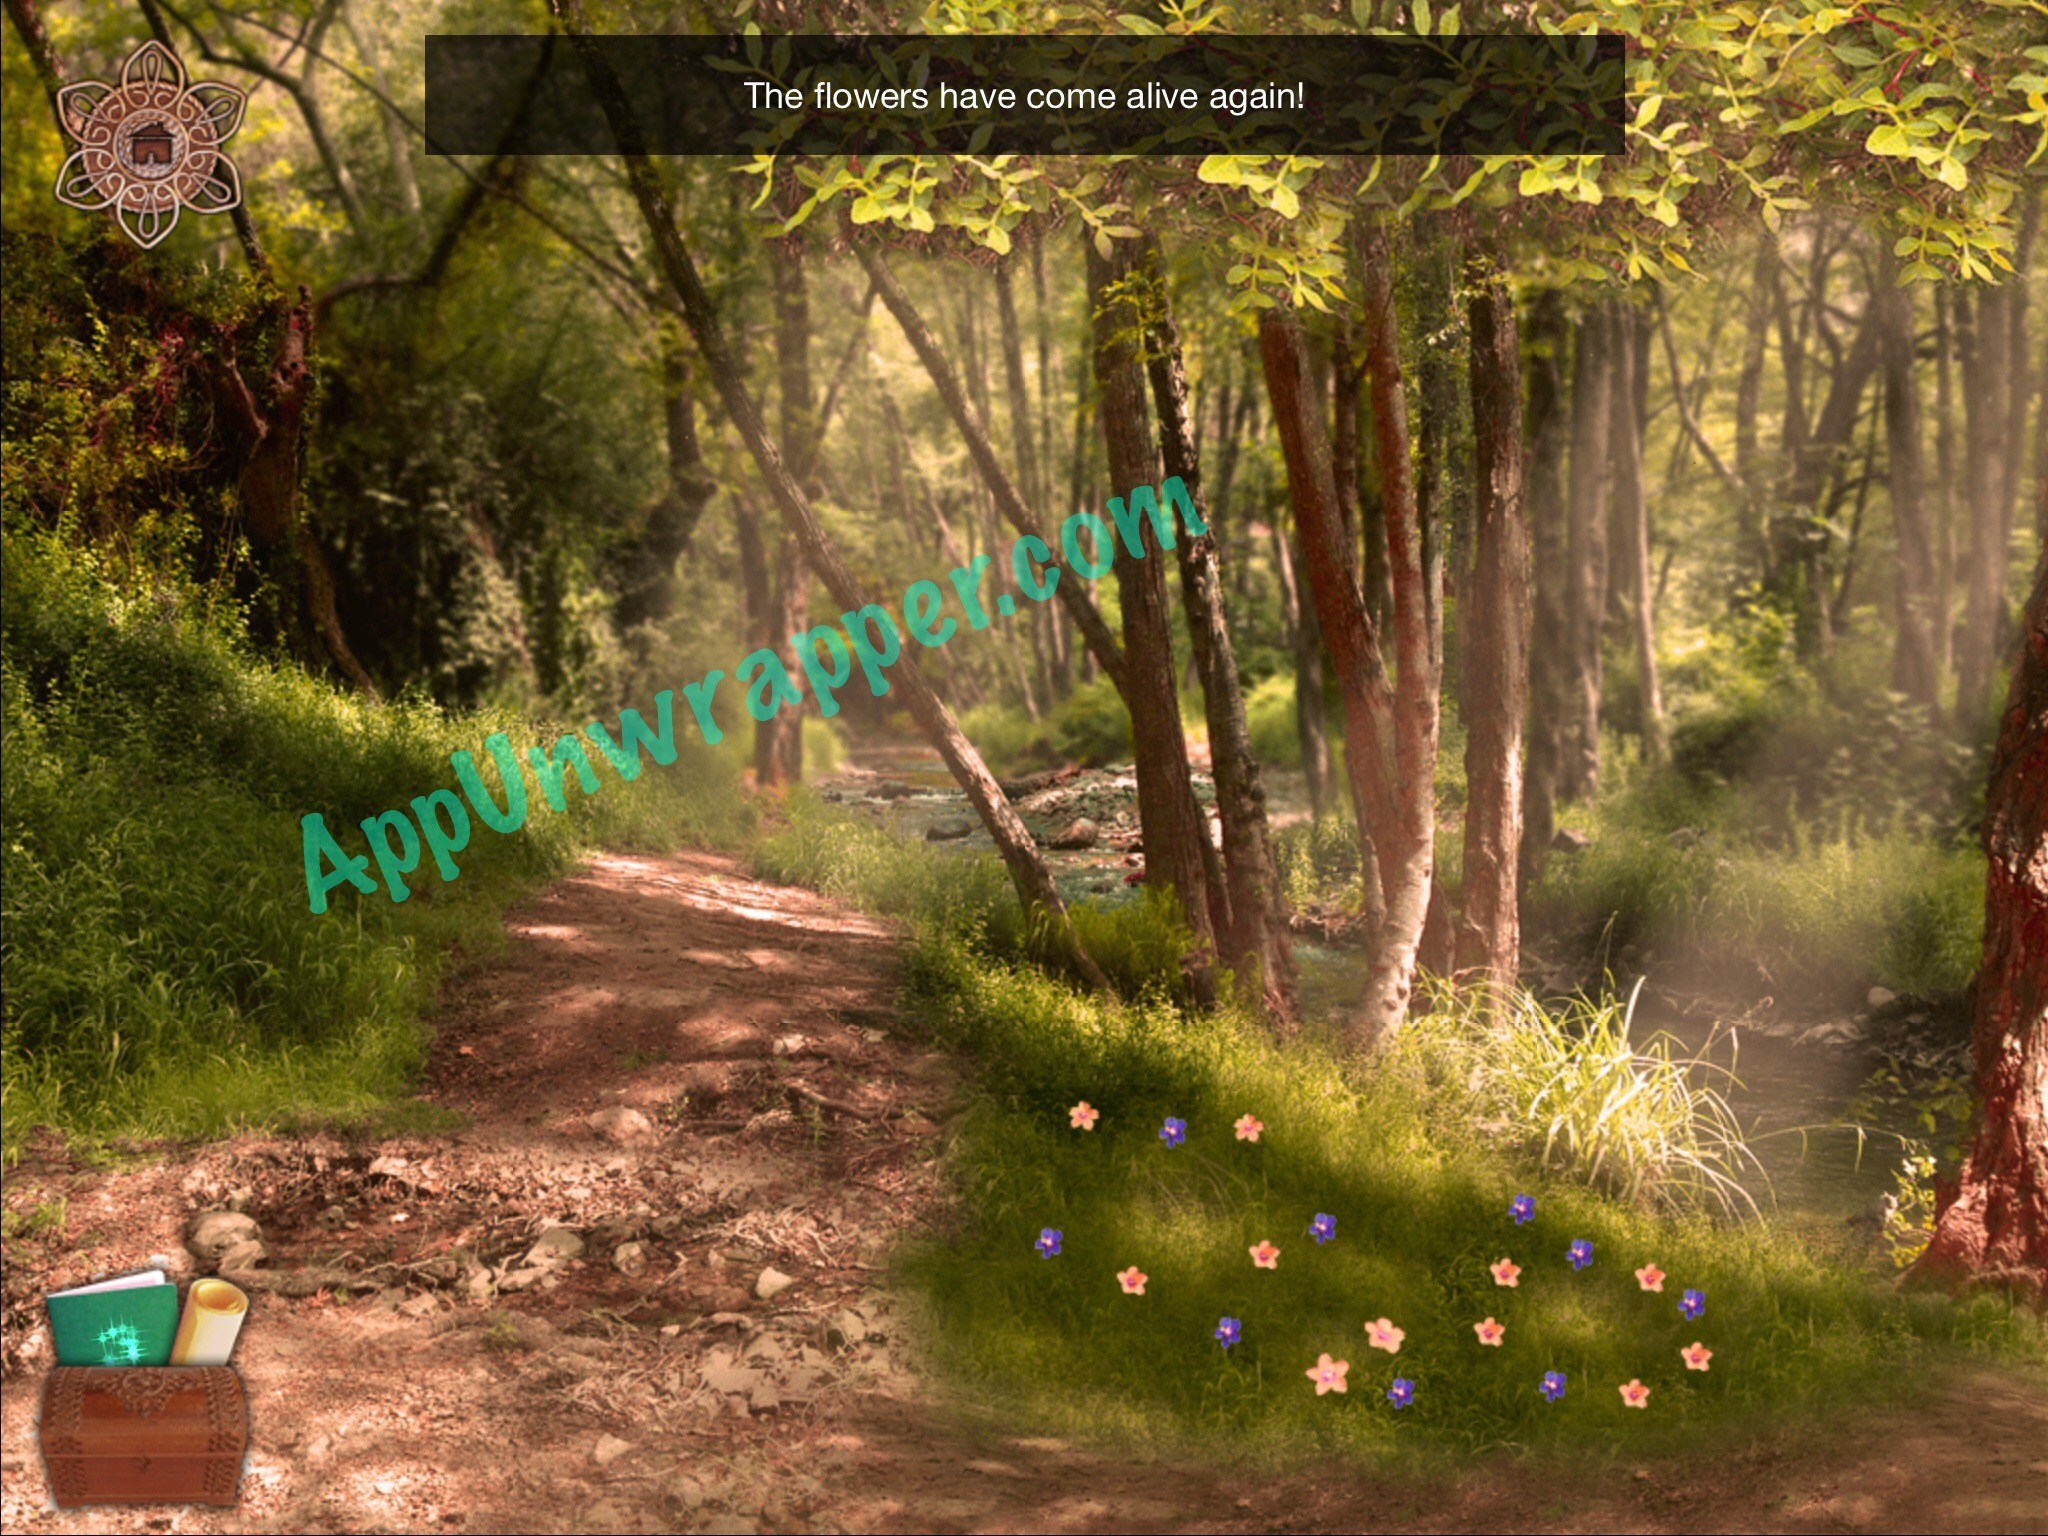
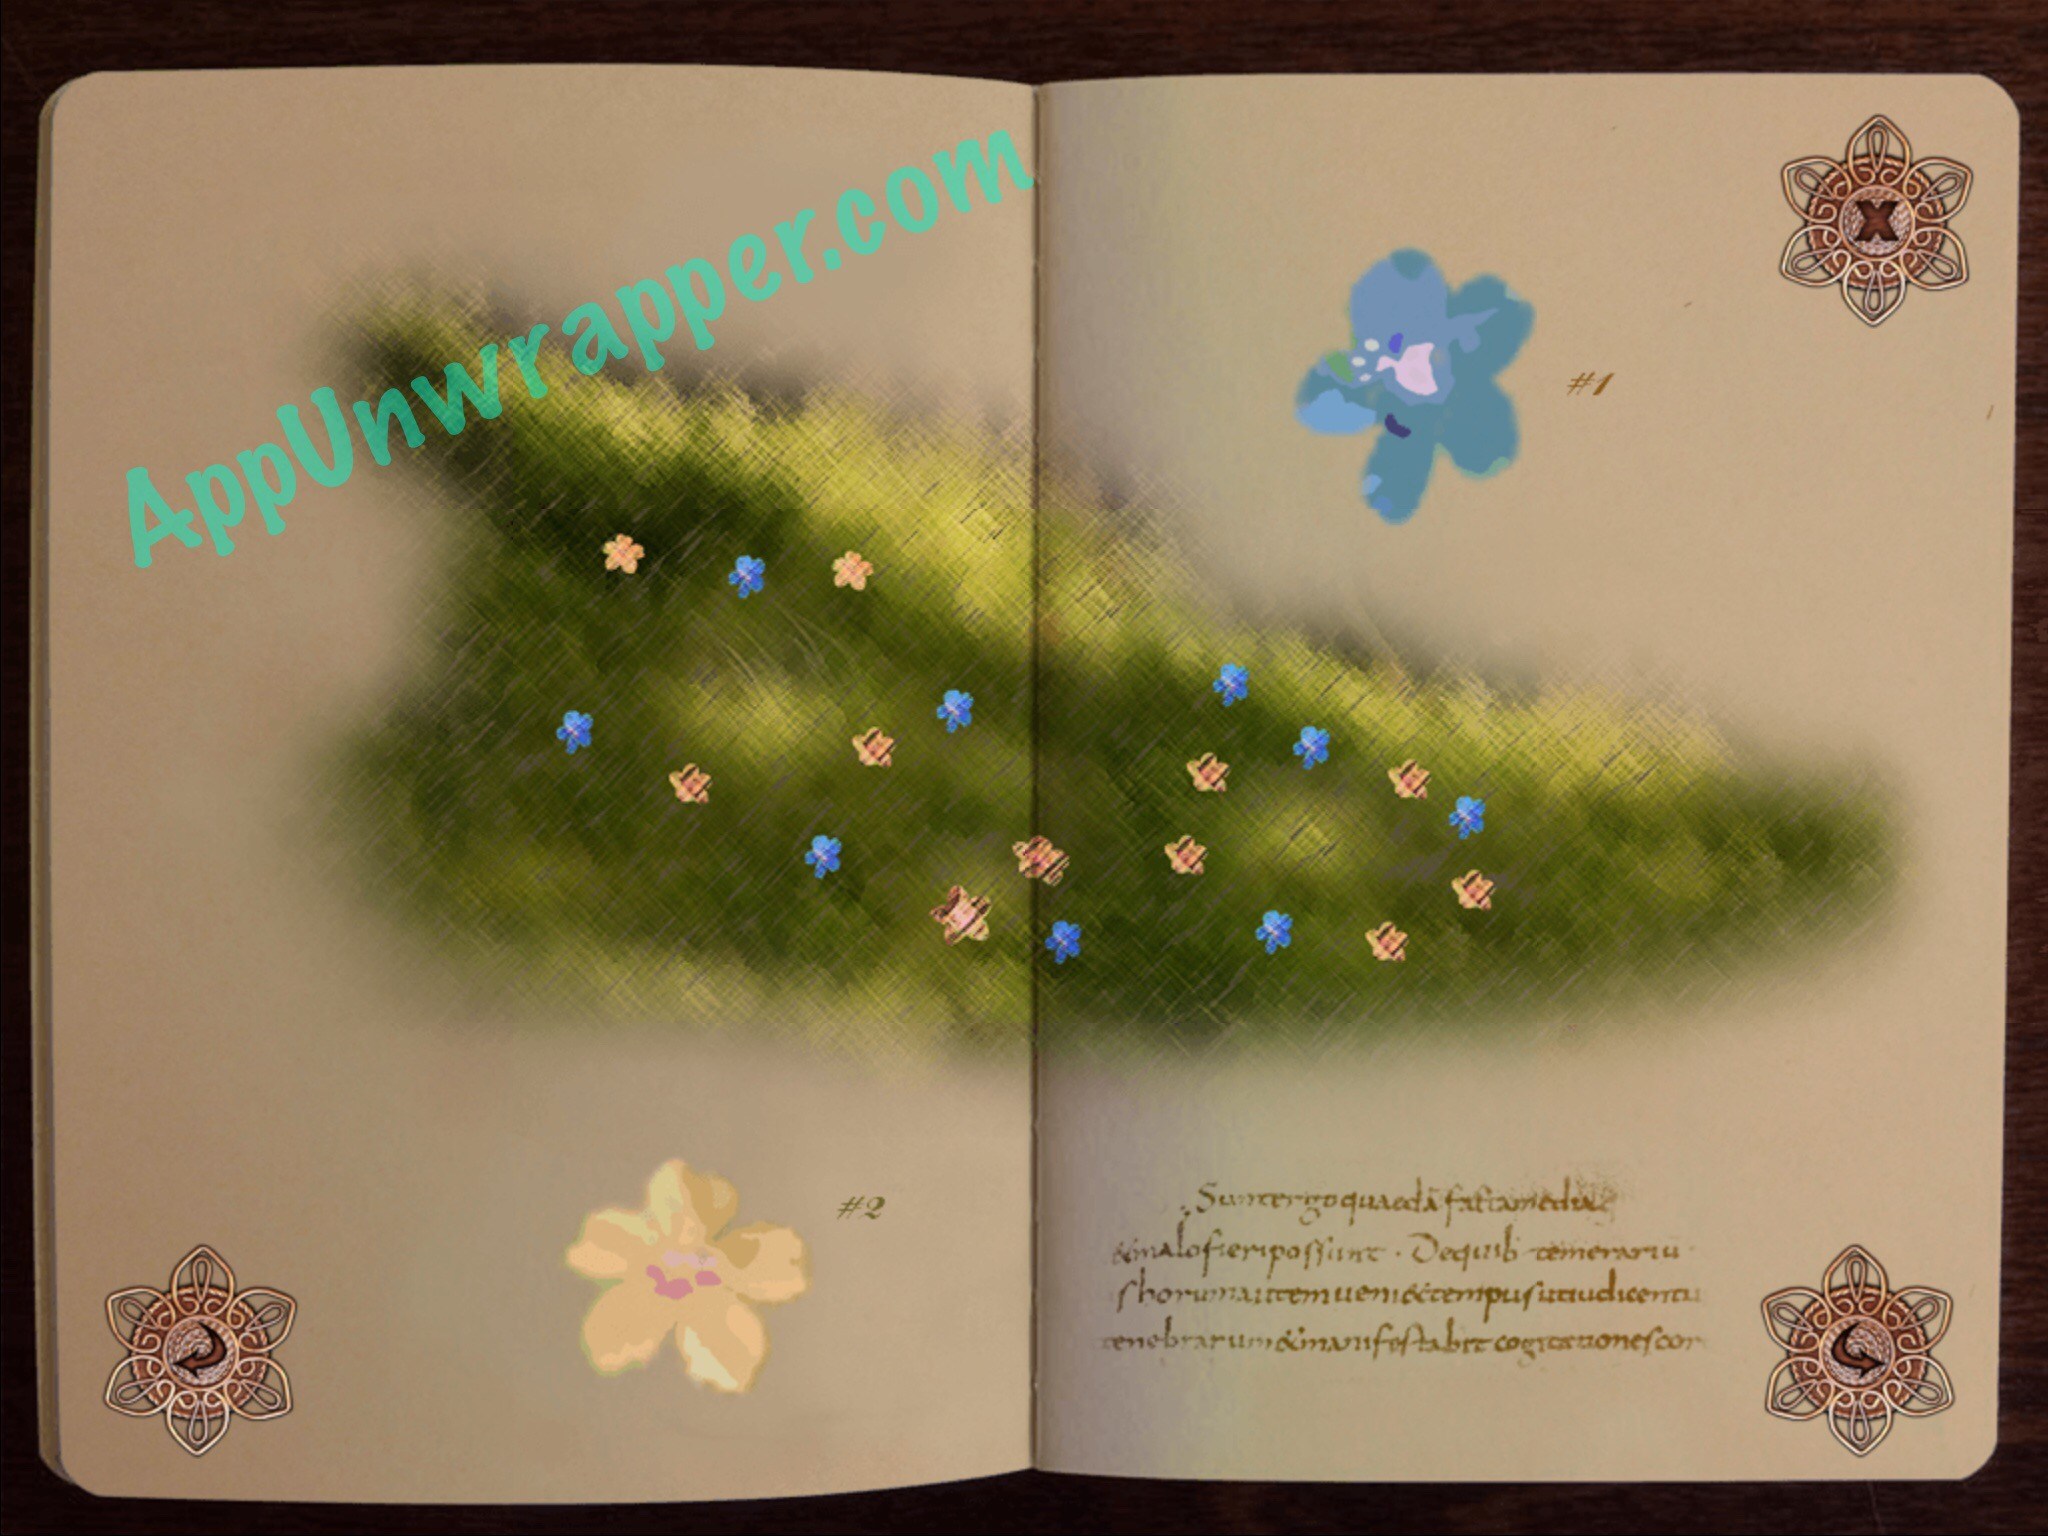
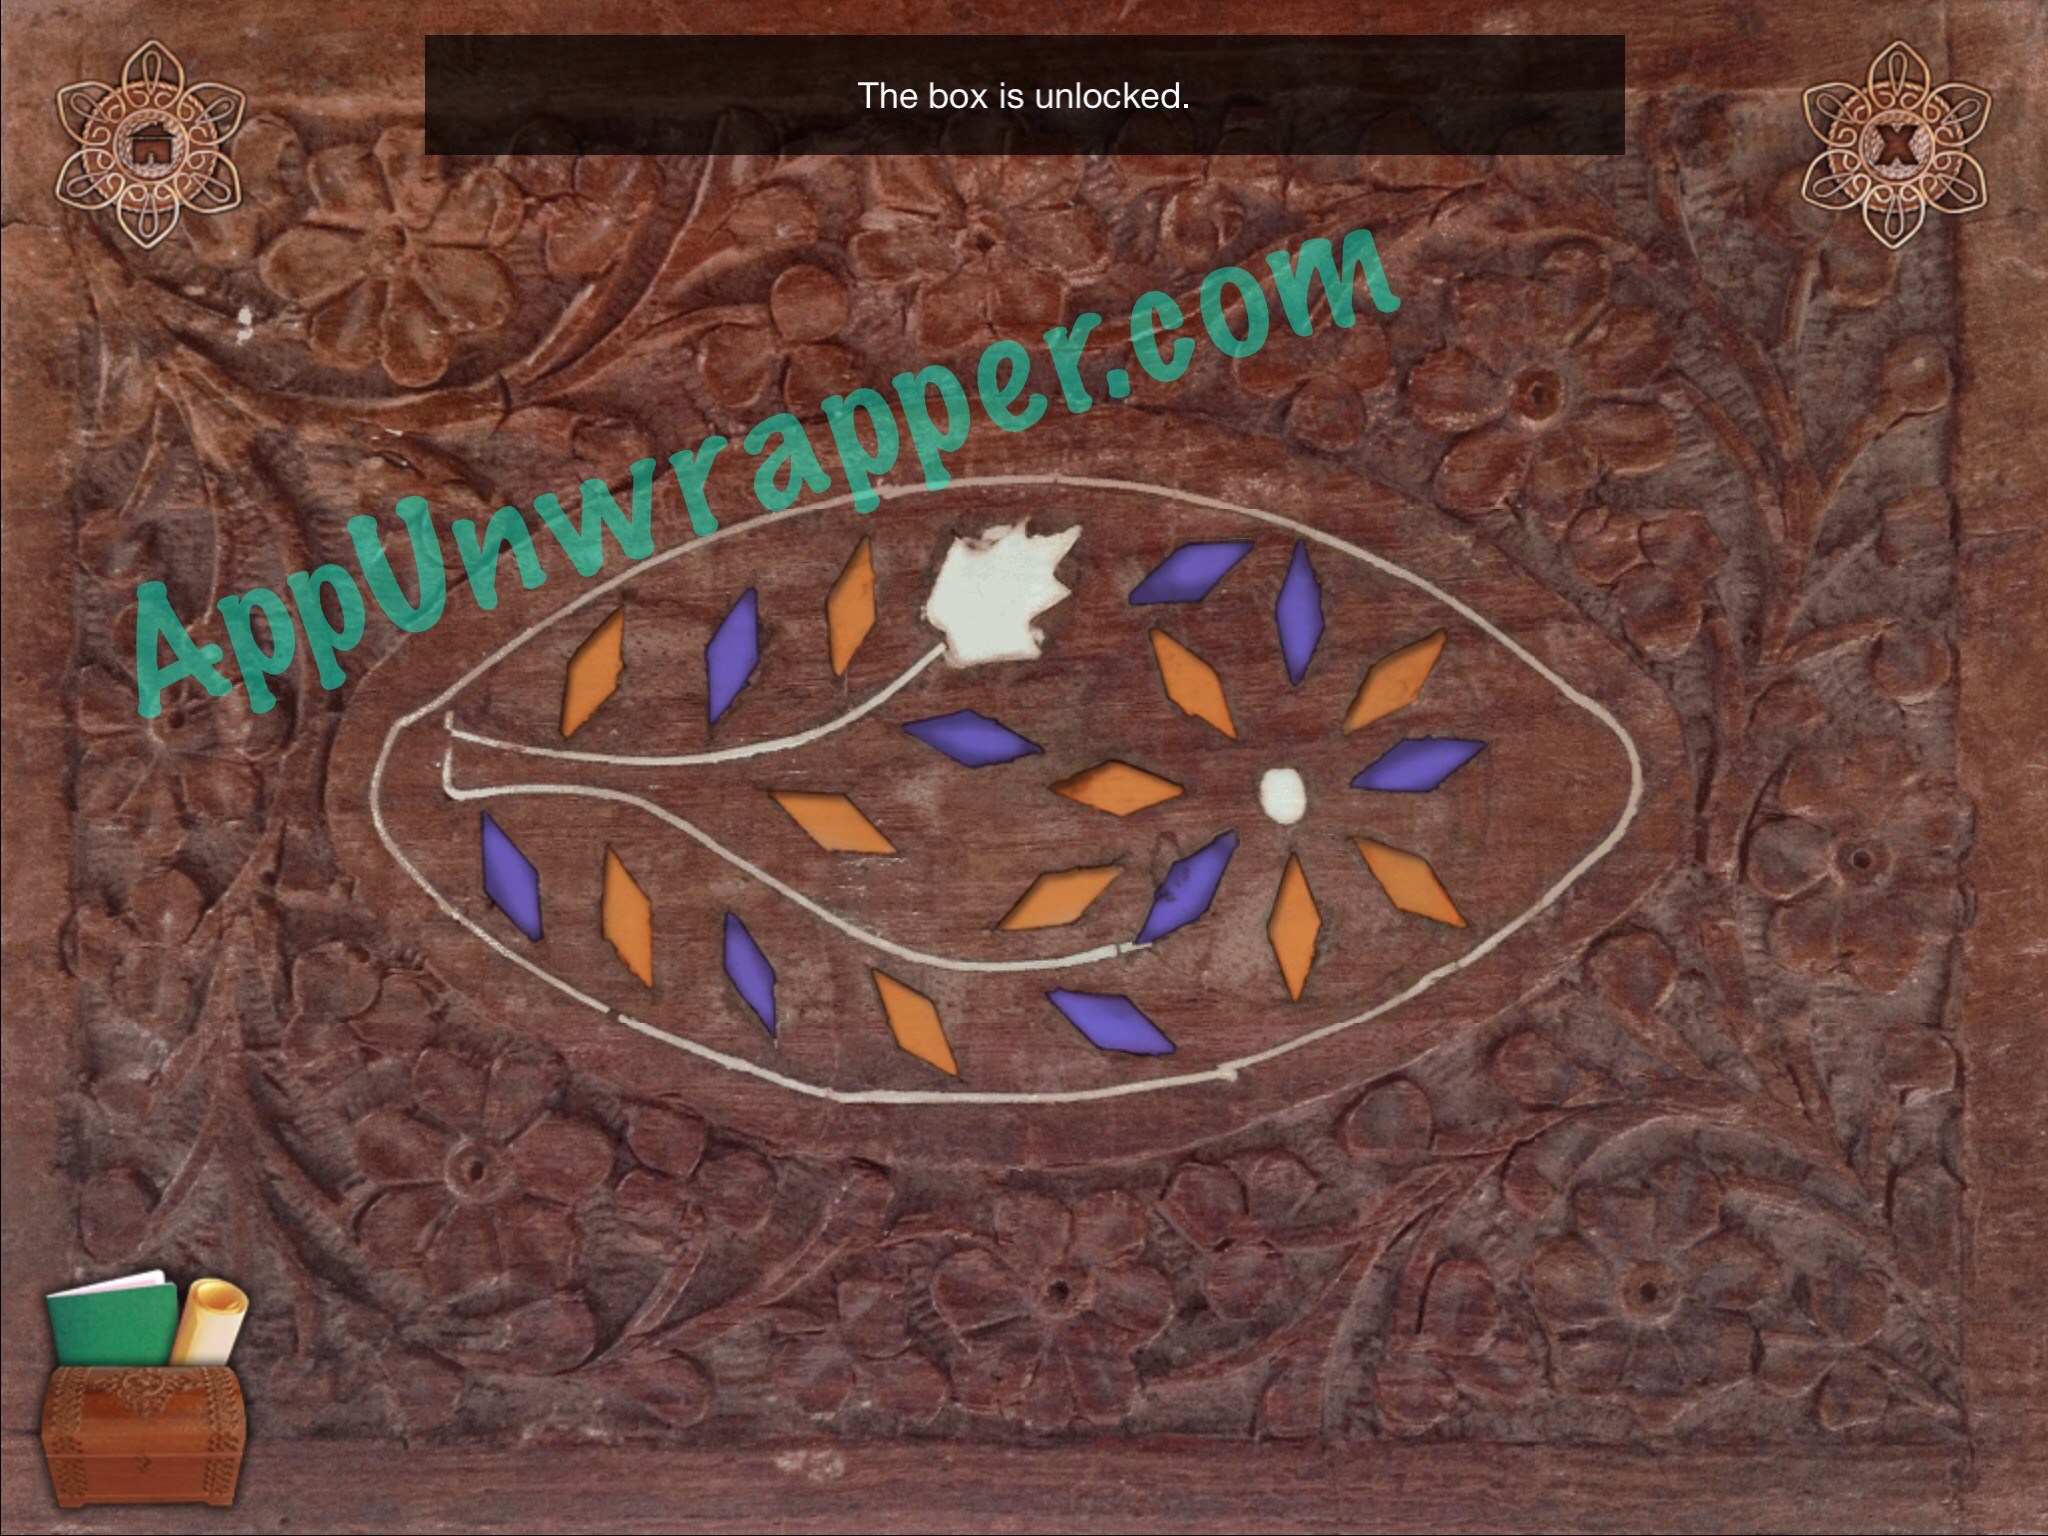
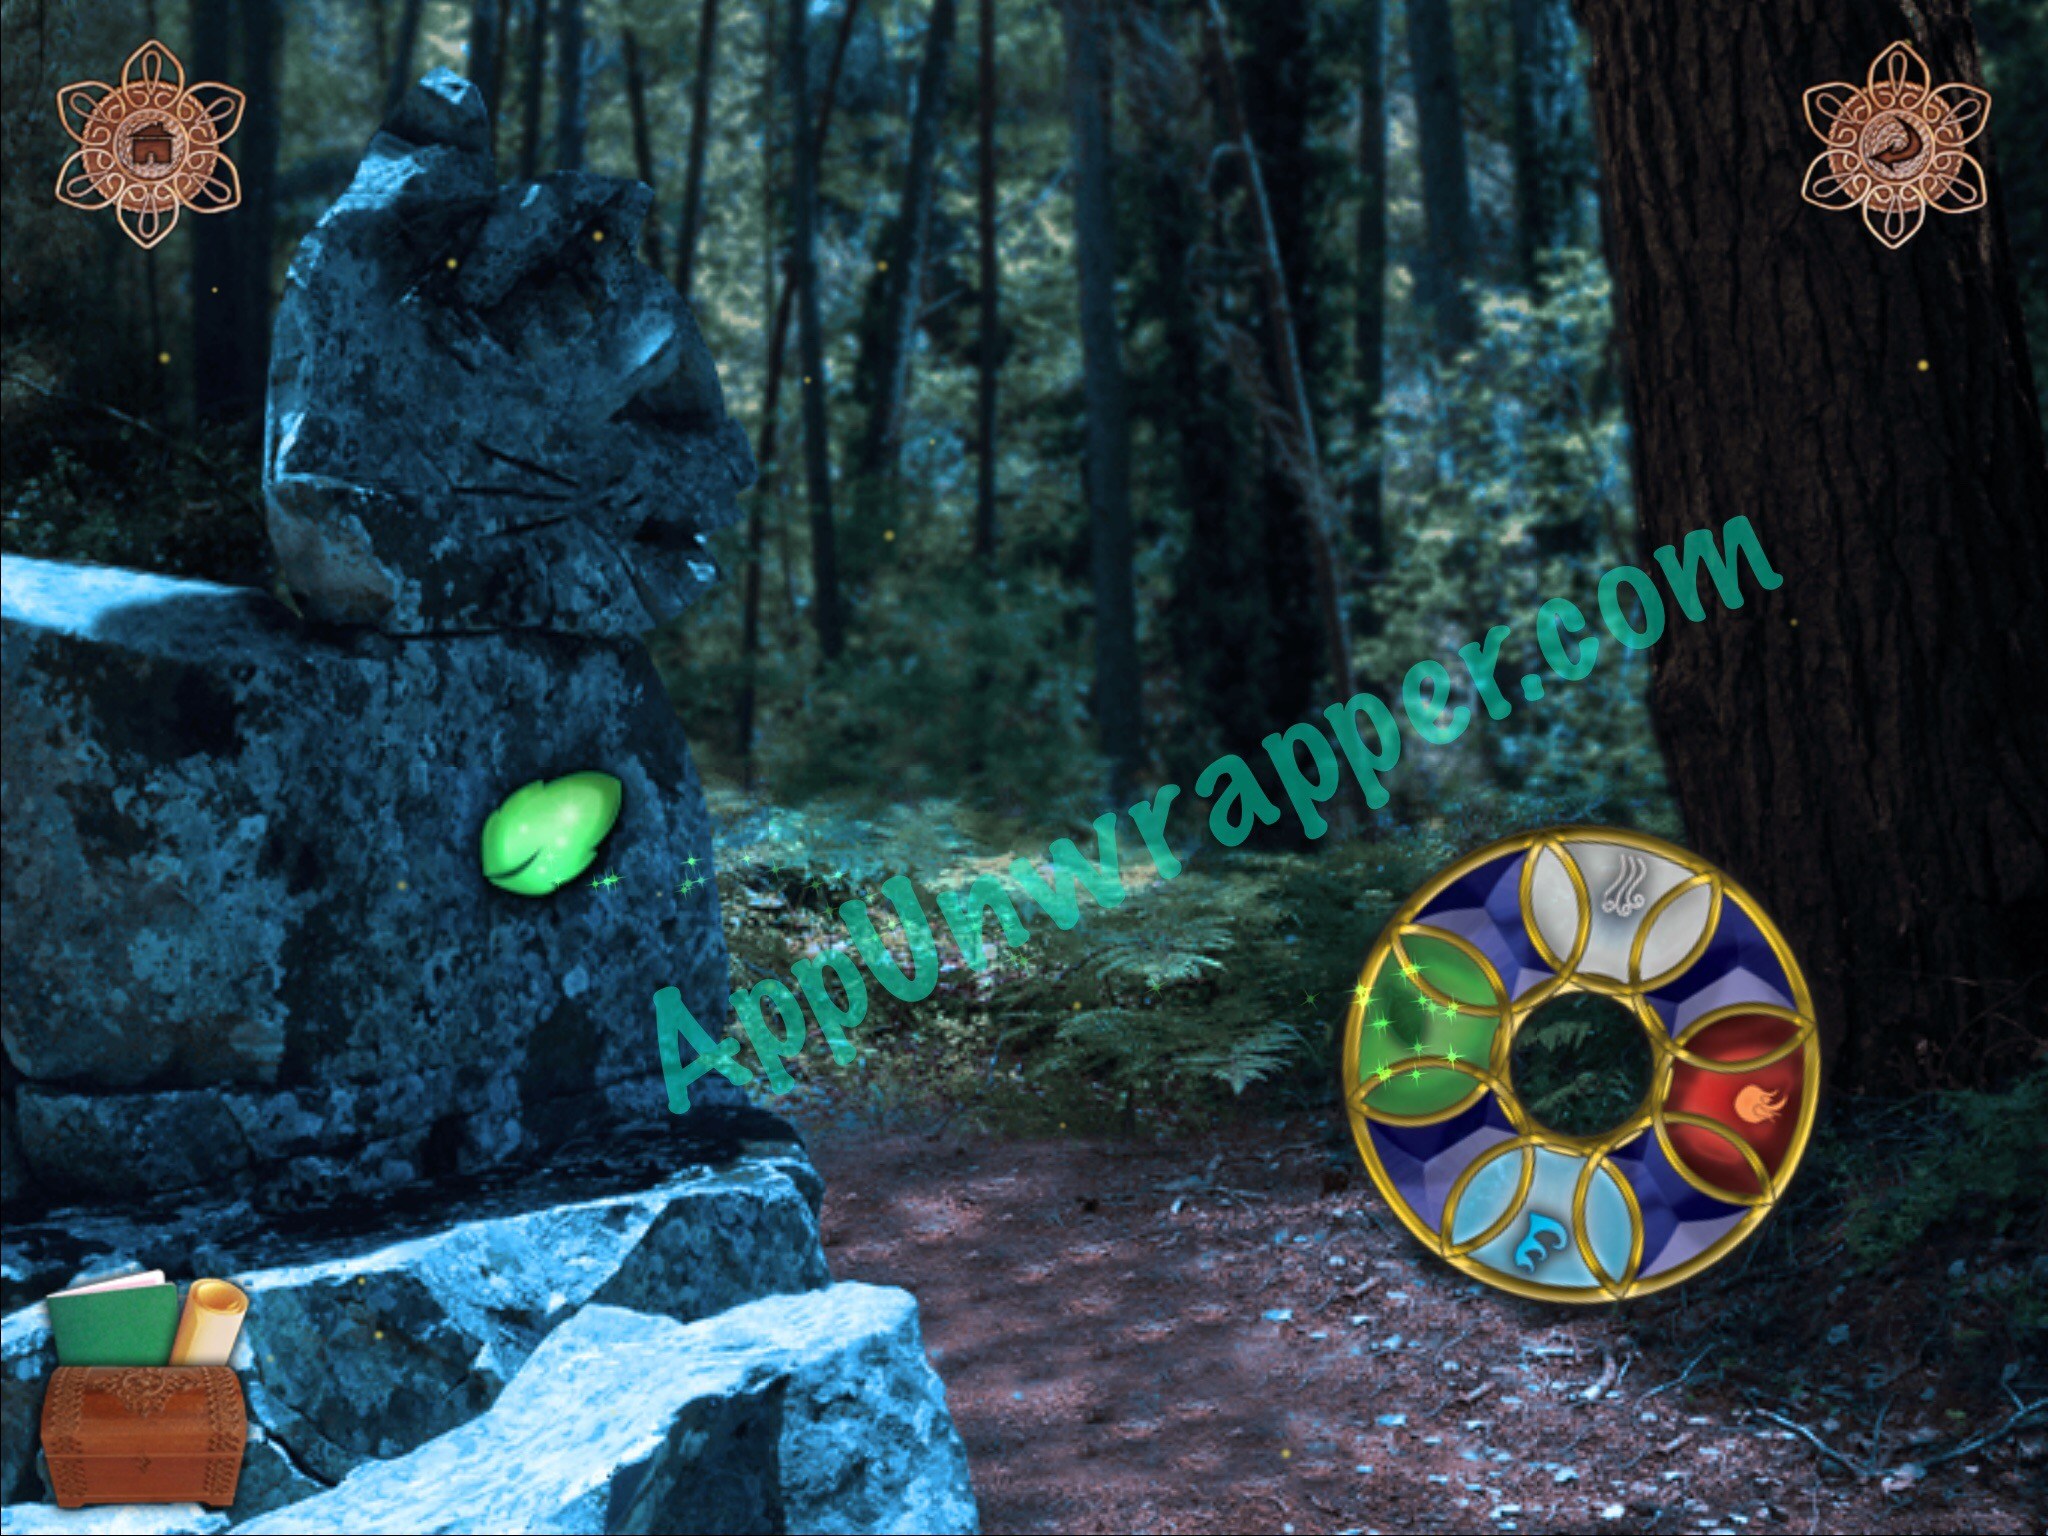
16. Go back to the screen where you found the chisel. Pour the potion on the dead flowers to revive them. Notice they’re a mix of purple and orange. You’ll get a clue for your notebook. Go to the screen with the blue flowers and (if you haven’t already) use the spade to dig up the ground where there’s a paw print. Use the clue from the flowers to unlock the box and get the earth element.

17. Go back to the cat statue and place the earth element in the leaf-shaped slot. Tap it again and you’ll turn into a cat! Your perspective changes, so you can see and reach things you couldn’t before.

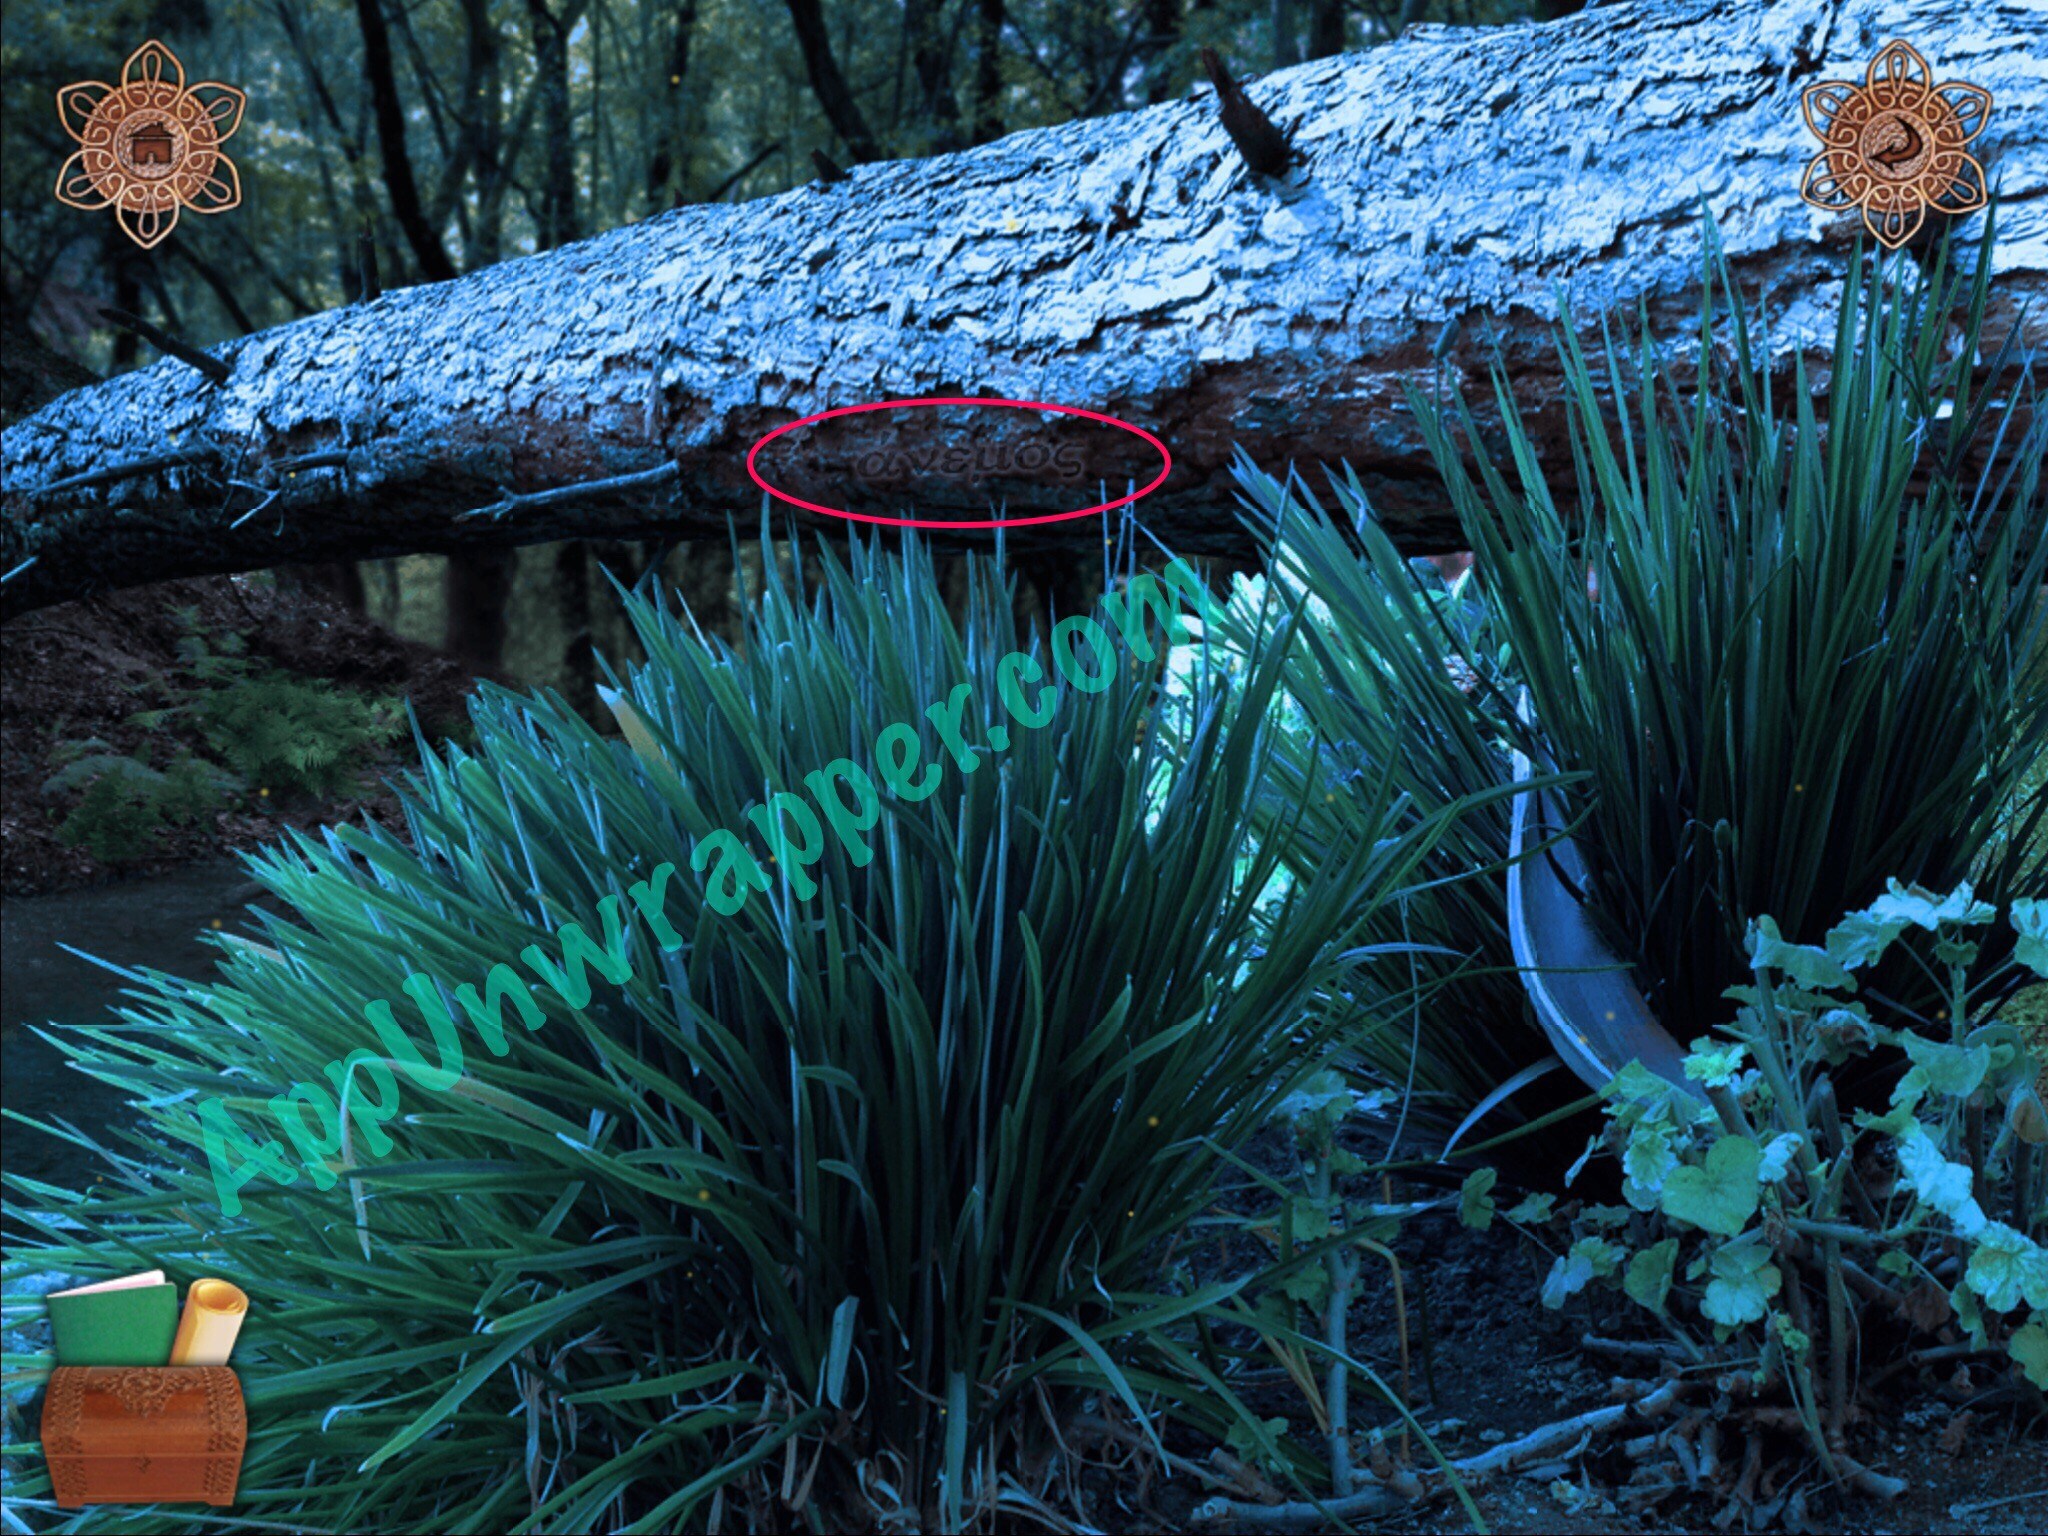
18. Go back a screen and notice the word on the fallen tree. It will be added to your notebook.

19. Go back another screen and pick up the gear.
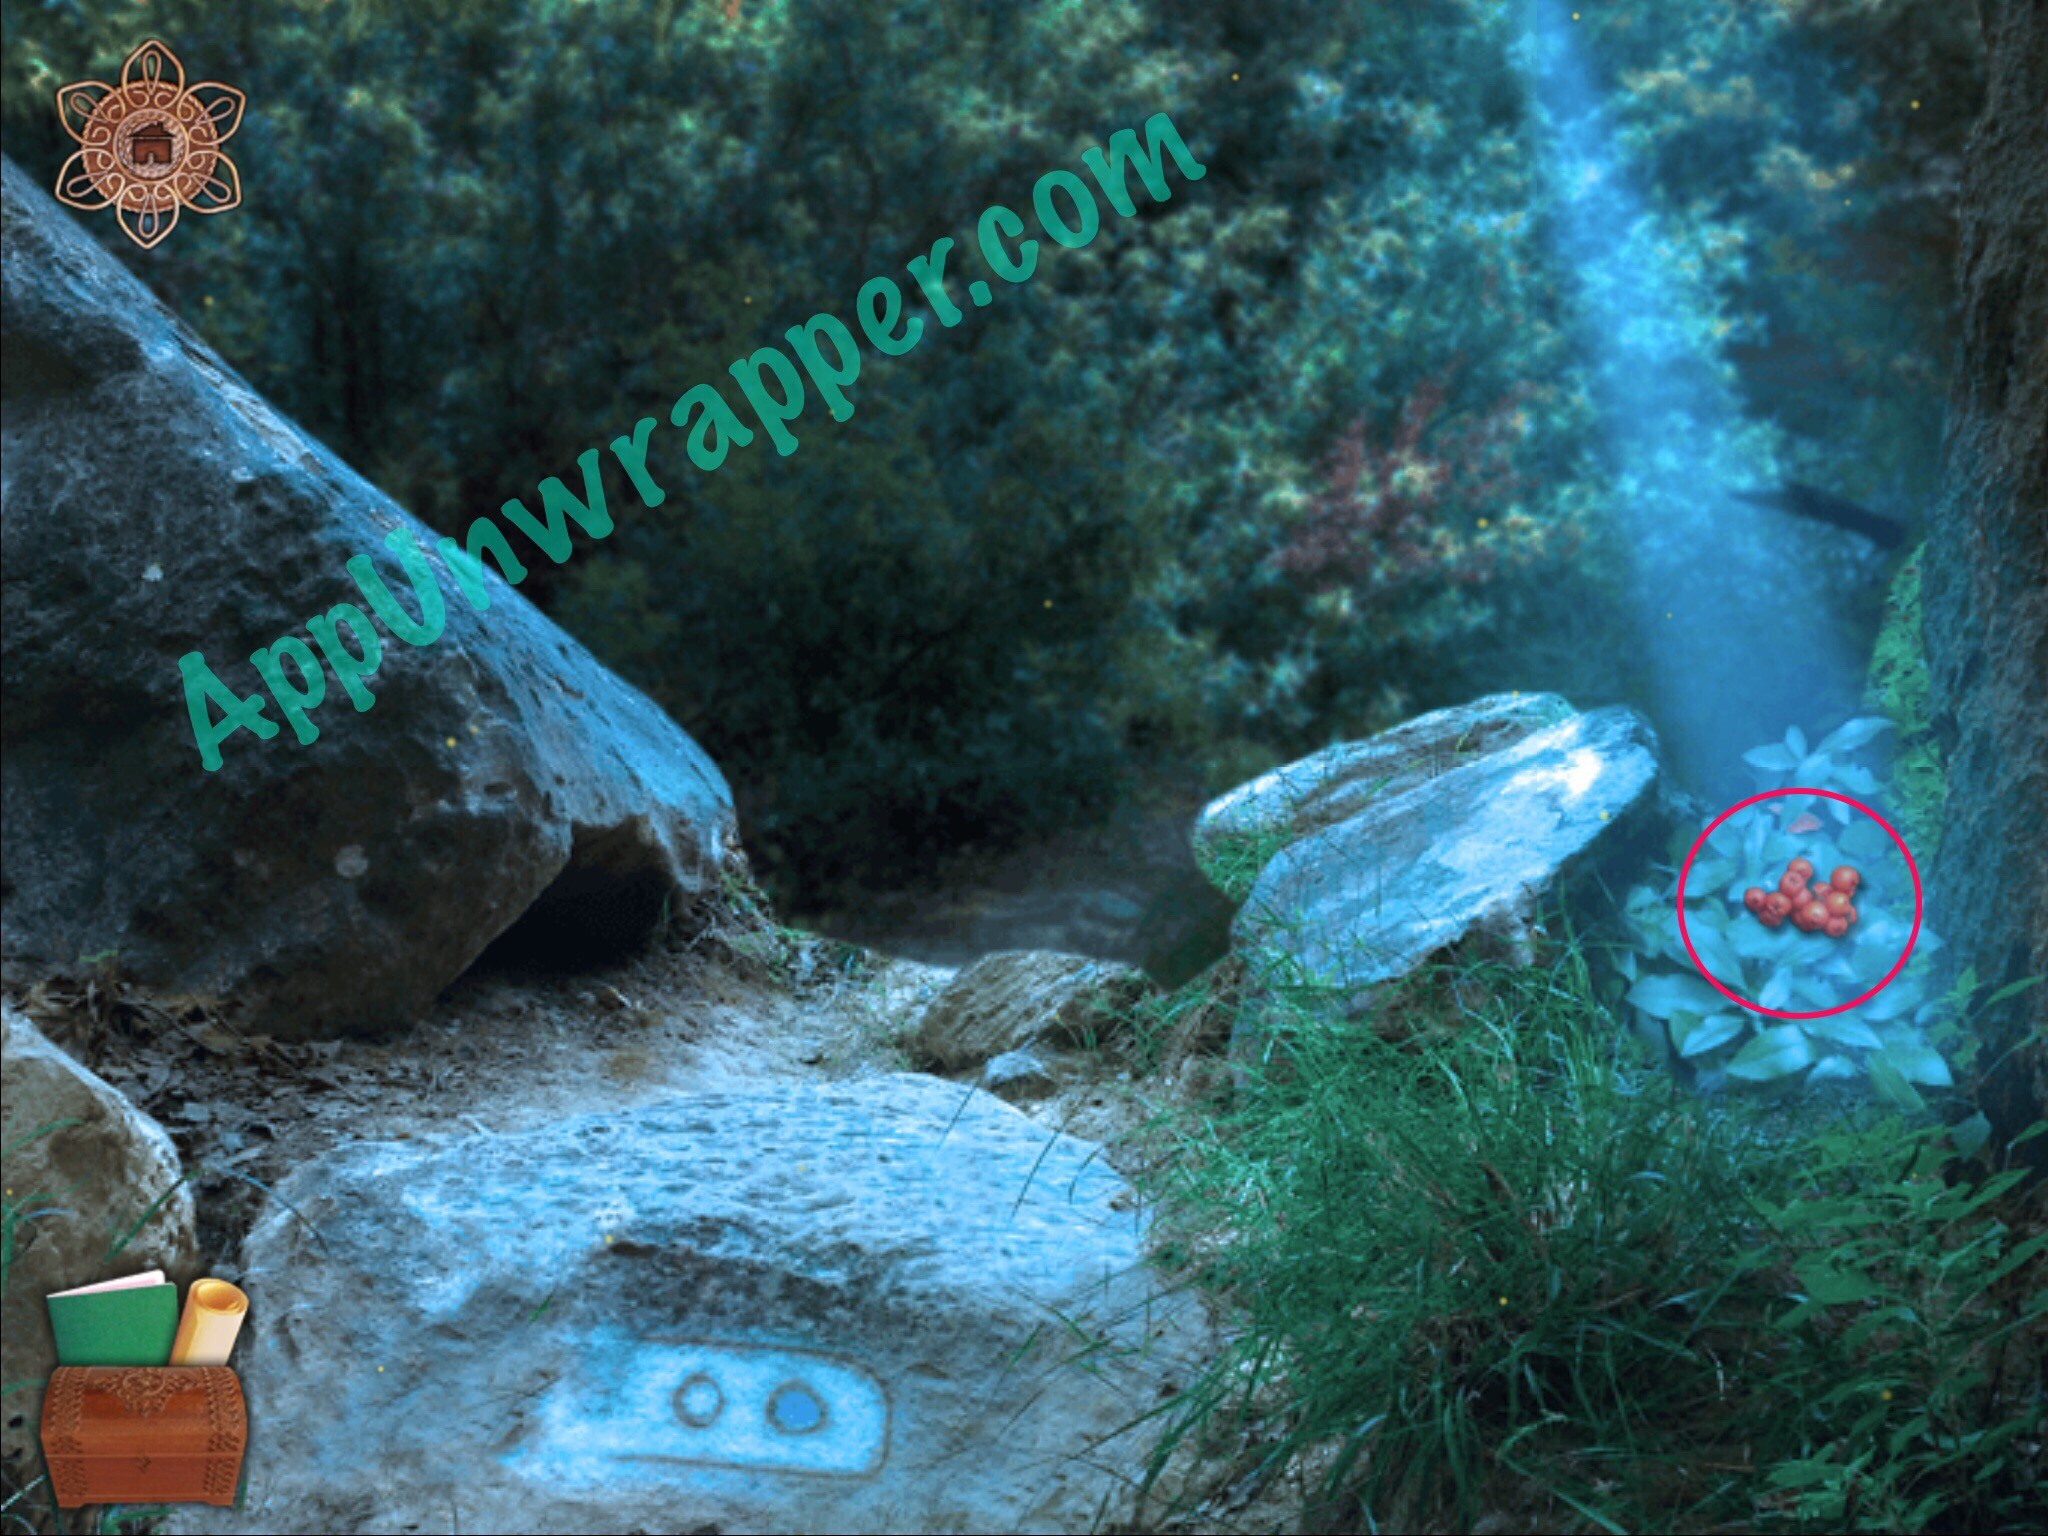
20. Go back to where you found the key and grab the berries.
21. Go back to the bridge. Climb up the tree and try to grab the red fire element. It will fall. Oops! Also, use the berries on the paw prints to get a clue for your notebook.


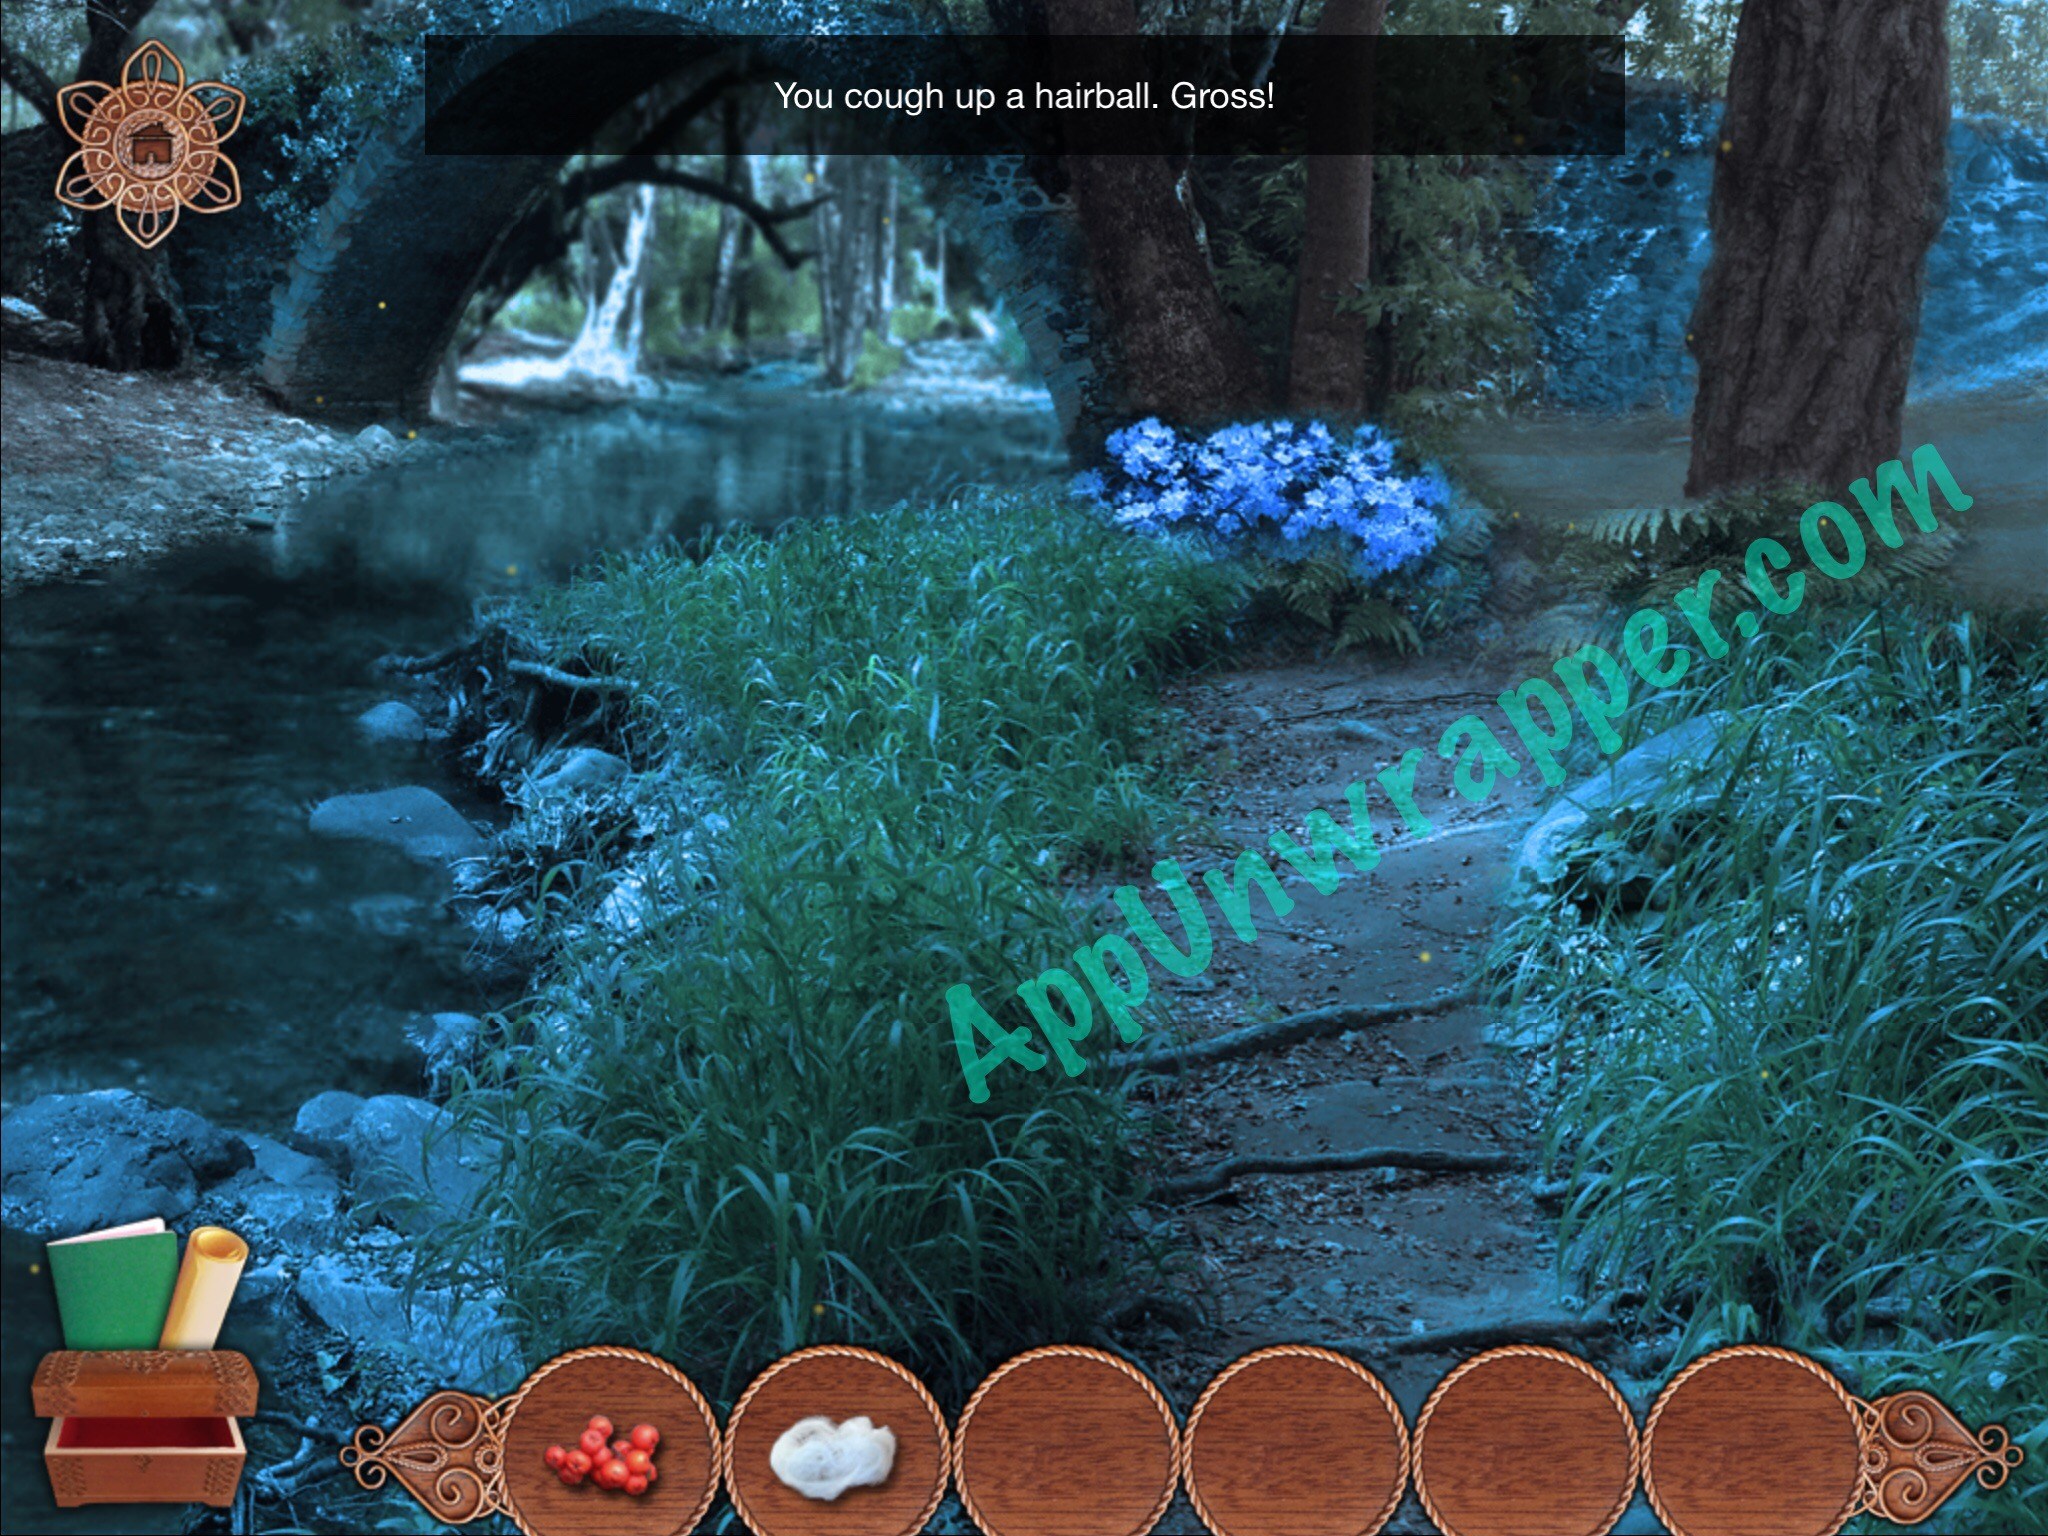
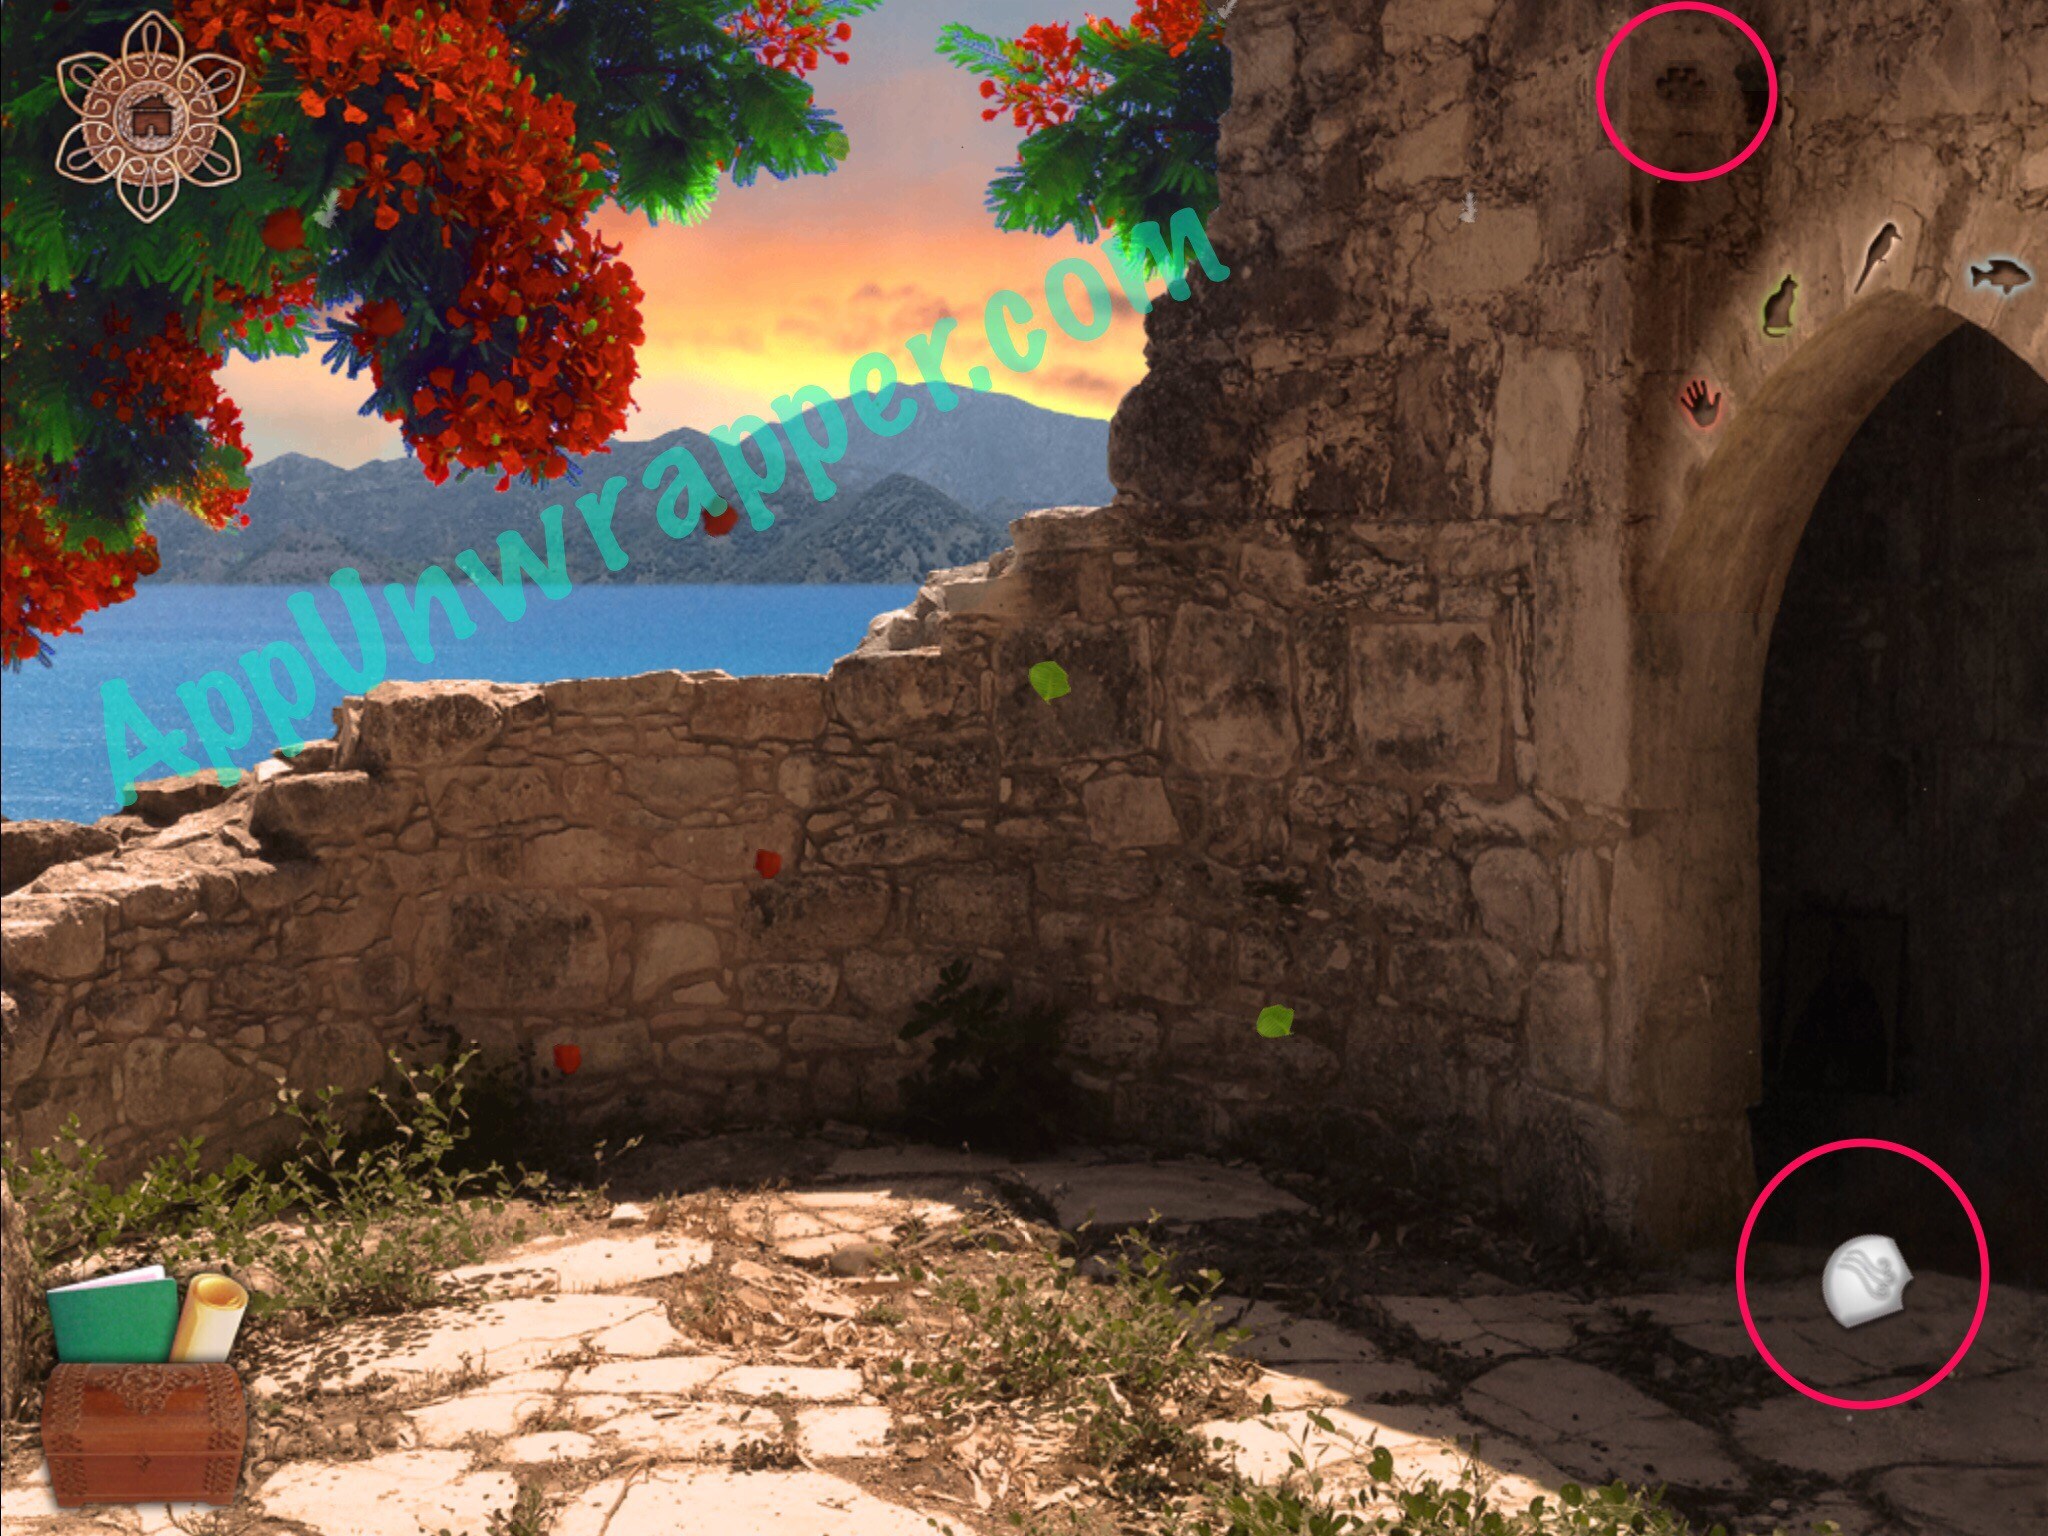
22. Go back to the screen with the blue flowers. Tap near the top of the screen to cough up a hairball (nice!) and then tap on the blue flowers. Pick up the disc and notice that the flame element is in the water. We’ll have to deal with that later.

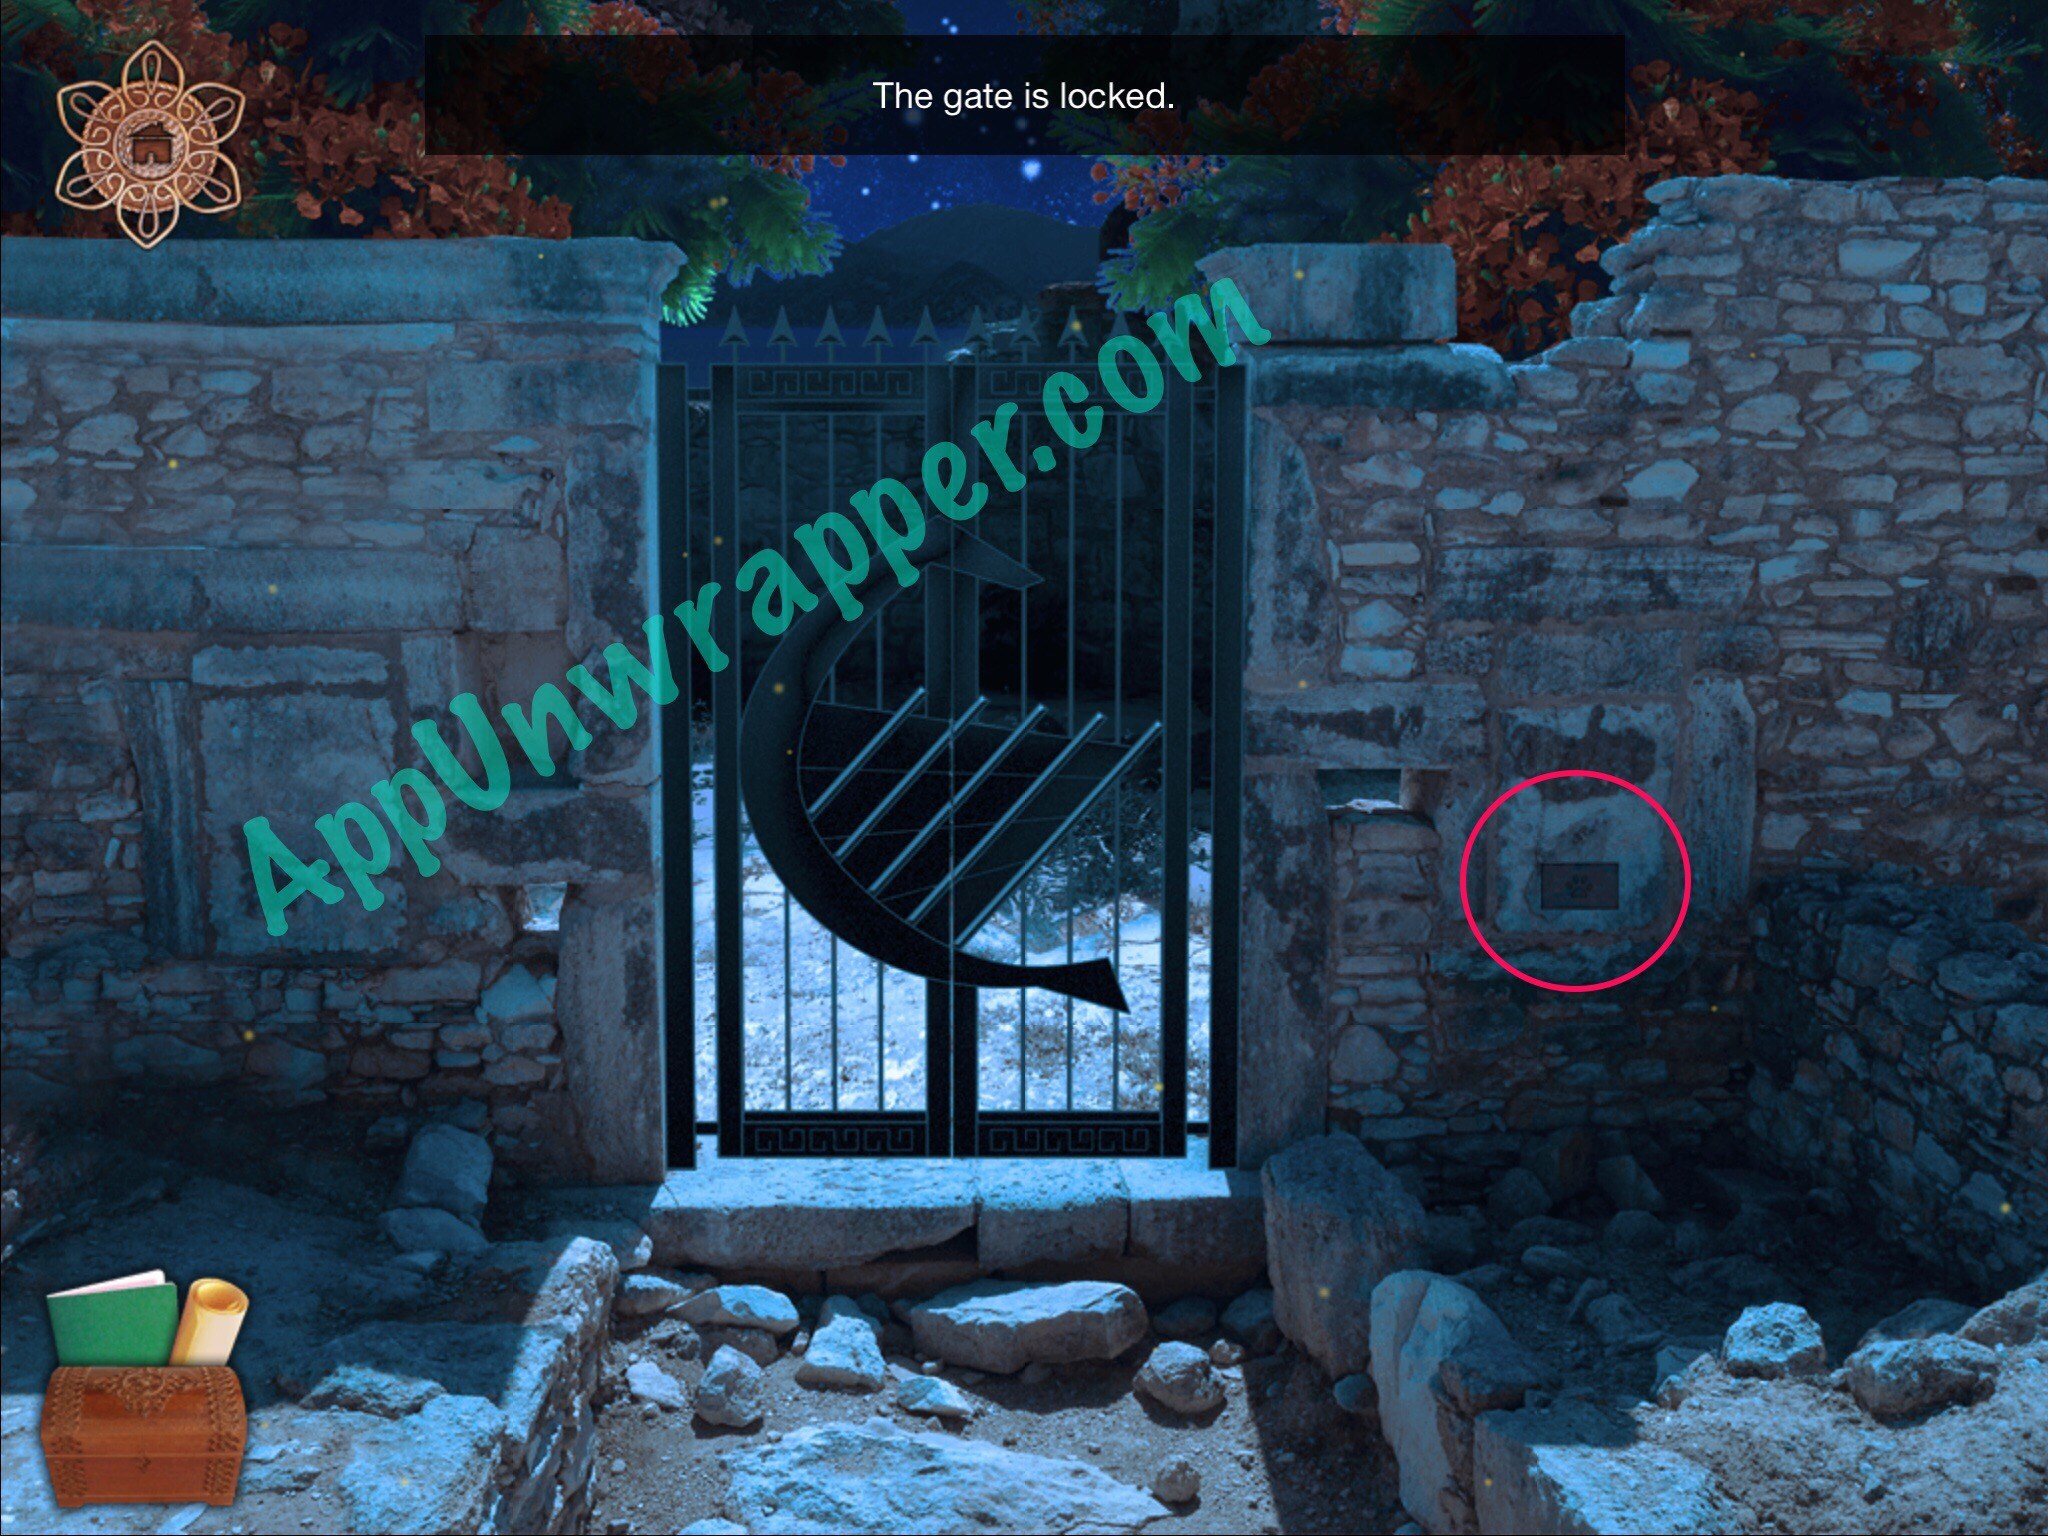
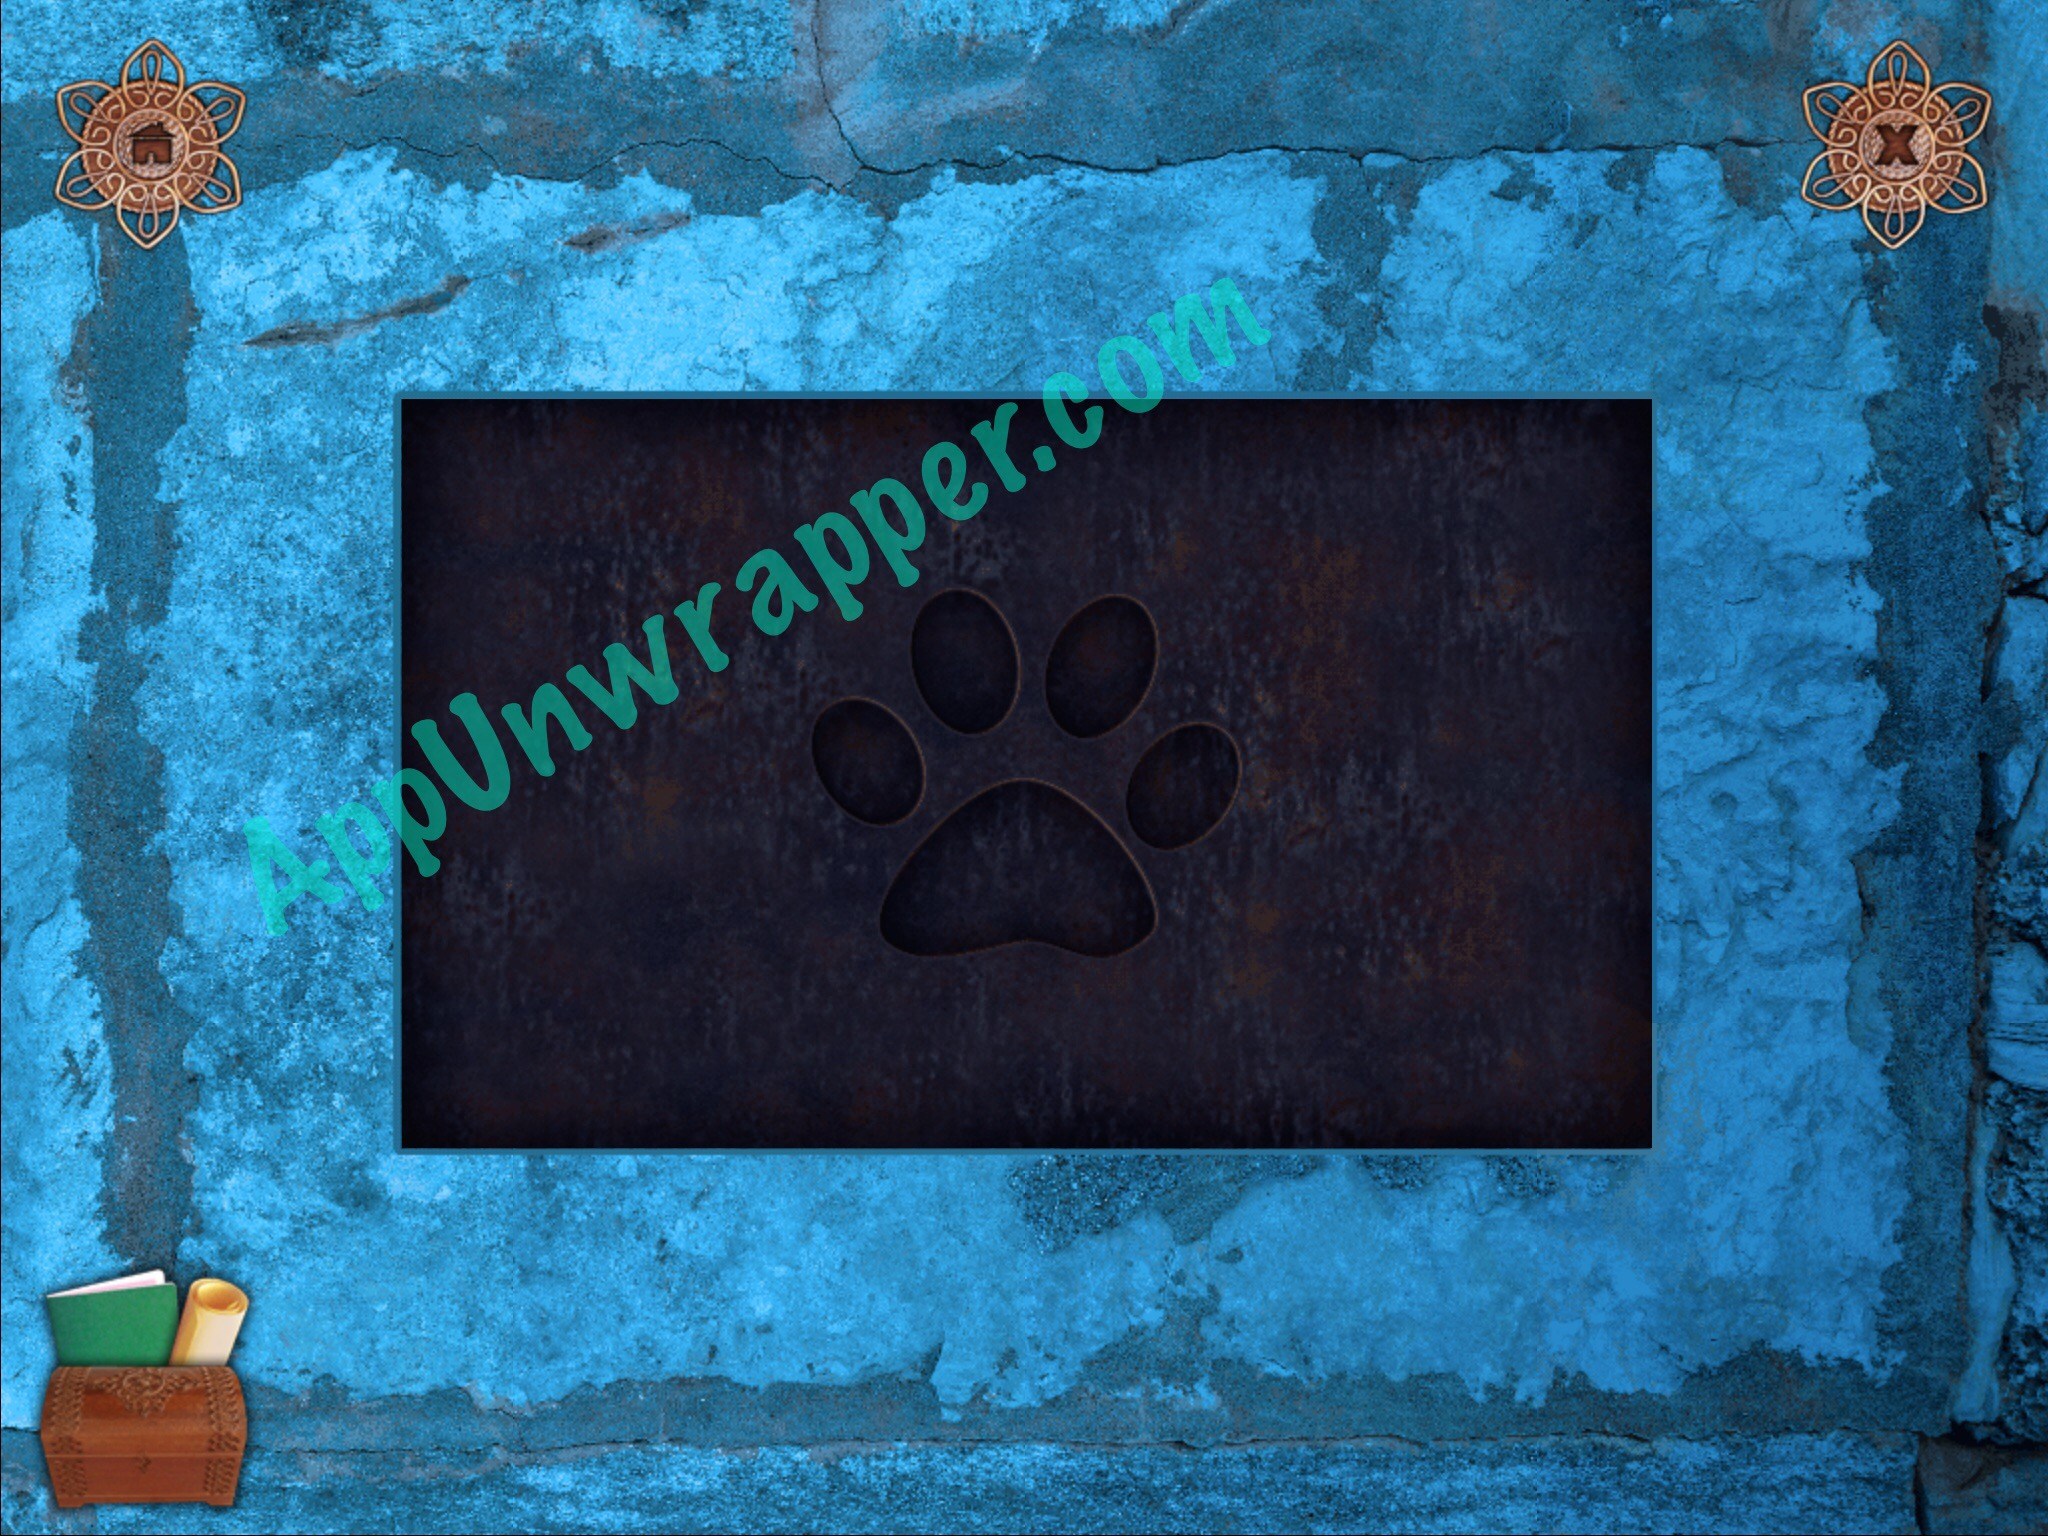
23. Go back another screen to the gate. There’s a paw print lock to the right. Tap on it, then use the clue from your notebook to unlock it. Tap the second finger, second again, then fourth, first and third. Place the gear with the other great and the gate will unlock. If you go through, you can now navigate the same way you did as a human.

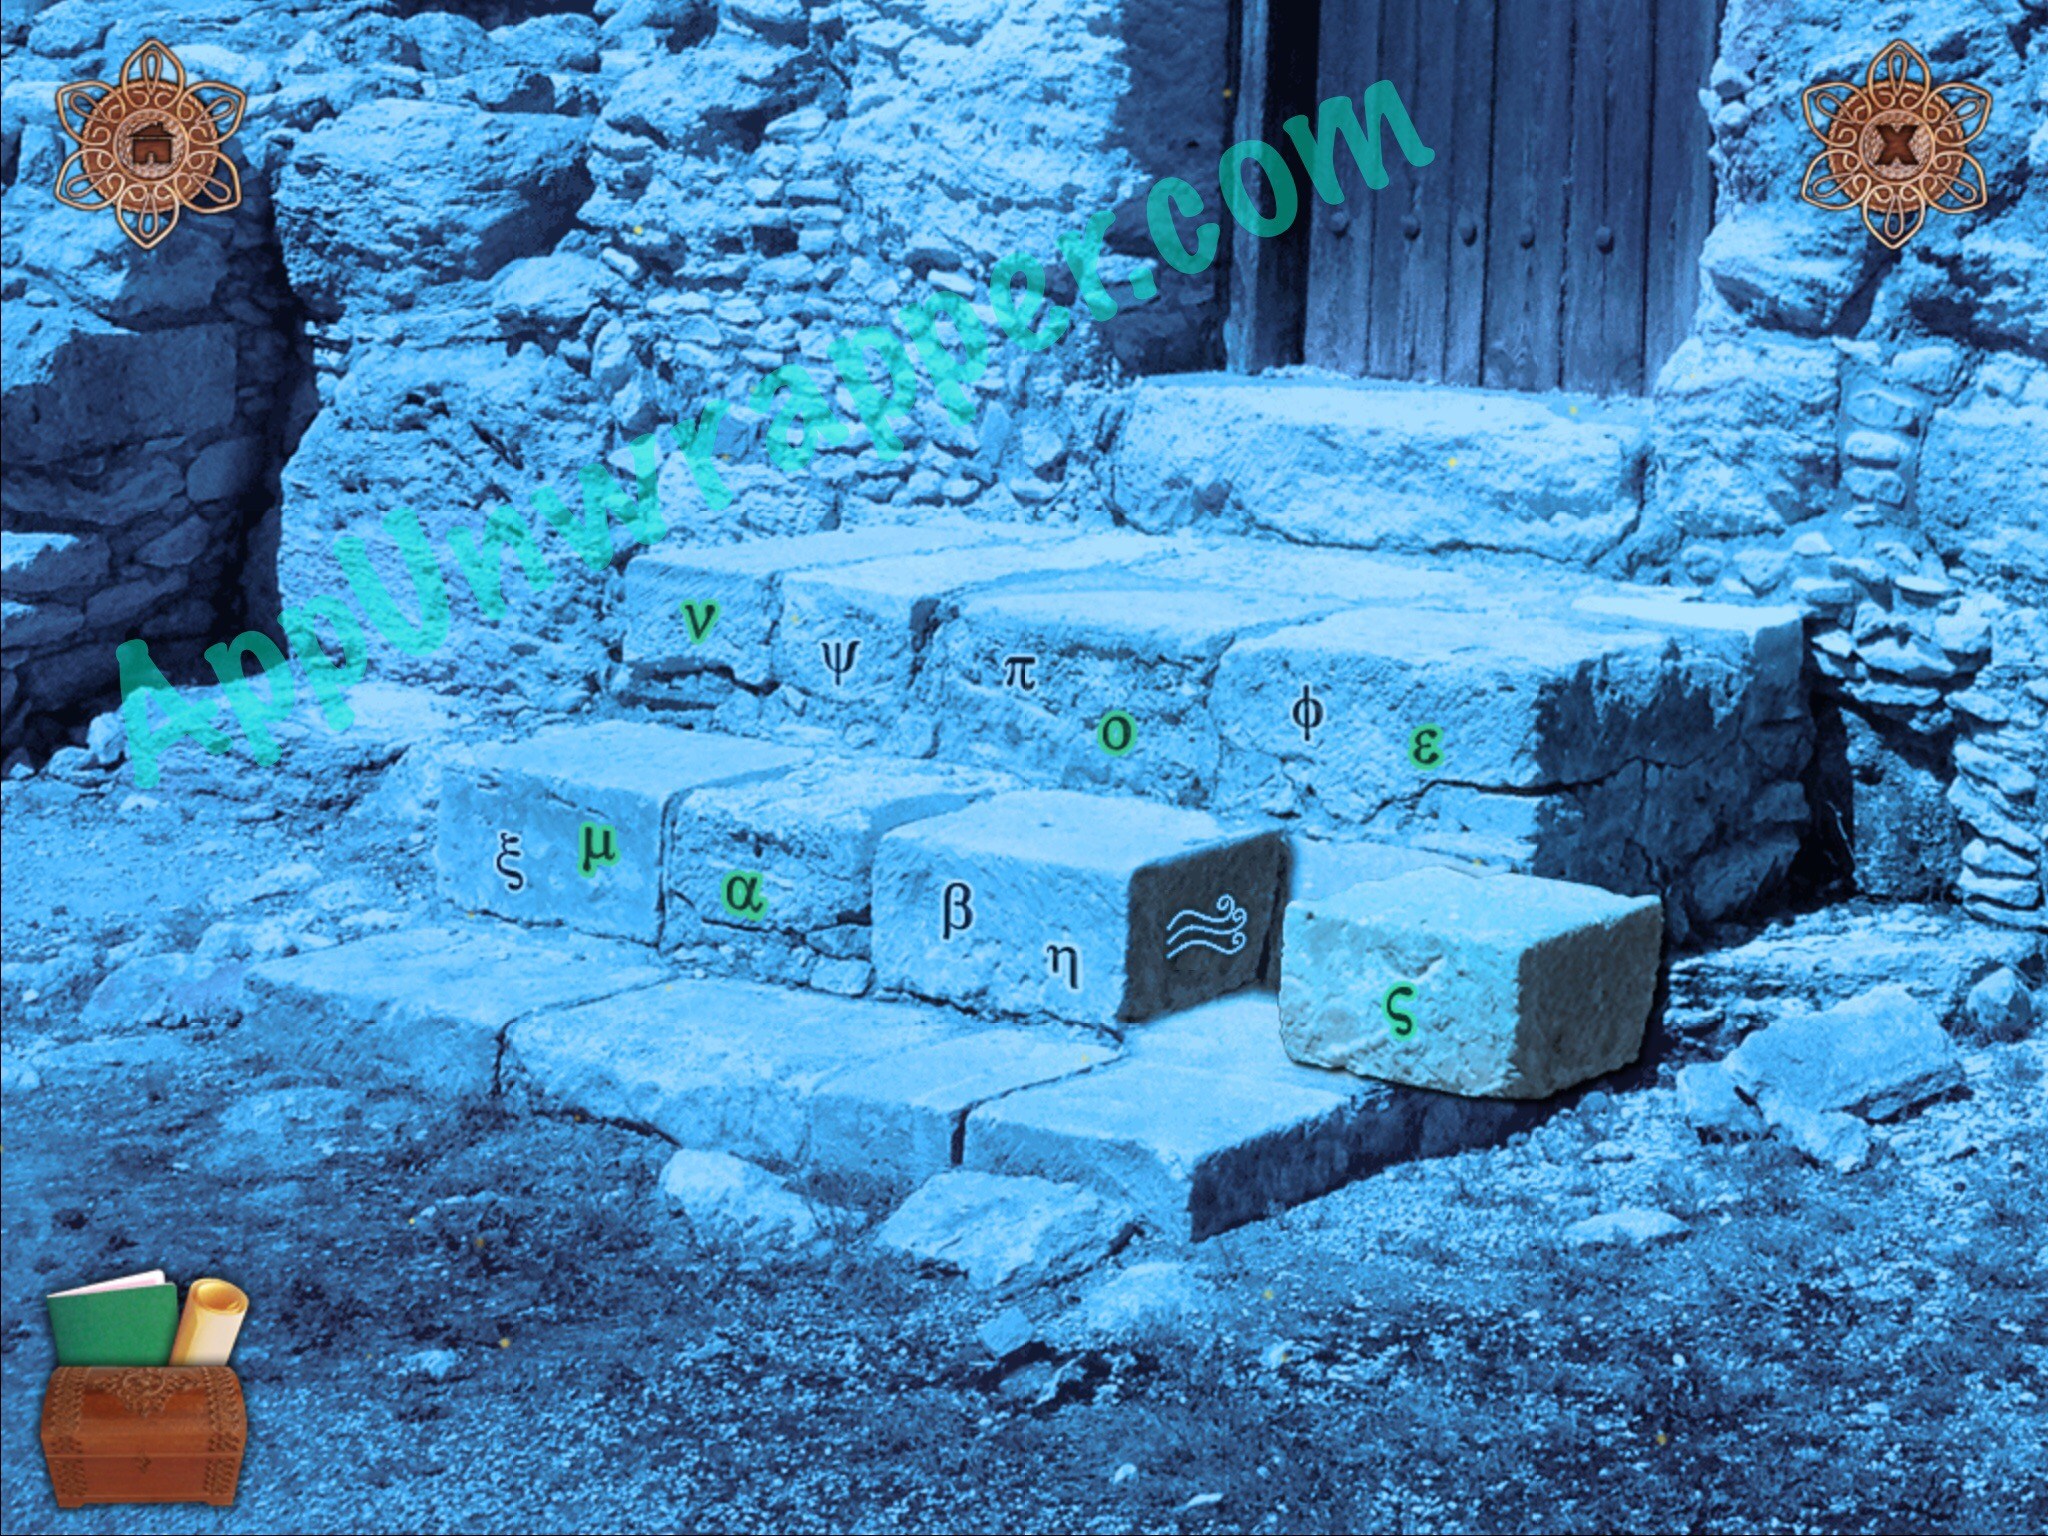
24. Go to the house and zoom in on the stairs. Press the letters to spell out the word from the fallen tree and take the wind element when the last letter moves.
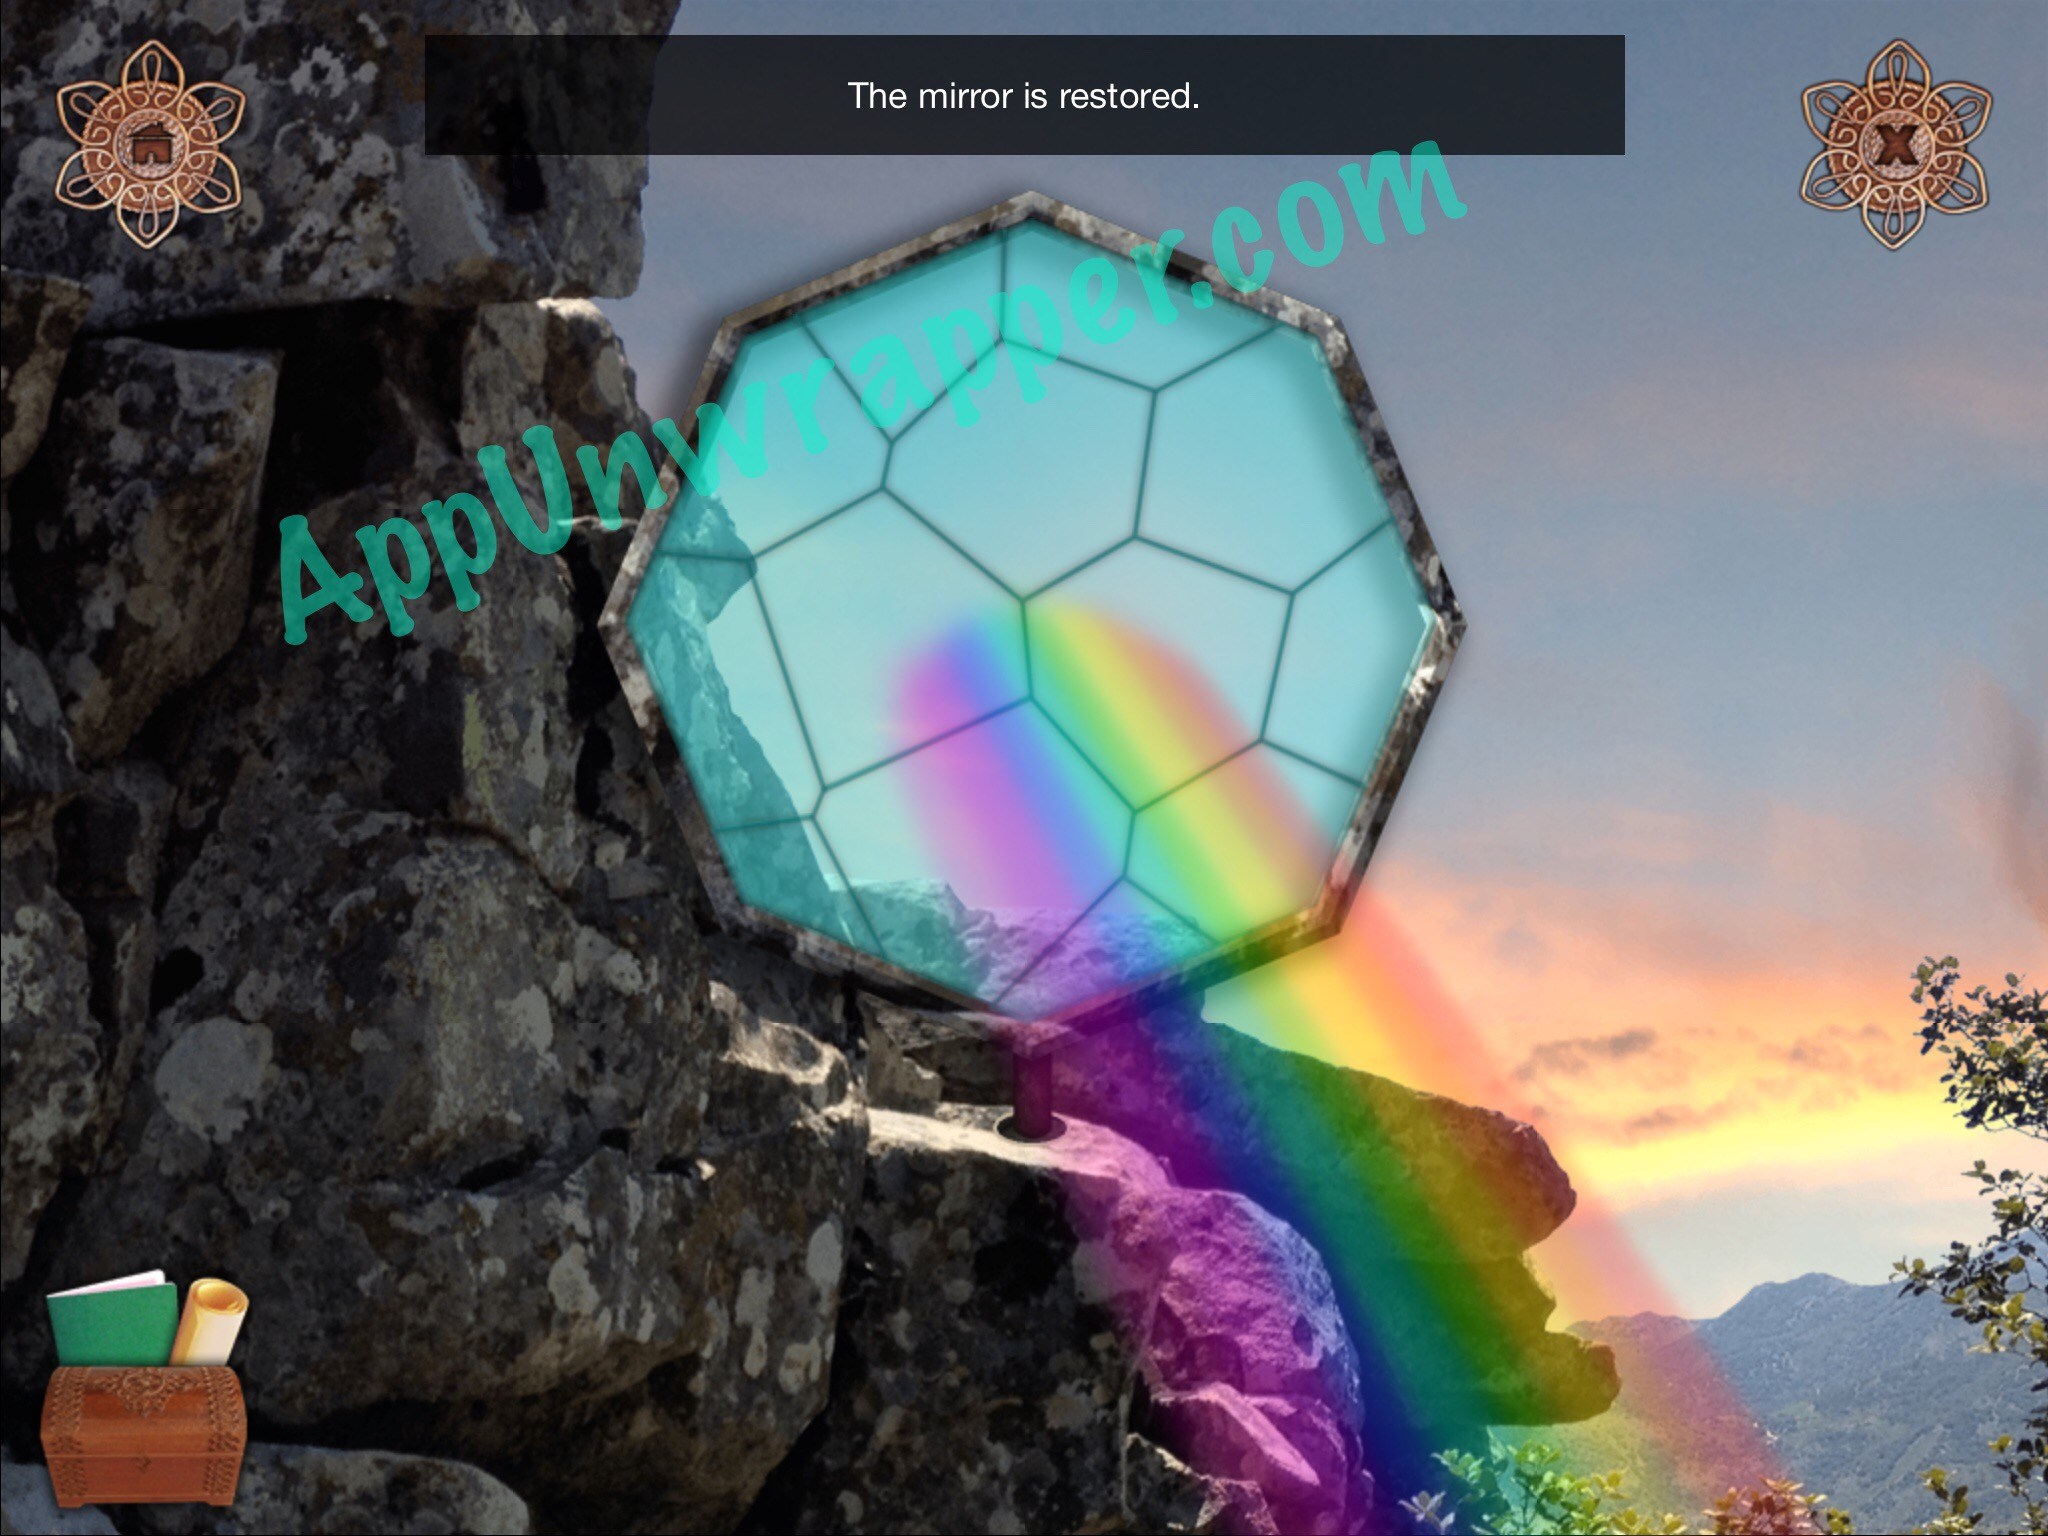
25. Go back to where you got the roses and pick up the green leaf puzzle piece. Continue to the next screen and get the clue for your journal. Then go and add the red and green pieces to the puzzle on the next screen.


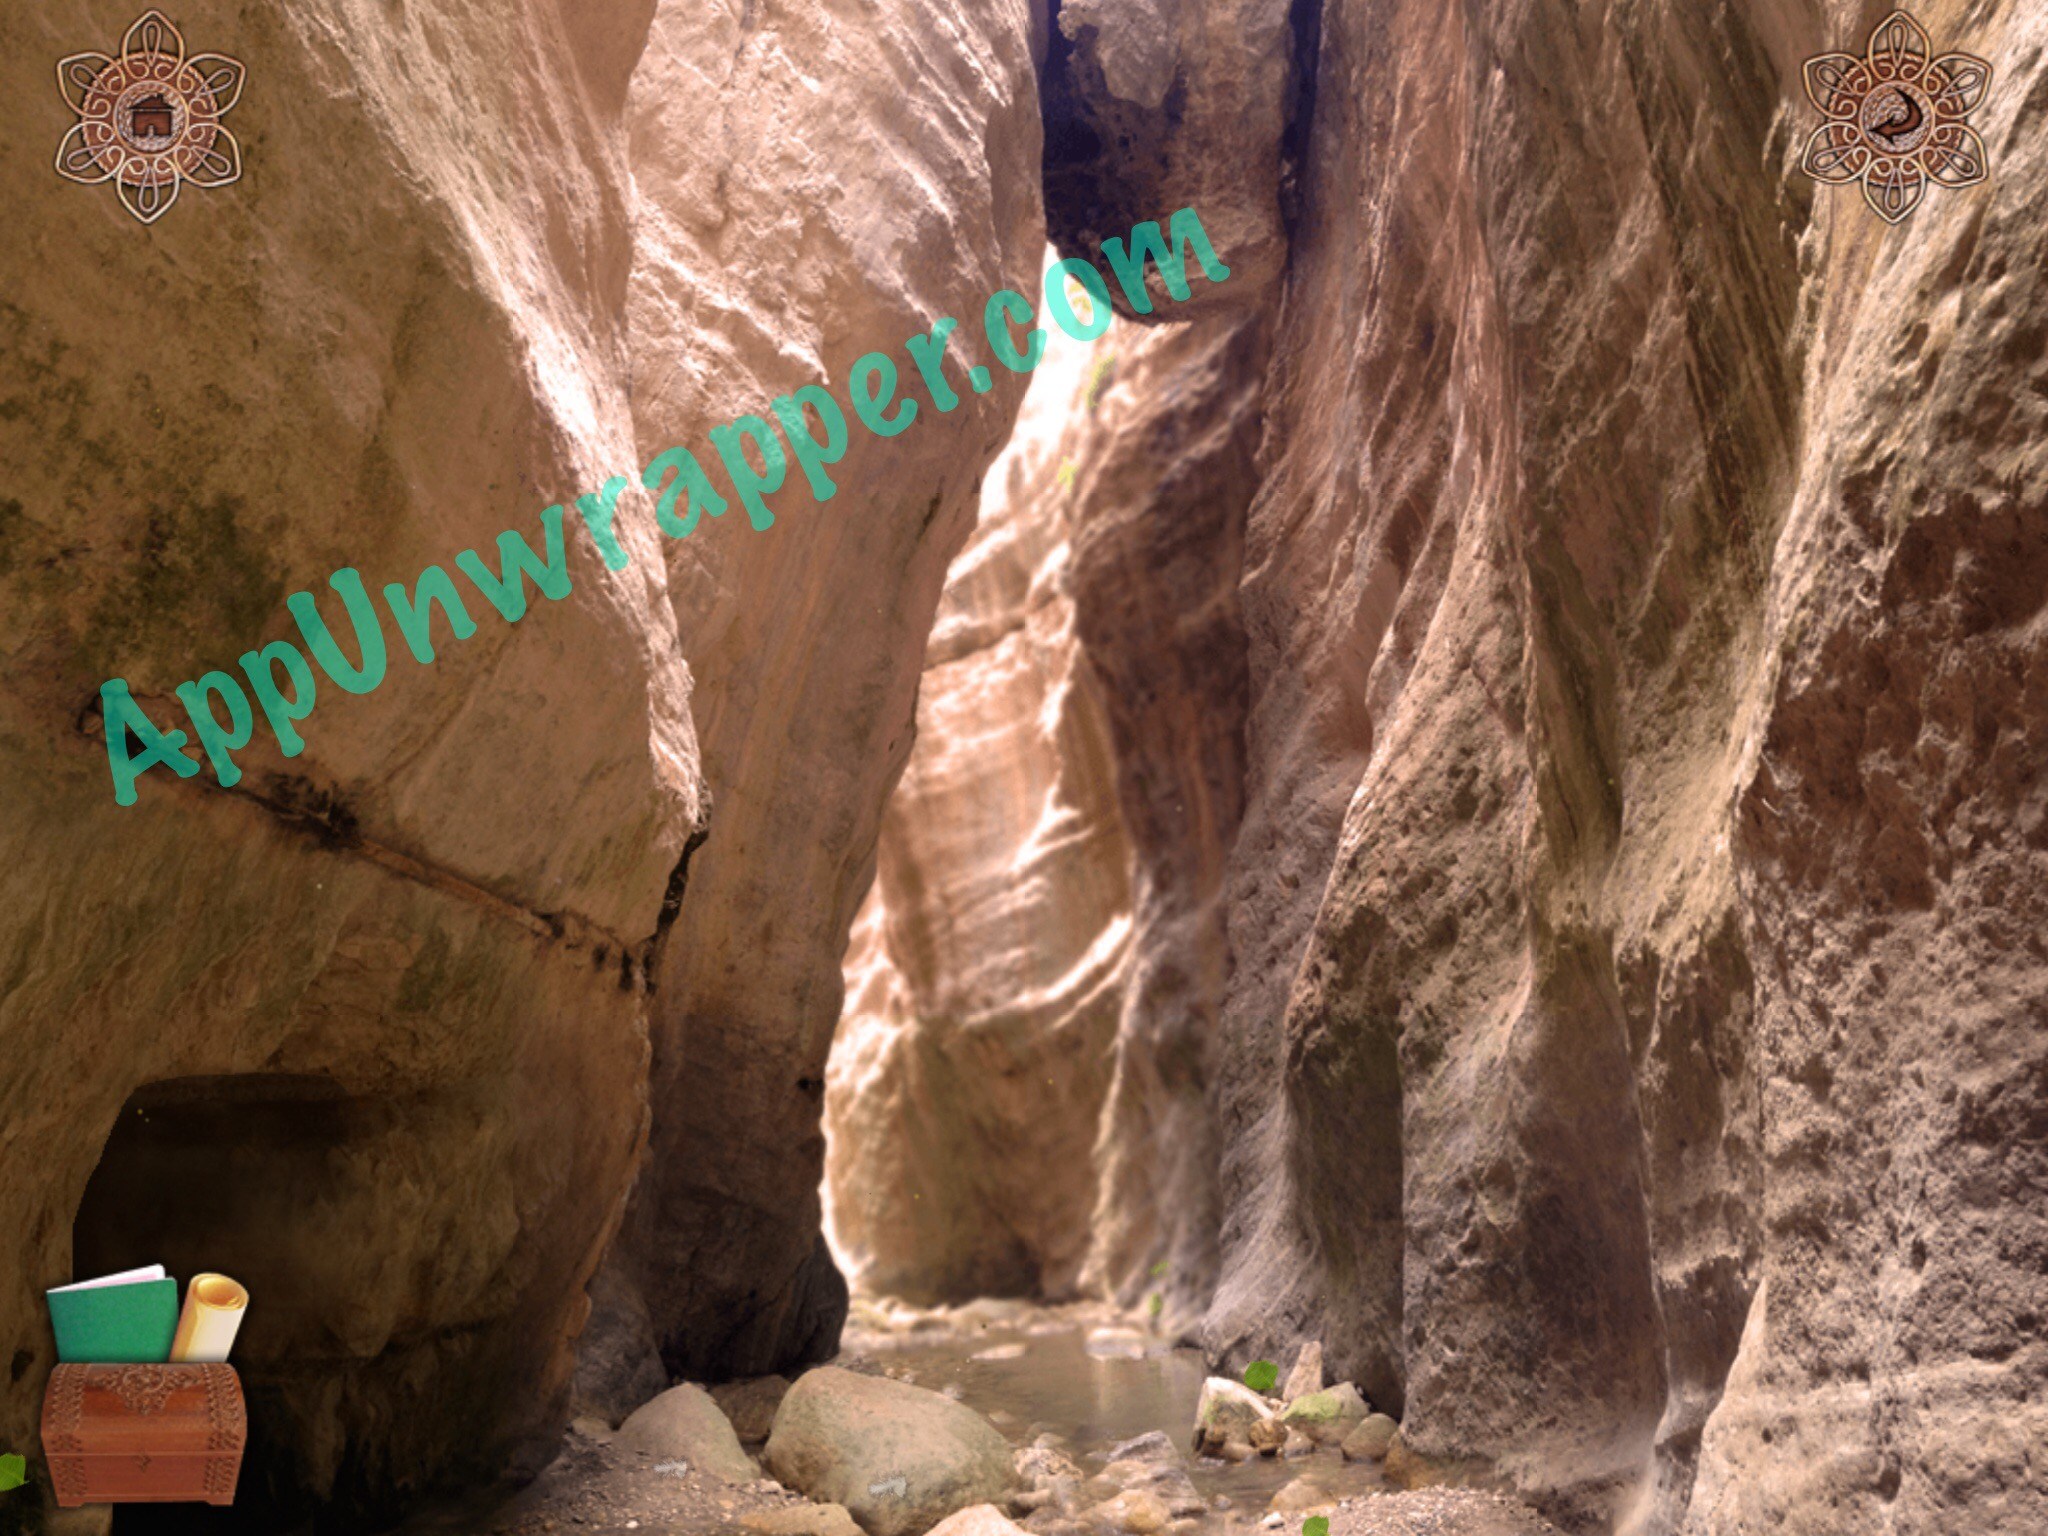
26. Continue ahead. You can now pass the rocks that you couldn’t before. Before you do so, pick up the stone beak. On the next screen, pick up the glass shards.

27. Continue down the path. Place the stone beak on the unfinished sculpture and solve the puzzle to complete the bird statue. Place the air element on the statue and turn into a bird!

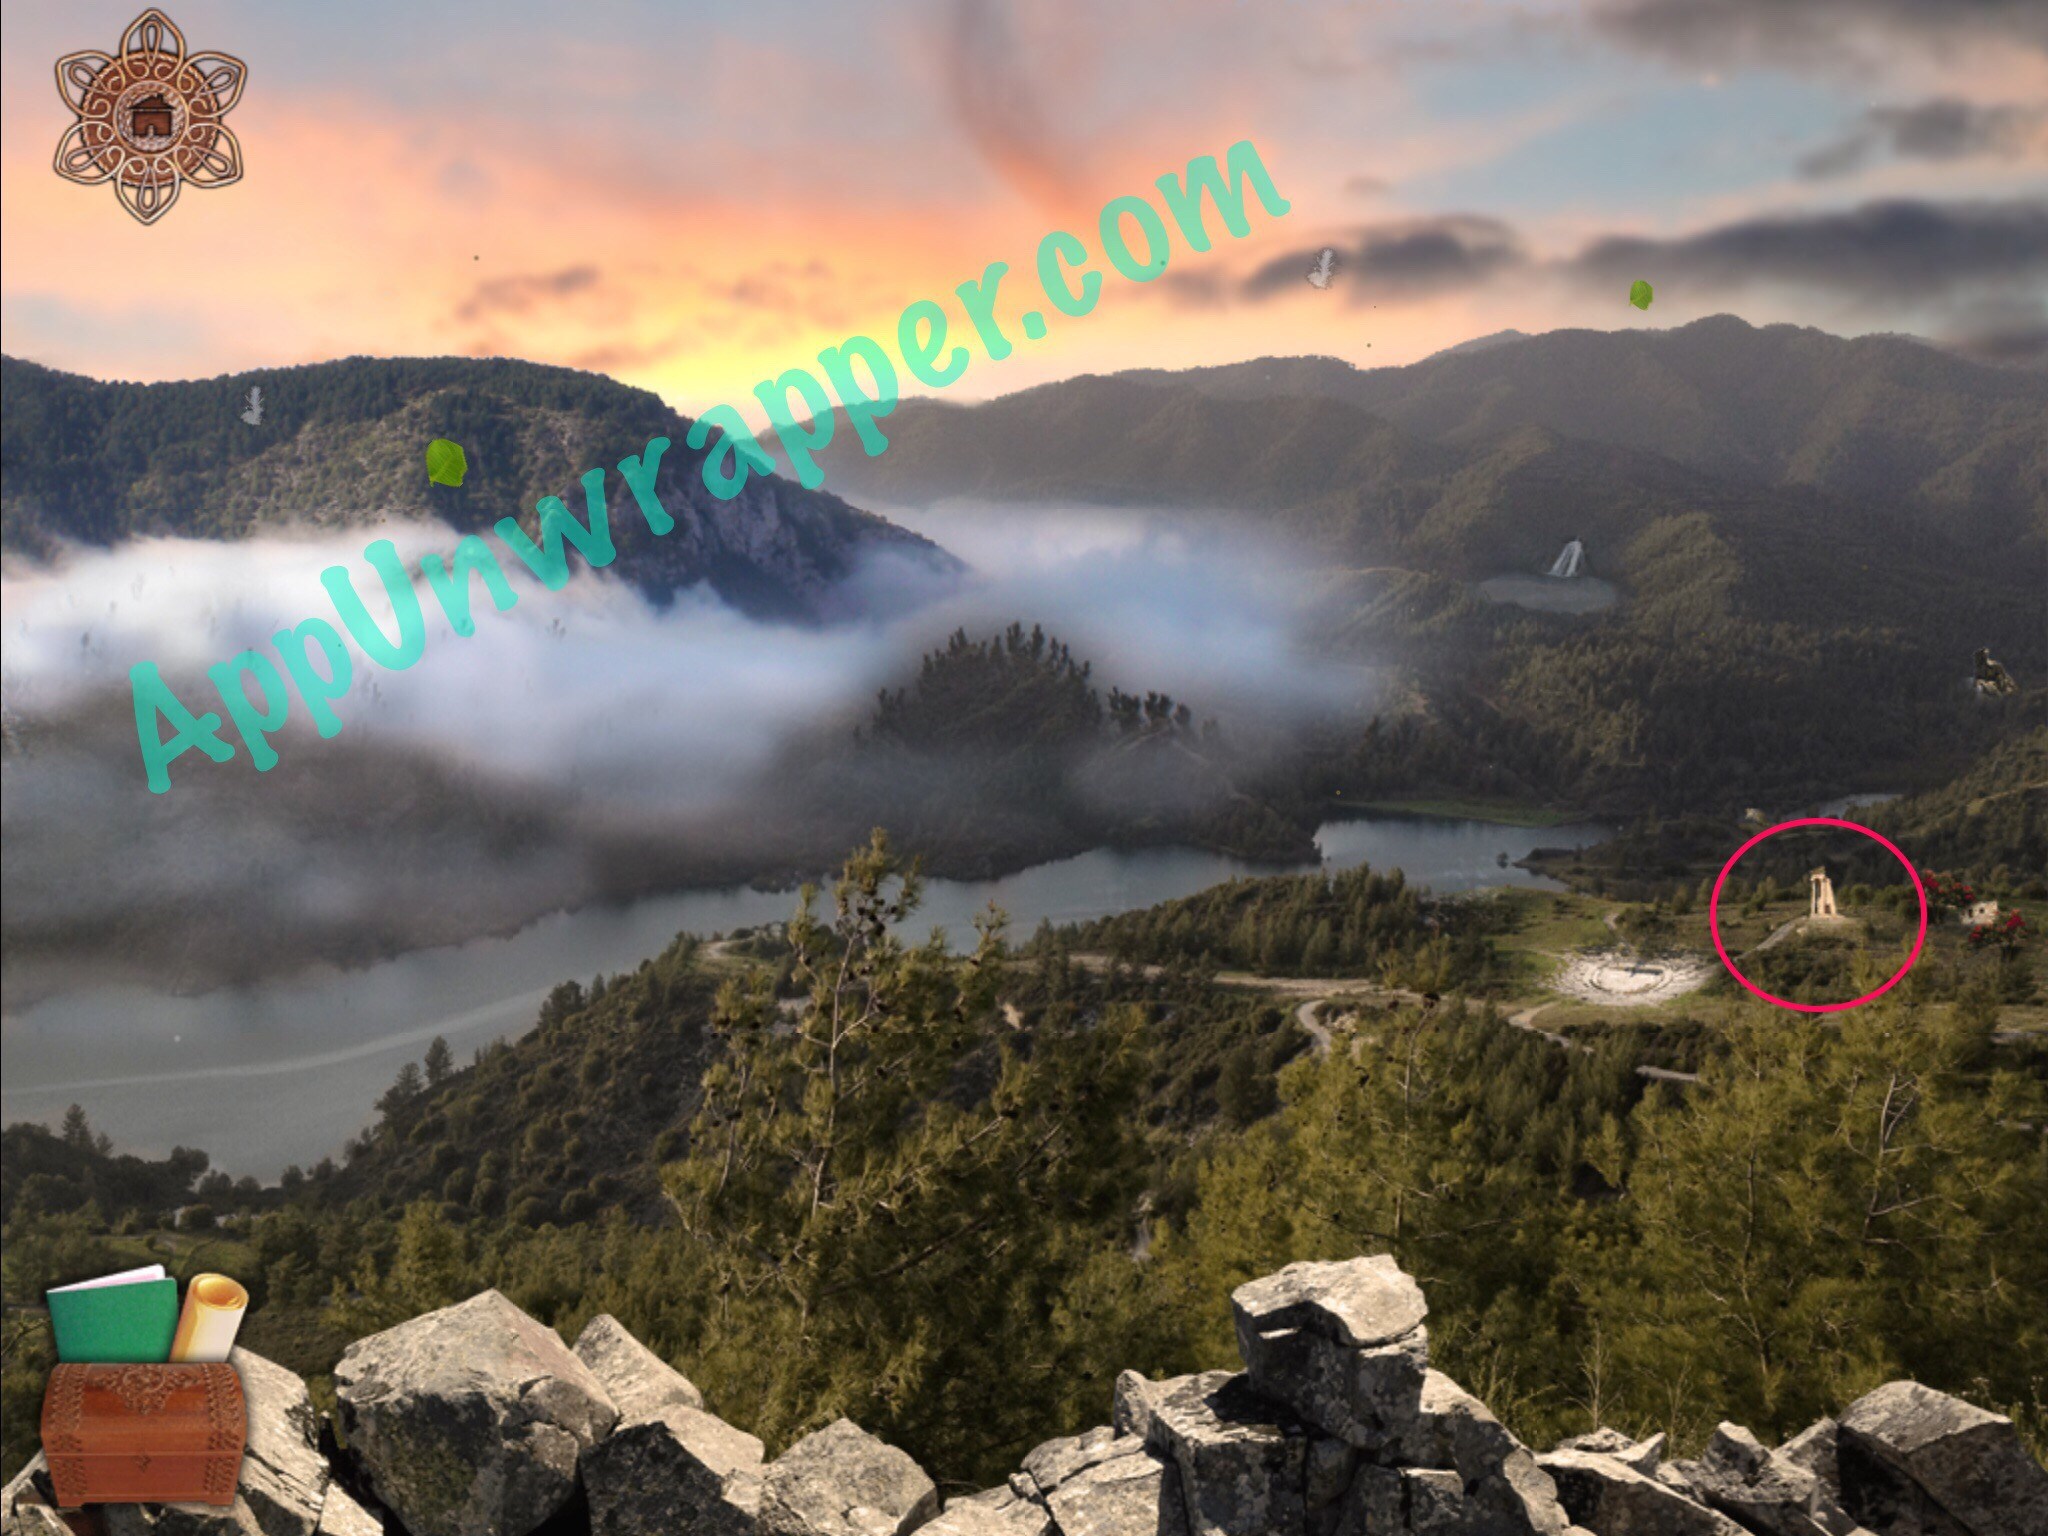
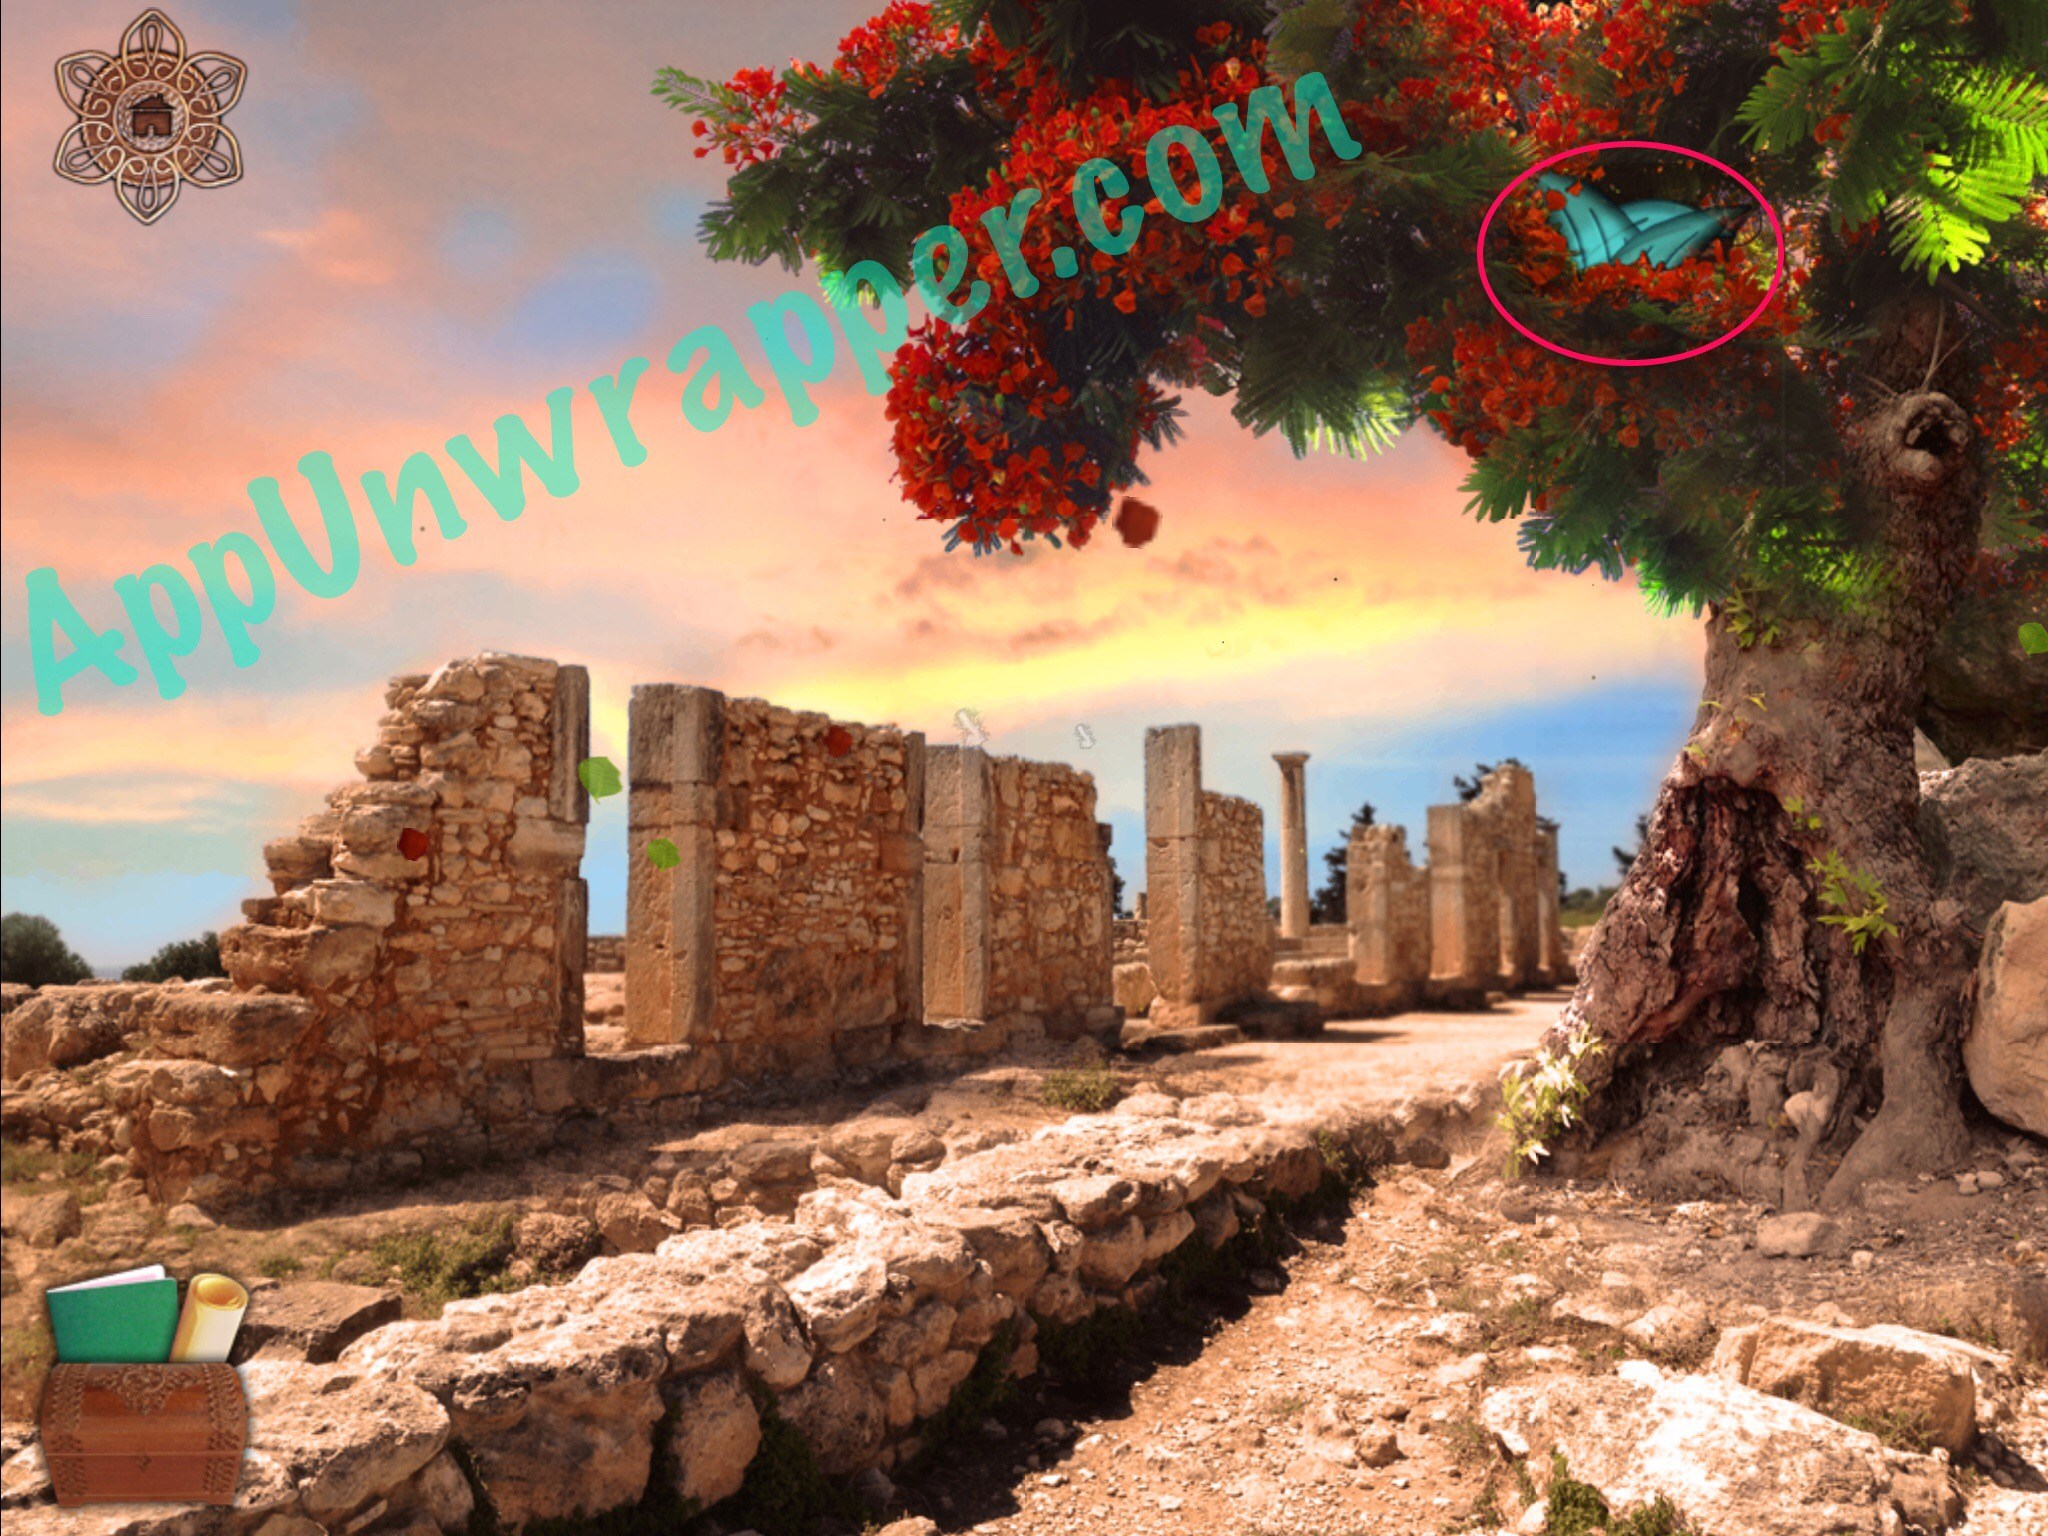
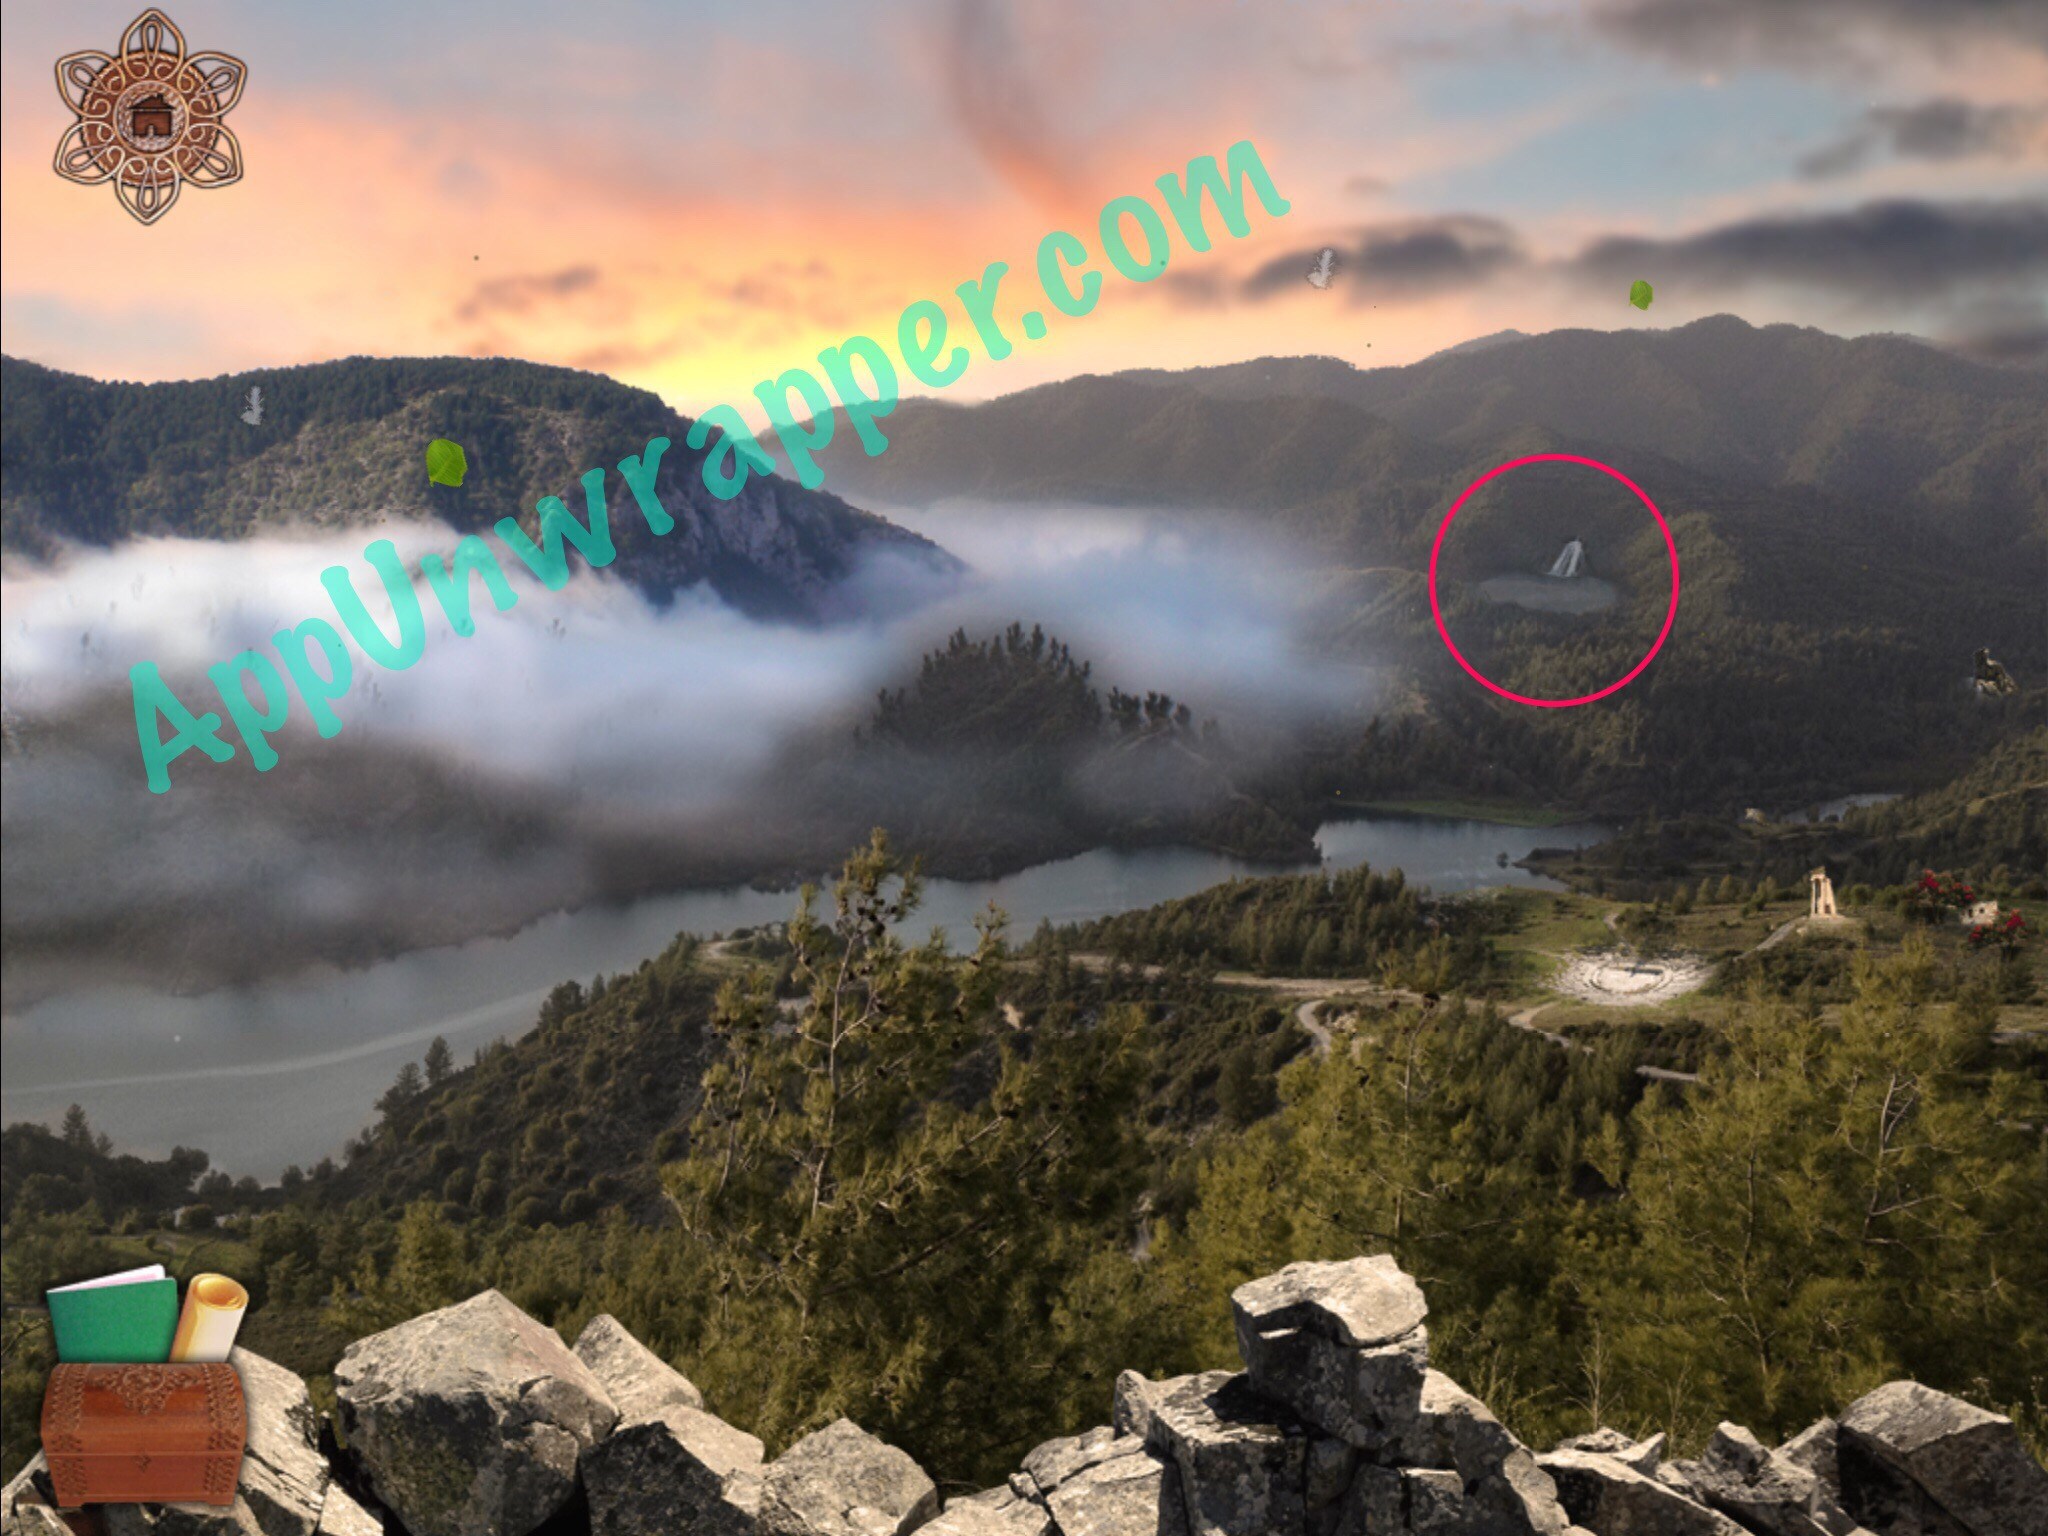
28. As a bird, you can swipe up to get to new heights! You can reach several different places from here. First, fly to the gate and make your way back to the ruins. Get the glass fins from the tree.
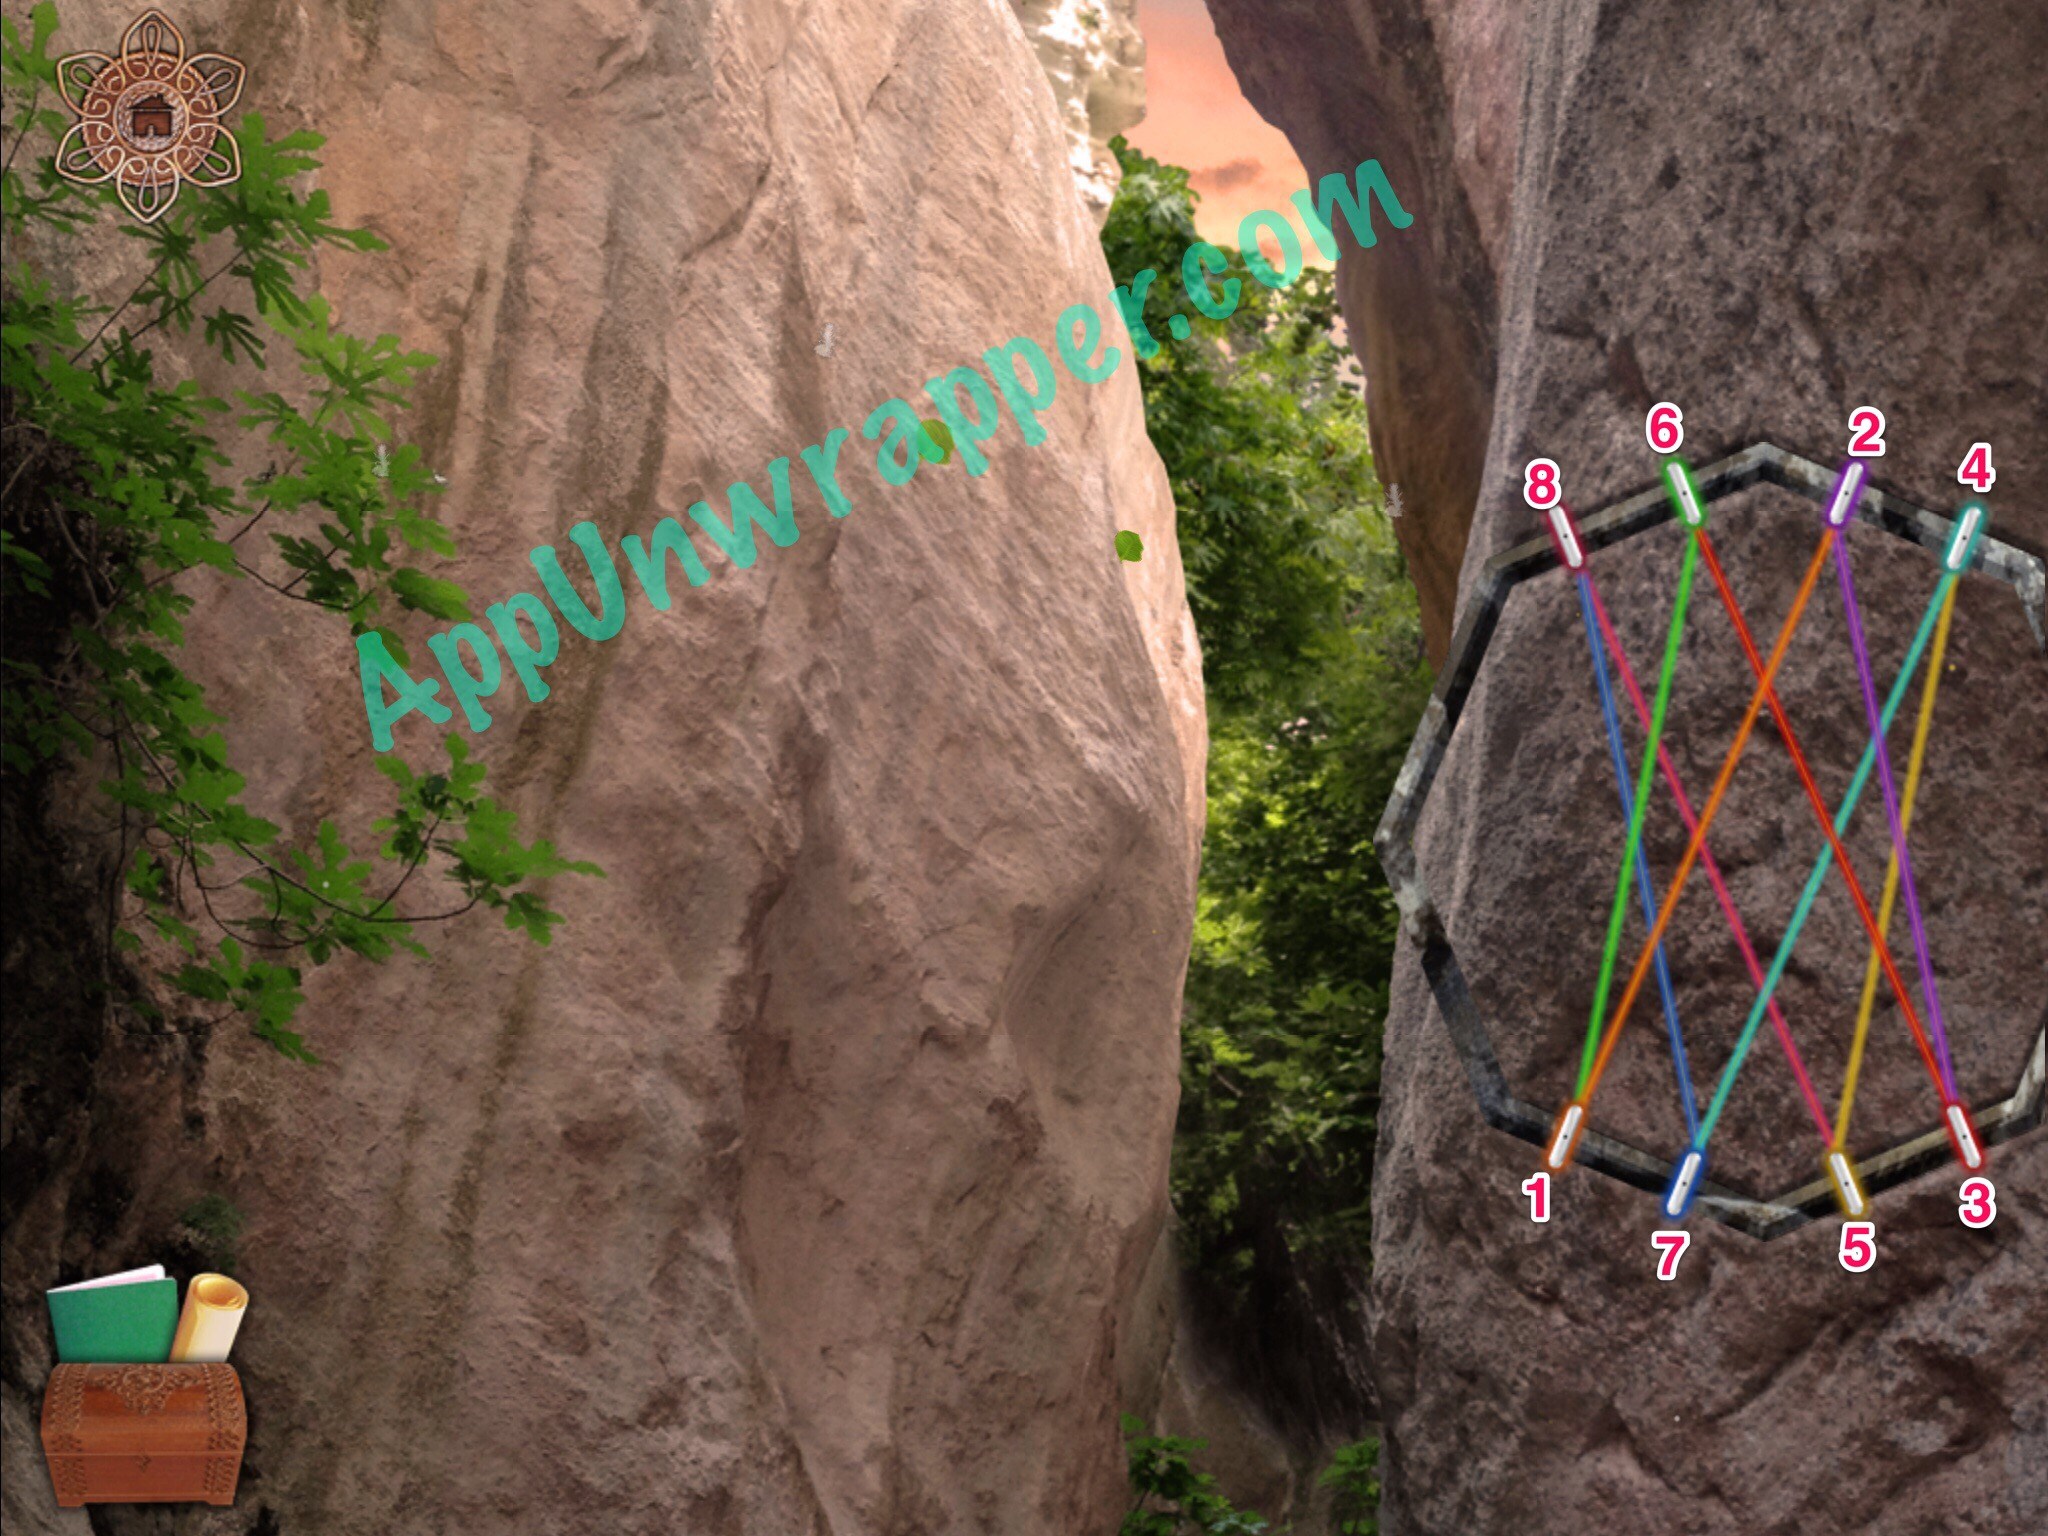
29. Go back to the scene past the water — the one with the rocks — and fly up to see some colorful threads criss-crossing. Tap them in this order and then take the frame.

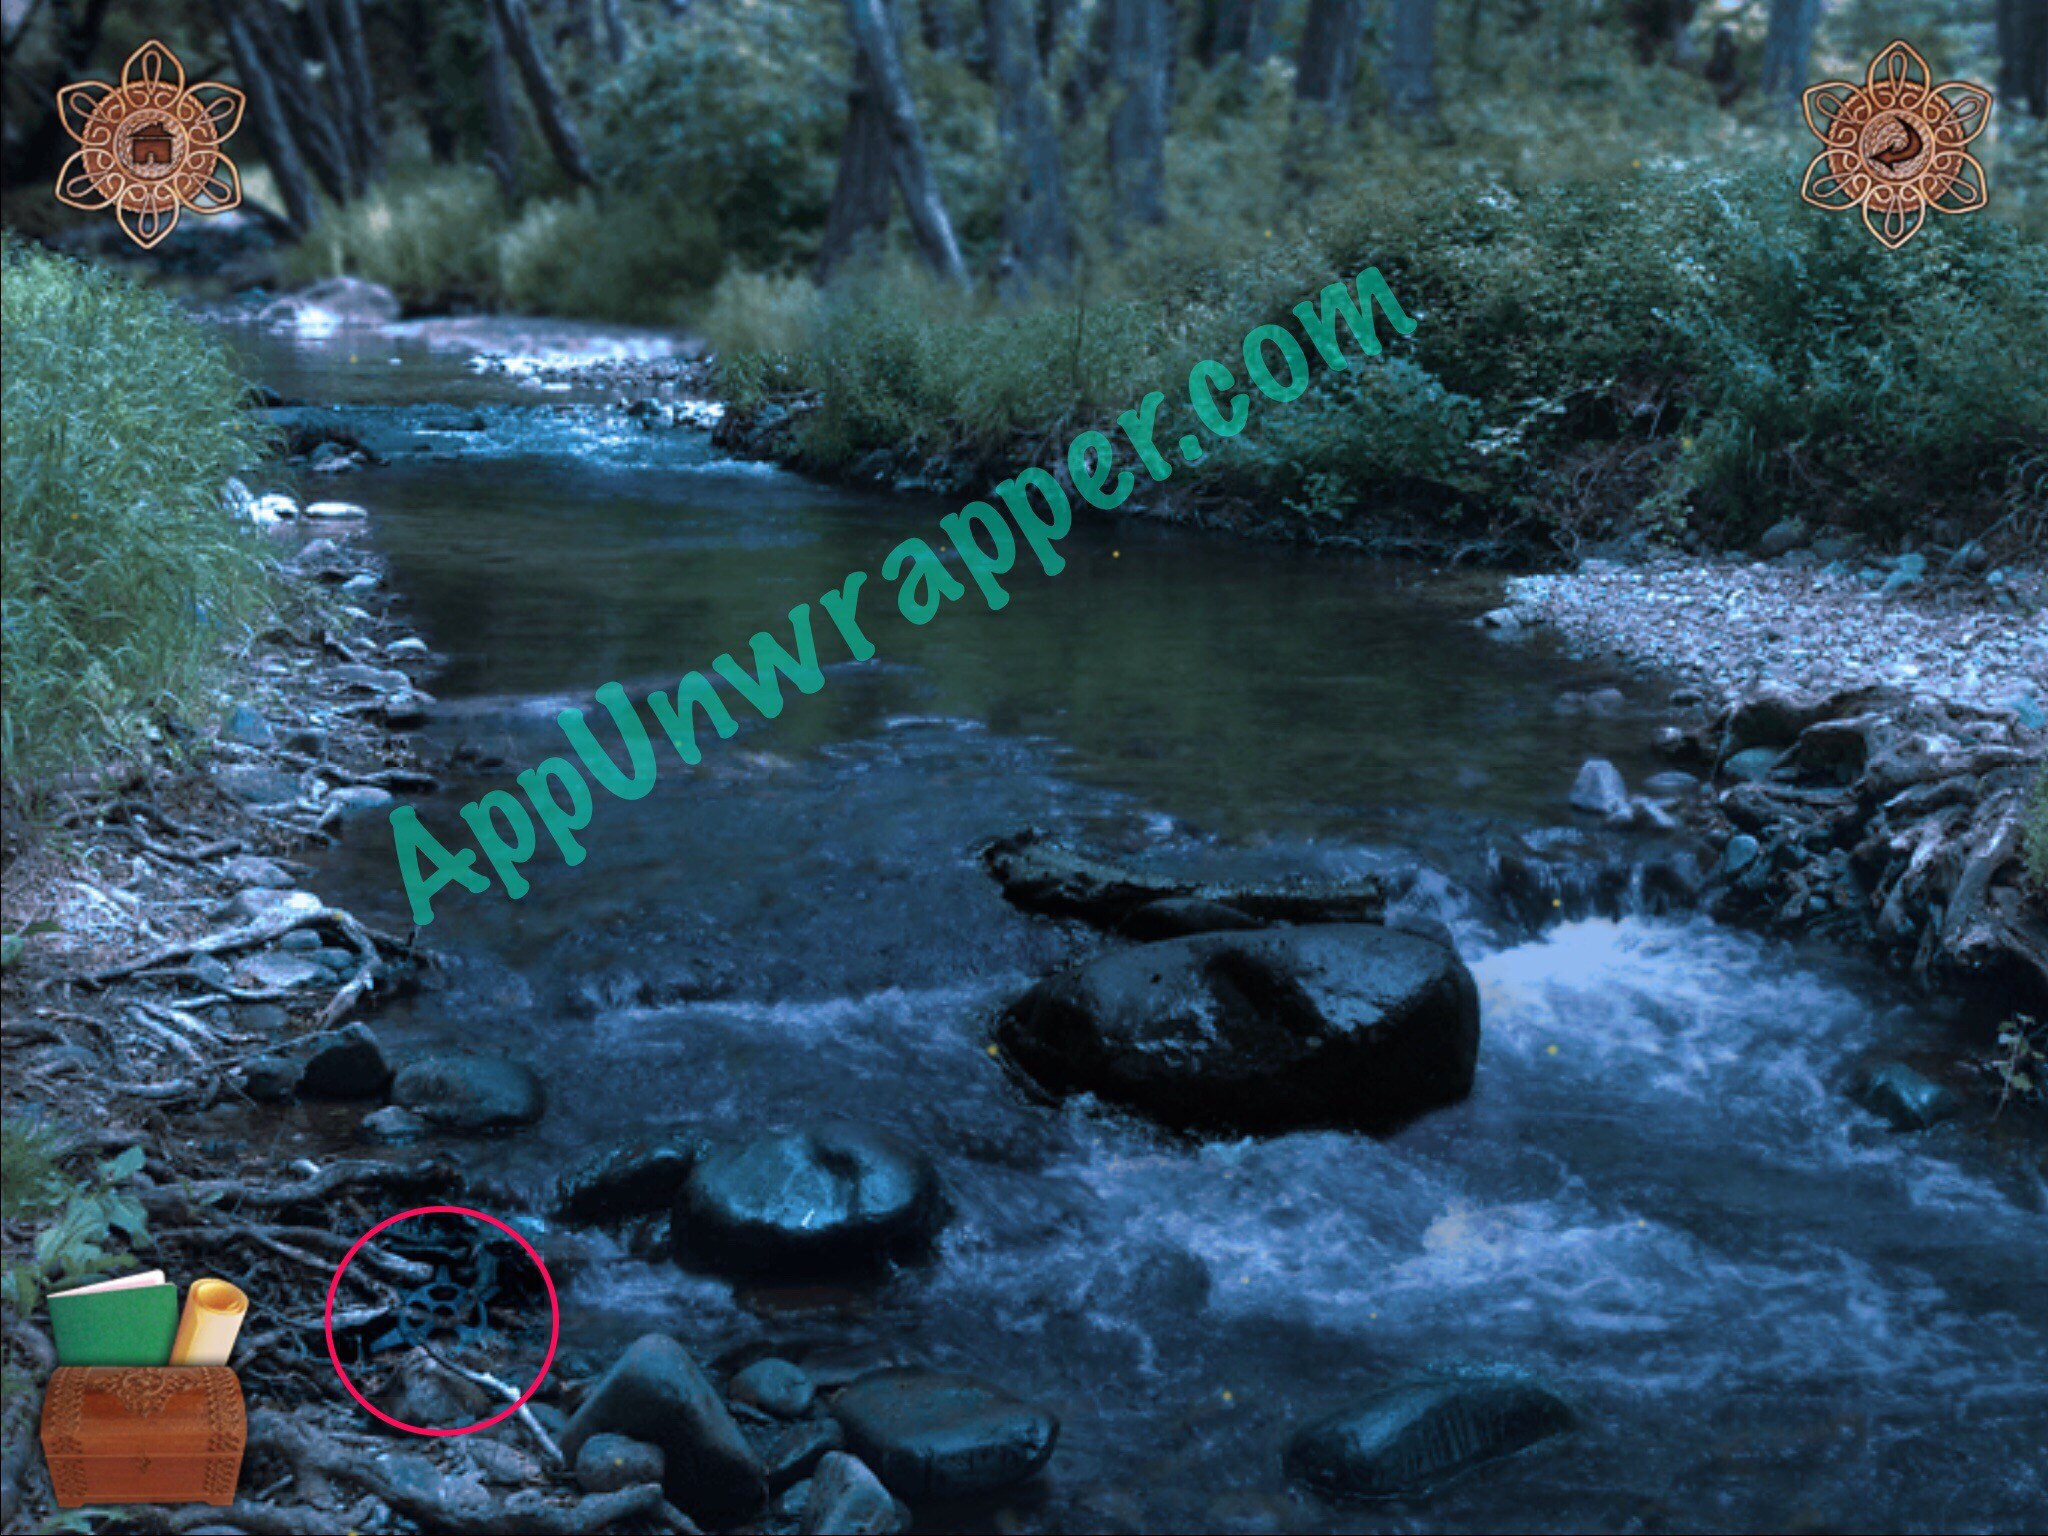
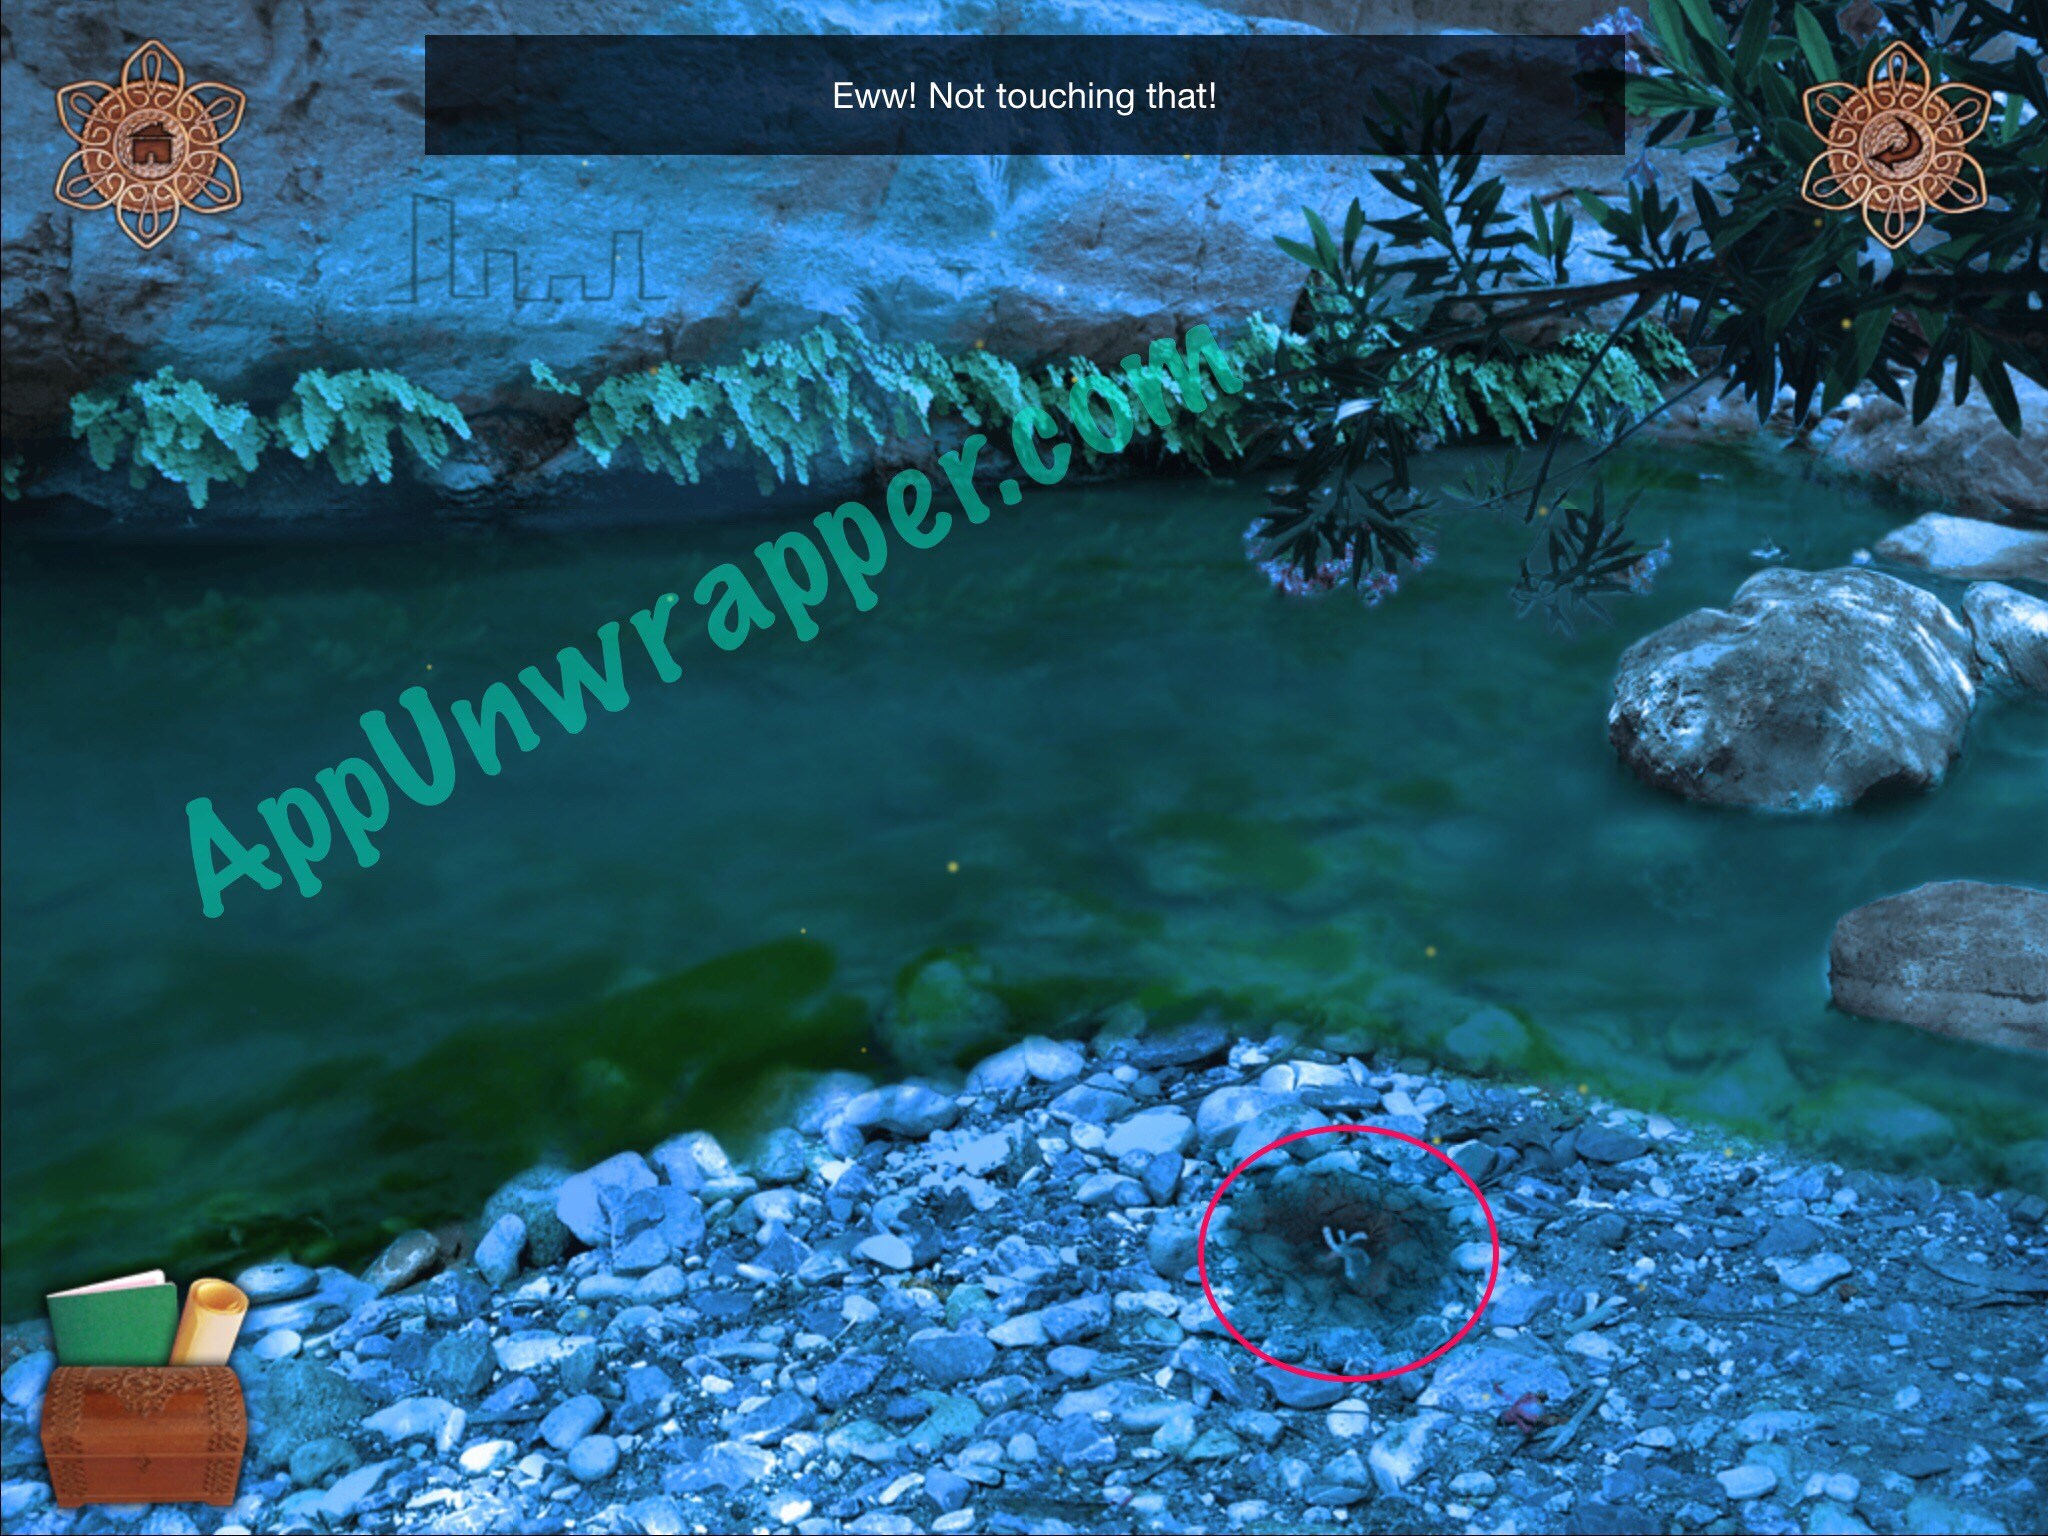
30. Go back to water area and scratch around to find a bird footprint. You can’t dig as a bird, though. So go back to the aerial view and go to the cat statue. Turn into a cat, dig up the worm, then switch back into a bird to collect the worm.


31. Go back to the mountain and go to the top. Place the frame on the stand and then piece together the broken glass to make a mirror. Shine the rainbow to the left, then go back to the scene with the rocks and fly up to see the rainbow shine on some carvings. Tap it to get w clue for your notebook.


You can also watch my video walkthrough for the rest of the game here:
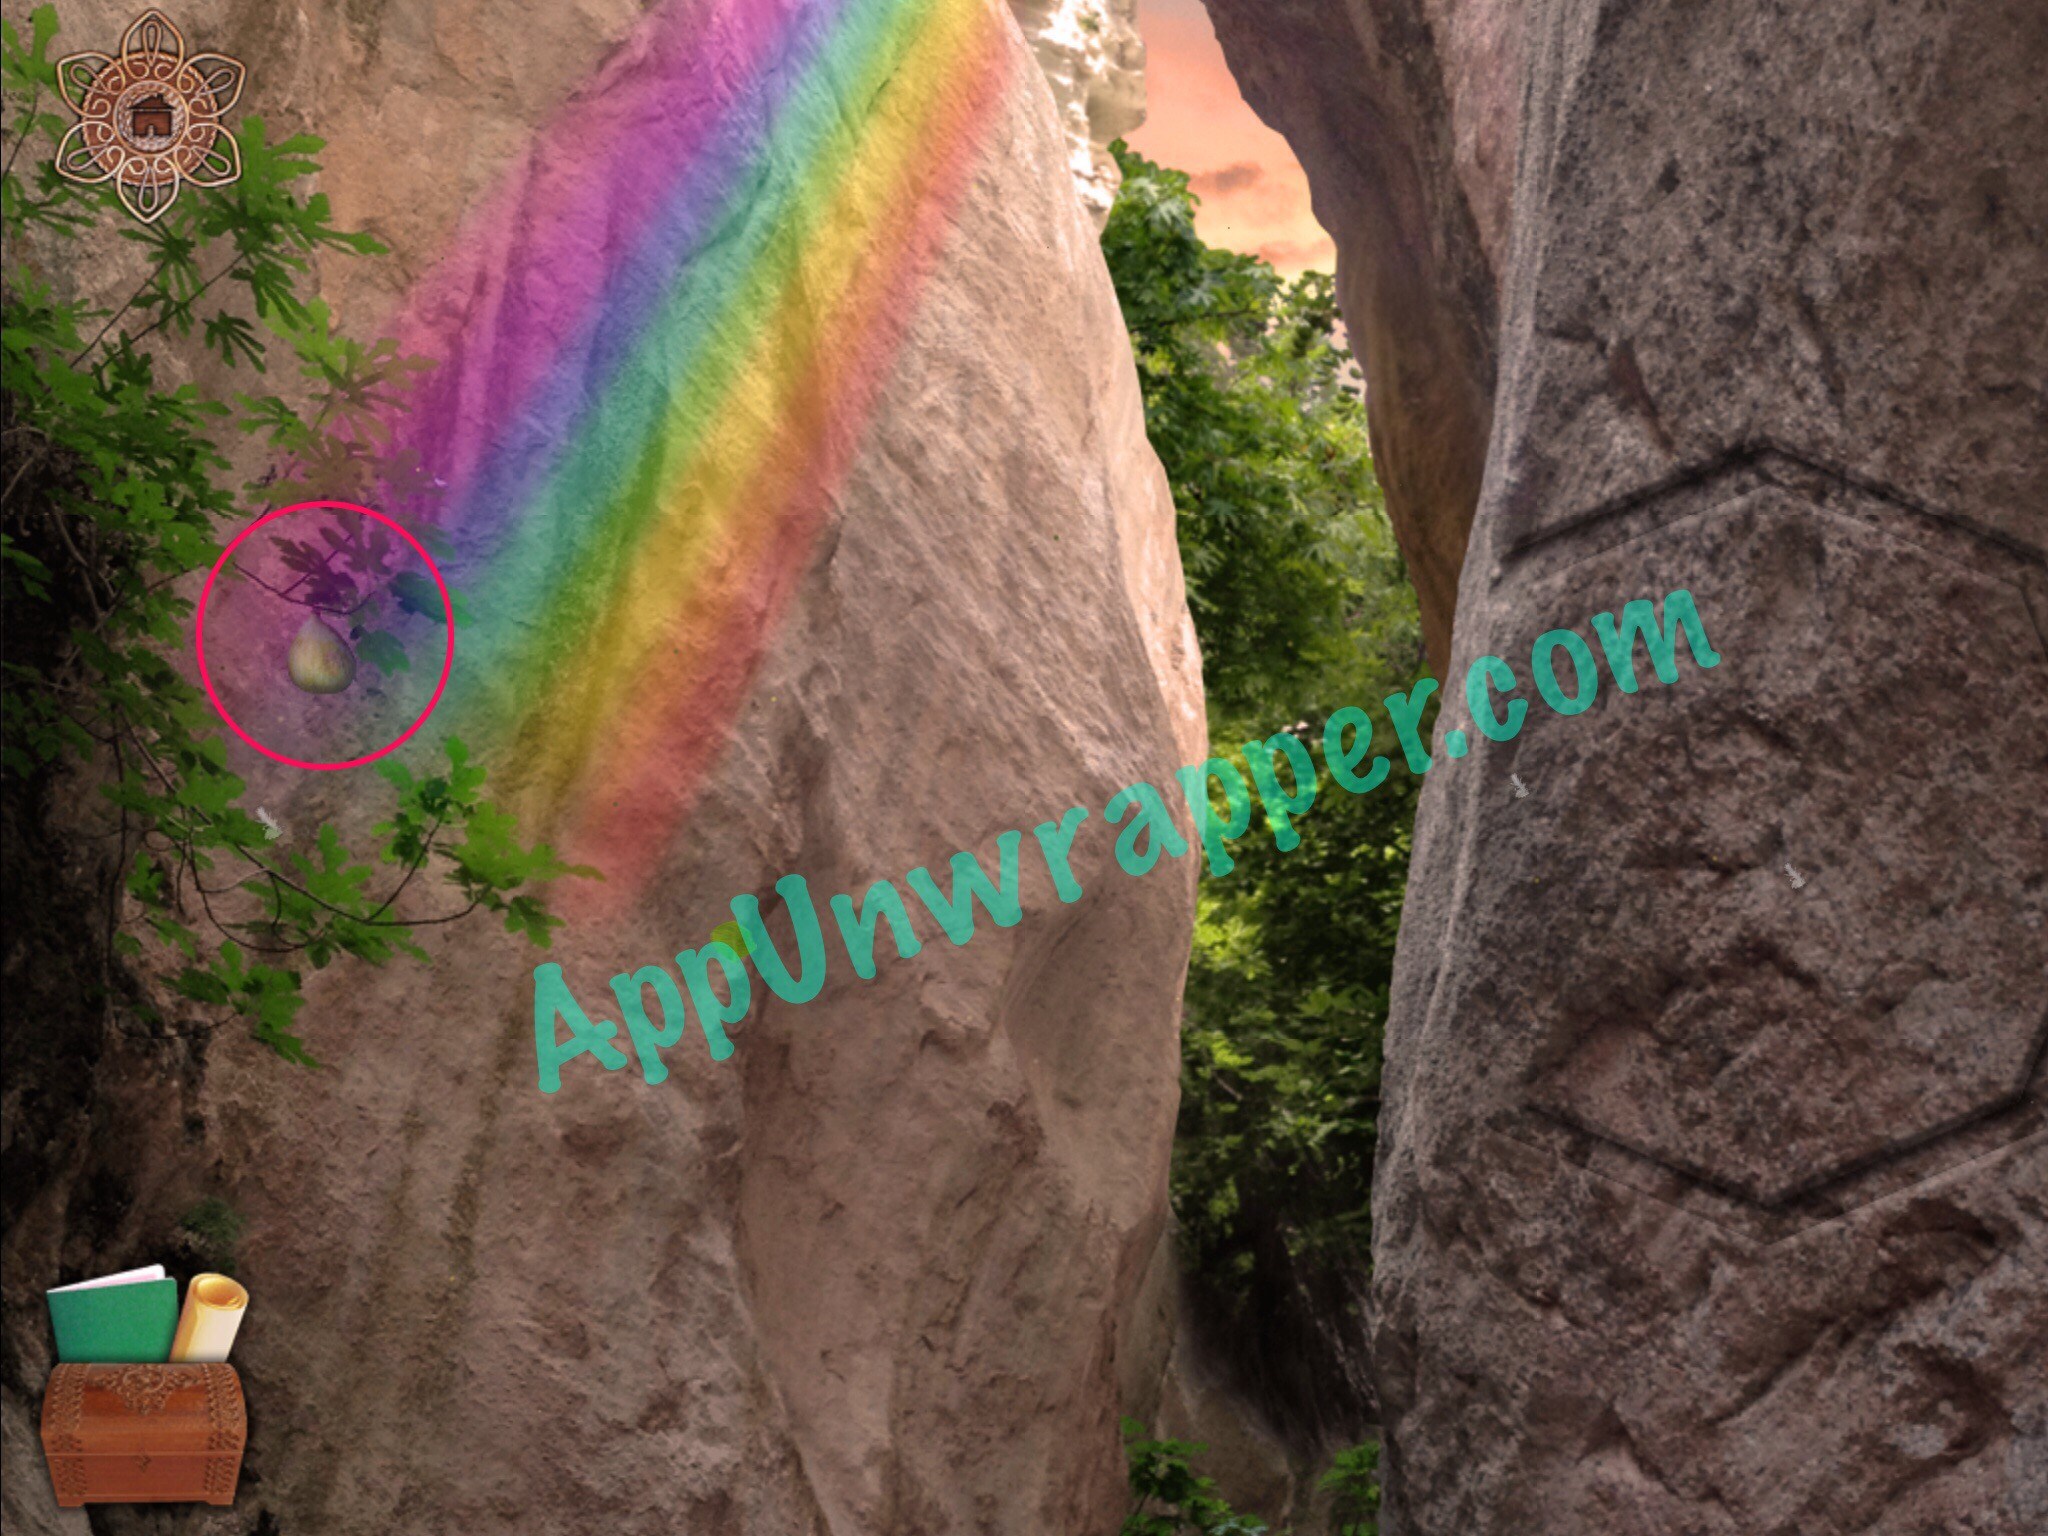
32. Go back and turn the mirror so it shines in the middle. Then go back to the screen where you got the frame and pick the fig.

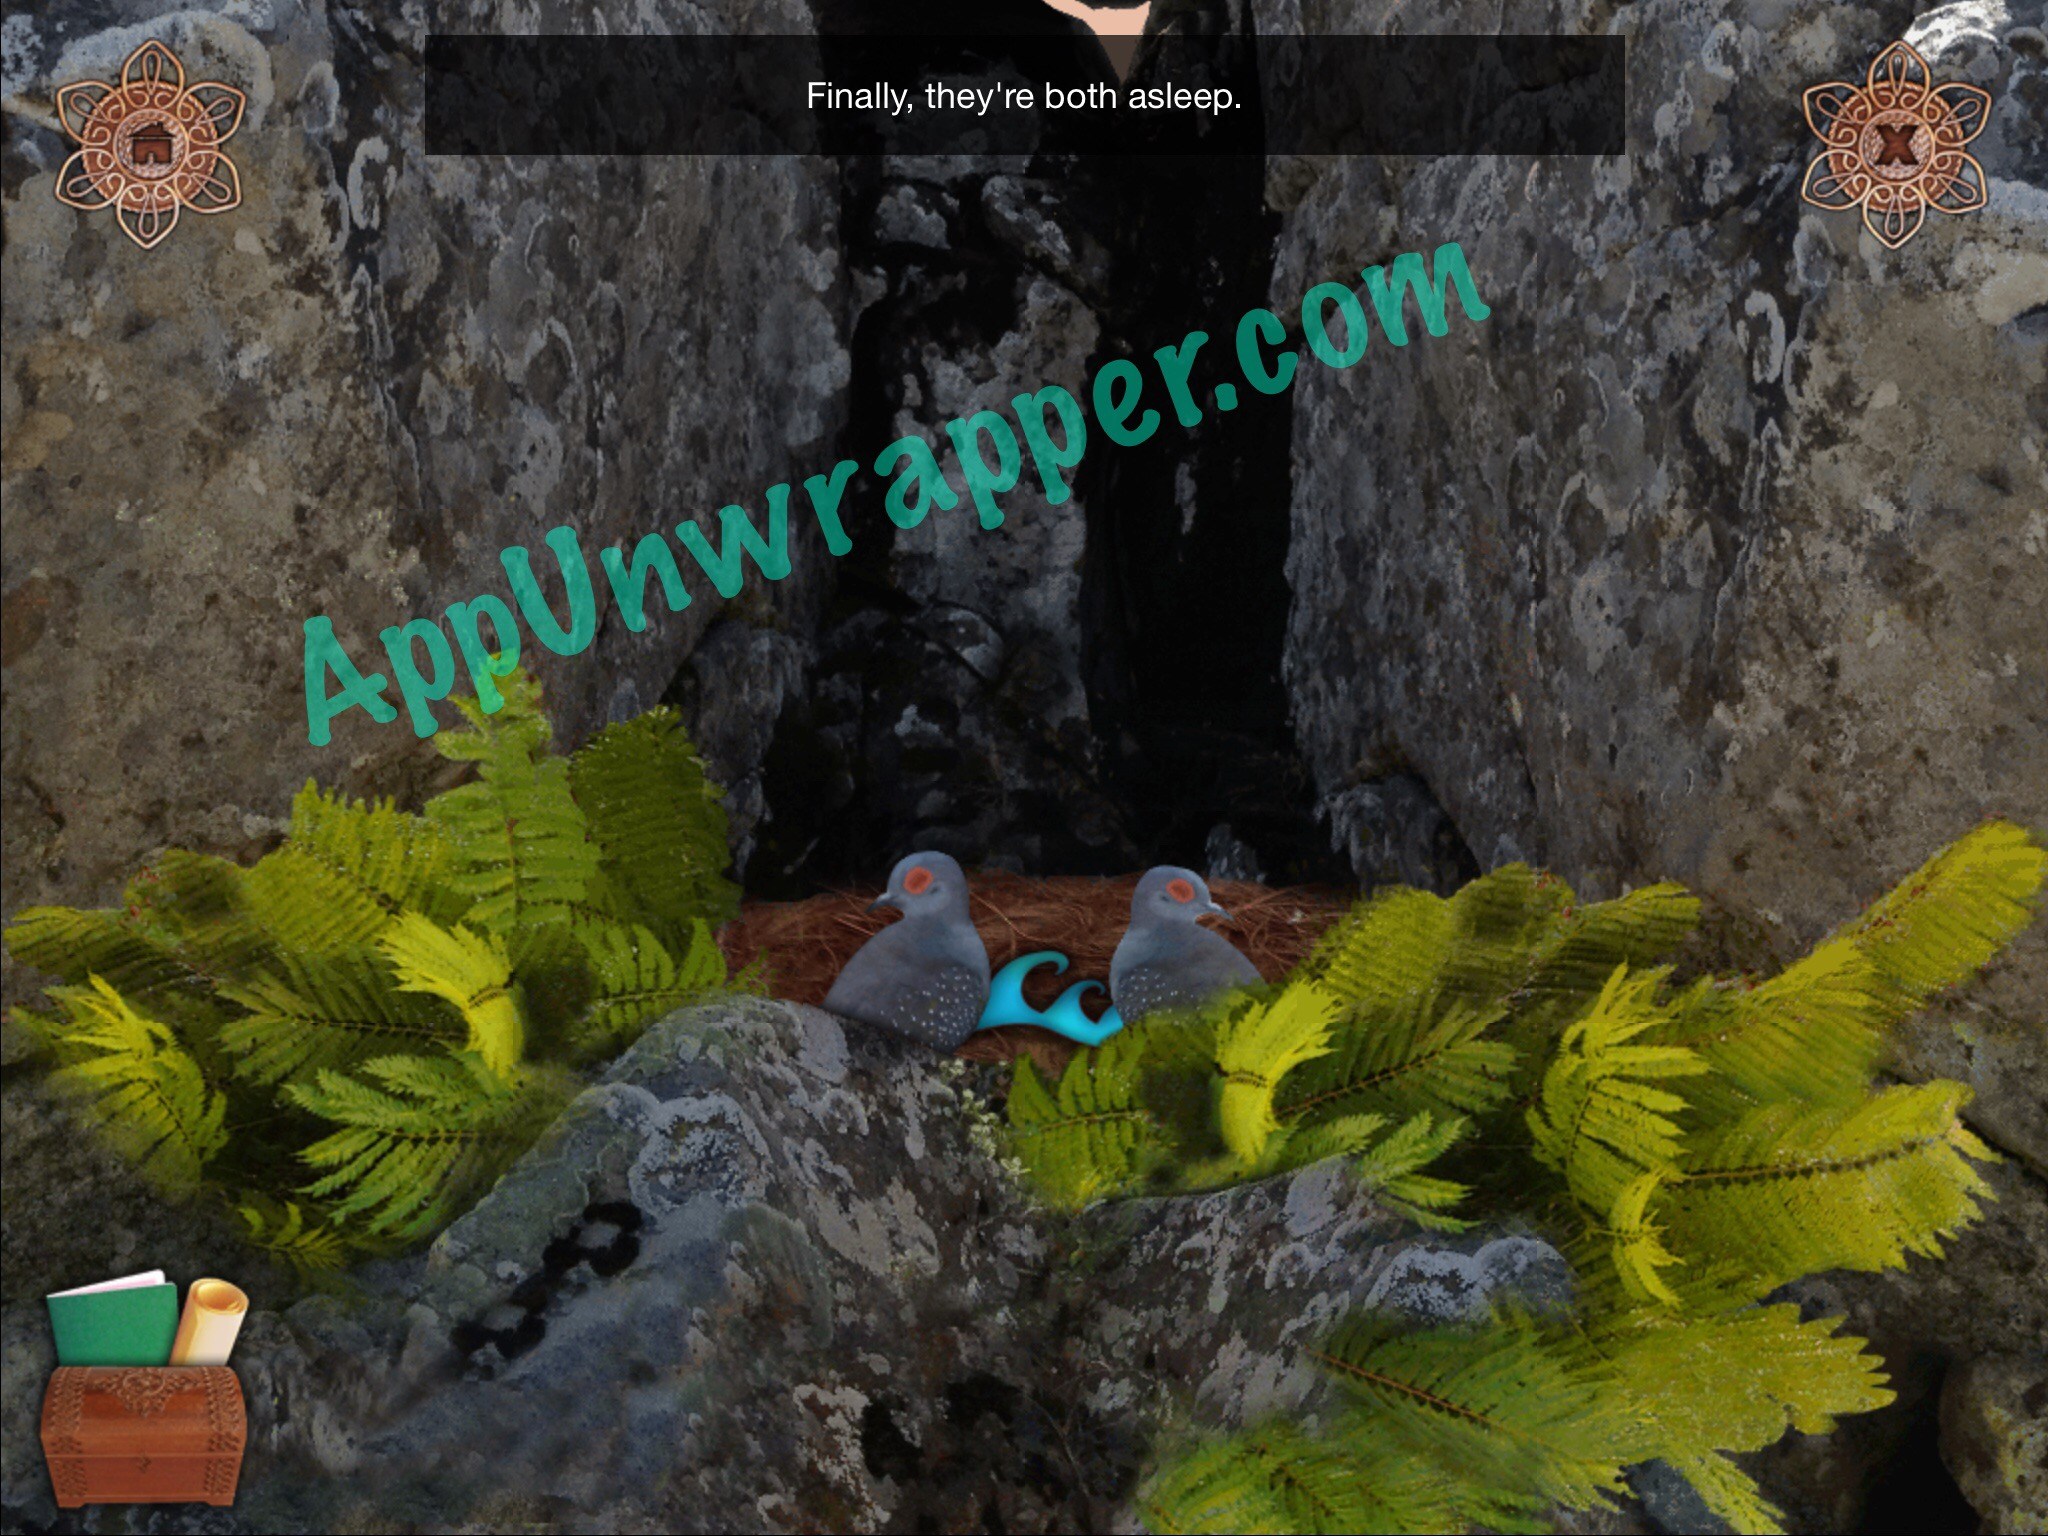
33. Go back to the mountain and tap on the bird’s nest. Feed the fig to the left bird and the worms to the right bird. They’ll fall asleep and you can take the water element.

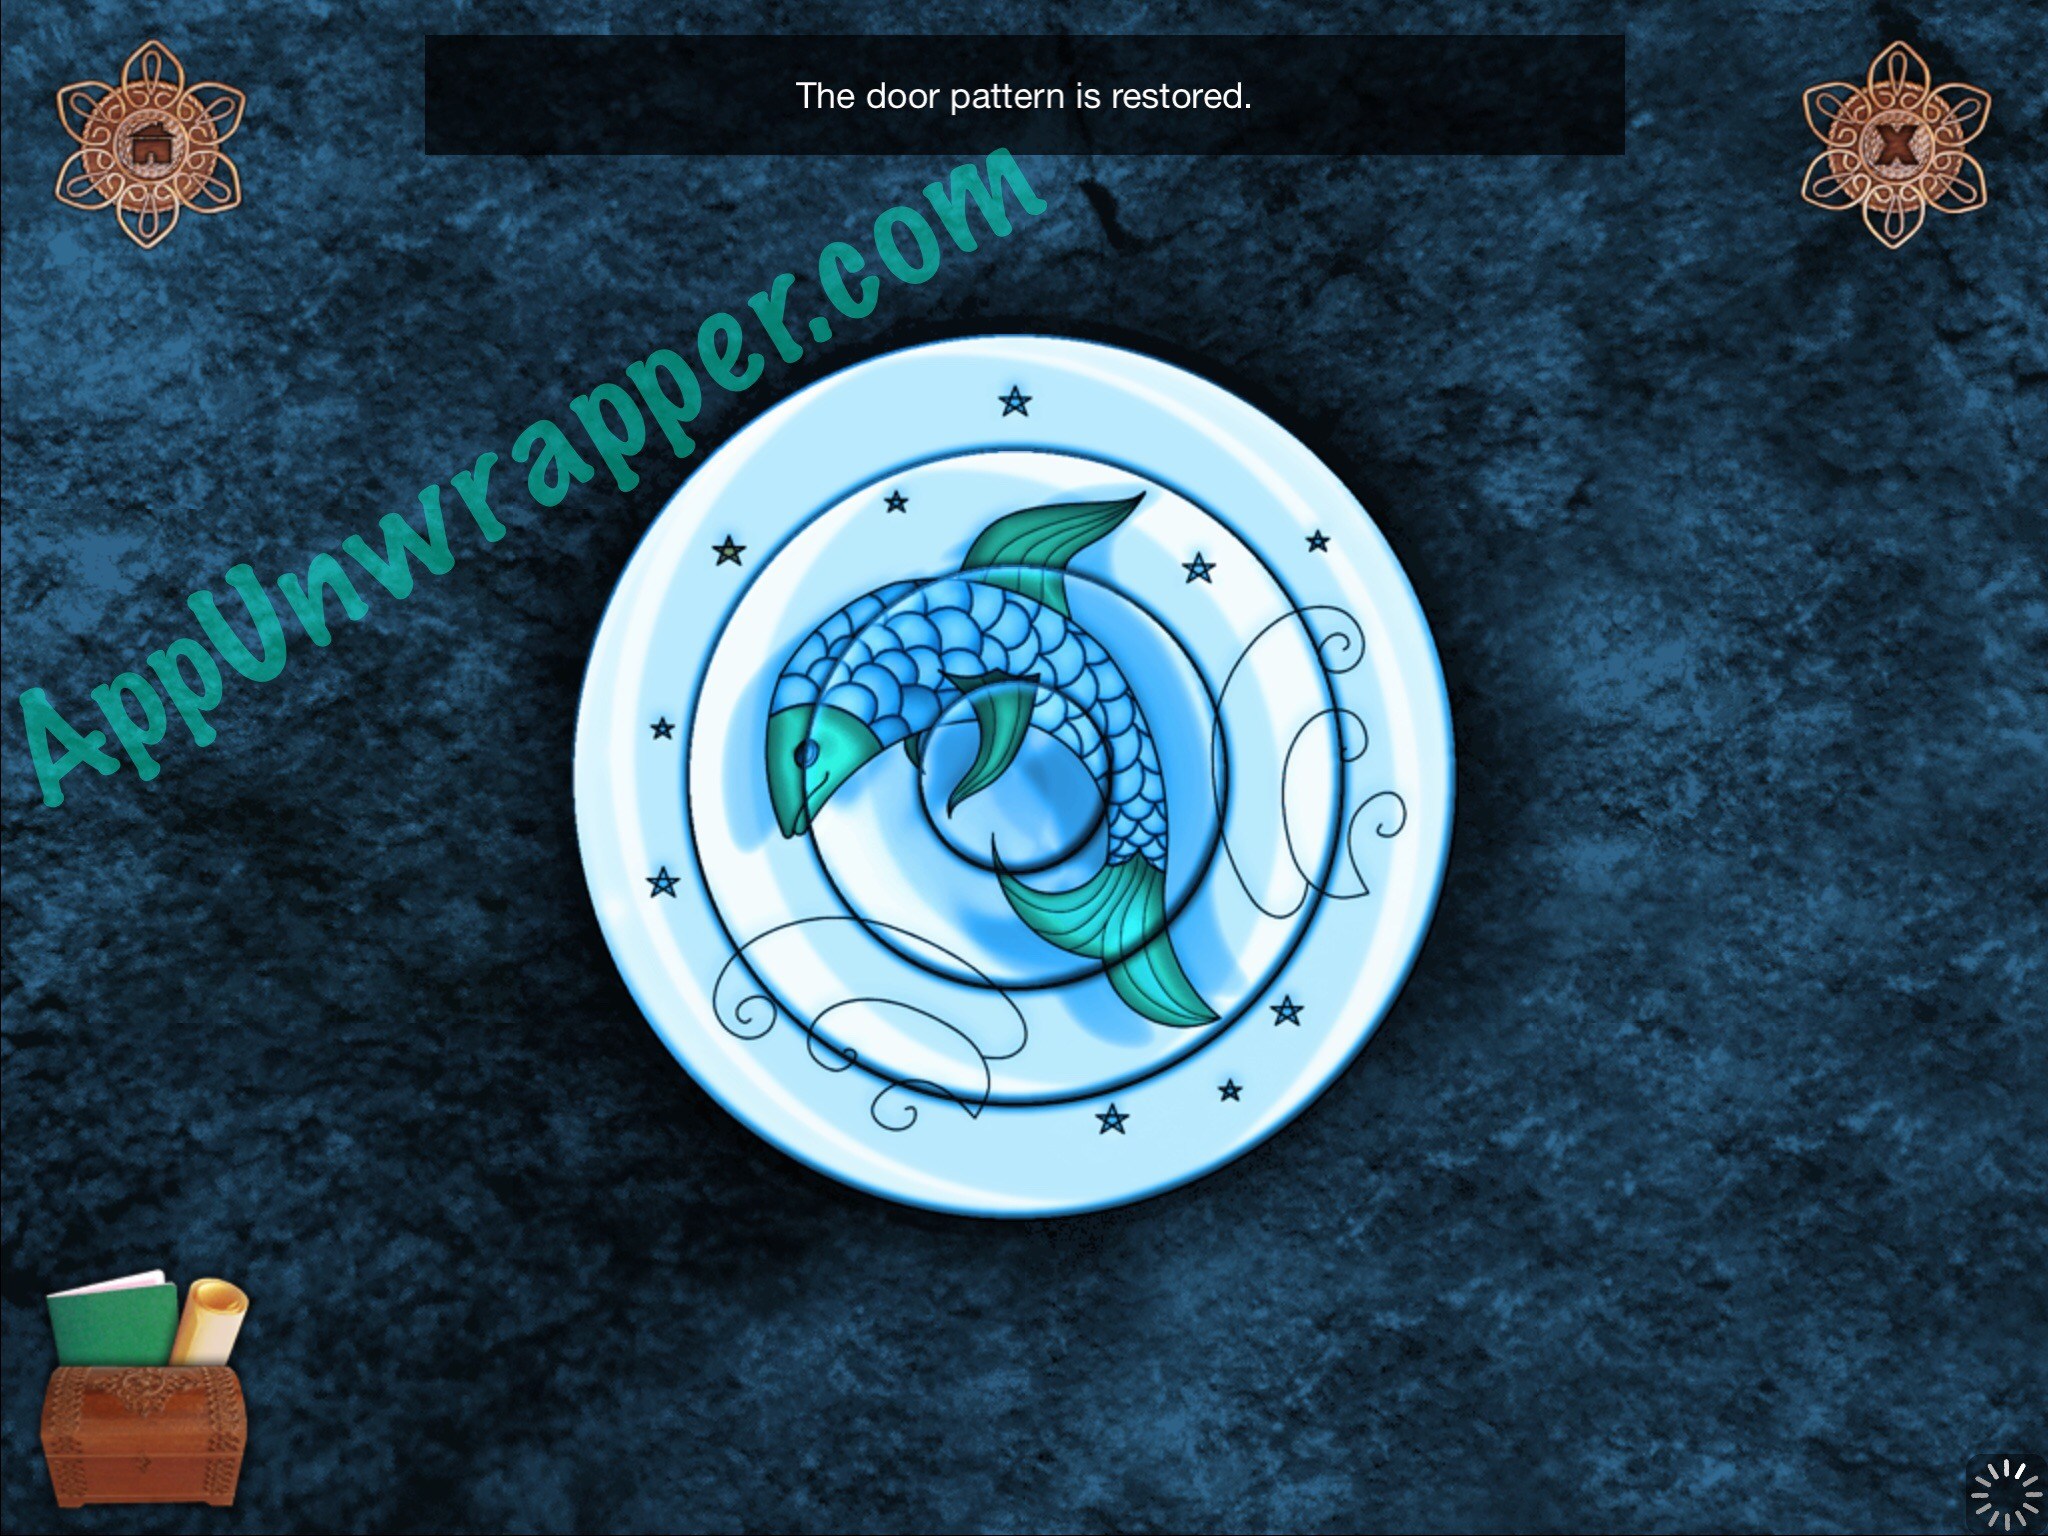
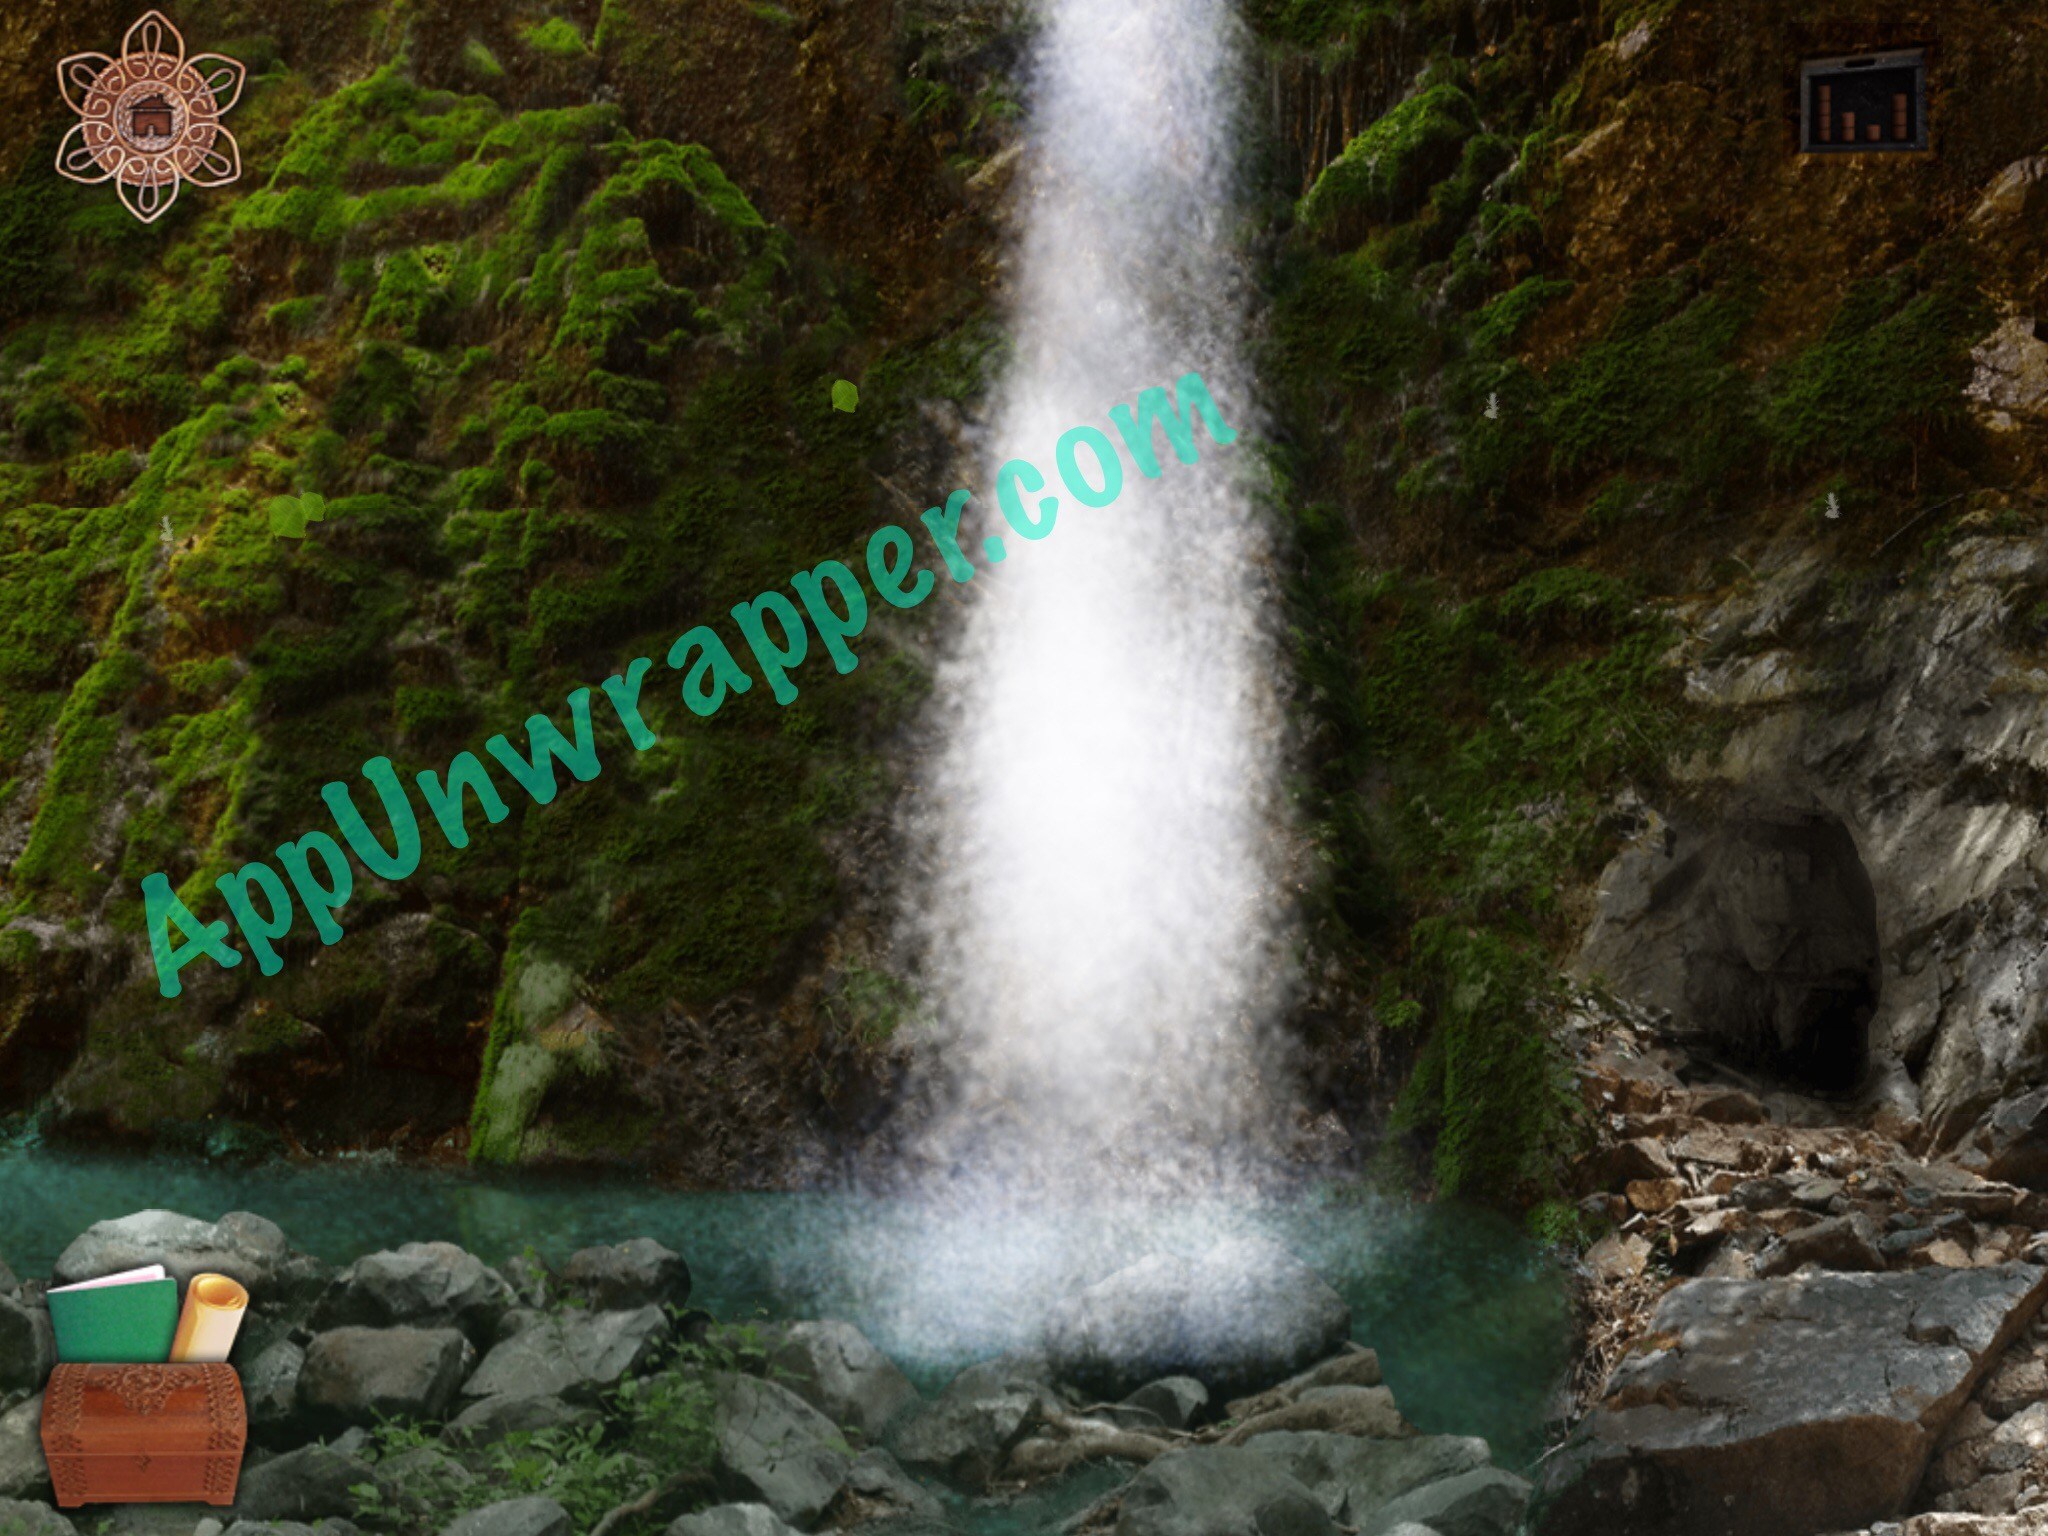
34. Go back to the aerial view and head to what looks like a waterfall. Place the disc on the wall with the others and complete the fish image. A door will open. Before going in, though, tap on the spot that water is coming out of. Use the hairball to stop the water and then solve the puzzle using the clue from your journal.

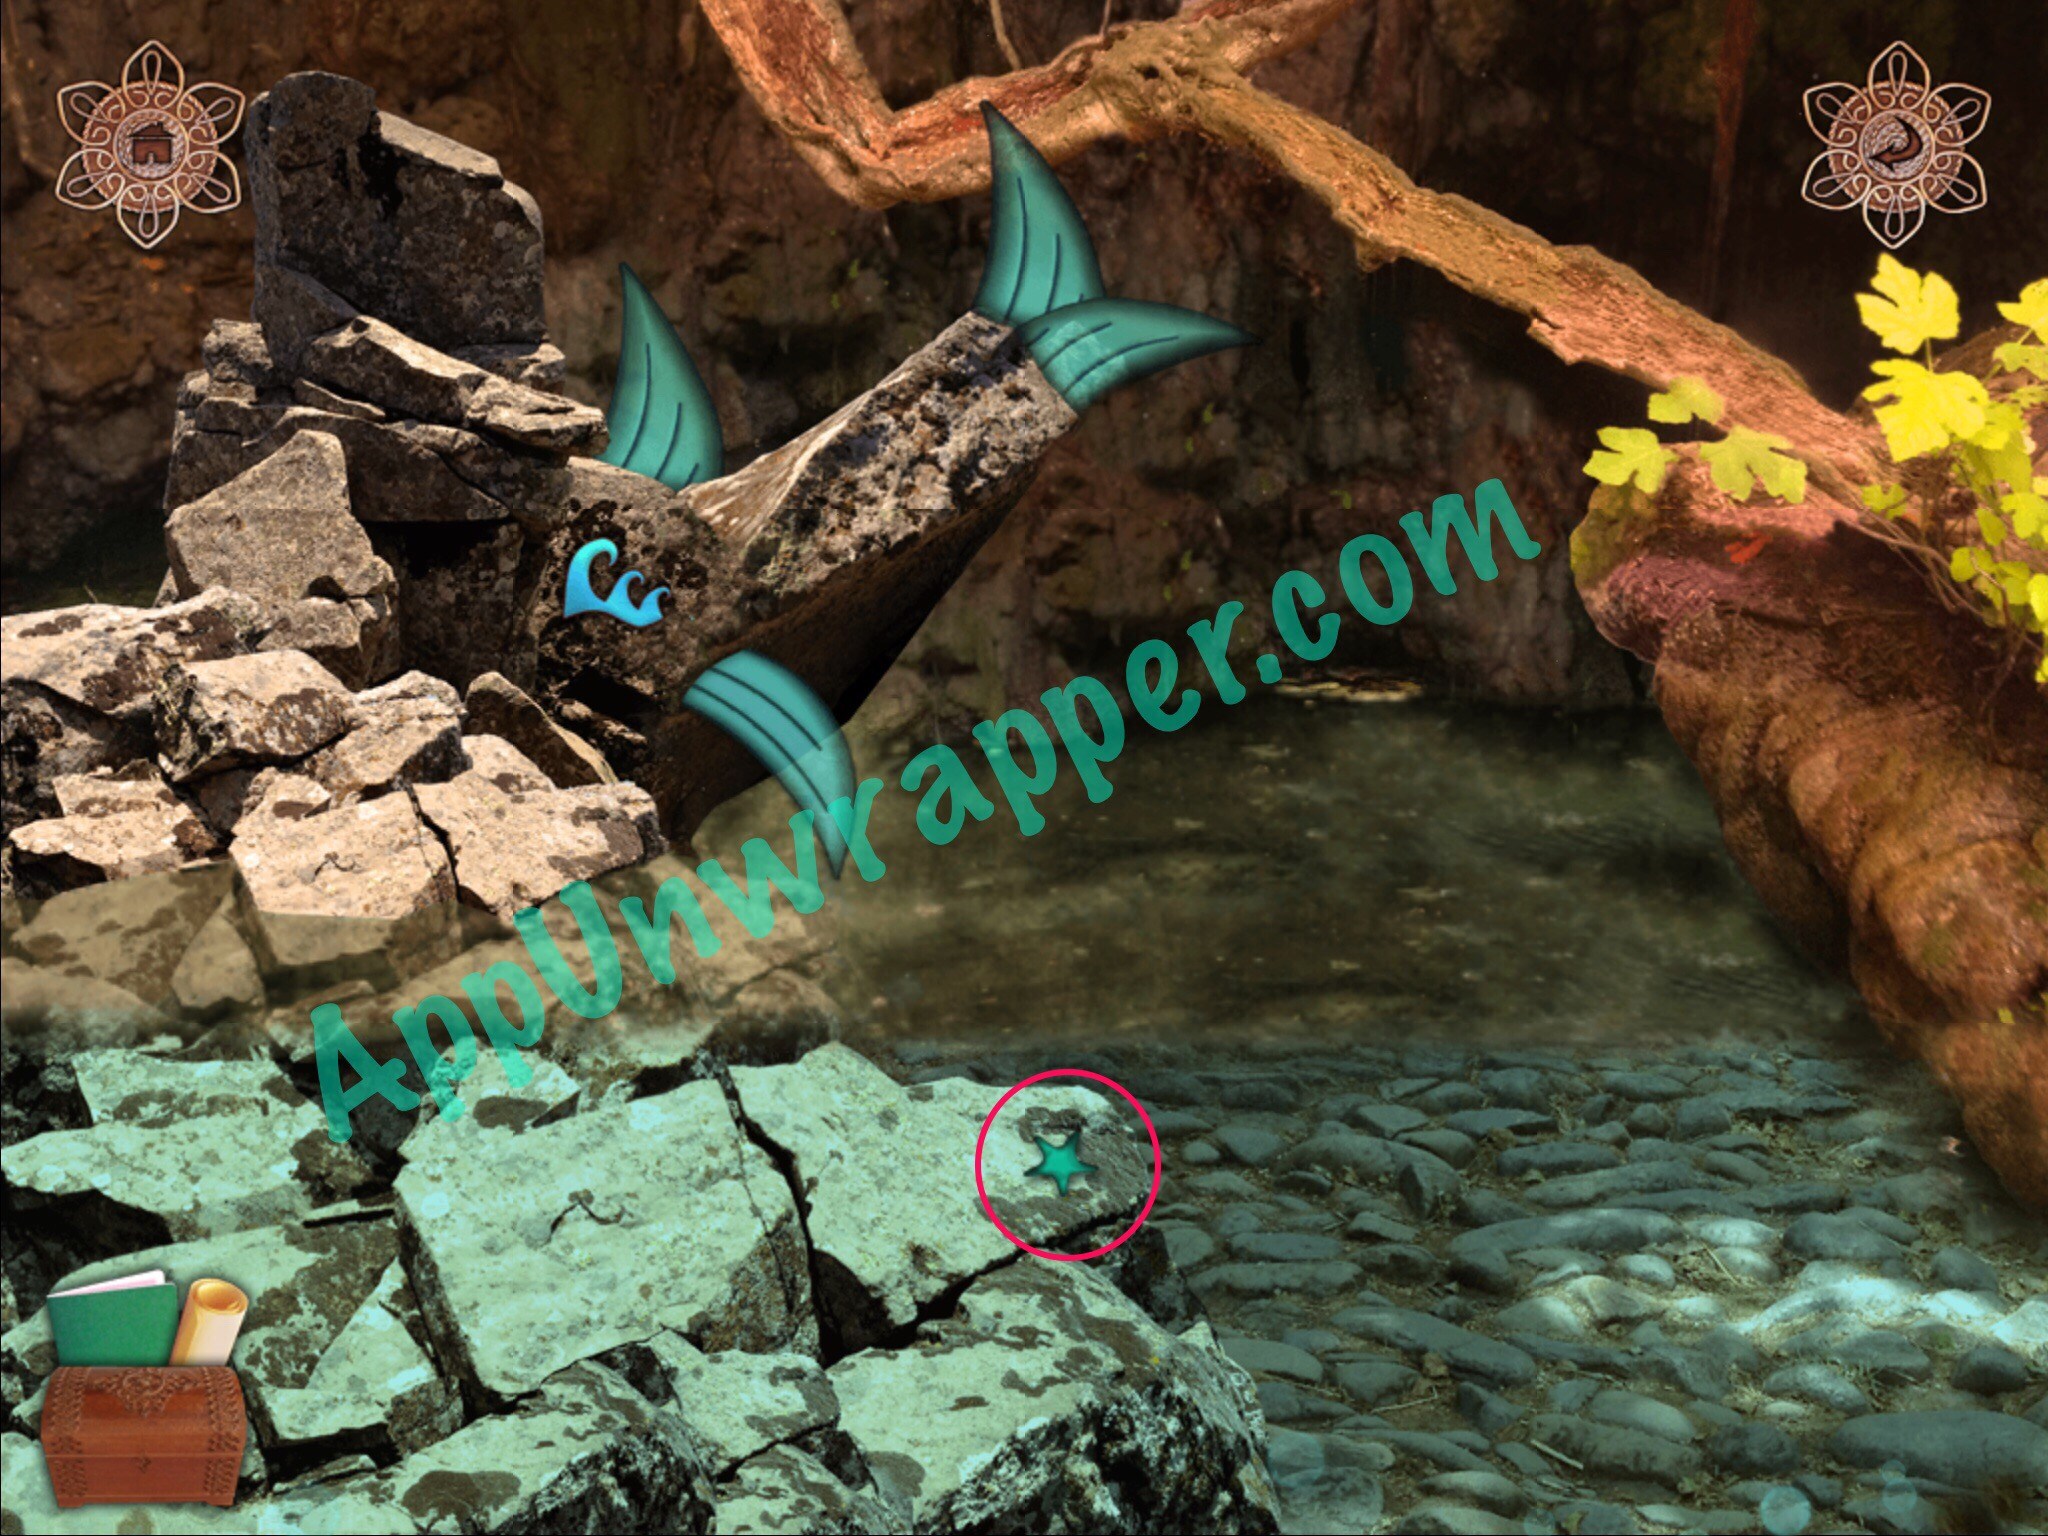
35. Now go through the door and place the glass fins on the unfinished fish sculpture. Complete the puzzle. Place the water element in the slot and turn into a fish!


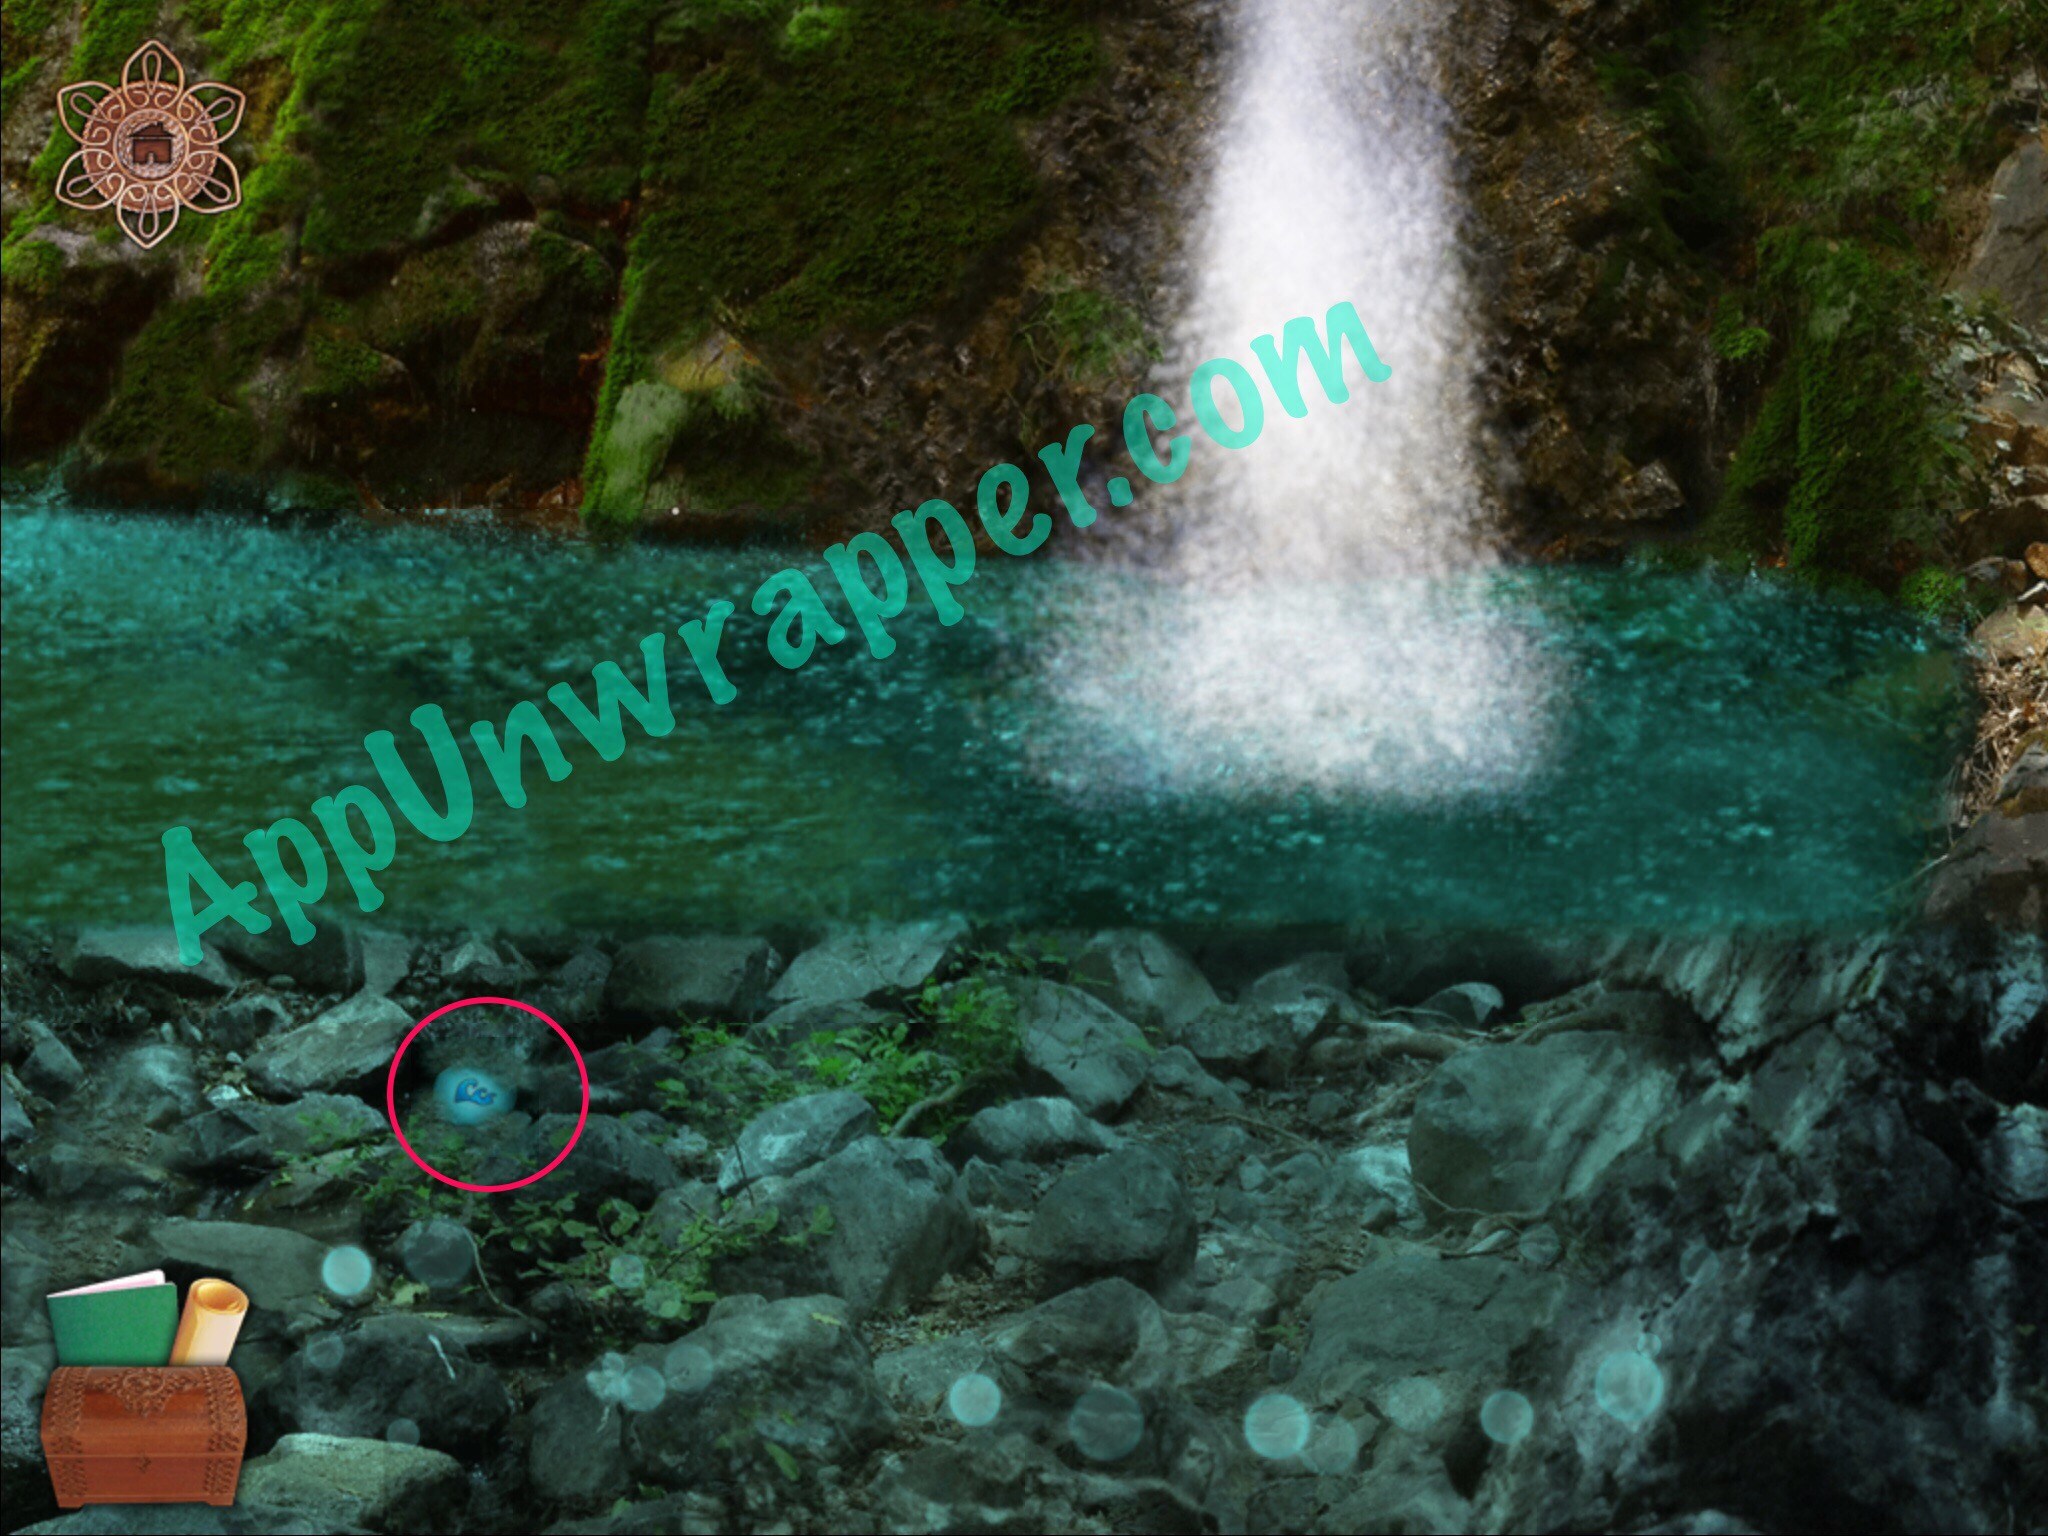
36. Pick up the starfish. Then go back a screen and pick up the blue water puzzle piece.
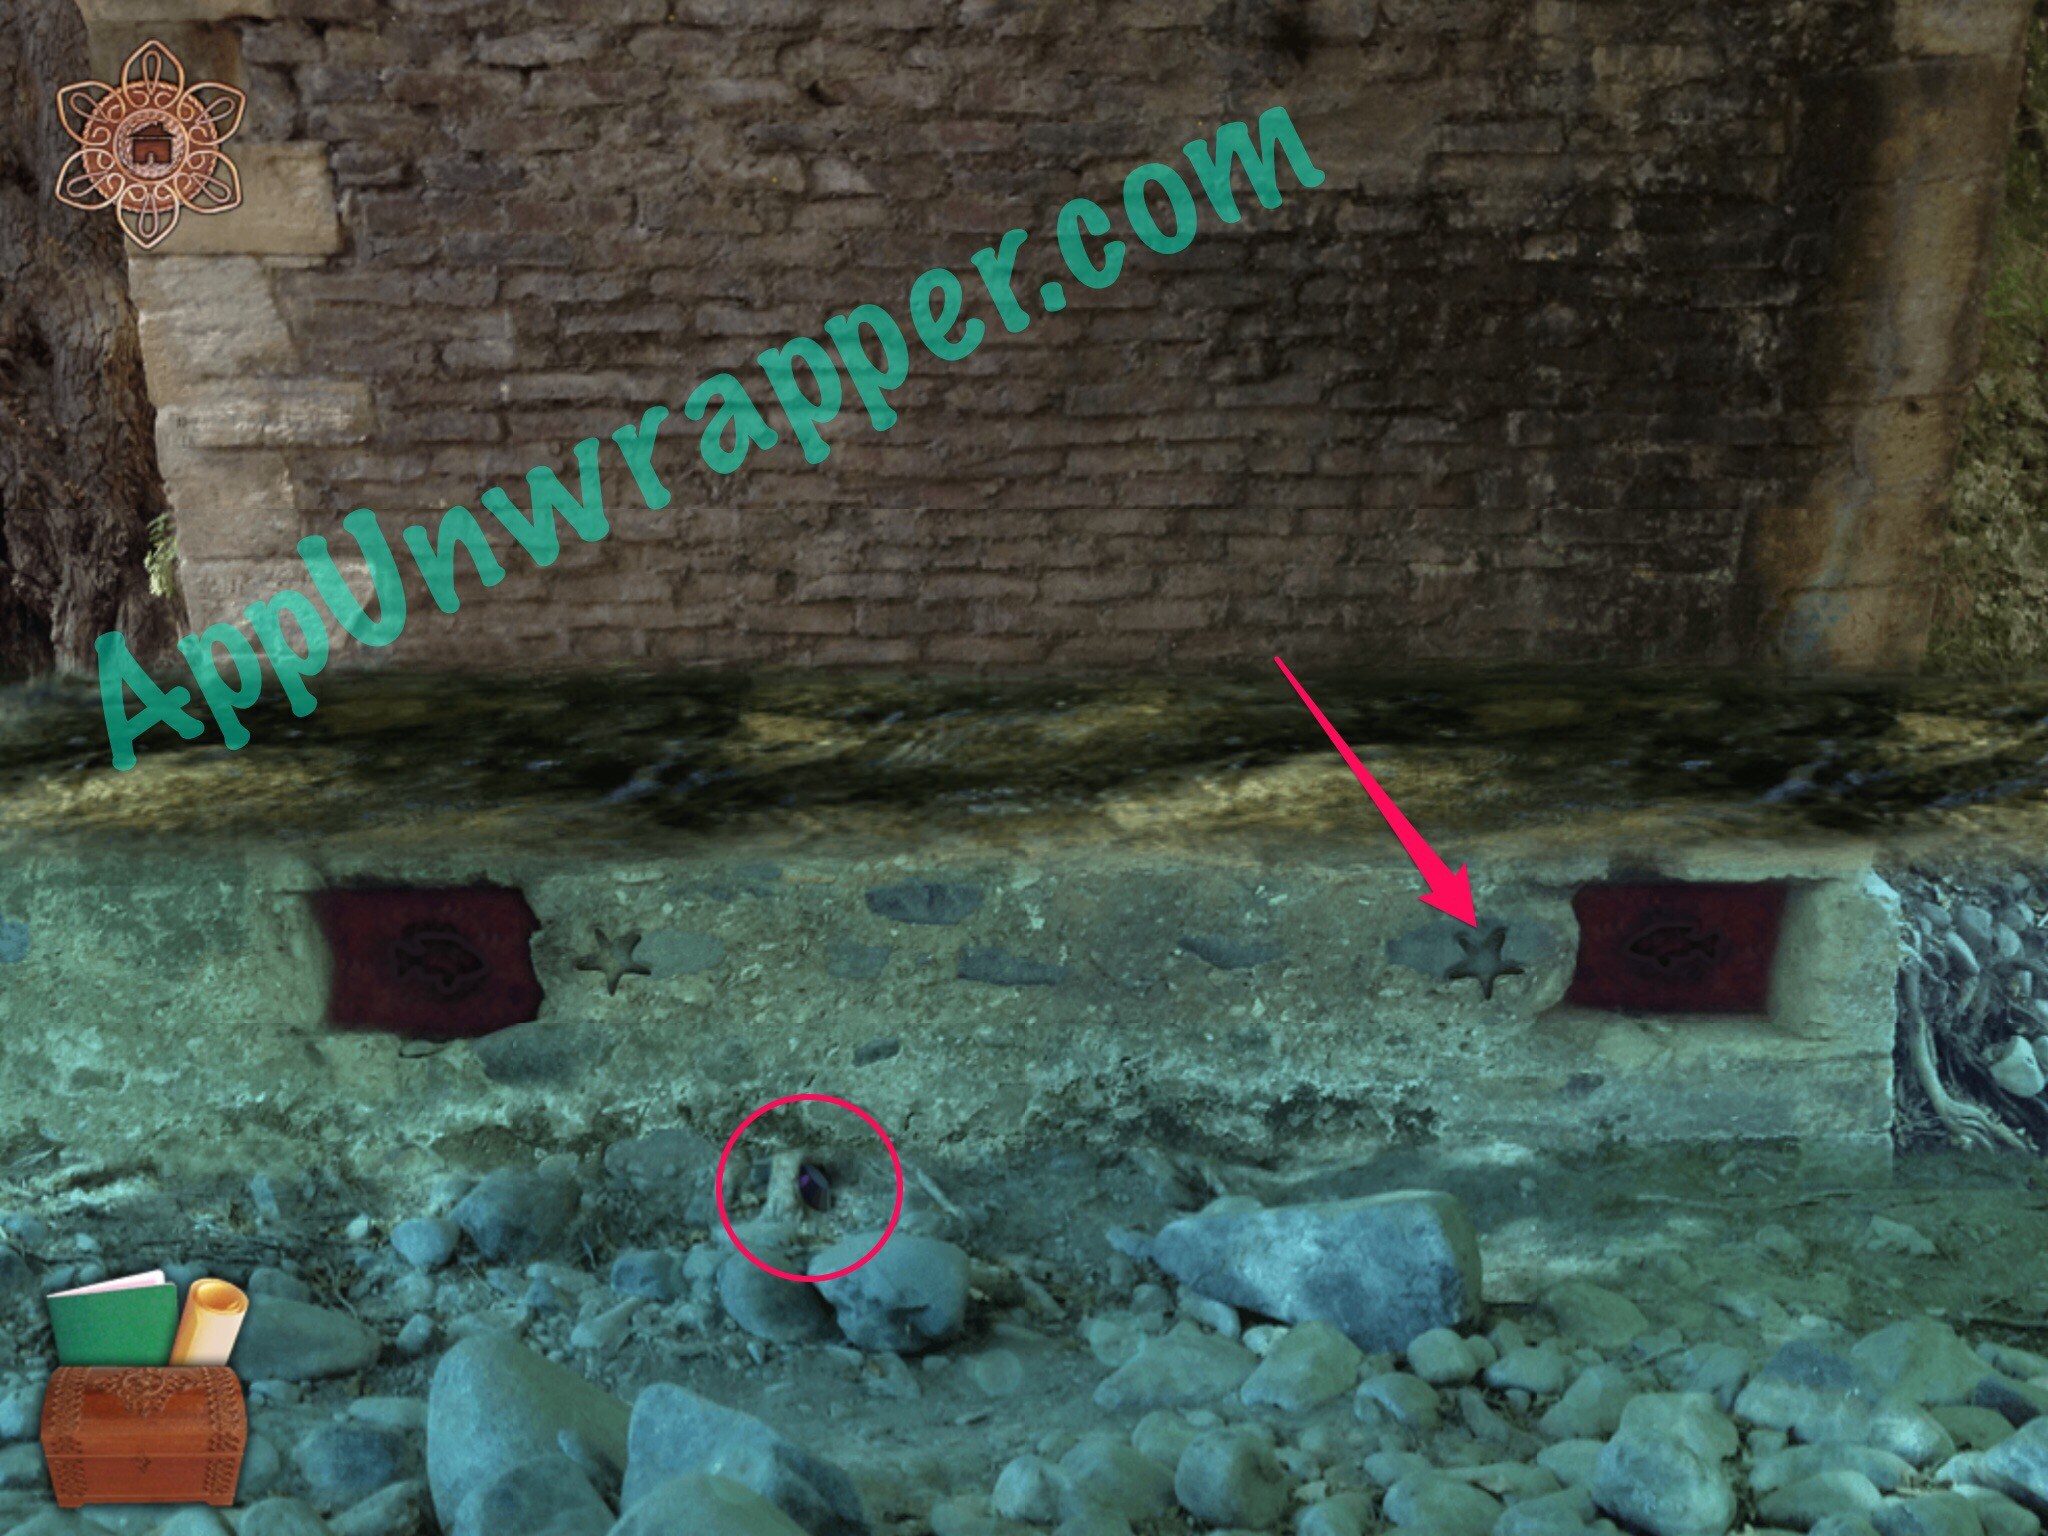
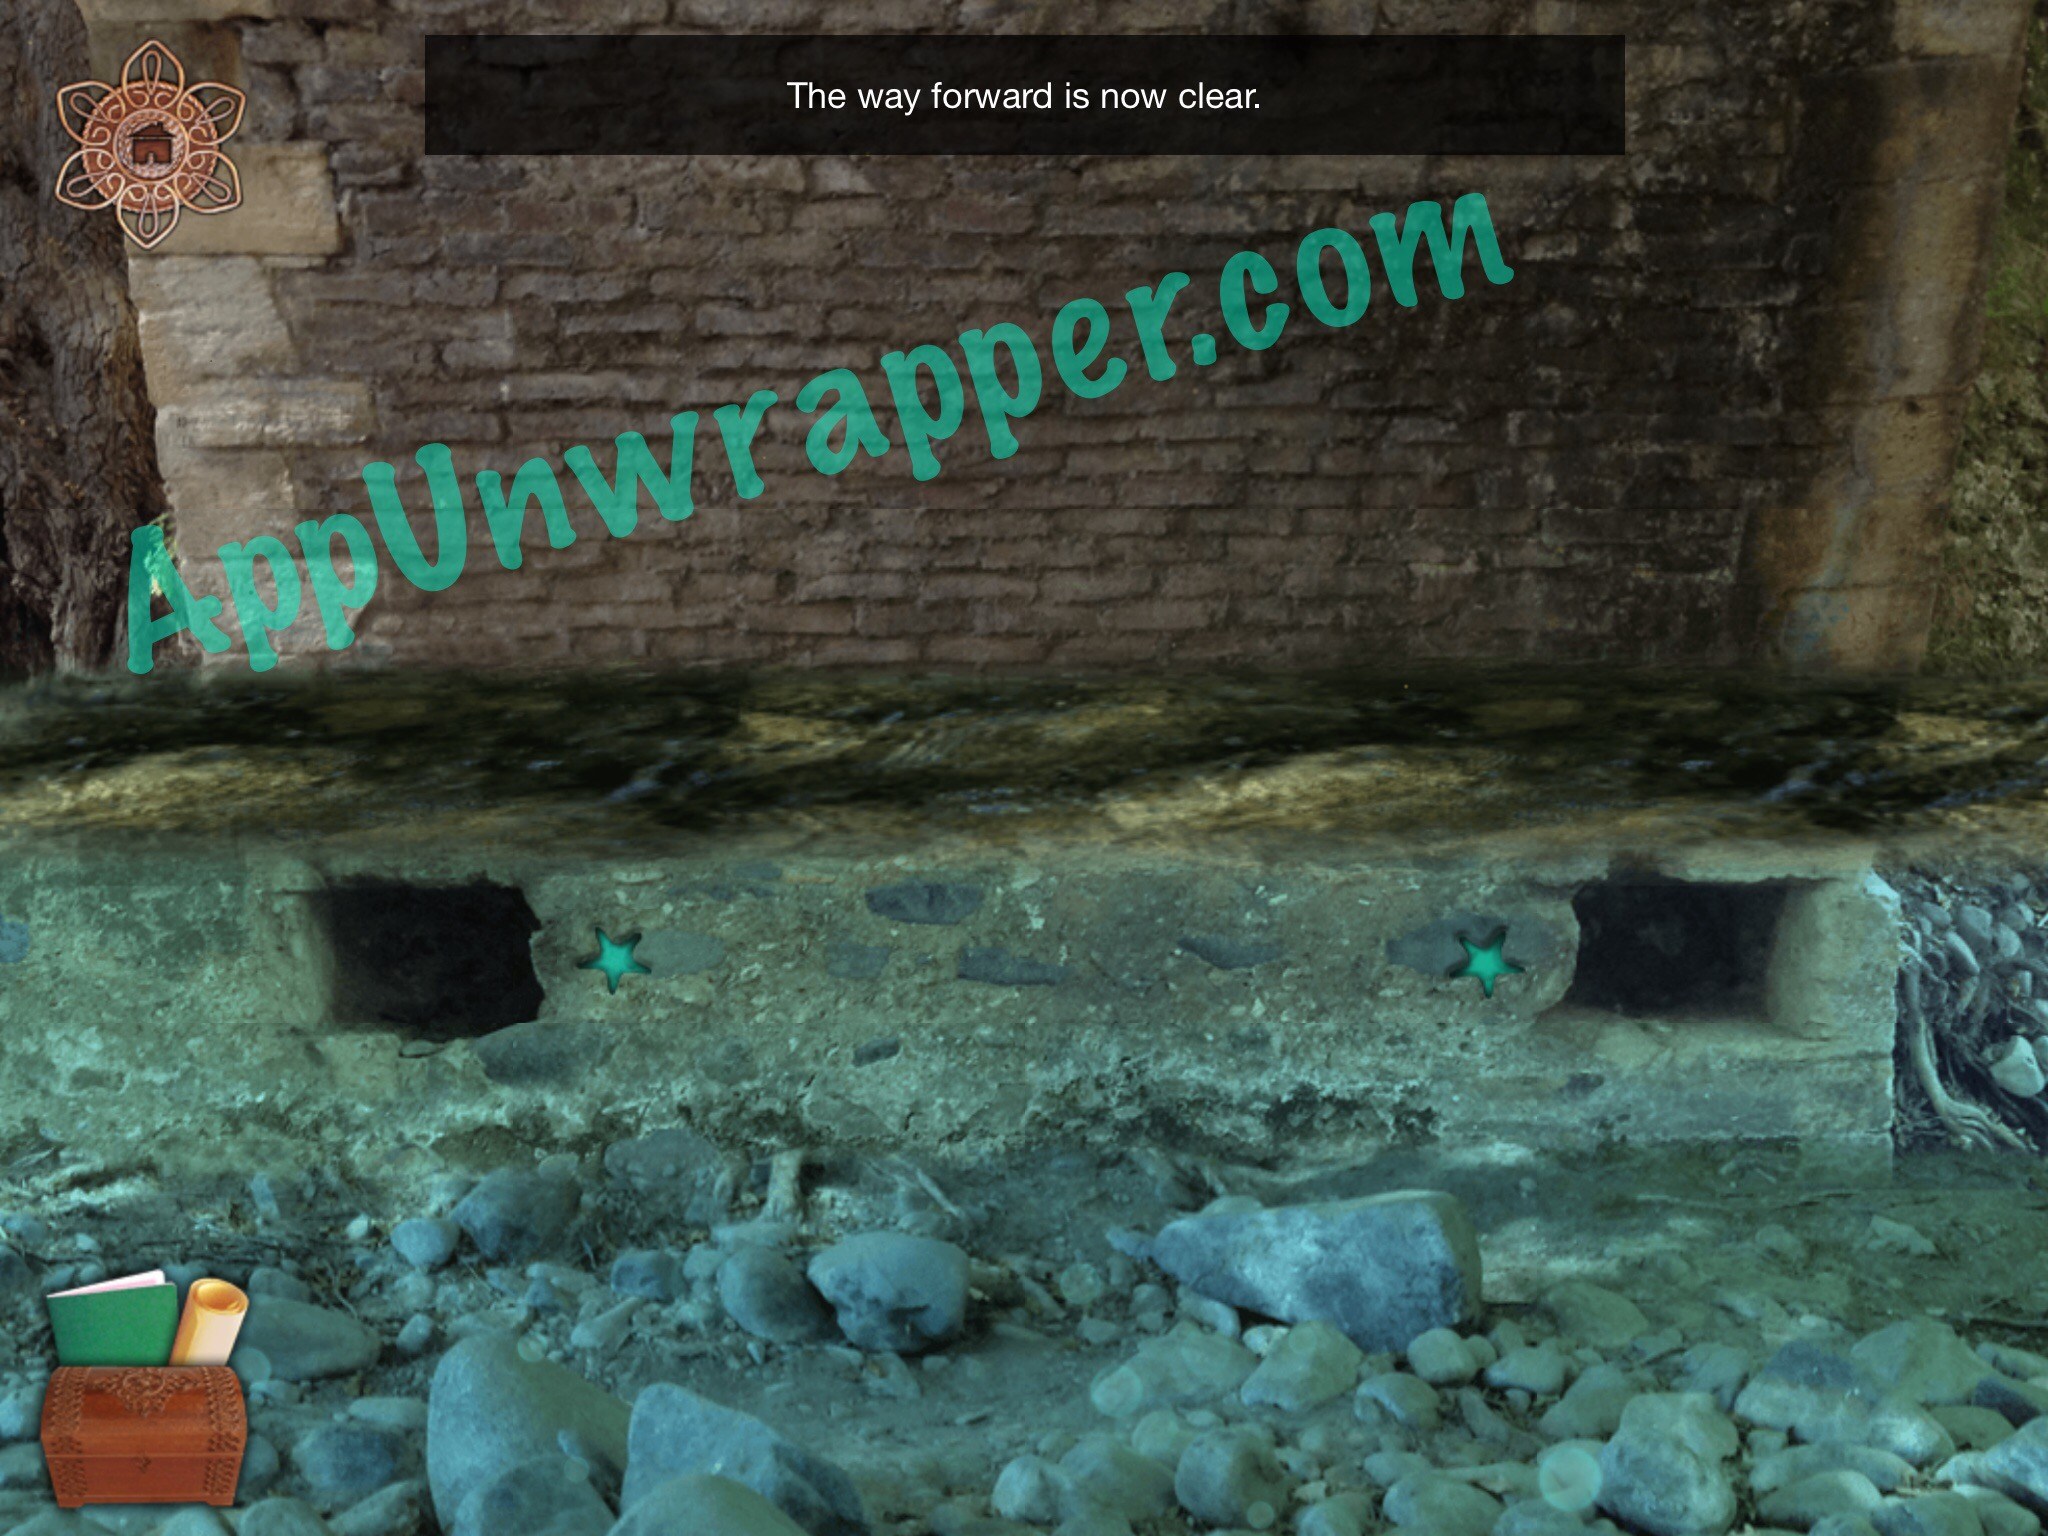
37. Head under the bridge and pick up the amethyst. Place the starfish in the right slot and tap on the hole next to it. Solve the circuits puzzle and continue through.

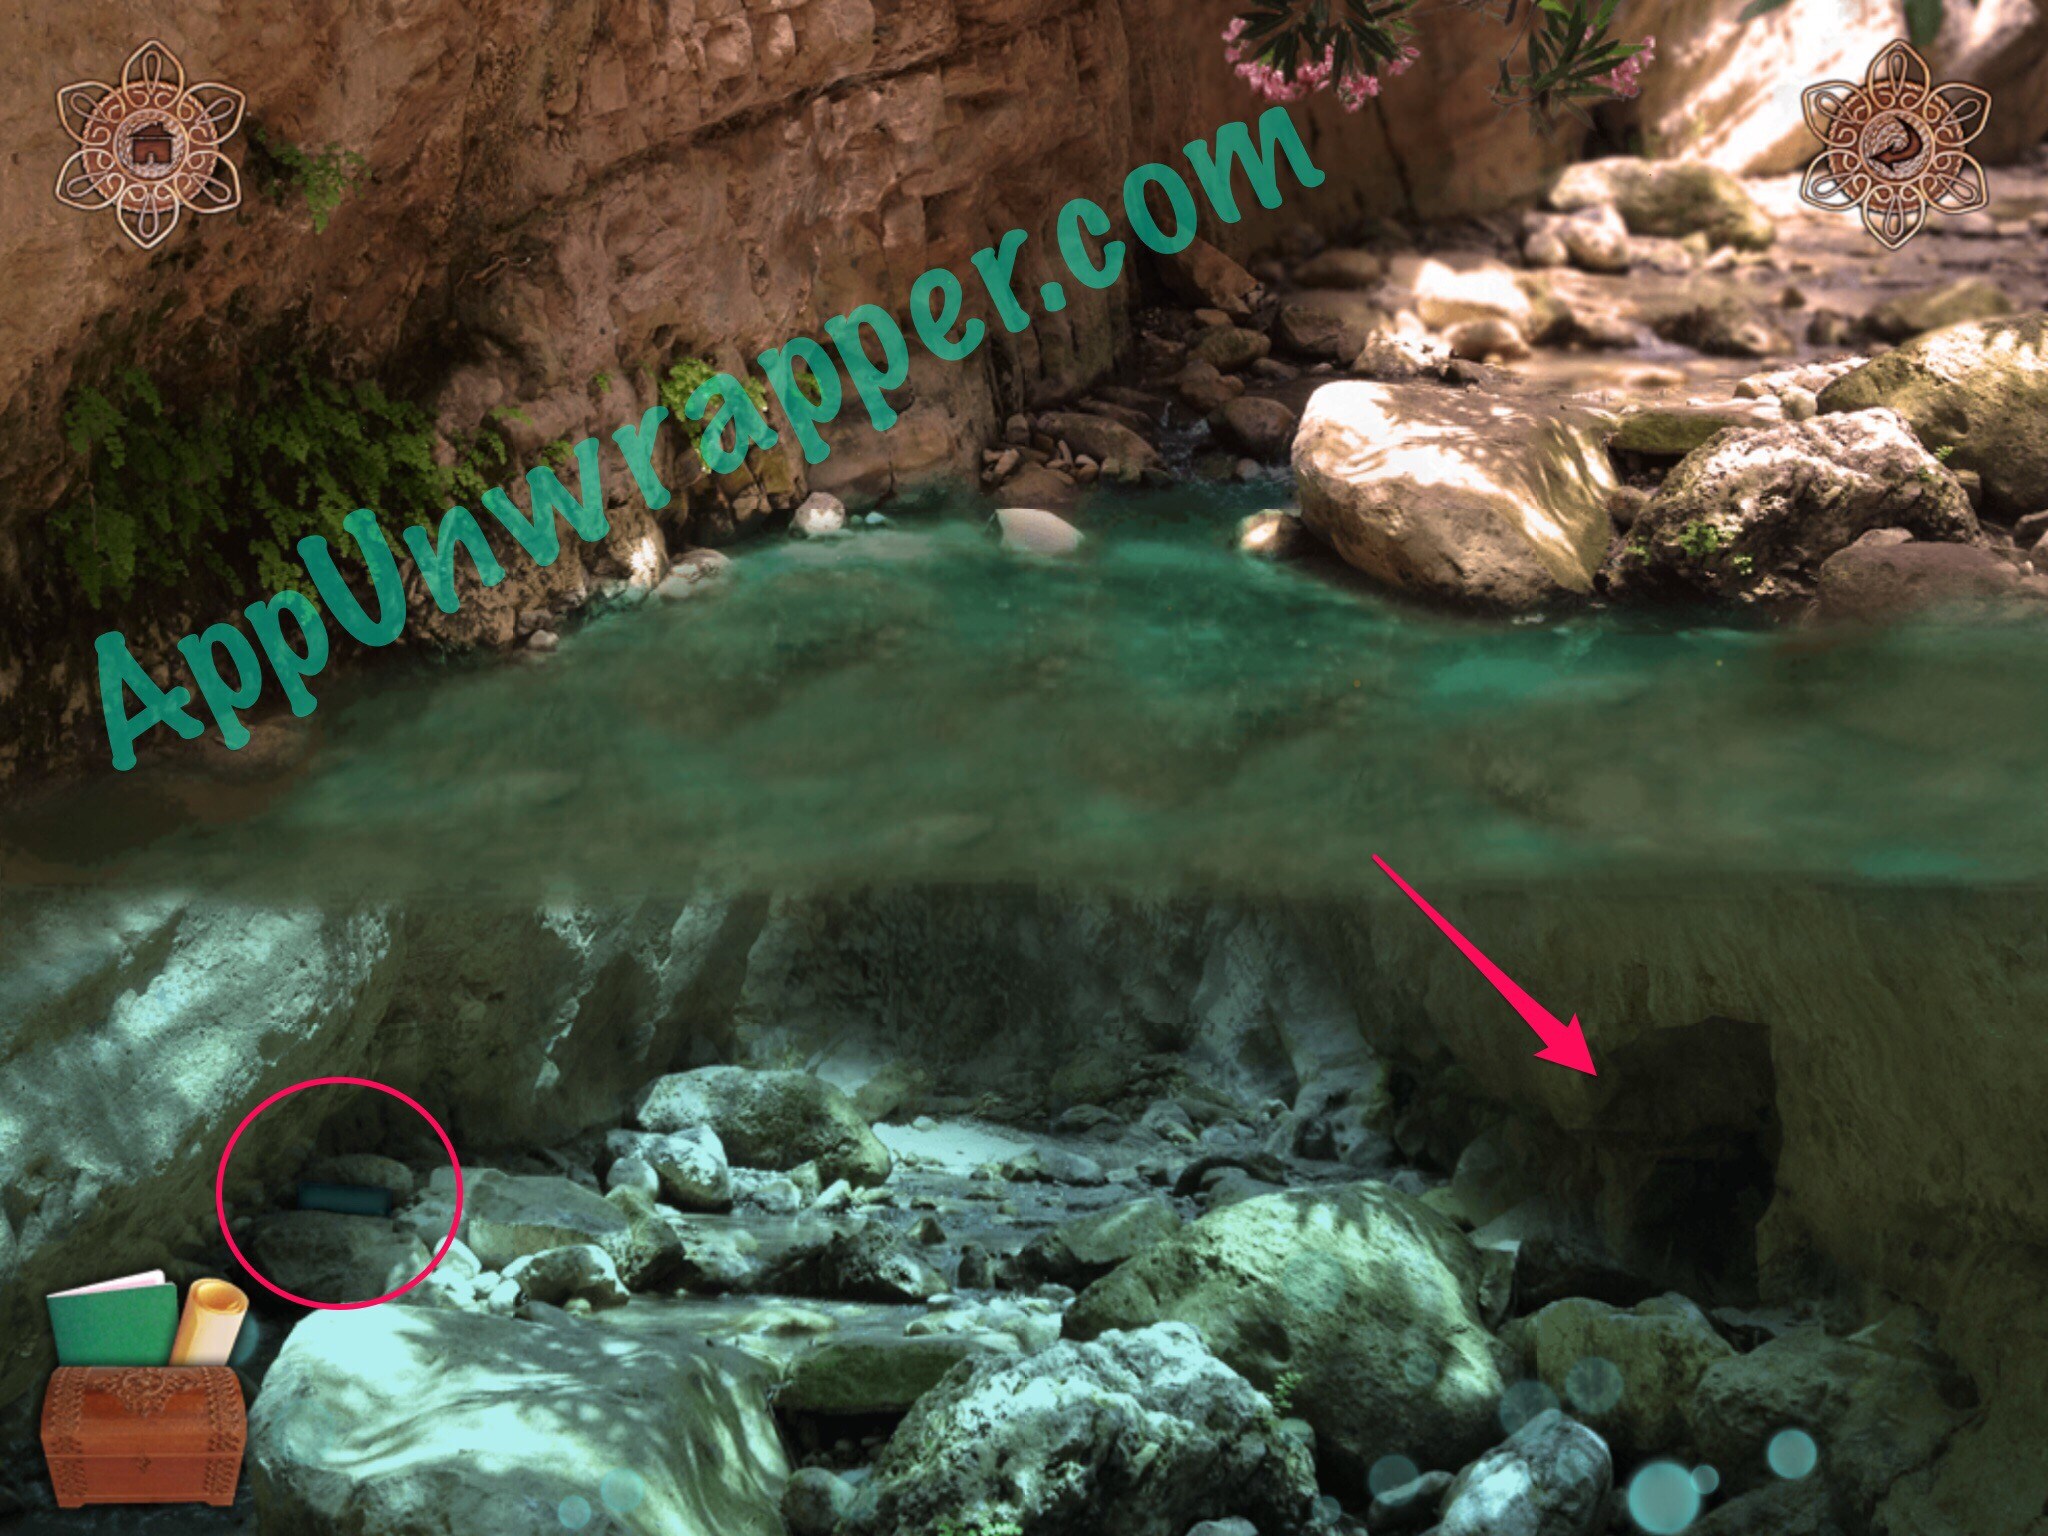
38. Pick up the glass tube here. Then tap on the hole and solve the puzzle (tap the bars in the order shown) so you can get through to the next screen.

39. Pick up the starfish here and notice the four trapped elements.

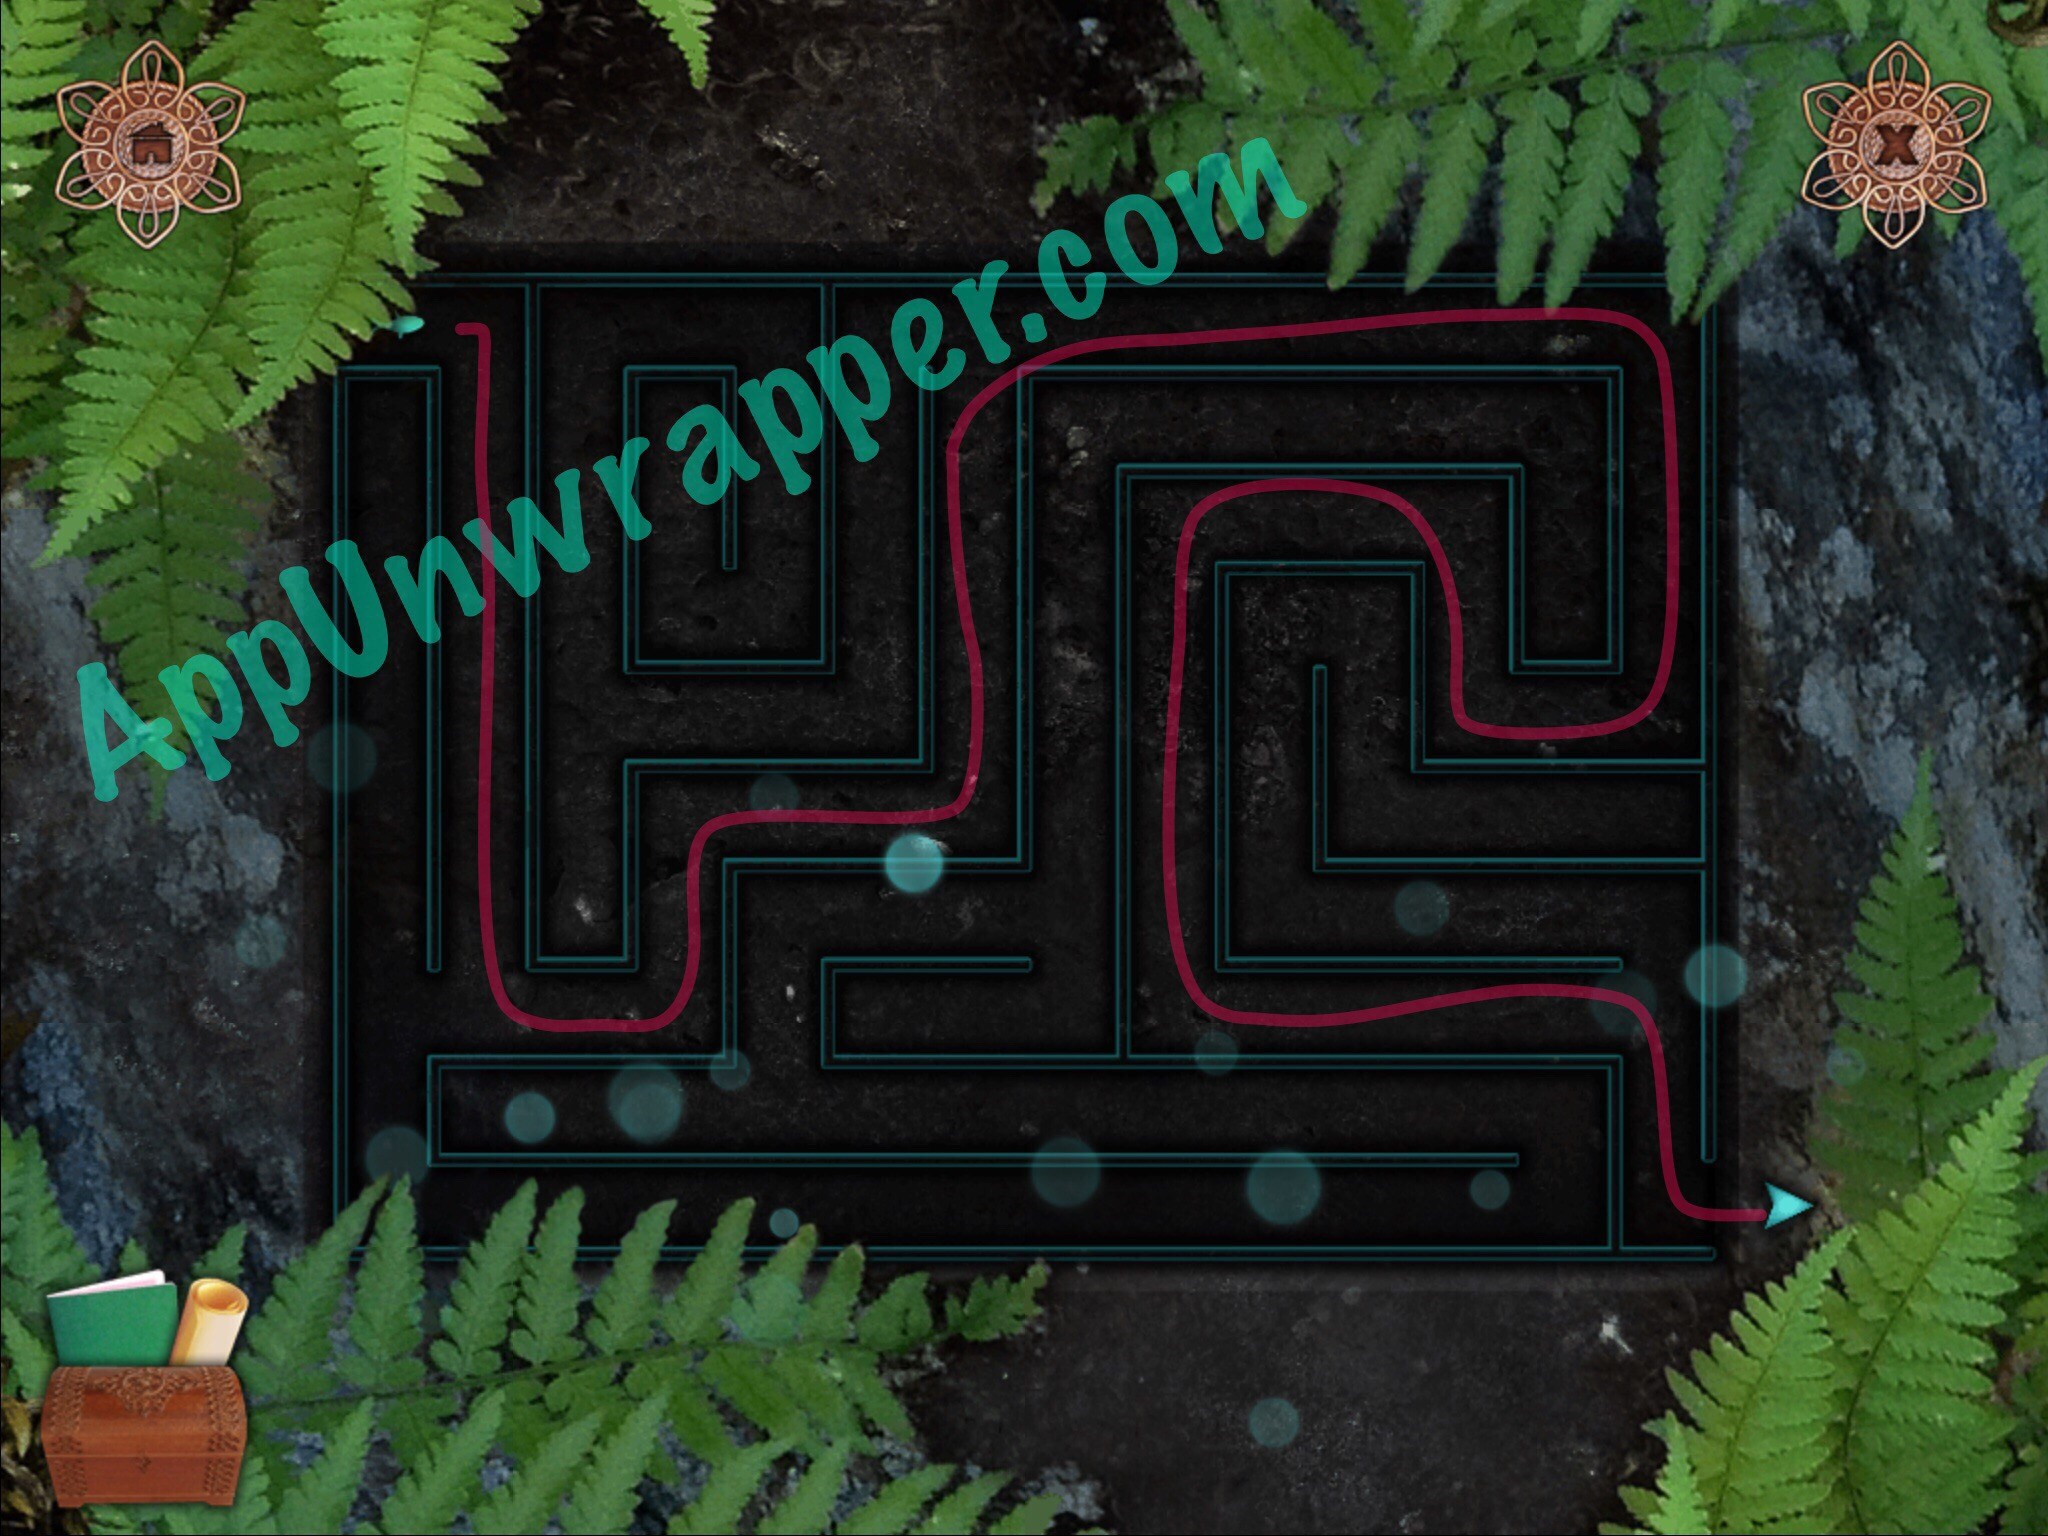
40. Go back under the bridge. This time, place the starfish in the left slot and tap on the hole. Lead the fish through the maze then go through the hole. Here, place the glass tube with the others. We need to find weeds to stuff up the cracks in the rocks.

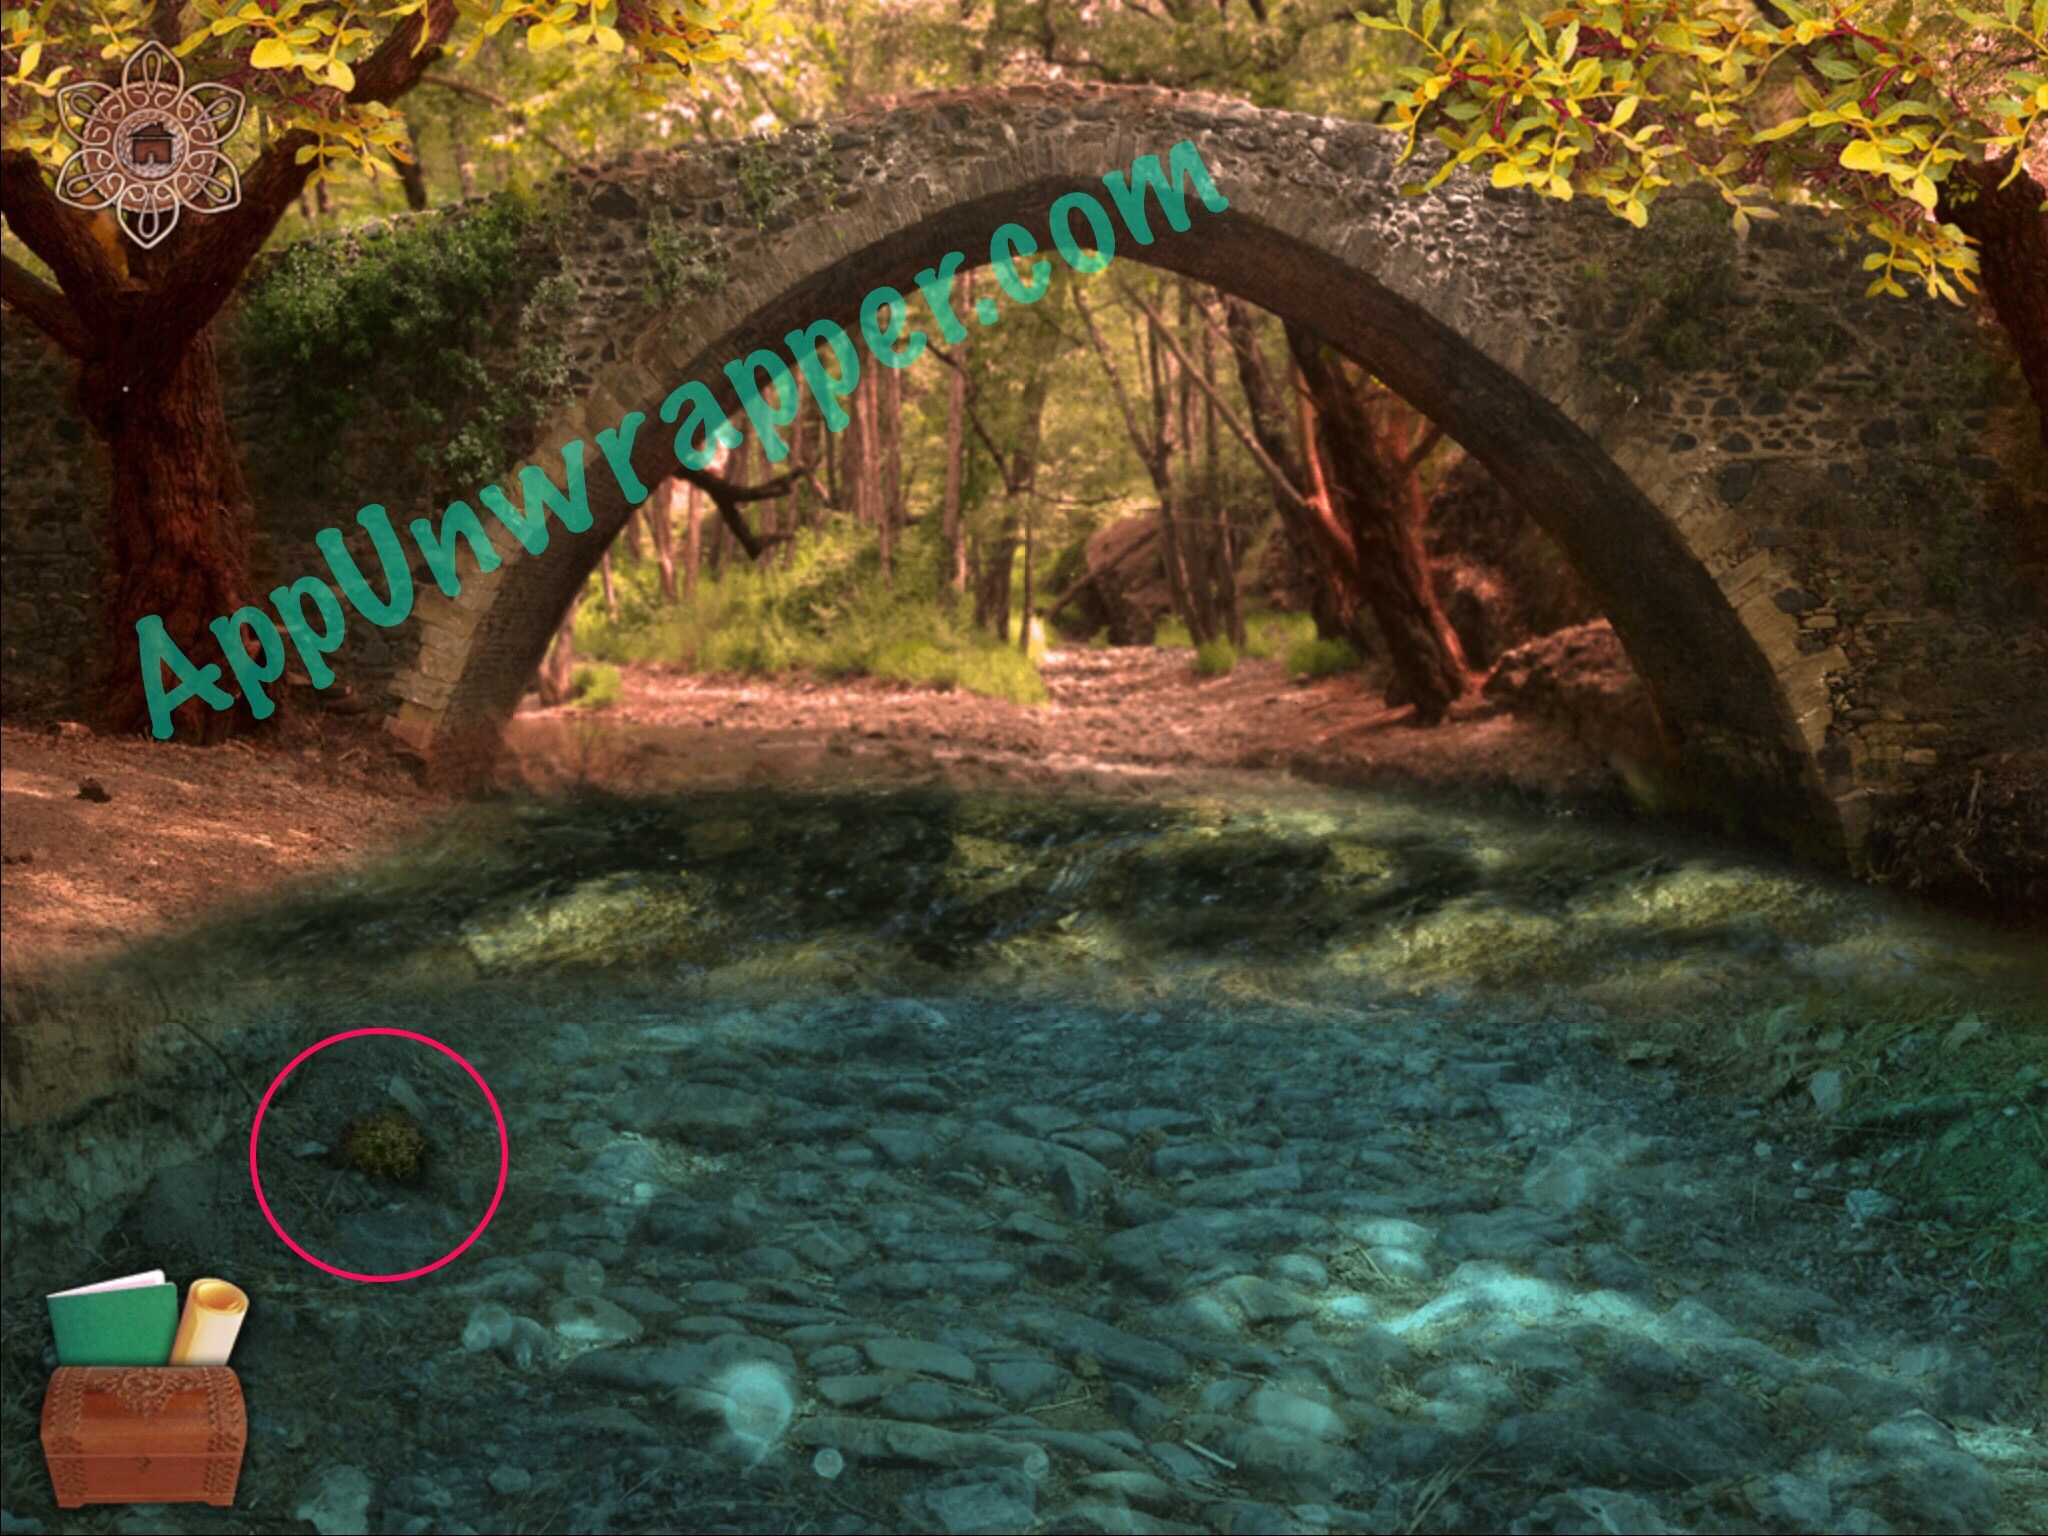
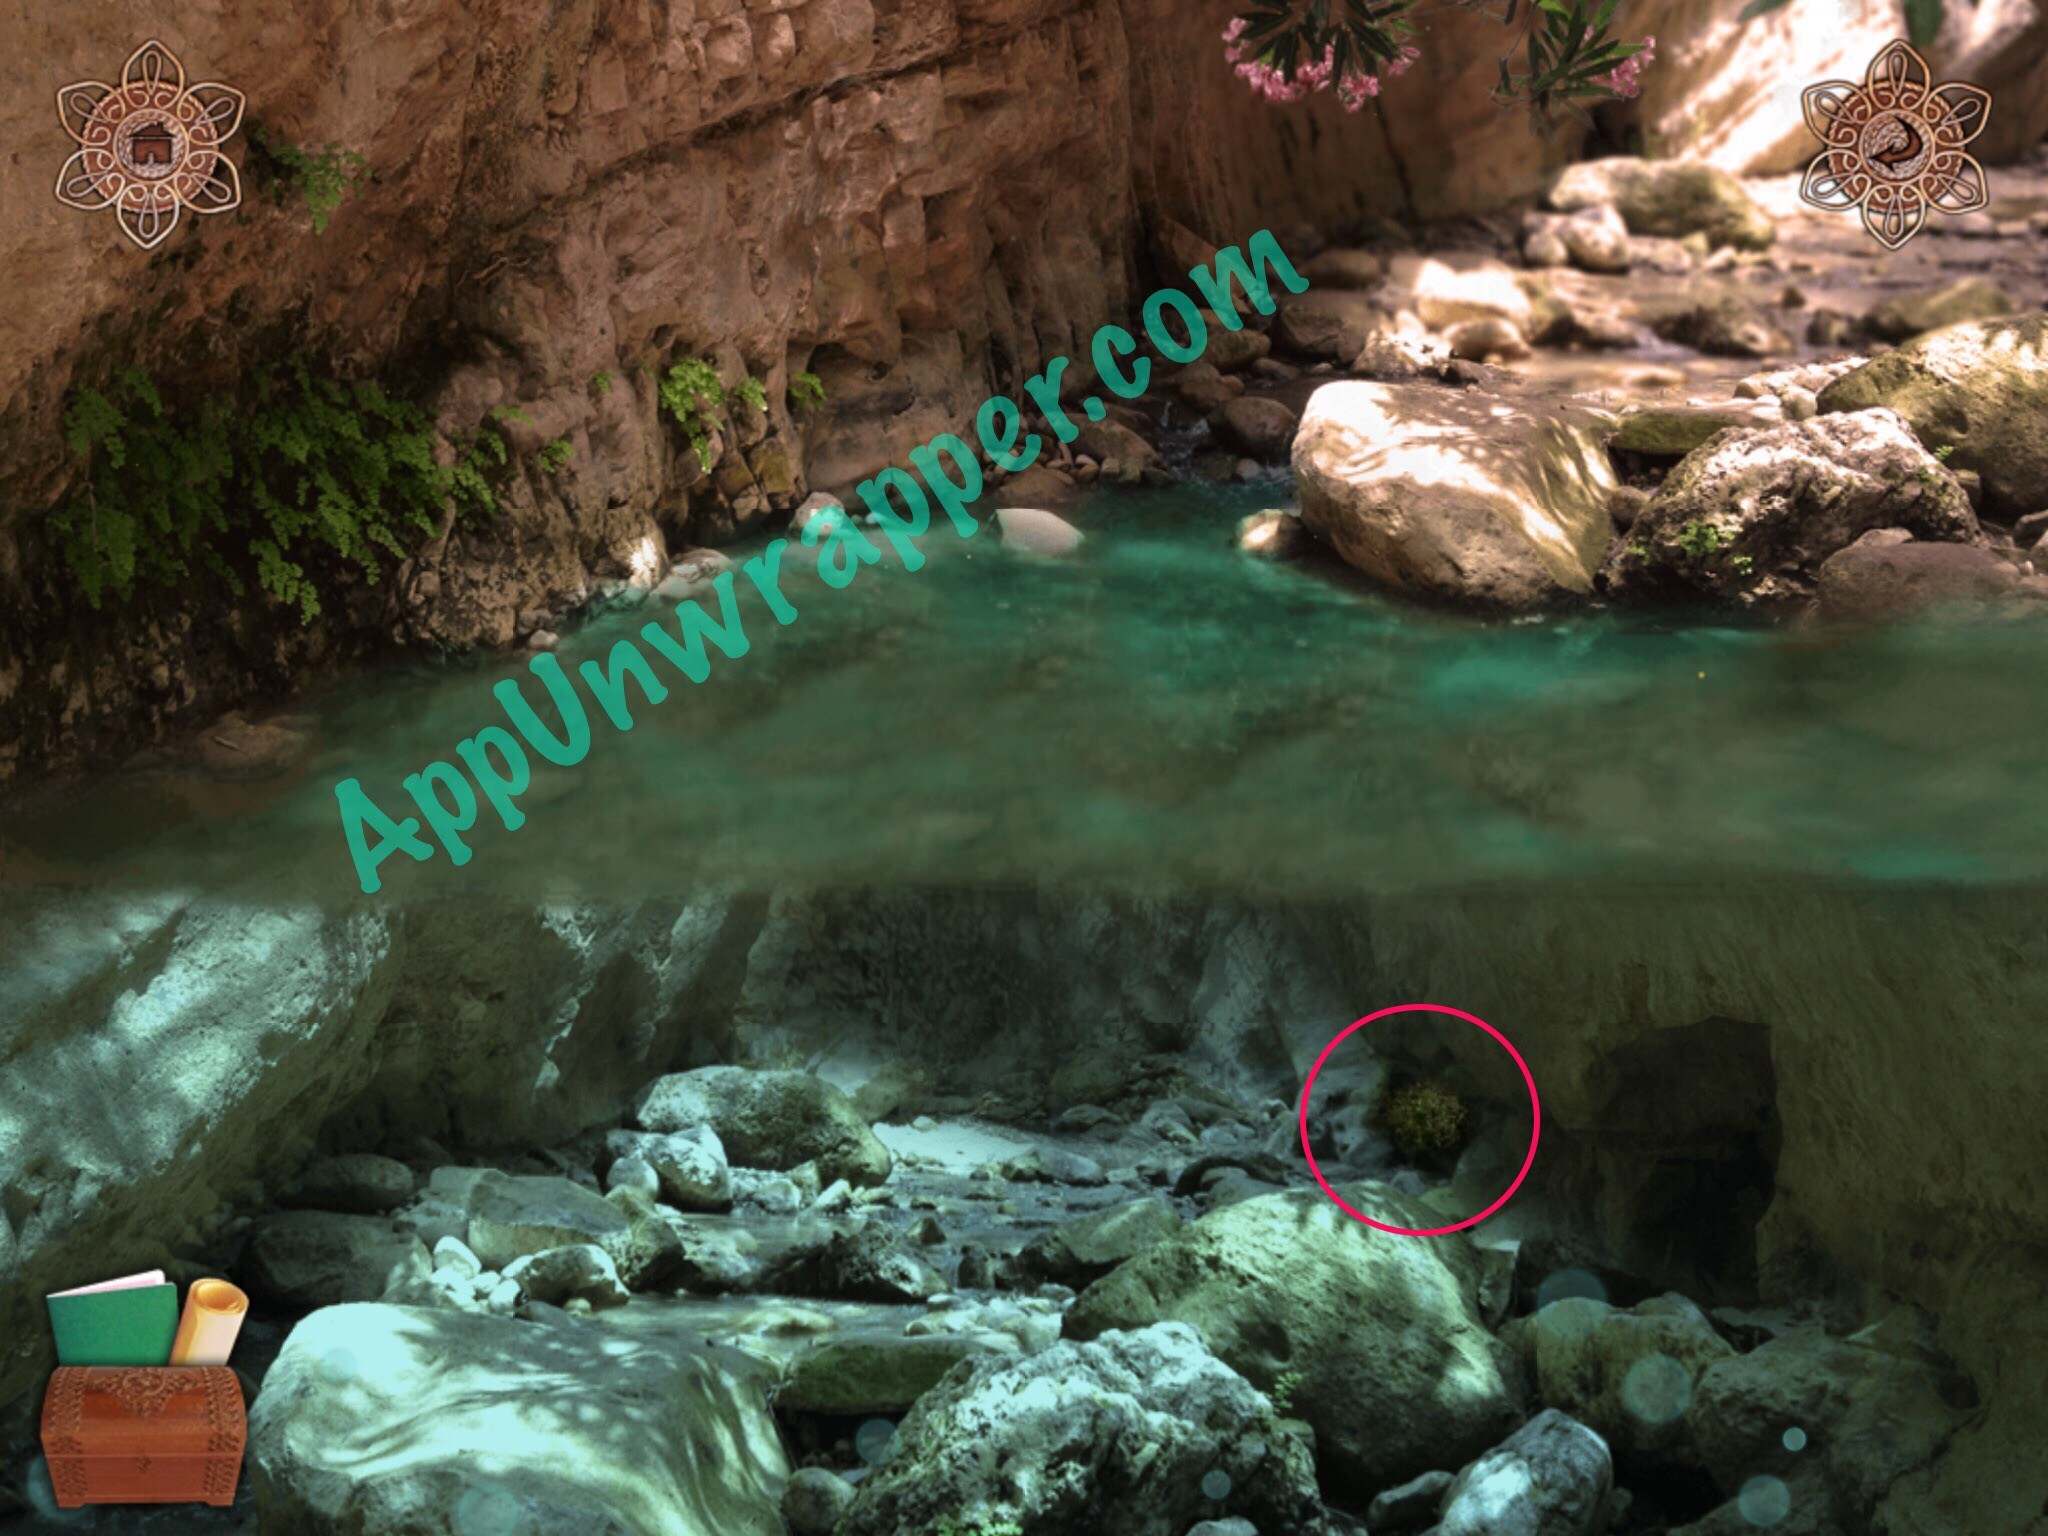
41. Let’s go find some weeds! To find them, you need to use the fish’s ability by swiping the screen side to side. This sort of brown smoke will appear if you’re doing it right. You can find three bunches of weeds by doing so in these three screens. While you’re in front of the bridge, also make sure to pick up the fire emblem that fell into the water earlier.


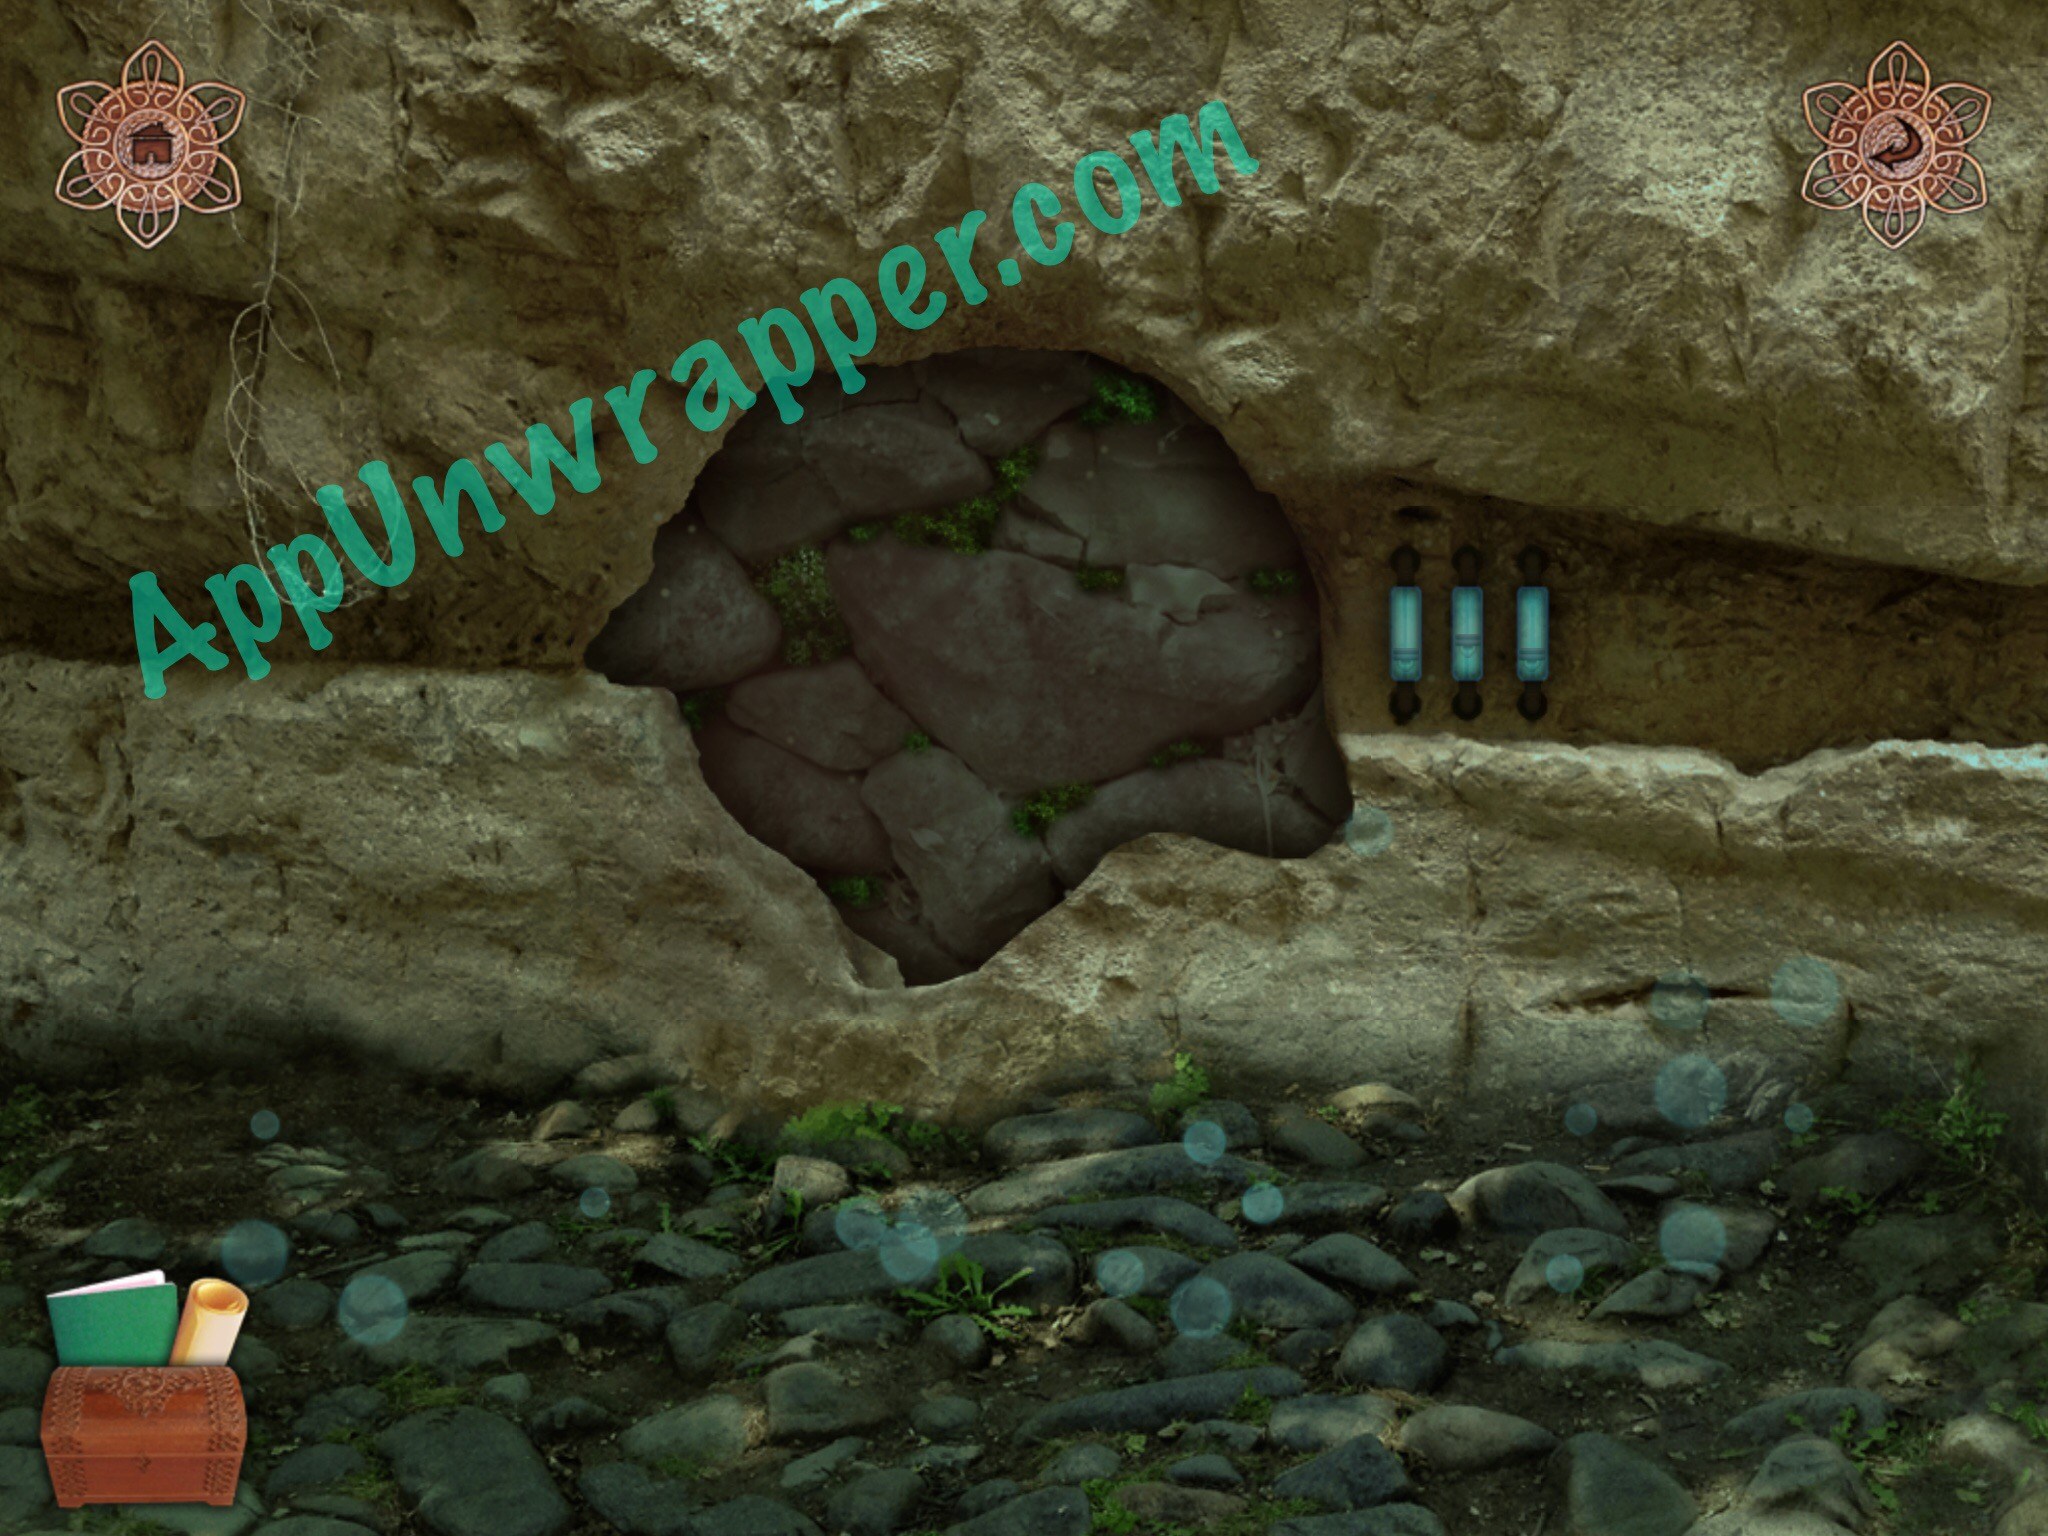
42. Go back and stuff all the cracks with weeds. The passage will open and you can access the bird statue!

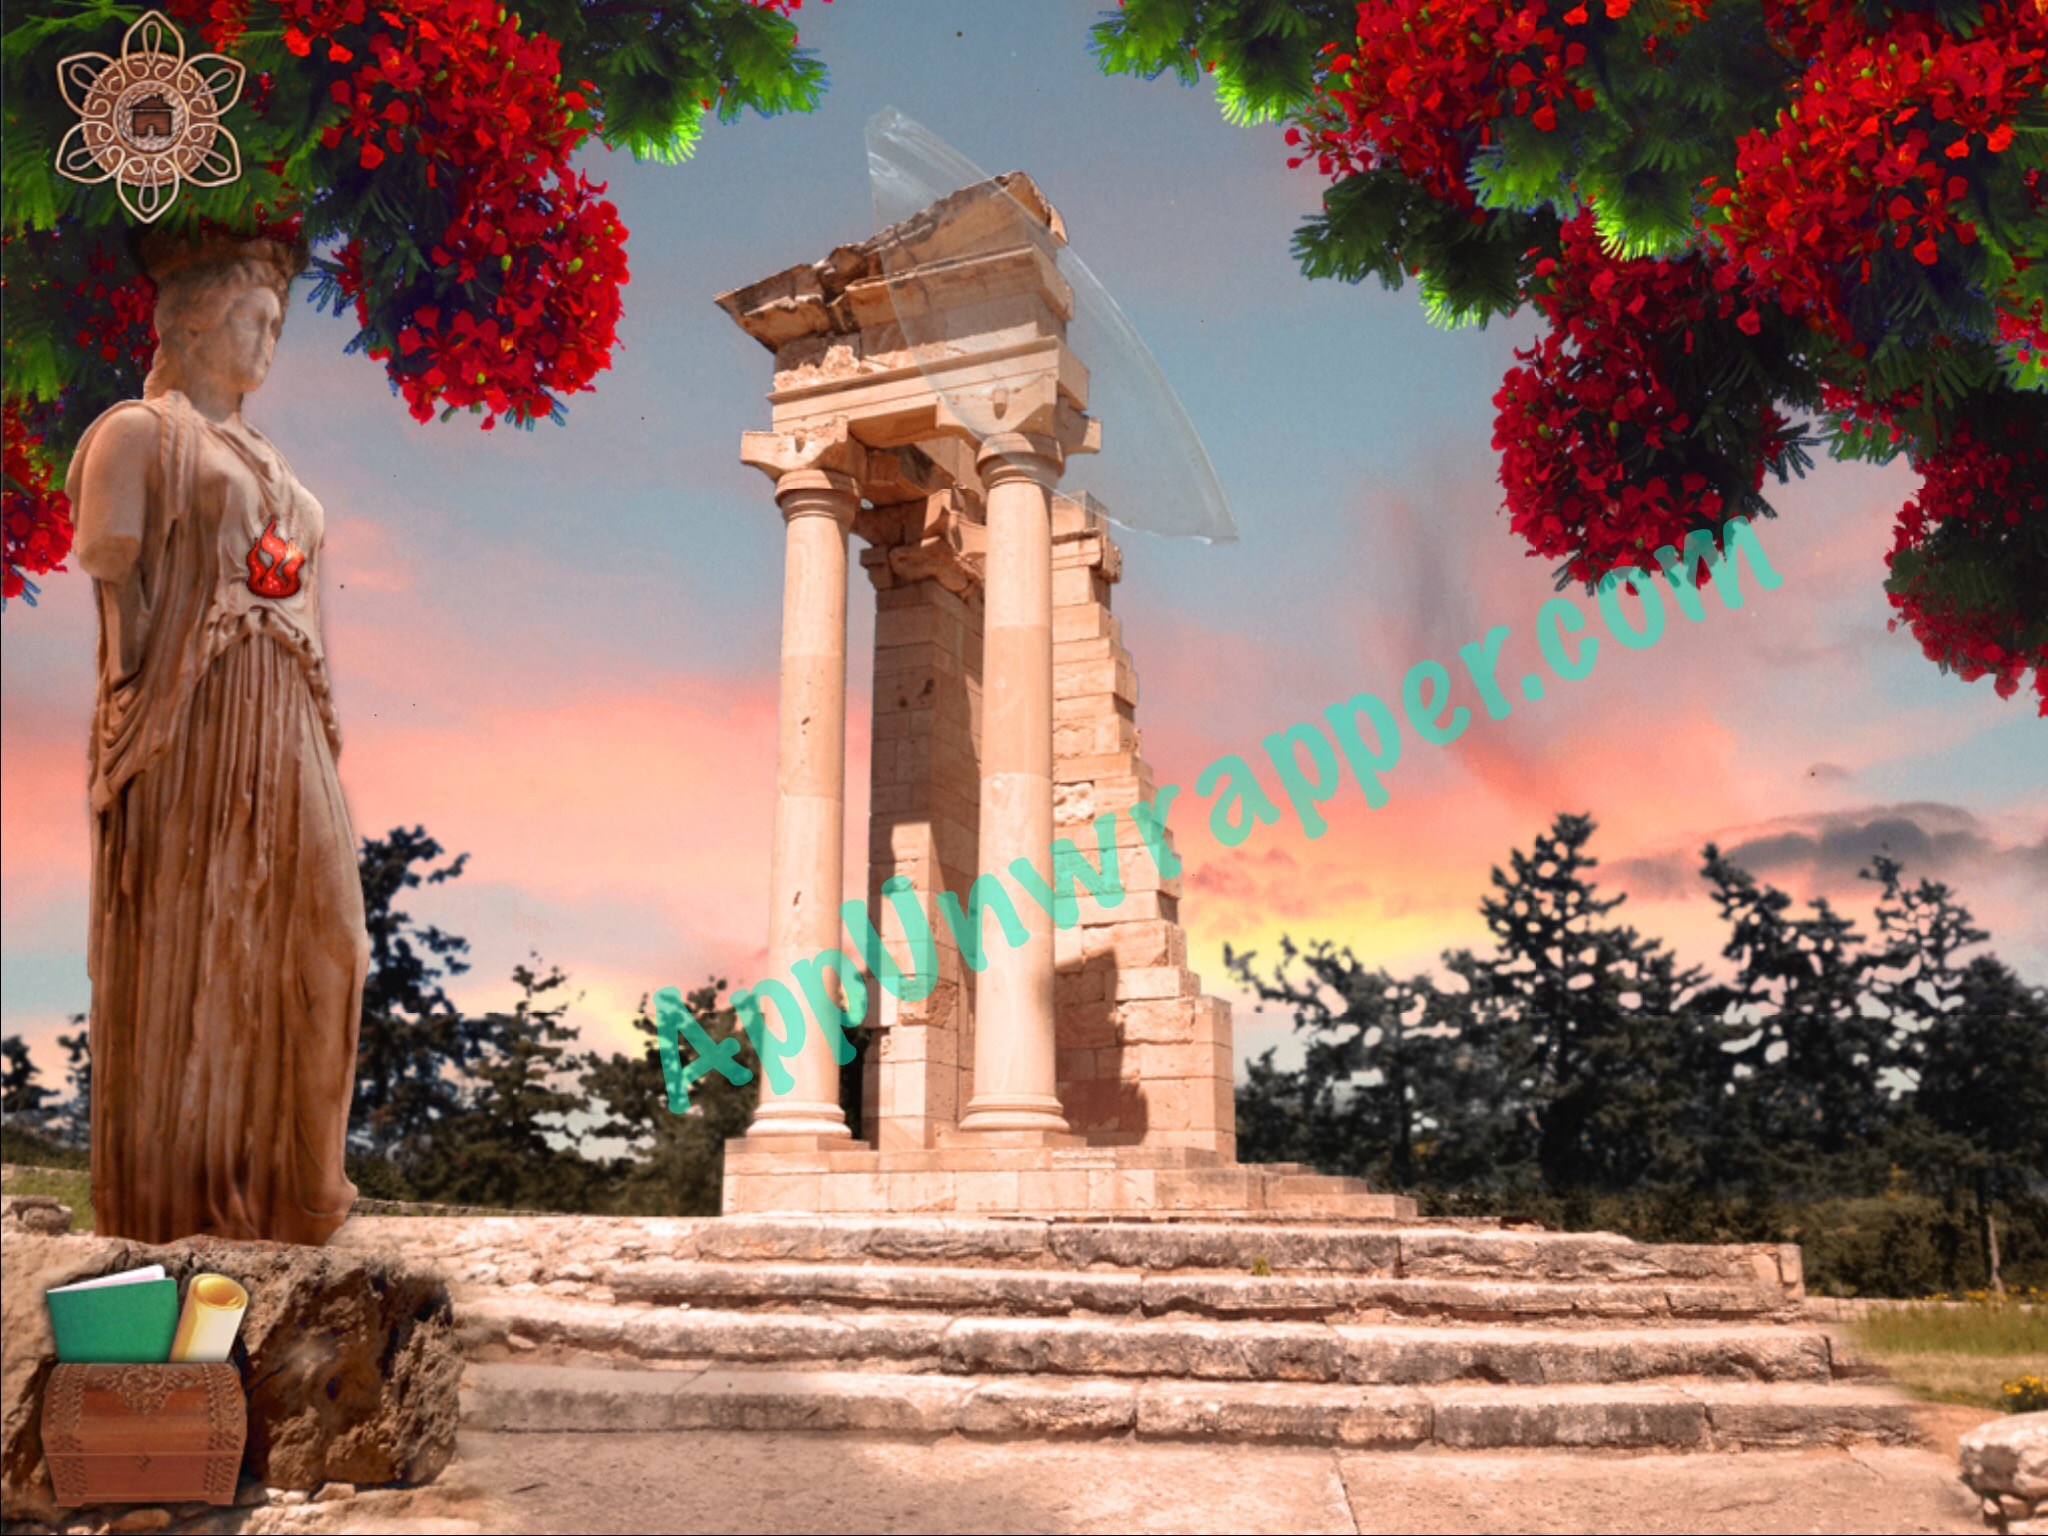
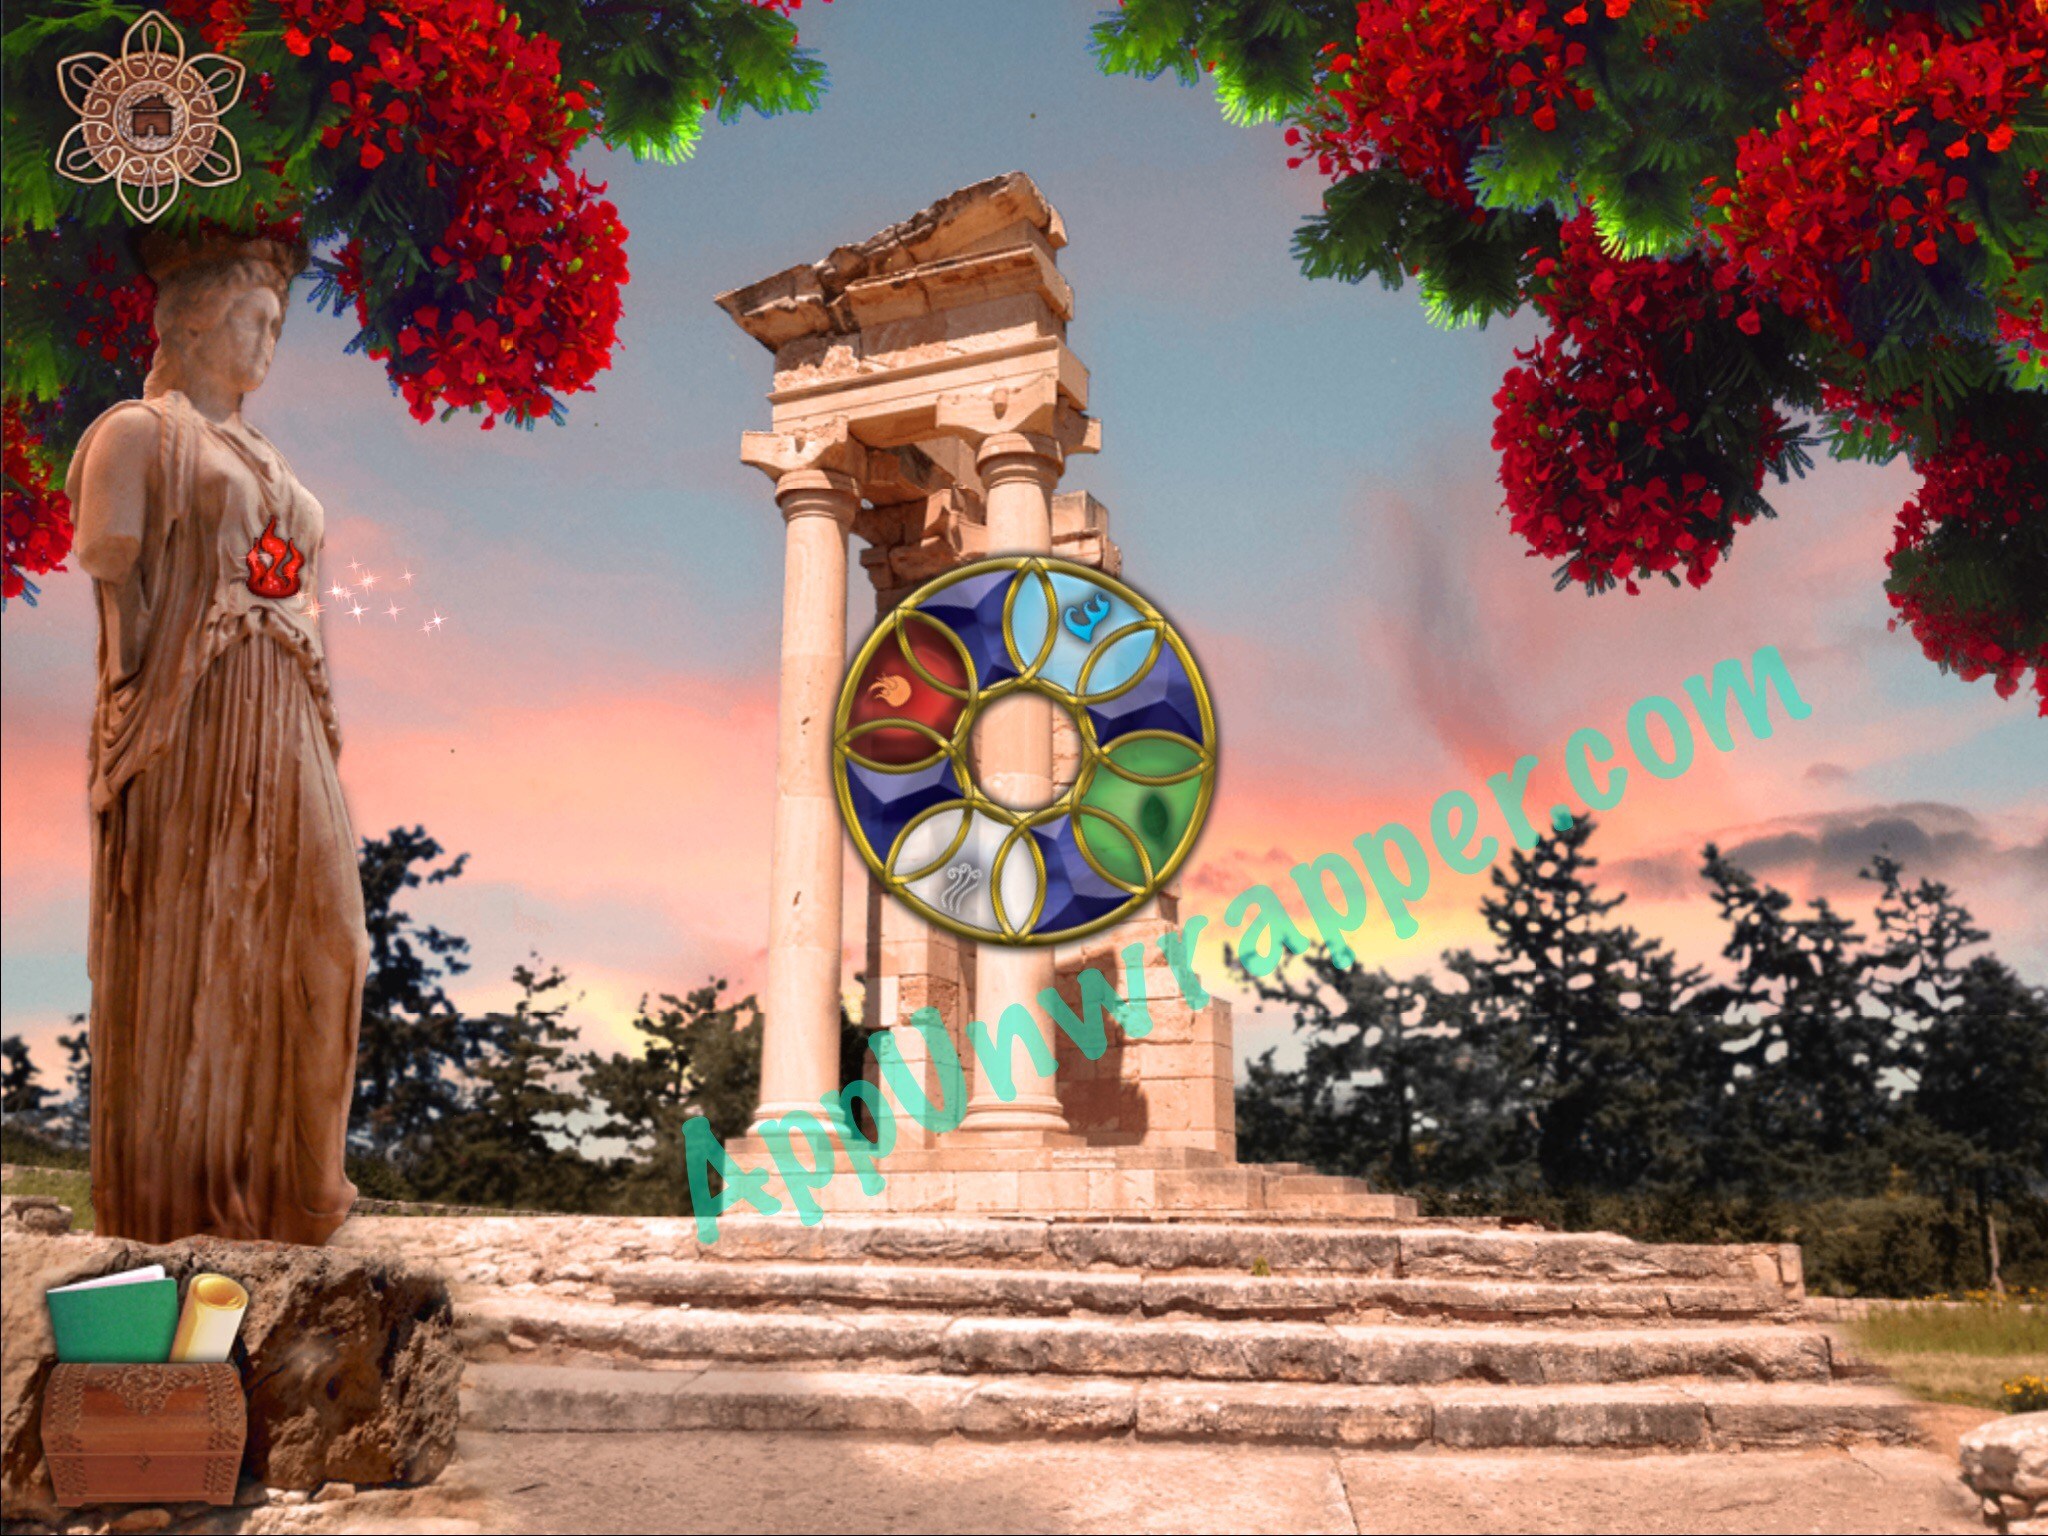
43. Turn into a bird and place the fire emblem in the human statue to activate it. Don’t turn into a human yet, though.
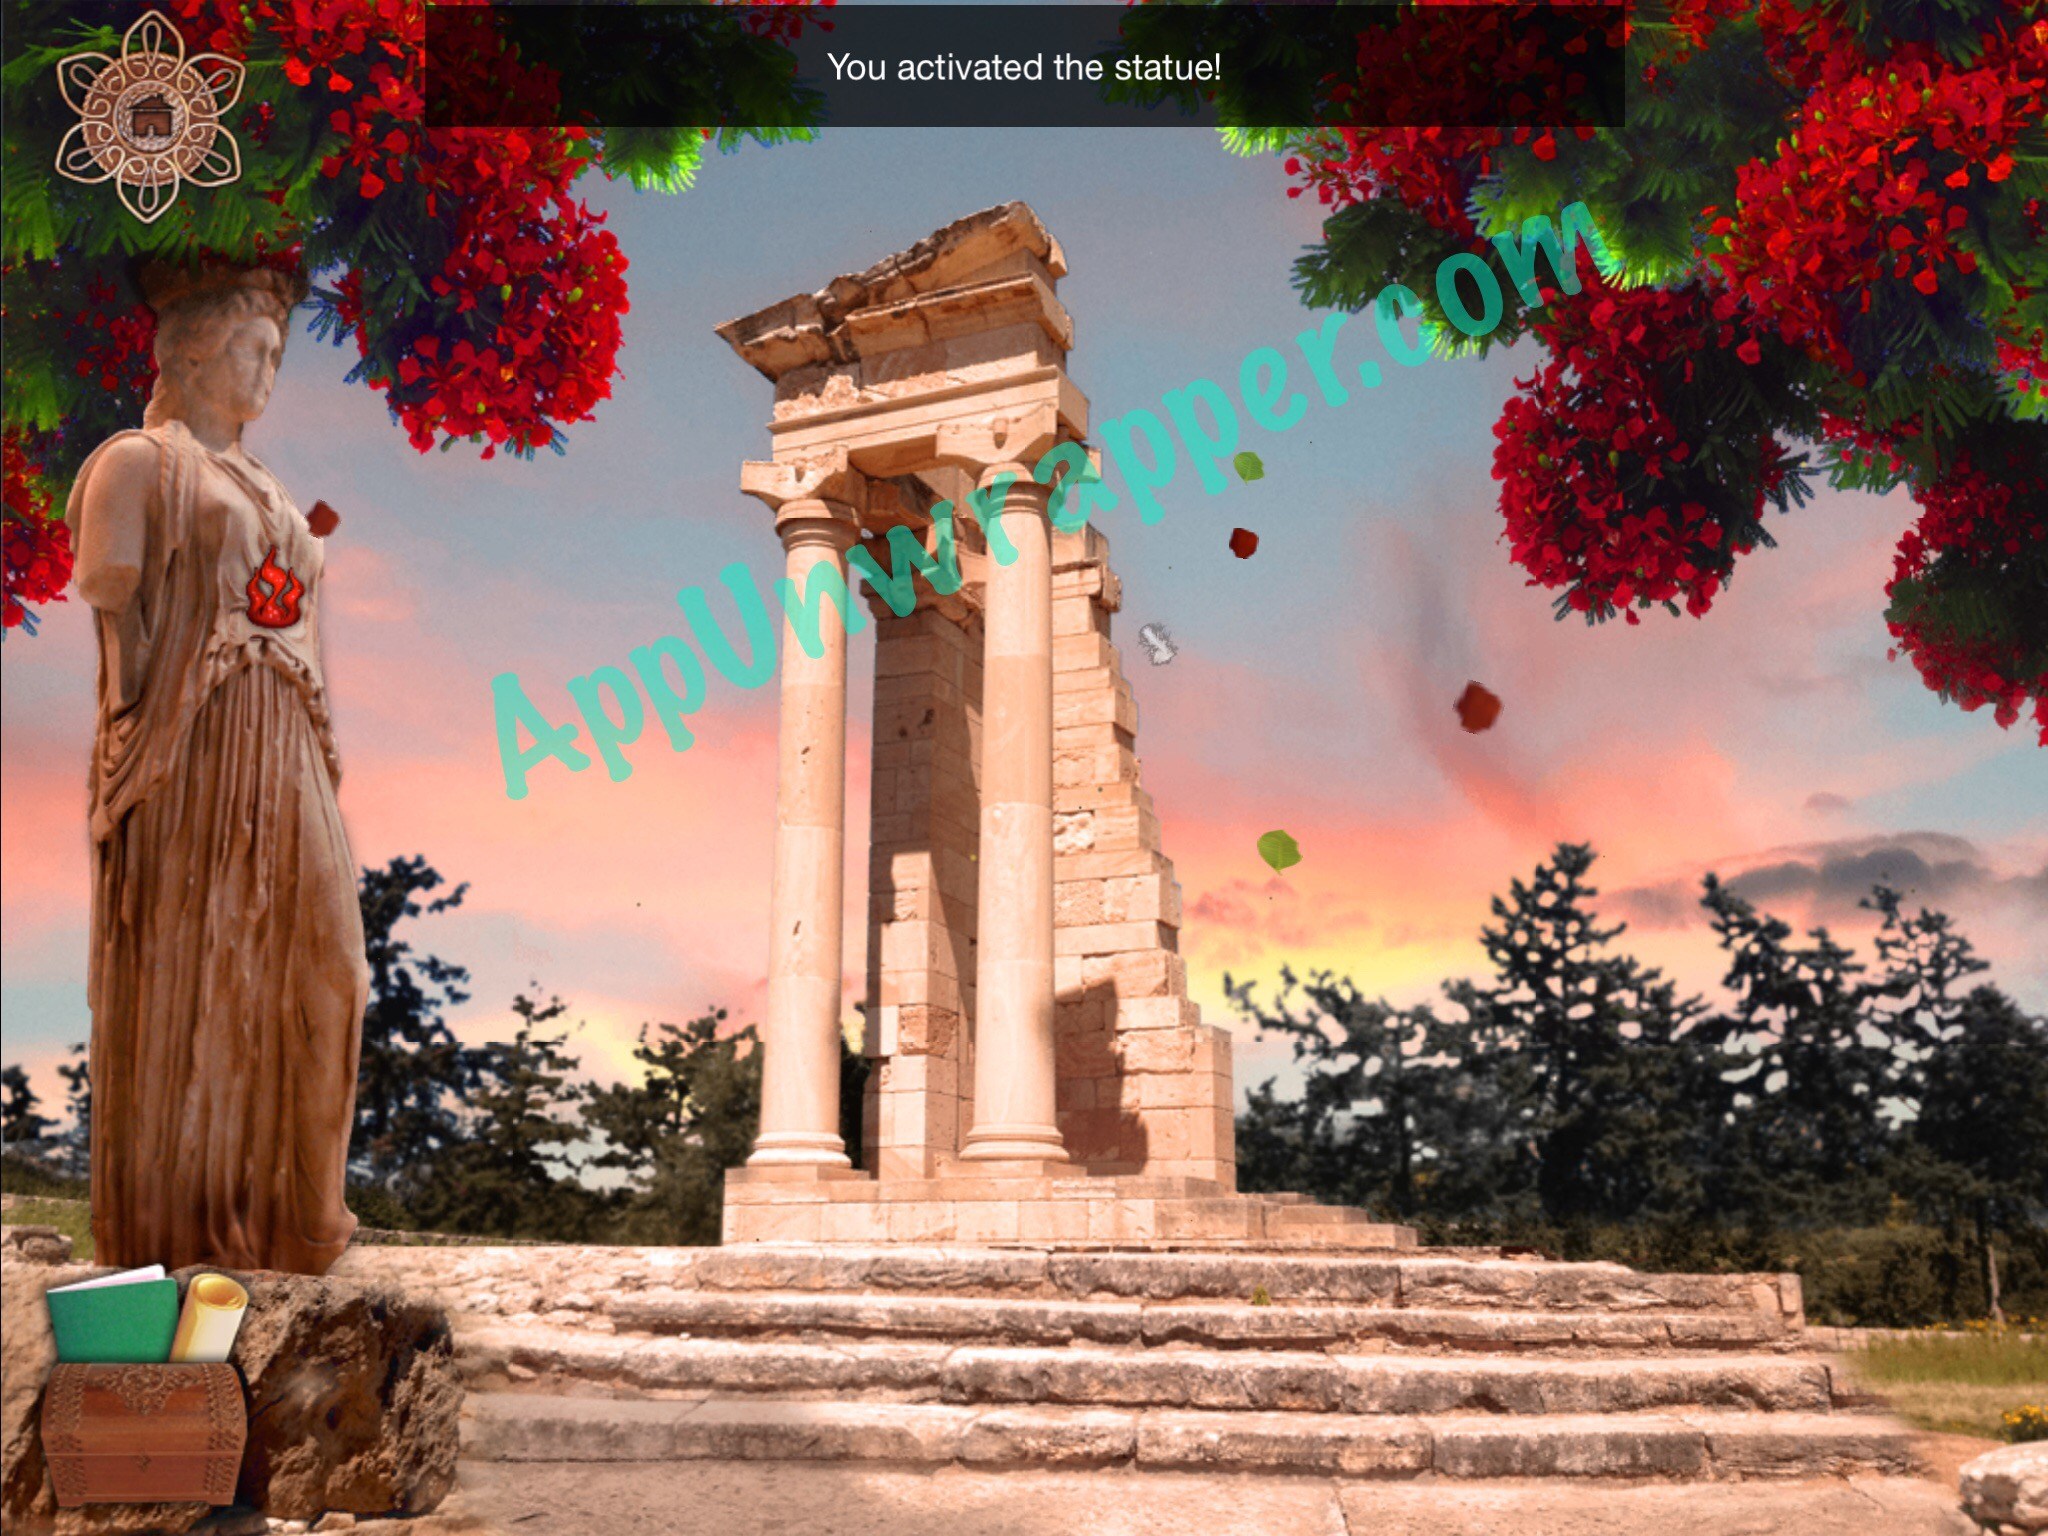
44. Go back to the portal and press the jigsaw piece above it. The wind puzzle piece will drop down. Pic it up and place the water piece, the wind piece the and amethyst on the puzzle. A doorway will open!

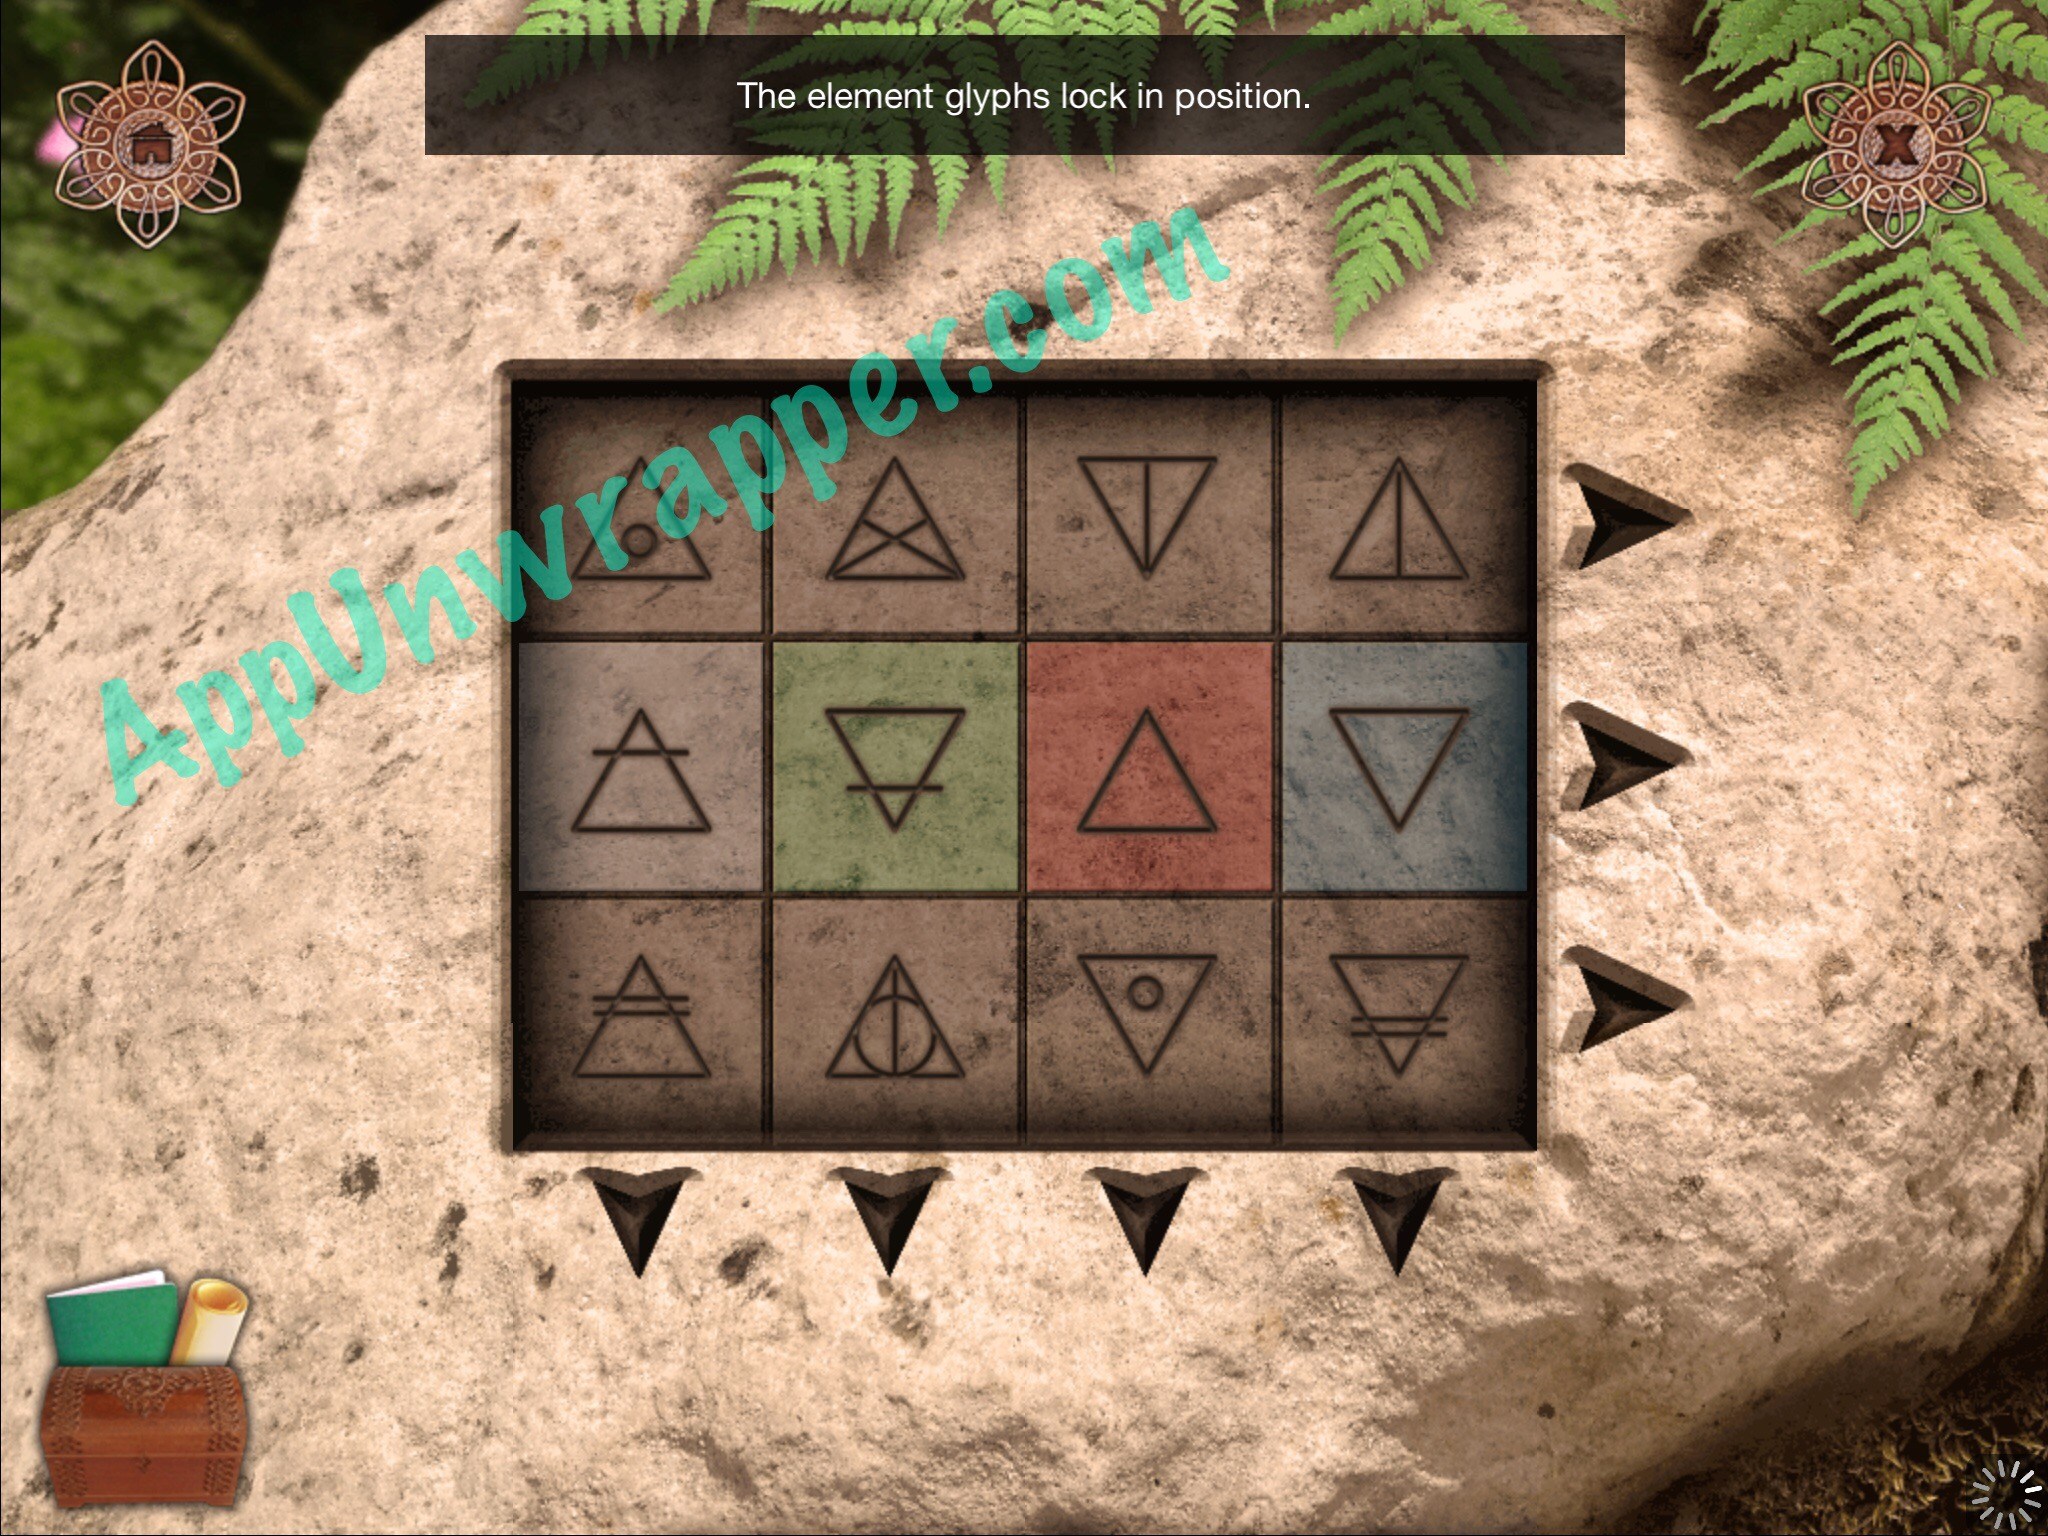
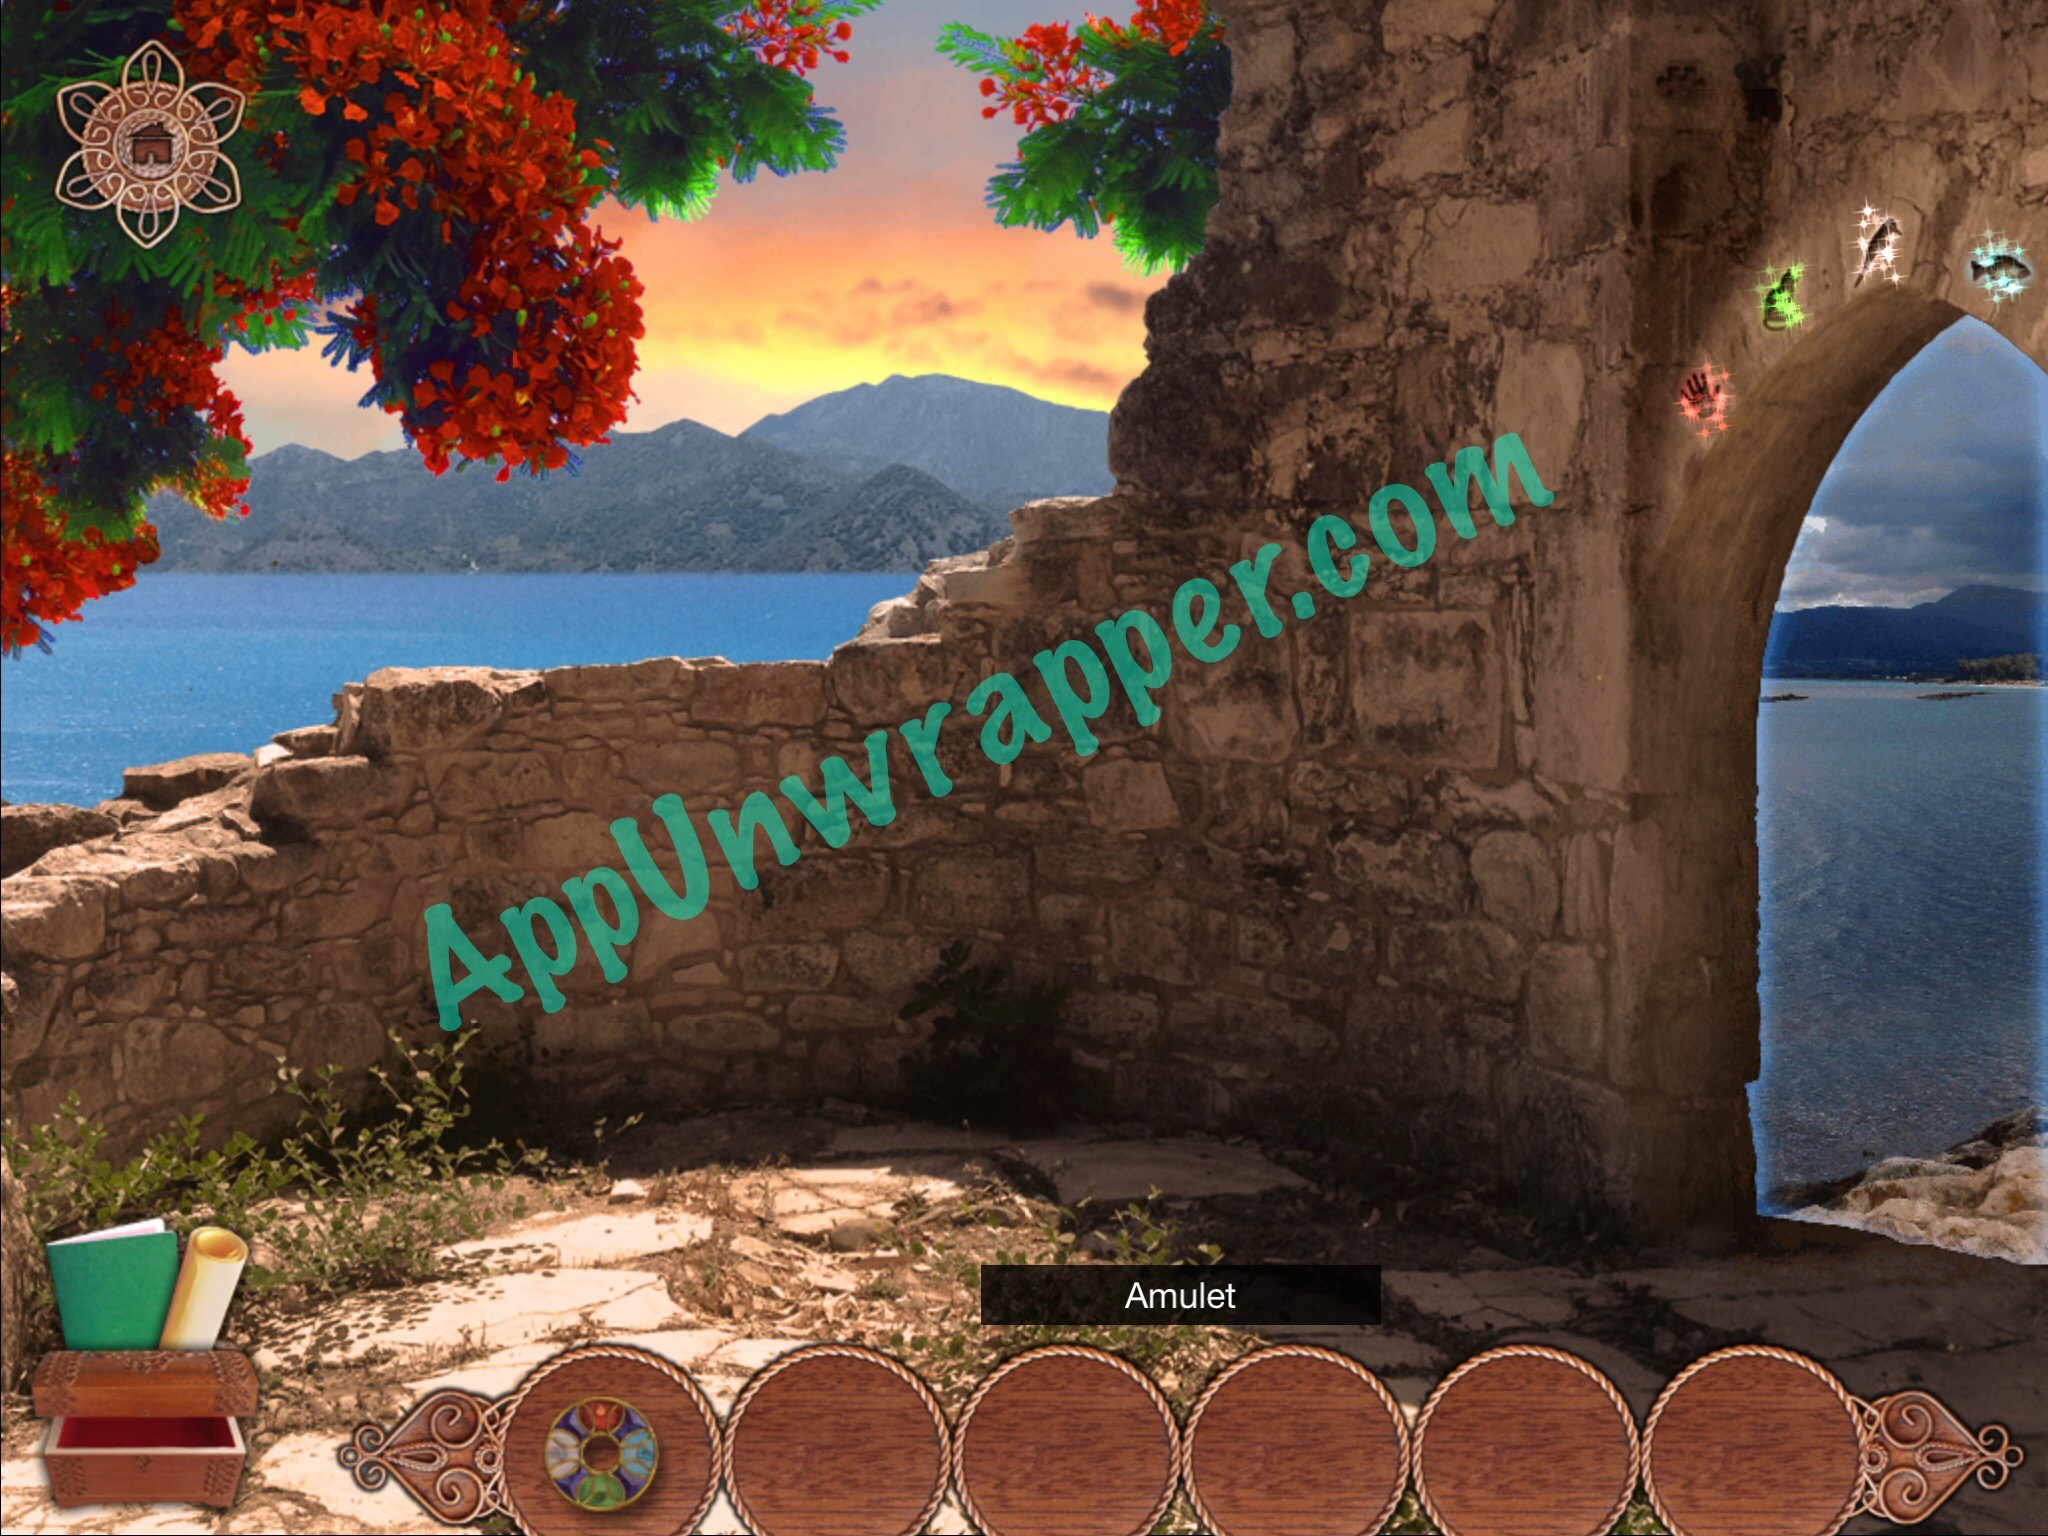
45. Go through. Solve the elements glyphs puzzle using the clue from your notebook. The four trapped elements will now be free! They tell you to go get the amulet and use it to get home.


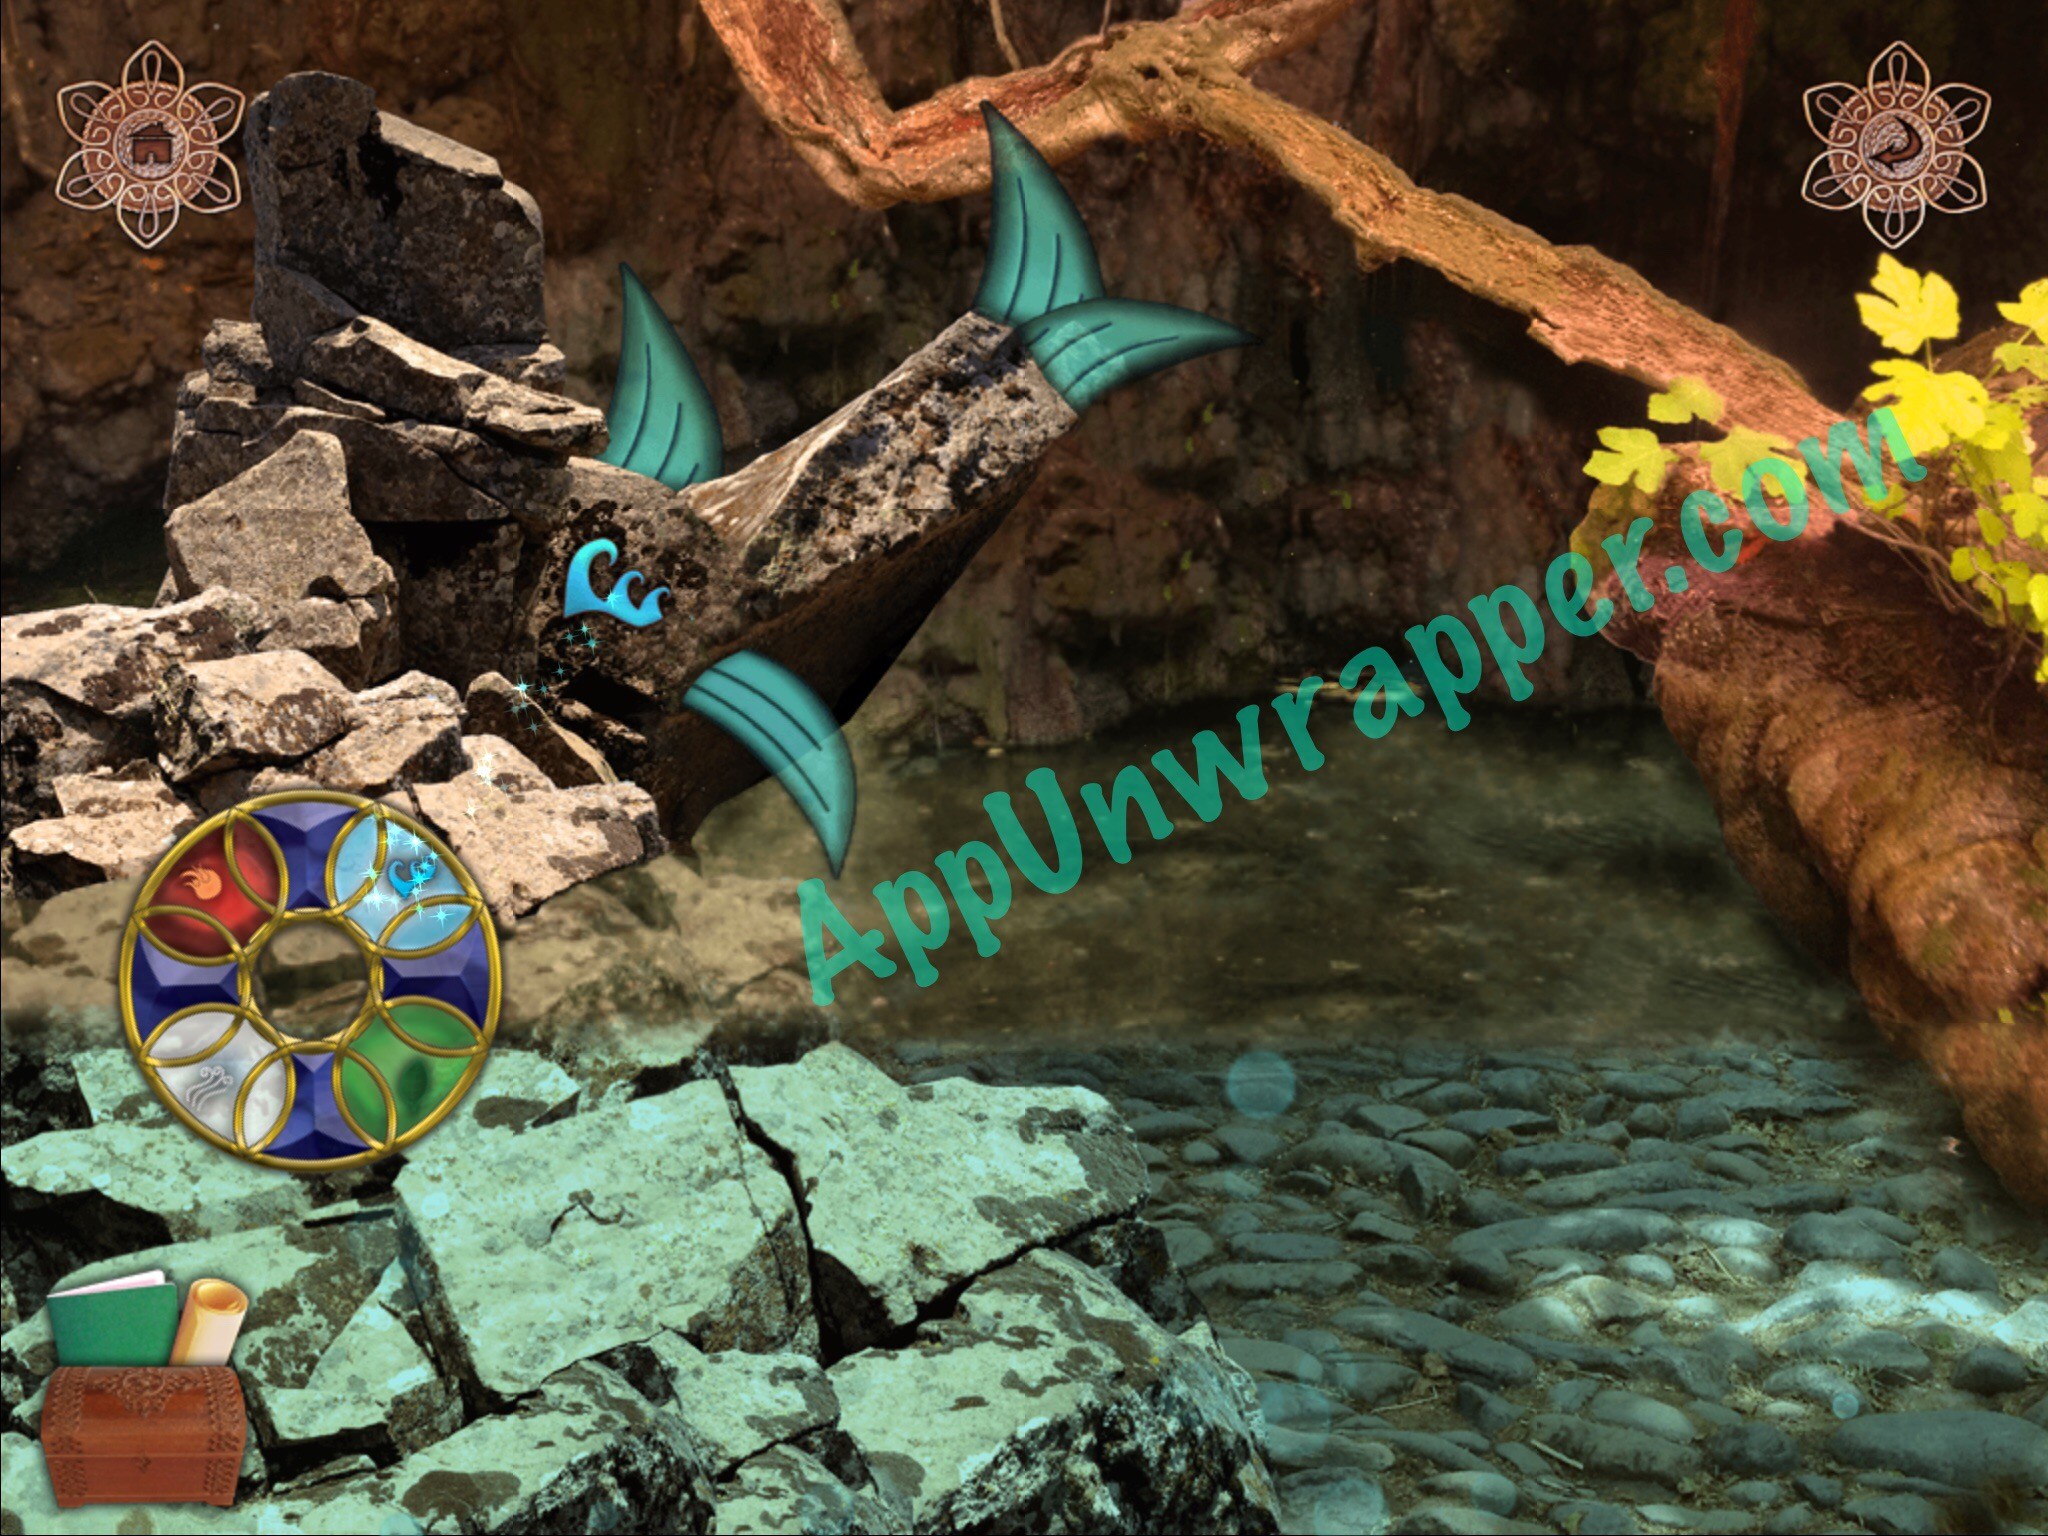
46. Go back to the mirror and shine it to the right. While you’re there, pick up the glass shard from the nest. Then turn back into a fish and look under the bridge for a clue about recharging the amulet. Then find and grab the amulet.

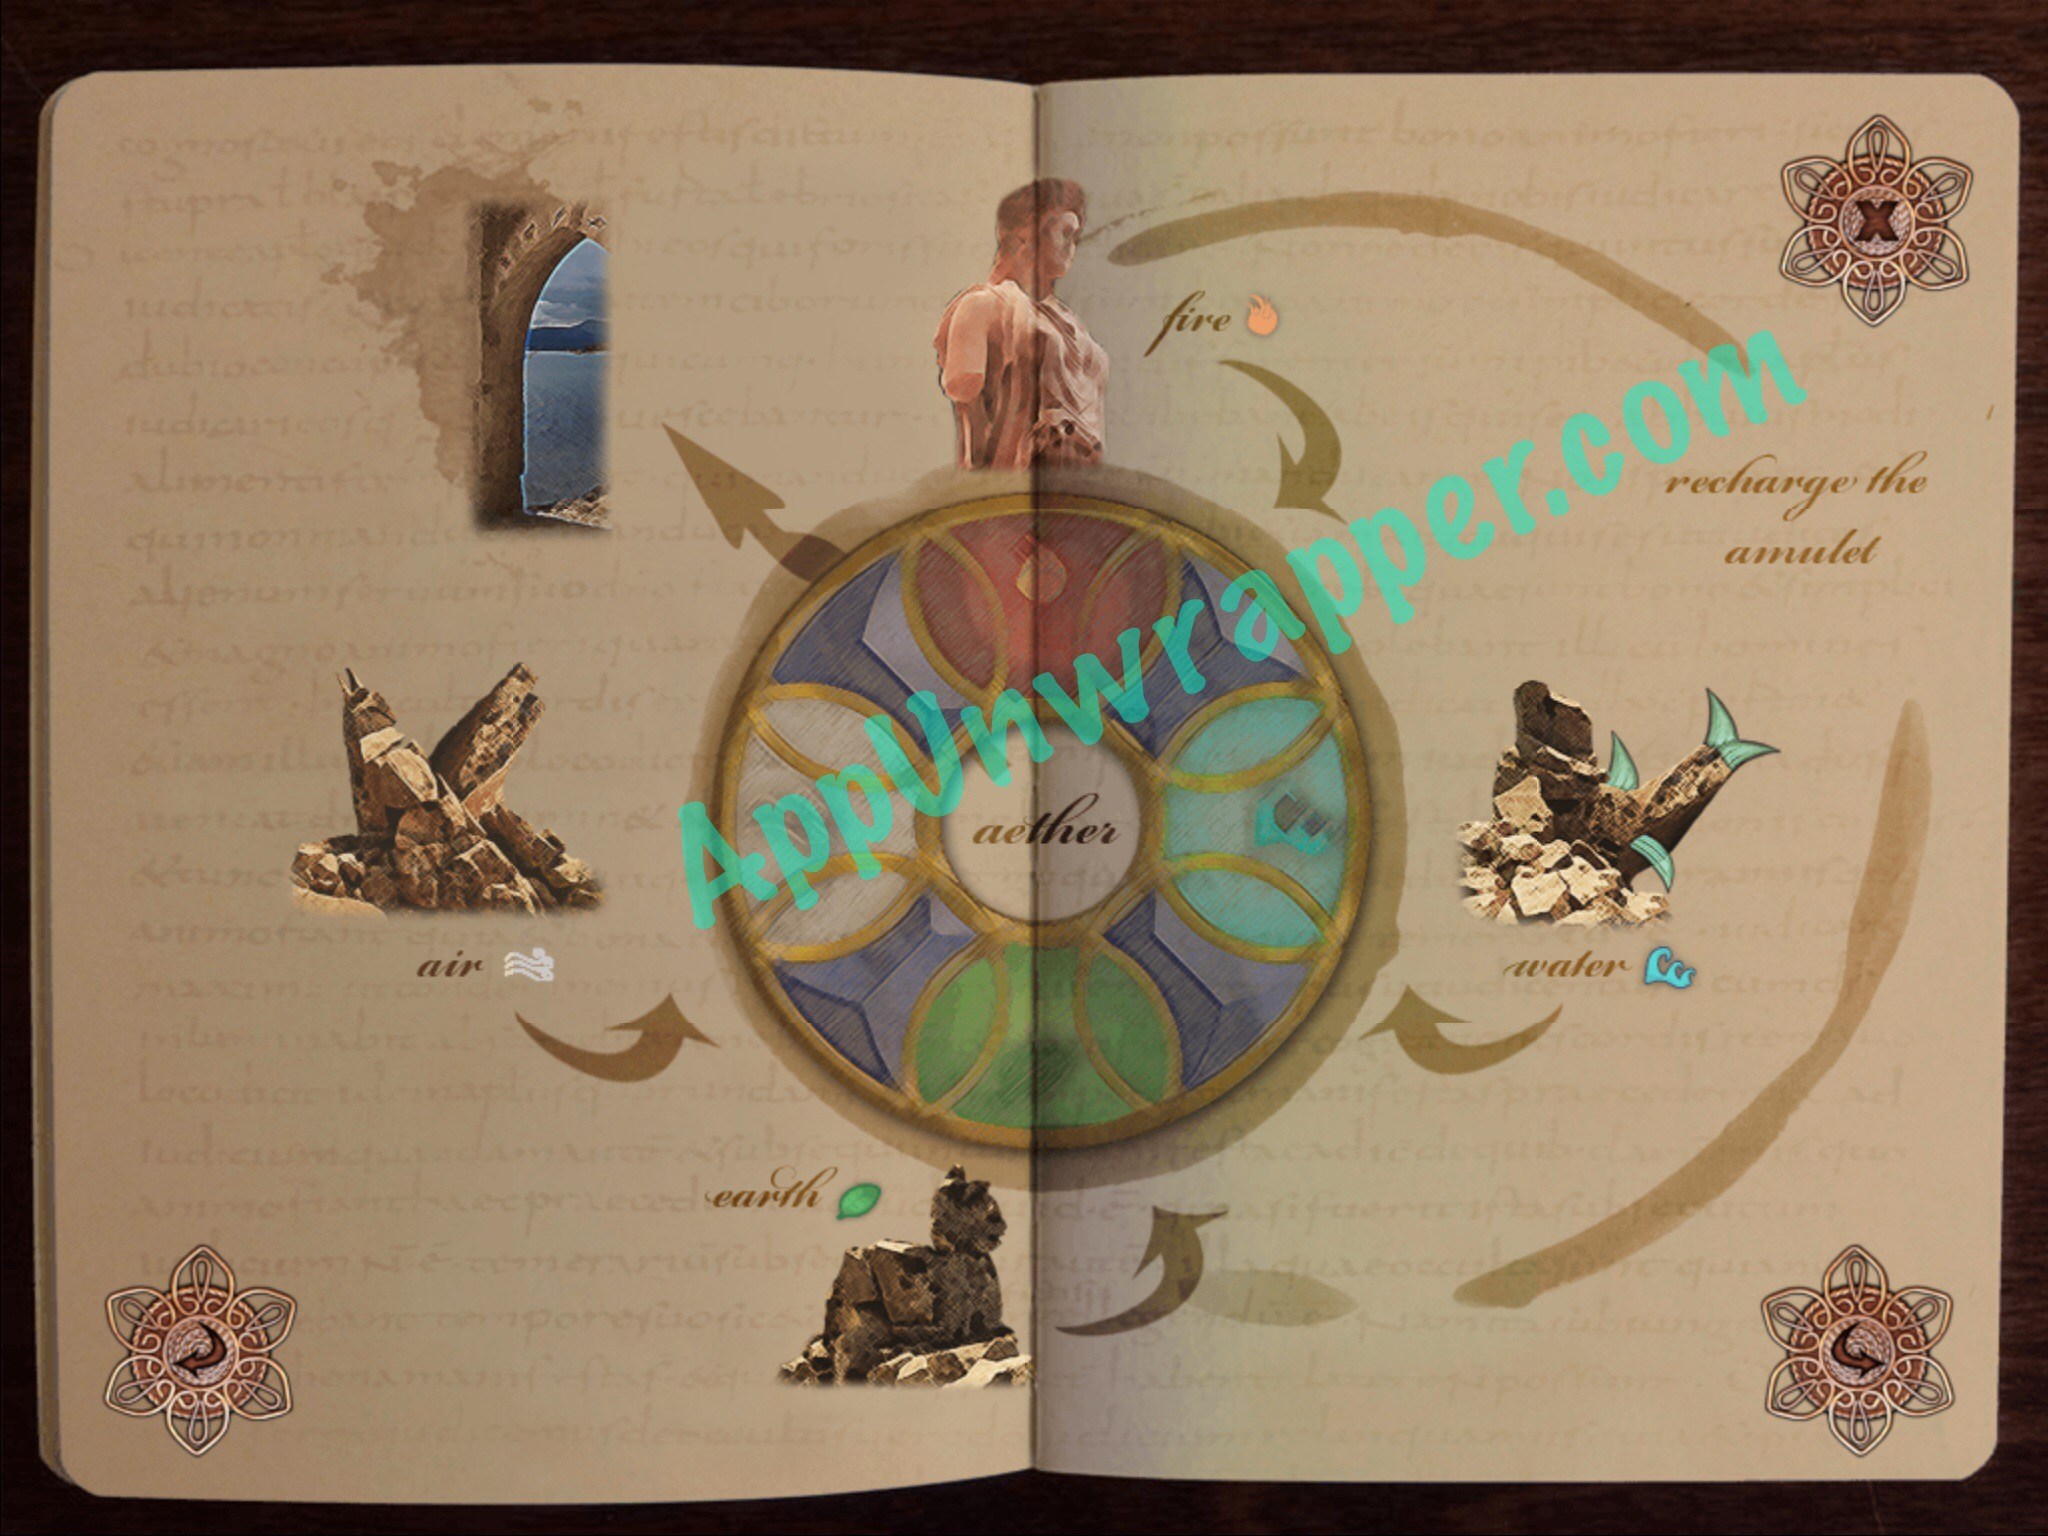

47. Go to each of the statues and activate them. Use the creatures’ abilities to recharge the amulet. For the fish, swipe back and forth to get water to splash on the emblem and charge it, then use the amulet with it. For the bird, flap about to blow wind on the emblem, then use the amulet with it. For the cat, dig up some dirt and get it to land on the emblem to charge it. For the human, you need to use the glass shard to shine some light on the emblem.

48. Once the emblem is fully charged, go back to the portal and use it to get through. Congratulations! You completed the game!
If you liked this game, you might also like Adventure Beyond Time, The Lost Fountain, The Mystery of Haunted Hollow, Adventure Escape Murder Manor and Blackthorn Castle.


 1 Logo 1 Brand Tap and Guess! Answers Level 1
 90s Quiz Guess the Icons Answers All Levels
 Bonza Word October 2014 Daily Puzzles Answers
 Tricky, but not furlong - Tips and tricks for Kairosofts Pocket Stables
 Shadowgun: Dead Zone Hack for Gold & Cash - AppGameCheats.com