Starting Guide & Controls:
– Touch & hold to walk.
– Double-tap and hold to run.
– Tap glowing objects to interact with them.
– Touch and hold to grab wisps.
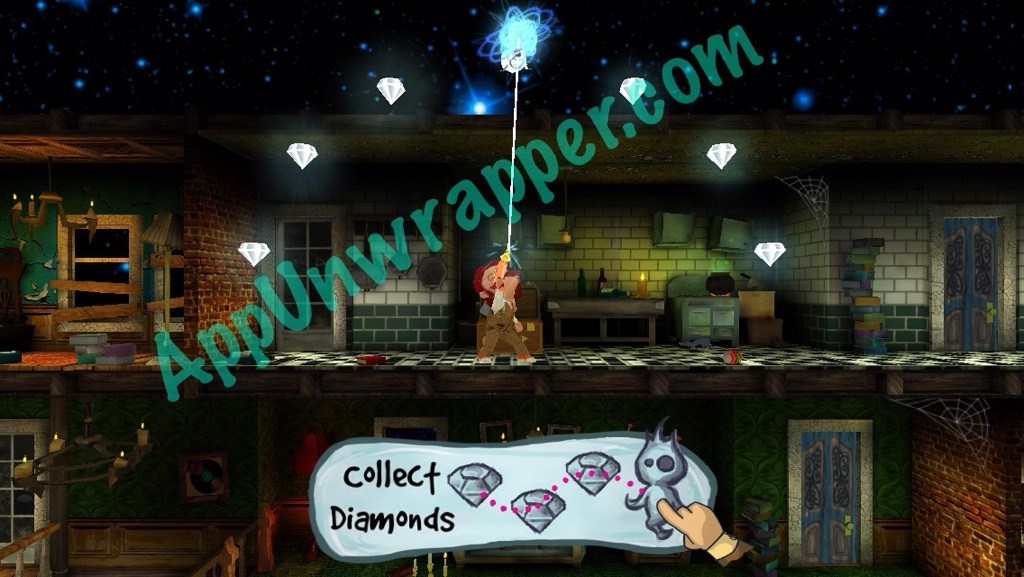
– Swipe your finger around to collect the diamonds.
– Zoom out to get a wider view.
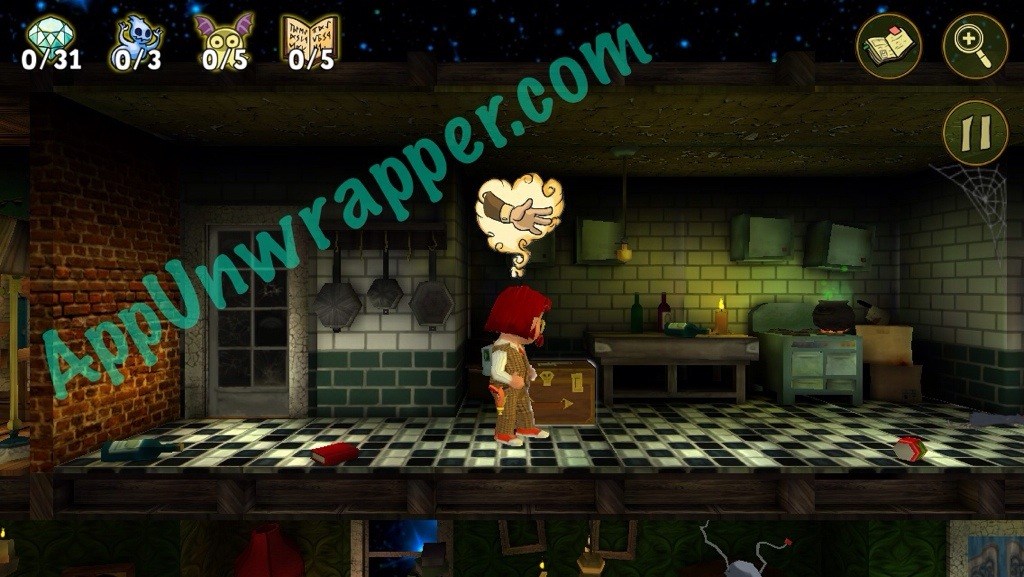
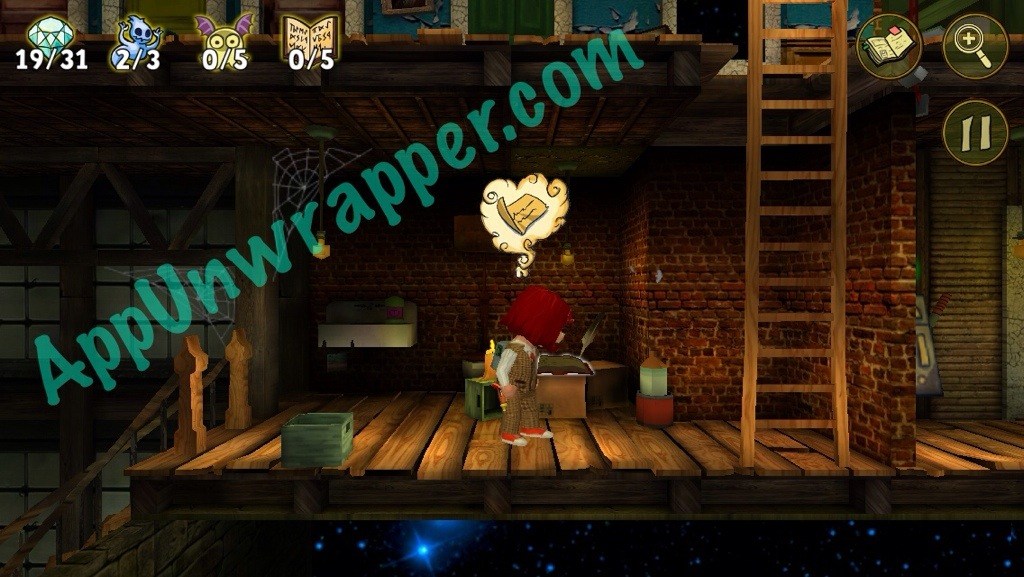
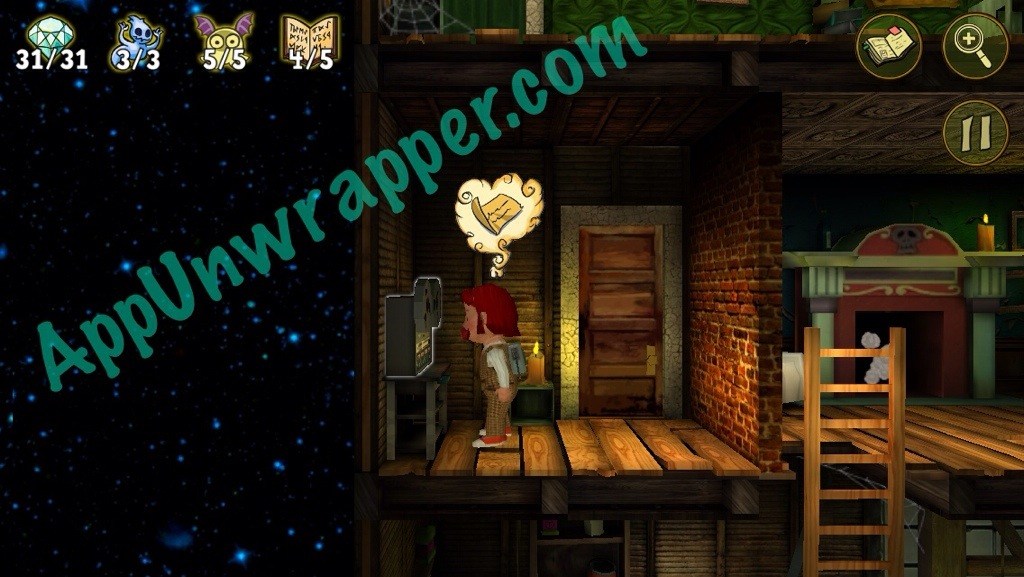
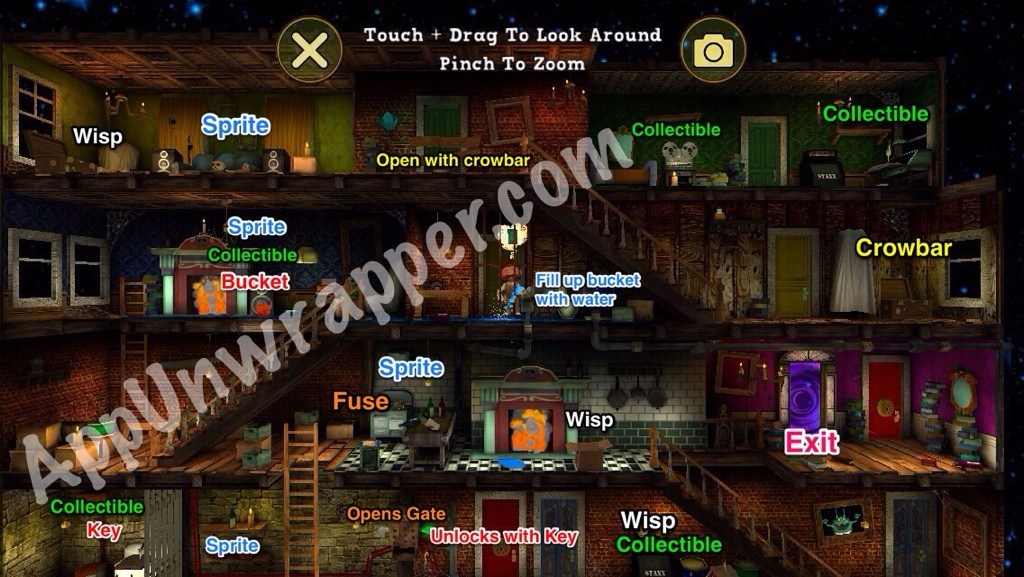
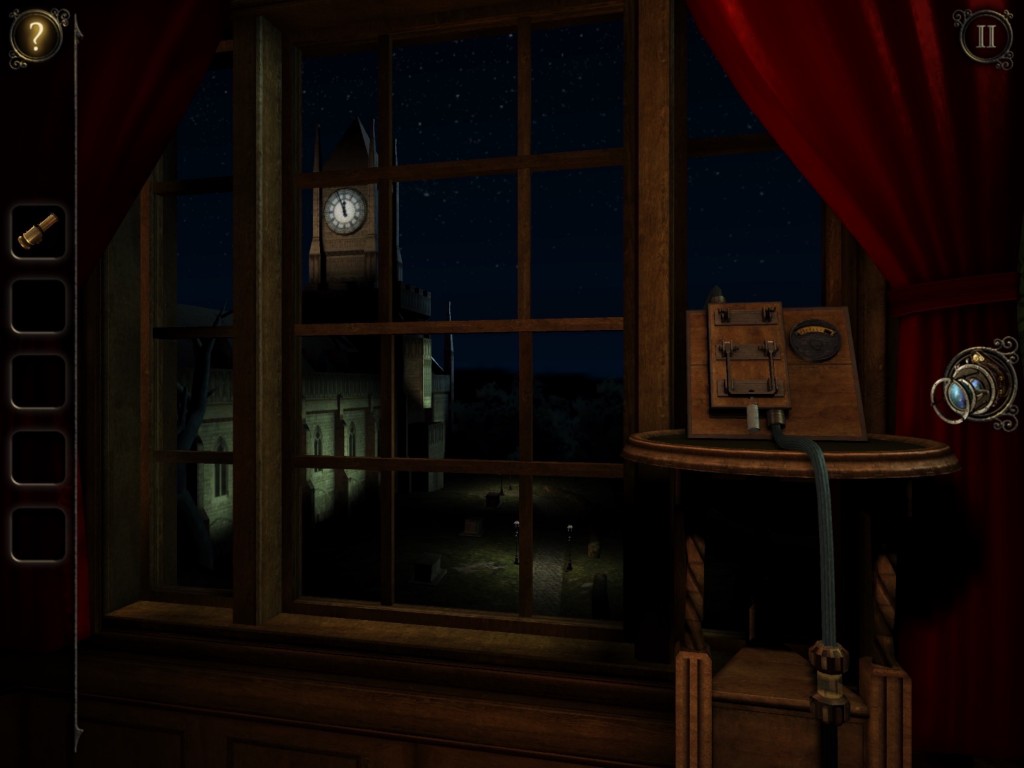
Level 1: Prelude to a Phantom:
Follow the tutorial. Open the box release a wisp. Then use your ray gun to catch the wisp and collect the diamonds.
Wisps/Ghosts/Diamonds:
The first wisp is part of the tutorial. The other two can be found in these rooms, along with all the diamonds that come with them:

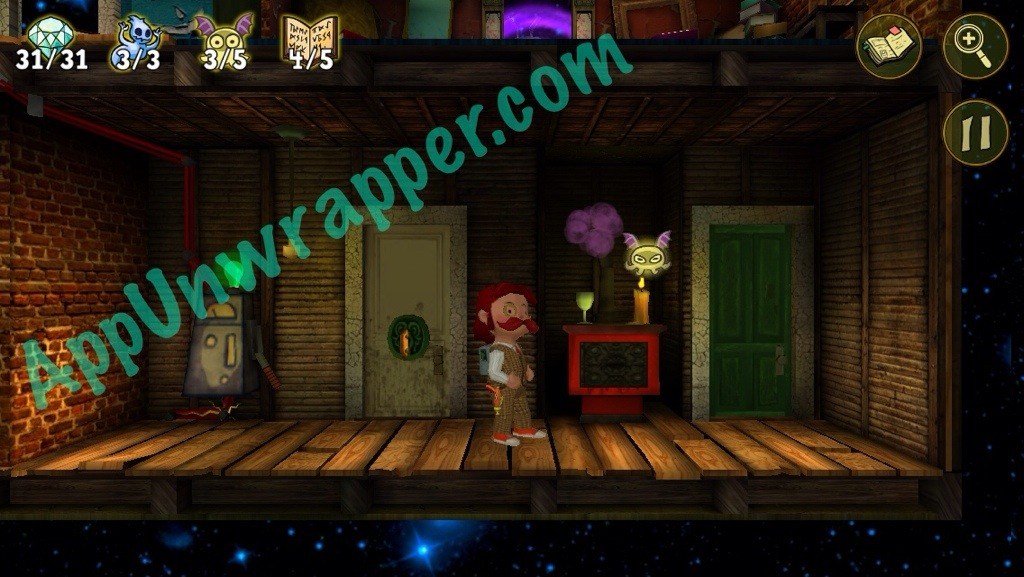
Butter Sprites:
There are five Butter Sprites to be found in this level. Simply look for the floating objects, tap them, and then grab the sprites. These are the locations where you can find them:
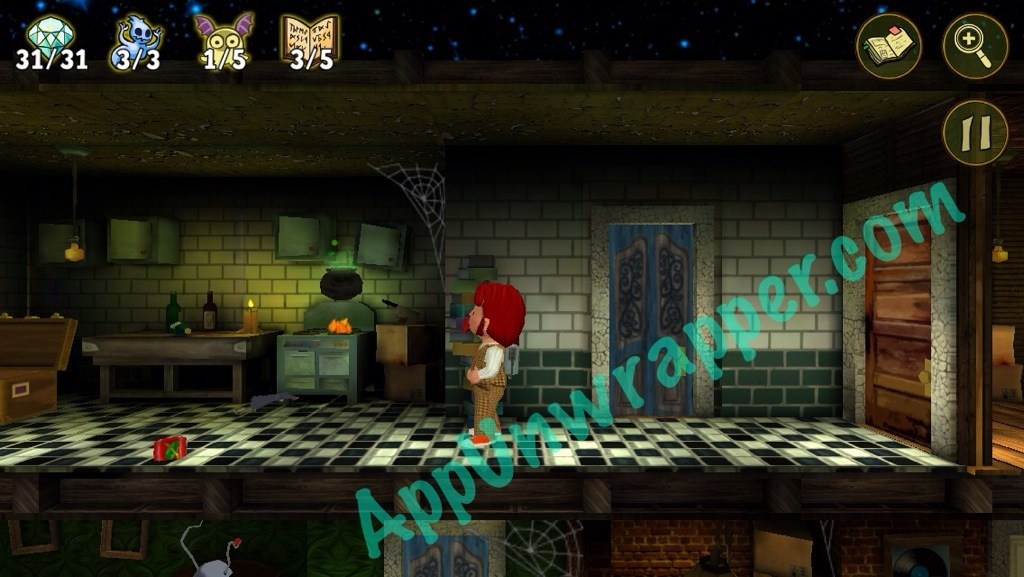
Candelabra:
Cauldron:
Rocking Chair:
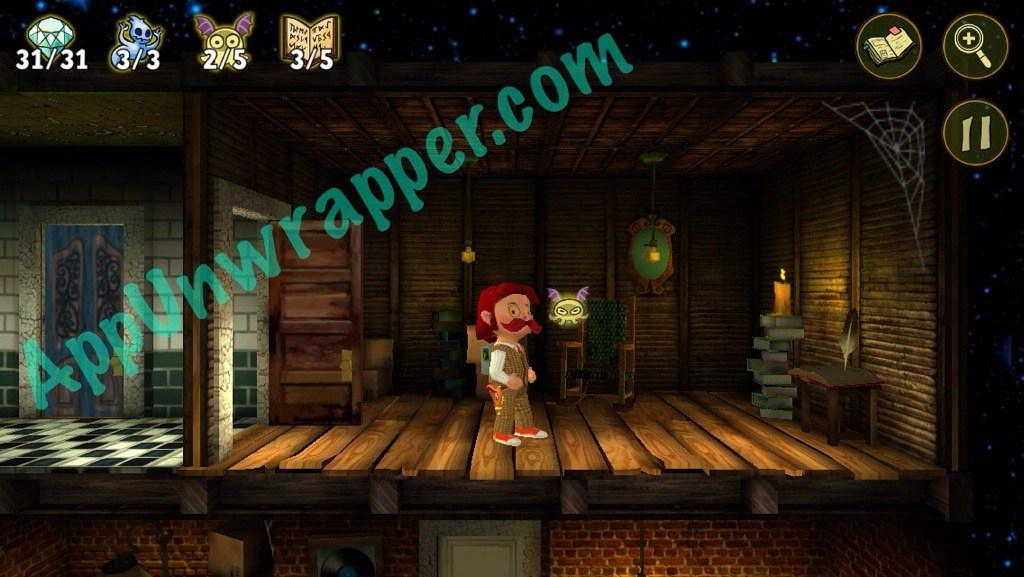
Wine Glass:
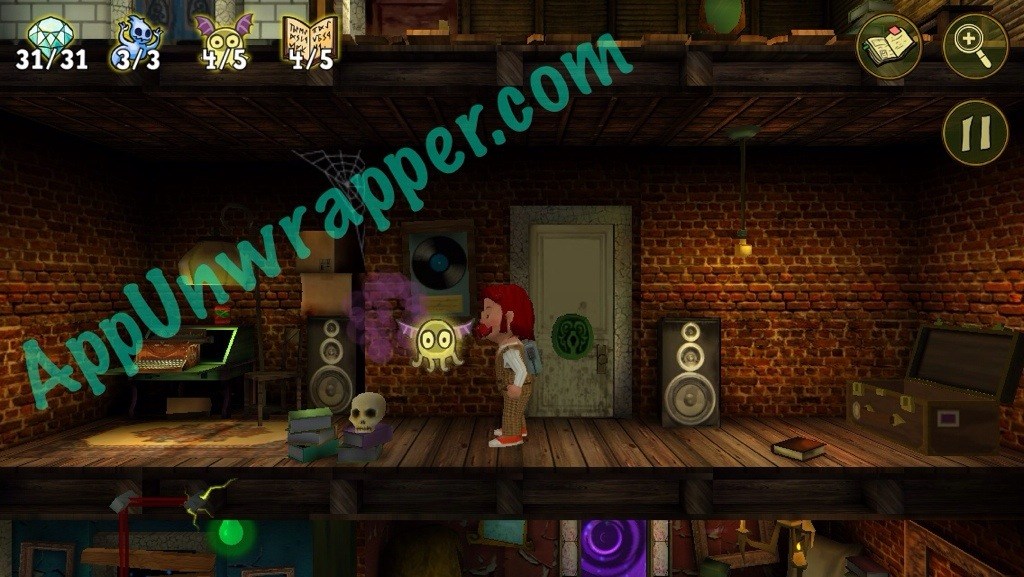
Skull:
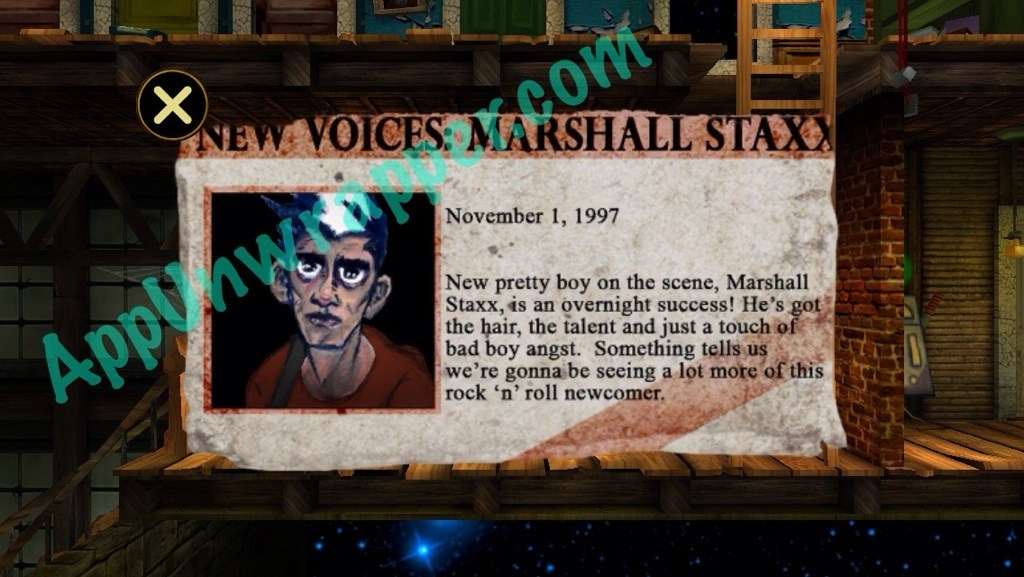
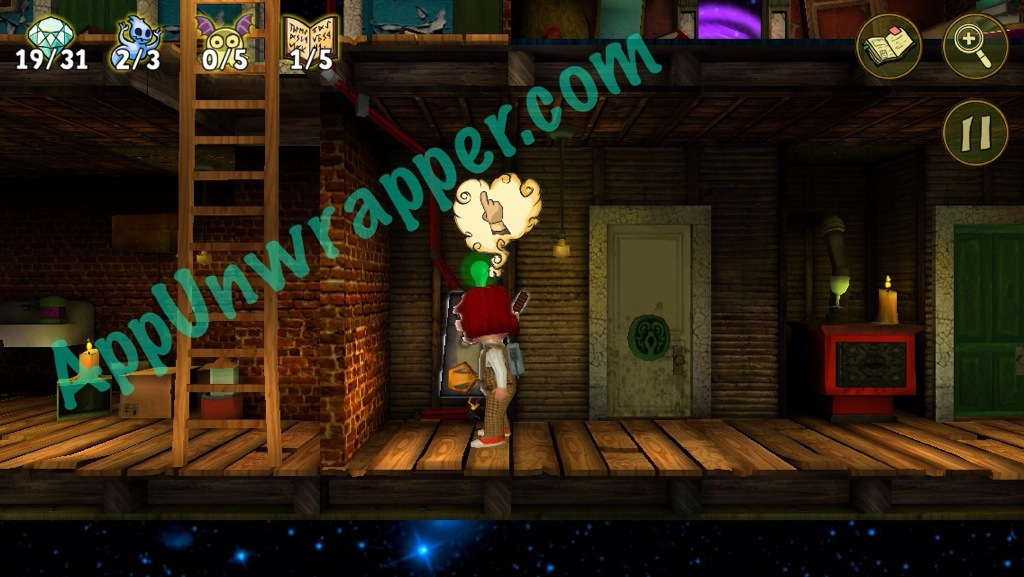
Collectibles:
There are five collectibles (journal entries/newspaper clippings/song lyrics/postcards) in this level. The first four can be found in these rooms:
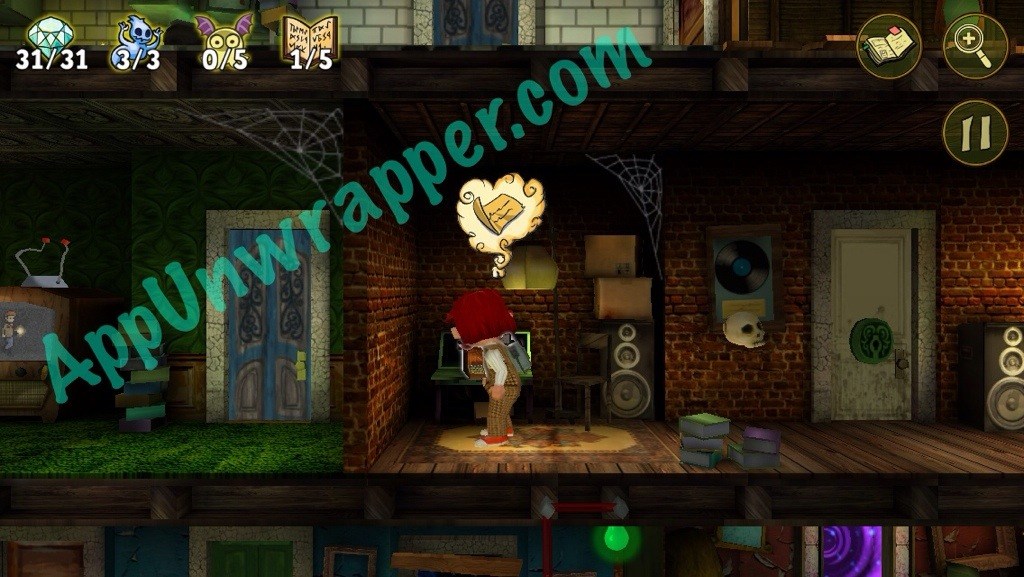
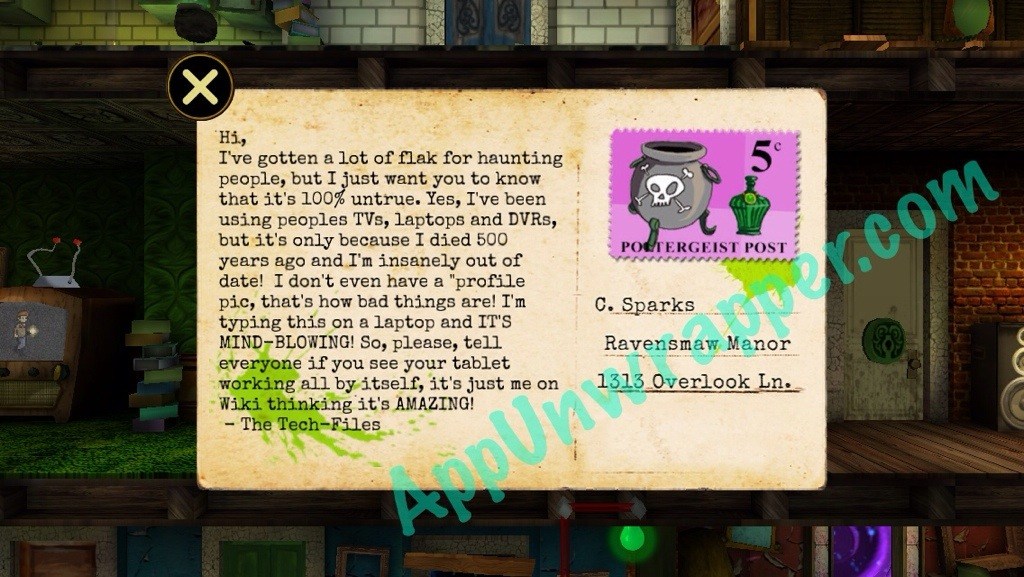
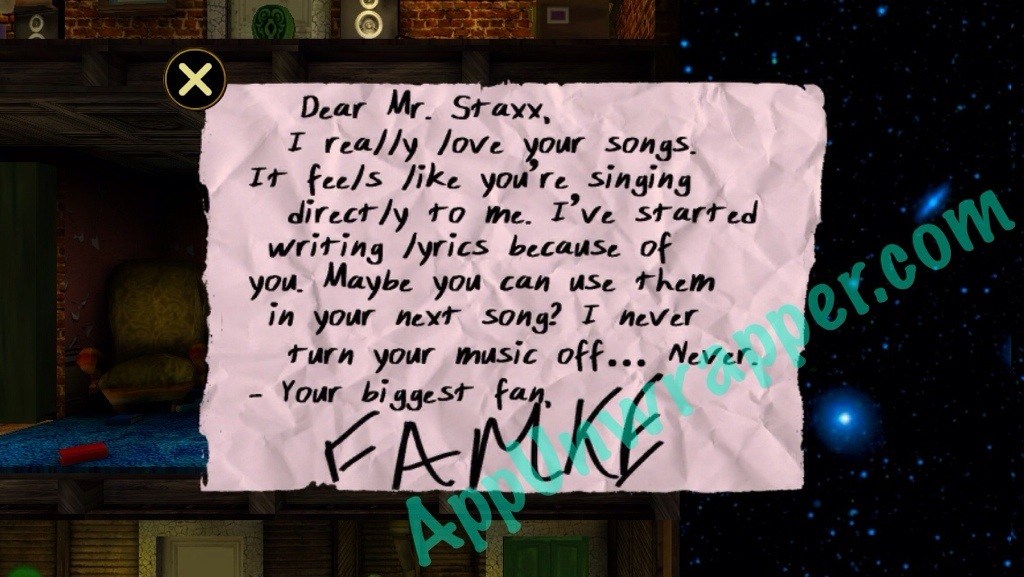
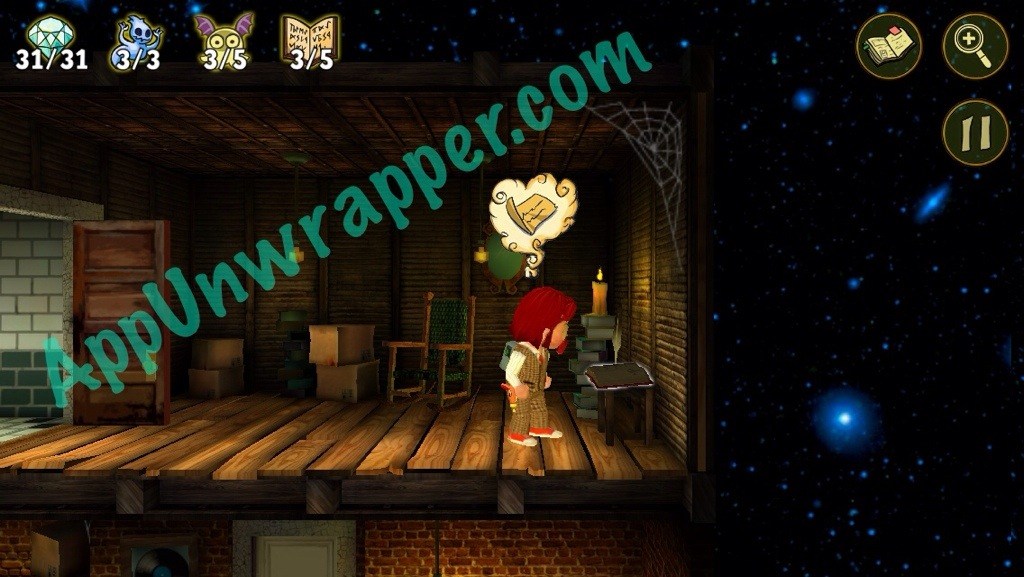
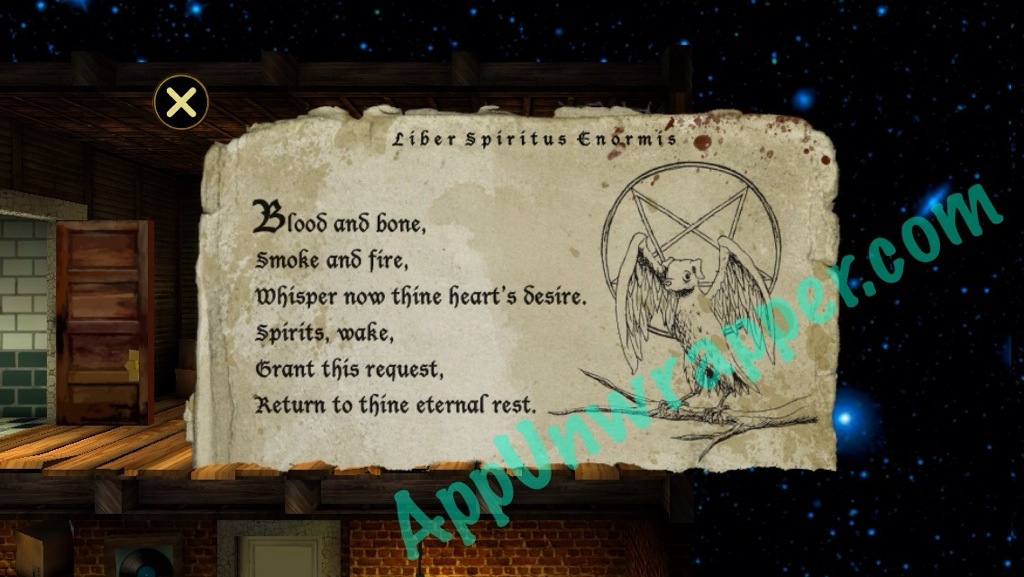
The fifth is in the secret area:
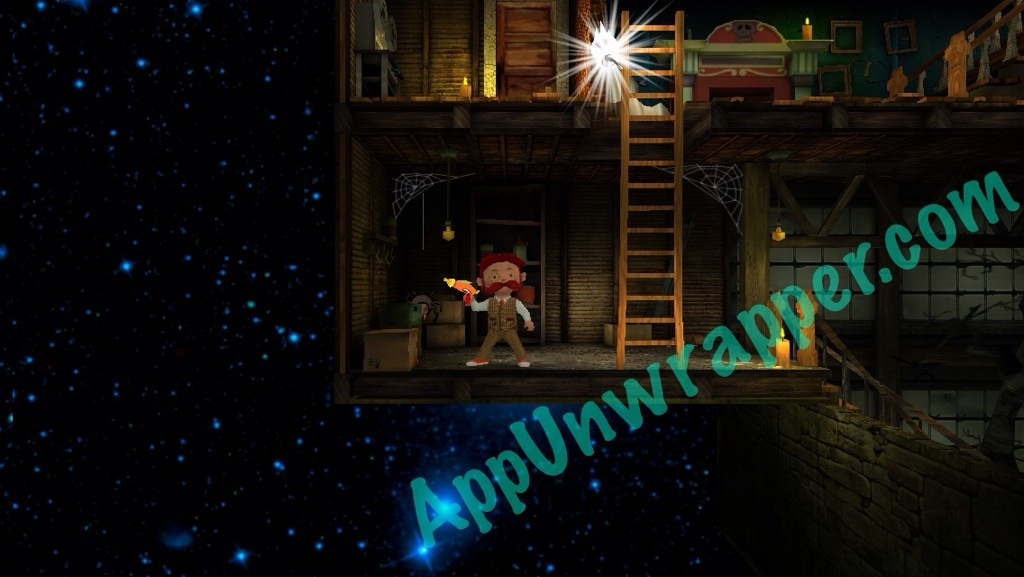
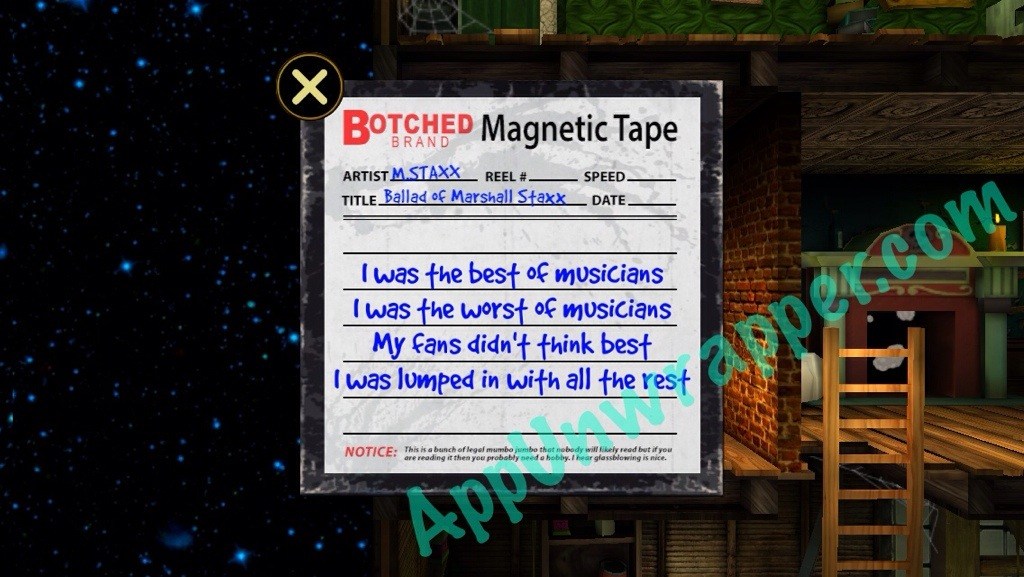
Secret Area #1:
To access the secret room and get the fifth collectible, find this brown door. It leads to the secret room, where you can find lyrics on “Botched Brand Magnetic Tape.”

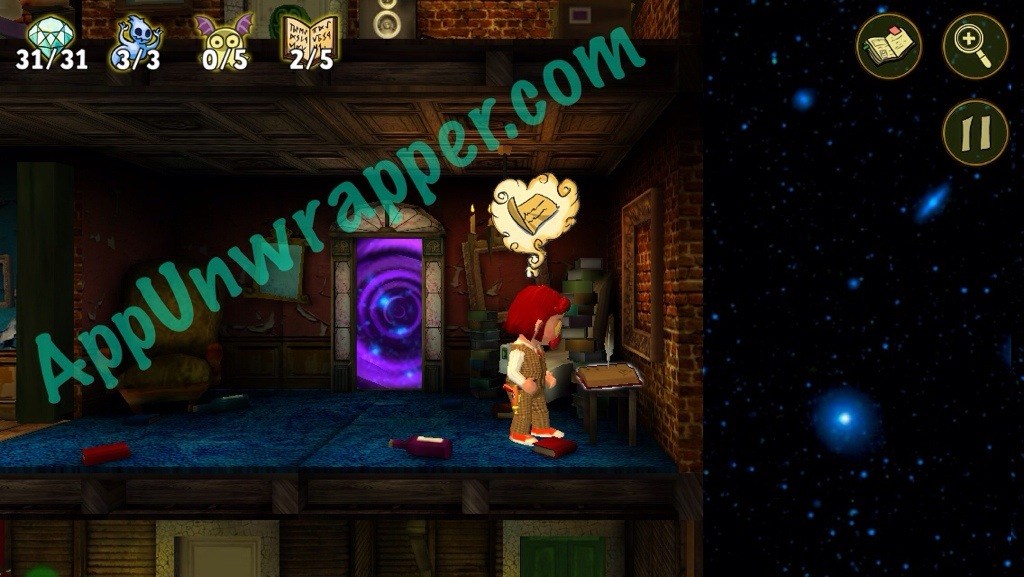
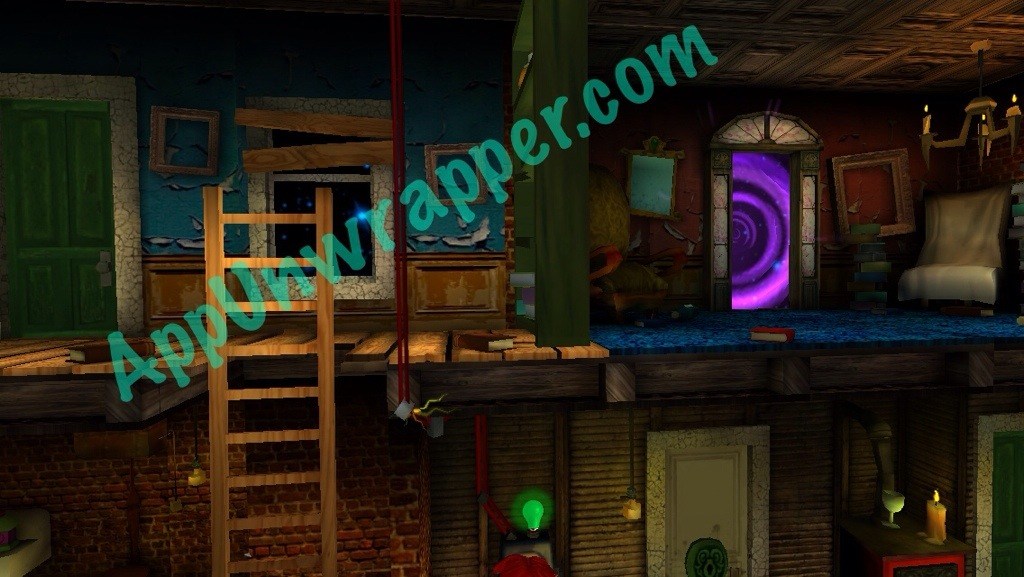
To complete the level, you need to hit the machine that will open the door to access the portal.
Level 2: Hot Water:
Level 3: Short Fuse:
Make sure not to hit the skull & bones when picking up diamonds!
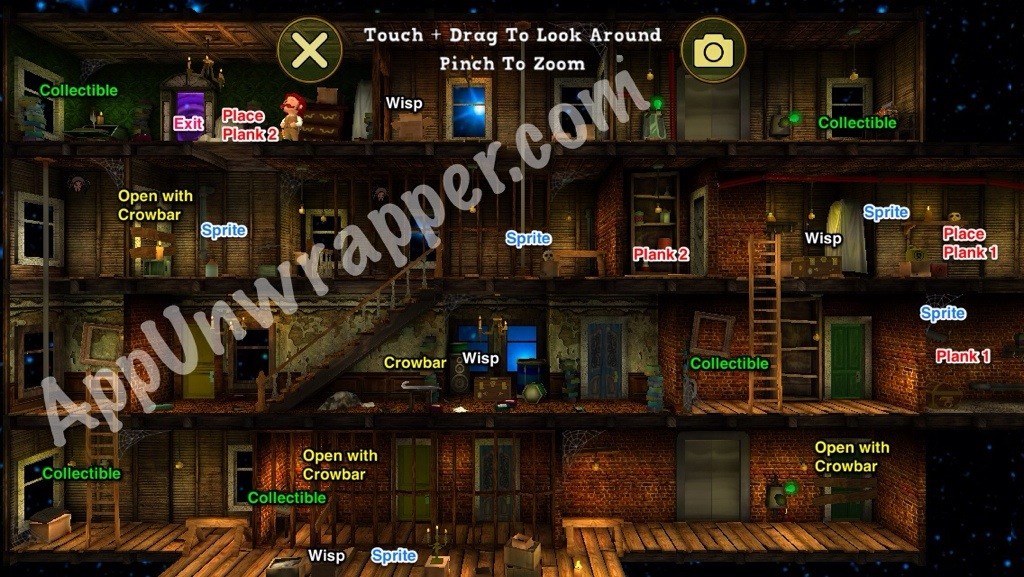
Level 4: On Shaky Ground:
Don’t go left, towards the exit, because you’ll fall through the floor. Instead, go right and catch the wisp and then go down the fireman’s pole.
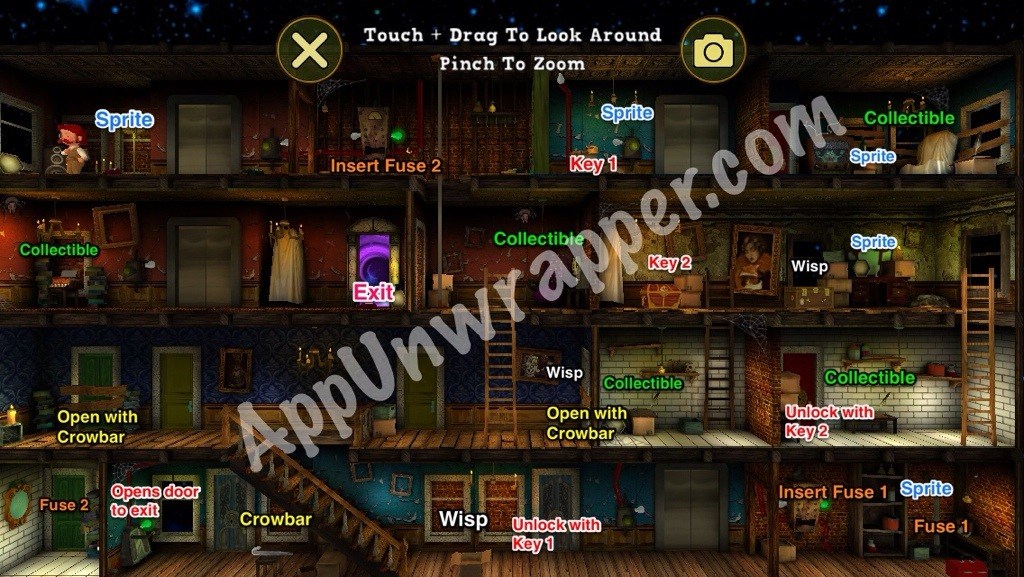
Level 5: Straxx’s Axe:
This level is different from the others. You need to climb ladders and pull levers to make more of the map appear. Collect all the diamonds and reach Baublebelly to get Straxx’s axe back.

Level 6: Hidden in Plain Sight:
To get past Famke the Looter, you need to turn on the water to put out the fire. Then get the plant and use it to camouflage yourself and pass Famke.
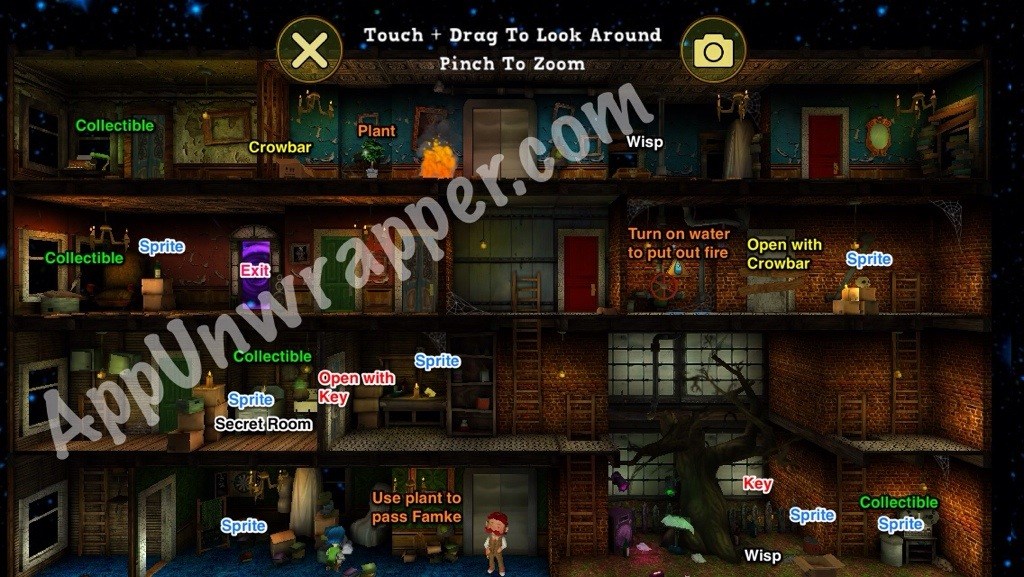
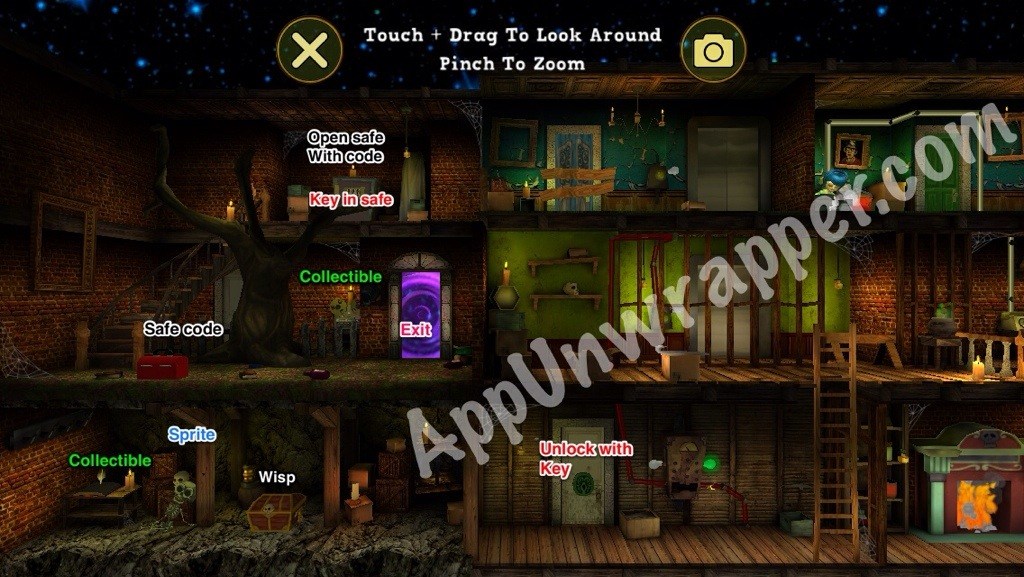
Secret Room #2:
To reach Secret Room #2, you need to use the crowbar on the barred door to get the key, then unlock the locked door with the key.
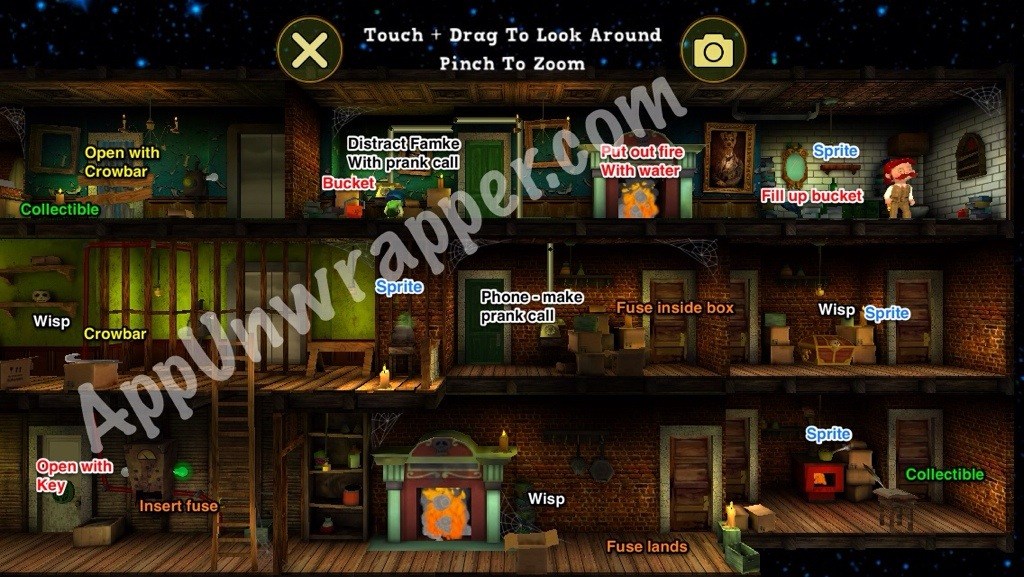
Level 7: Prank Caller:
You need to make a prank call using the phone. It will distract Famke, but not for very long. Quickly get the bucket while she’s distracted.
When you open the box with he fuse in it, it will get kicked to a different room and you’ll have to find it. You’ll likely be holding the crowbar when you pick up the fuse, so you’ll have to come back there to get the crowbar after.
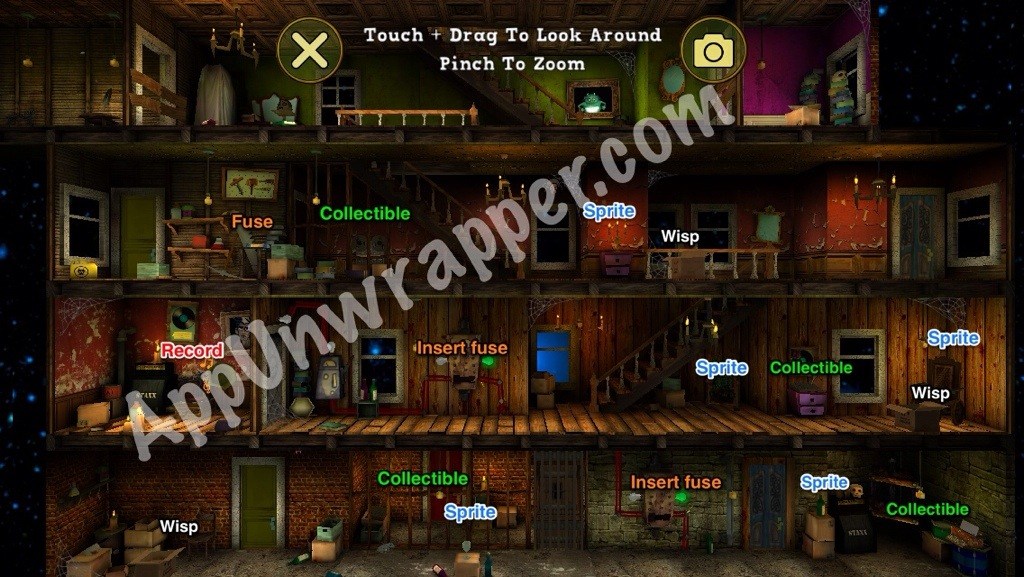
Level 8: Dance the Night Away:
For this level, there’s only one fuse, but you have to use it in two fuse boxes.
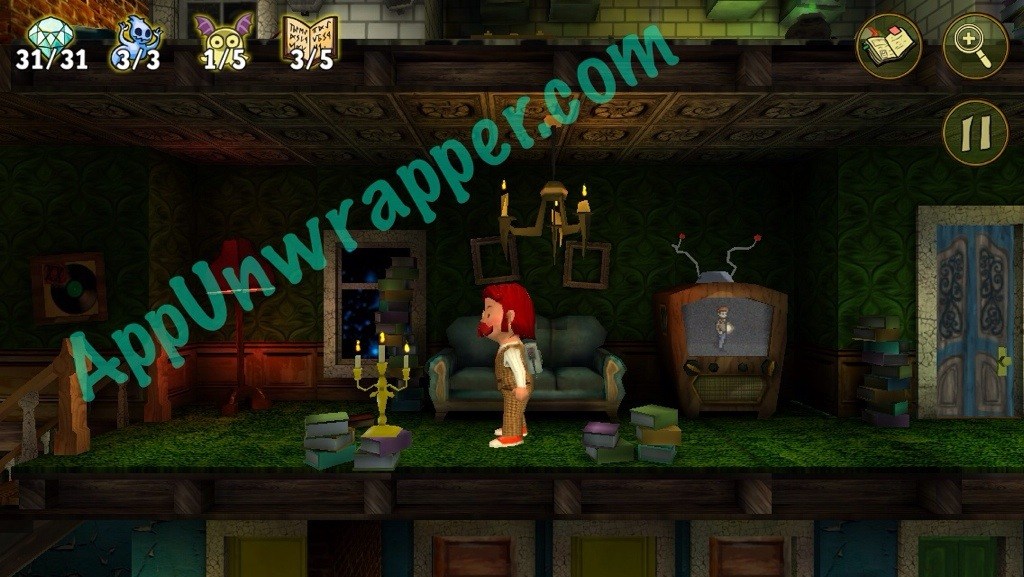
Level 9: Television Revolution:
You can get electrocuted here!
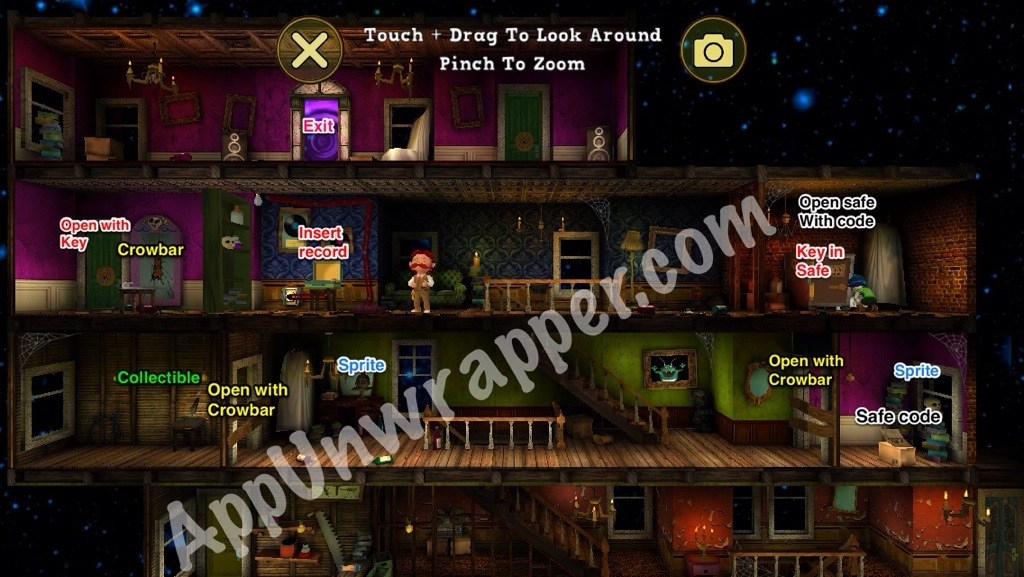
Level 10: Golden Microphone:
Level 11: Toil and Trouble:
Level 12: Power Grid:
Level 13: Electric Eye:


 Blek animated walkthrough for levels 11 through 20
 Bonza Word Puzzles September 2014 Daily Answers
 Angry Birds Star Wars: 3-star video walkthroughs for Hoth (Levels 3-21 to 3-40)
 Fun Ways to Think – Phrases Answers All Levels
 Guess The Emoji Answers Level 8