Chapter 1:
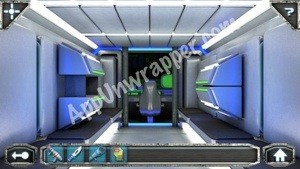
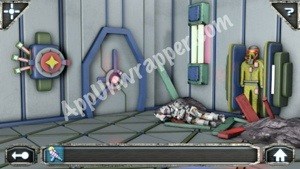
1. Enter the damaged ship and take the Blank Disk from the command station.
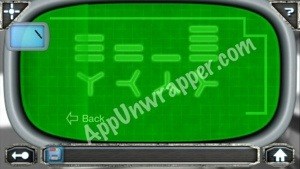
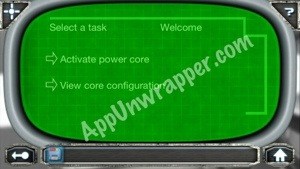
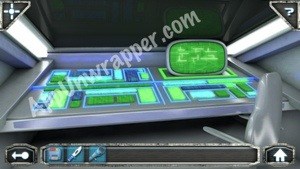
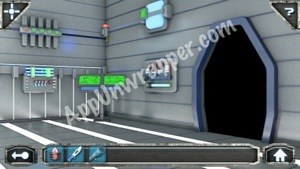
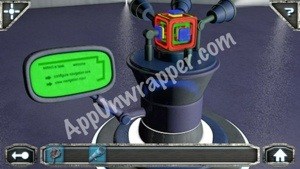
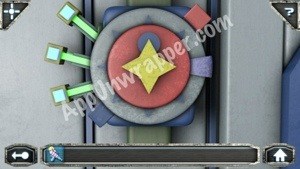
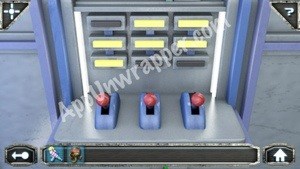
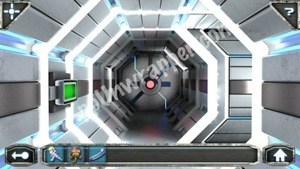
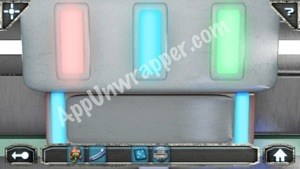
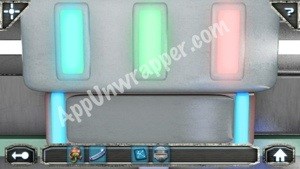
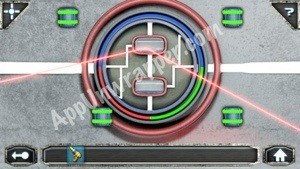
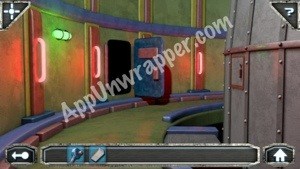
2. Leave the ship and open the octagonal door. Go through. Keep going until there’s a path to the left. Take it. Look at the green screens to get the “core configuration.”
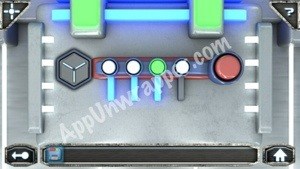
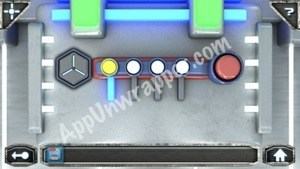
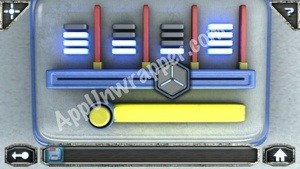
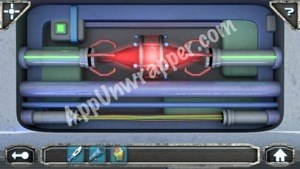
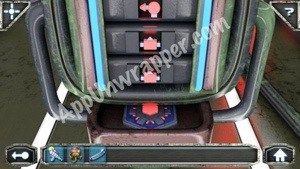
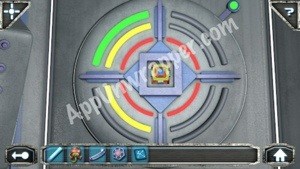
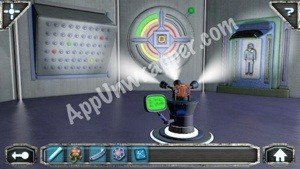
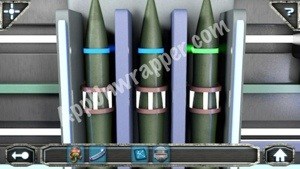
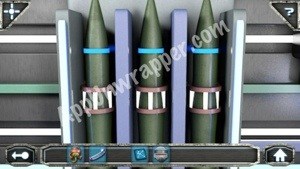
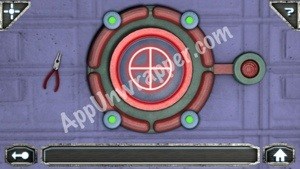
3. Using the diagram, go to the machine to the left and copy the sequence:
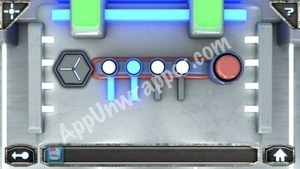
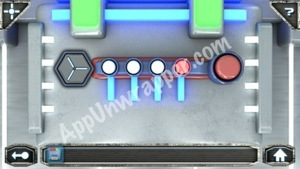
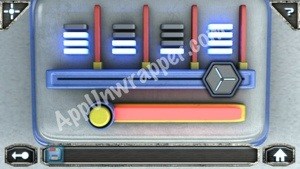
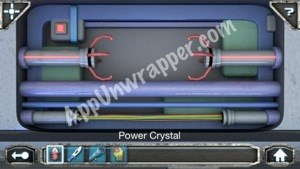
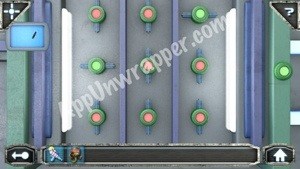
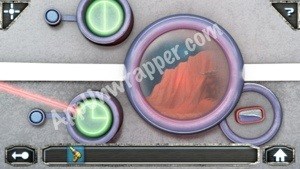
4. Now tap on the machine to the right and match it to the colors from the last one:
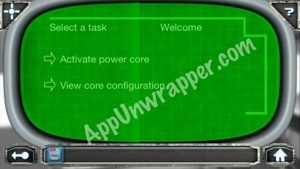
5. Go back to the green screen an press “Activate power core.”

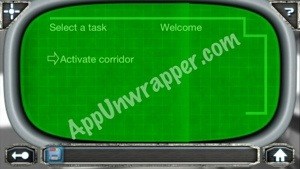
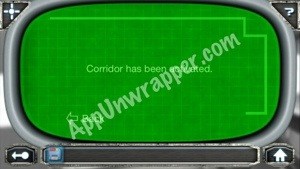
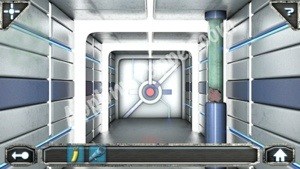
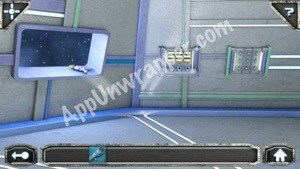
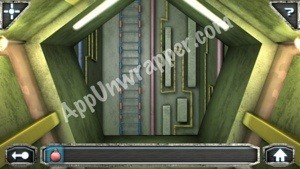
6. Go back to the corridor and continue through the doors until you reach a locked one. Tap the green screen near it and “activate the corridor.” The door will unlock and you can go through.
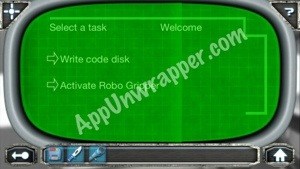
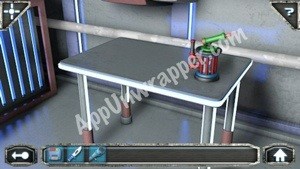
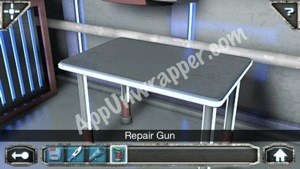
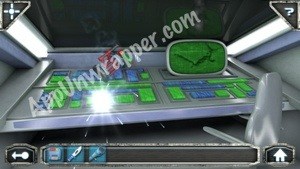
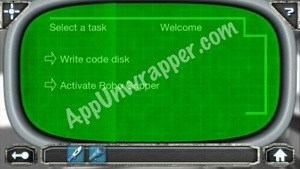
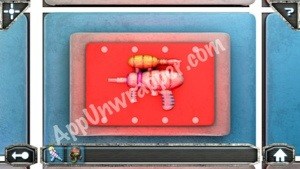
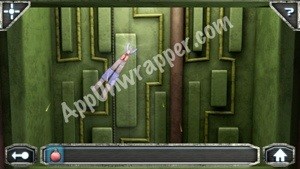
7. Before you go through, take the right turn and tap the green screen. Insert the blank disk to write on it, then take it back. Also take the Repair Gun from the table. Leave the room and continue on through the next door.


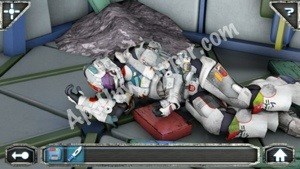
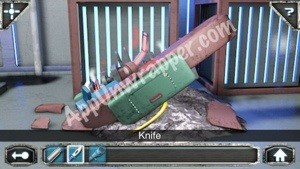
8. Turn right and tap on the wounded crewman. He’ll pass out, but you can take his Knife.
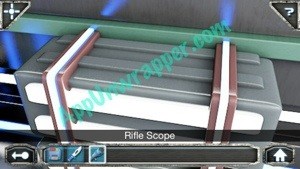
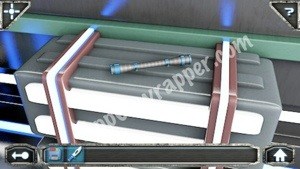
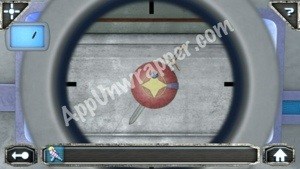
9. Enter through this door and take the Rifle Scope.
10. Go back to the damaged ship and use the repair gun to repair the controls in the control room.
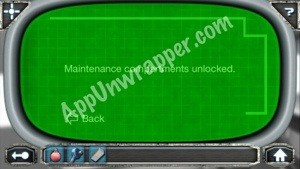
11. Tap the controls and press “unlock storage compartments.” Then read the log.
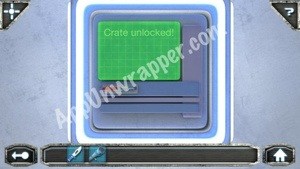
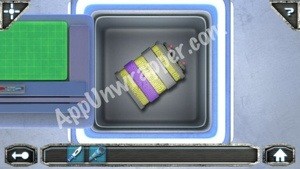
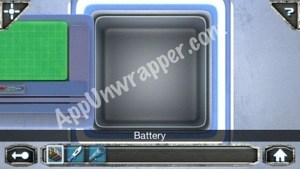
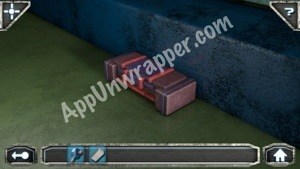
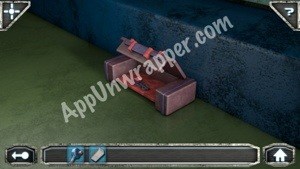
12. Tap on the crates near the ship. Use the Disk to unlock the crate and get a Battery.
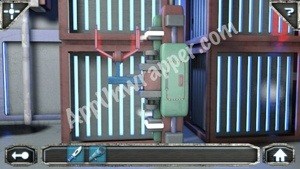
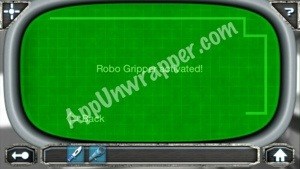
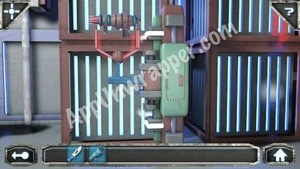
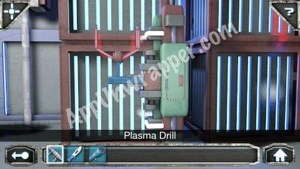
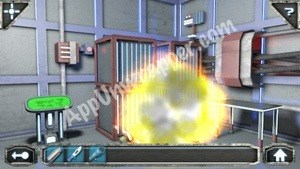
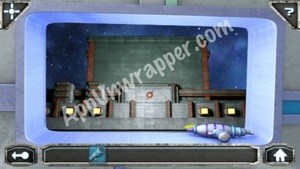
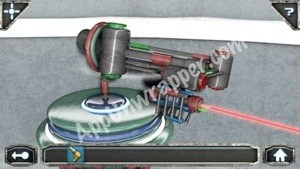
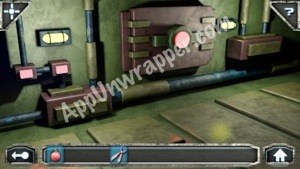
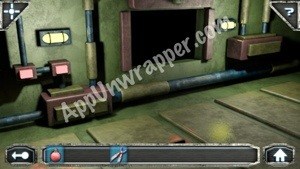
13. Go to room 5 and use the battery to activate the robotic arm. Then it will pull down the Plasma Drill. Take it.
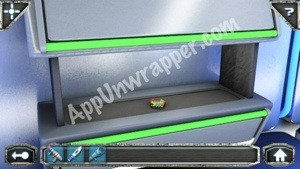
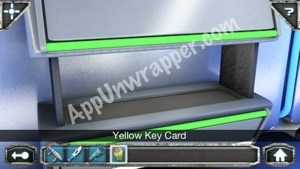
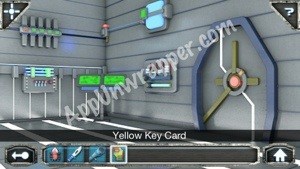
14. Go back to the damaged ship and open the left compartment. Take the Yellow Key Card from inside.
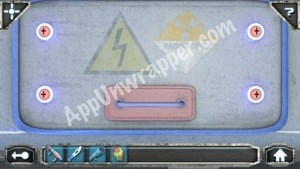
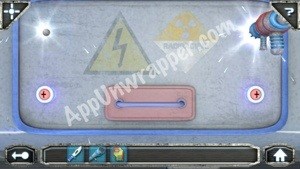
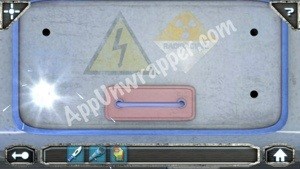
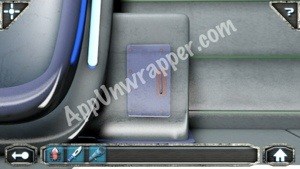
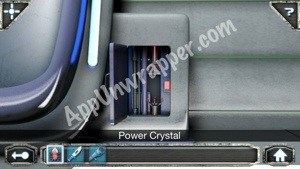
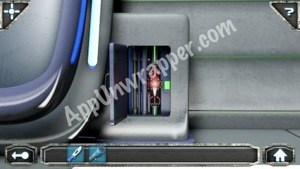
15. Leave the ship. Look at the side of it to find a panel that’s screwed on. Use the Plasma Drill to open it up and take the Power Crystal from inside.
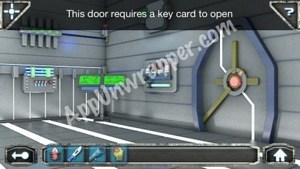
16. Go back to room 3 and use the Yellow Key Card to unlock the door.
17. Enter room 4. Open the panel all the way to the right and place the Power Crystal inside.
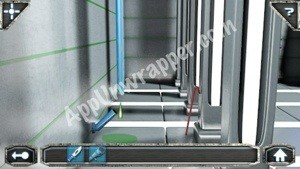
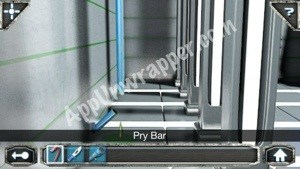
18. Tap the left side of the room to see a leaky pipe. Take the red Pry Bar.
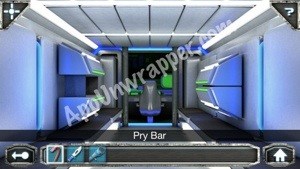
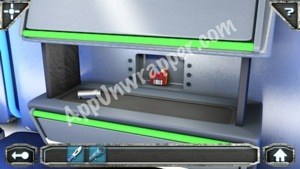
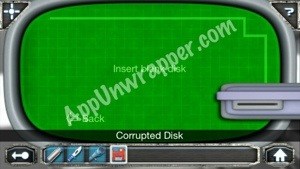
19. Go back to room 2 and use the Pry Bar to open the right compartment. Take the Empty Vial and Corrupted Disk from inside.


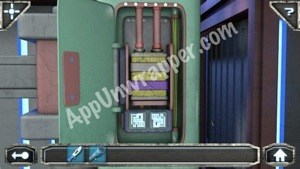
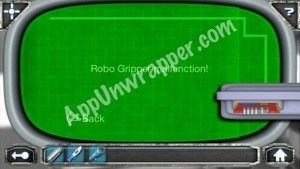
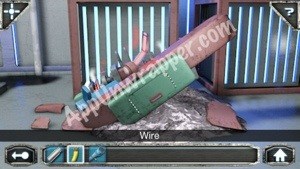
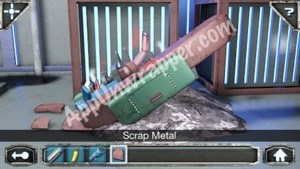
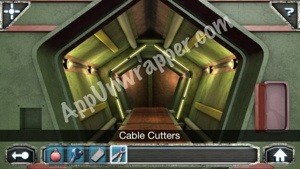
20. Go back to room 5 and put the Corrupted Disk into the slot where you put the blank disk. This will cause the robotic arm to malfunction. Use the knife to cut the piece of Yellow Wire. Then take the piece of Scrap Metal
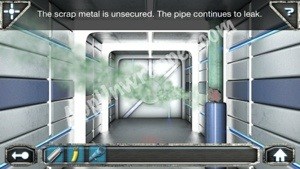
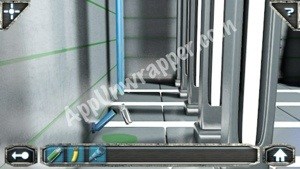
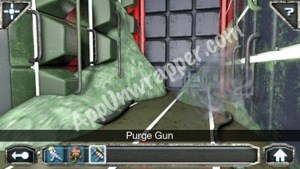
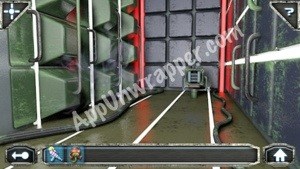
21. Go to the area with the green smoke that prevents you from moving forward. Place the Scrap Metal on the hole. You need something to secure it.
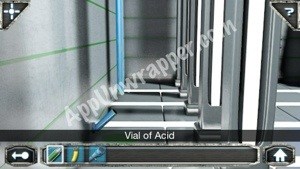
22. Go to room 4 and fill the empty vial with acid.

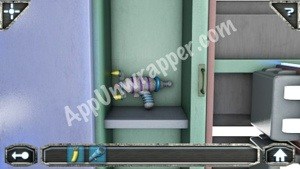
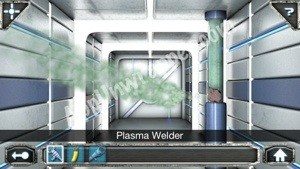
23. Go to room 8 and use the Vial of Acid on the locked locker. Take the Plasma Welder from inside.

24. Use the Plasma Welder to weld the scrap metal you put on the hole. You can now enter room 6.
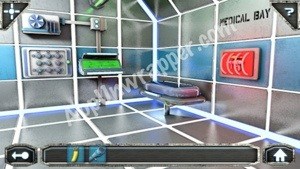
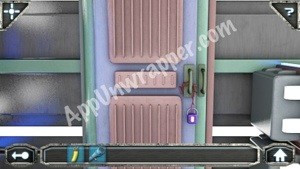
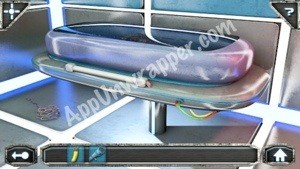
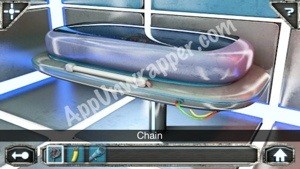
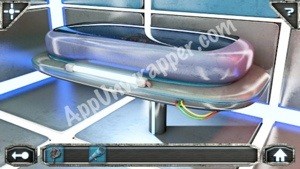
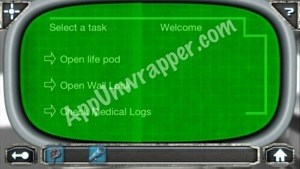
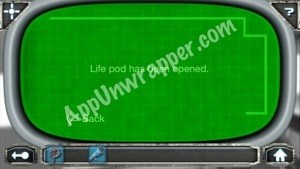
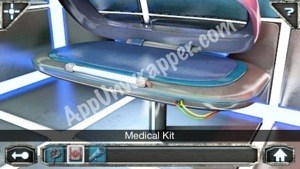
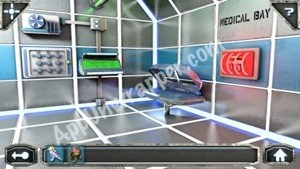
25. Tap on the life pod. Pick up the chain. Replace the Yellow Wire that’s missing. Then go to the screen and select “Open life pod.” Also read the Medical Logs.
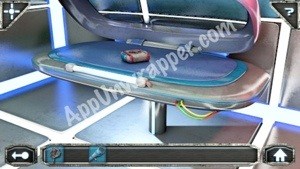
26. Take the Medical Kit from inside the life pod.
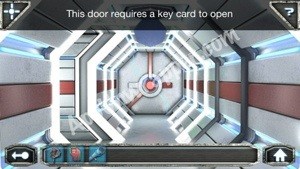
27. Use the medical kit on the wounded man in room 7 and he’ll give you the Red Key Card.
28. You can now open the next door that needed a key card.

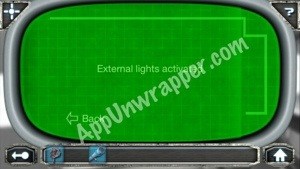
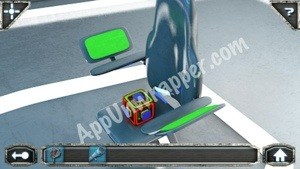
29. Continue on to room 14. Activate the external lights. Take the Navigation Cube from the chair and read the Captain’s Log. Also, talk to the person on the monitor.

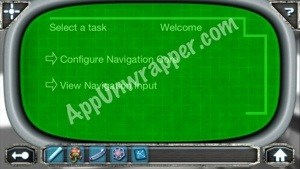
30. Go to room 11 and place the Navigation Cube on the device in the center of the room. Get the Navigation Input from the screen:

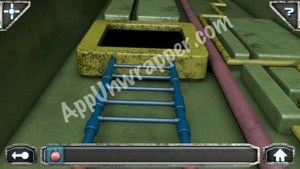
31. Between room 9 & 10 there’s a hatch in the ceiling. Open it and use the chain to pull the ladder down. Then go up into room 10. Grab the Plasma Cutter by the window and then use the Rifle Scope to see into the distance and get a clue.

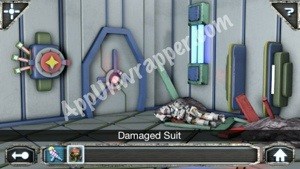
32. Go back to room 7 and use the clue you just found to unlock the Damaged Suit.
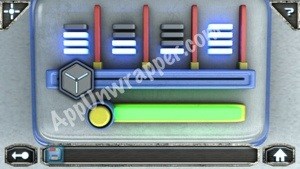
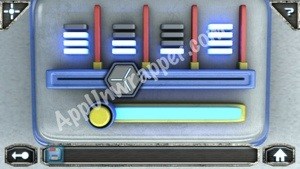
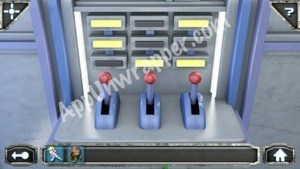
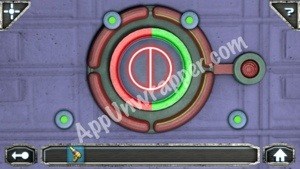
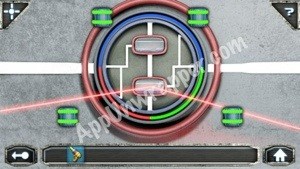
33. Back in room 10, look at the device to the left. Turn each switch on and off to see which lights stay lot in both positions. Then go to the device on the right and turn those lights from red to green. This is a solution to a different puzzle.
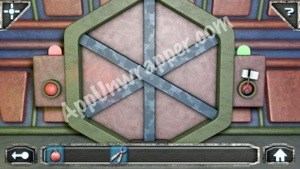
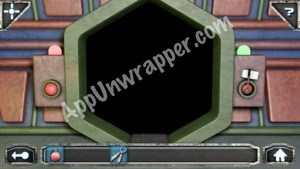
34. Go back to room 6. Use the clue you just got to solve the puzzle on the wall. Then unlock the wall lock and get the Purge Gun.


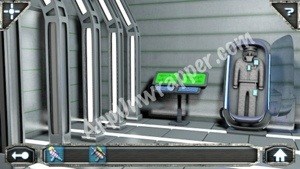
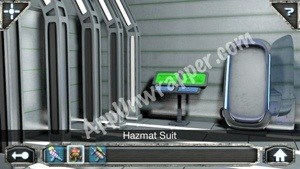
35. Go to room 4 and repair the Hazmat Suit.

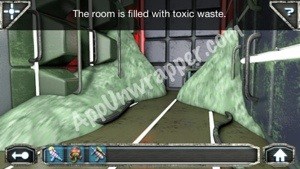
36. Use the Hazmat Suit to get past the door to room 9. Use the Purge Gun to get rid of the toxic waste in there. There’s a small storage compartment inside. Take the Night Vision Visor from it.


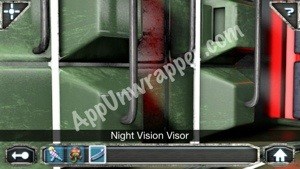
37. Make sure the external lights are deactivated and use the Night Vision Visor on the window in room 10 to get a clue.

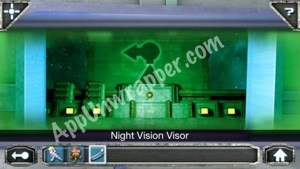
38. Deactivate the lights in the corridor near room 5 and use the Visor to get another clue.

39. Using those clues, go back to room 9 and solve the puzzle to get the Explosive Mine.

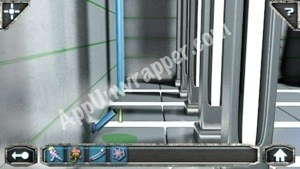
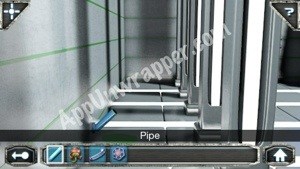
40. Go to room 4 and use the Plasma Cutter to cut off a piece of Pipe.
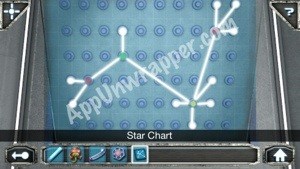
41. Pick up the Star Chart in room 14.

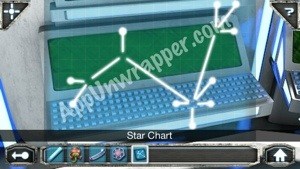
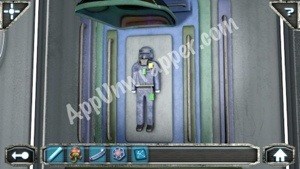
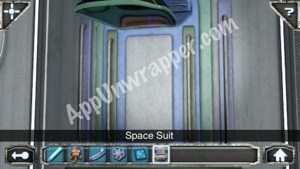
42. Go to room 11 and put the Star Chart over the wall with the four colored pegs. Note how many stars/dots branch off from each color (Green is 1, Red is 2 &3, Yellow is 4). Then look at the Navigation Input and Configure the Navigation Core based on the info you now have. You can now get the Space Suit.


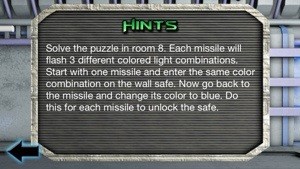
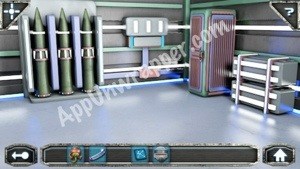
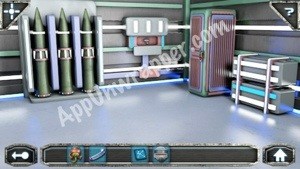
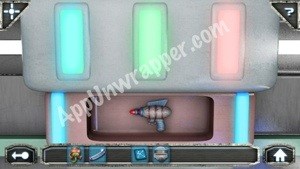
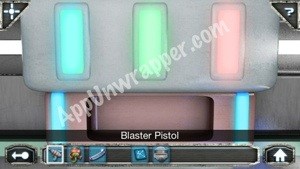
43. Go to room 8 and follow what the hint says to get the Blaster Pistol.

44. Enter the escape pod in room 12 and launch the pod to escape the ship to another planet.
Chapter 2:
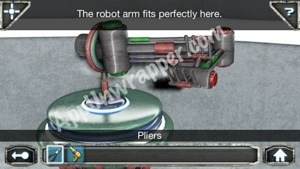
1. You’re now on a different planet. Time to explore. Tap to the left of the cave opening and enter the door at the top of the stairs to room 4. Take the Pliers from the floor.

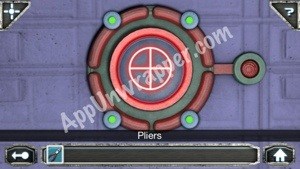
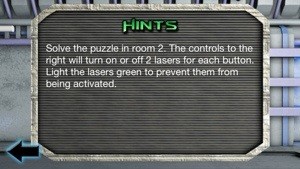
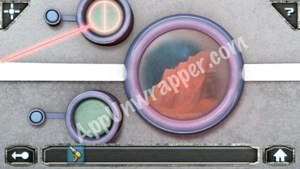
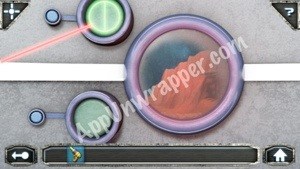
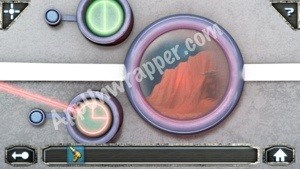
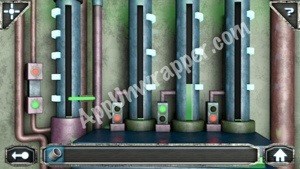
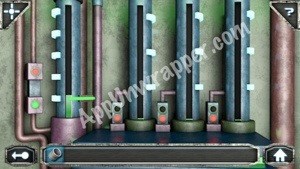
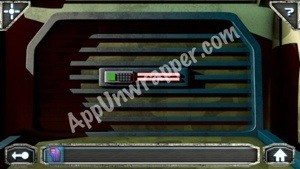
2. Go back and enter the cave opening to room 2. Use the three buttons to the right to turn off the lasers. When you get down to one laser, change the red to green to keep them off and then you can turn off the last one.
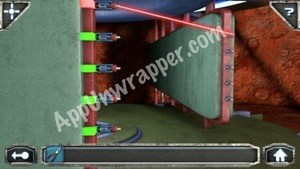
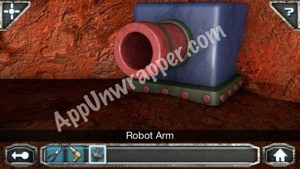
3. Pick up the Robot Arm near what looks like a red pipe.
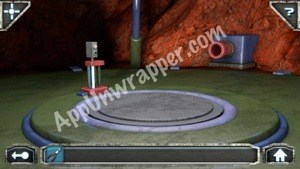

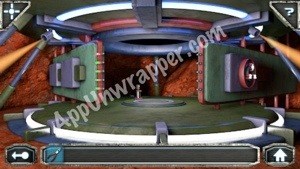
4. Then press the button near the platform to elevate it. Enter the pod and take the Flare Gun.


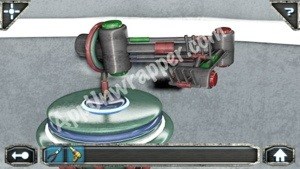
5. Go back to room four and place the Robot Arm on the stand.
6. Go back to room 2 and use the Pliers to remove a Laser.
7. Add the laser to the robot arm in room 4.
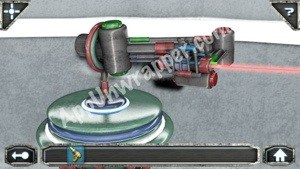
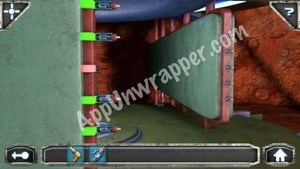
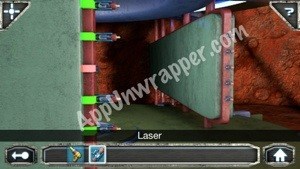
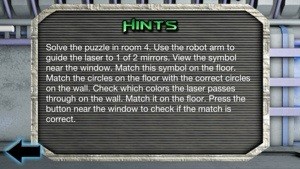
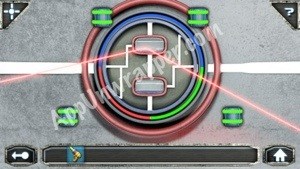
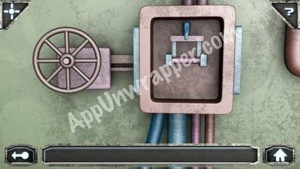
8. Now use the robot arm to solve the puzzle in room 4. The hint explains it pretty well. Take the Mirror once you solve the puzzle.

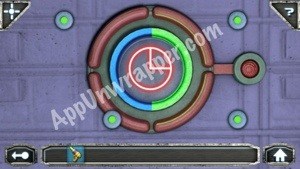

9. Place the mirror between the other two mirrors and point the laser at it. Now you can open the gate in room 6. Go through it.
10. Use the Flare Gun to destroy the vines in front of the entrance in room 7. Enter room 8.
11. Pick up the Container near the robot.
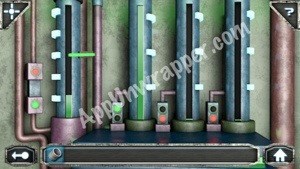
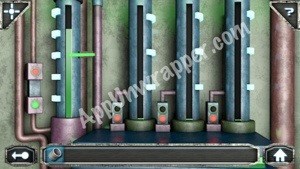
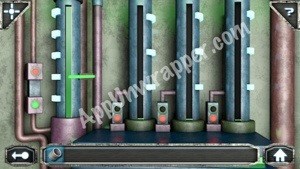
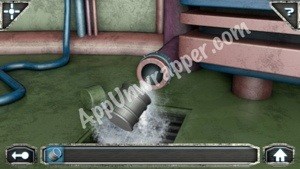
12. For the pipe/containers puzzle (thanks to Bill):
You set the green level indicator on the large tank to position 1. Then go to the center small tank and hit the green button. That tank Will go up one level.
Then hit the green button on the large tank. The level goes up by 1. Then set the green indicator on the large tank to 3. Go to the small left tank and hit green button. It goes up 3. Go to large tank and hit green button. The fluid will rise again. Set the green indicator to the 2 position.
Then go to small right tank. Push the green button. The fluid will rise by 2. Go to the large tank and hit the green button.
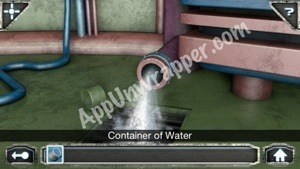
When the water starts coming out of the bottom, fill the Container with water.
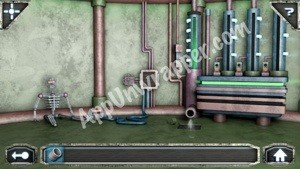
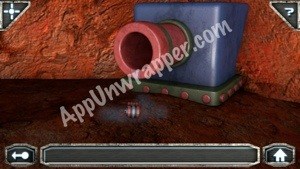
13. Go to screen 5 and pour the water down the pipe. Then go to screen 2 and find the Oil Can that came out of the red pipe towards the back of the room.

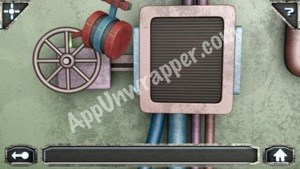
14. Go back to room 8 and use the oil can on the rusty valve to access the power switch. Switch the robot on and talk to him. He’ll give you a Key Code.
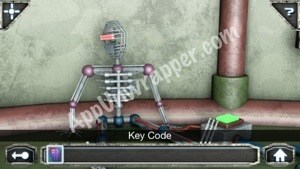
15. Go to screen 5 and tap the right side of the screen to get to screen 9. Use the Key Code to enter the building.

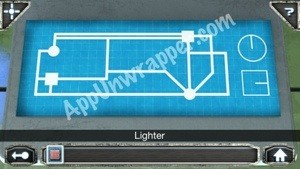
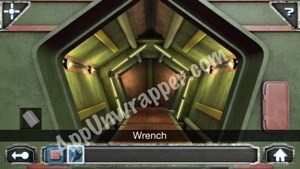
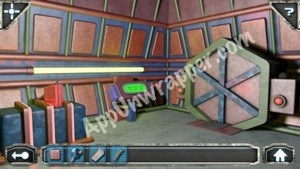
16. Pick up the Lighter in room 10. Pick up the Wrench in room 17.
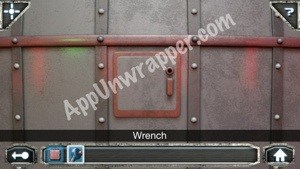
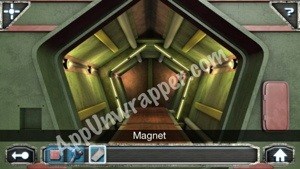
17. Use the Wrench in screen 16 to get the Magnet.
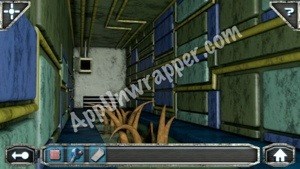
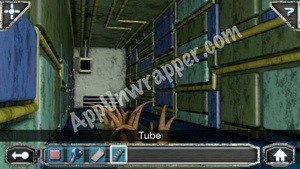
18. Pick up the Tube in room 11.
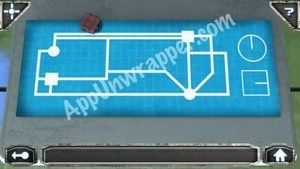
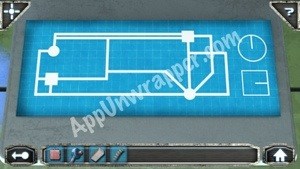
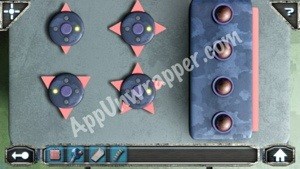
19. In room 10, use the blueprints on the table to solve the puzzle on the chest. The lines coming from each circle or square represents the number of triangles on it, and the circle and square with the line on them tell you which direction the lights should be in.
The lights go:
Up, Right
Right, Up
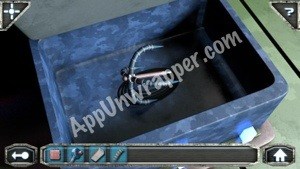
Take the Grappling Hook from inside the chest.
20. Use the Grappling Hook in room 11 to get to room 13.


21. Pick up the Empty Fuel Can.
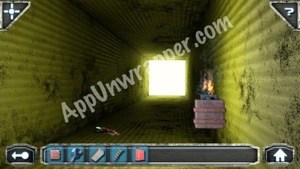
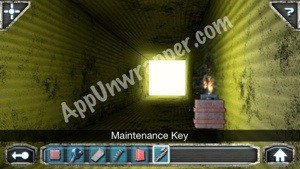
22. Use the Lighter in room 12 to get the Maintenance Key.
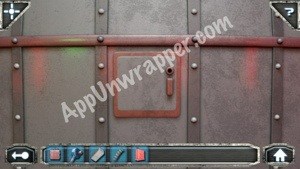
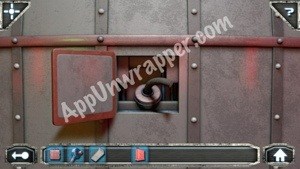
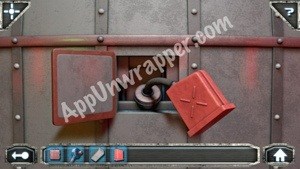
23. Use the Maintenance Key to open the fuel compartment.
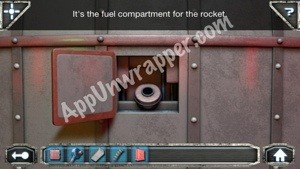
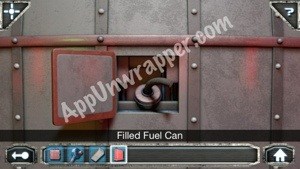
24. Place the coil/tube in the fuel compartment, then add the empty fuel can and you’ll get a Full Fuel Can.
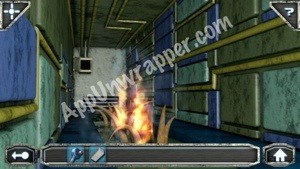
25. Go back to room 11 and use the fuel can and lighter on the plants to clear them away.

26. In room 13, choose “Drain the Sewer System” on the screen. Then go back to room 11 and take the Security Key.
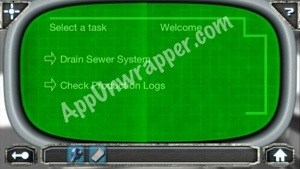

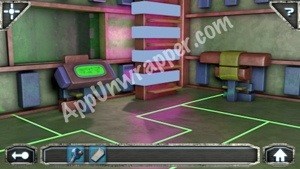
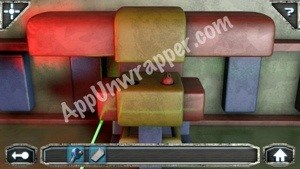
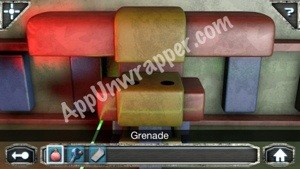
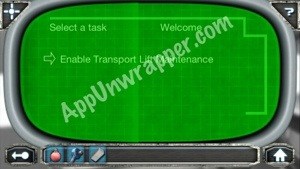
27. Use the Security Key to open the locked door and enter room 18. Get the Grenade and choose “Enable Transport Lift Maintenance” on the screen.

28. On the screen where you got the magnet, get the Wire Cutters.
29. In room 13, put the magnet and wrench by the right button and press the left button so they both turn green at the same time. Then go through the door.
30. Open the door to the elevator shaft and use the Wire Cutters to cut the wires.
31. Go back to this screen and continue on to see the ending.

Congratulations! You finished the game!
If you liked this game, try these other adventure games and escape games, including more by 3D Methods.


 How to solve The Room 2 - Chapter 2 walkthrough and puzzle guide for The Ship (Part 1)
 Fortress Fury Cheats, Tips & Hack for Energy Crystals - AppGameCheats.com
 4 Pics 1 Movie Level 3 Answers
 Disco Zoo Animal Patterns: Savanna, Polar and Northern Patterns Here!
 100 Pics – C is for? – Level 76-100 Answers