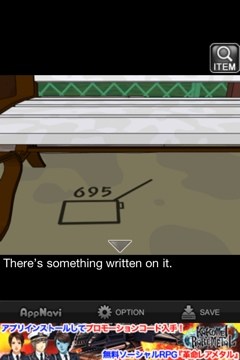
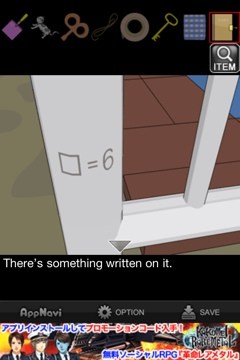
1. Zoom out and turn right. Look at the clue under the left bench:
2. Look at the piece of paper next to the garbage can:

3. Take the roll of tape from inside the garbage can.
4. Take the scoop from under the tree to the left.
5. Take the black box from under the right bench.
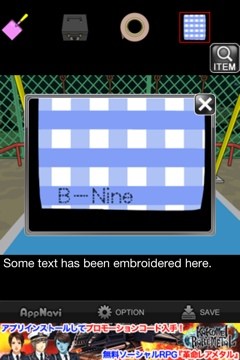
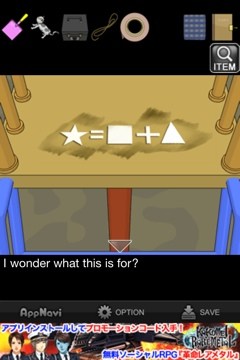
6. Turn left and take the rope from the swing set. Use the scoop on the sand castle to get a handkerchief. Zoom in on the letters:
7. Turn left and dig in the sandbox with the scoop to get a toy cat.
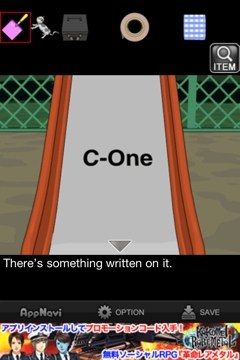
8. Look at the clue on the slide:
9. Look behind the slide to find a radio. Set the station according to the clue from under the bench:
10. Turn left. Move the rock and dig on the X with the scoop. Take the wrapped package and open it it to find a locked diary.
11. There’s some dirt at the top of the slide. Wet the handkerchief by the water fountain and then use it to wipe the dirt. You’ll get this clue:
12. Put the tape on the toy cat’s nose and the rope around its body.
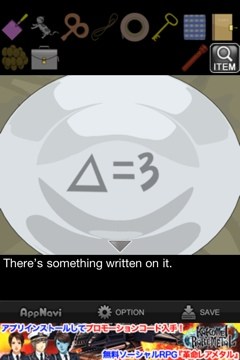
13. Turn the scoop over to see this clue:
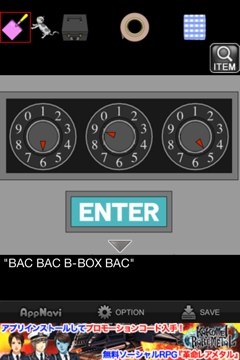
14. Use the three clues, along with BAC, to get the code for the black box:
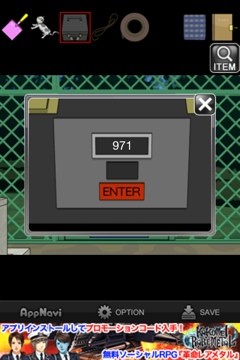
15. Take the clock spring from inside.
16. Insert the spring into the hole on the toy cat.
17. Zoom in on the fence behind the rabbit. There’s a hole in it and a key through the hole. Use the cat to reach the key.
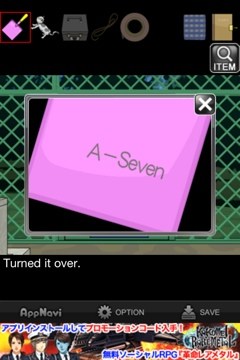
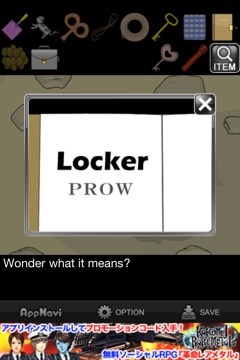
18. Use the key on the small locker by the flowers. There’s a clock inside and a briefcase. Take the briefcase. Notice the tag:
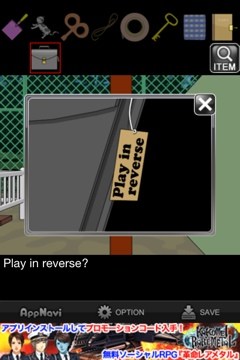
19. Zoom in on the left side of the fence around the pond to see this clue:
20. Go back to the radio and set it to the numbers from before in reverse, like so:
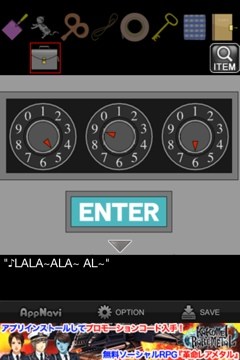
21. The note next to the garbage can said that A.R., so A = R, or Right. L = Left. ~ = middle button. So LALA~ALA~AL = LRLR~RLR~RL. Turn the cat on the briefcase in this sequence and it will open. Take the “cat powder” from inside.
22. Look at the shrubbery to the left of the left bench. There are two glowing eyes. It’s a cat! Feed the cat powder to the cat and it will move, revealing a glowing light. Tap on it a few times to get a flashlight.
23. Place the flashlight in the stand below the notice board.
24. Turn around to where the cat food was. The cat is sitting there and it ate all the food! Tap it till it leaves and then look at the empty plate to find a clue:
25. Turn to the locker where you got the briefcase. The cat is there, digging in the soil. Scare it away and take the pink key on the ground.
26. Use the pink key to open the diary and find this clue:
27. You now know that the star = 9 since the square is 6 and the triangle is 3. So open the small box again where you got the briefcase. Tap it until the star points to 9 and press the red button. The lights will go off.

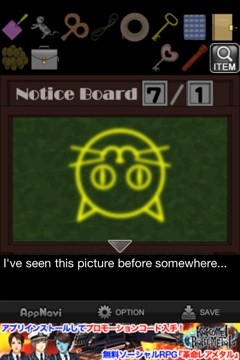
28. Look at the notice board. Tap on it a few times:
29. Tap on the clip on the briefcase until it comes off (some pixel hunting may be involved). Turn it over to see this:
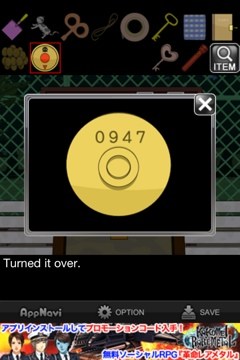
30. Turn the lights back on. Enter the numbers from the buckle into the blue clock by the slide and get a key:
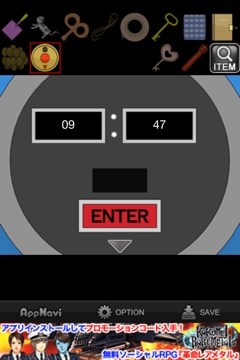
31. Using the clue from the diary, count the different colors of tulips (P = purple/pink, R = red, O = orange, W = white).
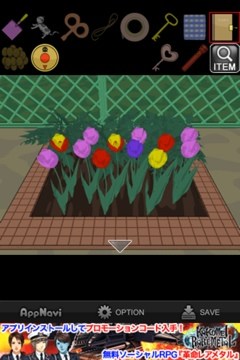
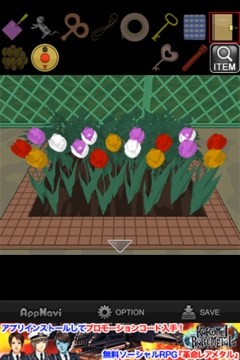
32. Enter the code into the keypad on the big brown locker to unlock it:
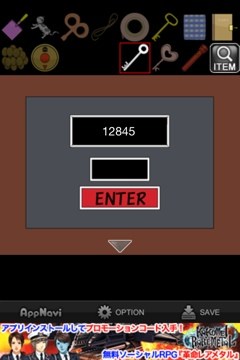
33. Take the broom from inside.
34. Turn the lights off again. Then turn to the pond and you’ll see a box underwater. Use the broom to get the box.
35. Use the silver key to open the box and get a green key.
36. Turn the lights back on. Use the green key to open the door and escape!
Congratulations! You made it out!
If you liked this game, try one of these other escape games.


 Turbo Fast Cheats & Hack for Tomatoes & Money - AppGameCheats.com
 Top Girl Cheats & Hack for Coins & Diamonds - AppGameCheats.com
 100 Pics Dwellings Pack Levels 1-100 Answers
 Cure Wiki Guide FAQ Tips Tricks Strategy Help » Wiki Guide Tip
 Math Academy Answers All Level Packs