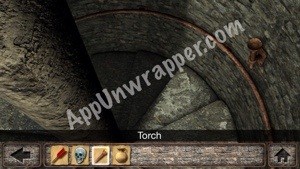
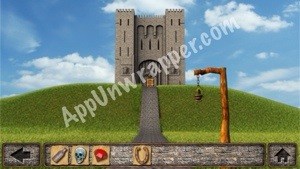
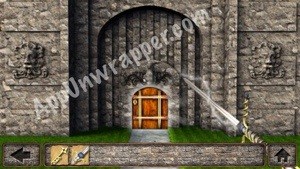
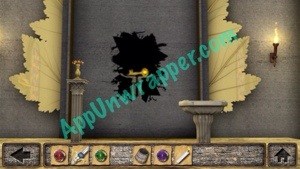
1. The castle gate is locked. Tap on the right turret (with the ivy).
2. Take the arrow.

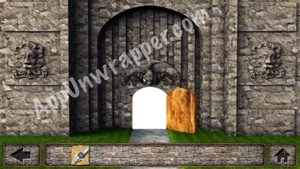
3. Open the trap door and enter.
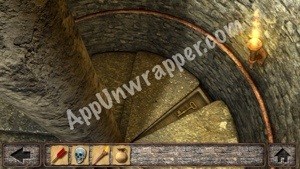
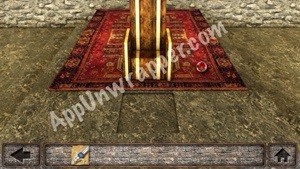
4. Go down the spiral staircase.
5. Open the trunk/chest and take the unlit torch.
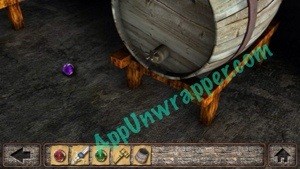
6. Look inside the barrel and take the key.

7. Light your torch with one of the torches on the wall.
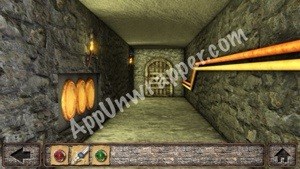
8. Open the door and go through.
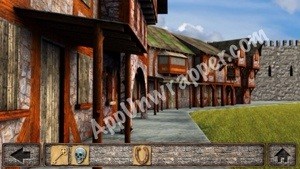
9. Take the right path.
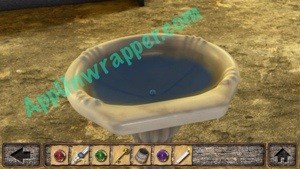
10. Go past the gryphon sculpture to a small building. Take the water jug from the floor.

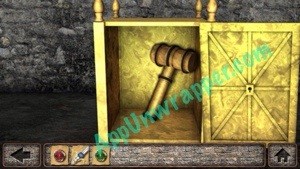
11. Go back one screen. There’s a small copper box on the side of the building. Zoom in on it.
12. Use the copper key to unlock the box. Tap the gears to stop them and take one.
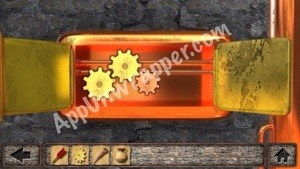
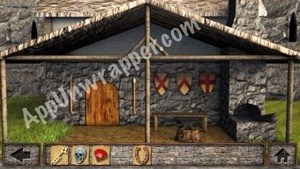
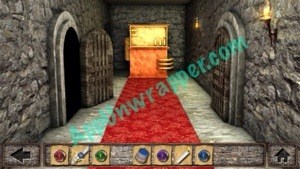
13. Go to the front of the building again. Now the door is unlocked. Open it and go through.
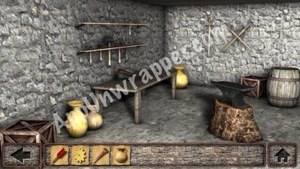
14. Take the crowbar from the table.
15. Look at the anvil. We’ll come back to it later.
16. Leave the building and continue left along the path.
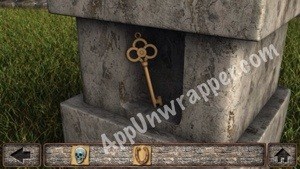
17. You’ll see some crates. Zoom in on them and use the crowbar to open one. Take the key from inside.
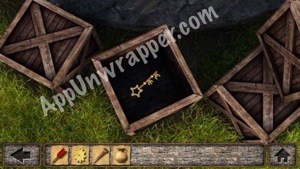
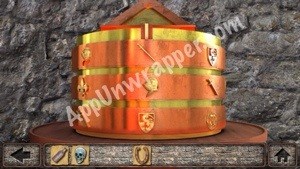
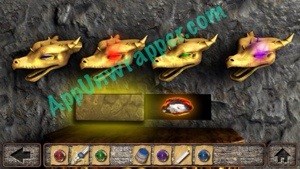
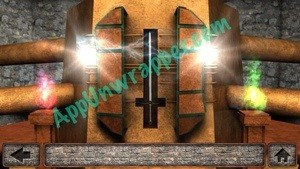
18. Zoom out and continue along the path. You’ll see a metal horse. Use the key to unlock the panel on it.
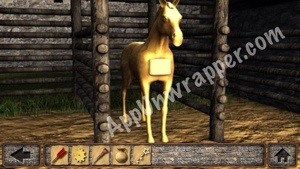
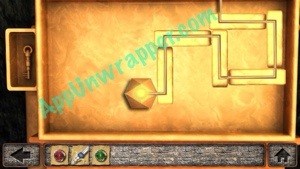
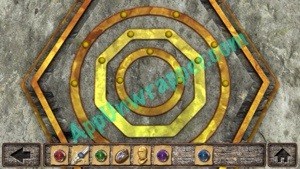
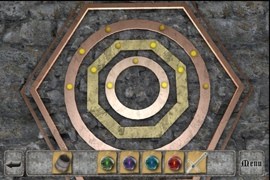
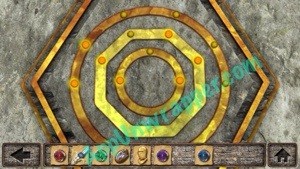
19. Rotate the pipes till they all match up like so:
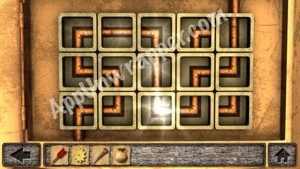
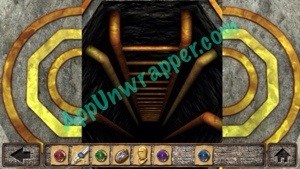
20. Take the key that’s revealed.

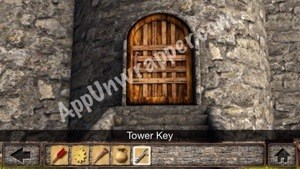
21. Go back to where you saw the crates. Use the Tower Key to unlock the door nearby, then enter.
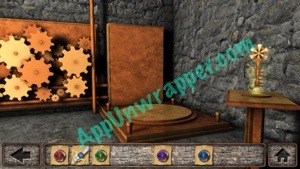
22. Notice the swords on the wall. Open the door to the mechanism in the middle of the room.
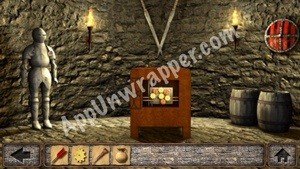
23. Place the gear with the other gears.
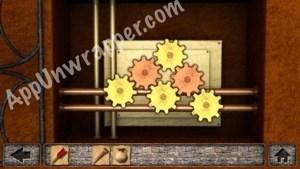
24. A skull will pop up from the top. Take it.

25. Backtrack all the way back to the spiral staircase. Light the torch on the wall. Take the key that’s revealed.
26. Go back to the door near the mechanical horse (stable). Use the Stable Key to unlock it and go inside. Notice the swords on the wall.
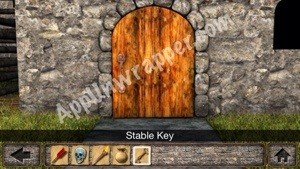
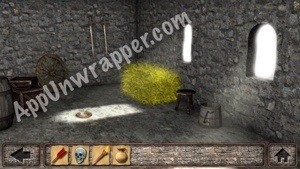
27. Take the horseshoe from the ground.
28. Pick up some hay.
29. Zoom in on the bucket. It has a symbol on it. Pour the water from the jug into the bucket and the symbol will glow blue.

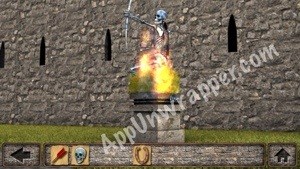
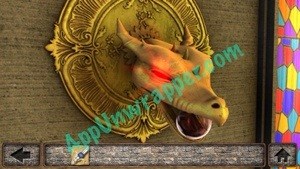
30. Exit the room and go back a couple of screens to find the skeleton statue. It’s frozen so you need to melt it. First, place hay on the skeleton.
31. Then light the hay with the torch.
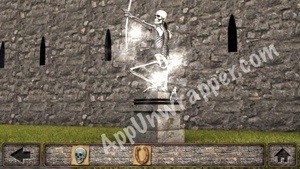
32. Once the torch skeleton melts, give the skeleton the arrow. Then take the key that’s revealed.
33. Go back to the fork in the road. Take the left road this time. Find the locked door and use the House Key to unlock it.
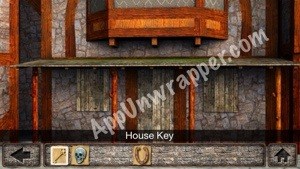
34. Go inside. Notice the swords on the wall. Take the bottle of lantern oil off the desk.

35. Look at the drawing on the desk.
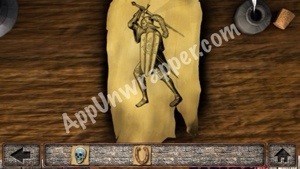
36. Zoom in on the device in the center of the room. Turn the dials so they match the drawing — sword on top, helm in the middle, and shield on the bottom. Then it will open up to reveal a ruby. Take it.
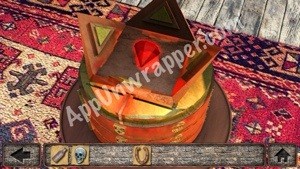
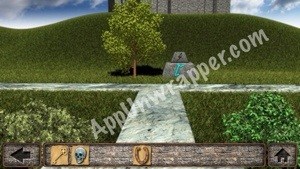
37. Exit the room and tap the right side of the screen to face a lantern and tree.
38. Zoom in on the lantern and use the lantern oil on it to light it. Also, notice the symbol turns blue.

39. Go back two screens to the fork in the road. Zoom in on the stone ahead of you. The two symbols are glowing blue and there’s a Gold Key on top. Take it.


40. Go back to the building near the gryphon. Notice the shields on the front.
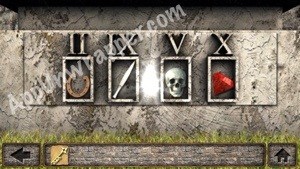
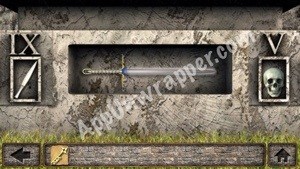
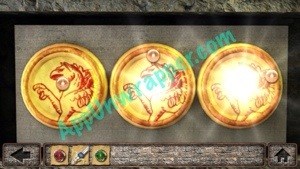
41. Enter and zoom in on the anvil. Tap the X, upside-down V, and the one that looks like a cross.

Tap the X, upside-down V, and the one that looks like a cross.
42. Take the silver dagger.

43. Go back out and zoom in on the gryphon statue. Place all four items (Horseshoe, Dagger, Skull, Ruby) in the slots on the pedestal. The Sword of Ire will be revealed. Take it.
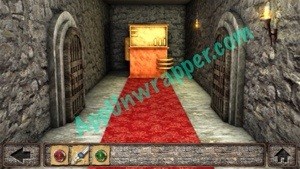
44. Go back to the fork in the road and take the left road. Continue to the lantern. Zoom in on the keep behind the lantern. Use the Sword of Ire to break the enchantment, then unlock the door with the Gold Key and enter the keep!
45. Pick up the Orb of Fire near the throne.
46. Examine the picture of the three Earths.

47. Notice the suit of armor and the missing helmet.
48. Take the left door. Tap on the table.
49. Take the green Orb of Growth. Also notice the order of the lit and unlit candles.

50. Take the door to the left.
51. Arrange the three circles to the left the way you saw the sun on each of the Earths in the picture. When you get it right, griffin drawings will appear and the door ahead will unlock. Go through the next door.
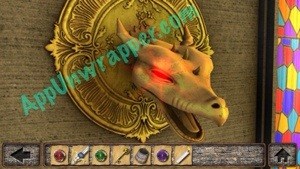
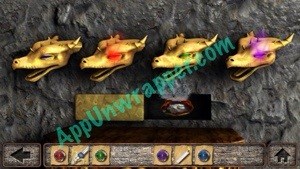
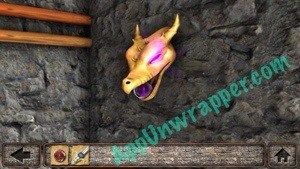
52 . Tap the dragon head so its eye lights up purple.

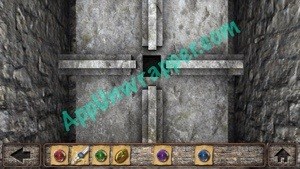
53. Arrange the switches on the wall like the candles, like so:
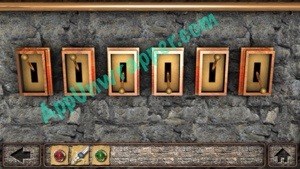
54. The door to the right unlocks. Go through and solve the puzzle in front of you. Take the Ornate Key.
55. Open the door to the right and enter the bedroom.
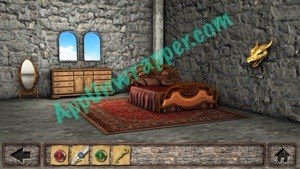
56. Notice the blue dragon head. Leave it turned off.

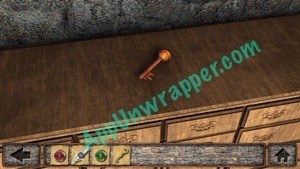
57. Take the Basement Key from the top of the dresser.
58. Go back to the room with the switches. Use the basement key to unlock the left door and enter it.
59. Go downstairs to the basement.
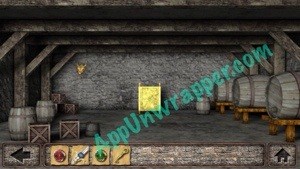
60. Notice the green dragon head. Leave it turned off.

61. Zoom in on the box in the back. Unlock it with the Ornate Key and take the Hammer from inside.

62. Zoom out and take the empty bucket from the left side of the room.
63. Zoom in on the barrels to the right and take the Purple Orb of Shadow. Also, fill the bucket with water from the barrel.

64. Leave the room. Go back to the throne room. Take the right door. Tap the dragon head so it lights up red.
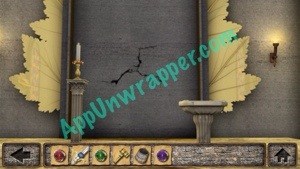
65. Zoom in on the cracked wall. Use the hammer to break the wall and take the King’s Key from inside. Also take the candle from the candlestick.
66. Take the Blue Orb of Water from next to the fountain to the right.
67. Head back to the room with the locked door (where there was a mini-game). Use the King’s Key to unlock the left door and enter the king’s bedroom.

68. Zoom in on the dragon heads. If you lot up the right ones around the Keep, you should be able to open the hatch below them. There’s a stone inside but it’s too hot to touch. Pour the water from the bucket onto it and now you can pick up the Tainted Stone.

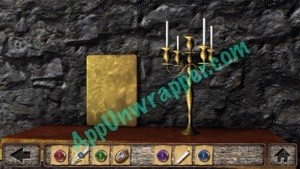
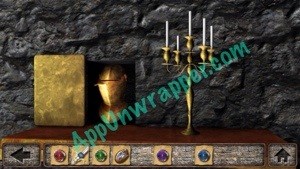
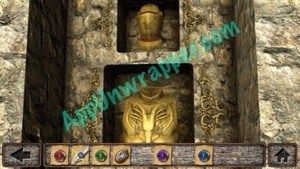
69. Zoom in on the candelabra to the left. Place the candle in it and a small door will open, revealing a Helmet. Take it.
70. Also note the chandelier and the puzzle in the corner.
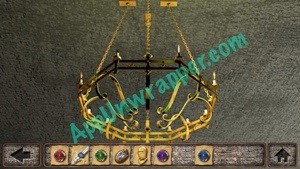
71. Go back to the room with the switches. Examine the chandelier. Note which lights are lit.

72. Go to the room with the table and examine the chandelier. Note which lights are lit.

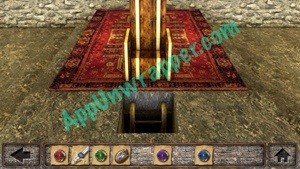
73. Go back to the King’s bedroom. Light up the puzzle on the floor like this, based off of the three chandeliers. A trap door will open.
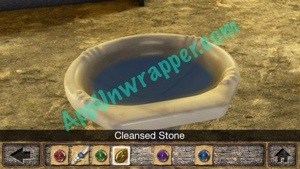
74. Go back to the water fountain and put the Tainted Stone in the water to make it a Cleansed Stone.
75. Go back to the throne room and place the helm in its position above the suit of armor. A trap door will open near the throne. Go down the ladder.

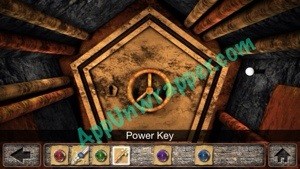
76. Place the Cleansed Stone in the hole in the wall and the door will slide open. Go through it.
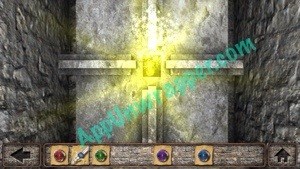
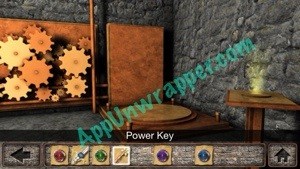
77. Take the Power Key on the right.
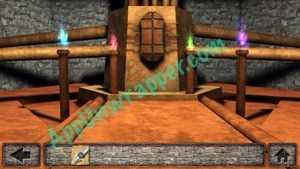
78. Go back to all the dragon heads and place the four orbs in their mouths.


79. Go back to the King’s bedroom. Go down through the trap door.
80. Unlock the next door with the Power Key and go through.
81. Place the Sword of Ire in the sword-shaped slot.
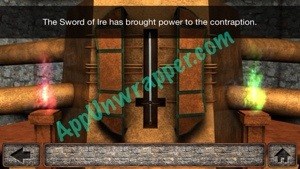
82. Go to the throne room and through the trap door. There will be a device that is now powered up. It’s a teleporter! Tap it and watch the ending.
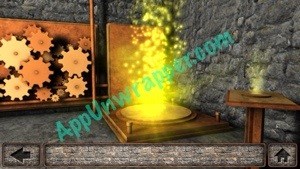
Congratulations! You made it!
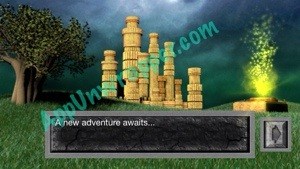
Make sure to check out the continuation of this game, Cryptic Kingdoms! See our walkthrough here.
There’s also a new game by 3D Methods, Cryptic Caverns!
If you liked this game, try these other escape games.

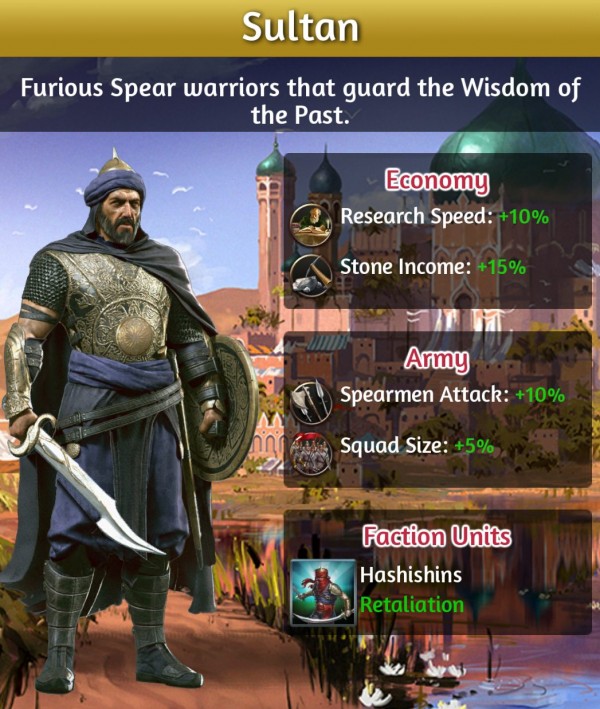 March of Empires Guide: What's the Best Faction in the Game?
 School Driving 3D Hack, Cheats, & Tips for Coins, & All Vehicles Unlock - AppGameCheats.com
 100 Pics Dwellings Pack Levels 1-100 Answers
 Pokemon Shuffle Mobile Cheats & Hack for Jewels & Coins
 Math Academy Table of 4 Answers