The Room Three Walkthrough
Chapter 5 – The Observatory
- You’ll again find yourself in the study of Grey Holm. Make your way back to the atrium and place your newly acquired PYRAMID along with the rest.
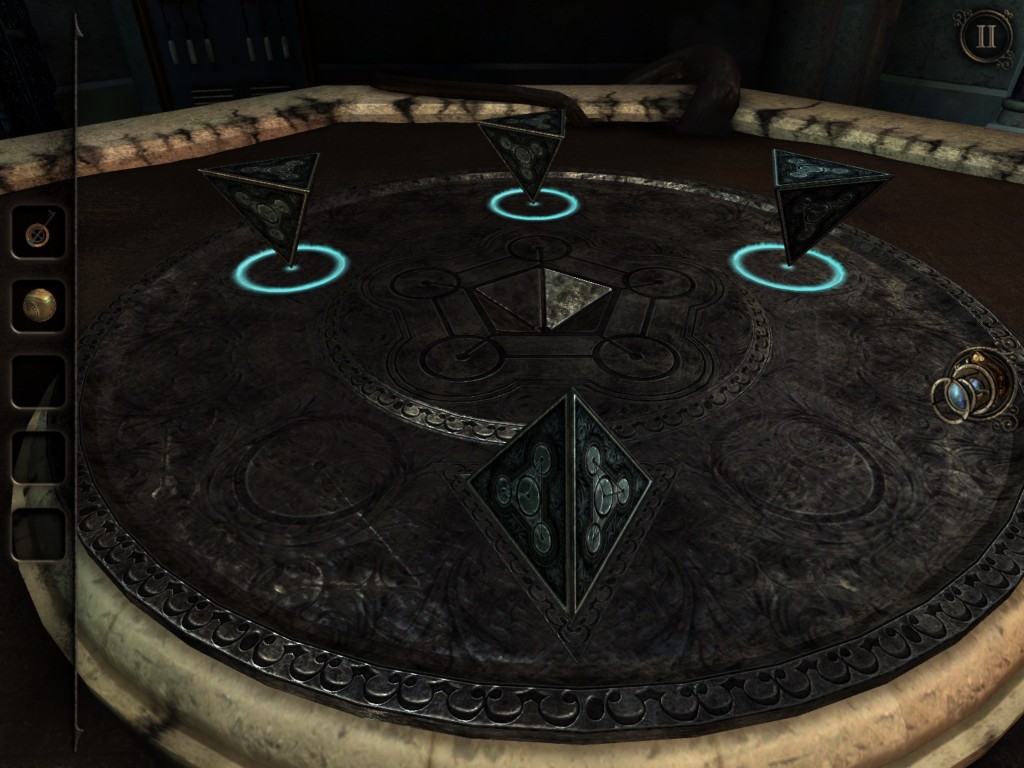
- A LEATHER-BOUND BOOK will appear. Take it and proceed through the doorway with steps leading up to a library.
- Look around and you’ll see a bookstand. Place the LEATHER-BOUND BOOK in it and a doorway will be revealed.
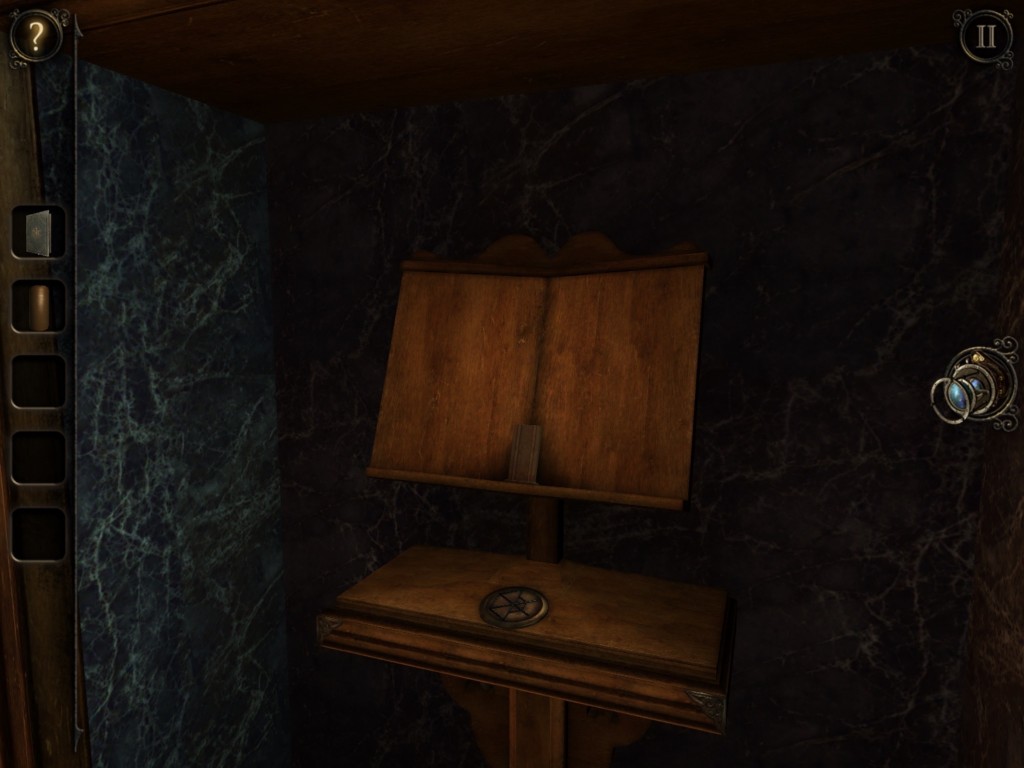
- Go through the doorway and you’ll find yourself in an elevator. Move the lever to the UP position and go through the archway that will be in front of you when the elevator stops.
- You’ll see yet another fusebox puzzle. Solve it like you did the others by connecting the fuses positive to negative until the last fuse on the right lights up.
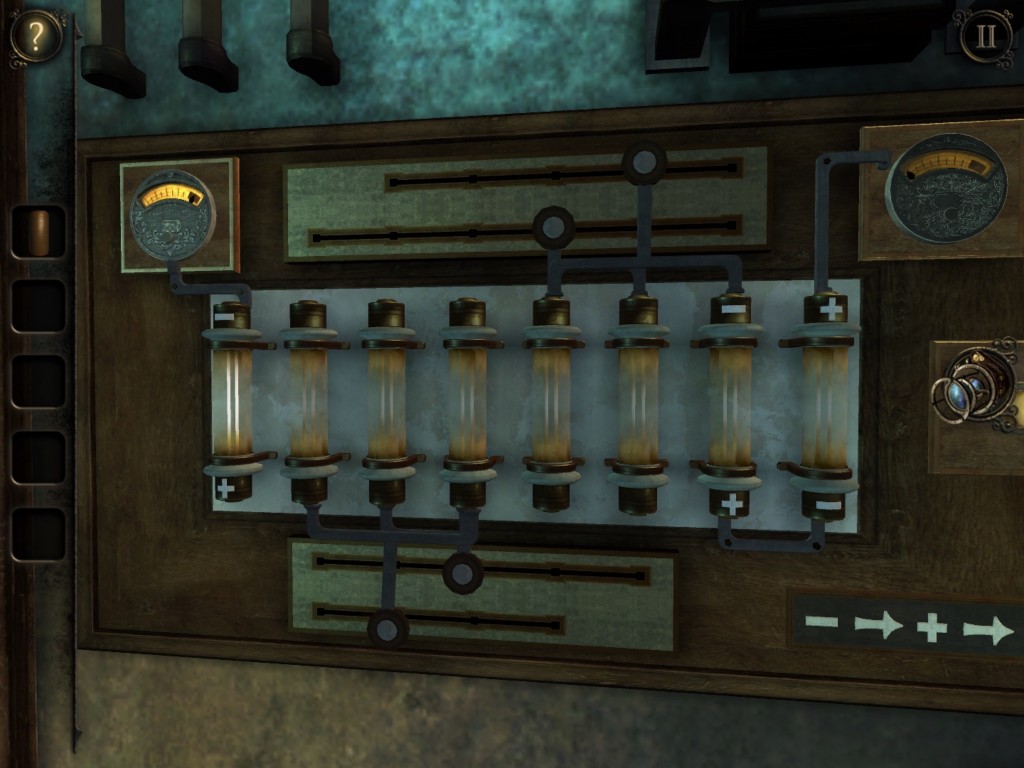
- Follow the lit up cord to the switch and flip it. Follow the cord to another familiar box and flip the four switches and press the button.
- Go to the oscilloscope, read The Craftsman’s letter to you and add the SCREWDRIVER to your inventory.
- Alas, the oscilloscope is missing a critical component. You’ll have to go back down the elevator, past the fountain and through the other door leading to a study.
- In the study, you’ll see an oscilloscope you’ve already used. Use the SCREWDRIVER on its panel and take the ELECTRICAL COMPONENT from inside of it.
- Go back to the broken oscilloscope upstairs and place the ELECTRICAL COMPONENT into it. Spin the dials to line up the black and green waves and the box with the four switches will shoot a beam of light and open another door.
The Observatory
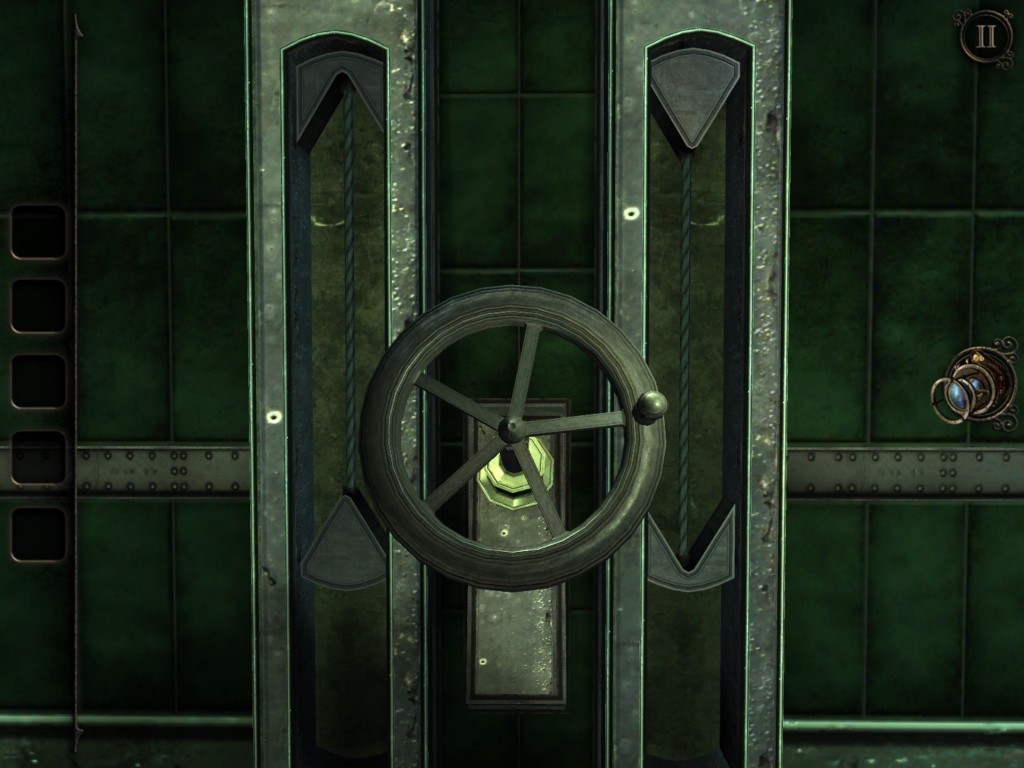
- Once you’ve gone through the door, you’ll find yourself in an observatory. On the wall directly in front of you is a wheel. Rotate it and the ceiling will open up and the telescope will be accessible.
- Zoom in on the telescope lens. Unfortunately, it’s broken, all you can do with it is take it off and discard it.
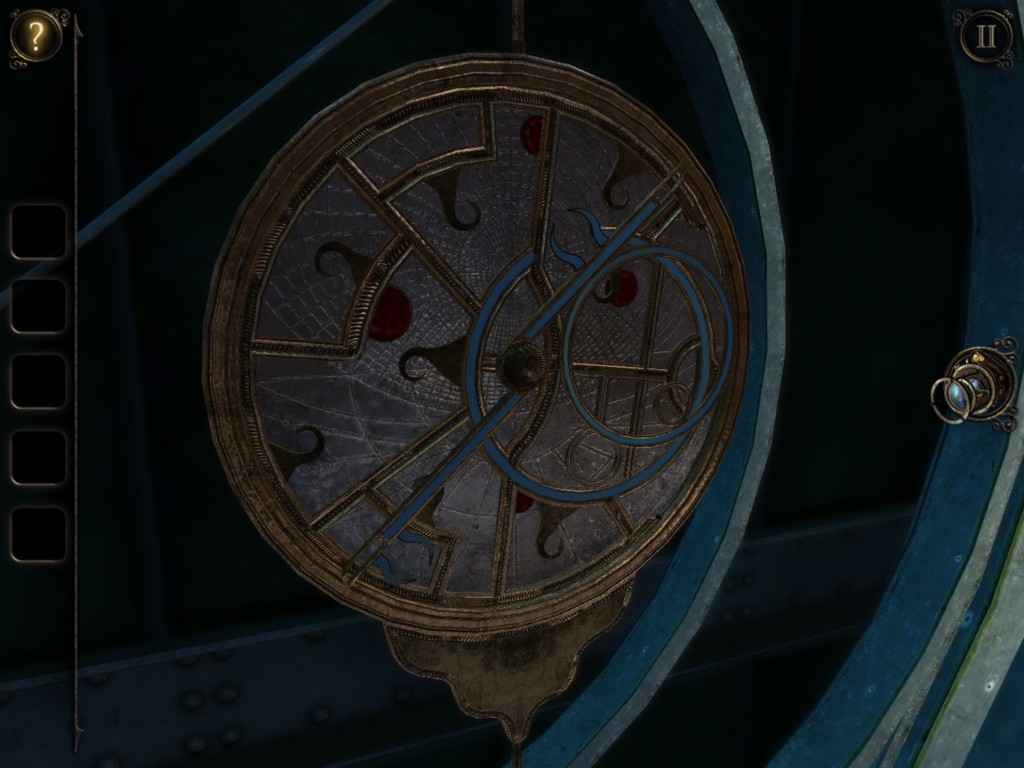
- Look near the star map to your right and rotate the frame near the crescent moon shape until all four red orbs are lit up. Take the ETCHED GLASS DISC from the compartment that opens.
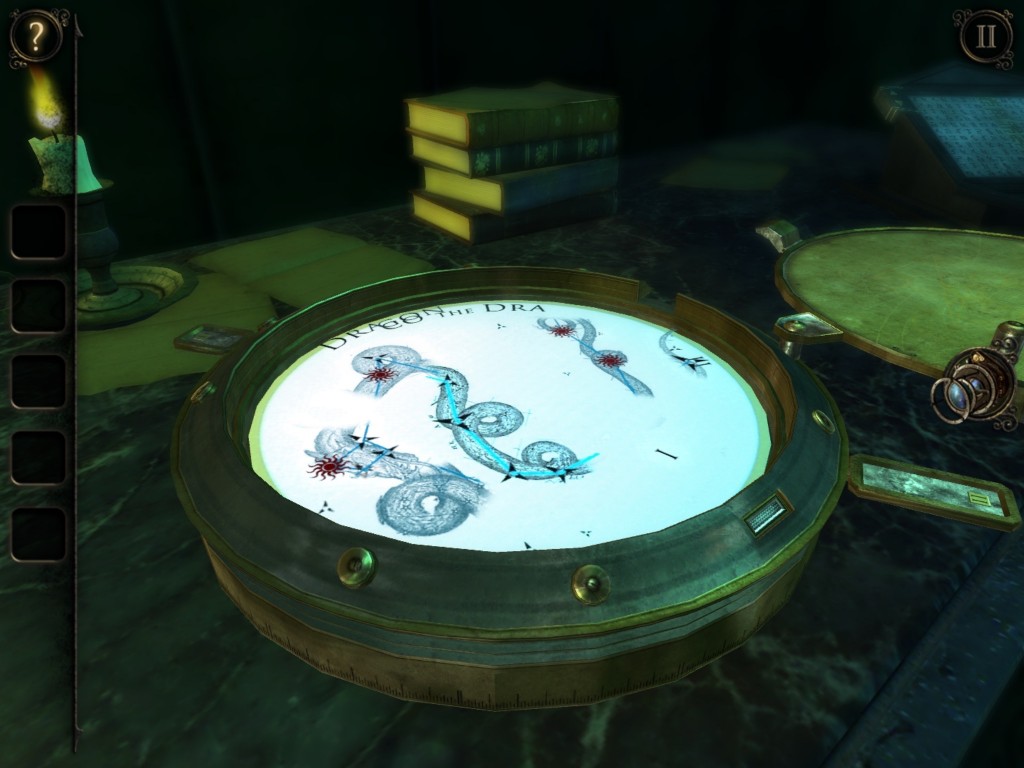
- Go to the table to the left of the telescope. Zoom in on the round device and flip the switch on top of it to unlock the lid.
- Open the lid and place the ETCHED GLASS DISC onto the disc that’s already there and press the button on the rim of the device to light up the combined discs.
- Rotate the discs until the text on them spells “DRACO THE DRAGON” and take the CRYSTAL STAR from the compartment that unlocks.
- Go back to the star map and place the CRYSTAL STAR in the hole it fits into.
- You’ll see that the stars in the constellation to the left are now lit up. Put on your EYEPIECE and you’ll see they form a constellation.
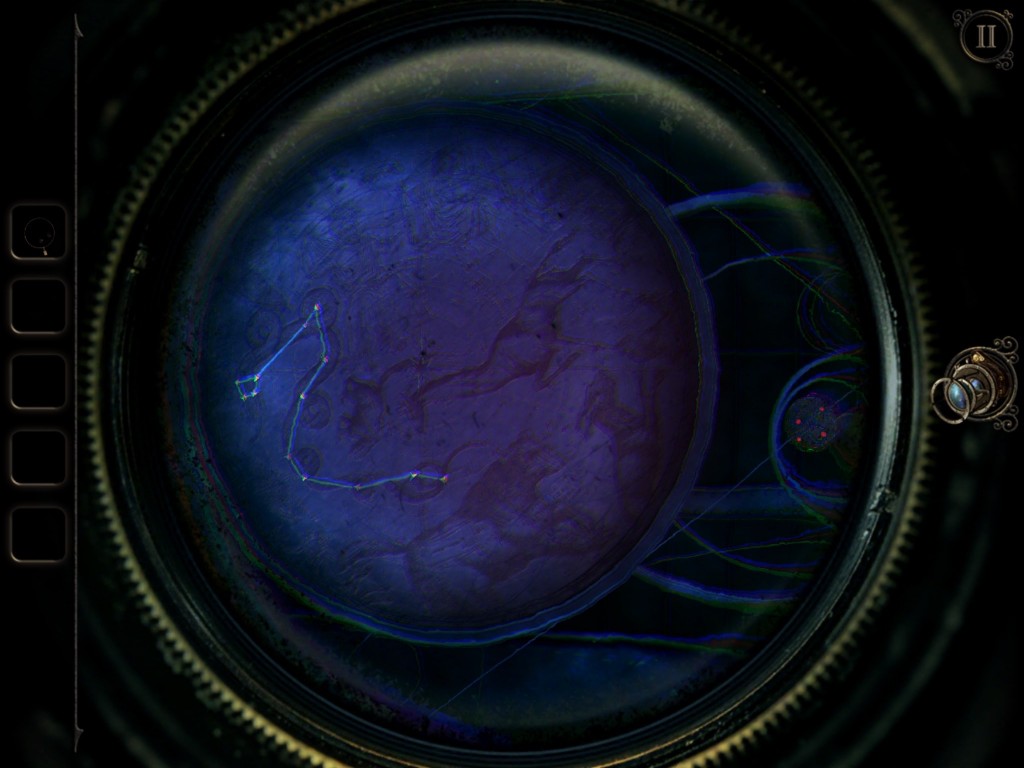
- If you go back to the DRACO THE DRAGON plates, you’ll see four red stars in the exact same constellation. Turn the same four stars red on the star map and you’ll receive a SCRAP OF PARCHMENT and a TELESCOPE LENS.
- Return to the table and you’ll see a tablet with symbols all over it. Place the SCRAP OF PARCHMENT between the holder at the top and slide it down until the lines in the middle match each symbol on the right on the parchment has a line going to the same symbol on the left.
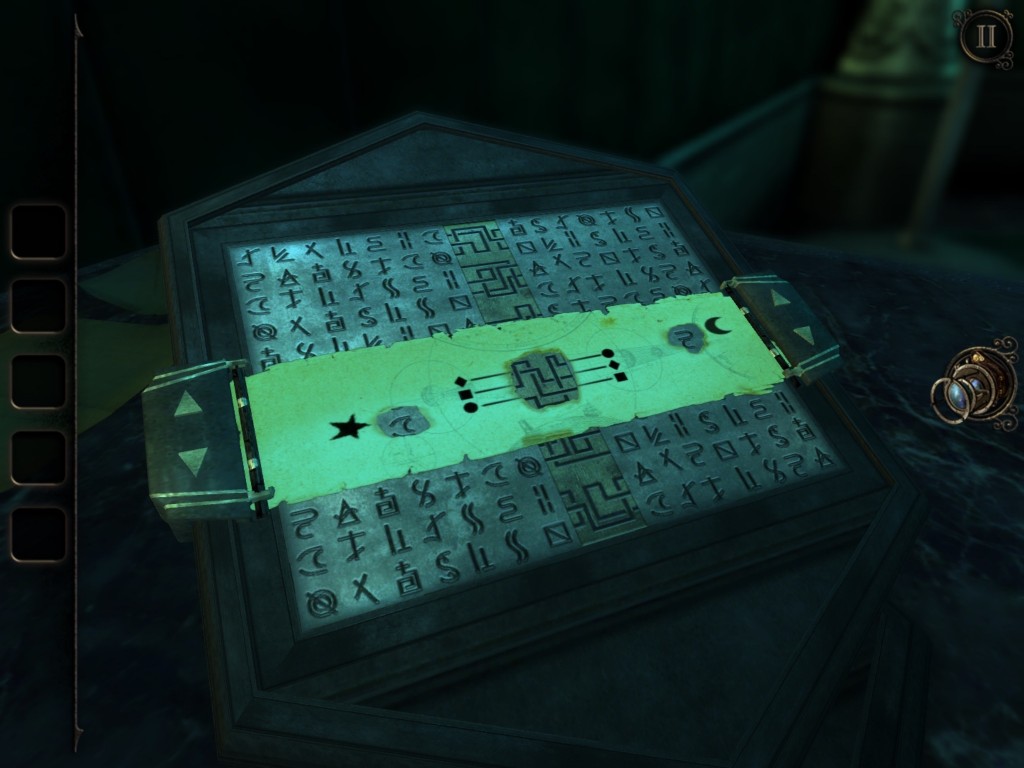
- Note each symbol beside the star and moon on the parchment and move to the telescope.
- Put the TELESCOPE LENS in its place and zoom in on the wheels above it. You’ll notice one has a star in the middle, and the other has a moon.
- Rotate the wheels to line up each dial with the symbols you found by using the parchment.
- Look through the lens and use the sliders on the sides to match the lines of the constellation correctly. Take the METAL PLATE that is in the compartment that is revealed.
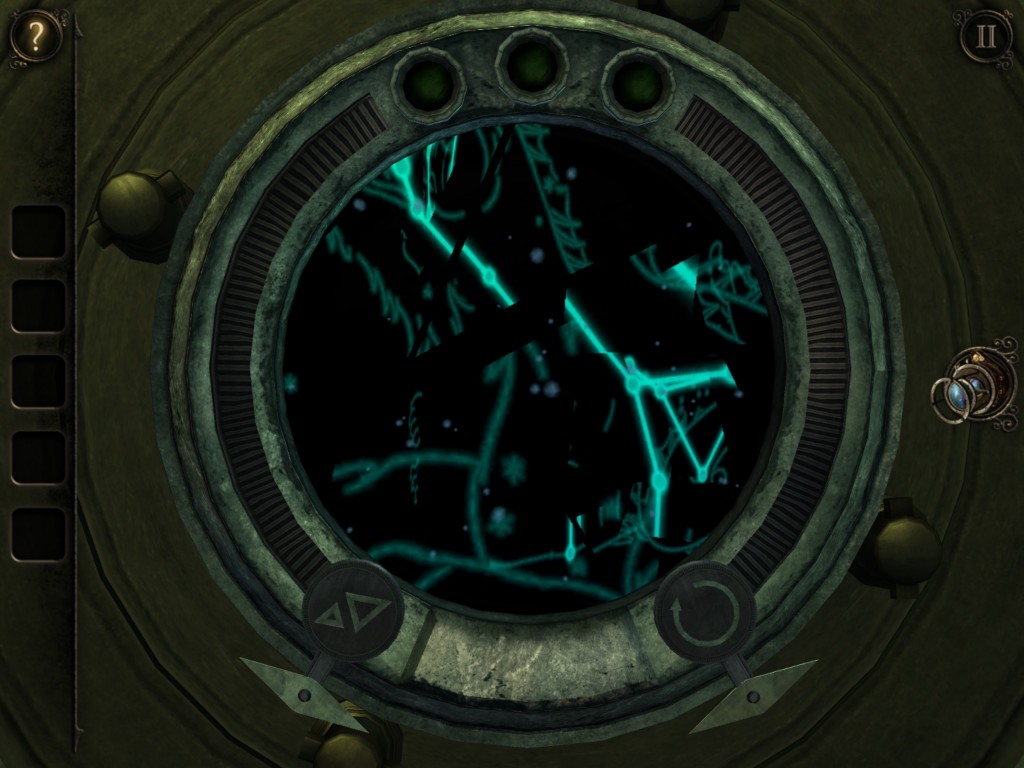
- Place the METAL PLATE onto the parchment and place your EYEPIECE on. You’ll see a symbol along with a star. Note these then move the plate down and note the symbol with the moon. If you don’t see the symbols right away, let the planets rotate for a moment.
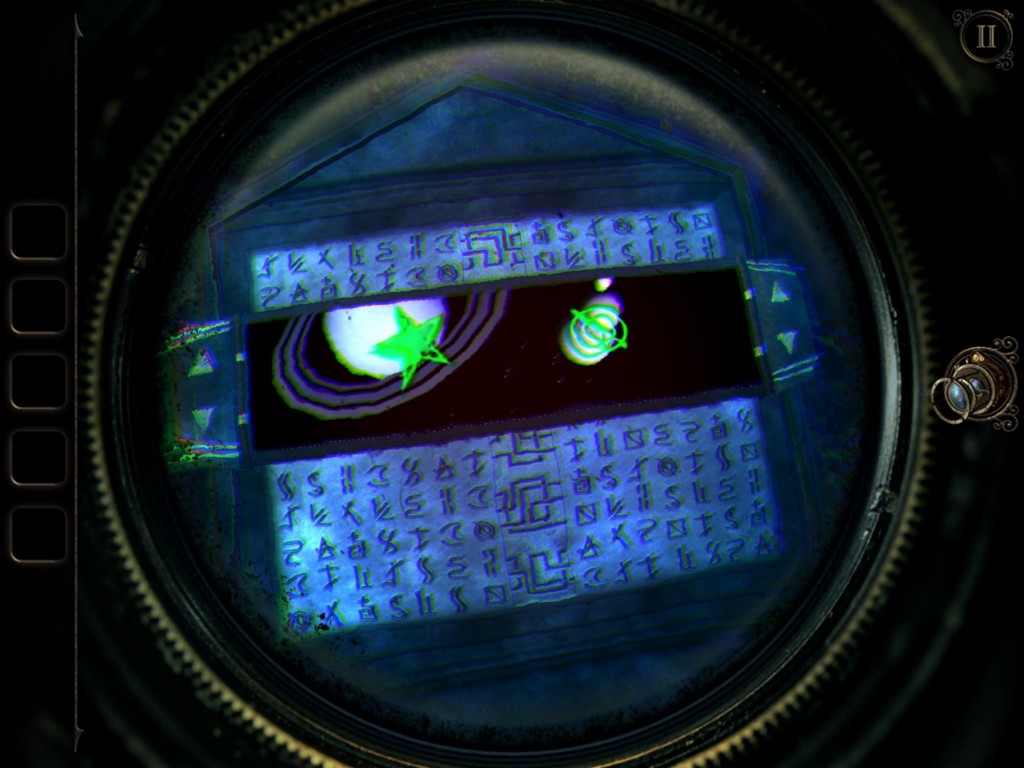
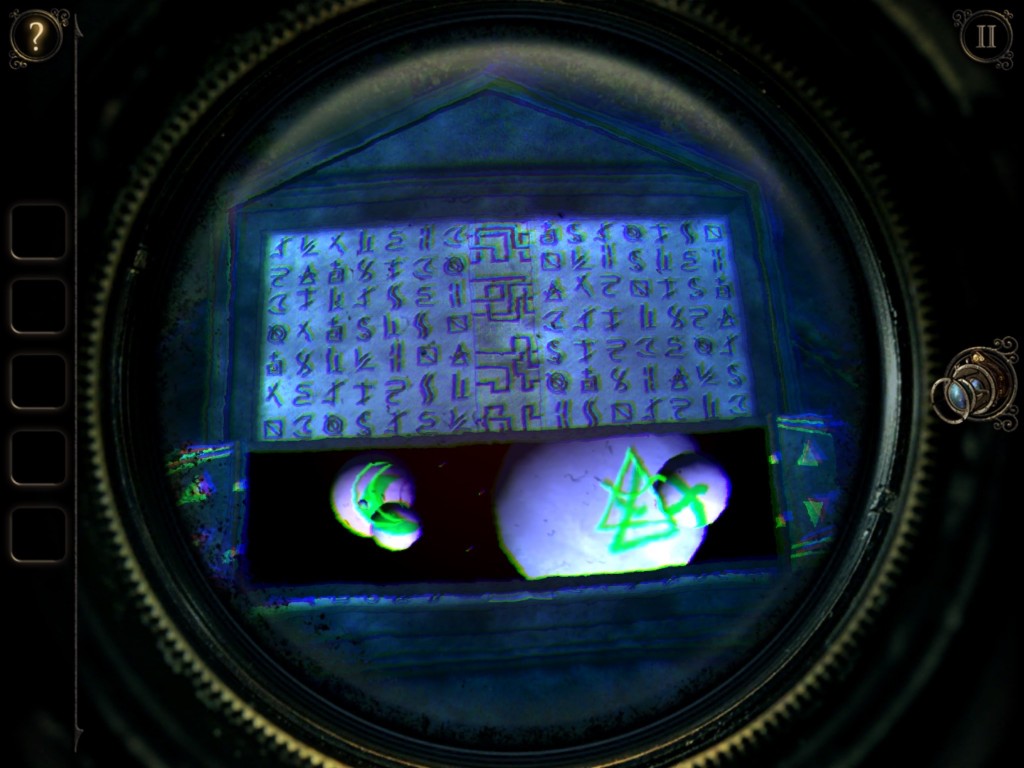
- Move back the telescope and match the new symbols on their respective dials and look through the lens.
- Once again match the lines of the constellation in the correct configuration and take the LARGE IRON HANDLE from the compartment.
- Move out to the foyer and look to your left. Use the LARGE IRON HANDLE on the door and turn it to head upstairs to a new area.
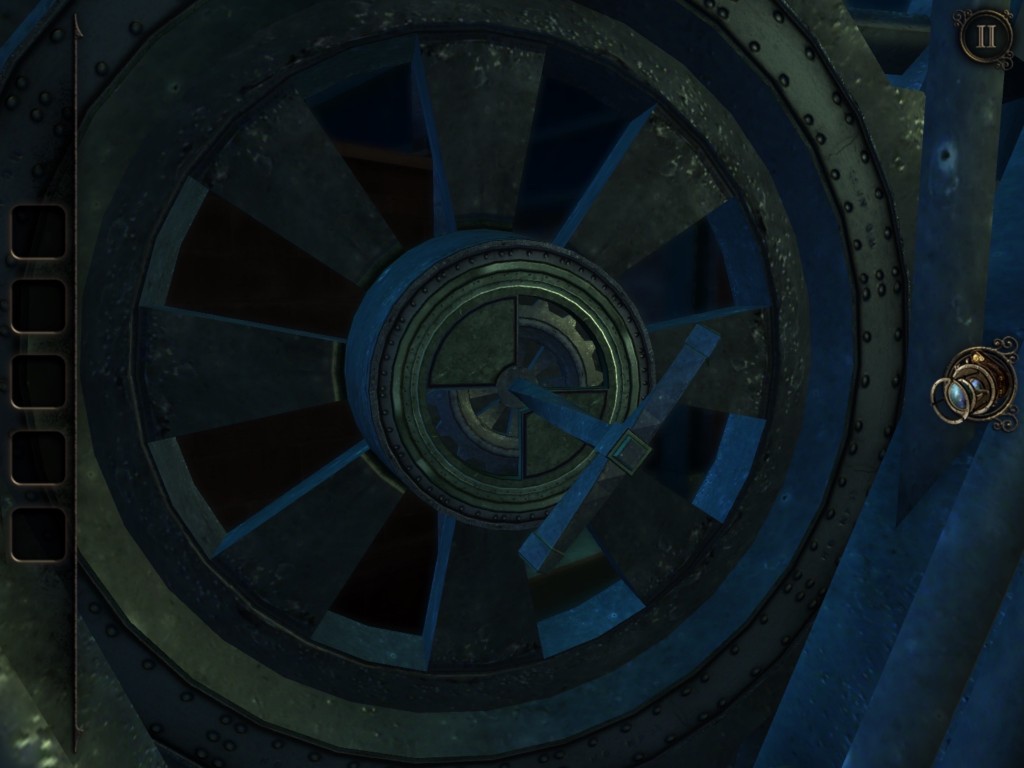
- Go to the podium and rotate the sundial on the left to face east (or III). Take the large gear that appears.
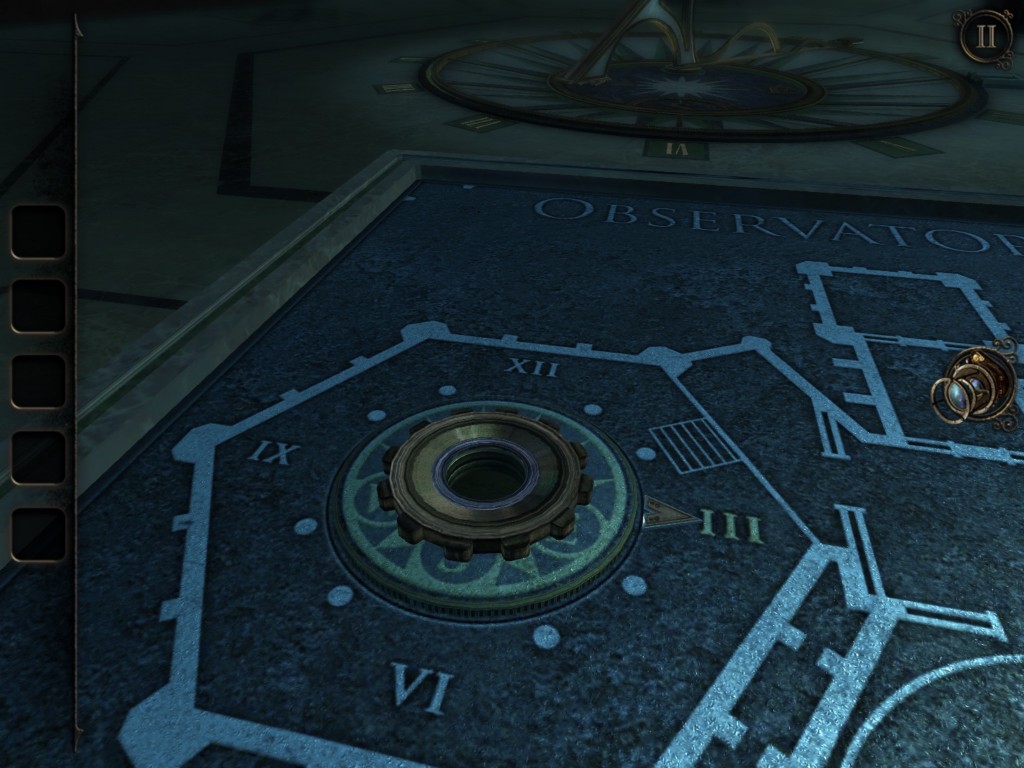
- To the right you’ll see another pair of discs that can be rotated. Spin them until they line up correctly and the power to downstairs will come on.
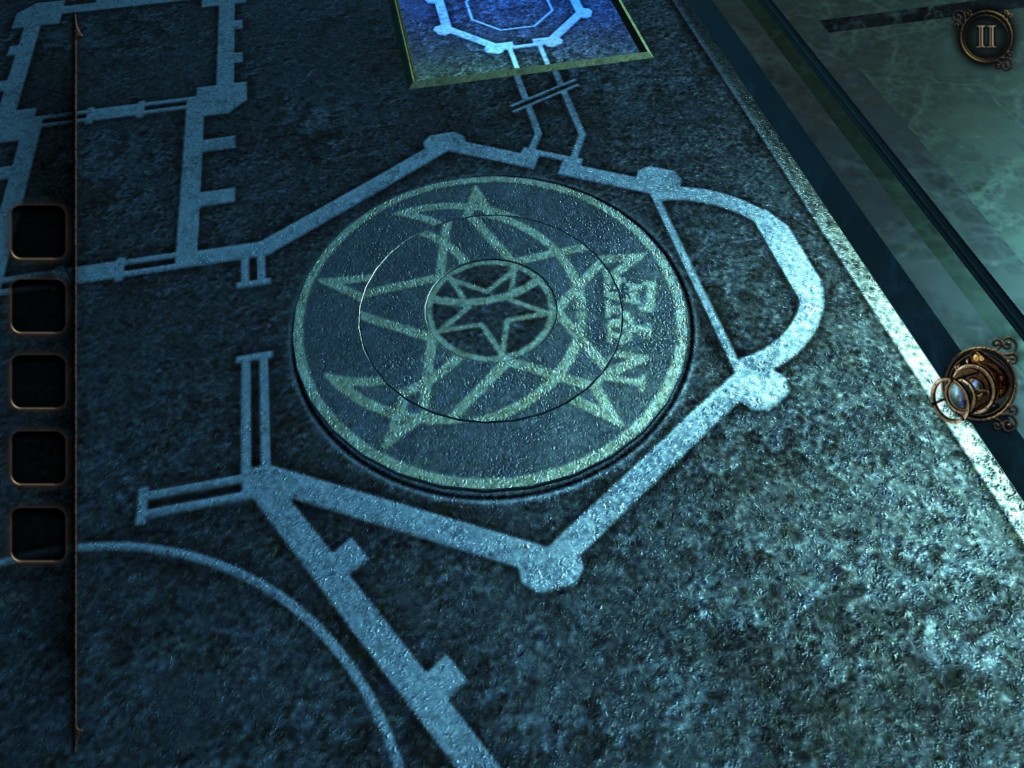
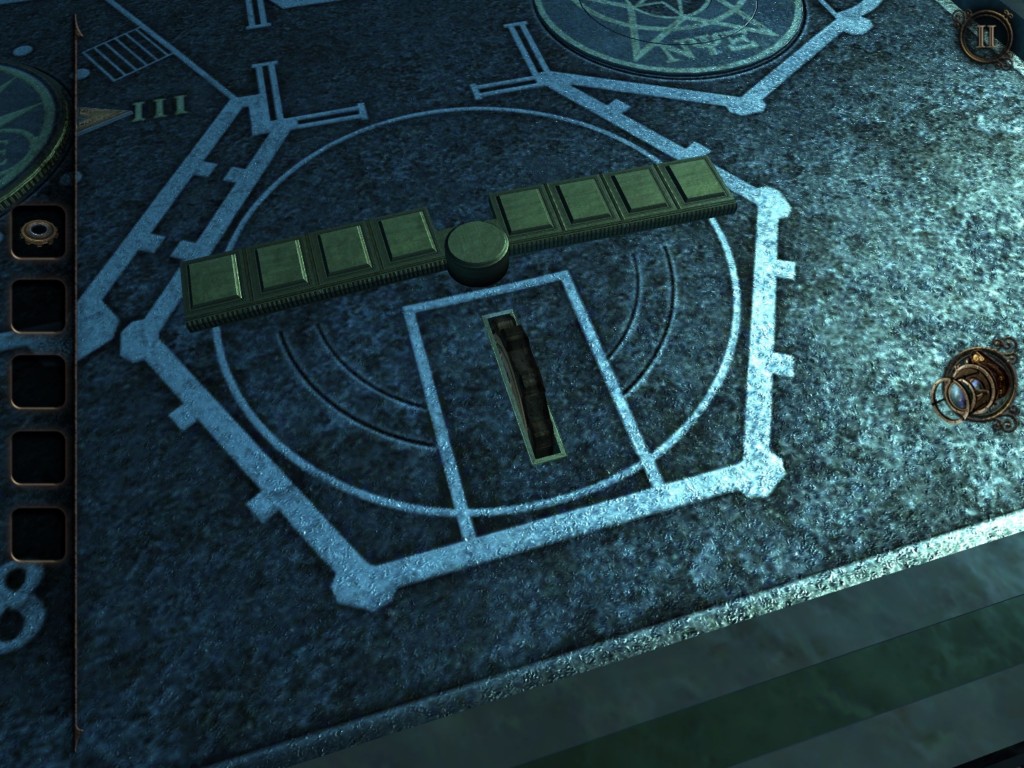
- Slide the two bars up near the bottom of the podium and take the SMALL GEAR.
- Now that the power is on inside, you can open the door directly opposite of the one you went through to come upstairs.
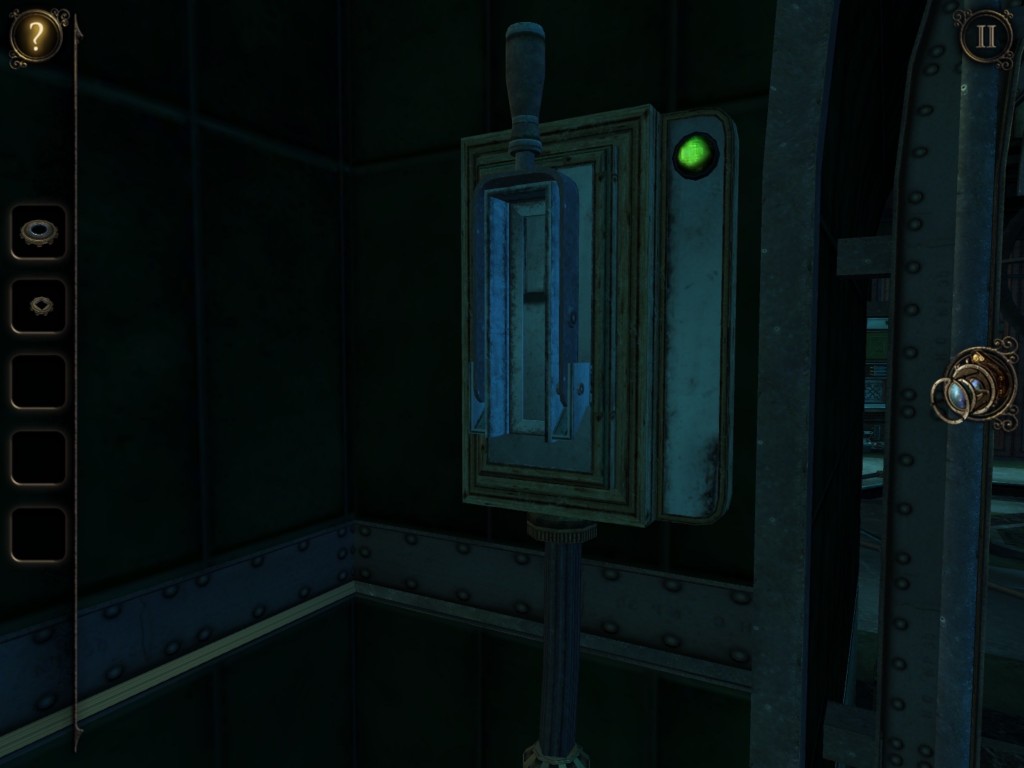
- Move to the door and pull the lever to the left of it and it will open.
- On the table to the left, there is a MODEL SUNDIAL. Take it.
- Return to the podium and place the MODEL SUNDIAL on the compass. Move the arrow to line up with the III.
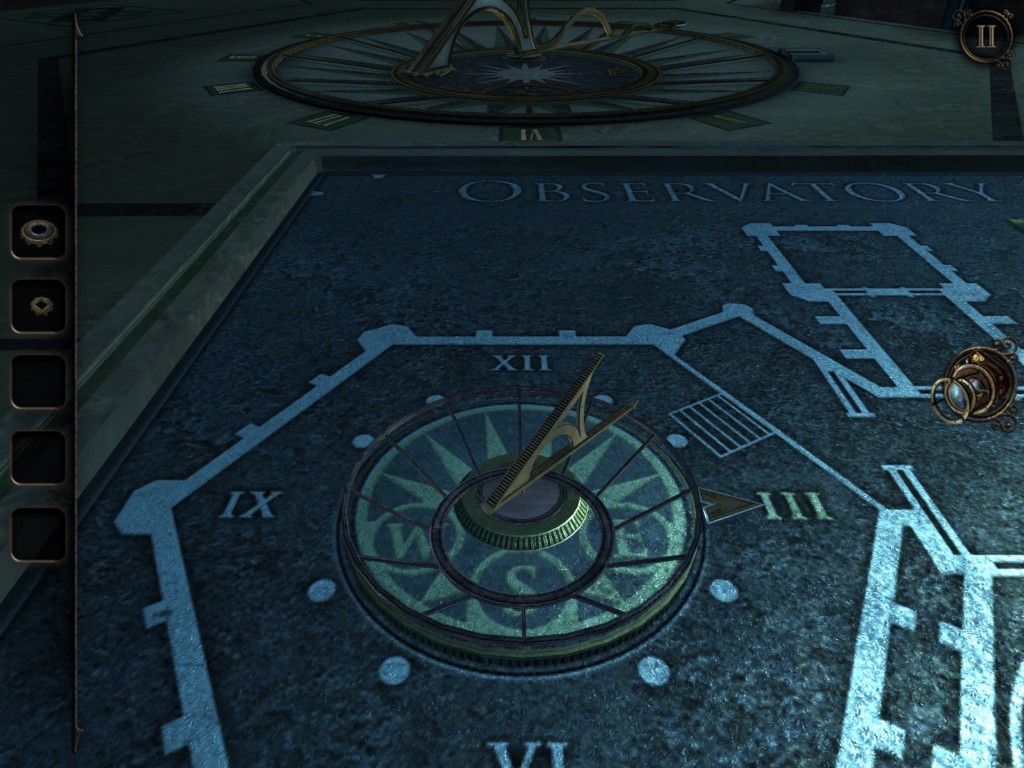
- Move to the big compass on the ground in front of the podium and zoom in on the III. Slide the III and you’ll reveal a gearbox.
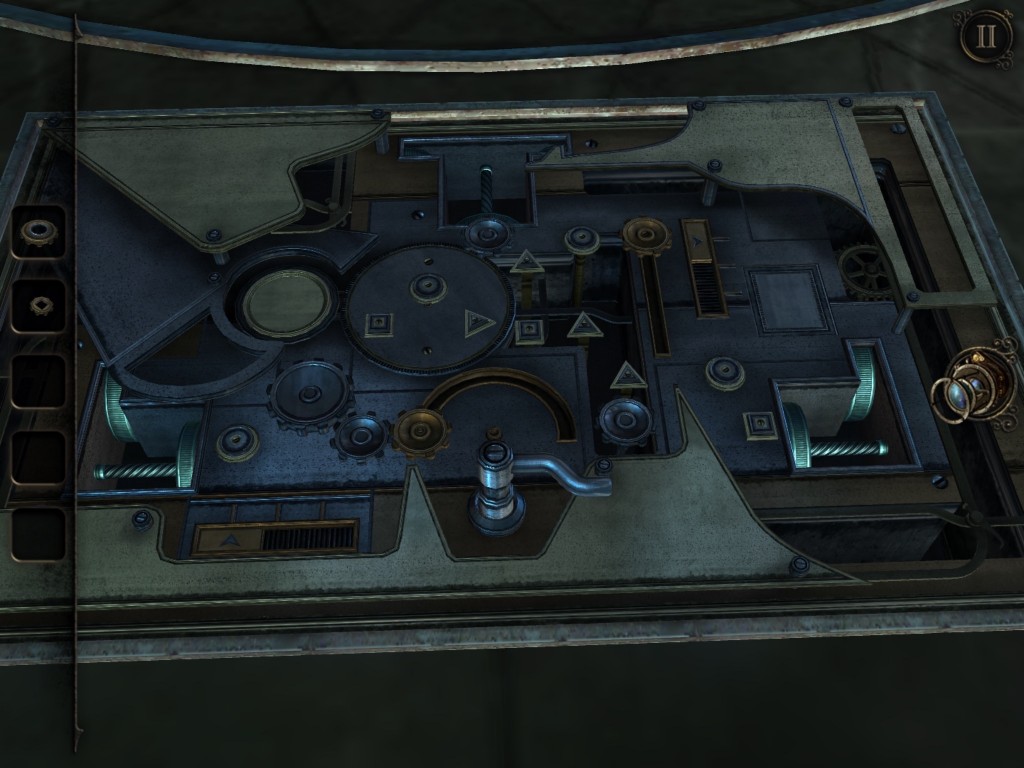
- Put the LARGE GEAR in the slot it fits on the left and turn the crank in the middle to get a SMALL GEAR. Pick the LARGE GEAR back up.
- Use the three gears in your inventory on the lower left corner in the slots they fit, then use the slider in the lower right corner to make the gear connected to the crank line up with the gears you just placed.
- Turn the crank and you’ll be able to pick up a LARGE HANDLE.
- Go back to the podium and below the top of it, and you’ll see a six-pointed star with a hole in the middle.
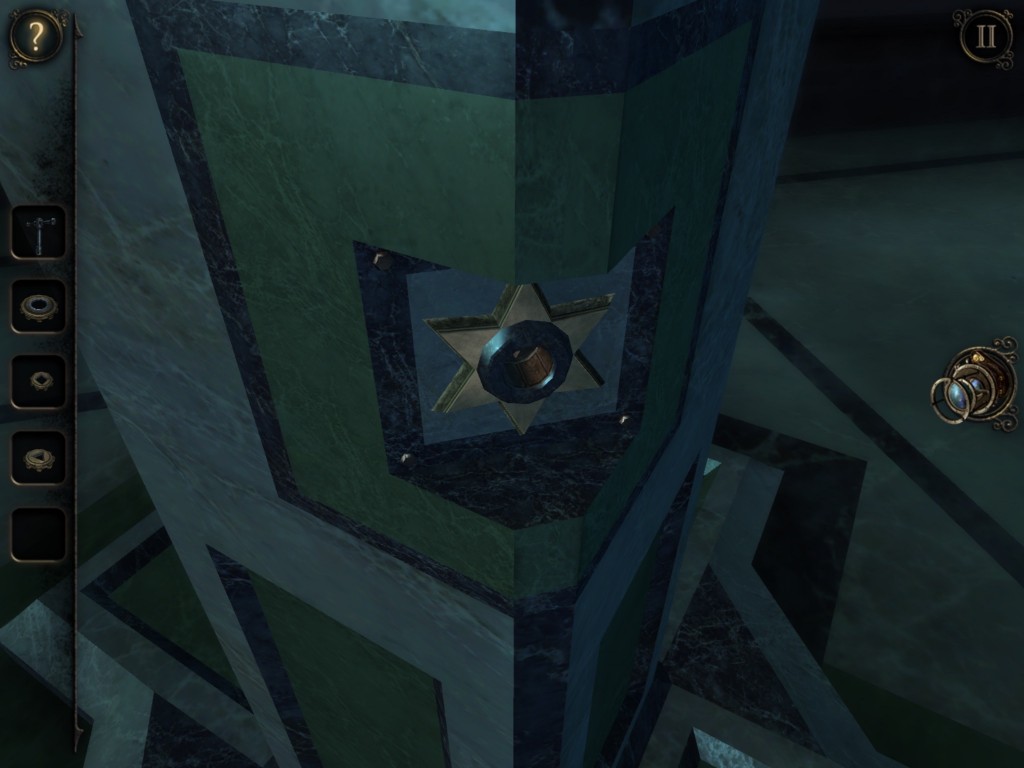
- Use the LARGE HANDLE on the star and take the INTRICATE ORB from the compartment.
- Look at the INTRICATE ORB in your inventory and pull the handle up to receive the BRASS HANDLE and ORB WITH A SOCKET.
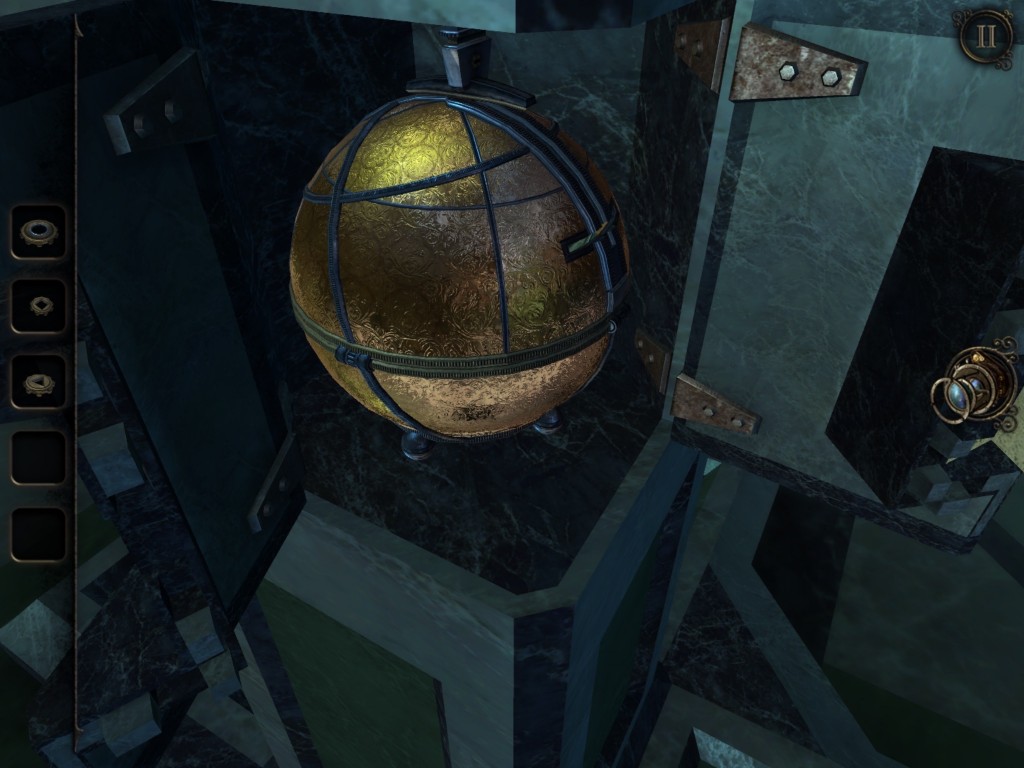
- Examine the BRASS HANDLE in your inventory and slide up the piece with an arrow on it.
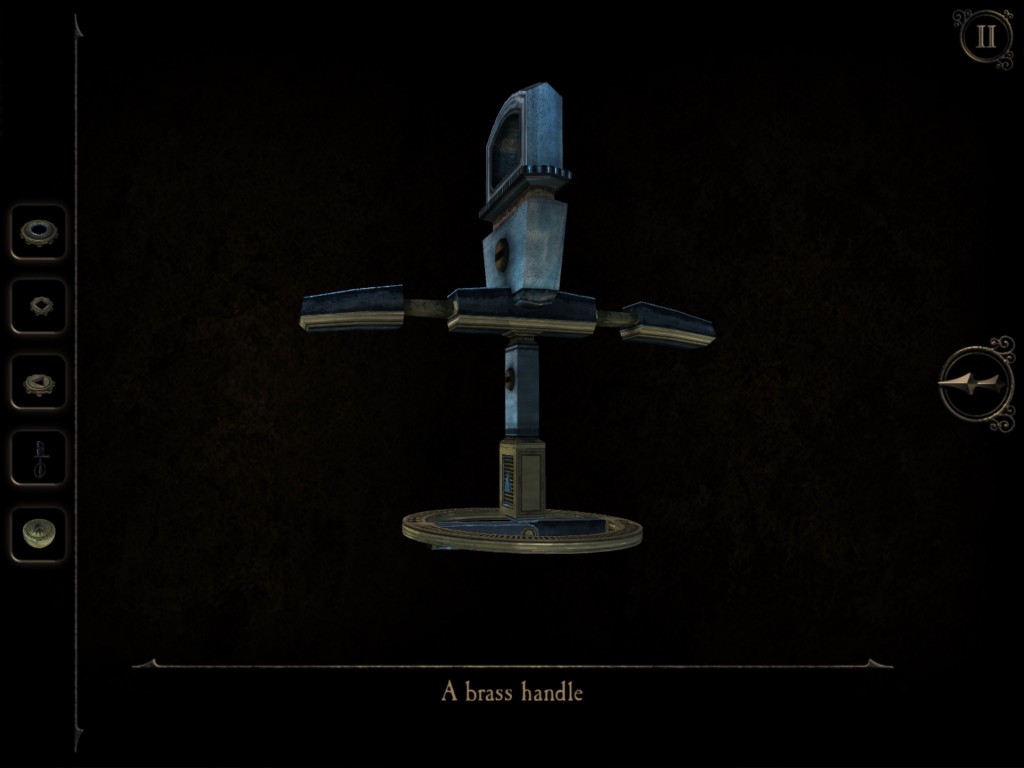
- Go back to the gearbox and place the BRASS HANDLE in the slot that you got the SMALL GEAR from.
- Place the three gears into the circular middle platform. Use the slider at the bottom to move the gear the crank handle moves to the center of its travel.
- Rotate the gears you just placed using the BRASS HANDLE until the one with a square center is touching the gear attached to the crank handle.
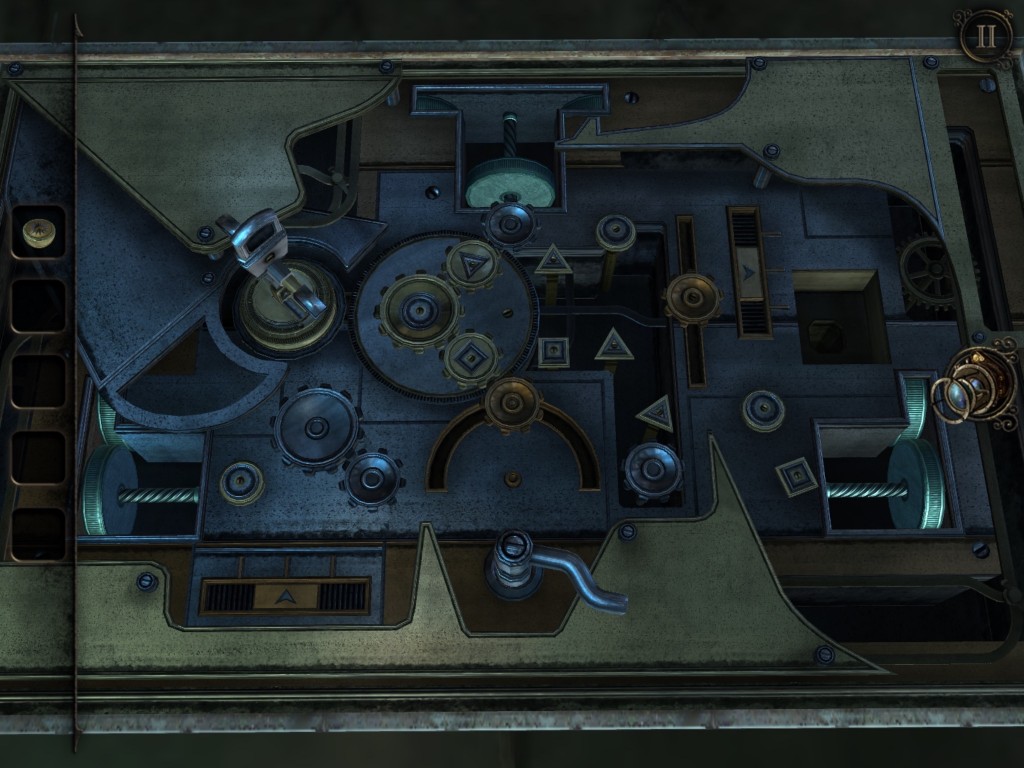
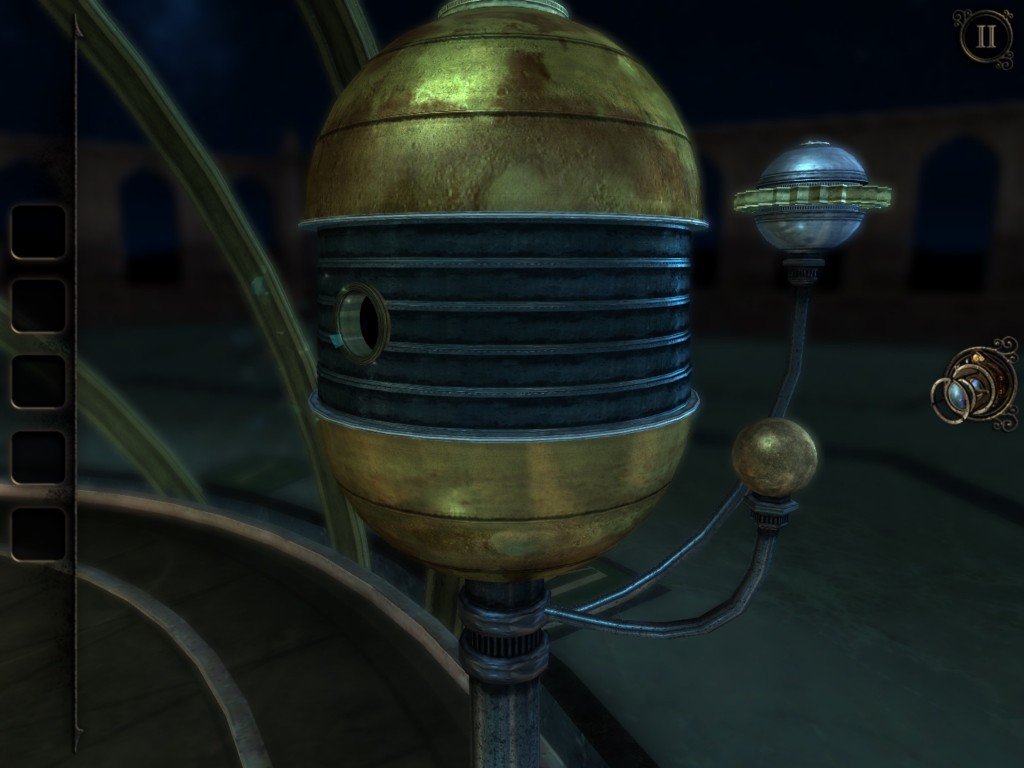
- Crank the gears and a mechanical solar system will rise from the ground.
- Move to the half-globe and place the ORB WITH A SOCKET on it to complete the planet. Press the button on the top of it to make a section of the map on the pedestal start glowing.
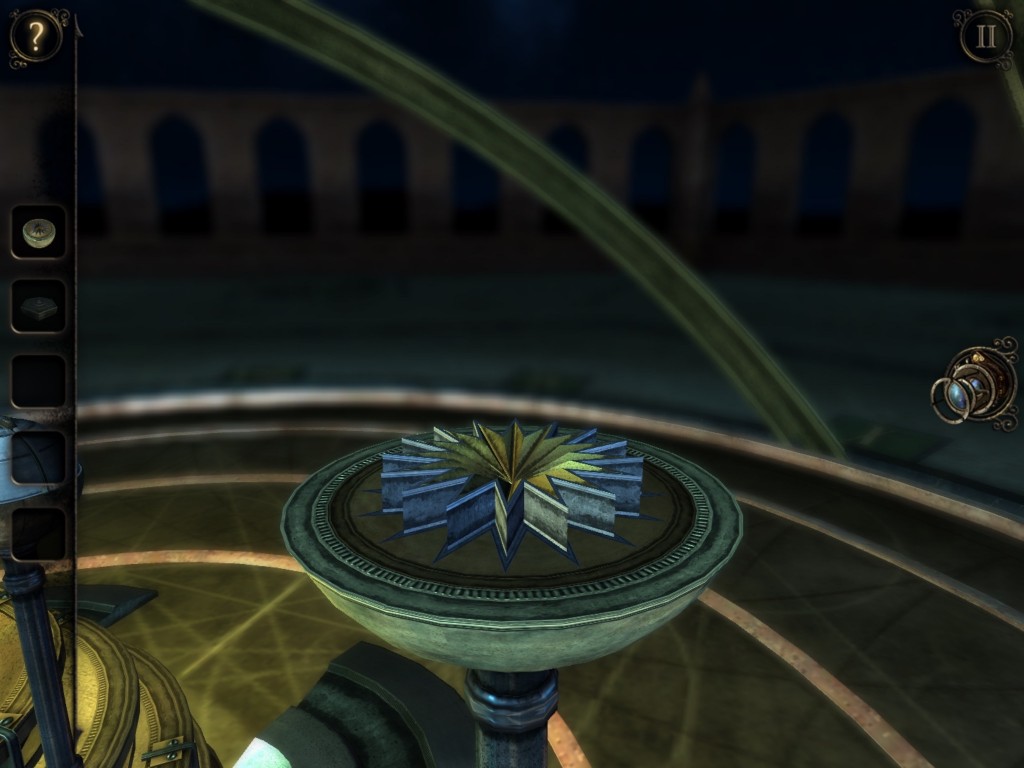
- Move to the planet that looks like Earth and match its surface to look correct and press the button. A METAL CASTING will be revealed. Take it and go to the podium.
- Use your EYEPIECE and match the symbol on the door of the tiny building with the METAL CASTING you just picked up. Once it’s matched, place the METAL CASTING in the plate that appears, and you’ll be able to go inside a hole with fragments above it.
- Move to the pedestal and rotate the orb. Take the STONE CARVING that is revealed. The model in the middle of the room will fall and break the floor.
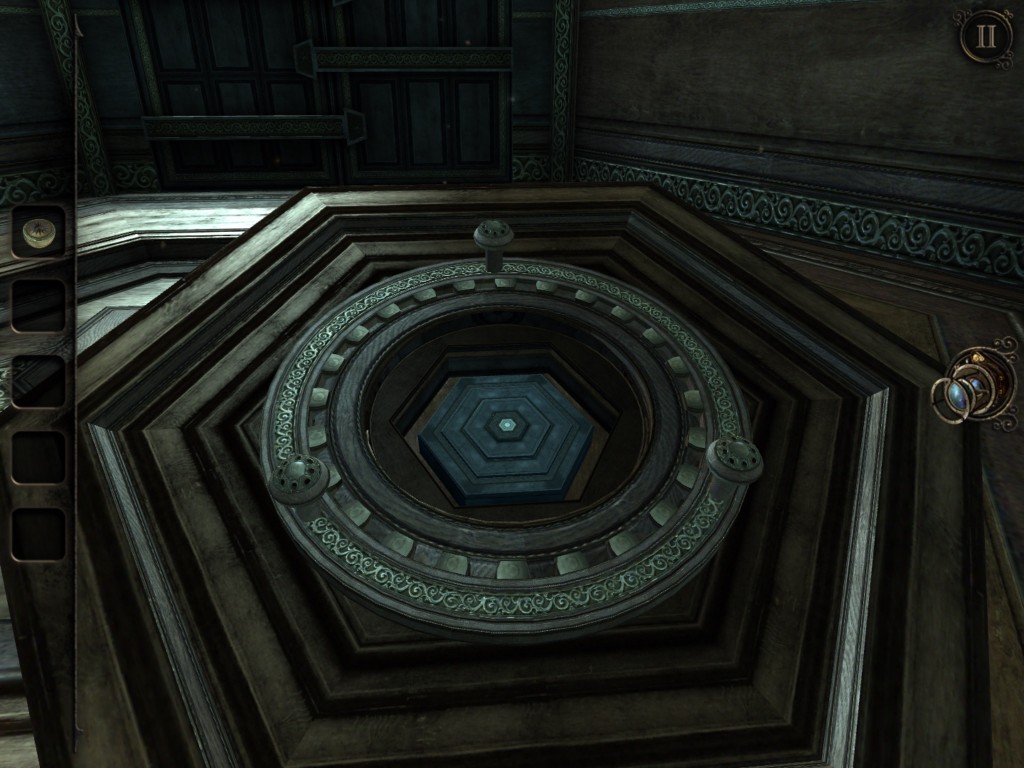
- Go back to the solar system model and move the sliders on the remaining planet up and take the LENS COVER from the compartment that unlocks on the pedestal.
- Note all three symbols here. We’ll be using them soon.
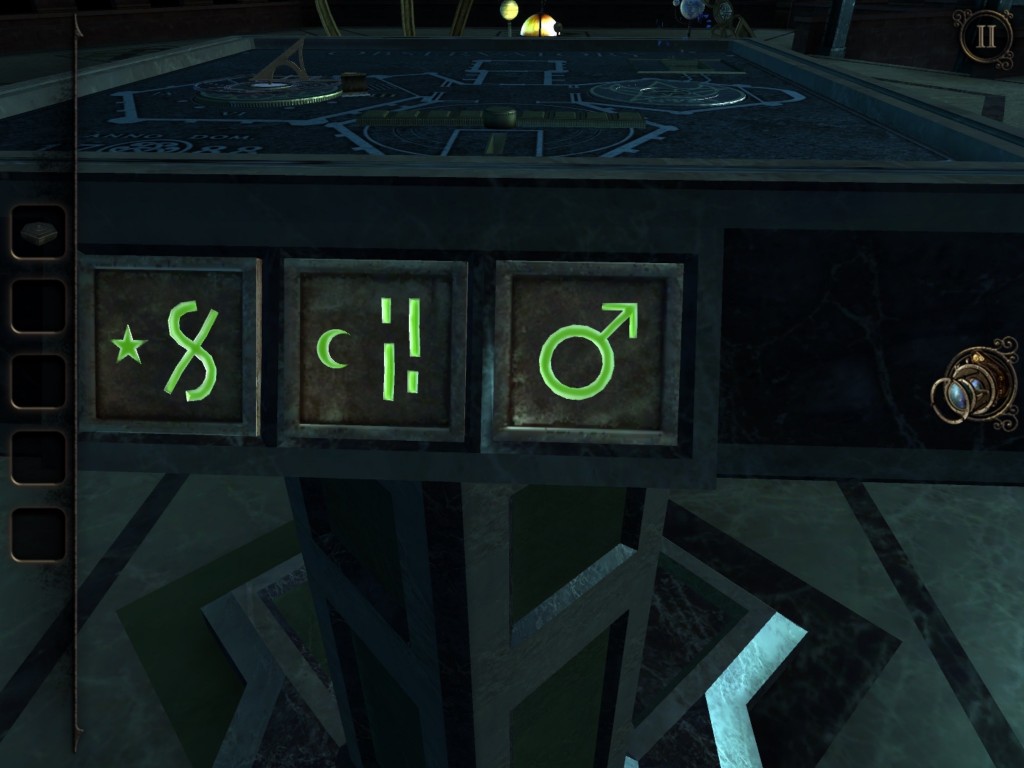
- Go to the telescope and place the LENS COVER over the lens and set the star and moon dials to the symbols that had a star and moon by them on the pedestal upstairs.
- Place the dial on the LENS COVER to the third symbol from the pedestal and then rotate the plate in the middle of the LENS COVER to align with the three square objects you can see in the lens.
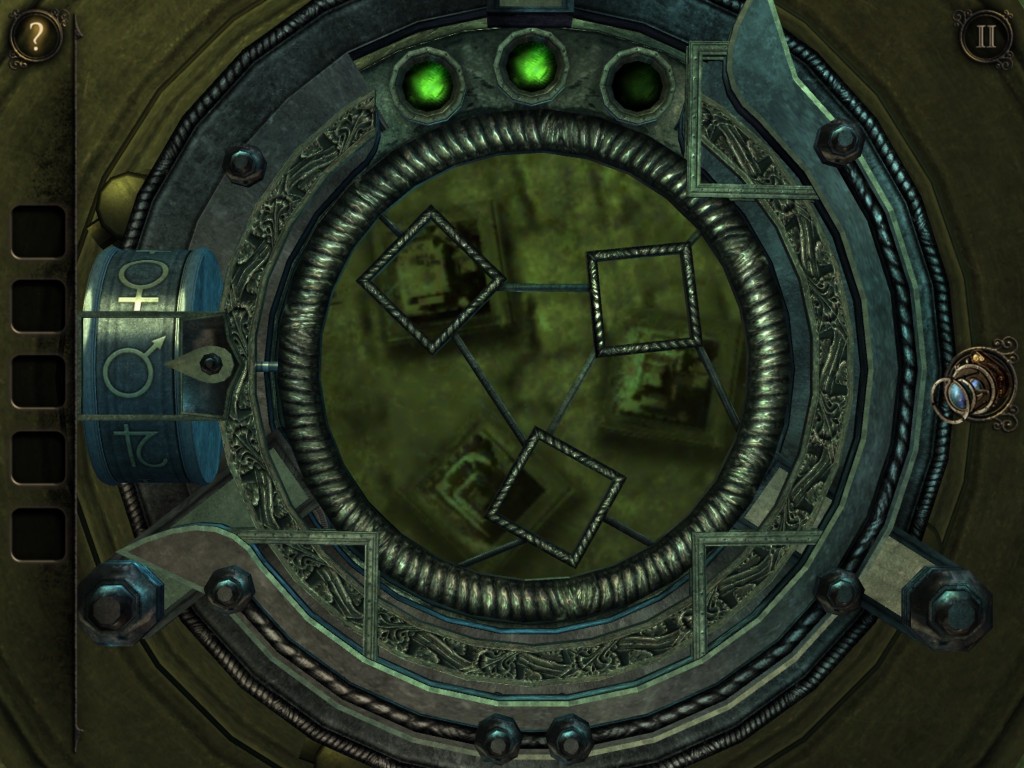
- This restores power to the room next door.
- Go to the room that you opened earlier with the electrical switch and you’ll see that the floor is busted.
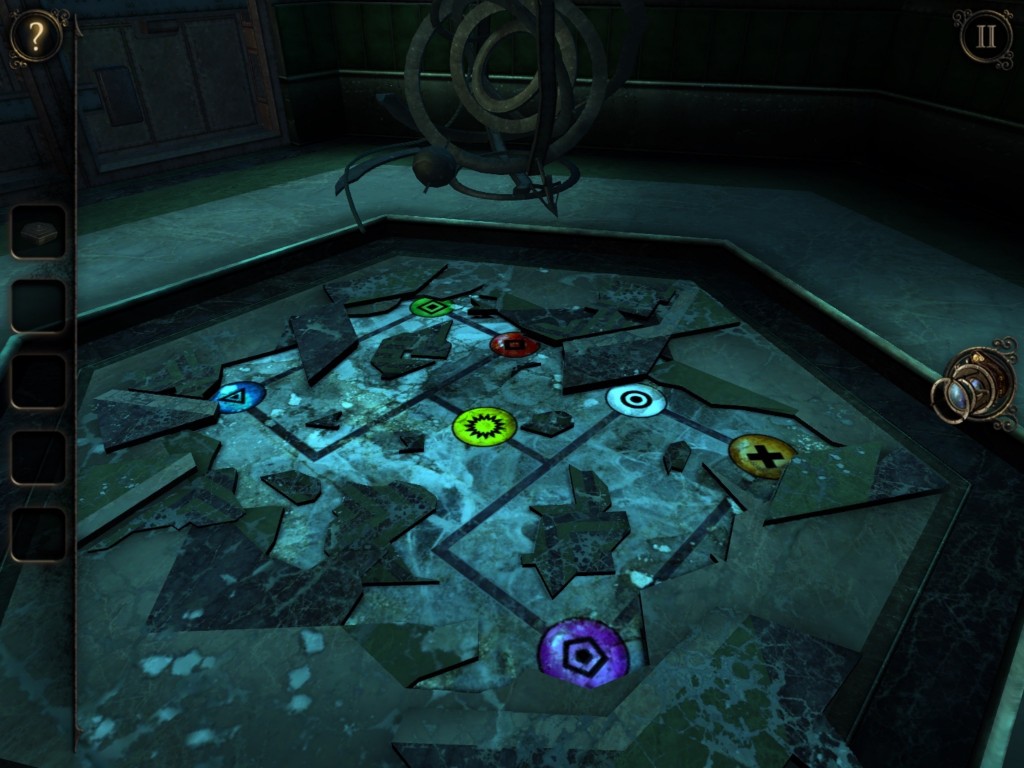
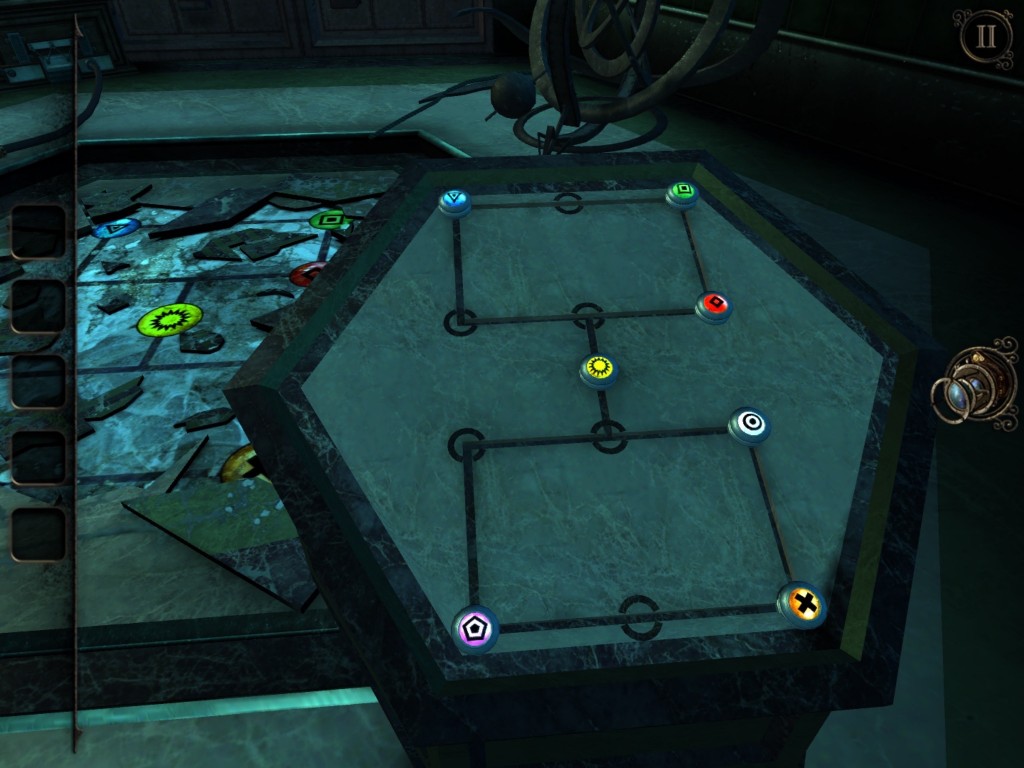
- Go to the nearby pedestal and insert the STONE CARVING and you’ll see a puzzle with pieces matching the pattern on the floor in front of you.
- Move the pieces until they match the ones seen on the floor, and the door in front of you will open revealing a huge spherical object.
- Zoom in on it and rotate it until you see a blinking red light below the target square.
- This light tells you which way you need to rotate to find your objective. If it lights up to the right, spin the globe to the right and so on.
- Once you spin it to the right place, you’ll see a symbol.
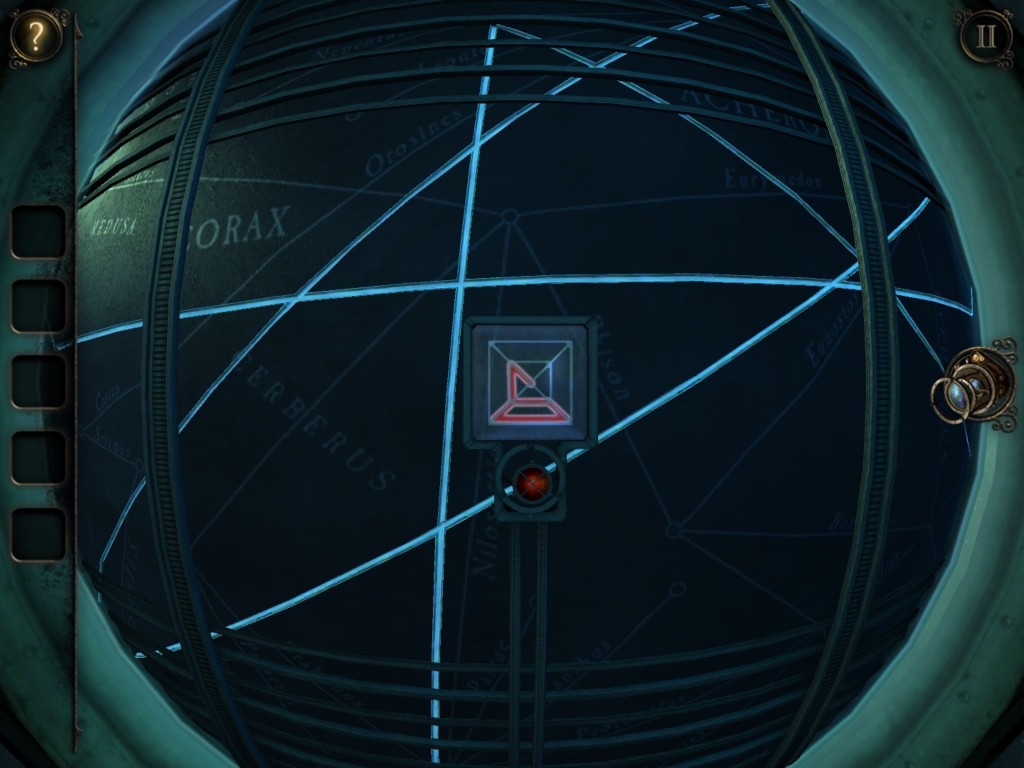
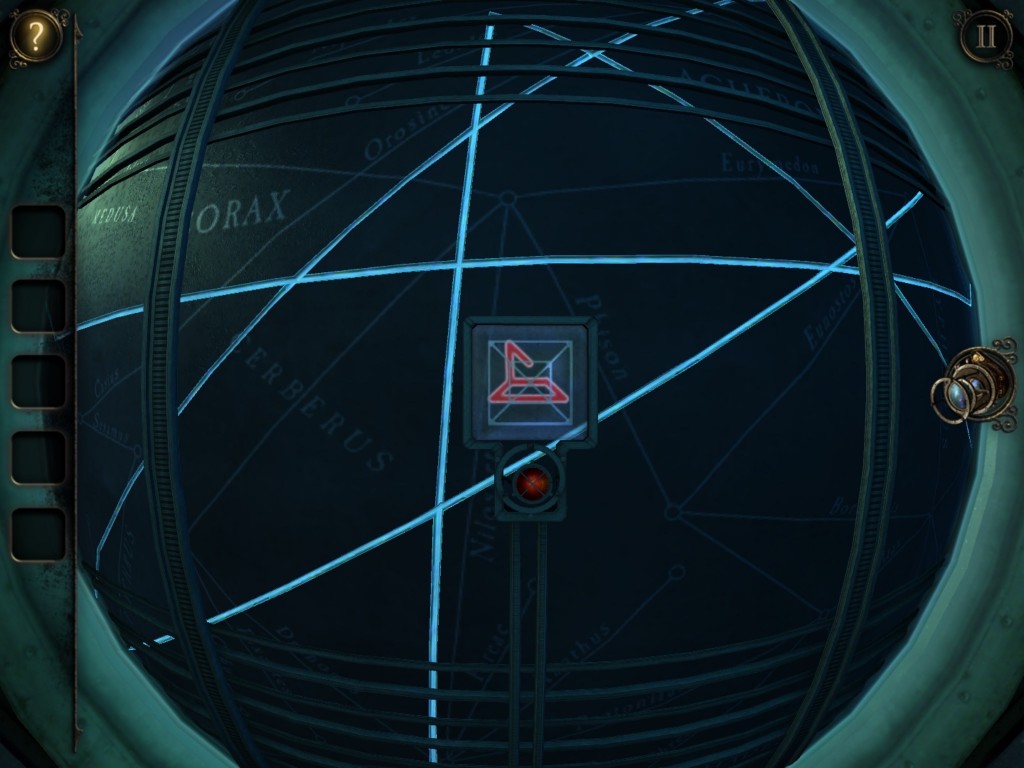
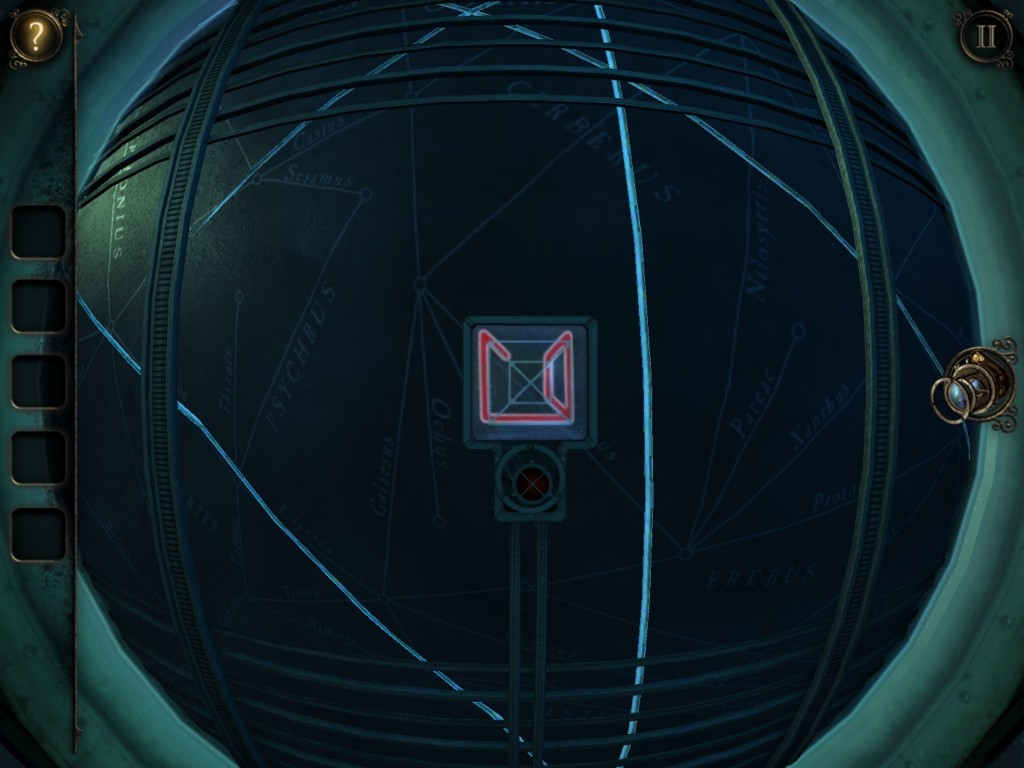
- To the left of the globe, you’ll see a square on the machine there that looks very similar to the one on the globe. Trace the pattern highlighted on the globe onto this square. If you do it correctly one of the three lights to the right of the square will light up.
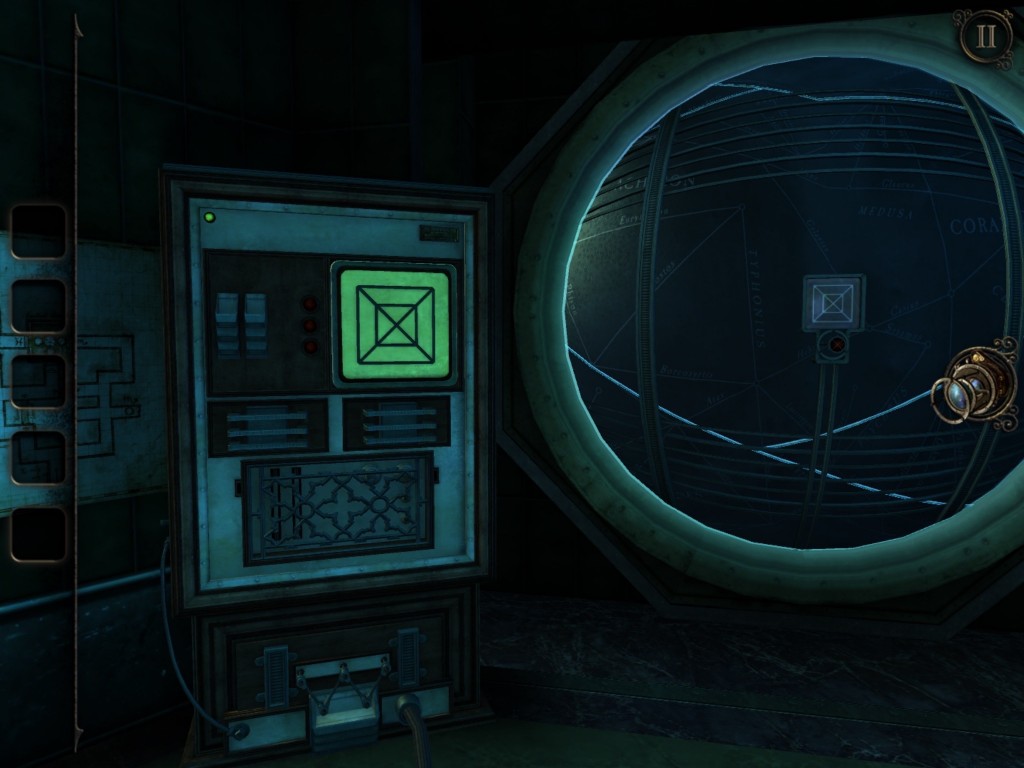
- There are three patterns to find, and once you enter all three the square will melt away to show a scene from a tomb-like area.
- The top button moves your forward, and the left and right rotate you in those directions. The objective is to find three symbols and walk into them to light them up after you light each of you must move to the center of the maze.
- This would be confusing, but luckily in the same room there is a map that shows where each symbol is and the entire layout of the tombs.
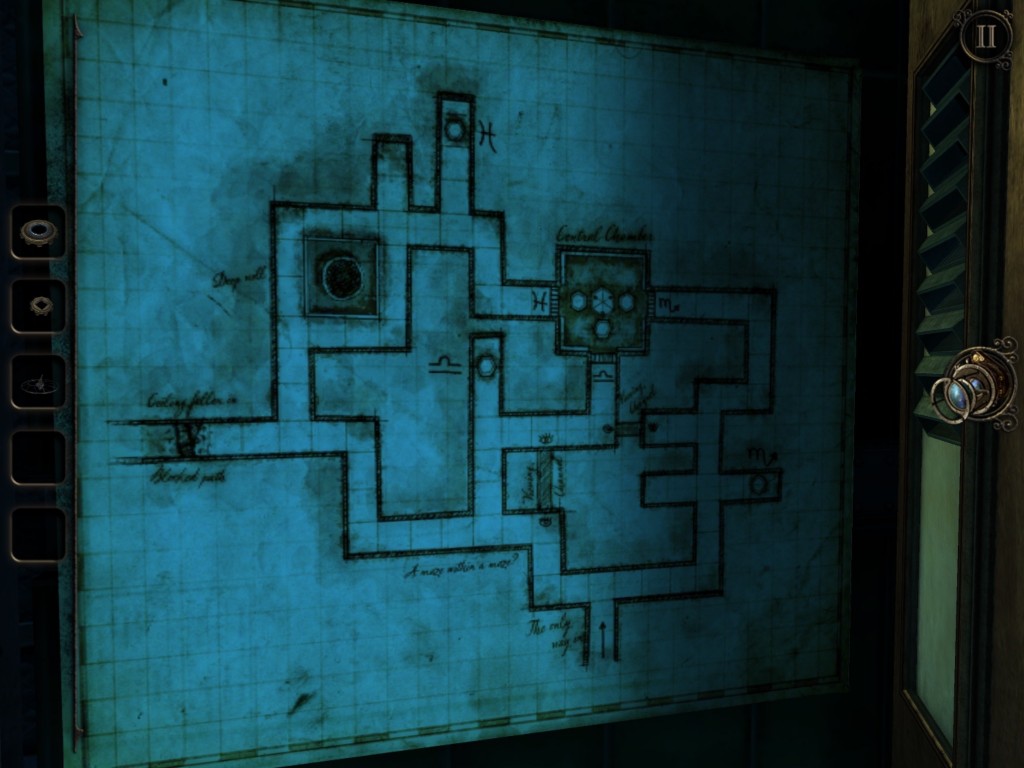
- Once you find the third symbol and return to the center of the tomb. You can pick up the ORB that is revealed.
- Take the ORB to the solar system model upstairs and place it in the holder without a planet. Put on your EYEPIECE and go through the hole with the fragments above it.
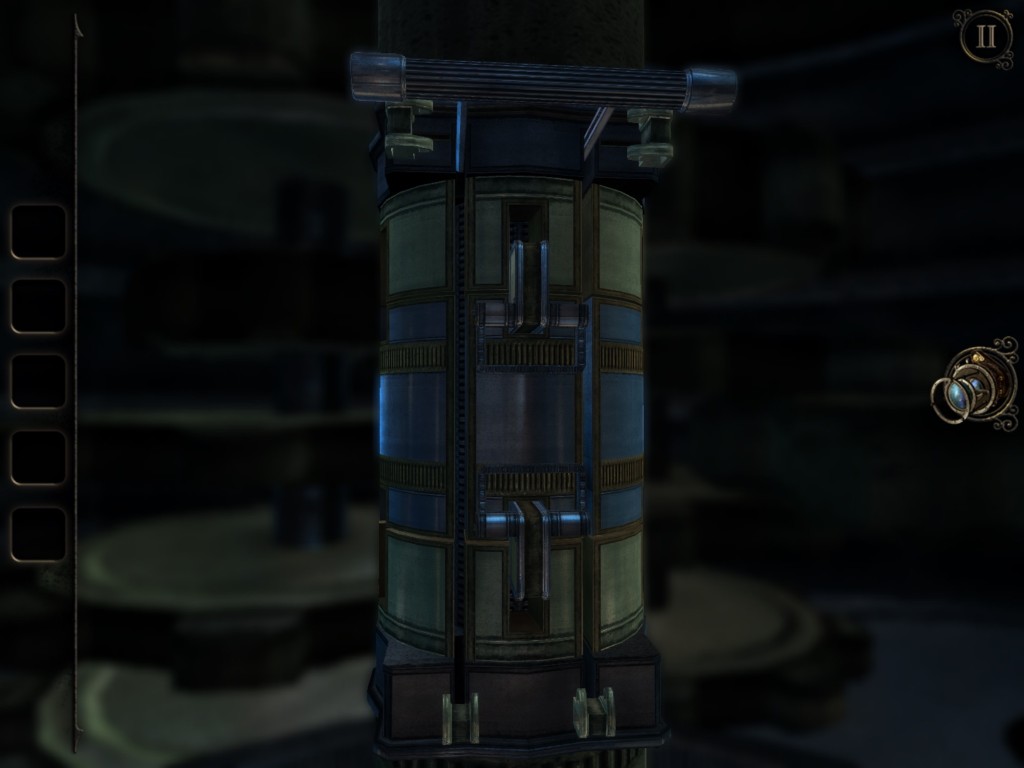
- To pull the lever down, you must rotate the center until it lines up with the two shafts that will allow it to pass.
- To do this pull up with one handle and hold it in place in the middle and rotate the piece until the two tracks line up with the lever at the top then release the handle so it can lock in place.
- Do the same with the bottom piece and pull the lever down to the bottom.
- Once you’ve done this you’ll be zoomed out to the solar system model again. Press the button on the planet and you’ll unlock the compartment containing the fifth PYRAMID!
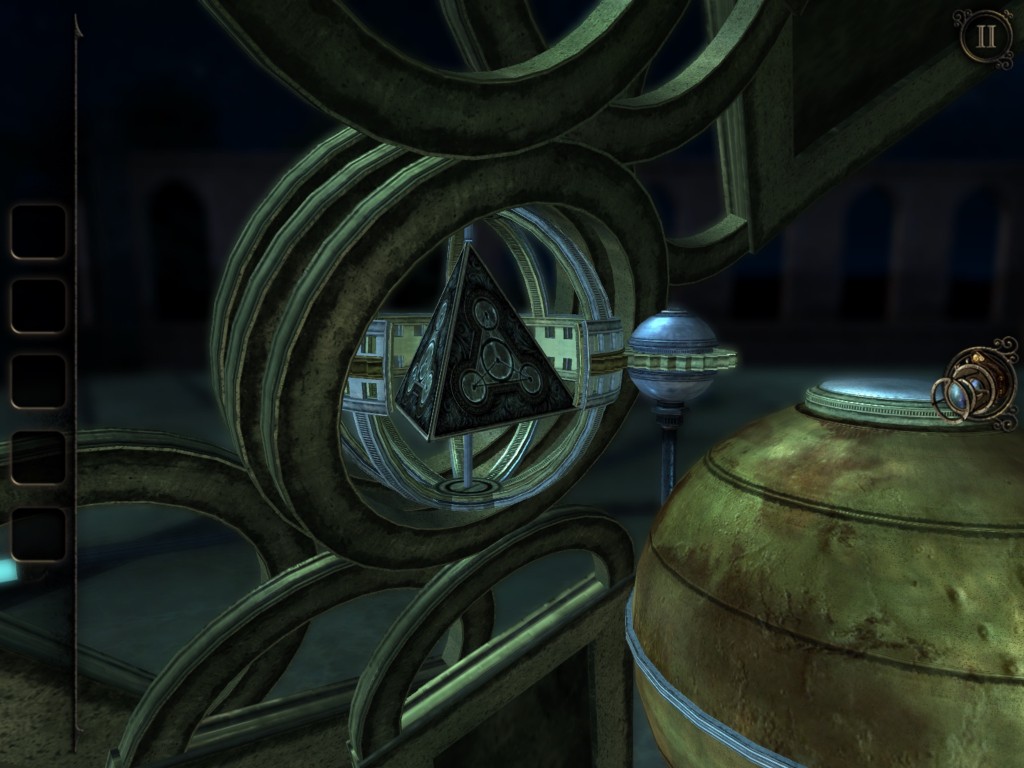
End of Chapter Five




 Guess The Word – 4 Pics 1 Word Answers All Levels
 Zombie Highway Cheats, Tips, & Hack for Gold and Cash - AppGameCheats.com
 Backgammon Plus Hack & Cheats for Coins & Chips - AppGameCheats.com
 Escape Game: “A Twisted Love” Walkthrough
 Iconica Pack 2 Answers Level 1-50