Star Wars Battlefront Walker Assault game mode guide with tips and strategies for an easy win.
Walker Assault is one of my most favorite game modes in the game because it requires well-coordinated team effort and is highly unpredictable.
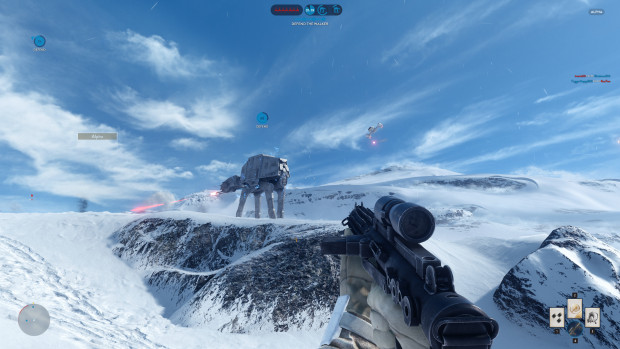
The basic idea behind Walker Assault is that the Empire must protect their AT–ATs and get them through three uplink station across the map. The Rebel, on the other hand, must eliminate all the AT–ATs present on the map.
Since the game mode takes place on a large map with plenty of positions to cover, coordinating with your allies and properly utilizing cover is one of the keys in winning it.
Walker Assault is basically divided into two sections; an uplink section and a walker section. During the uplink section, the Rebels must activate one or two stations and the Imperials must prevent it. Keeping the stations activating allows players to call in Y-wings which disable the AT–ATs and thus allowing players to destroy them.
General Tips and Strategies
One of the first things that you need to understand that the Y-wings only disable and leave the AT–ATs vulnerable; they do not destroy them for you!
If you see more and more Y-wings being deployed on the field, let the uplink stations rest for a while and eliminate enemy players targeting your AT–ATs out on the map.
You should also note that time is of essence in Walker Assault mode. During the second section of the mode, you need to head in towards the AT–ATs as quickly as possible using the Snowspeeders or Landspeeders and start dishing out damage.
While you are attacking the walkers, always make sure to target the center of the structure to maximize your overall damage output as compared to shooting it on other sides. AT–STs, on the other hand, have less armor on the backside so shooting them on the backside will maximize your overall damage output.
While team coordination is a must in Walker Assault, it becomes even more important when you are playing on the Rebel side. Once you decide to charge an uplink station, make sure to let your team know and approach them from different sides.
You should also consider tossing a couple of Smoke Grenades to buy your team some even more time. Lastly, you can also try and activate one all by yourself and let your team know so that they are able to pick up your work and finish it — a necessary sacrifice!
Also do not forget to share your own tips and strategies with us in the comments section below!


 Star Wars Battlefront Cargo Tips and Strategy Guide
 Star Wars Battlefront Endor Map Guide - Locations, Tips and Strategy
 Star Wars Battlefront Supremacy Tips and Strategy GuideStar Wars Battlefront Hoth Multiplayer Map Guide - Tips, Strategy, LocationsStar Wars Battlefront Walker Assault Tips and Strategy Guide