

In Minecraft, the majority of survival gameplay takes place in the extensive biomes found in the Overland. There, you collect resources that you use to survive and thrive throughout the game.
Regardless of what biome you spawn into, you need to concentrate on short term survival by following these steps:
Collect wood first. If your biome does not contain much wood, such as a desert or ocean biome, move to another biome. You can always return later to collect other resources.
Use your wood to craft simple tools, especially a pickaxe.
Use your wood to craft simple weapons, especially a sword.
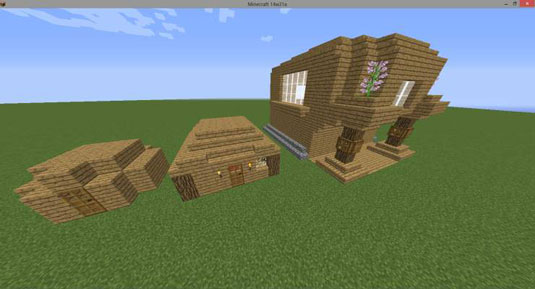
Use your wood to create a shelter.
As you collect resources, you will need to store them in your inventory. Here are some tips on how to stock up:
Stack identical items into your inventory slots. Many items are stackable up to 64 items per slot.
Fill your inventory with a food supply. Meats including mutton, beef, pig, and chickens provide you with the most hunger and saturation points.
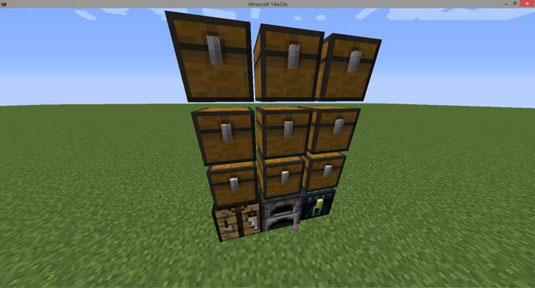
Build a chest. As your inventory fills, build a chest to hold even more items, but then you will have to go back to your chest whenever you want to retrieve your stuff.
After meeting short term survival goals, you will want to employ three strategies to gather items in the Overland:
Harvest items found naturally in your biome.
Create resources by starting a farm.
Trade with villagers and excavate structures.
You will move back and forth between these three strategies, using the resources of one to help with another.
After gathering wood in your biome, you will want to collect other items found naturally in your biome.
Because each biome is unique, you will gather resources in a different order each game.
You should start by collecting wheat seeds and penning or trapping allied mobs (i.e., farm animals) including pigs, sheep, cows, and chickens.
If your biome permits, collect mushrooms, cocoa beans, rabbits, and other useful food items for farming.
Move to friendly biomes such as savannas or plains. Some biomes are very hostile to new players including the desert, though it offers great resources later in gameplay. If you spawn in a resource scarce biome, simply begin travelling until you find a more suitable habitat.
Farms are an important part of Minecraft play. Here are some pointers on how to get started farming:
Start a wheat farm. They are relatively easy to create and allow you to craft food products to eat as well as breed animals.
Plant other crops such as melons, potatoes, carrots, and pumpkins.
Begin breeding allied mobs that you trapped in pens. Not only are animals important food products, they also drop other items used in gameplay such as leather, wool, and eggs.
Use the table below to breed animals:
As you develop more resources from farming (and mining), you can collect more resources found naturally in the biomes.
Finding ocelots and wolves (each with its own unique biome) will allow you to create a dog and cat army.
Taming ocelots require fish, gathered after you have crafted a fishing rod.
Wolves are tamed by bread, crafted from wheat.
Excavating and trading with villagers are strategic aspects of gameplay in Minecraft. Here are some points to remember as you get started:
Early players will be unable to successfully excavate a structure as they will need tools only found after some farming and mining have taken place.
When you are ready to excavate, you will find a treasure trove of objects in these excavation sites.
You will need a stockpile of goods to trade with villagers. Many players begin with wheat or wool for trading, usually acquired through farming and mining.
Mining is a large part of Minecraft (as the name would imply) and gives you the necessary resources to craft advanced weapons and other useful items. You will likely find yourself digging a staircase mine on your first night (within the relative safety of your shelter).
Here are some steps to get you started with your mining efforts:
Build your mine using stair steps (so you can climb back out).
Collect cobblestone.
Use the cobblestone to craft a stone pickaxe and a furnace.
Cook wood (not wooden planks) in the furnace changing the wood into charcoal.
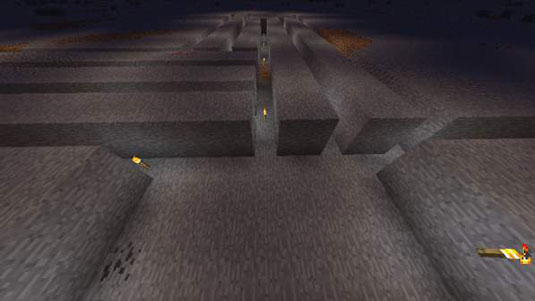
Use the charcoal to craft torches and then place the torches along the walls. This will prevent mobs from spawning in the dark mine.
Return to the surface to farm during daylight hours.
Return to the mine, collecting coal and iron.
Craft buckets, and then iron tools and weapons.
Continue alternating farming and mining as you collect more lucrative resources.
As your farming empire grows and you have iron level weapons and tools, you will decide whether to expand your mining operation or pursue other goals in the game. Master miners will head deep into their mines to find gold and diamonds, digging all the way to bedrock.
Mining is a large part of gameplay in Minecraft, so naturally, you mine many different things, called ores. Some of these ores, such as iron and gold, may be familiar to you, and others may sound brand new. The following table describes where to find the most commonly mined ores of the game and how you can use them.
Who wouldn’t covet a shiny diamond? Even in Minecraft, these gems have value. To get the most out of your gameplay, you’ll want to know how to successfully mine for diamonds. Just follow these steps:
Open the F3 menu to determine your Y coordinates.
Dig to level 11 on your Y coordinate. This will put your feet at level 11 but your head at level 12.
Create a strip mine.
Create one long mining tunnel with branches leading off on both sides. Each branch should be 6 blocks apart.
Discover a diamond mine.
One of these branches will uncover a diamond streak. Some players will get lucky on their first couple of branches. Others will take longer, sometimes much longer to discover a diamond mine.
Only mine the top block of each branch.
Don’t forget to place plenty of torches in your tunnel and branches or you will have created a hostile mob death trap for yourself.
Minecraft lets you mine in all sorts of places. You can go excavating in caves, ravines, mineshafts, and even dungeons and strongholds. The following sections describe each of these mining hotspots.
A few simple precautions can ensure your long-term survival while excavating in mines. You can create an underground base, for example, including planting food underground, crafting a bed and chest, and even constructing a railway or tunnel system. If you find creating railway or tunnel systems a little too challenging, you can use horses to move quickly through your mines. Horses are often as fast as mine carts, and they do not have hunger, so you don’t need to worry about feeding them. Keep in mind that horses are tall, however, especially when you ride on them. When you use horses, you will need to expand your mine shafts to be 3 tall and 2 wide instead of a traditional 2 tall and 1 wide.
Early mining involves the same steps whether creating your own mine or using a cave. But after you have secured stone or even iron level pickaxes and shovels and enough food and torches, you will want to follow these steps for a more successful cave mining adventure:
Bring buckets, some filled with water and others empty. Lava commonly flows in cave mines. A water bucket may save your life and an empty bucket will allow you to collect lava to use in your furnace as a long lasting fuel instead of charcoal or coal.
Craft signs or place other blocks as a code (such as colored wool) to label the underground maze created by the caves as they will branch off in unexpected ways.
Store excess stuff in chests in case you do die, most likely from falling off an unexpected cliff or from lava. When you respawn, the stuff you stored in your chest will still be in your chest, assuming you can find your way back to your mining base.
One of the more lucrative mining options are ravines. Here are some basic features of ravines and a few tips to help with your mining adventures:
Ravines can be either underground or aboveground. They are deep and narrow cuts in the mountains.
The principles of water and lava are critical in ravine mining. Many players will use waterfalls as shortcuts to swim both up and down.
Collect obsidian. Very deep ravines inside of mountains likely have a lava lake at the bottom. As water flows into the lava, obsidian is created — one of the more lucrative items to mine.
Bring ladders. Because ravines are so narrow and deep, building usable staircases alone may not be possible. Instead, bring ladders so you can climb out of a deep hole.
Just like in caves, bring buckets of water to protect yourself against lava.
Just like in the Overland, you will also discover useful structures to excavate: strongholds, mineshafts, and dungeons.
For strongholds, you will need a sword and pickaxe as the only new mob you will encounter is a silverfish. As always, you will need torches to prevent hostile mobs from spawning. However, you may find hostile mobs already there which you will have to defeat and then place your torches to prevent future mobs from spawning. You will not want to advance through the end portal if you discover a stronghold early in the game. Simply use the stronghold as an underground base as you continue to develop the resources necessary to successfully fight the Ender Dragon waiting for you on the other side of the portal.
For mineshafts, simply mine them as you would a cave. You will need to destroy the cave spider spawner using a pickaxe or place multiple torches to prevent cave spiders from spawning without destroying the spawner. Mineshafts frequently have emeralds and diamonds, not to mention the occasional railway track, so be sure to gather these resources.
Dungeons will have 1-2 treasure chests. When you mine, you will eventually find cobblestone or mossy cobblestone indicating a dungeon on the other side. You will need plenty of torches, a pickaxe, and sword before entering the dungeon. Dungeons are very small, containing a spawner. Hostile mobs will fill the room in a matter of seconds. So place your torches quickly while fighting existing mobs. Many players simply break the spawner (which can be a spider, zombie, or skeleton spawner) as it is difficult to light up the room fast enough while fighting the existing mobs. Once you have secured the room, take the loot from the chests.

 How to Add a Second Player to Your Minecraft Game - For Dummies
 How to Organize Your Minecraft Construction Materials - For Dummies
 How to Find Food in Minecraft - For Dummies
 How to Push Powerful Blocks in Minecraft with Piston Machines - For Dummies
 The 6 Snowy Biomes in Minecraft - For Dummies