

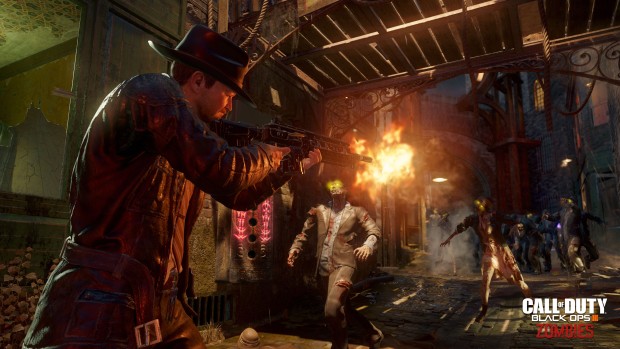
Black Ops 3 Zombies Buildable Items Parts locations and Wonder Weapons parts guide to help you locate everything in Shadows of Evil Zombie Map.
For more help on Black Ops 3 Zombies Shadows of Evil, read our How to Build Pack-a-Punch Machine and How to Unlock Dead Ops 2 Arcade.
You’ll find plenty of supposedly useless items scattered around the world which can be assembled to create useful items. Once you’ve found these items, you need to locate a workstation and craft these useful objects.
Here’s how you can do it:
Fumigator
The first part is located right behind you after you spawn. You can collect it from between the two barred windows. Using this part, you can harvest green plants scattered across the city.
Summoning Key
To get this, you need to become the beast using the purple fountain right at the beginning and destroy the wooden barrel inside the truck nearby.
Lawyer’s Pen
You, once again, need to become the beast and head to the center of the city where some sort of a power switch is located. After you power up the switch, the crane will move and drop the item.
Producer’s Toupee
To get this part, you need to head to the Footlight District and become the beast once again. After this, you’ll see a fiery wooden crate on a ledge. You need to toss the crate down and get the item.
Detective’s Badge
You need to head over to the Canal District, turn into the beast, turn on the power, and break the box nearby followed by returning to human form and go to the area where you broke the box to obtain the part.
Promoter’s Championship Belt
To get this part, you need to head over to the Waterfront District and grapple onto a high fenced balcony with a fiery wooden crate on top of it. Once you get there, toss the box down, return to human form, and grab the item.
Margwa Heart
At round 8, you’ll confront a 3-headed monster which upon being killed will drop this item.
Margwa Tentacle
Firstly, you need to acquire a Fumigator which is located right behind you after you spawn. You can collect it from between the two barred windows.
After finding it, you need to harvest from the green plants scattered across the city which will drop Margwa Tentacle -– the process is completely random.
Xenomatter
This is another item which is completely random drop and is acquired by killing the flying bats across the city.
This is another random weapon which can be acquired from the Harvest Pods scattered around the city. In order to acquire it, first you need to find the Fumigator which is located right behind you after you spawn.
You can collect it from between the two barred windows. Once you’ve found the Fumigator, you need to keep opening up the Harvest Pods located across the city until you find the Locus Weapon.
The first thing that you need to do is to head over to any of the transit station and carefully read the map pinned there. Each of the ‘Question Marks’ on the map represent a symbol that you’ll be able to see if you look out of the train.
Do note that these symbols are completely random and change every time you start a zombie match. Do note that you don’t need to anything except for memorizing these symbols as you travel through the train.
Another thing to note here is that position of the ‘Question Mark’ on the map signifies the side on which the symbol will appear.
Once you’ve seen and memorized all three symbols, you need to head down to the rift area and turn into the beast mode.
While in the beast mode, you’ll see some strange symbols on the wall –- including the ones you saw while you were on the train.
Once these weird symbols are revealed to you, you need to power up only those which you saw while you were on the train and the wall will present an egg to you which you need to acquire.
After obtaining the egg, you need to place it in all four gargoyles located in the area and kill a bunch of zombies which will spawn in the area and will charge the egg upon being killed.
Once you’ve completely charged the egg using all four gargoyles located around the map, you need to take back the charged egg to the wall where you started and grab the sword.
In order to upgrade your sword, you need to acquire the sword and complete the Pack-a-Punch ritual. Once you’ve completed both these things, you need to head over to the ritual room corresponding to your character and obtain the egg located in the middle of the room.
Once you’ve acquired the egg, you once again need to charge it by placing it on the platforms scattered around the city which will spawn large enemies in the area. By killing these enemies, you’ll charge the egg.
After completely charging the egg, you need to head back to the ritual room, offer the charged egg, and acquire the sword.
To create the Civil Protector robot, you need to find three fuses scattered across the map. For the first part, you need to head over to the Canal District and find the fuse on the far end of the catwalk opposite of Zandi’s Smoke Lounge neon-sign.
For the second fuse, you’ll find it on the far end of the catwalk; in a corner railing in the Waterfront District. As for the final fuse, head over to the Footlight District and find it on a railing along the catwalk.
After getting all the fuses, you need to head over to the rift area where you’ll come across a machine which will have three slots for all three fuses. You need to insert the fuses in there and that’s it!
Once this is done, you’ll be able to call in the Civil Protector from any machine which has 2,000 written over it.
First off, you need to head over to the Canal District and find the fuse on the far end of the catwalk opposite of Zandi’s Smoke Lounge neon-sign. As for the shield, it’s located in the room where the blue neon-sign reads Zandi’s Smoke Lounge.
Next up, head over to the Waterfront District and you’ll find the shield in one of the two rooms there. As for the fuse, it’s located on the far end of the catwalk; in a corner railing.
Finally, head over to the Footlight District and find the shield in one of the two rooms and the fuse on a railing in the catwalk.
As for the workstation where you can build the Zombie Shield, it’s located a little ahead under the large One Night Only board.
In case there is something missing, comment with a location and we will add it in the guide!
 How to Level Up Fast in Black Ops 3, Prestige Fast With Quick Leveling Tips
 Black Ops 3 Zombies Shadows of Evil Perks Locations Guide - How to Activate
 Black Ops 3 PC Tweaks Guide - Best Performance INI Tweaks and Graphics
 Black Ops 3 - How to Unlock Dead Ops Arcade 2 Secret Mode
 Black Ops 3 Zombies The Giant Strategy Guide - Solo, Team Tips